How to make a fall-themed place card for the dinner table
Make a Fall-Themed Place Card for the Dinner Table
20
STEPS
TOOLS
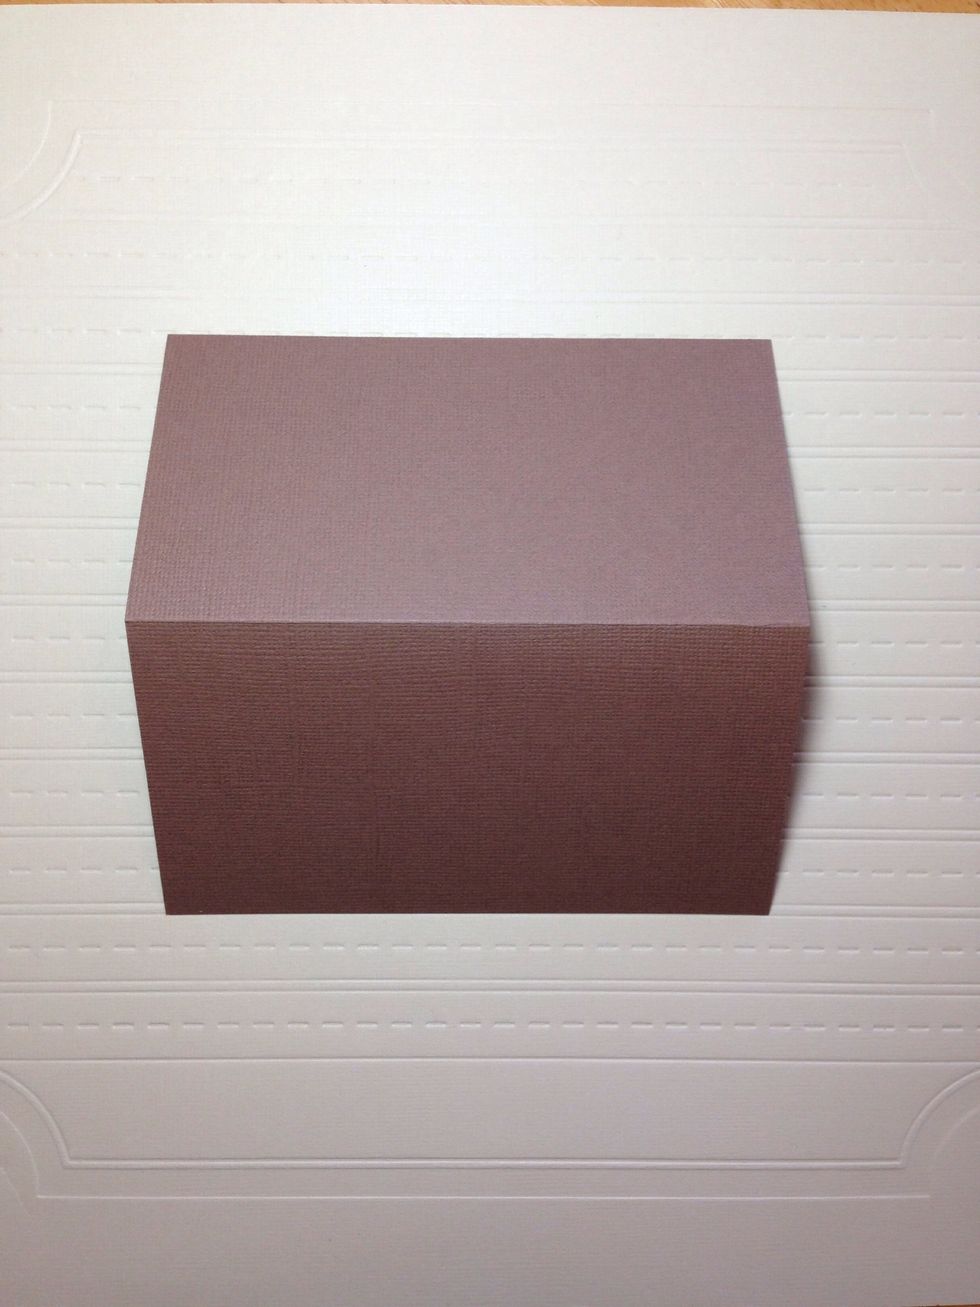
Cut a 5 1/2 x 6 inch piece of brown cardstock and fold it in half.
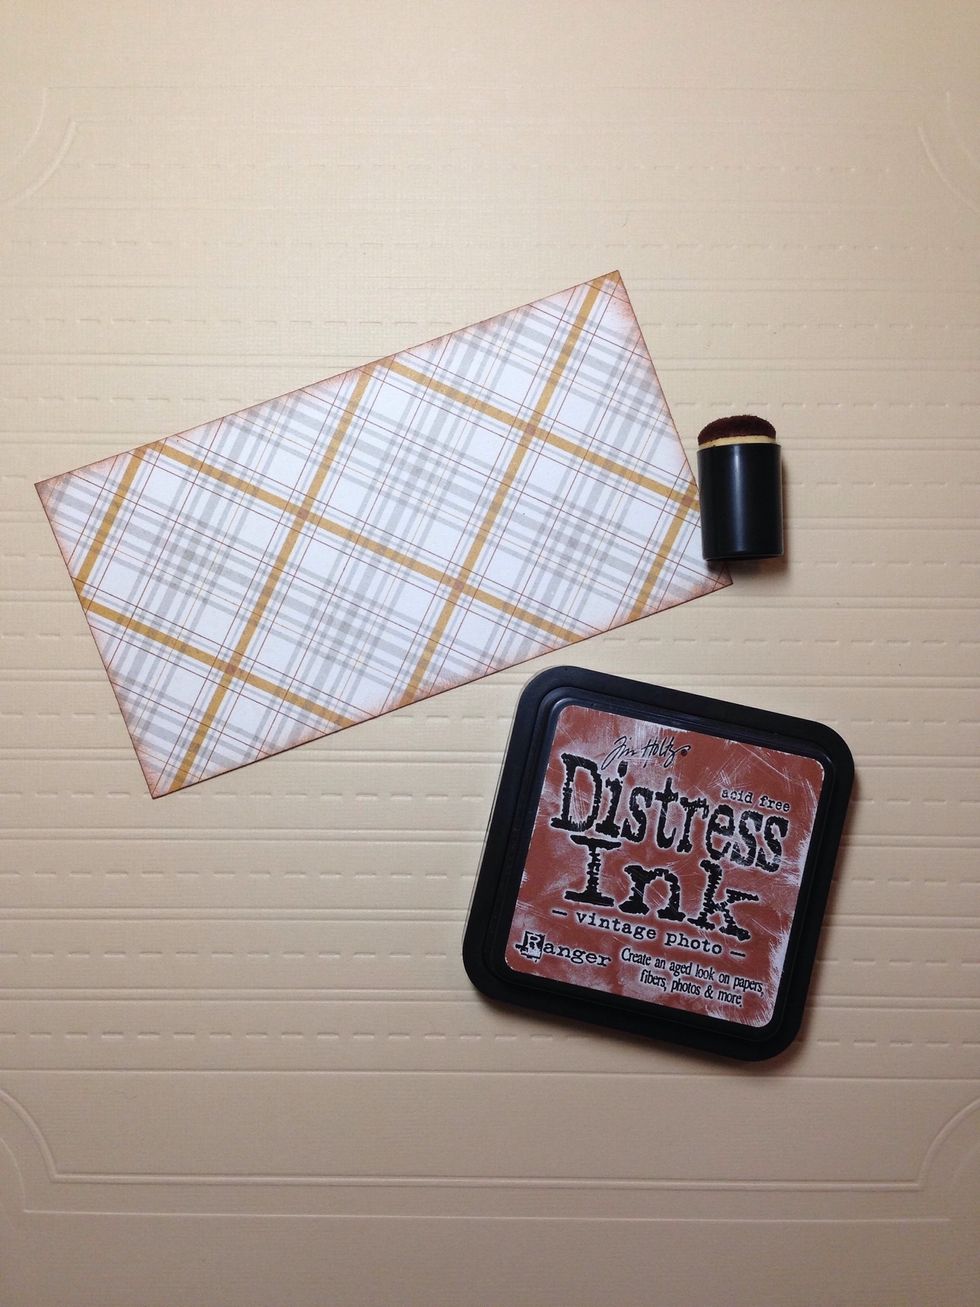
Cut a 3 x 5 1/2 inch piece of pattern paper and ink the edges before adhering it to the front of the card.

Use the 1B template from the Kiwi Lane Sentiments Card Border Set to create the curved design.

Flip the template over before tracing so the curve is going in the right direction.

Ink the edges and add adhesive along the bottom and sides only before adding it to the card. Add another pattern paper to create a place to write a name. I used a tab punch.

Trace a pumpkin and an oak leaf onto chosen paper using Kiwi Lane's Tiny Holiday 1T and 4T templates. Trace the maple and simple leaves with Kiwi Lane Design's Tiny Nature 1T and 4T templates.

Ink the edges, and if you want to add some shape to the paper leaves, spritz each one with water and crumple in your hand. Then use your fingers to shape them and let dry.
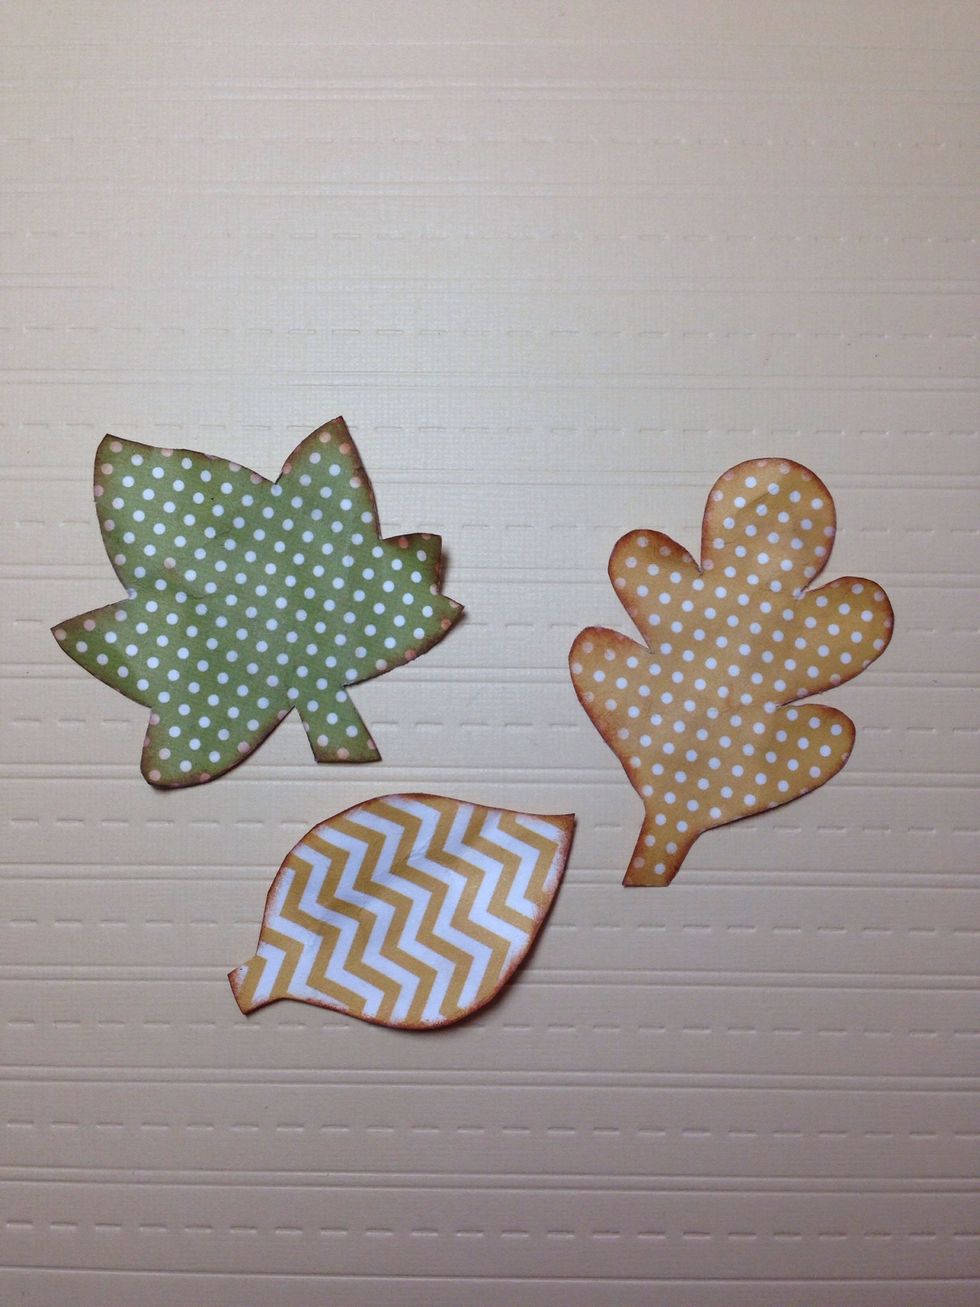
This is what the look like when they dry.

Trace just the stem portion of the pumpkin template onto some brown cardstock and cut it out. Ink the edges and adhere right over that area on your orange pumpkin.

Take about a 3 inch long piece of burlap ribbon and tie it tightly in the middle with a piece of twine. Unravel the ends as desired.
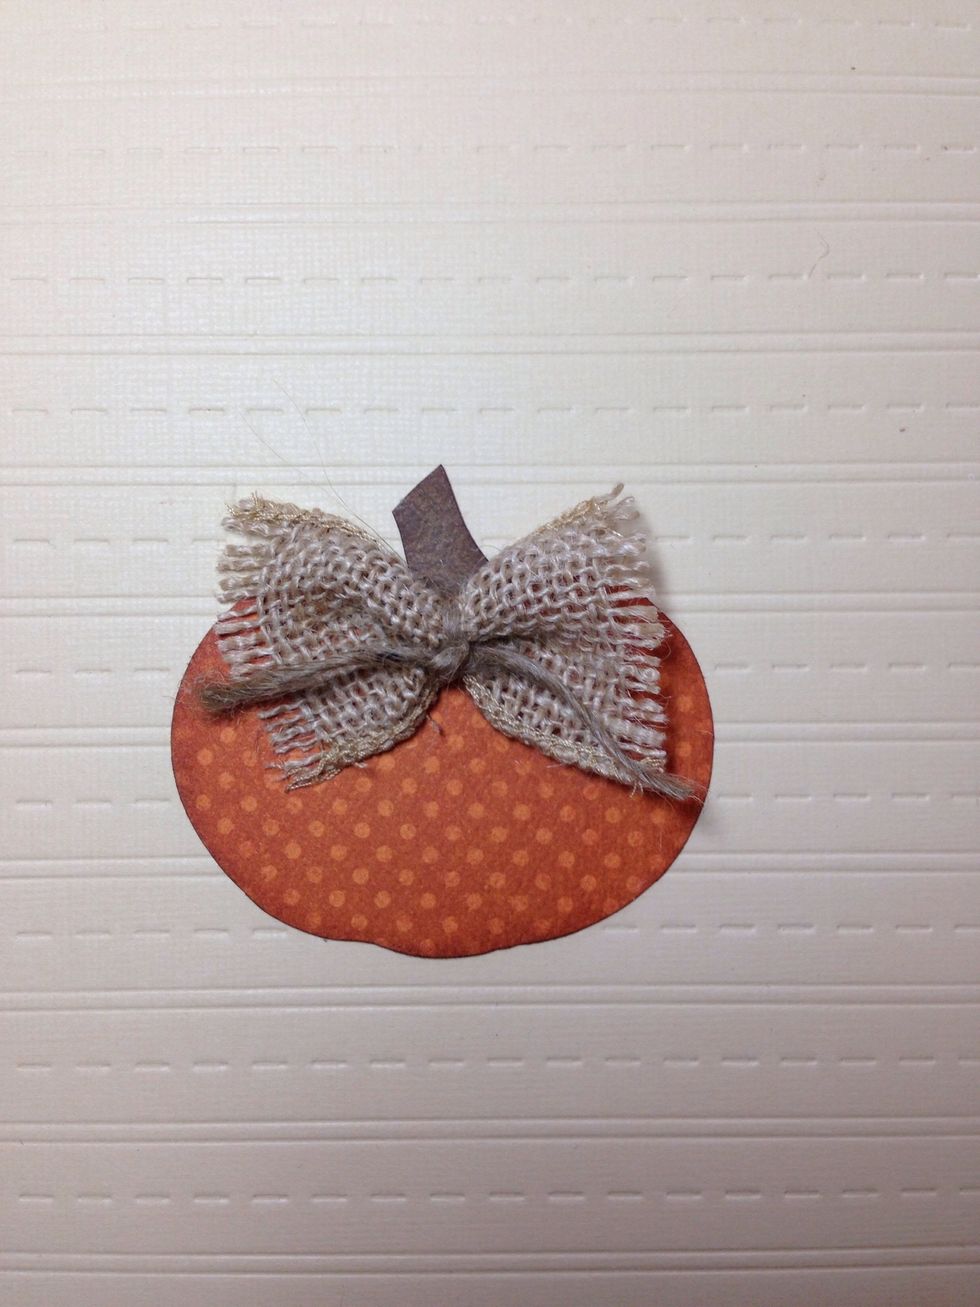
Use glue dots or hot glue to stick your burlap bow to the pumpkin.
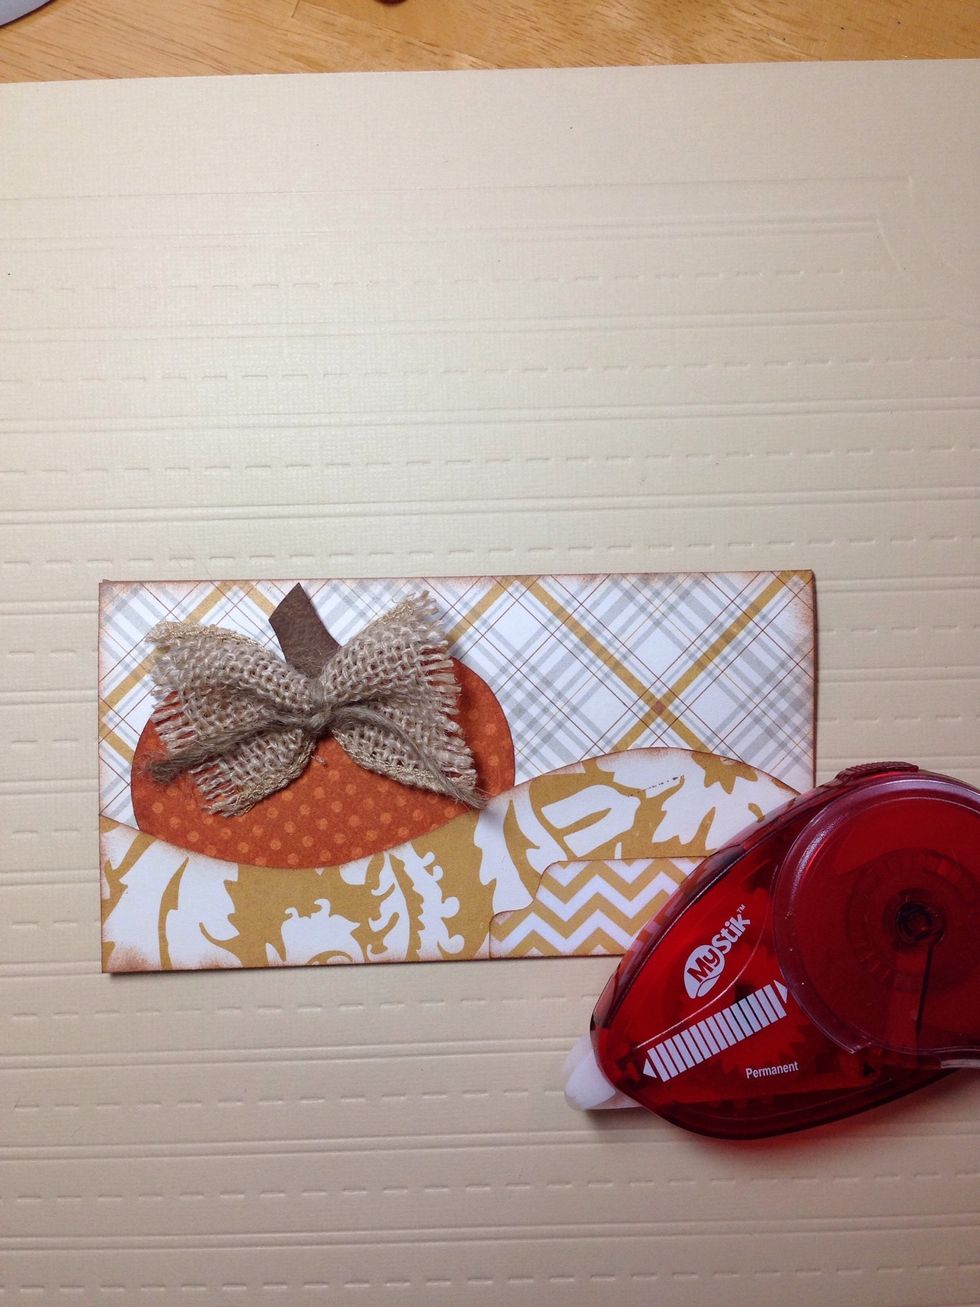
Add some adhesive to the back of the pumpkin, only about halfway up, and tuck beneath the border.

Decide how you want to arrange your leaves behind the pumpkin and then adhere them to the card. Add adhesive to any spot that still needs it.

Add a small embellishment, like the little butterfly, to the upper right corner of your card. Write the name of your guest on the tab and set by their place at your table. So lovely!

www.kiwilane.com
- Brown cardstock
- Orange cardstock
- Pattern papers
- Kiwi Lane Designer Templates
- Brown Ink
- Burlap
- Twine
- Adhesives
- Scissors
Kiwi Lane
Mission: To add Fulfillment to the lives of others by helping them to Play Joyfully, Share Freely, and Inspire Sincerely.
Idaho
The Conversation (0)
Sign Up