The Conversation (0)
Sign Up
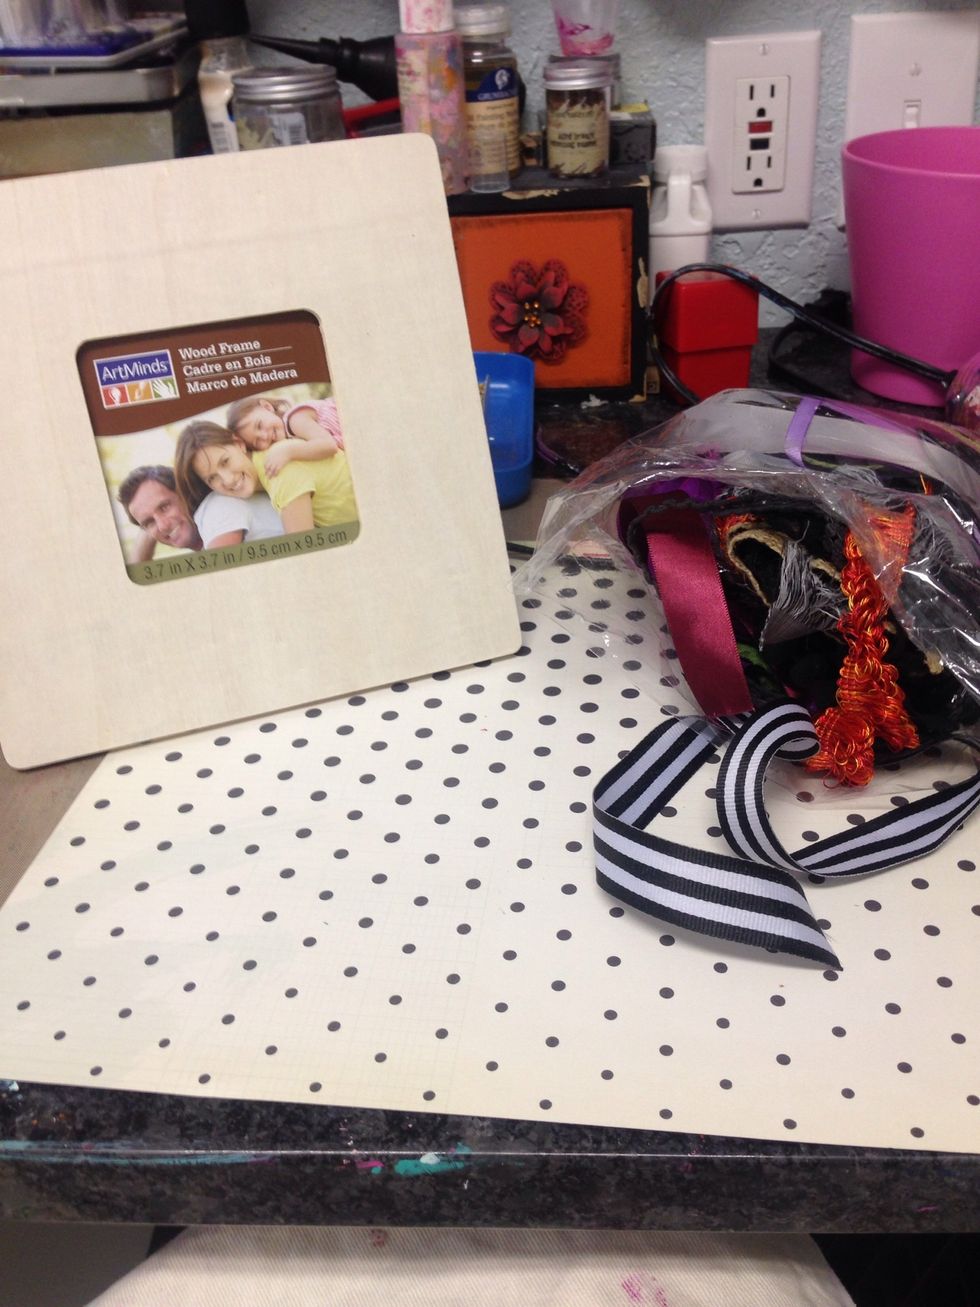
I started by picking out a main patterned paper that I liked to cover the frame with.
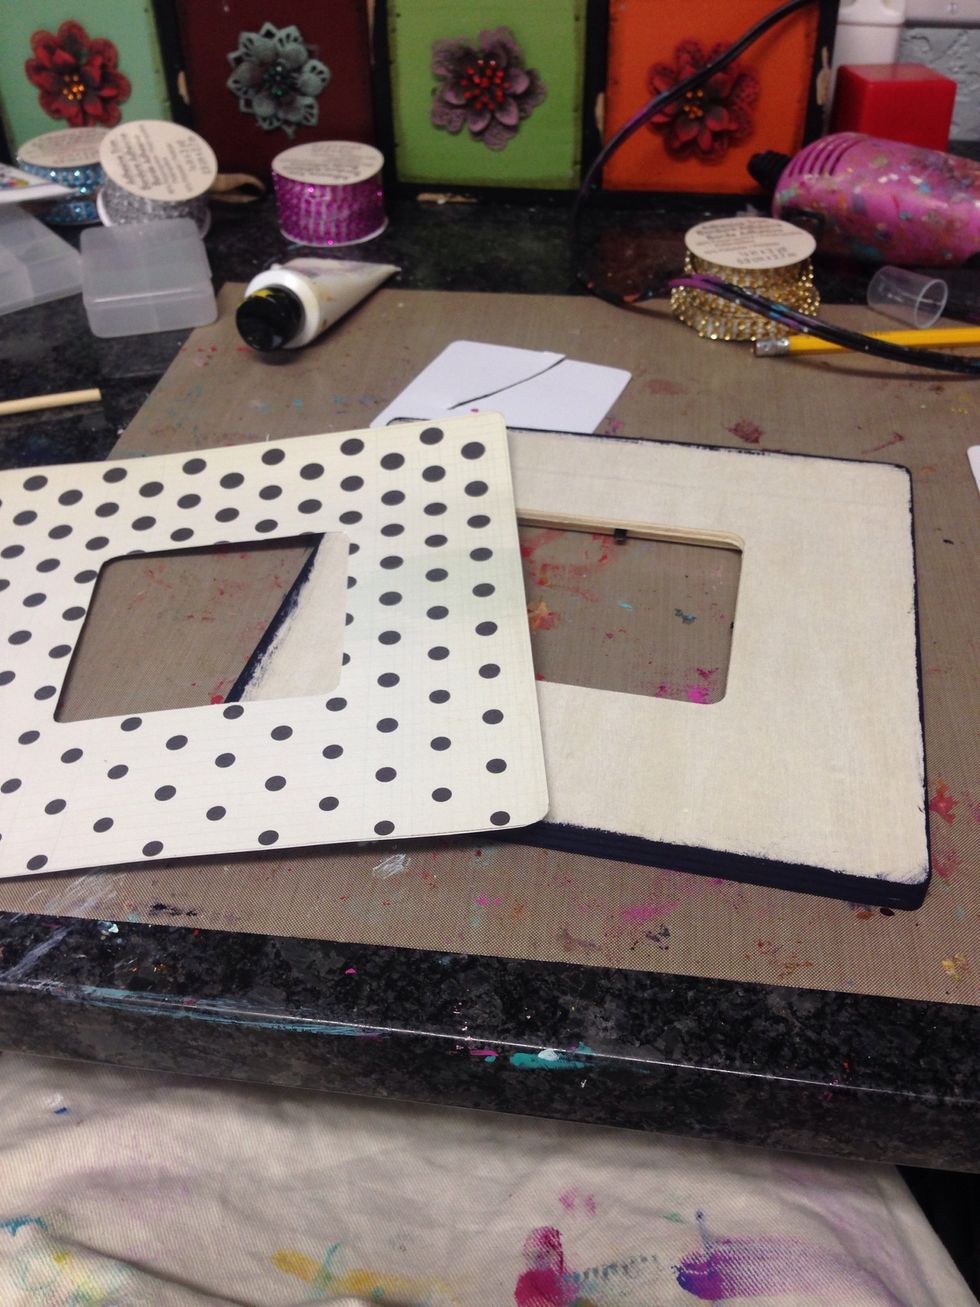
I cut the paper to fit the frame, then painted the edges of the frame that are uncovered with black paint
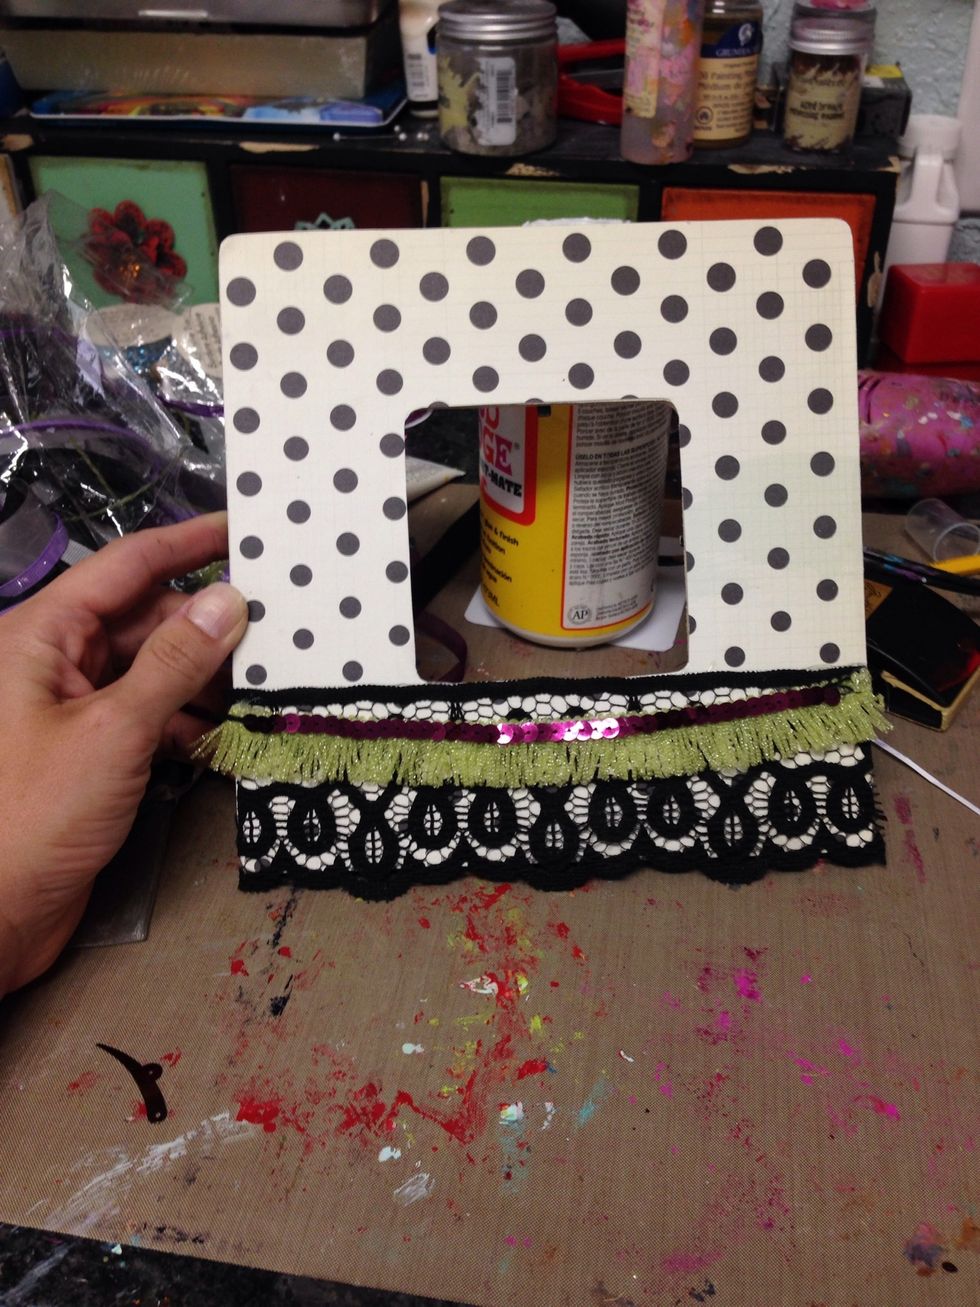
I hot glued some colorful trim pieces to the bottom of the frame
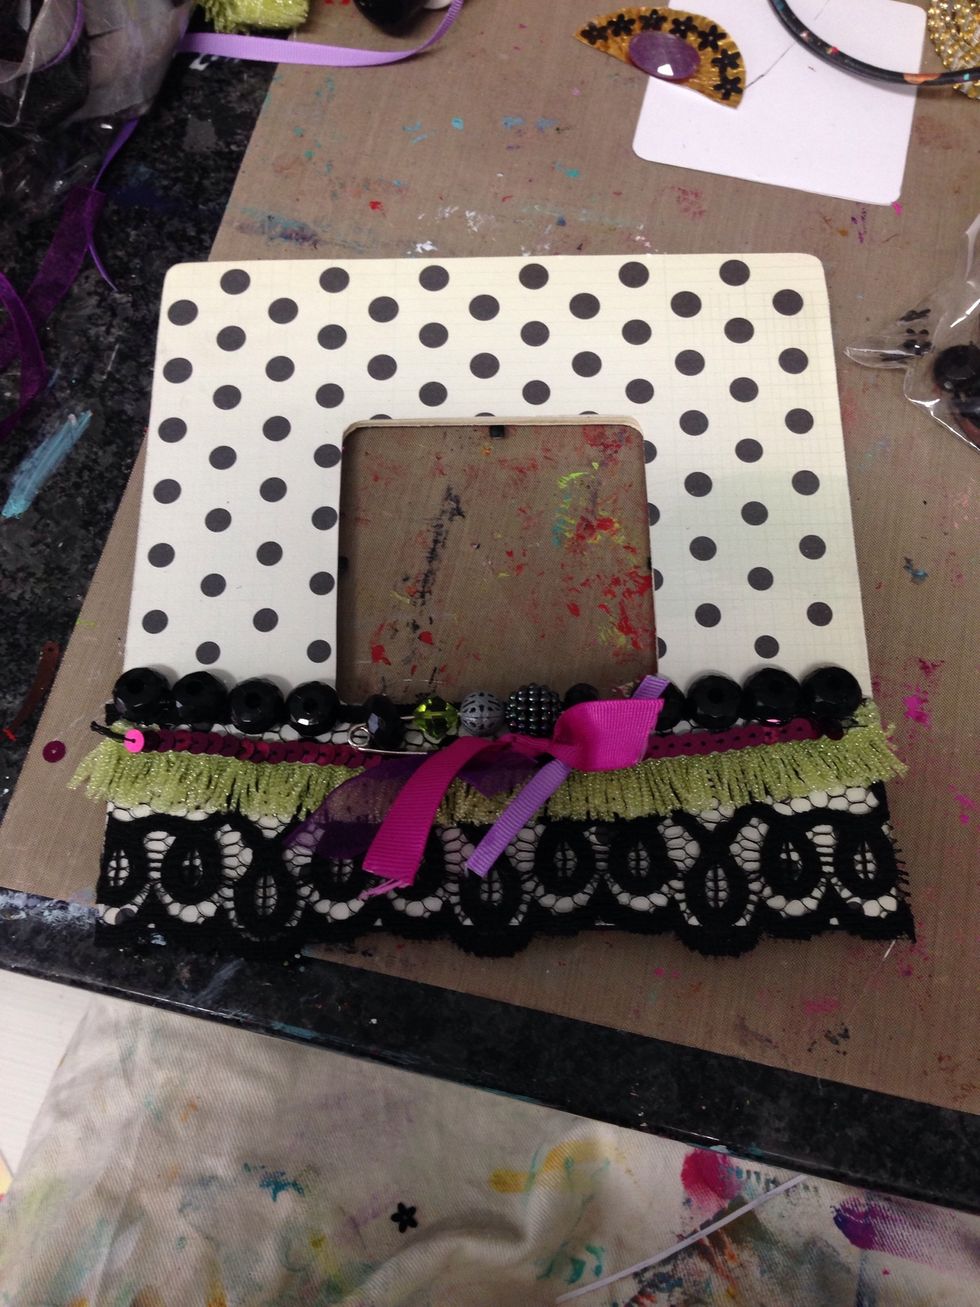
I also hot glued some beads and made a centerpiece from a large pin, some beads, and ribbon scraps. I then hot glued that to the center
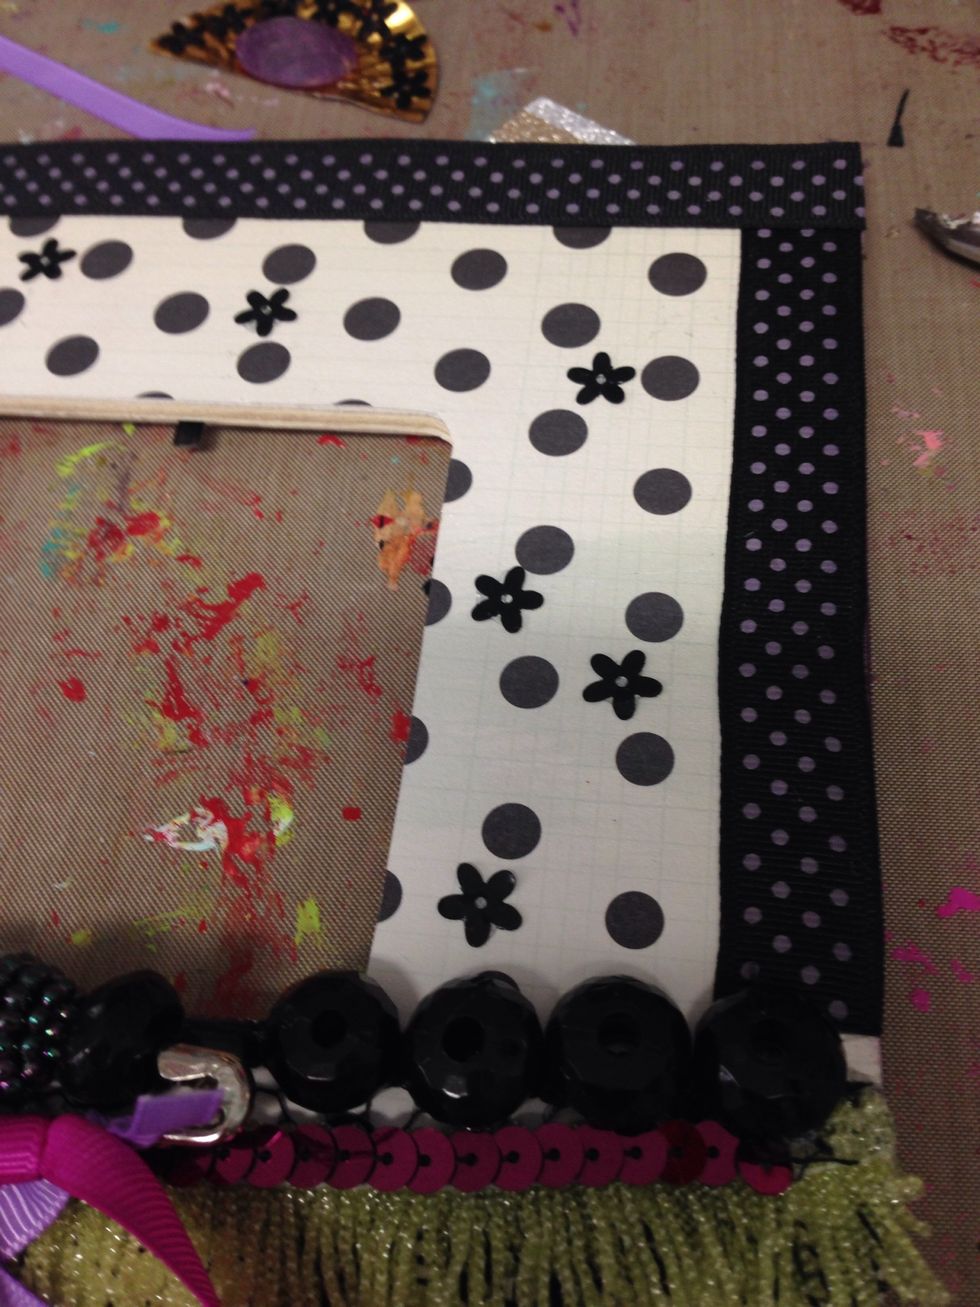
I added some ribbon trim around the edges and hot glued some of the flower sequins around the polka dots
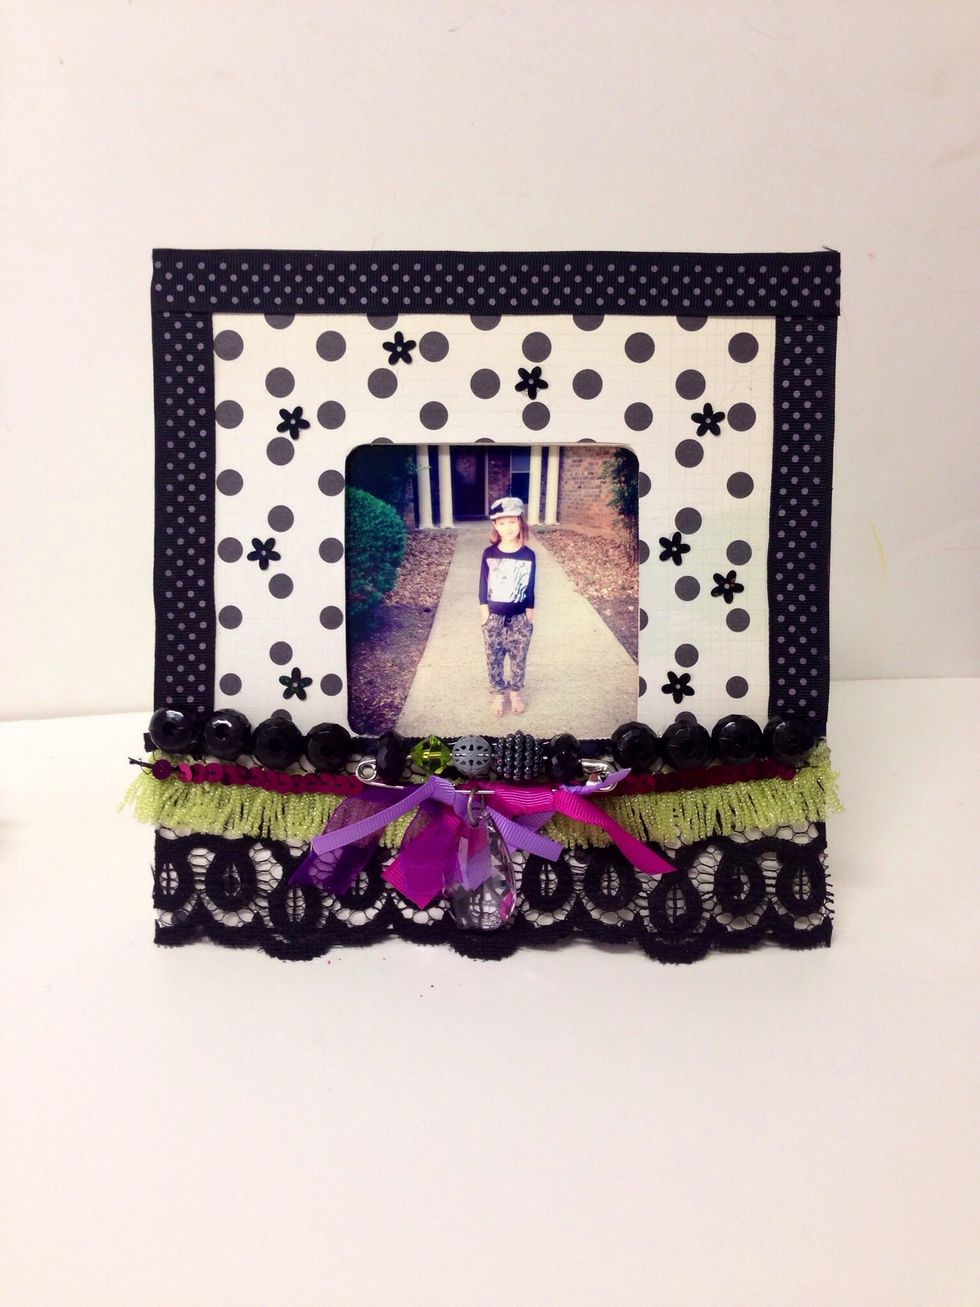
For the final step I printed out a pic of my youngest daughter and put it in the frame :)
All products used with the exception of the frame are from the October Hydrangea Hippo kit. You can purchase it at http://hydrangeahippo.com/shop/kit-subscription/.
For more mixed media inspiration, visit my blog at www.melsartjournal.wordpress.com. Thanks!!