The Conversation (0)
Sign Up
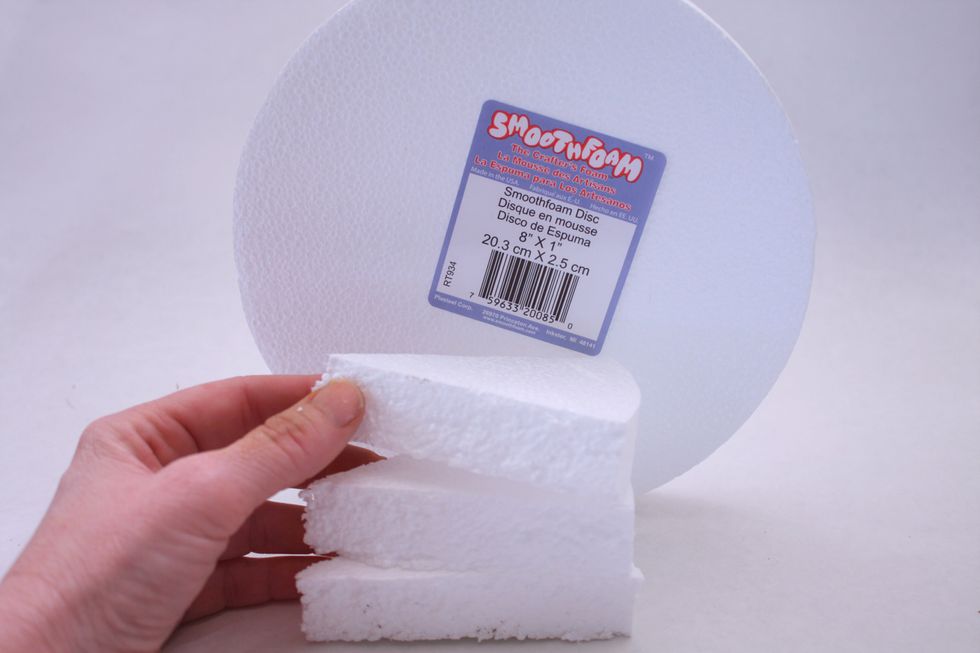
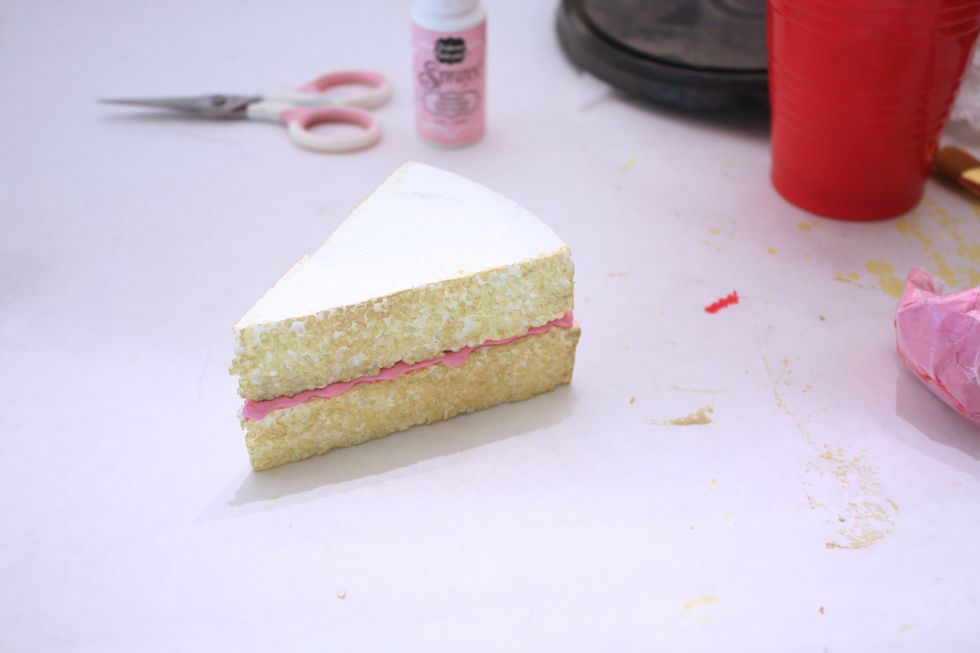
Start by cutting an 8x1 inch Smoothfoam Disc in half. Then cut out equal pie shapes use each piece as a temp ate for next) I used a serrated edge knife
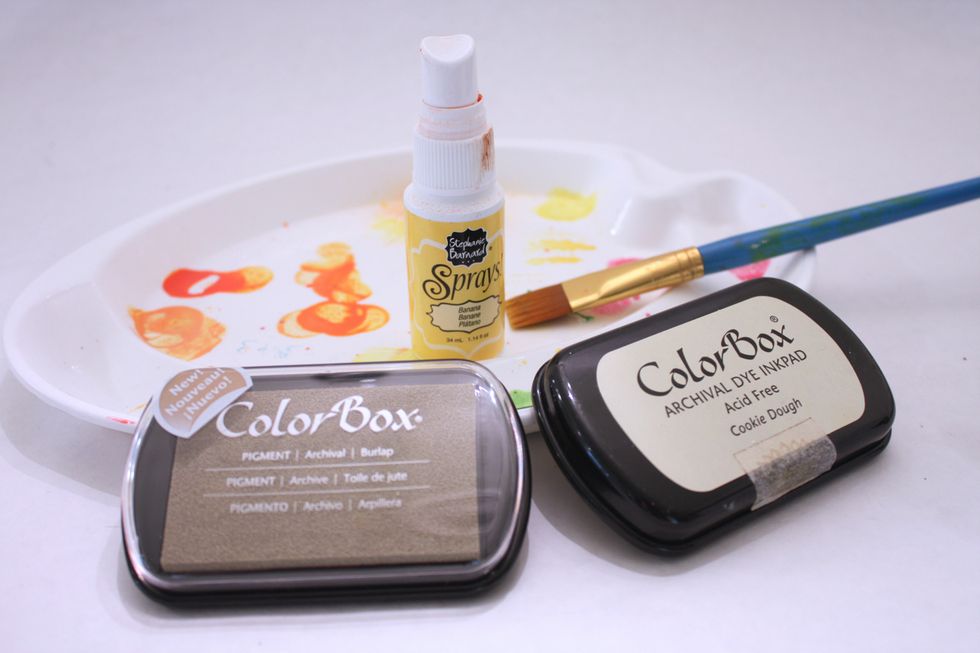
Gather your inks. When making fake cake, I found a combination of three colors works best. Practice on an unused piece of foam to get your colors right.
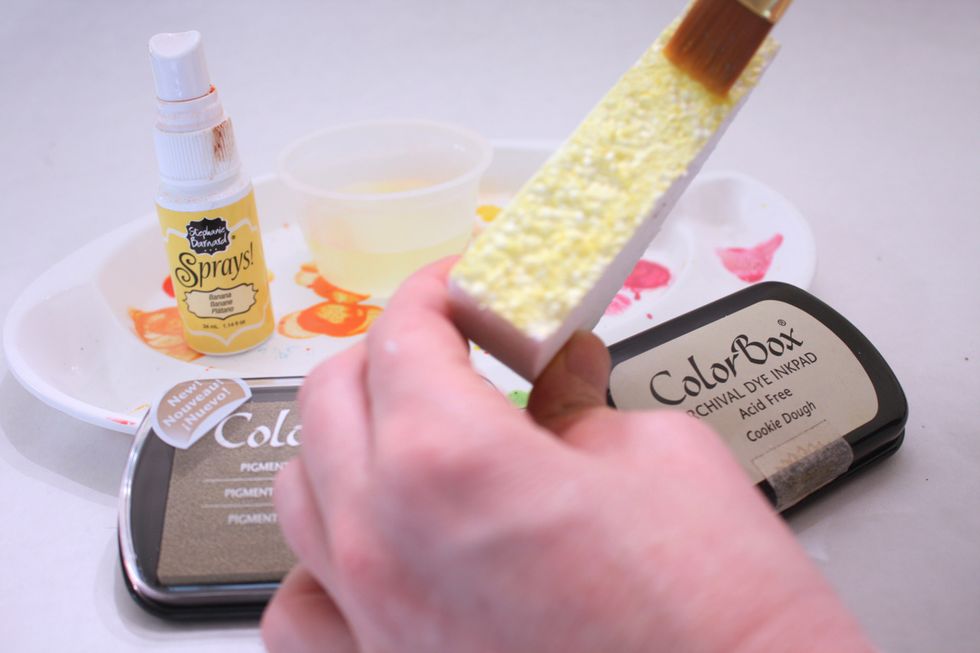
Spray some Ink spray onto your palette and get a little cup of water. Dip brush in water, then ink, then swipe on. After swiped on go back in with a stipple motion and cover all white edges
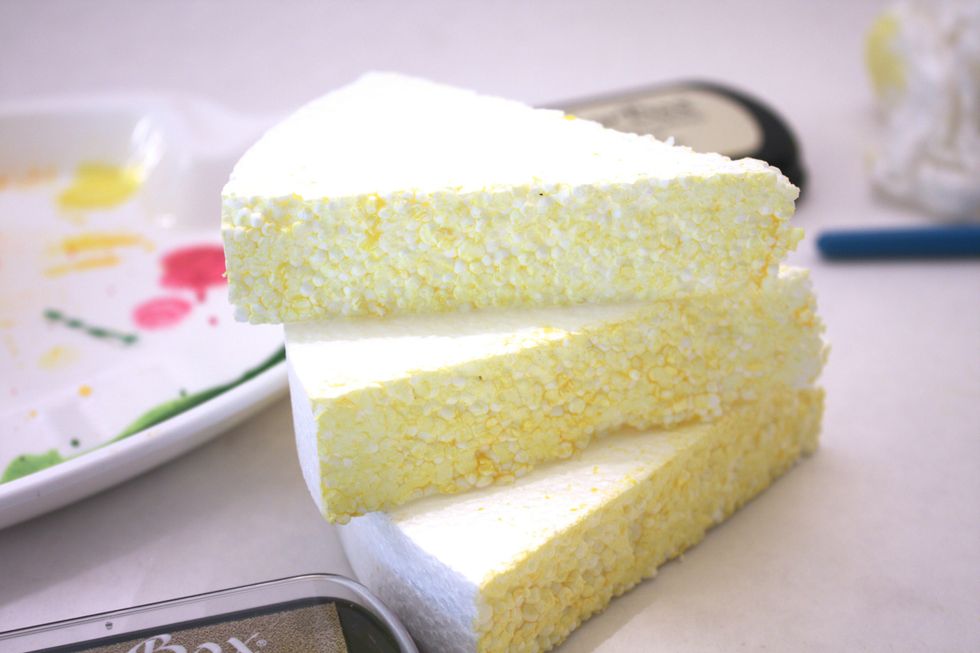
Now set aside to dry

After dry, take and dip into darkest color (you will get foam residue on your pad- just brush off when done)
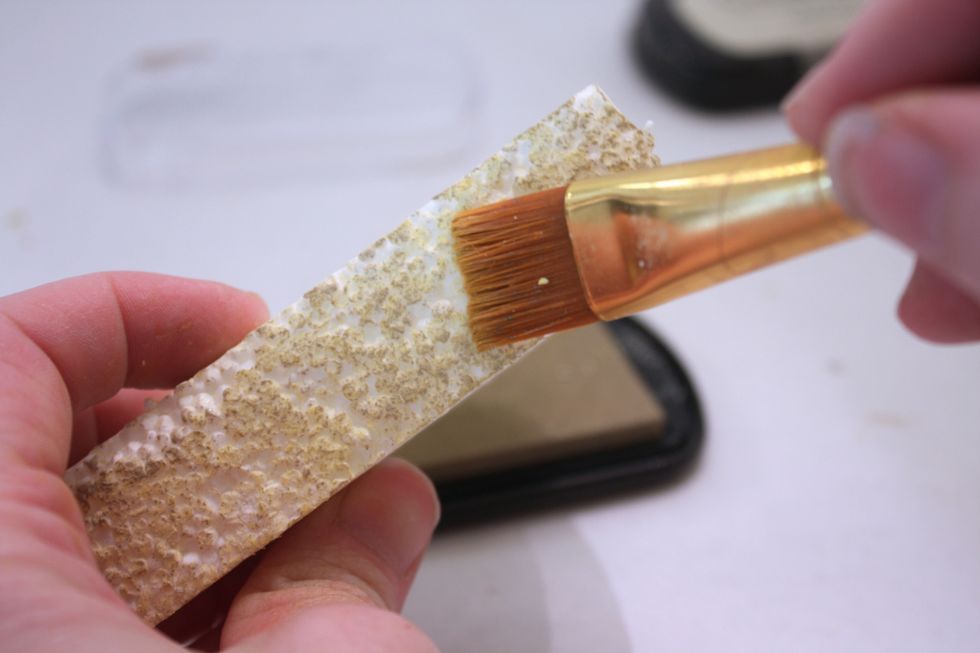
Now take a damp (not wet just damp) clean bush and stipple and blend in

Take your middle tone color and press your brush directly into pad and do more stippling- the key is to not be too uniform
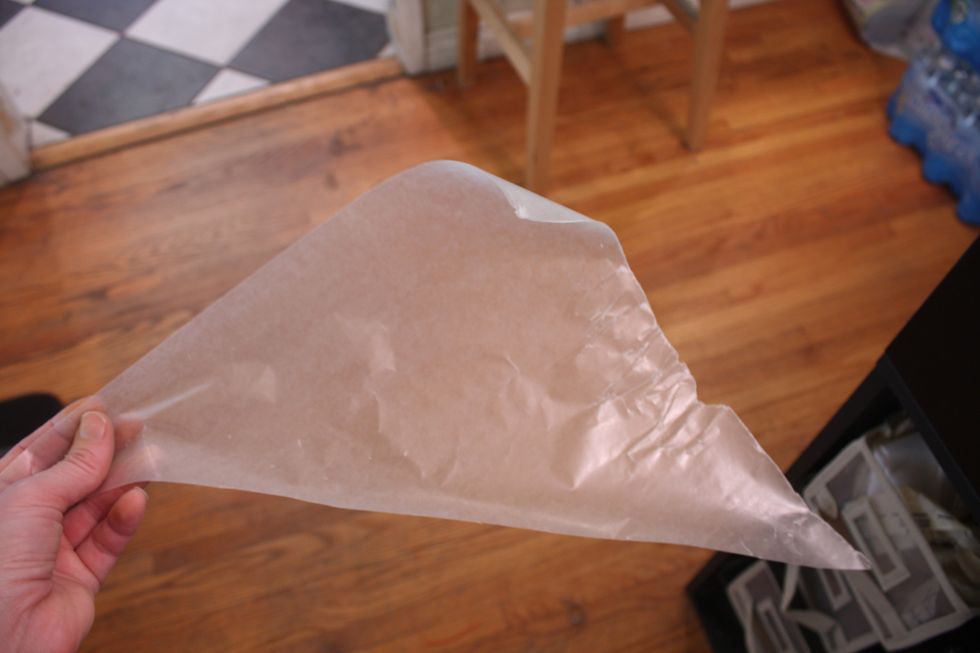
Now we are going to make an icing bag- cut a square piece of parchment in half so you have a triangle (or you could buy pre made icing bags at the craft store)
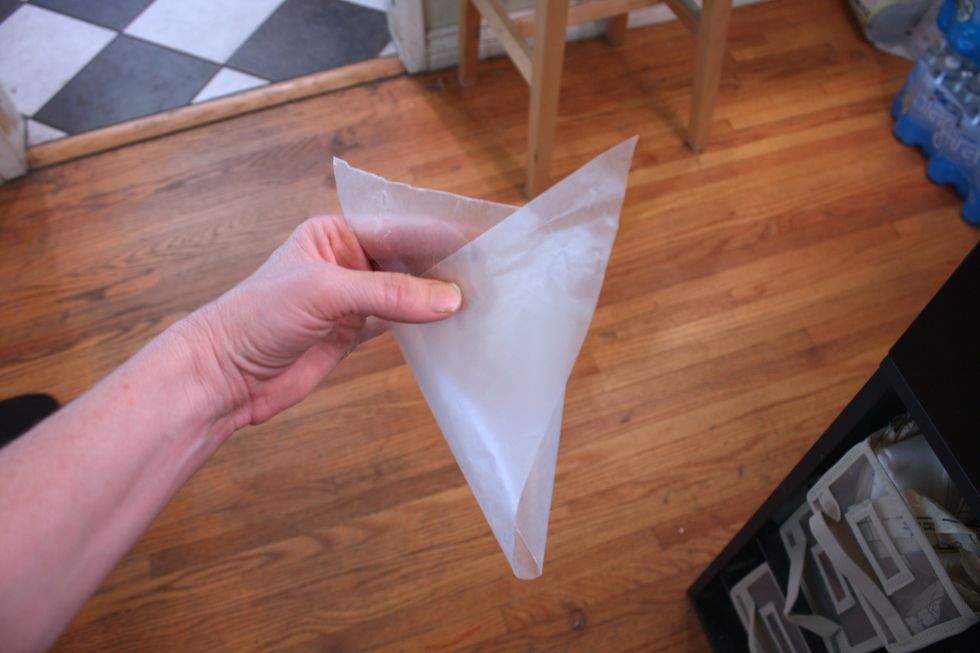
Fold the corners up and over

bring them together in the back..
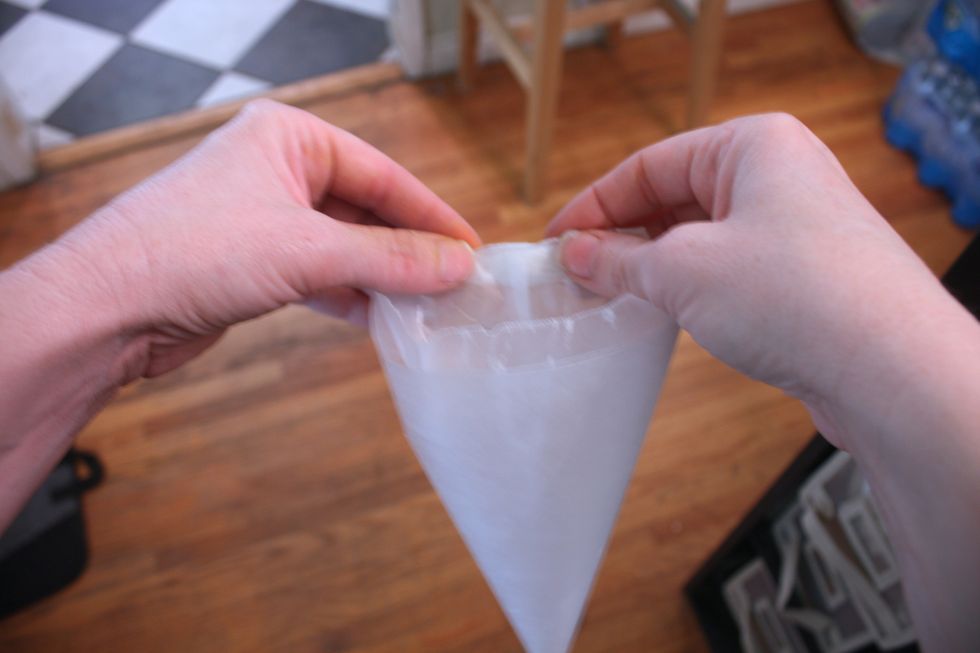
then fold over the top (PS i am using wax paper in this pic - don't use wax paper its not sturdy enough- I ended up using my parchment after I took the pics)
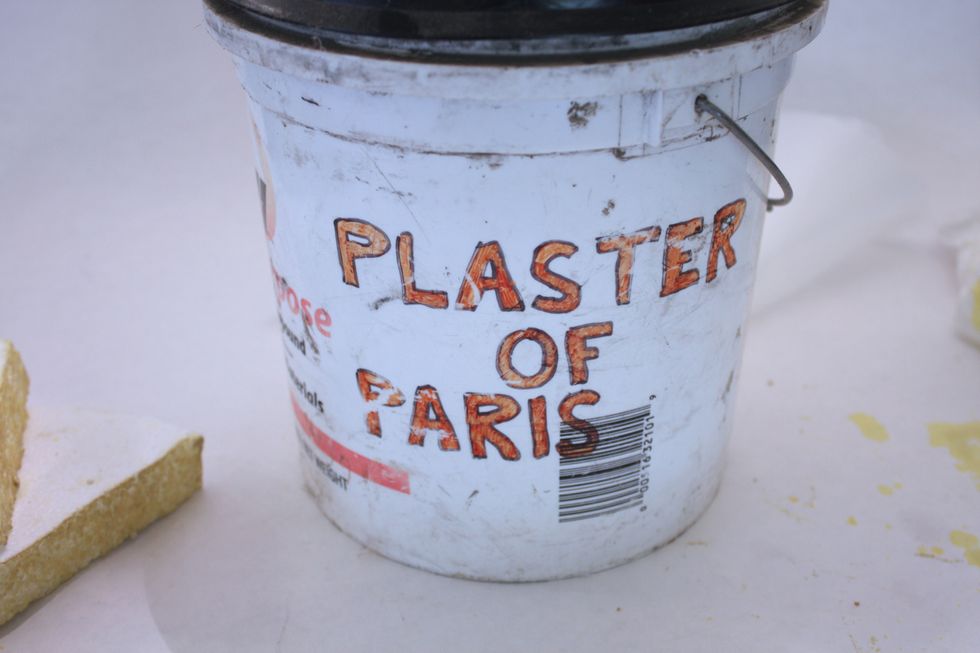
Get some plaster of paris Super inexpensive. Sets up quickly so don't make until you are ready to ice your slices)
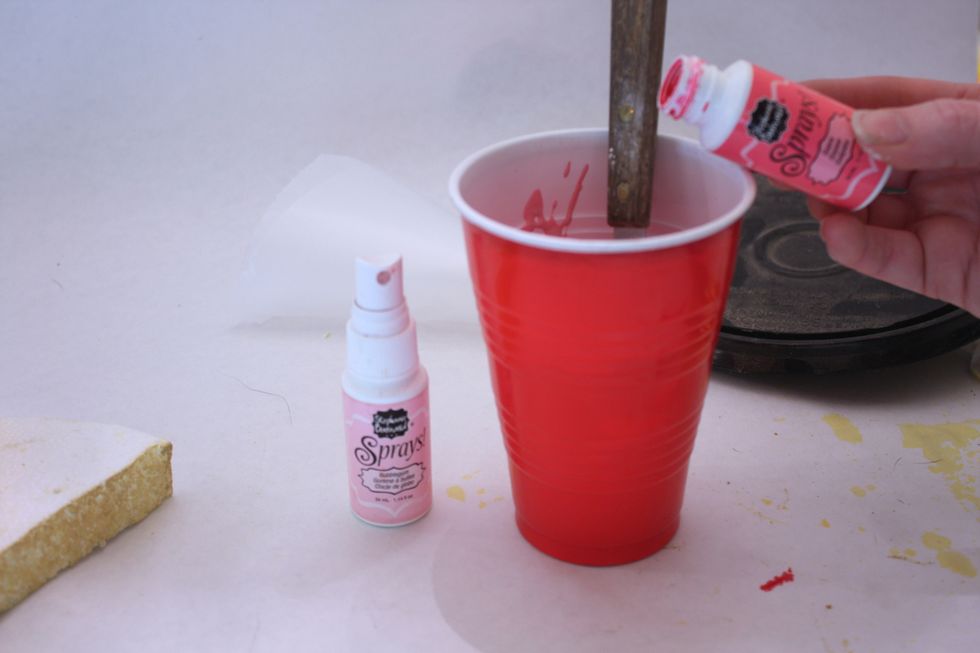
Pour a little Stephanie Barnard Spray into your mixture and add water. I used 4 heaping tbs, then added water until cake batter consistency. Add more plaster until it is frosting consistency
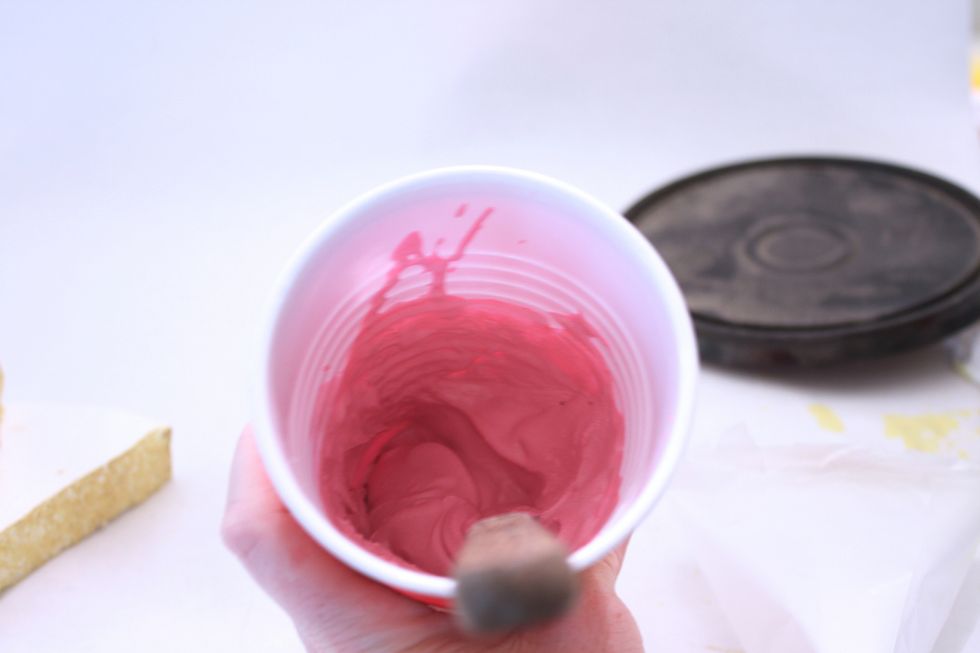
yummm!

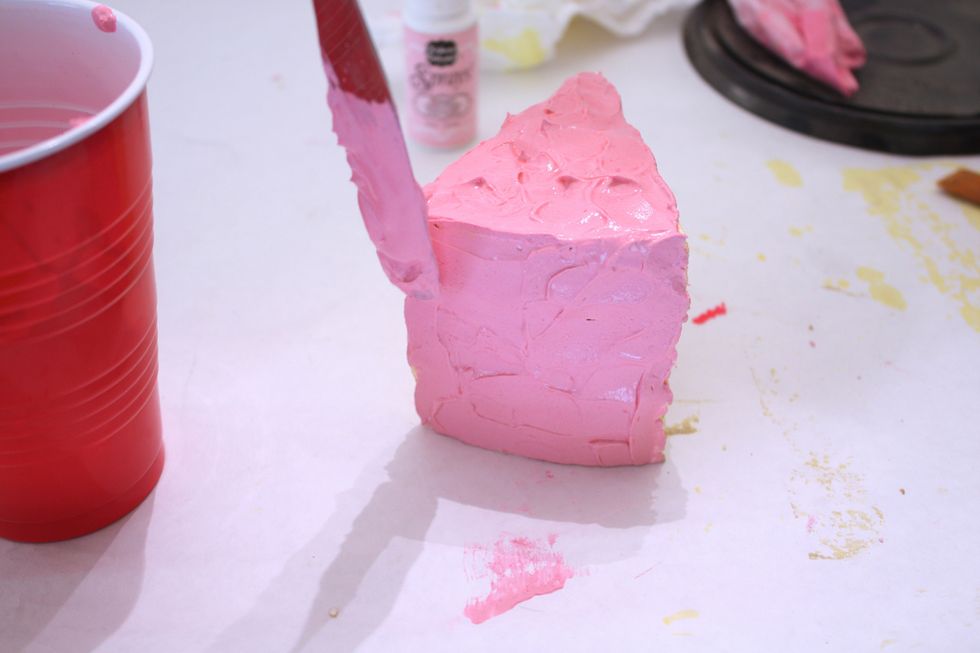
Fill your bag, then fold over the top to seal, snip end if needed to allow icing to come out
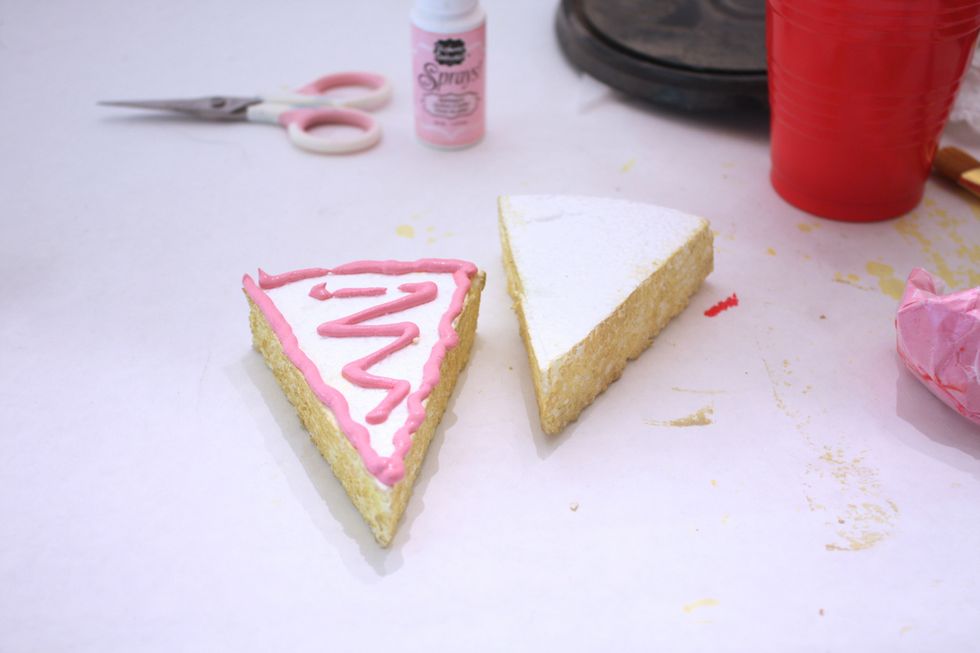
Put a nice thick line around the edge of each slice, then a little swirl in the middle
Then stack it up! Repeat for next layer

Don't worry I fixed my crookedness! Now just ice the top and back with a little spatula
looks yummy!
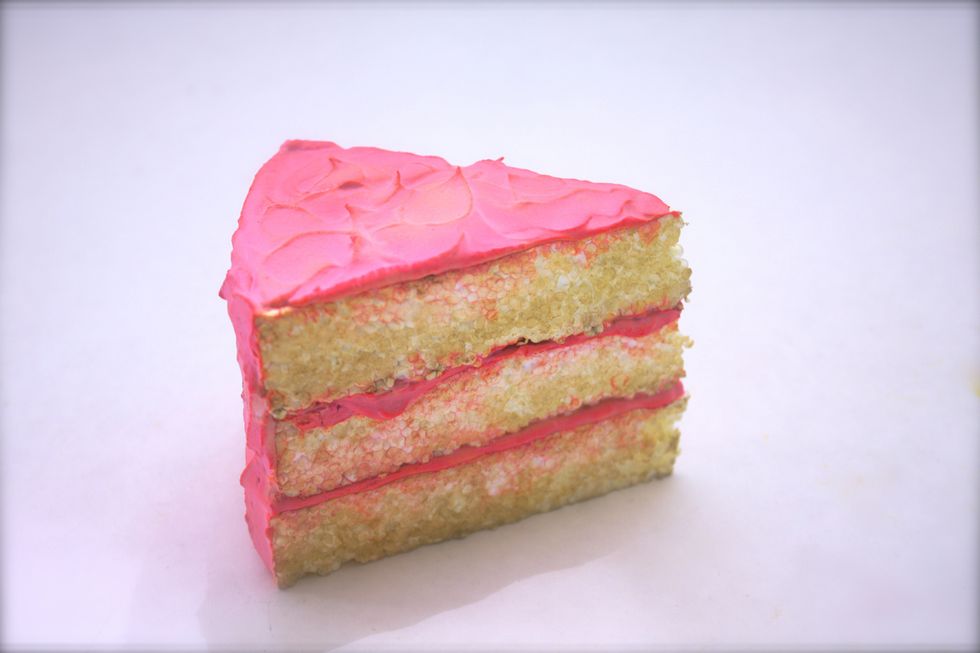
Now lessons learned! Color darkened up after it dried- color smeared onto cake parts- but... i think it kinda worked. I need to make sure I don't smear so much next time
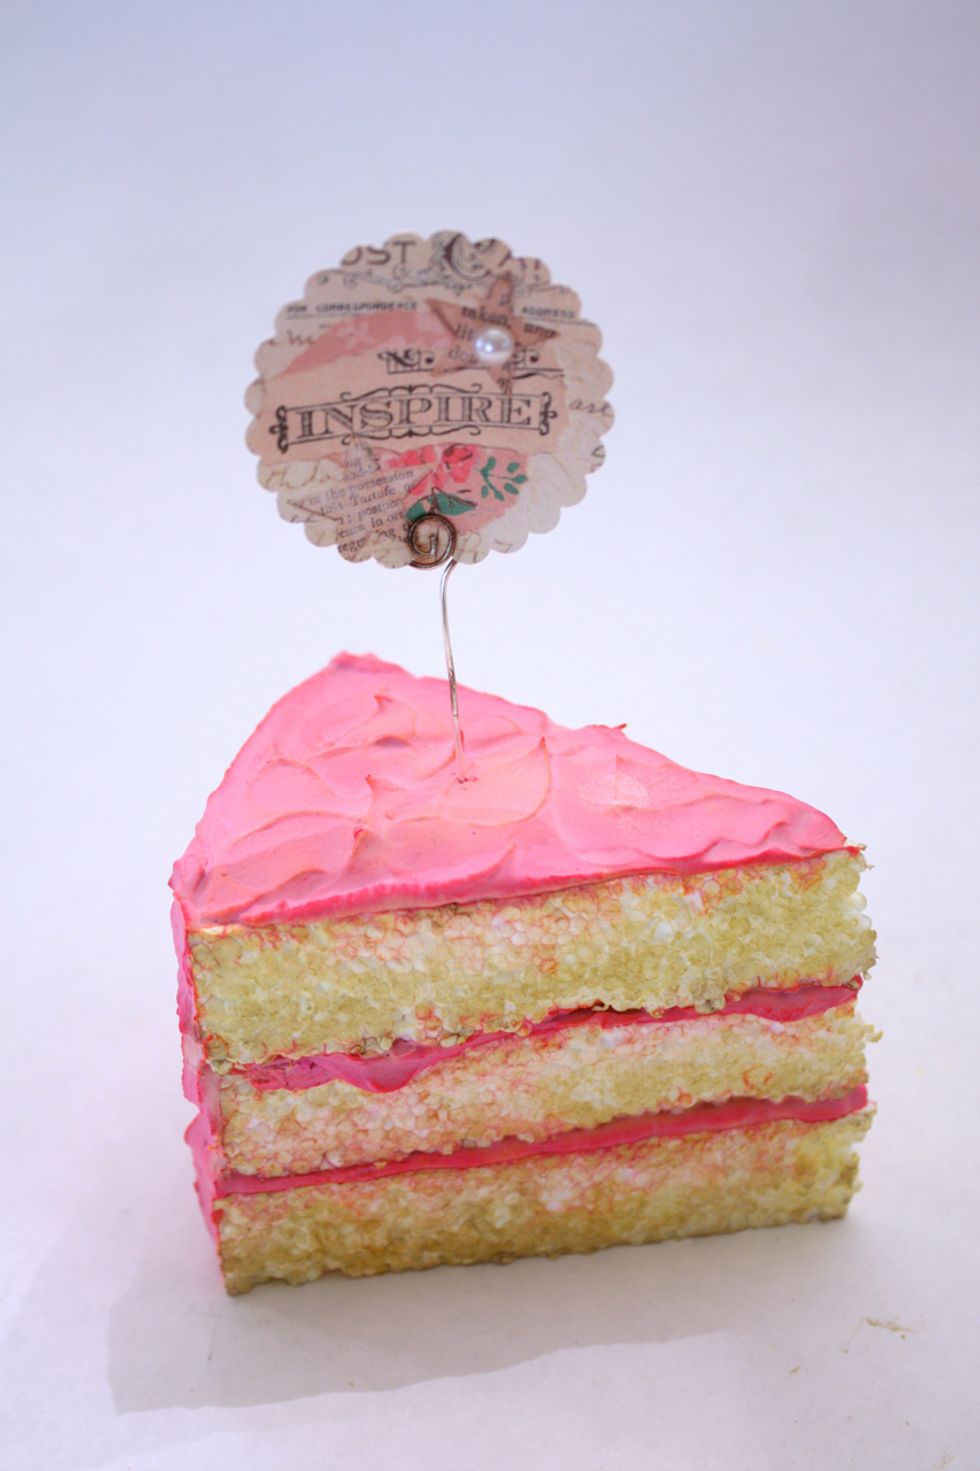
Topped it off with a cute little picture holder. This would make a cute center piece or to keep in your favorite cake dome when its on display!