The Conversation (0)
Sign Up
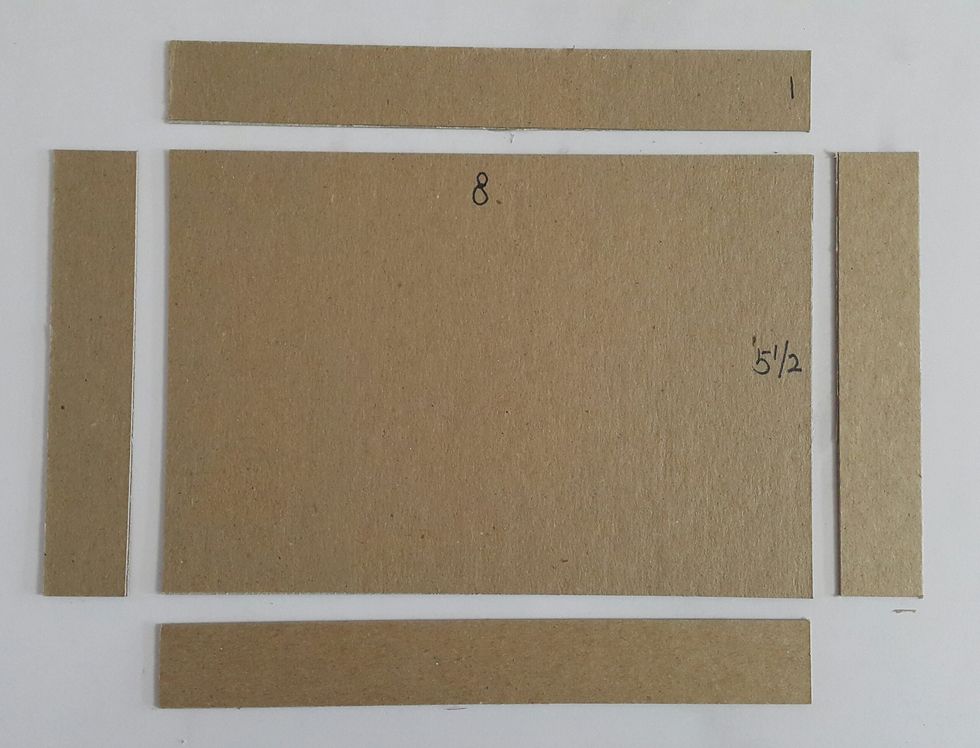
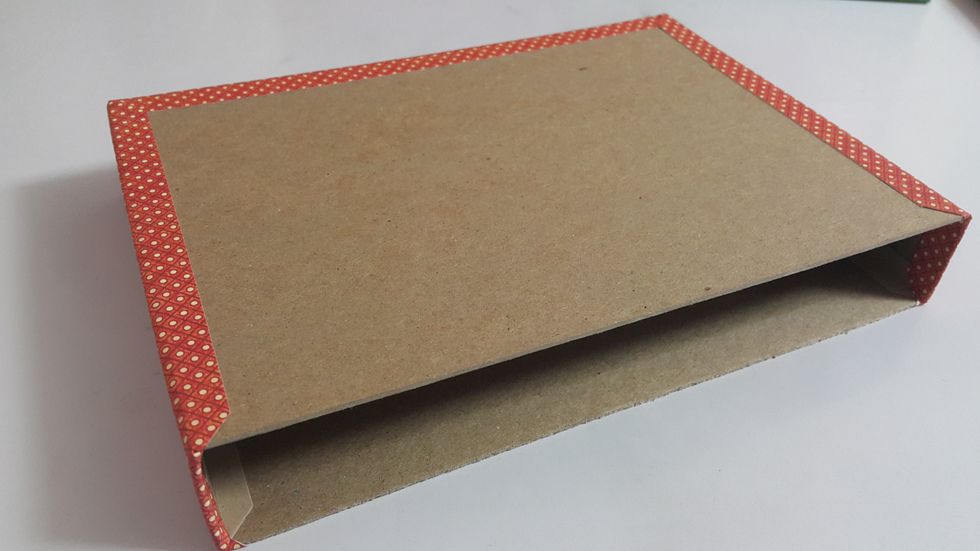
For the base drawer, cut chipboard 1pc 8"x5-1/2", 2pcs 1"x8" and 2pcs 1"x5-1/2"
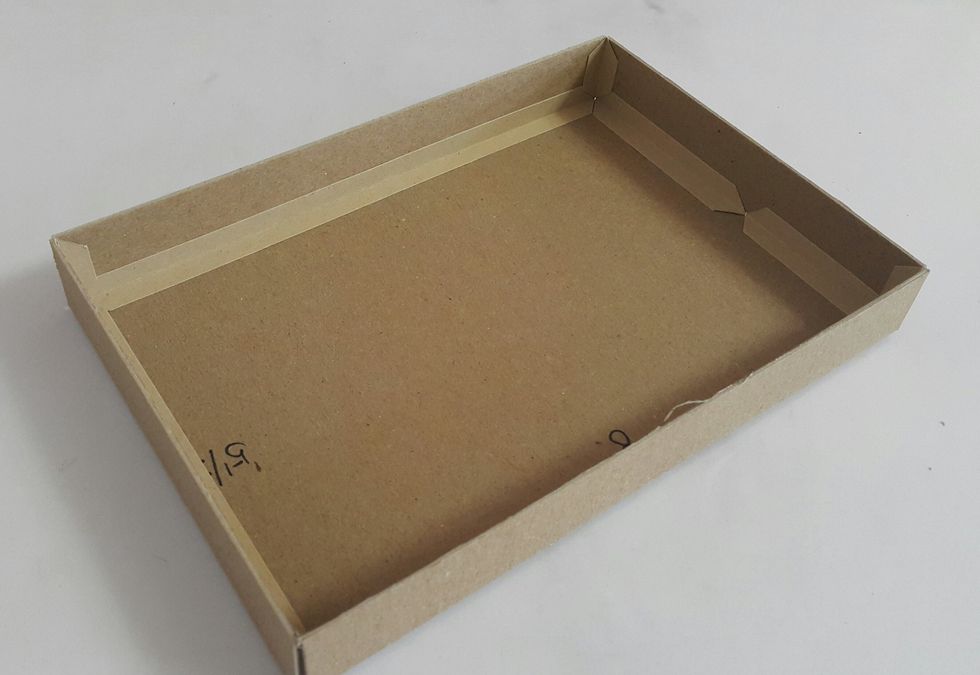
Form into shape with connecting strips
Cover the front and back with paper of 2pcs 9"x2"
Cover the sides with paper 2pcs 2"x5-1/2"

Cover insides with the same sizes of the chipboards.
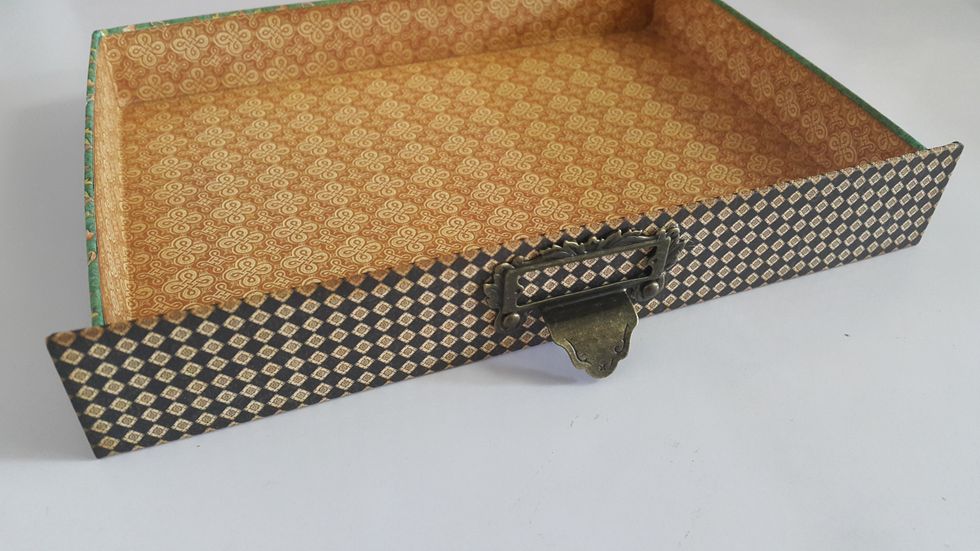
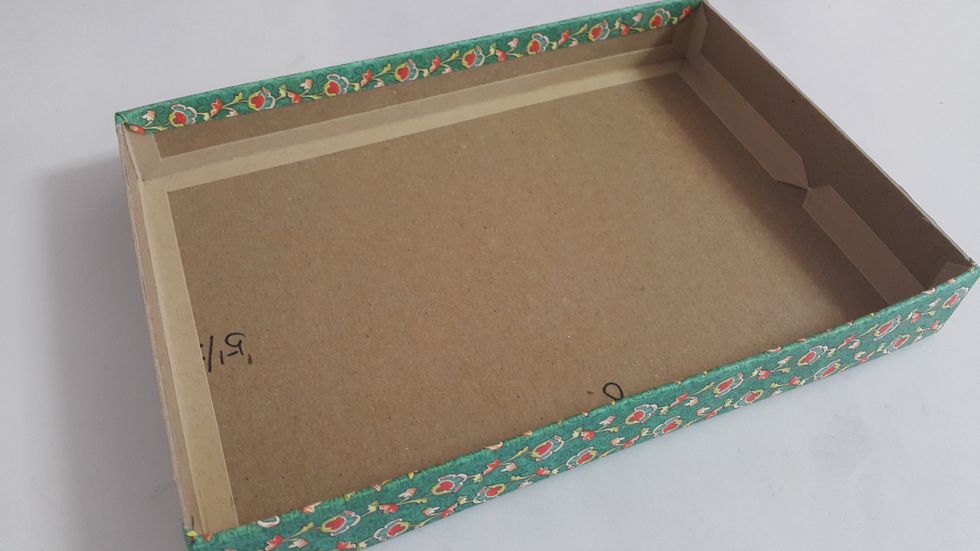
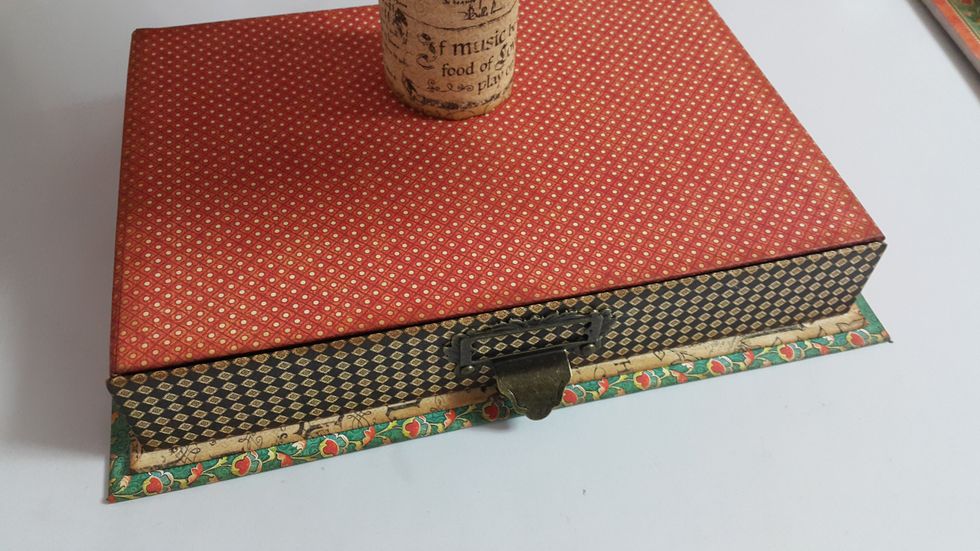
Add a piece of chipboard 8-5/8"x1-1/4" covered with paper (8-5/8"x2-1/4"), fix the handle on and adhere on the front of the drawer
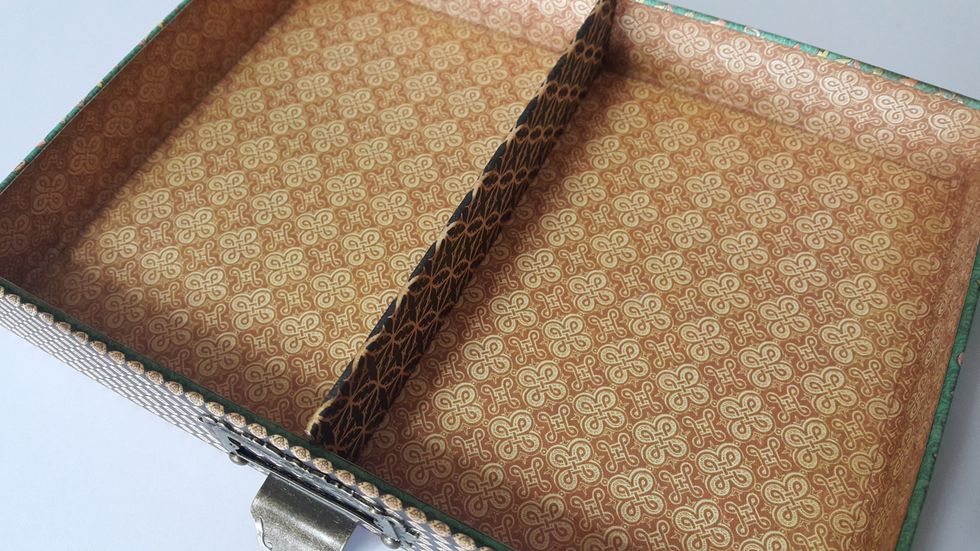
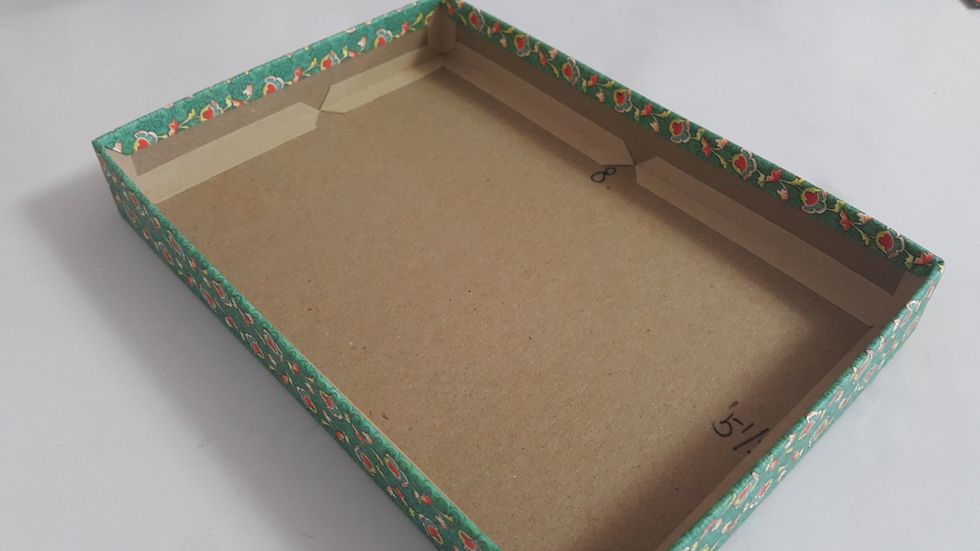
Add a piece of chipboard in the middle of the drawer, 1-1/8"x5-1/2", covered with paper of 5-1/2"x2-5/16", adhere with strong glue, this help supporting the top of the stand

For the base drawer cover, cut chipboard 2pcs 8-1/2"x6", 2pcs 1-1/4"x6" and 1pc 8-1/2"x1-1/4"
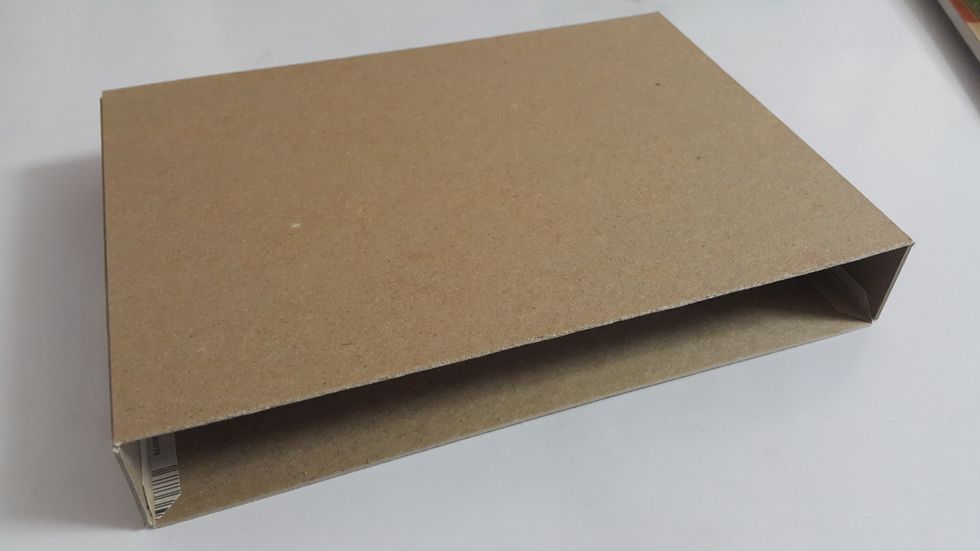
Form the shape with connecting strips
Cover the back with paper 9-1/2"x2-1/4"
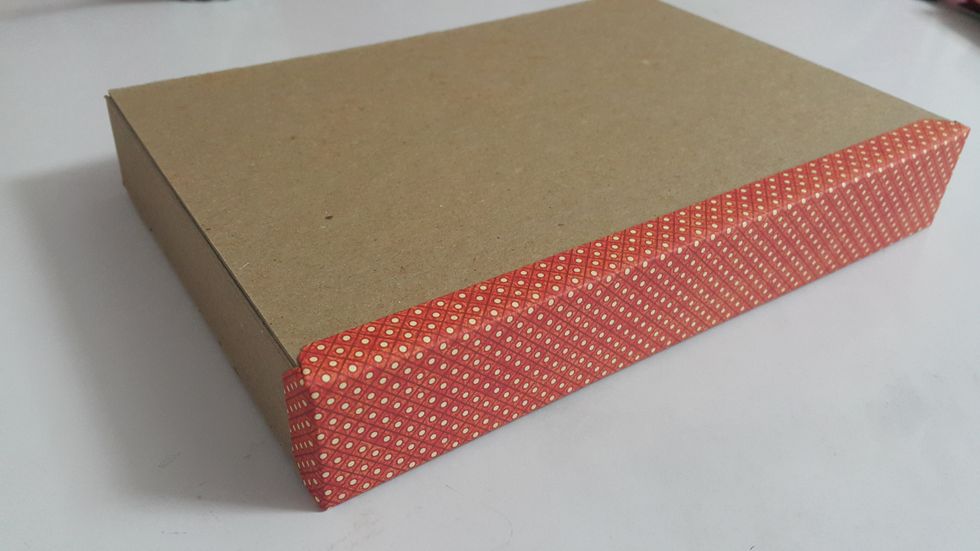
Cover he two sides with paper 6-1/2"x2-1/4"
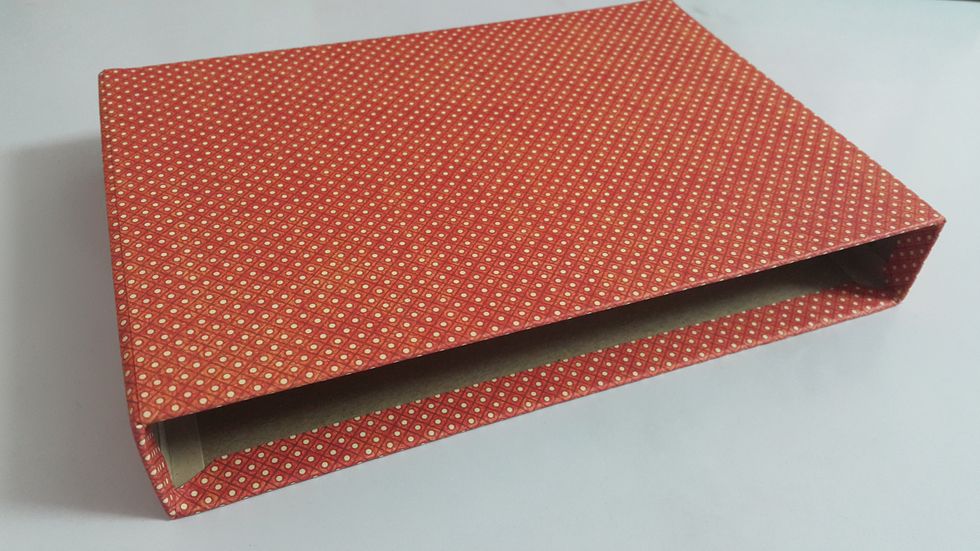
Cover the top with paper 8-1/2"x6-1/2" and the base edge with 1" paper strip
For the top board of the stand, cut two pieces chipboard 12"x8", cover one side of each of the chipboard pieces with same size paper
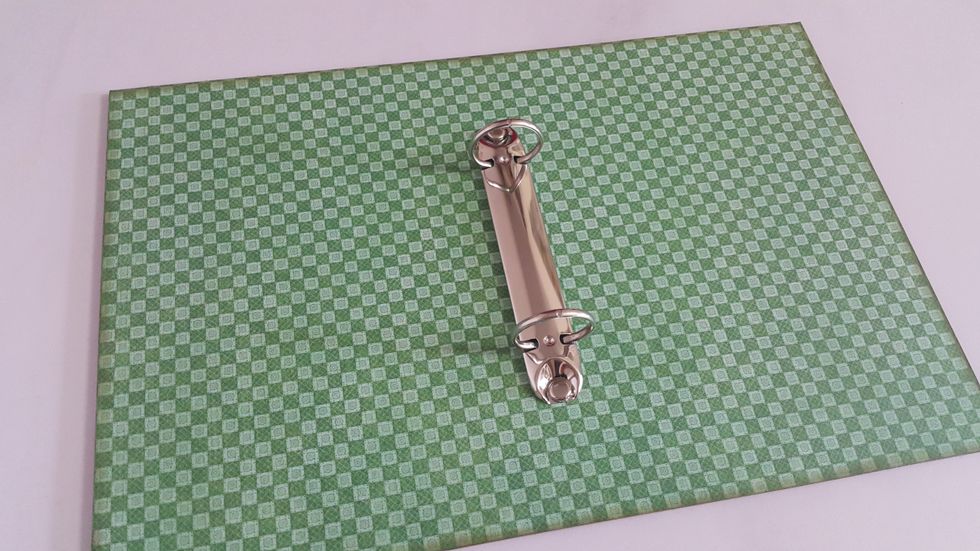
Install the ring binder on one of the chipboard, then adhere the other piece back to back
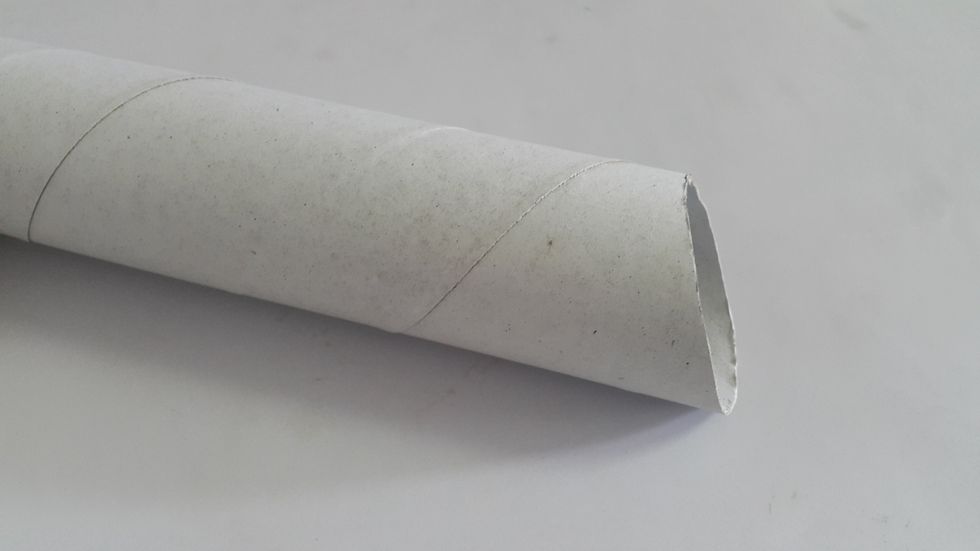
For the middle cylinder, cut a kitchen tissue roll top to an angle, you can use a rubber band to help

Roll a piece of cardboard, put into the kitchen tissue roll, cut the excess
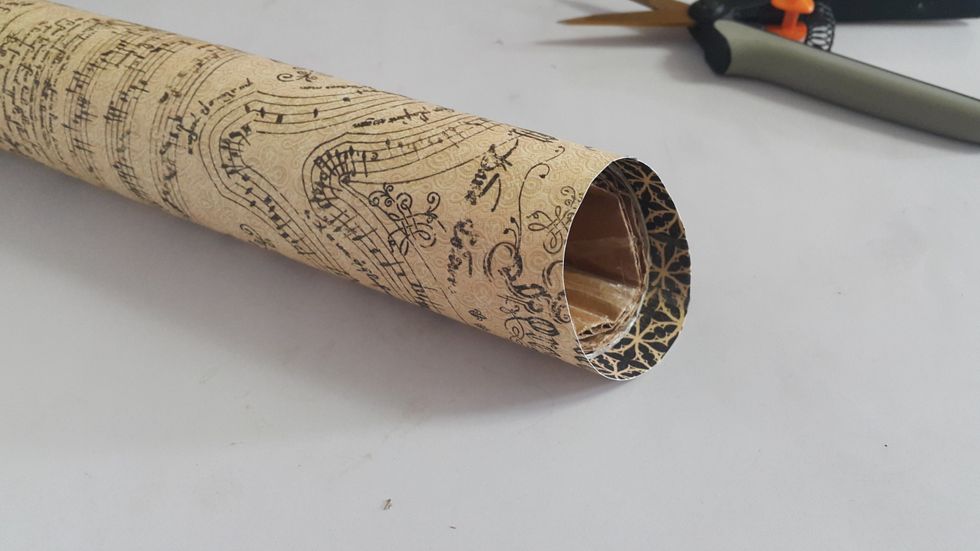
Cover the cylinder with paper of around 6"x9", left 1/2" on both ends and cut the excess
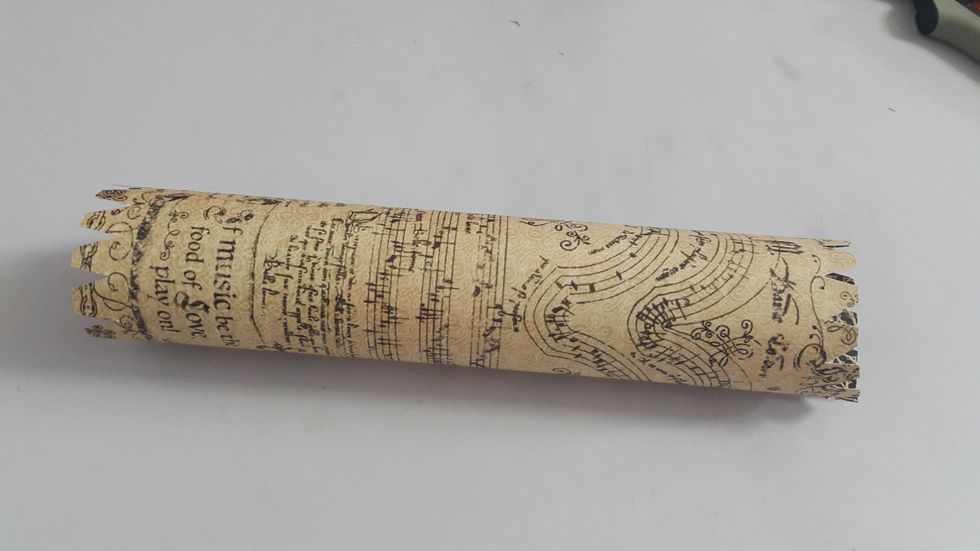
Cut the two ends excess paper into parts which help to adhere all the parts of the project together
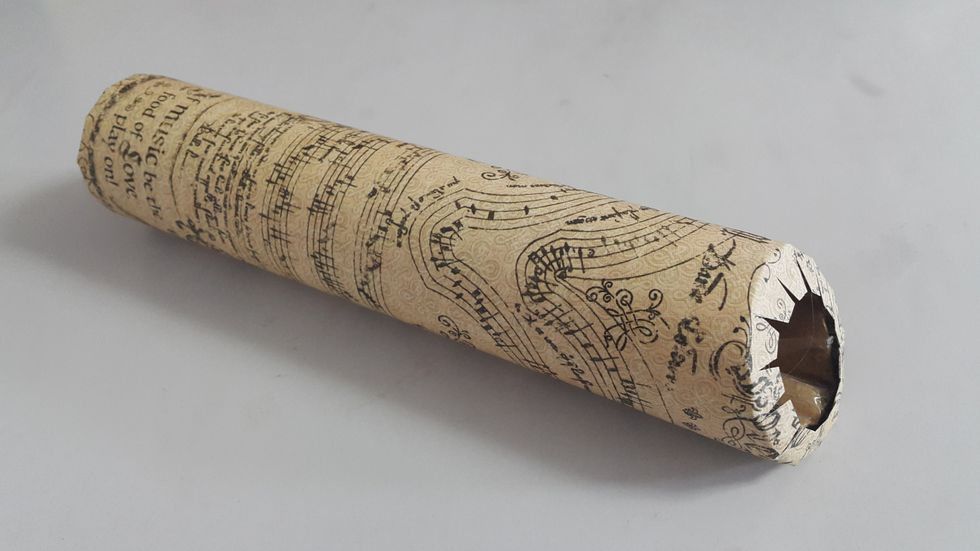
Fold them as shown
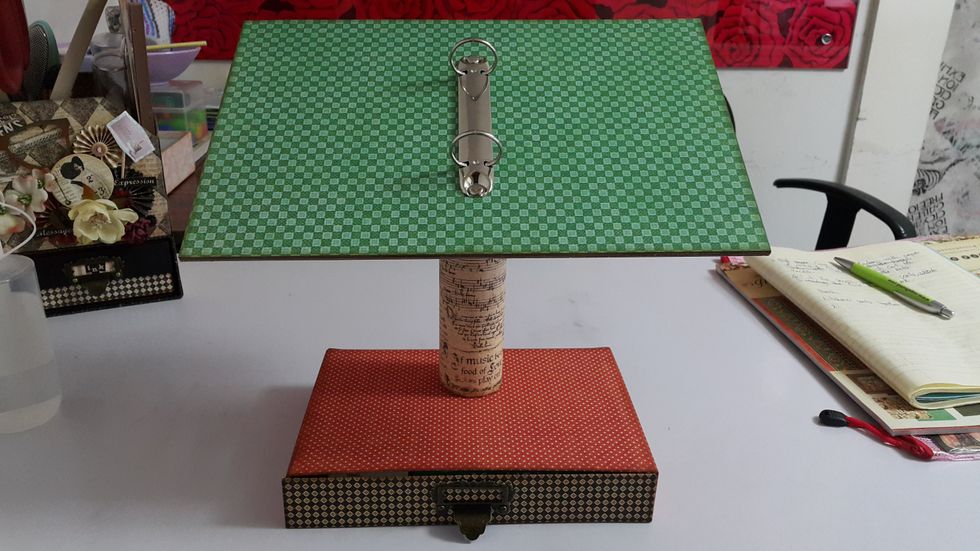
Okay, you can adhere all the parts together now
For the base platform, cut chipboard 1pc 9"x6-3/8" and 1pcs 9-1/2"x6-5/8", cover all the edges of both chipboard with 1" paper strips, adhere the two chipboard under the stand, the basic shape is done
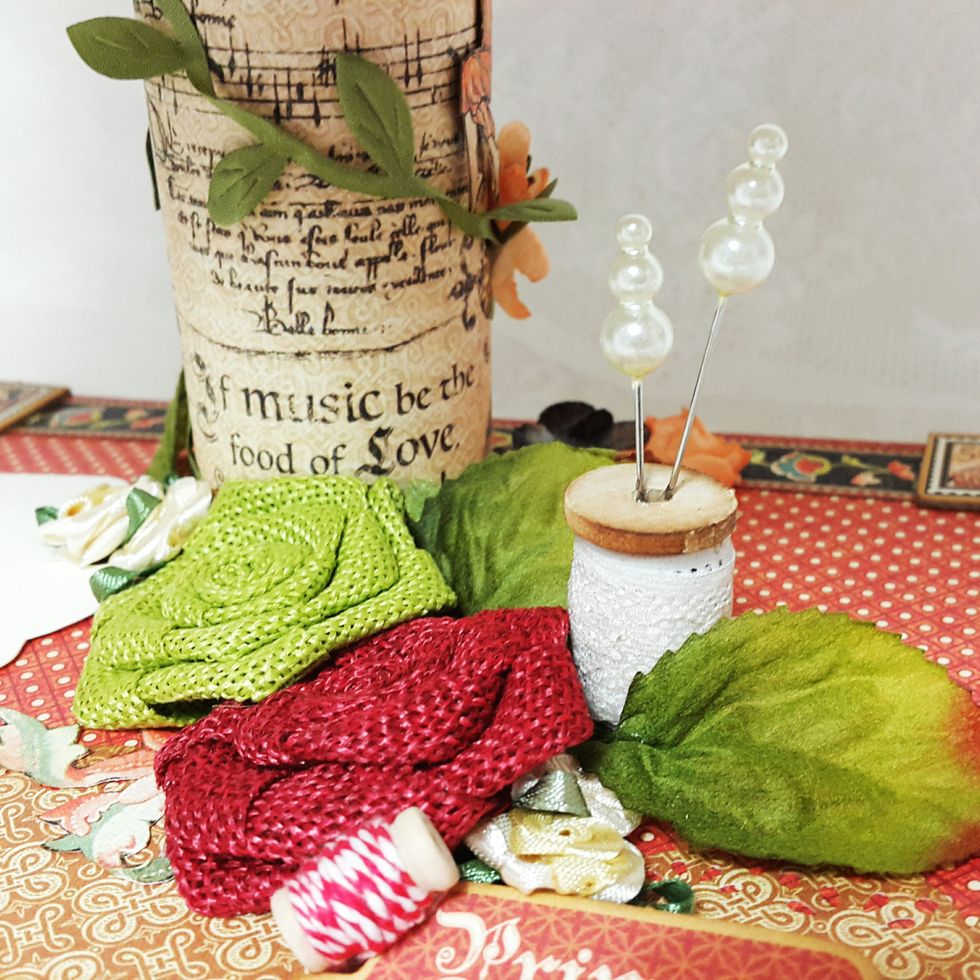
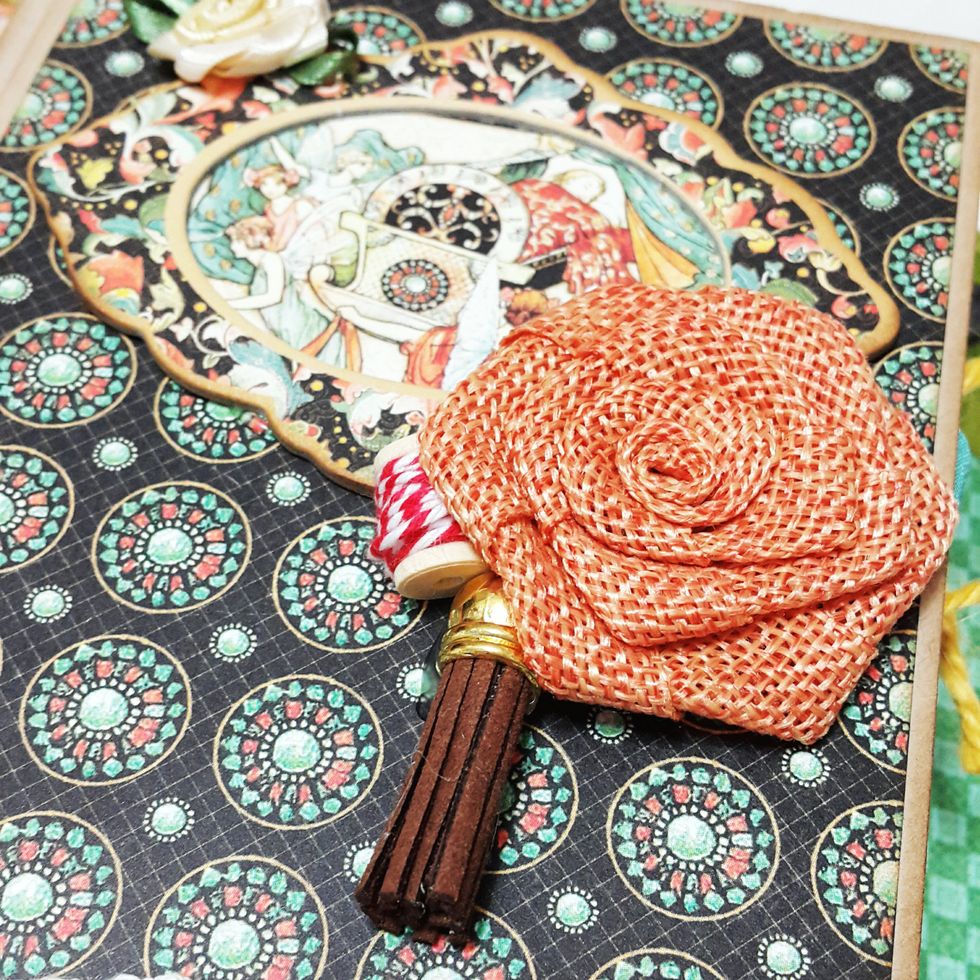
Its your turn to decorate, here I use some Maya Road burlap roses and wooden spool to decorate the drawer top, the colors are just perfect to match with this paper collection.
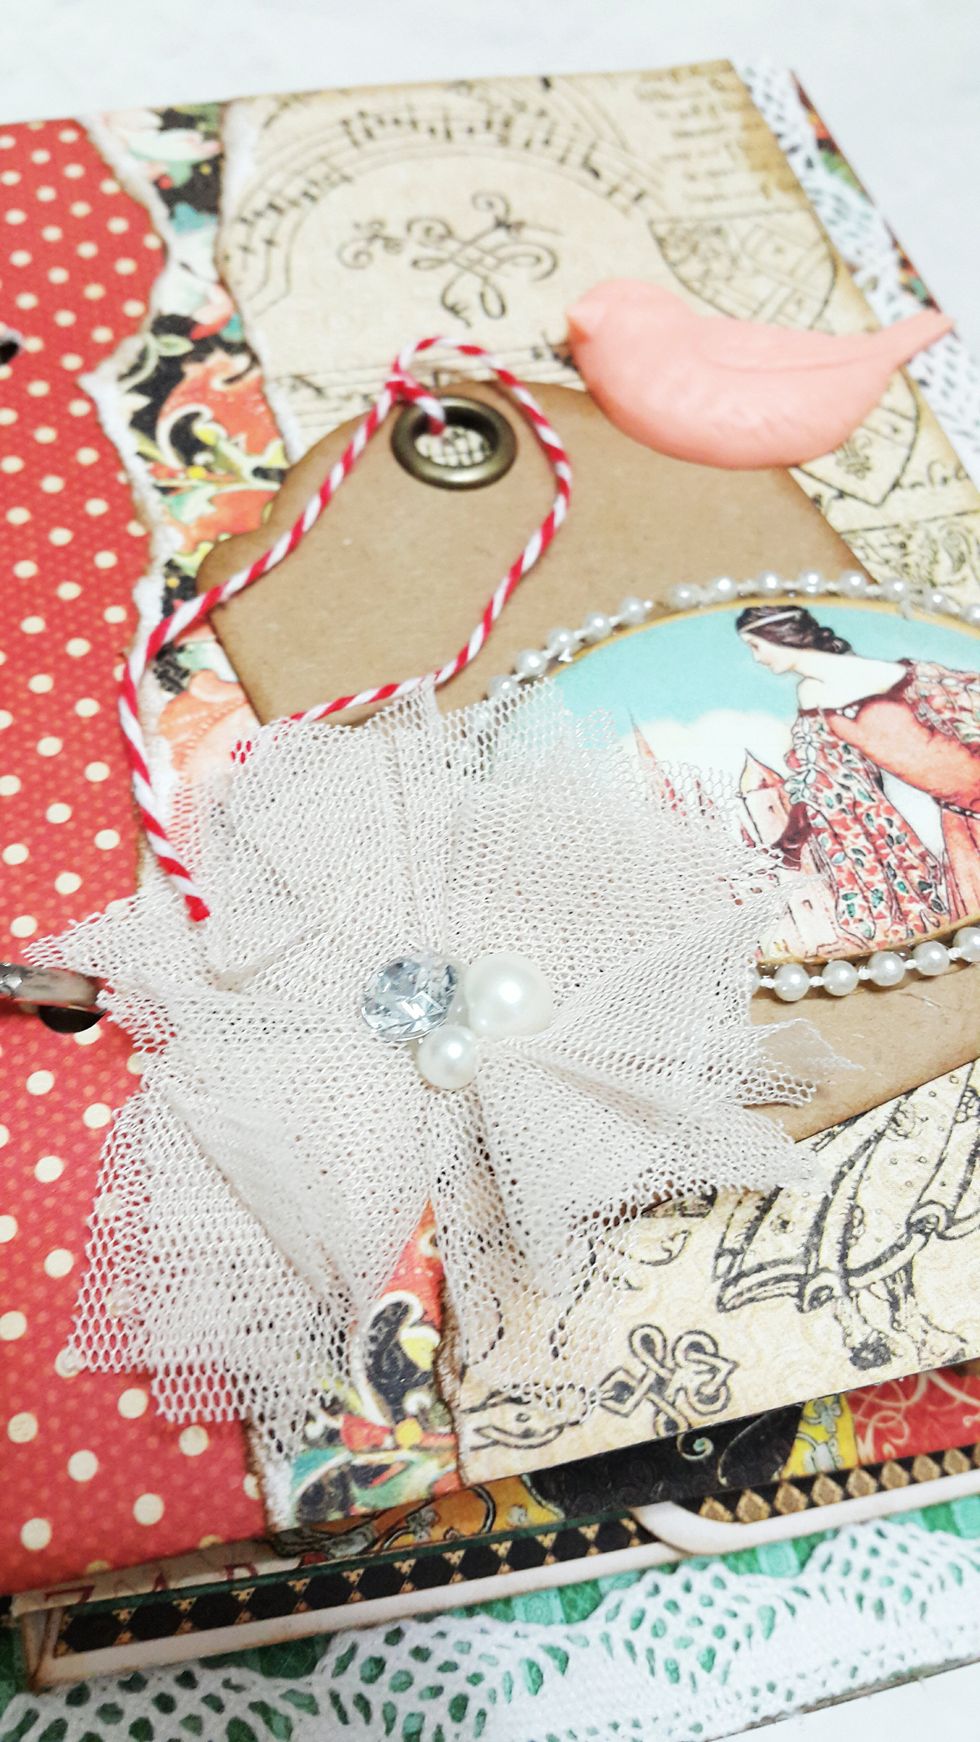
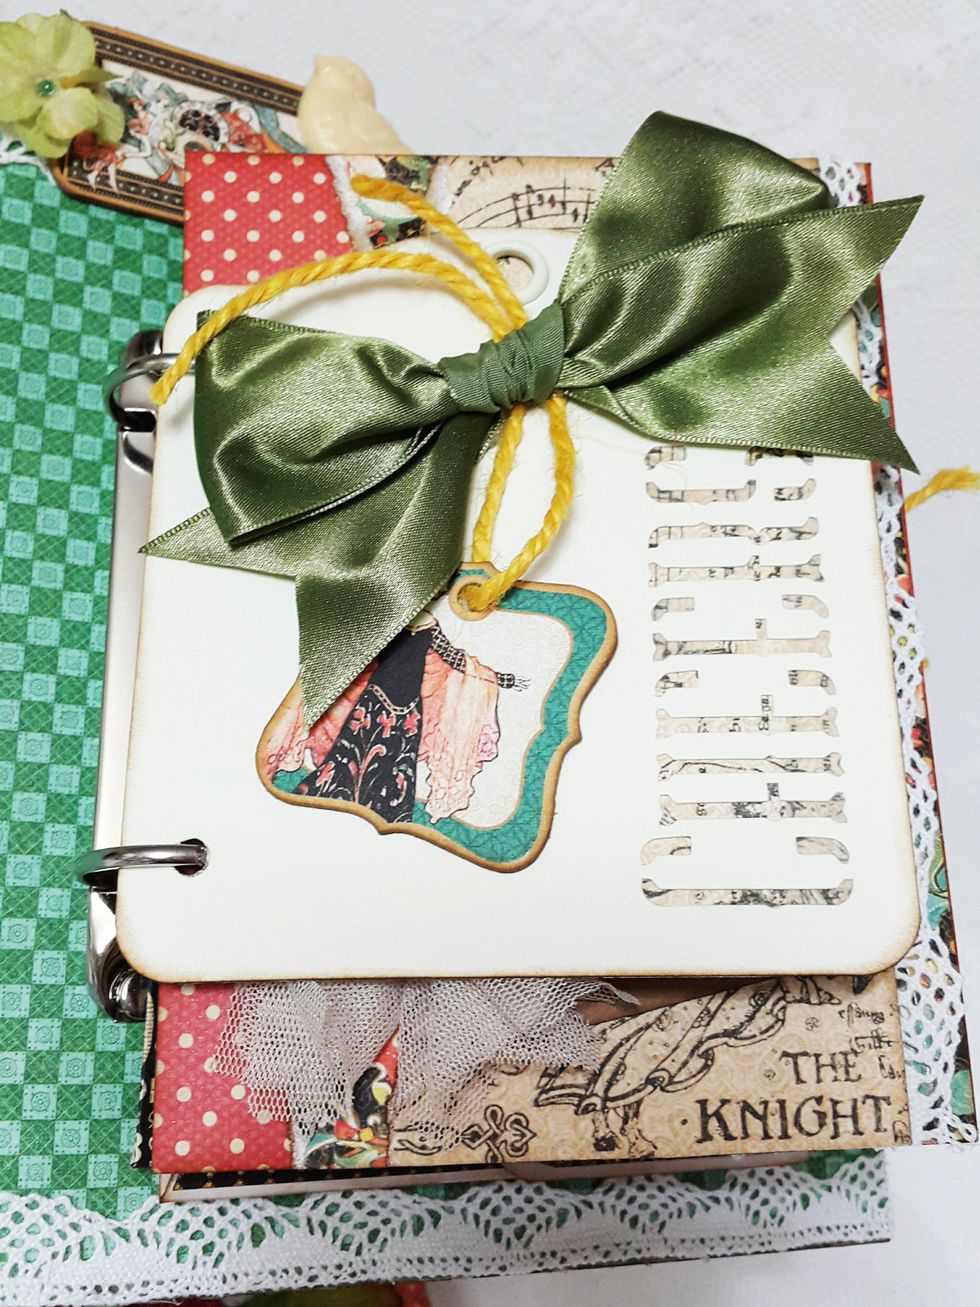
For the ring album, you can add whatever kind you like, this is an envelope, I decorate the front with papers, chipboard, tags, resin...
I did add another accordion album into the ring album
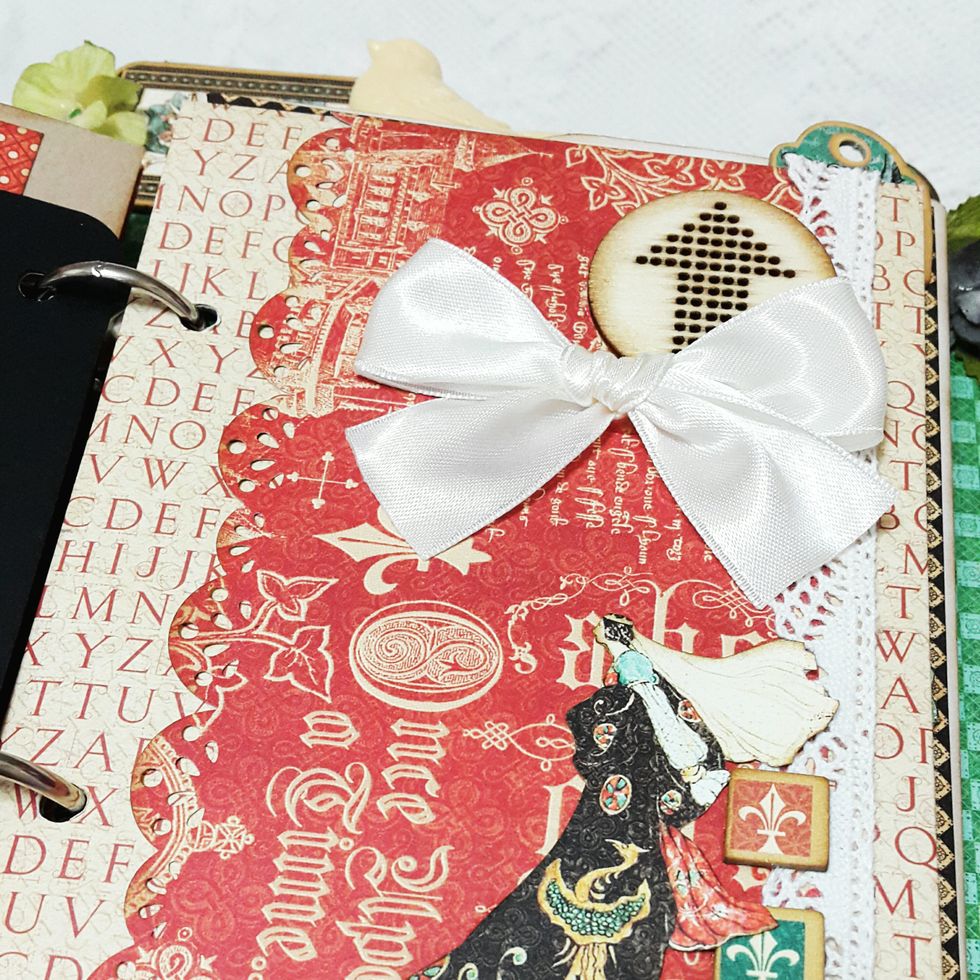
Just too cool to add more wooden embellishments and bow onto the front of the envelopes

For storing memoriables, the divider can help

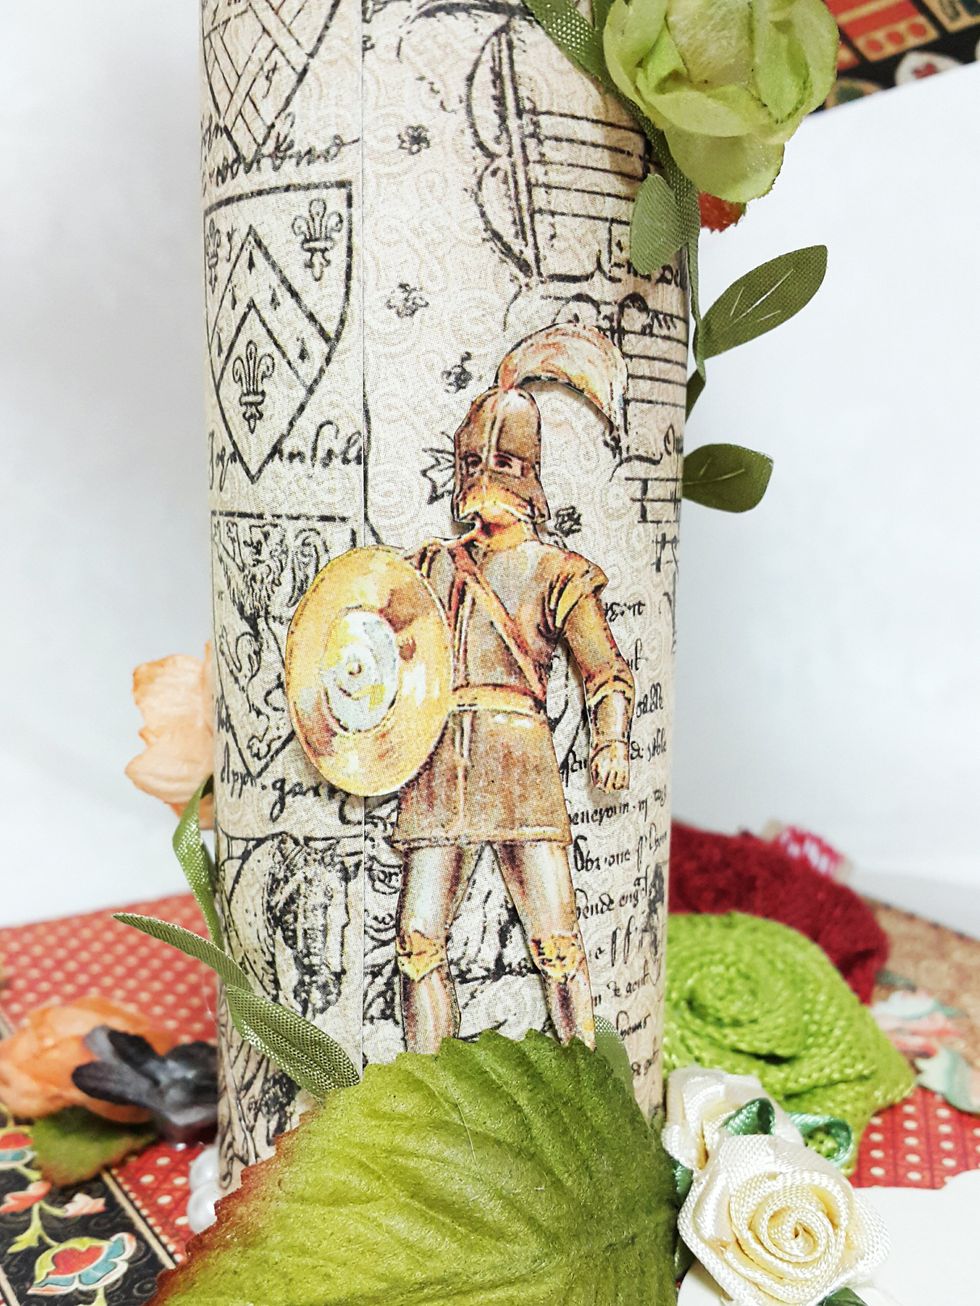
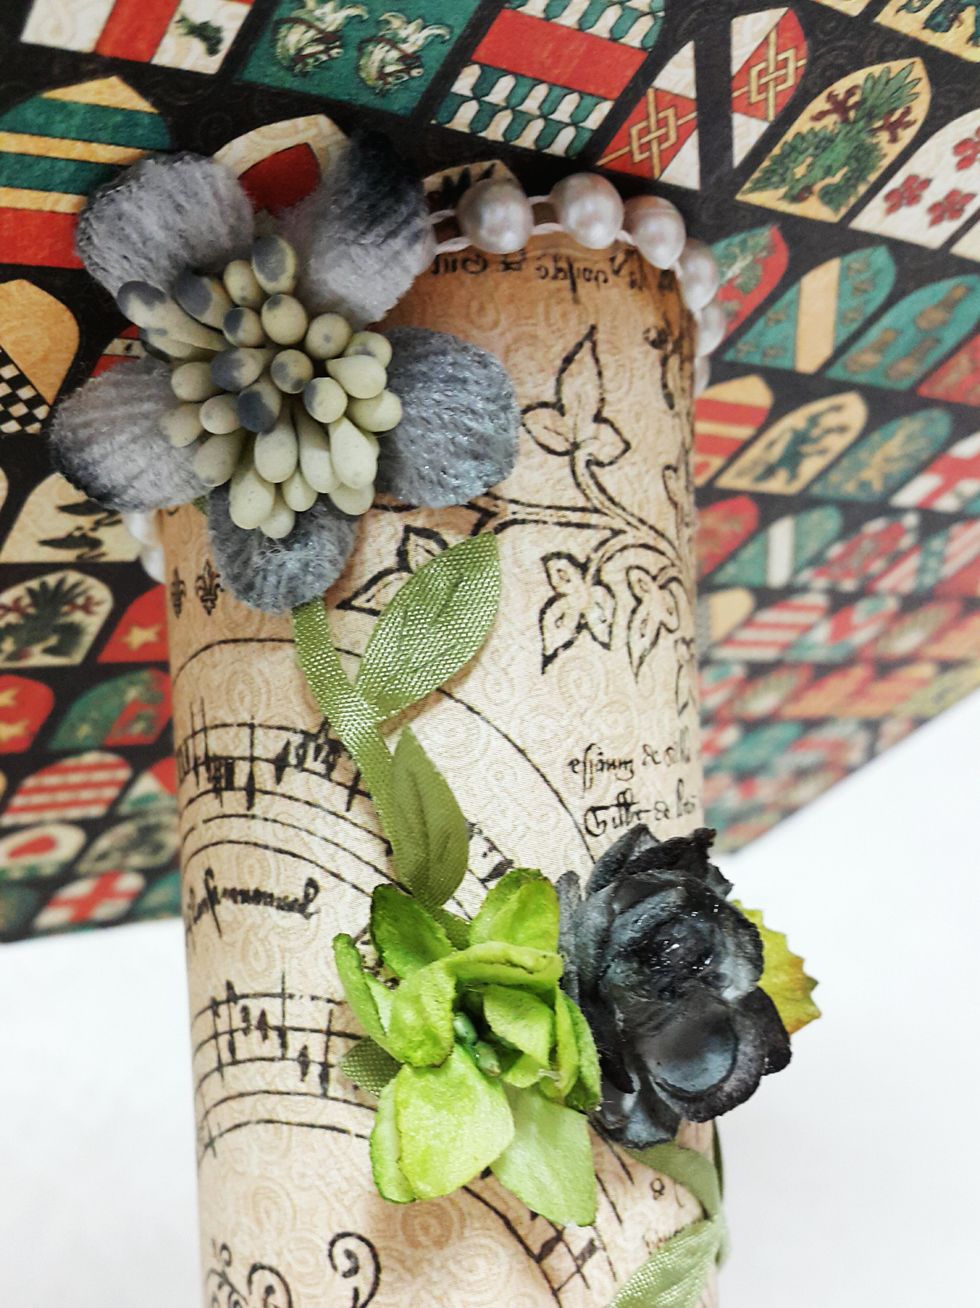
Fussy cuttings and flowers are nice to add on the cylinder as well
Fussy cuttings and flowers are nice to add on the cylinder as well
Fussy cuttings and flowers are nice to add on the cylinder as well
Tags are always good to add into the ring album, this can help adding interesting and dimensional

Look carefully into the papers, you may sometimes find a very nice one to do the fussy cutting
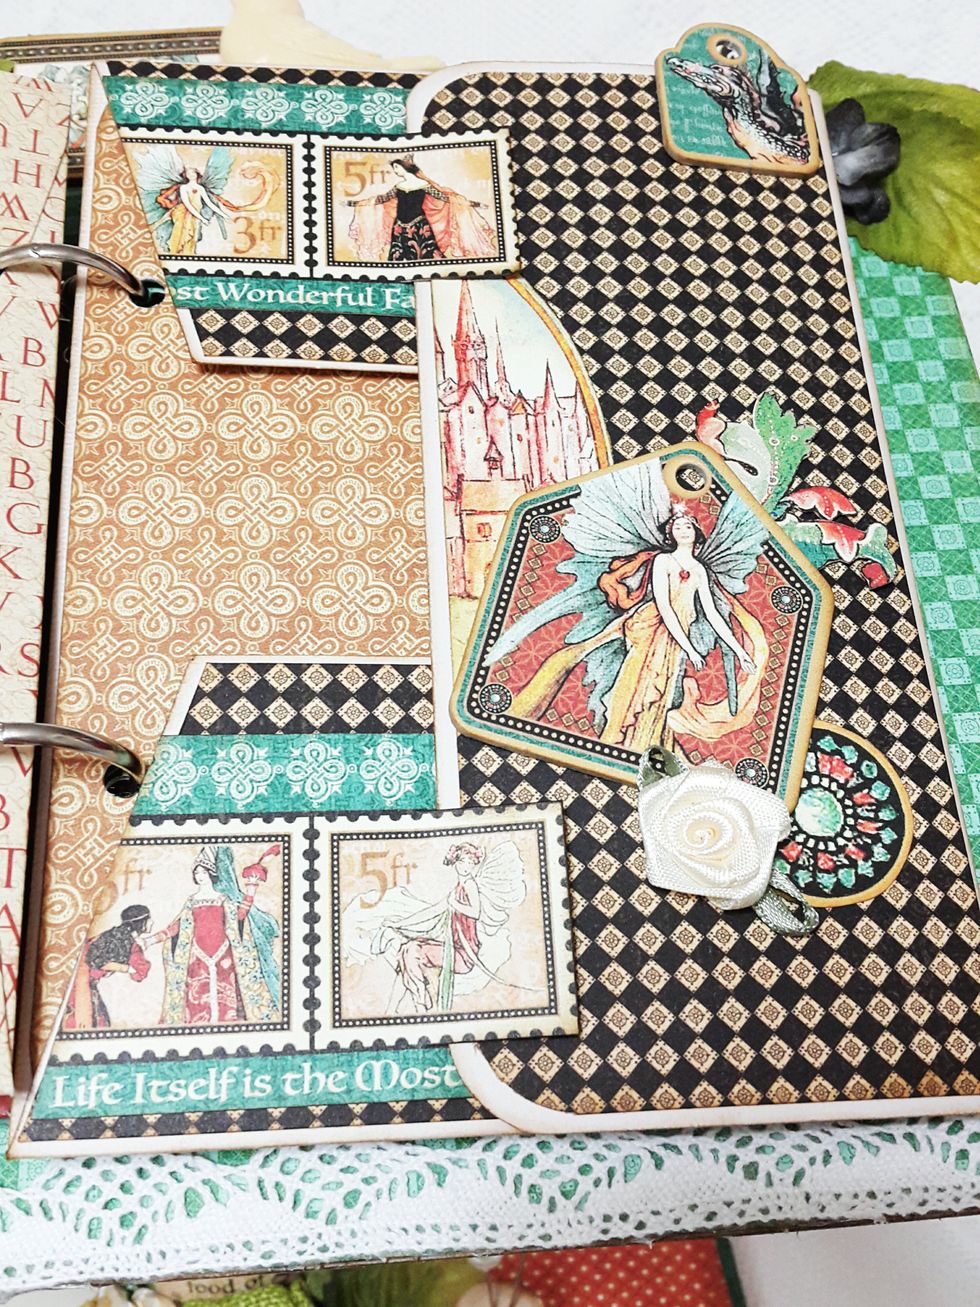
Look carefully into the papers, you may sometimes find a very nice one to do the fussy cutting
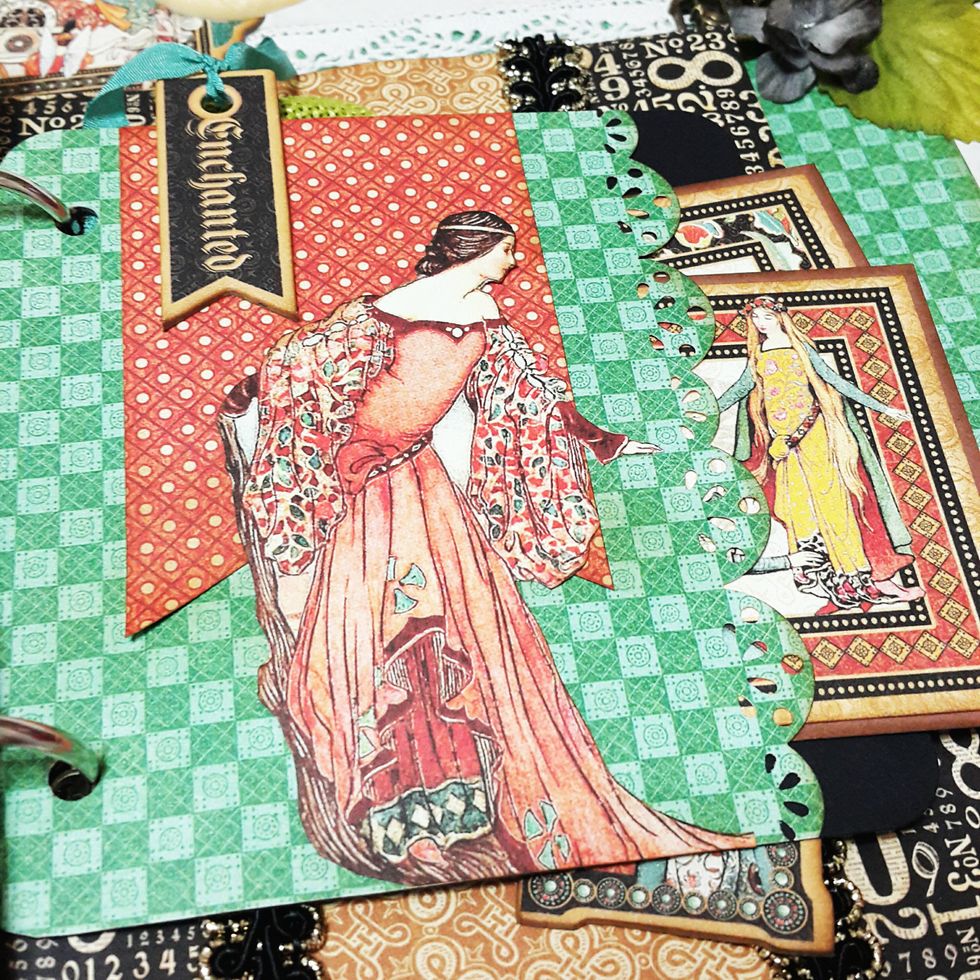
Add additional pockets onto the tags to add more fun
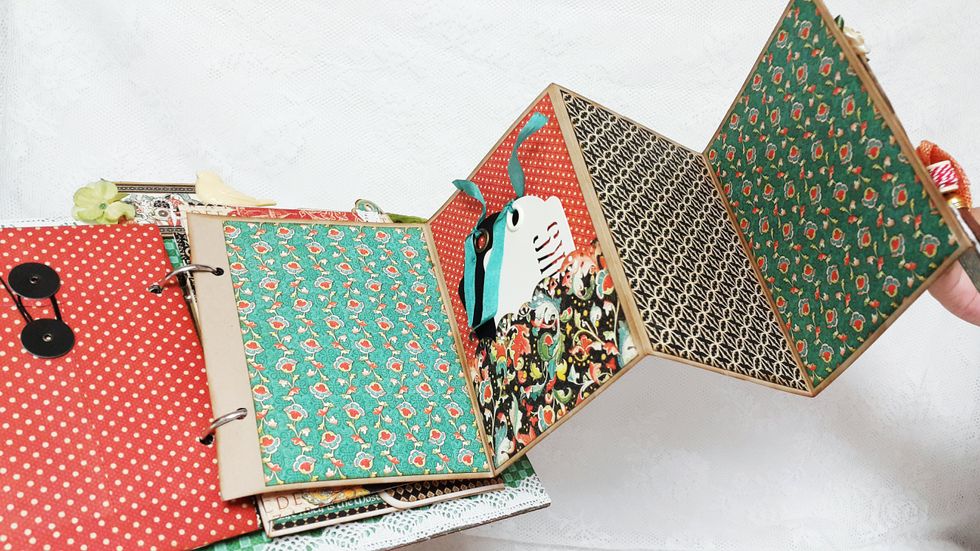
I did add pocket into the accordion album as well

Thank you for stopping by and enjoy!!!