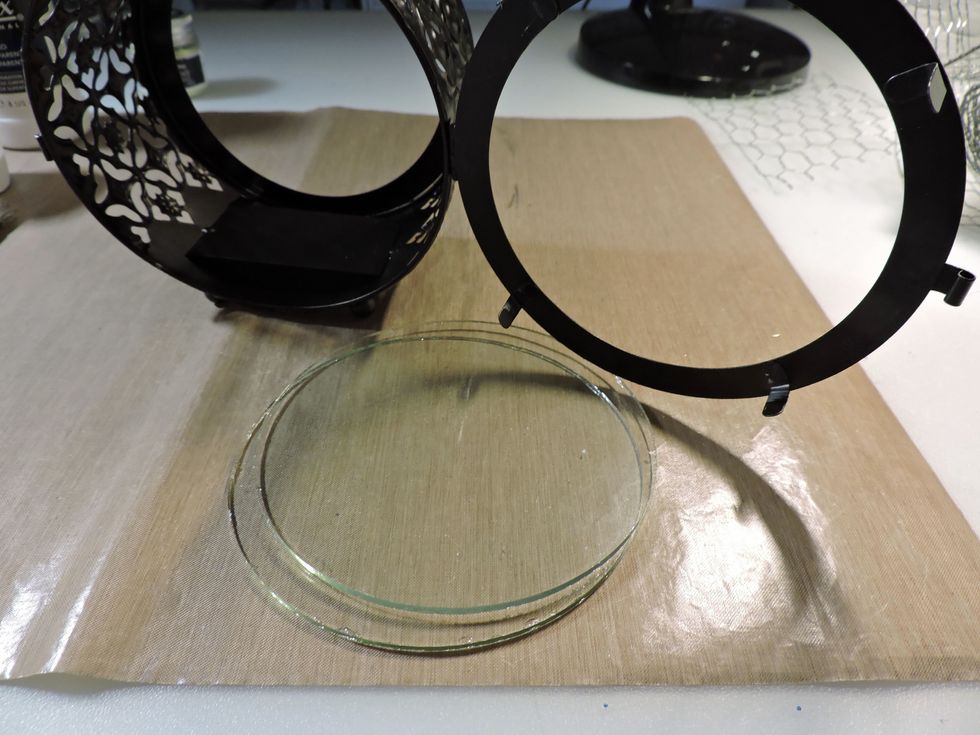
Remove the glass panels from the back and front of the lantern; put aside.
Coat the entire outside surface with clear gesso, trying to keep the brush strokes going in one direction. The gesso dries quickly; make sure that there are no wet spots before going to the next step.
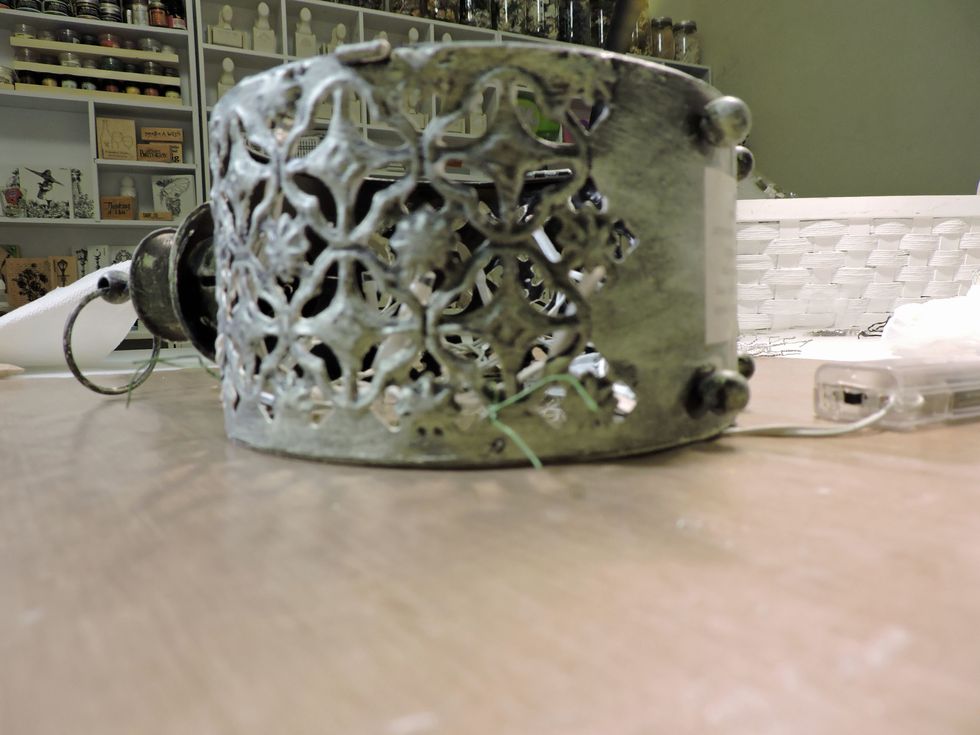
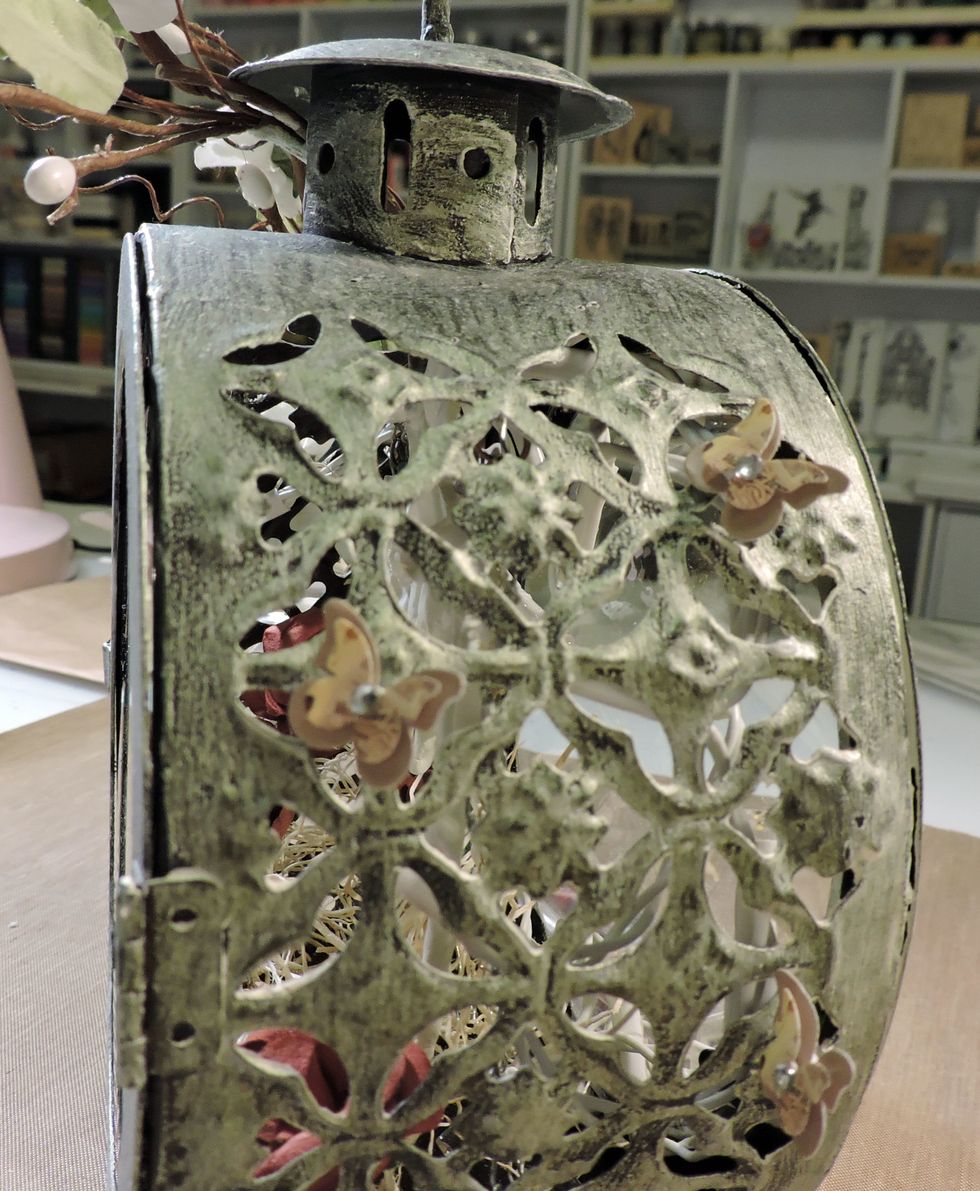
Cover the outside of the lantern with wax, allowing an uneven coating to create a distressed look. Let the wax dry completely. (I let mine set overnight.)
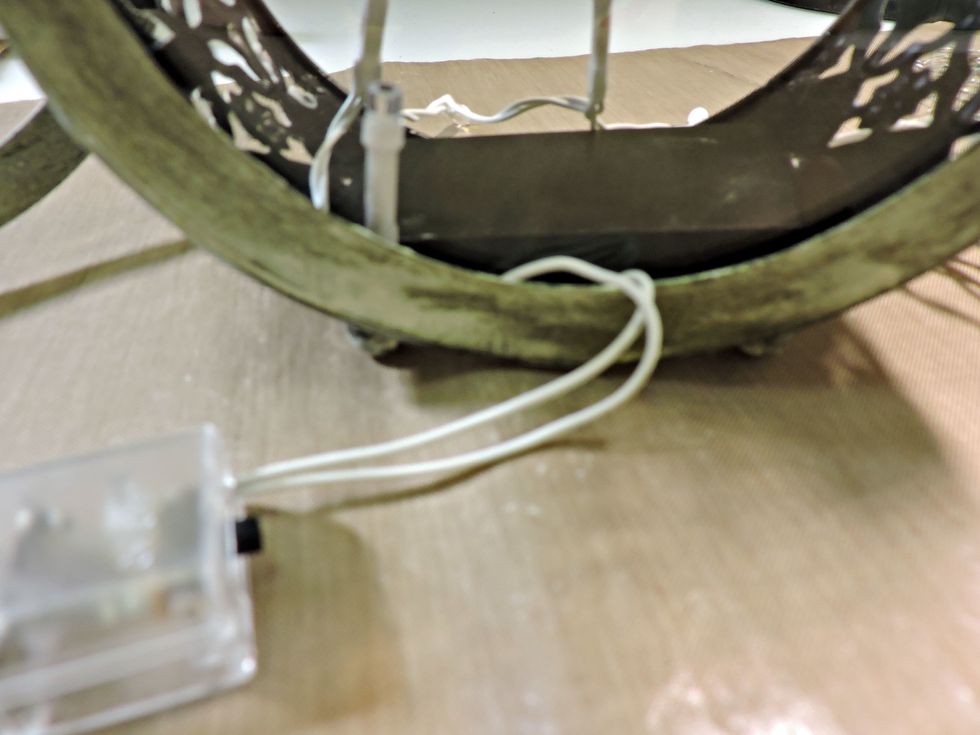
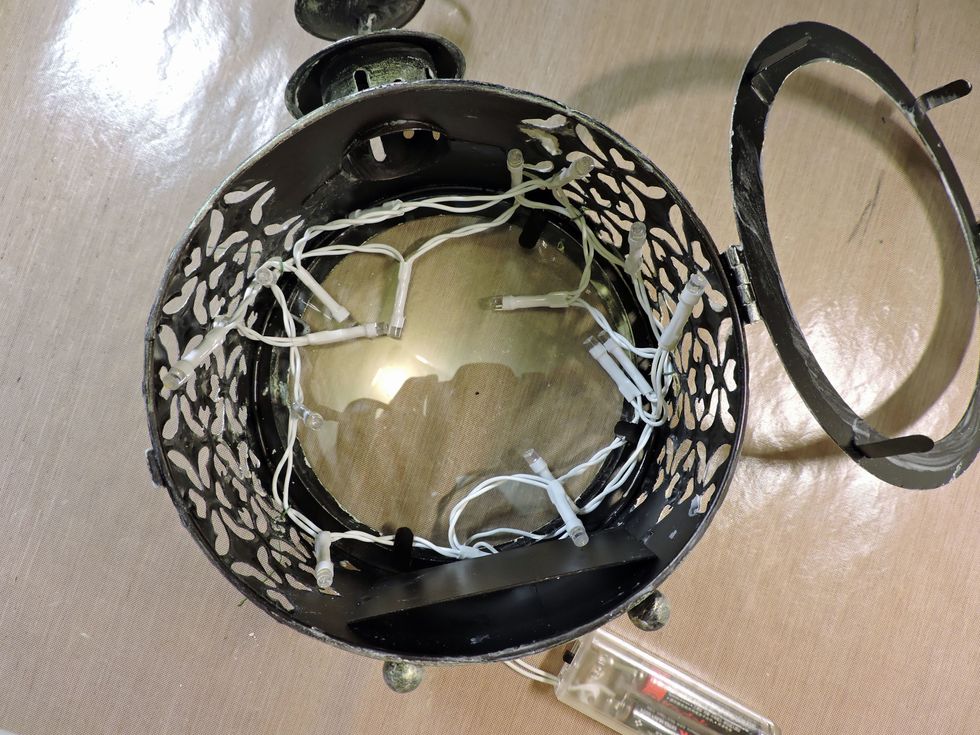
Place the lights inside the lantern, keeping the power end outside the back, as shown. Replace both panes of glass.
Leave the wire ends as shown; we'll be using them to attach some embellishments.
Take the chicken wire from the Project Kit and cut a 5" piece. Trim the corners to allow it to fit inside the lantern.
Attach a few of the chains from the Project Kit, using the Darice jump rings.
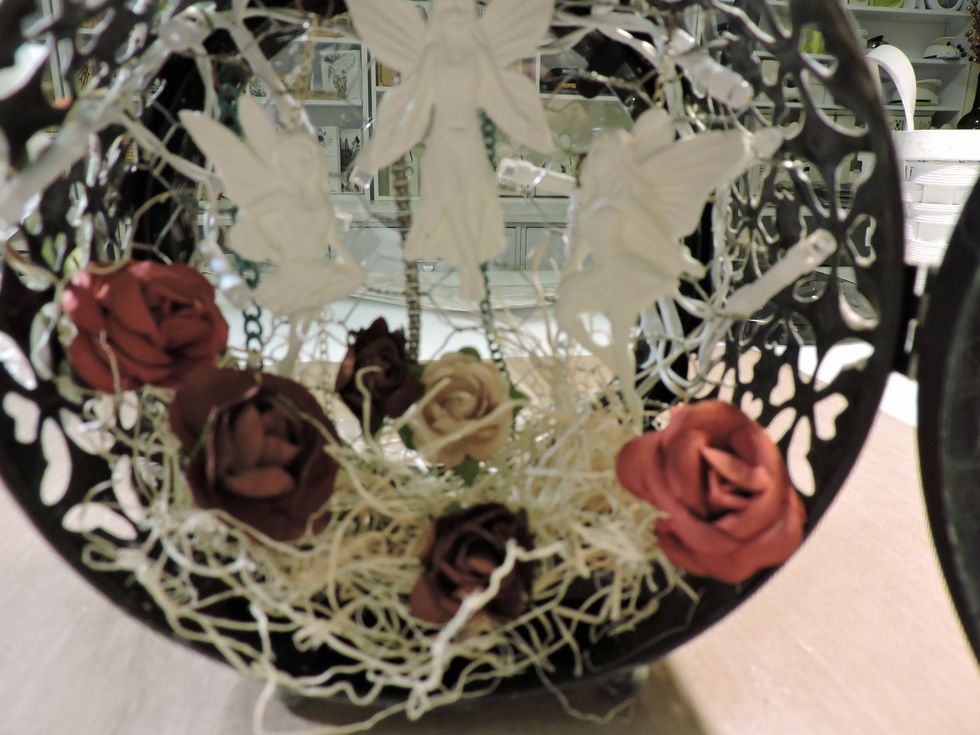
Place the chicken wire inside the lantern, as far back as it will go. Fill the bottom with excelsior. (No excelsior? Try cheesecloth!)
Cover the fairy wings with some Wink of Stella to give them a subtle glitter.
Attach the clay fairies to the chicken wire, using matte gel or another strong adhesive.
Attach the vine from the Project Kit, using the wire ends to tie it down.
Add some paper blooms from your Swirlydoos Kit and Flower Add-On to the excelsior.
Glue a few small butterflies to the remaining wire ends.