The Conversation (0)
Sign Up
This guide will tell you how to turn an everyday item into a homemade masterpiece! (:
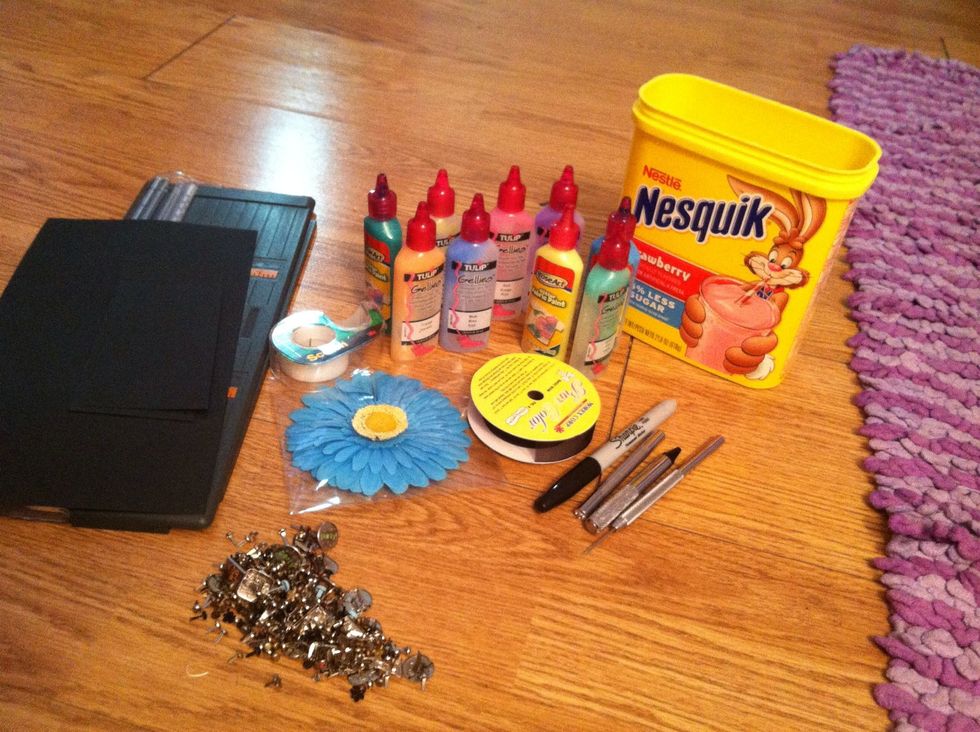
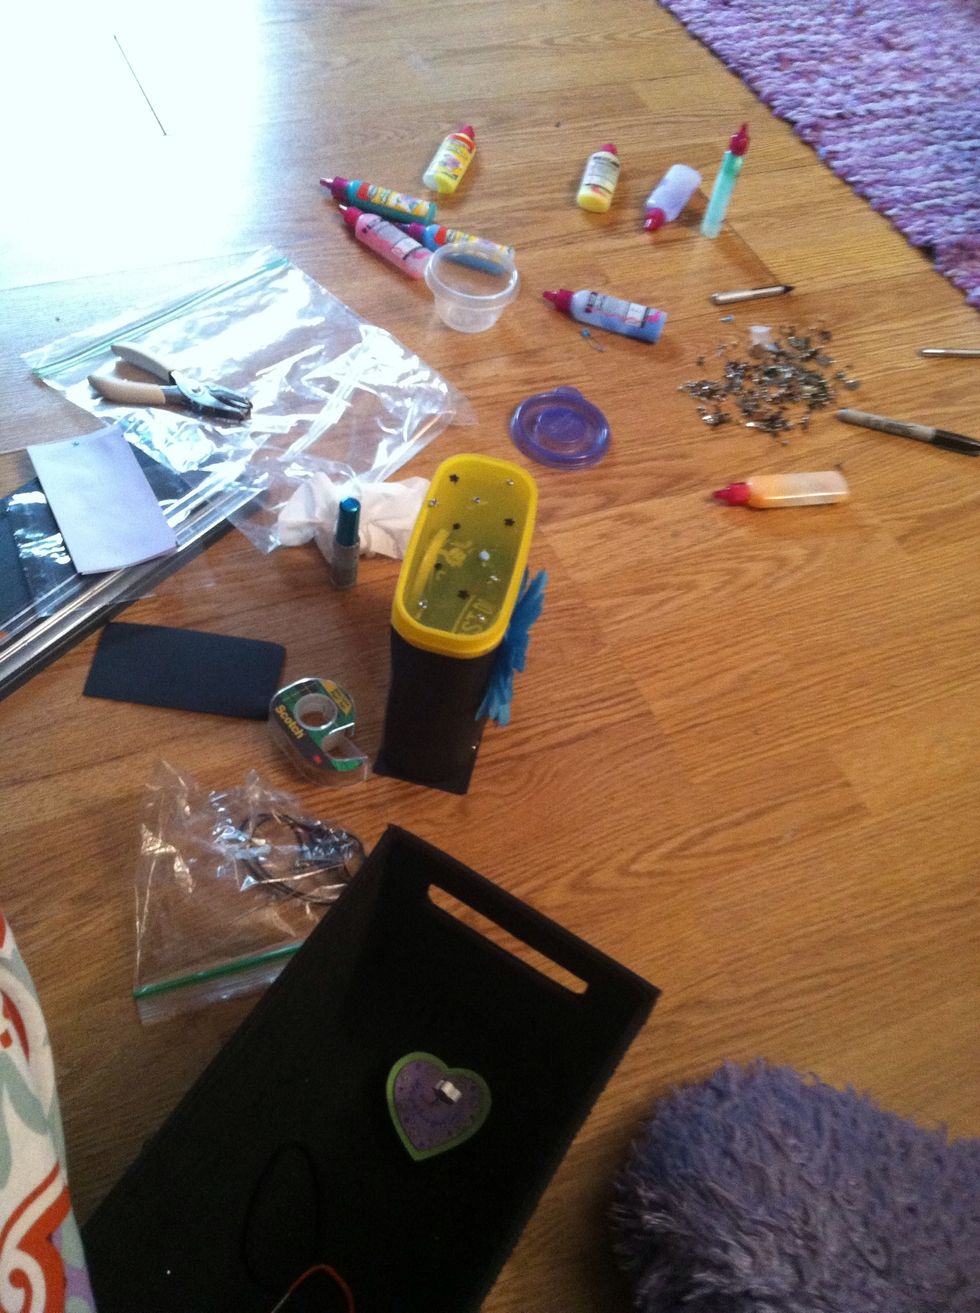
Gather all your supplies (: the list below will tell you what you need .
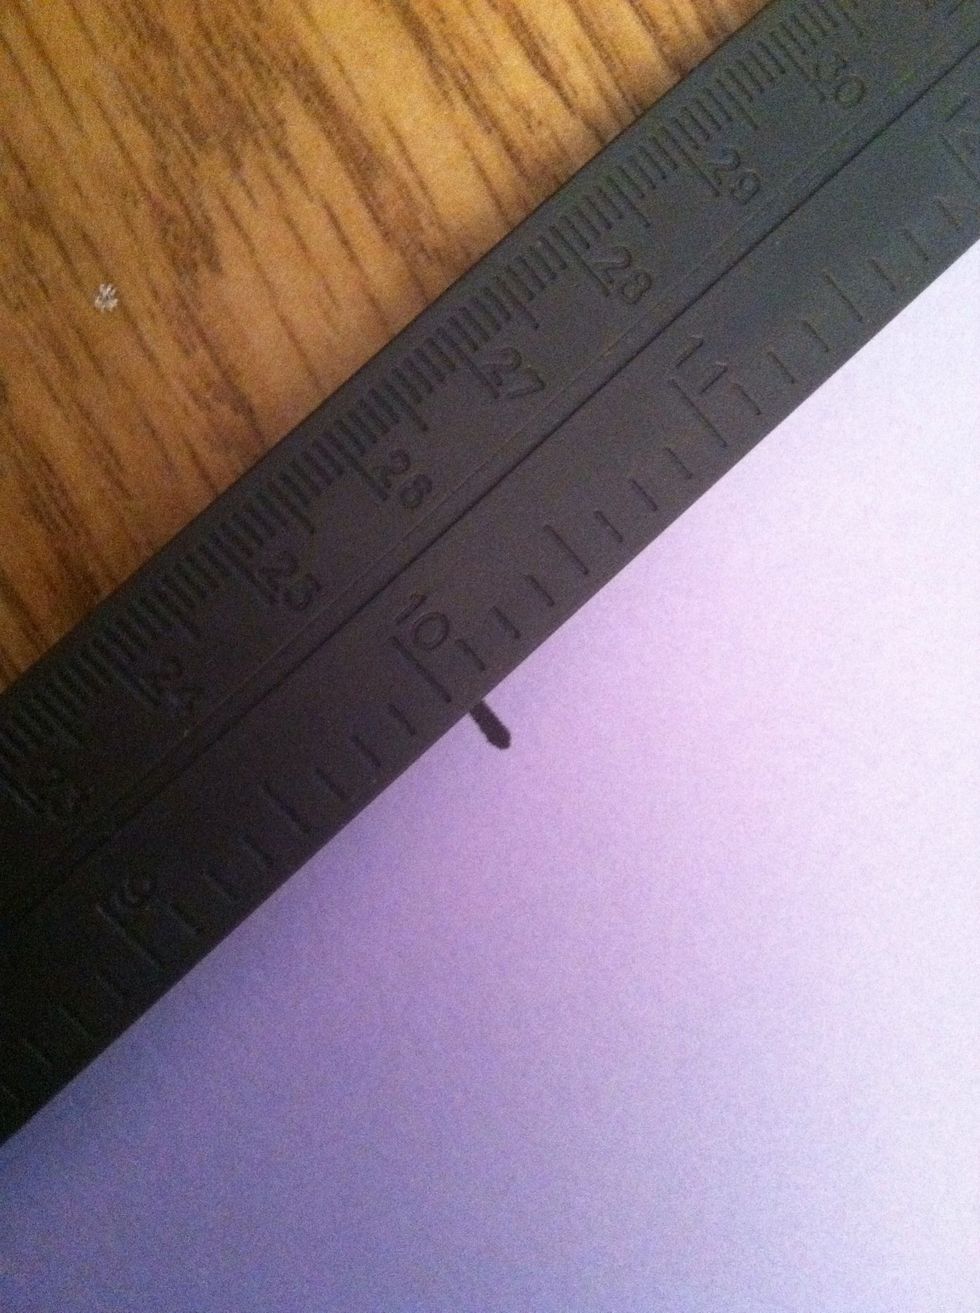
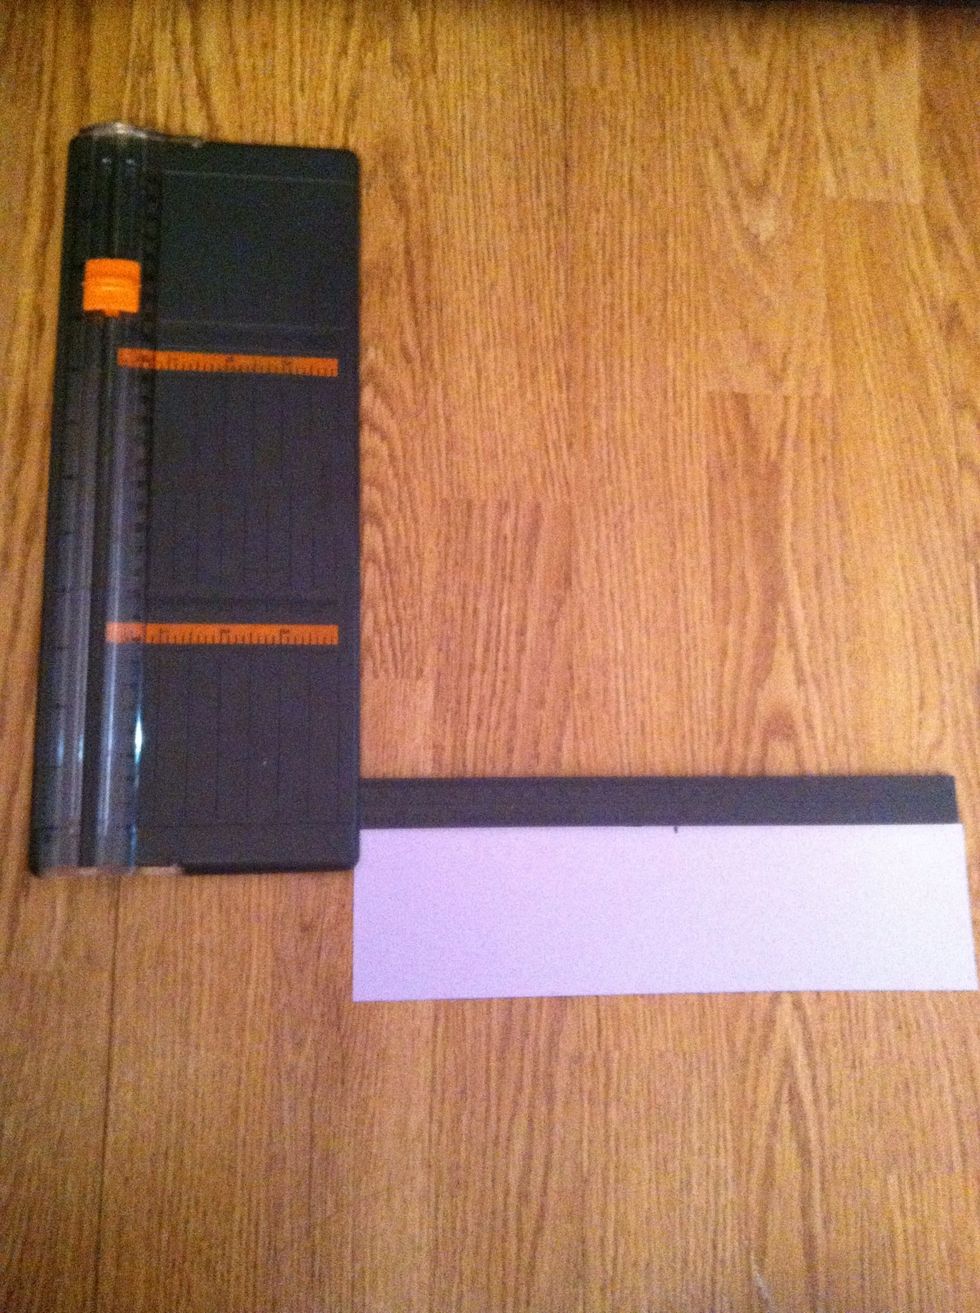
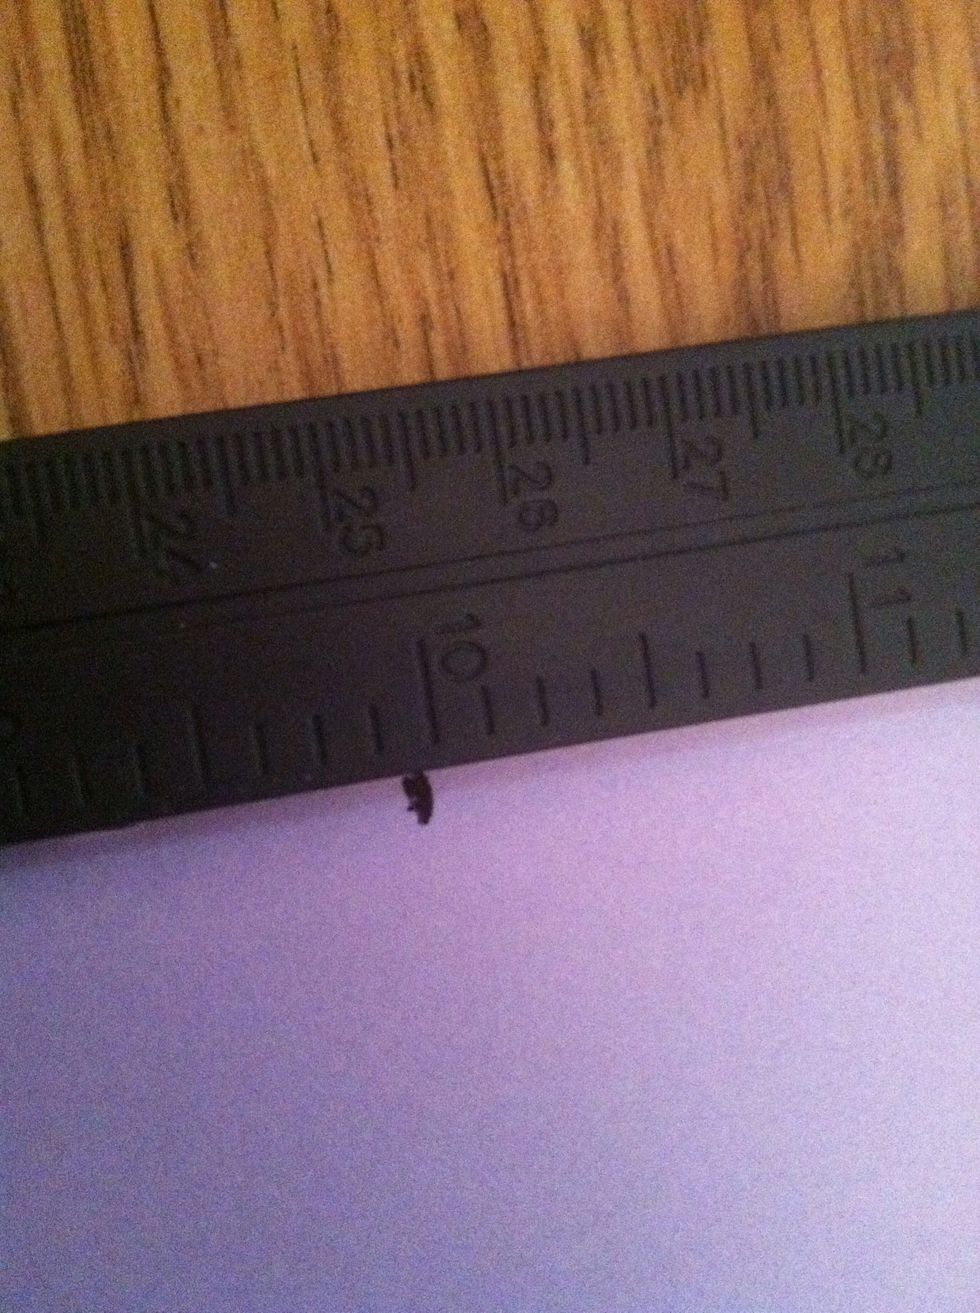
Take the piece of paper and measure it 6 inches down. (my ruler says ten inches because it's broken -__-) Draw a line to mark the measurement.
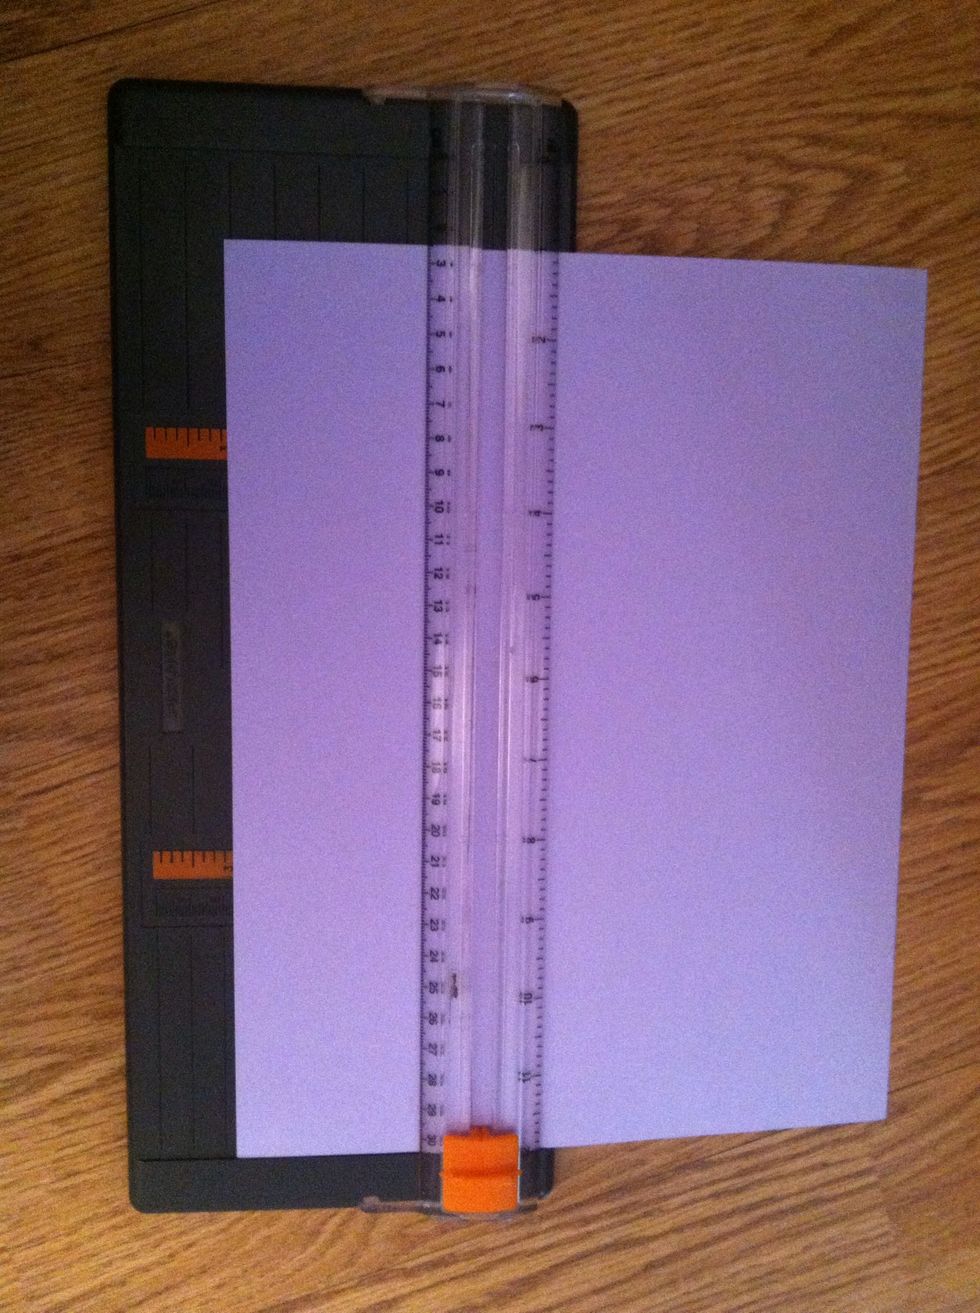
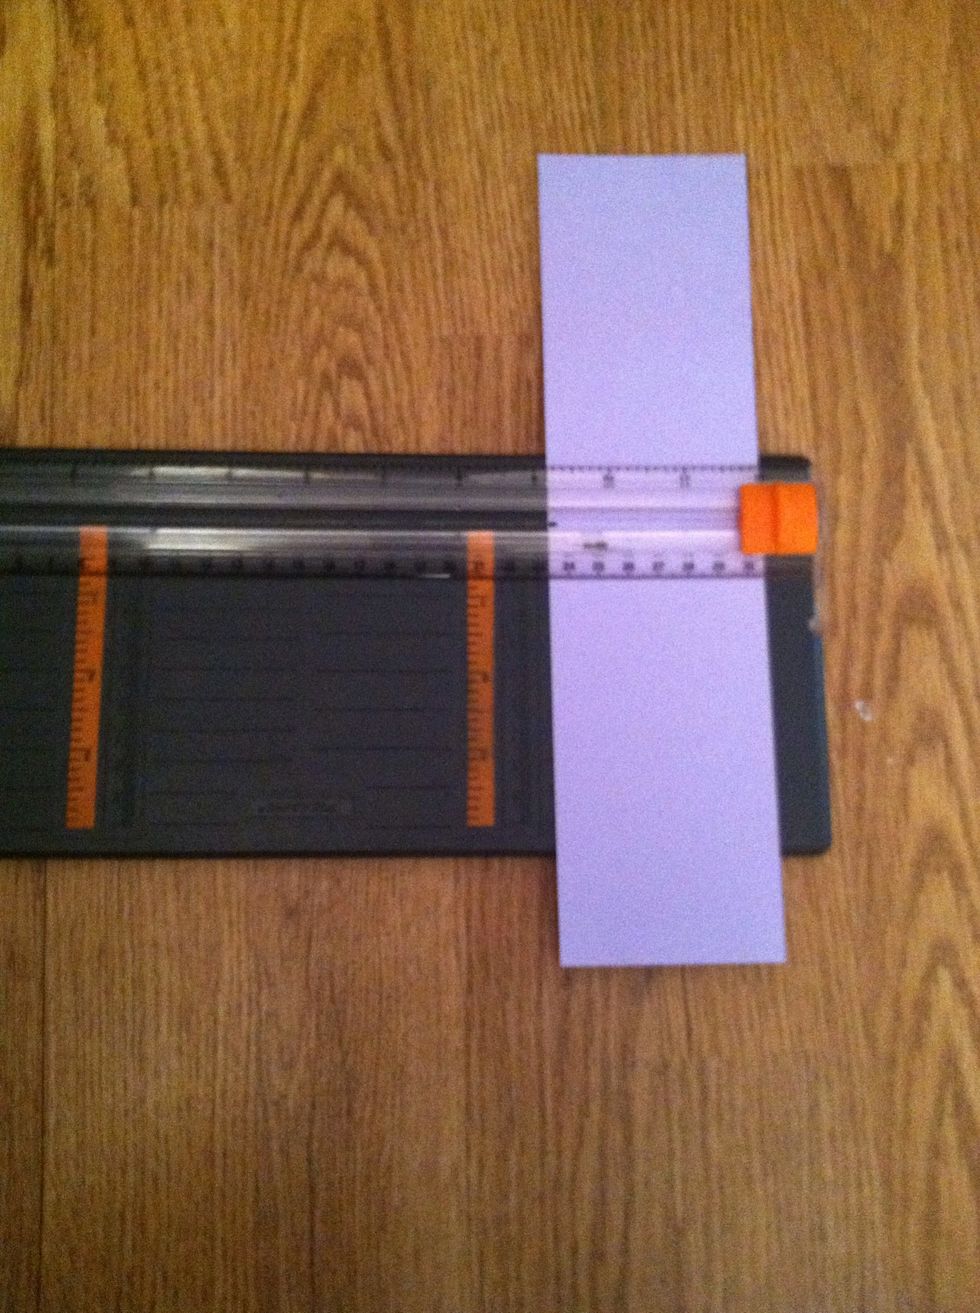
Now you can line up your paper on the cutter and cut the excess.
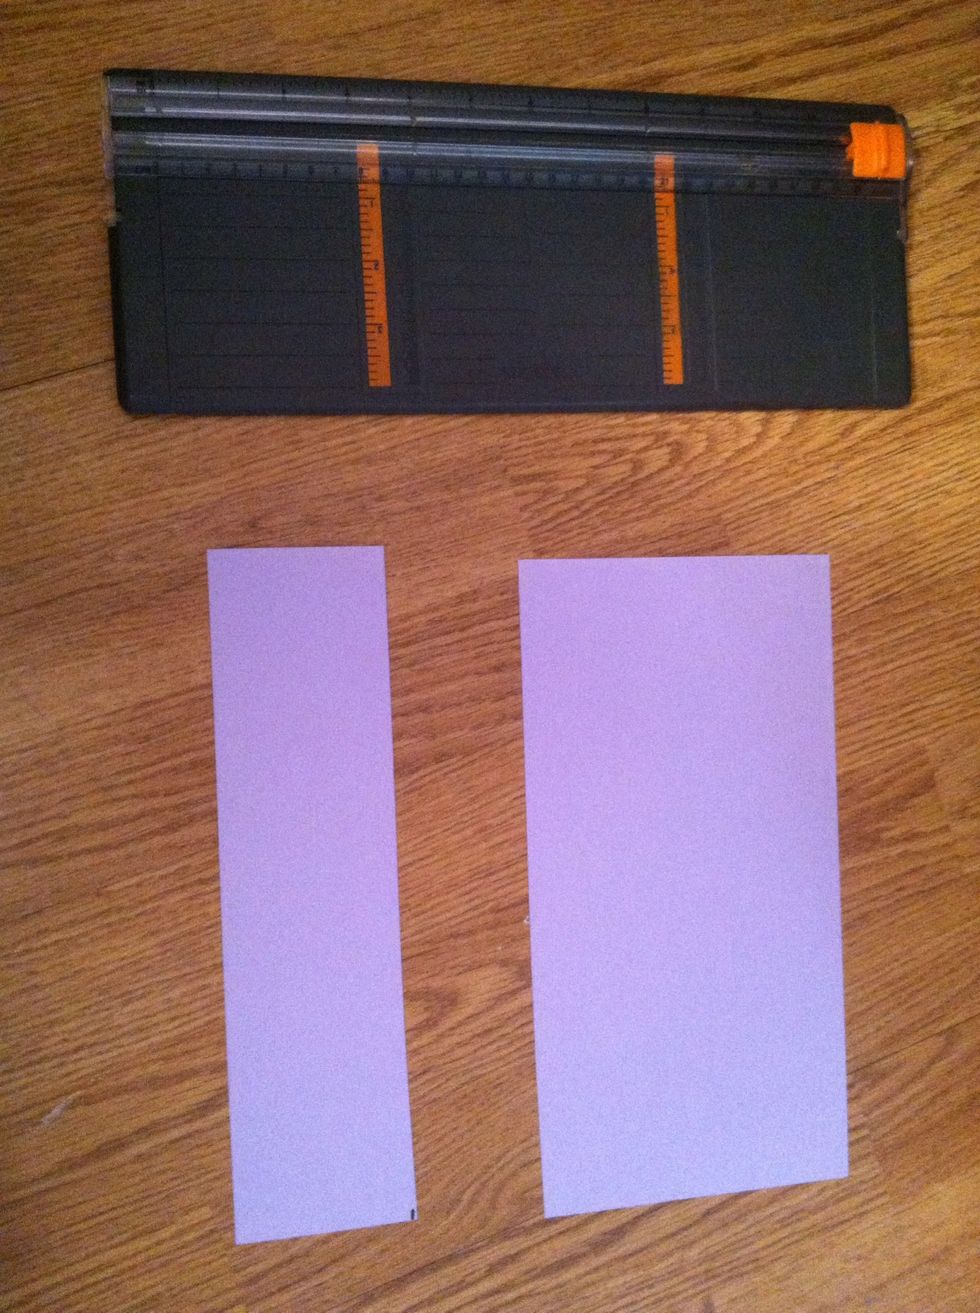
You paper should now look like this! Make sure you hold on to both pieces.
Take the part you just cut and measure it 6 more inches from the side.
Mark your measurement. (:
Now cut cut cut away!
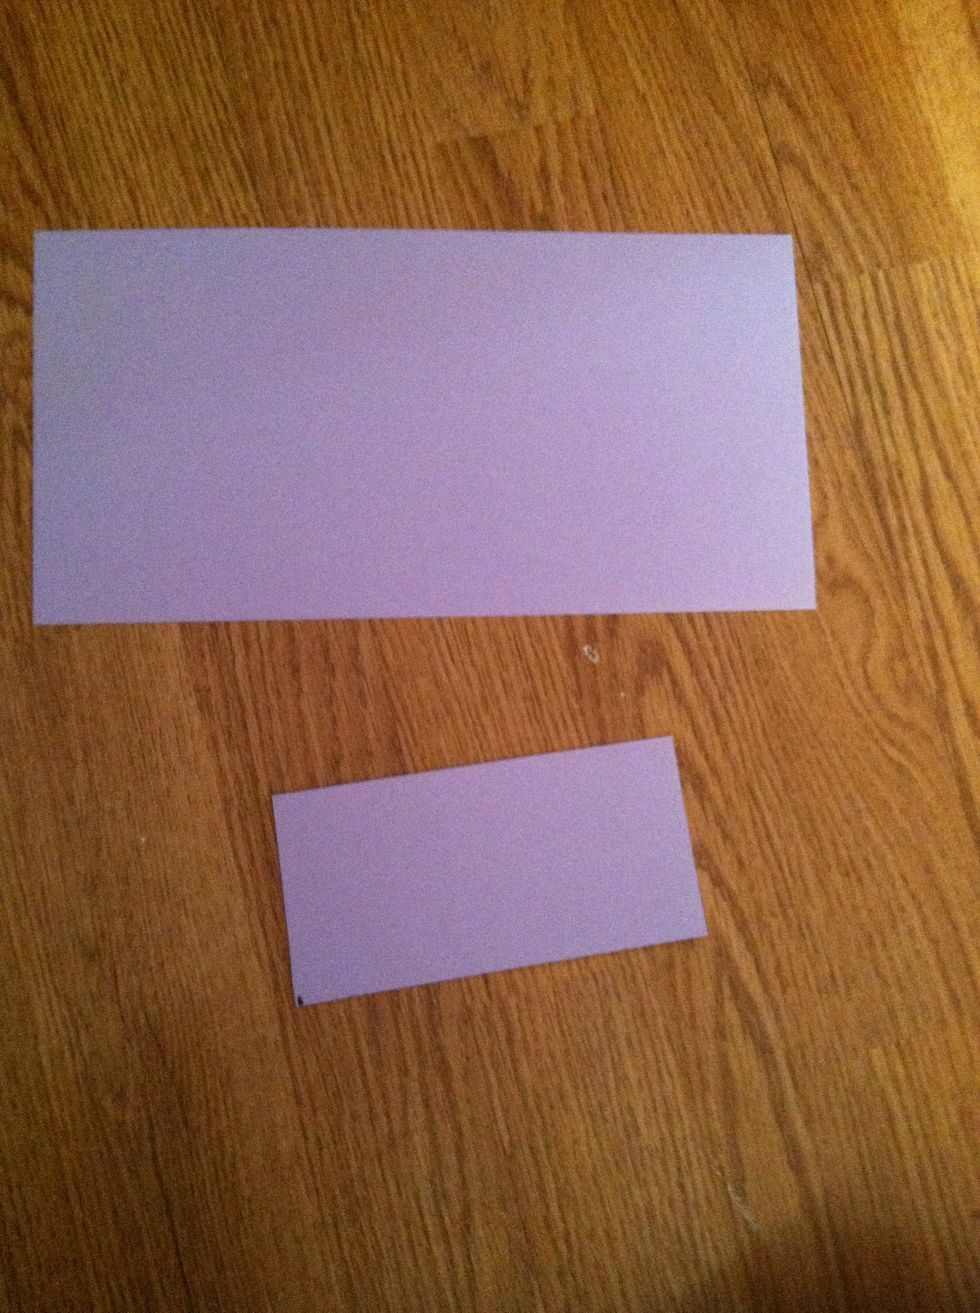
These are the two pieces you will absolutely need. (:
I used purple paper just as a demonstration so you could see the measurement easier. Im actually decorating mine in black (:
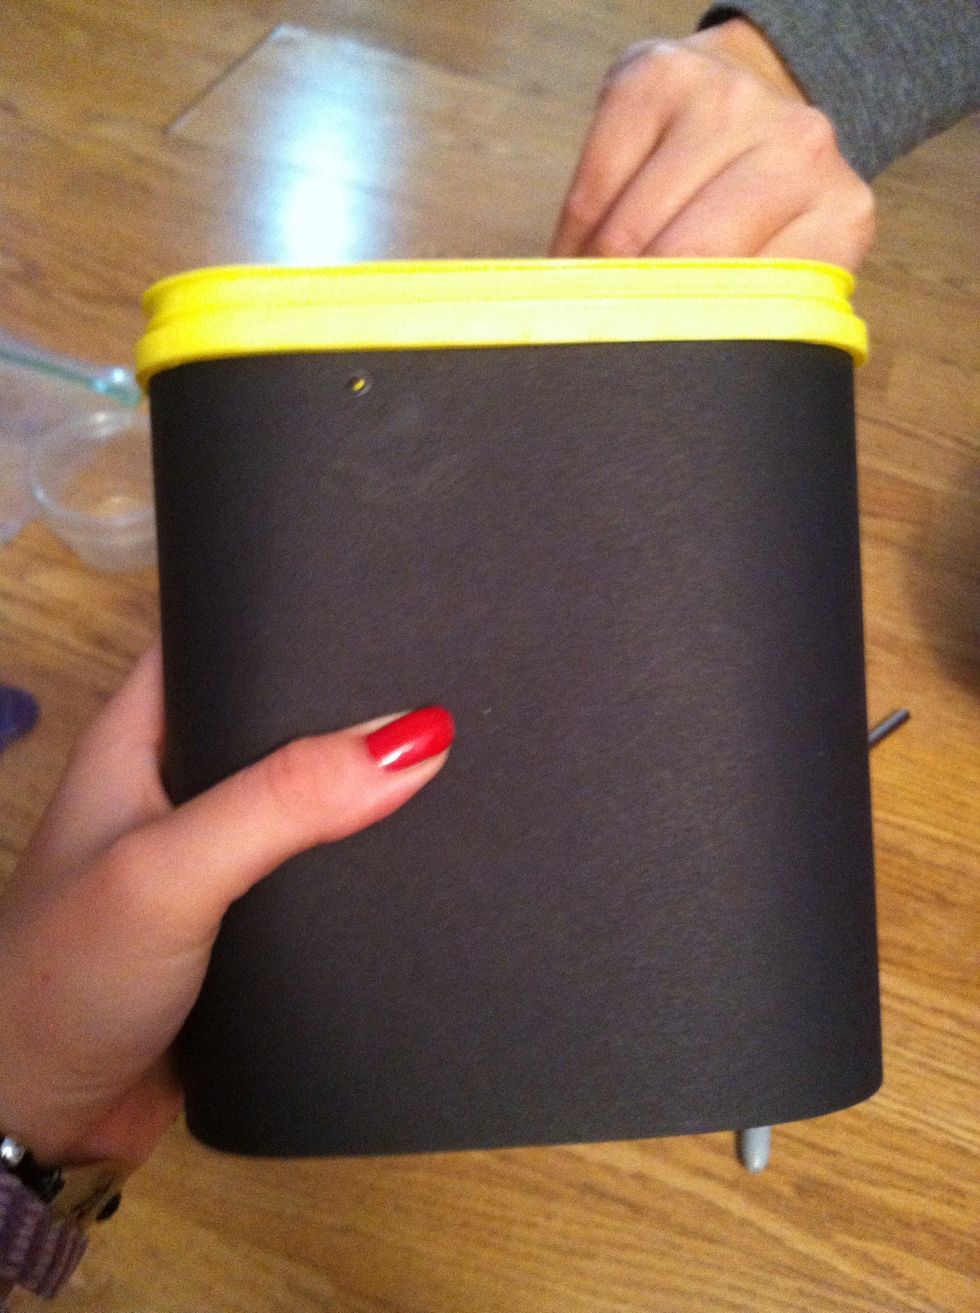
Wrap the largest piece of paper around the box. Their should be a gap in the back.
Here is the back (:
If you do not have brackets, you can skip this step and jump to step number 16.

Now you need to make a hole for your brackets. I chose to use a non cranking hole puncher to make the hole. You can purchase these at any craft store. (:
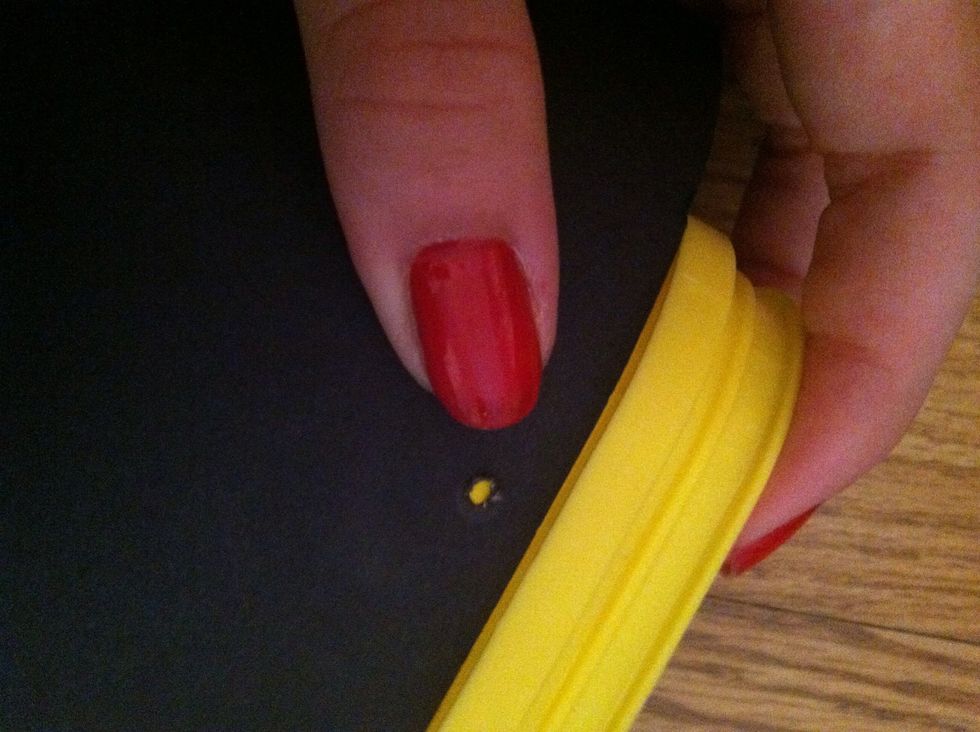
Here is the hole. You may need to keep poking it to make it big enough.
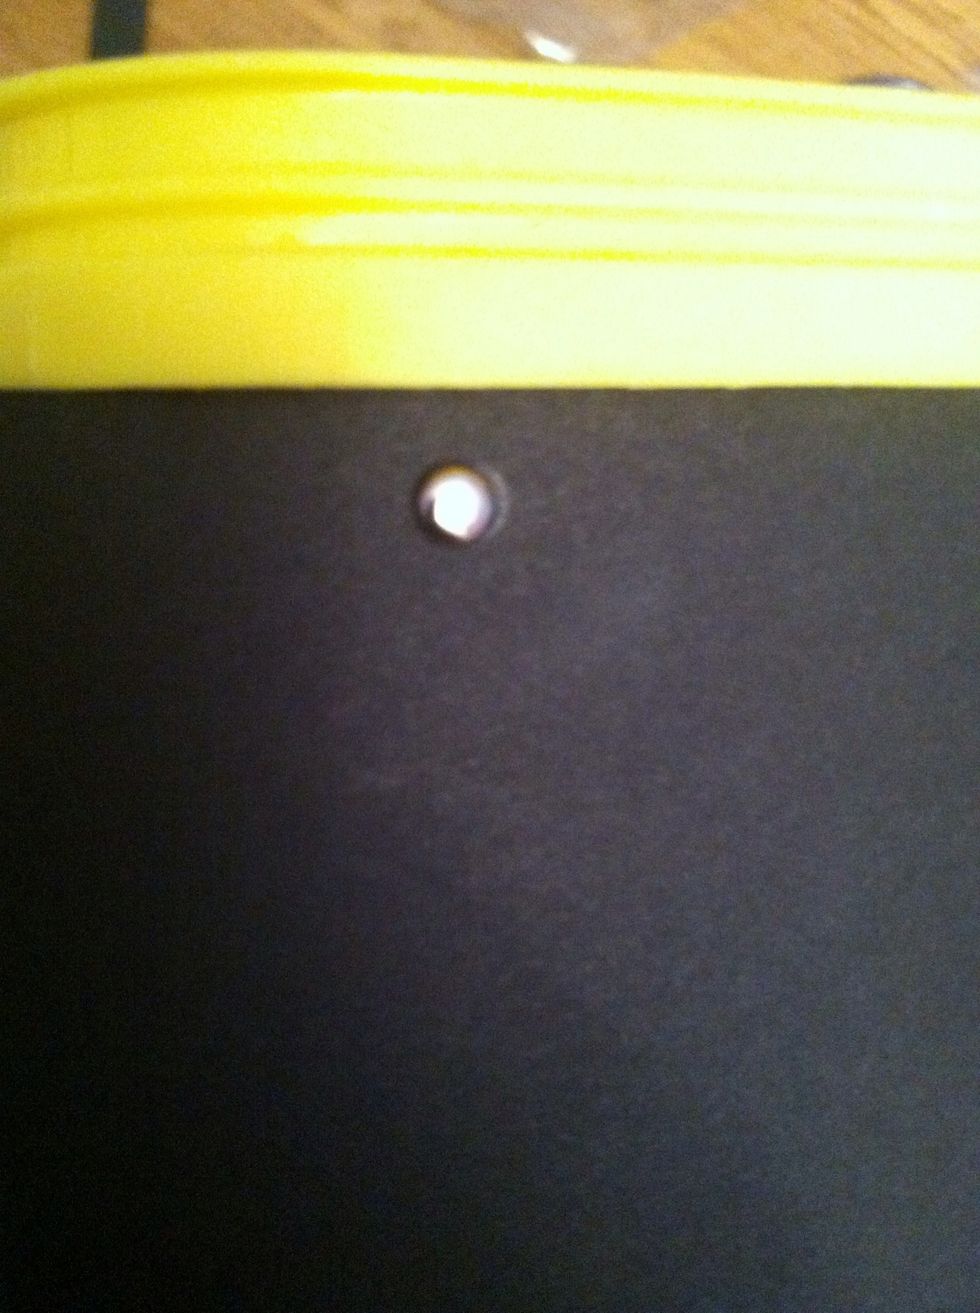
Now insert the bracket , I chose to use a silver one so you can't really see it that well.
Now pull back the sides (:
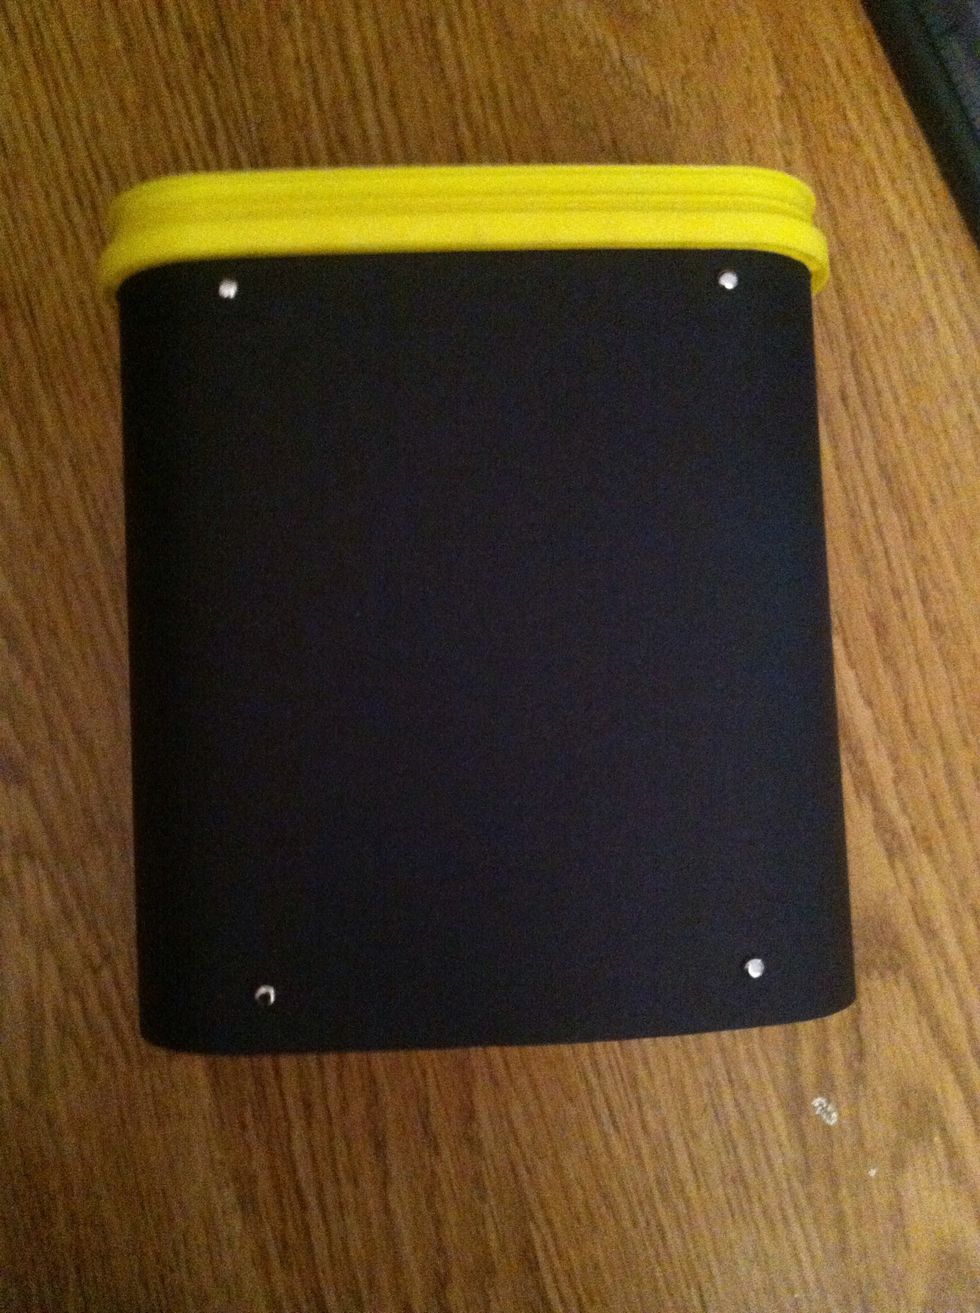
Put brackets in all four corners (:
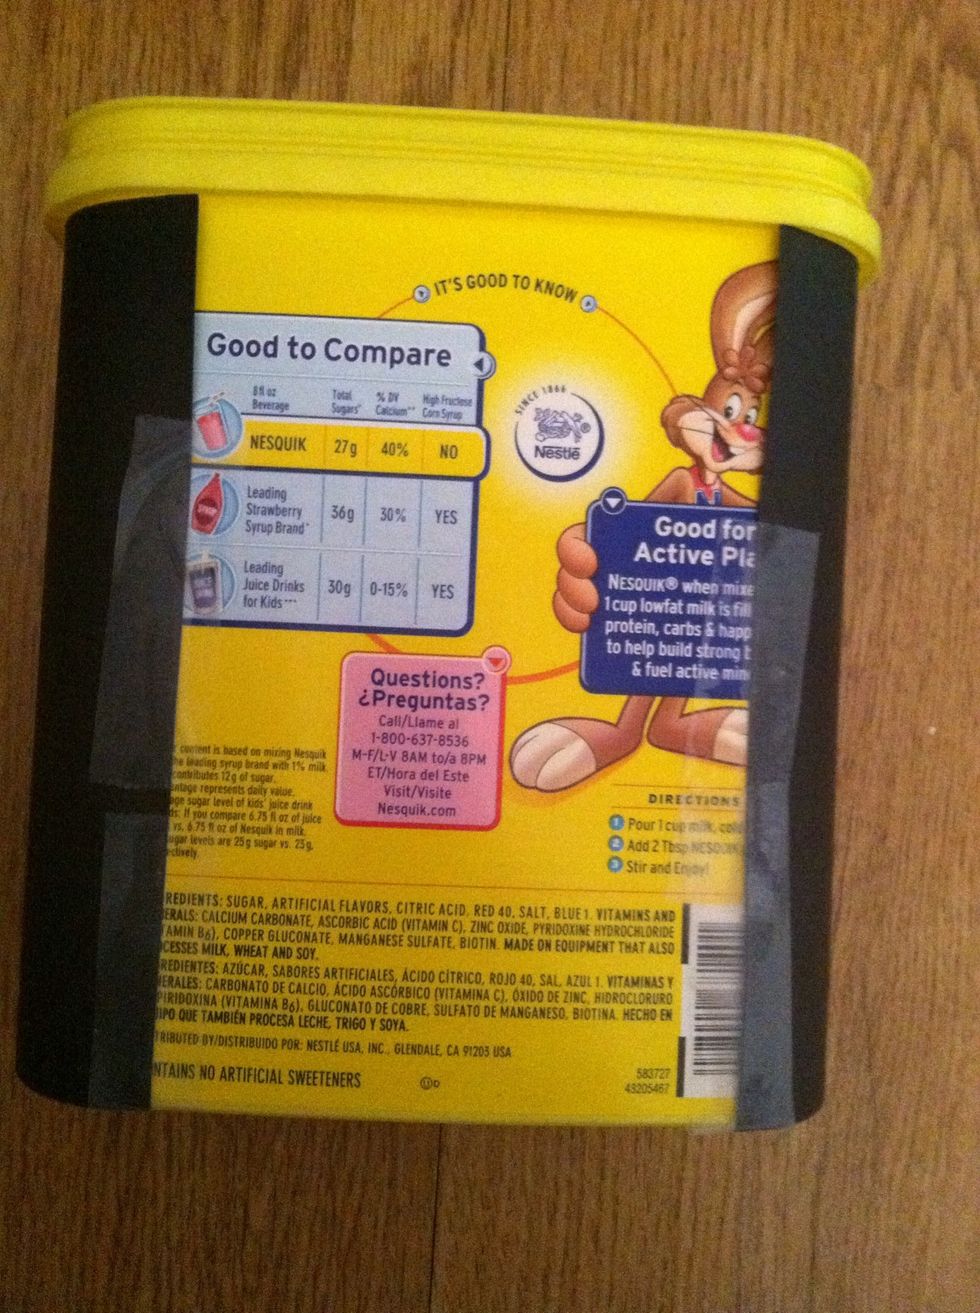
After the brackets, or if you don't have any, you can just simply tape the back!
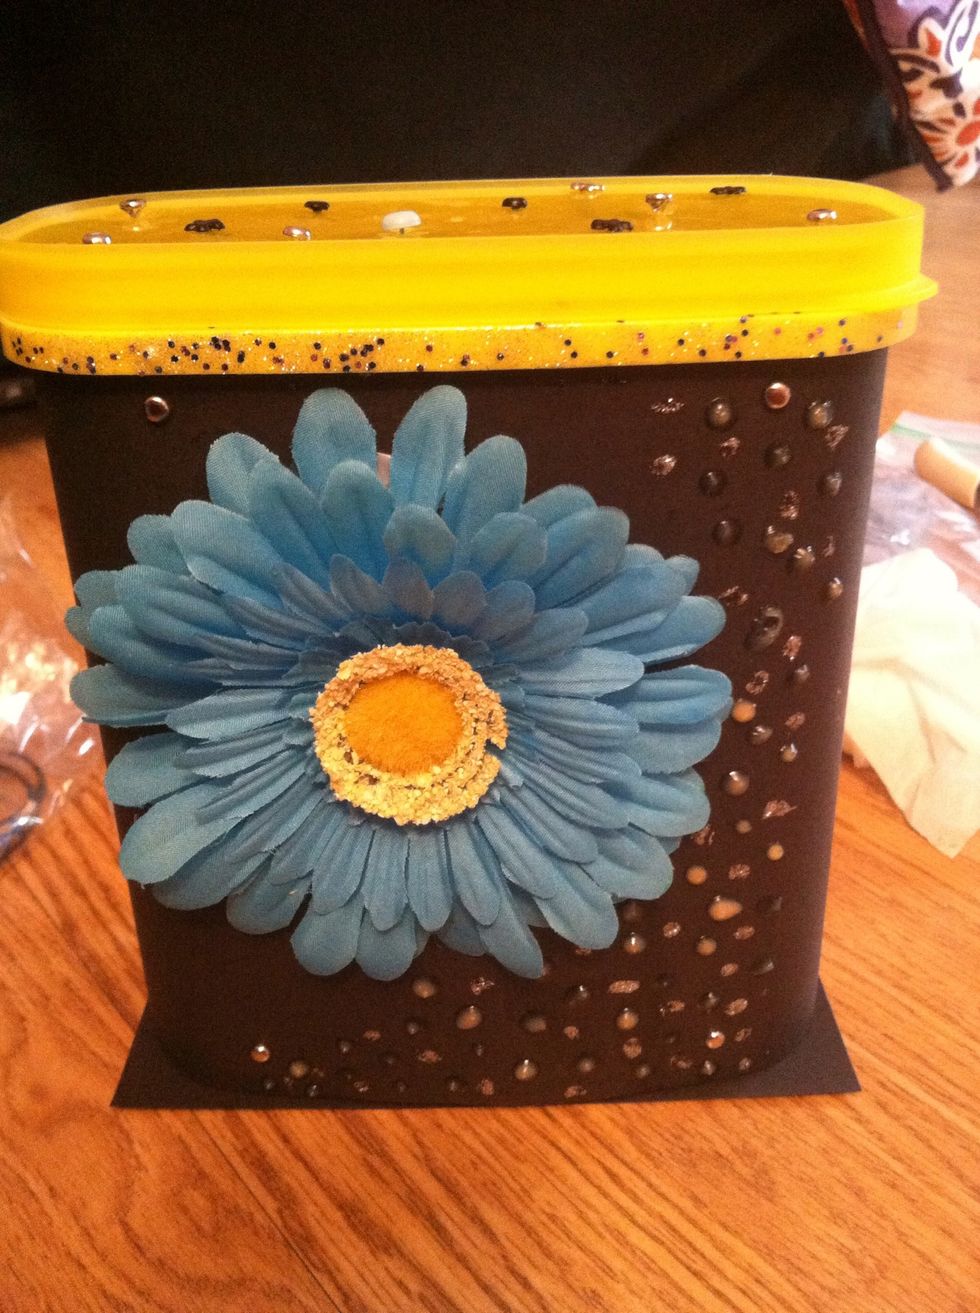
Use stickers, paint, ribbon, glitter or anything else you want to decorate your box. Be sure to make it cute!! 🎀
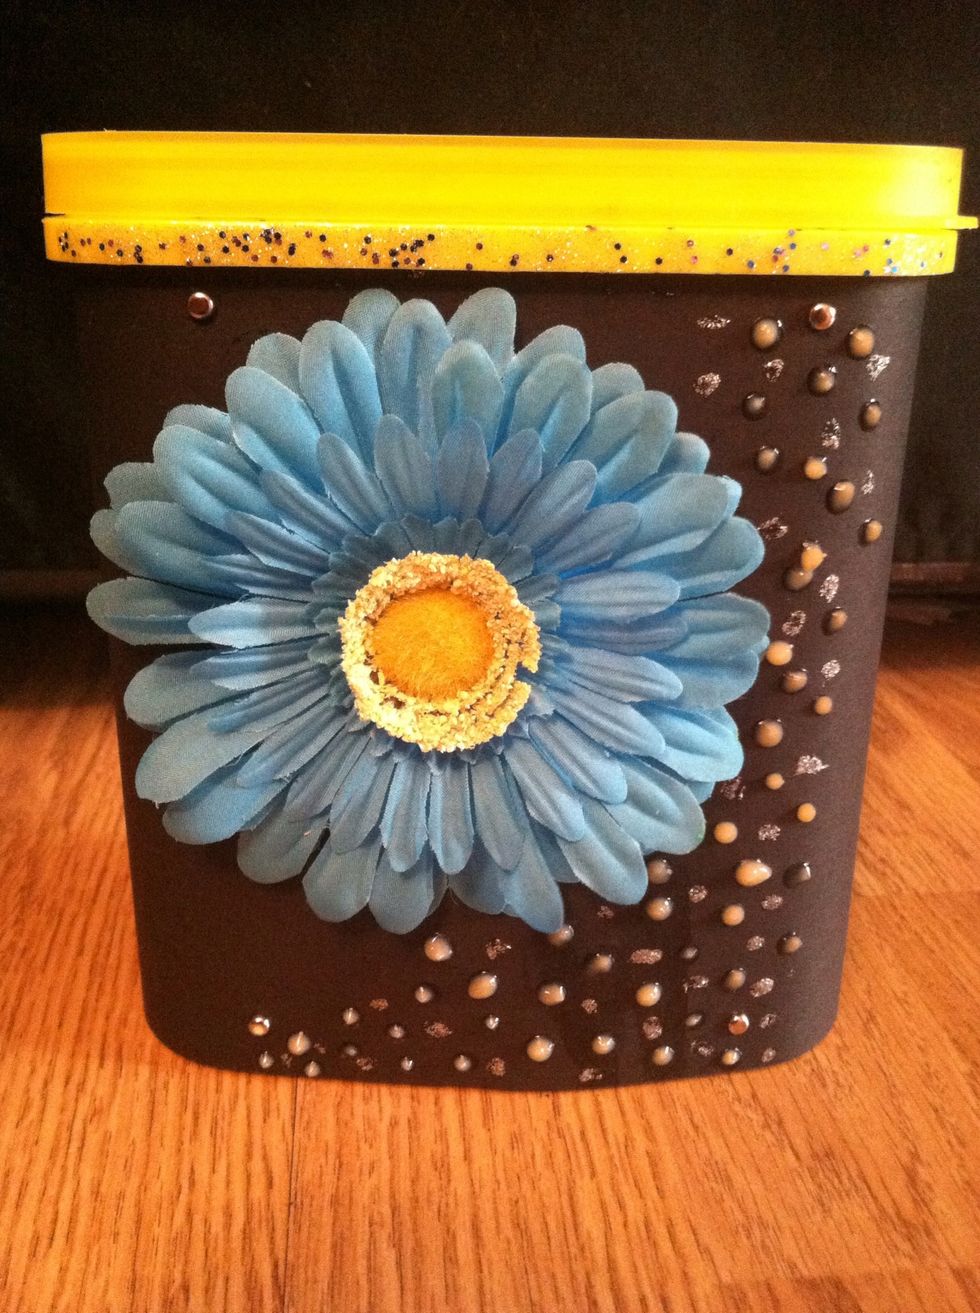
Here is my finished product!!
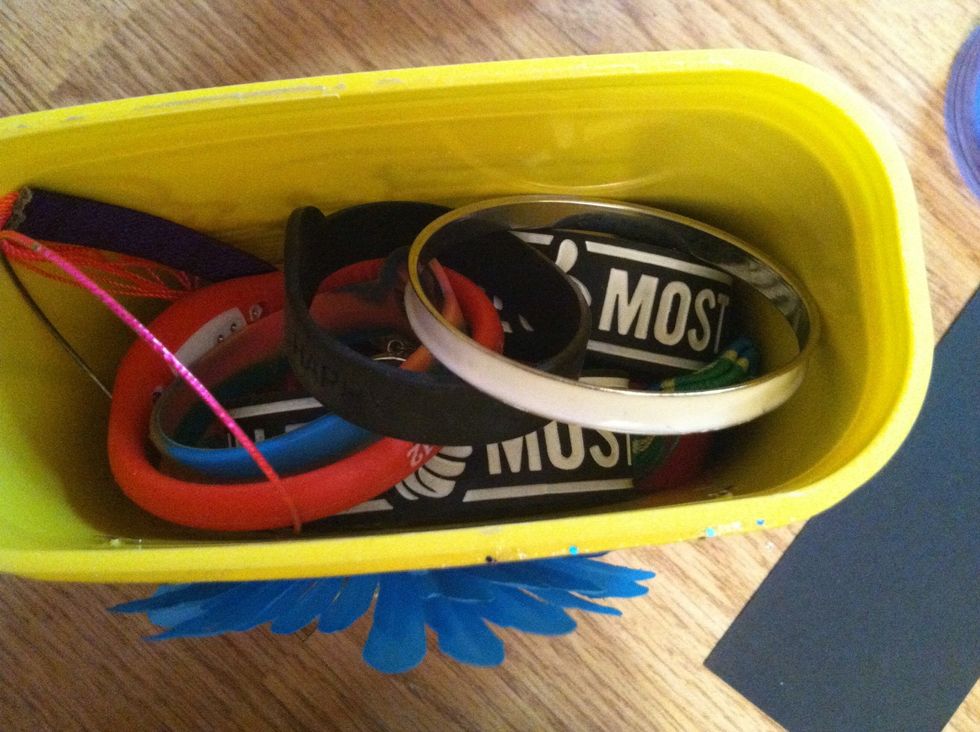
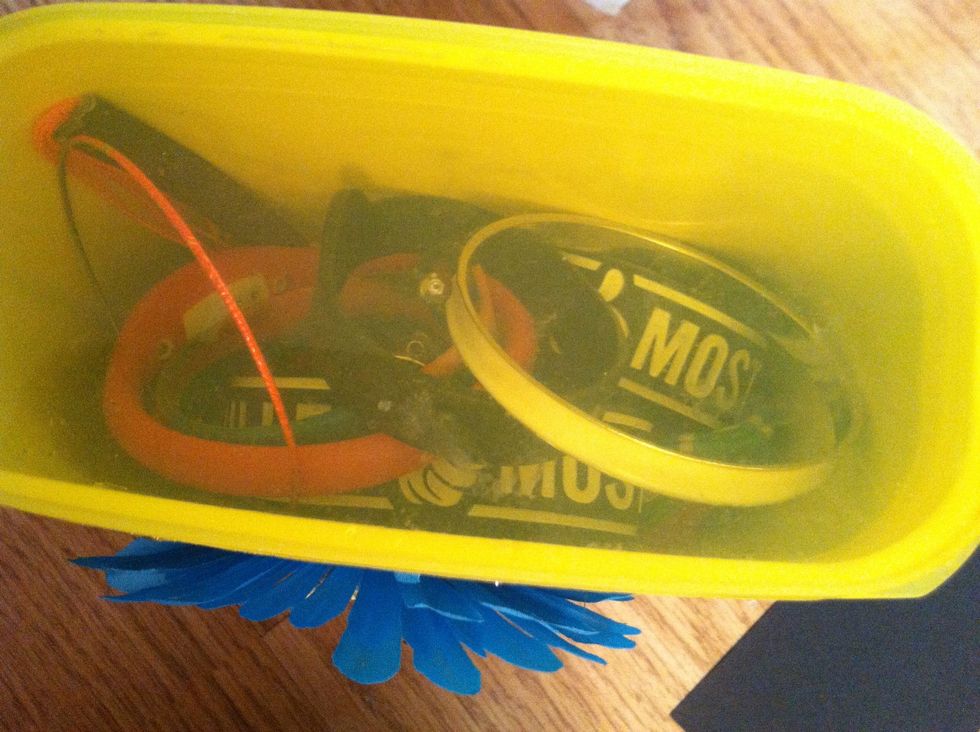
Now fill your box with anything. I put bracelets in mine (:
Now this lid looks very boring, let's spice it up a little!
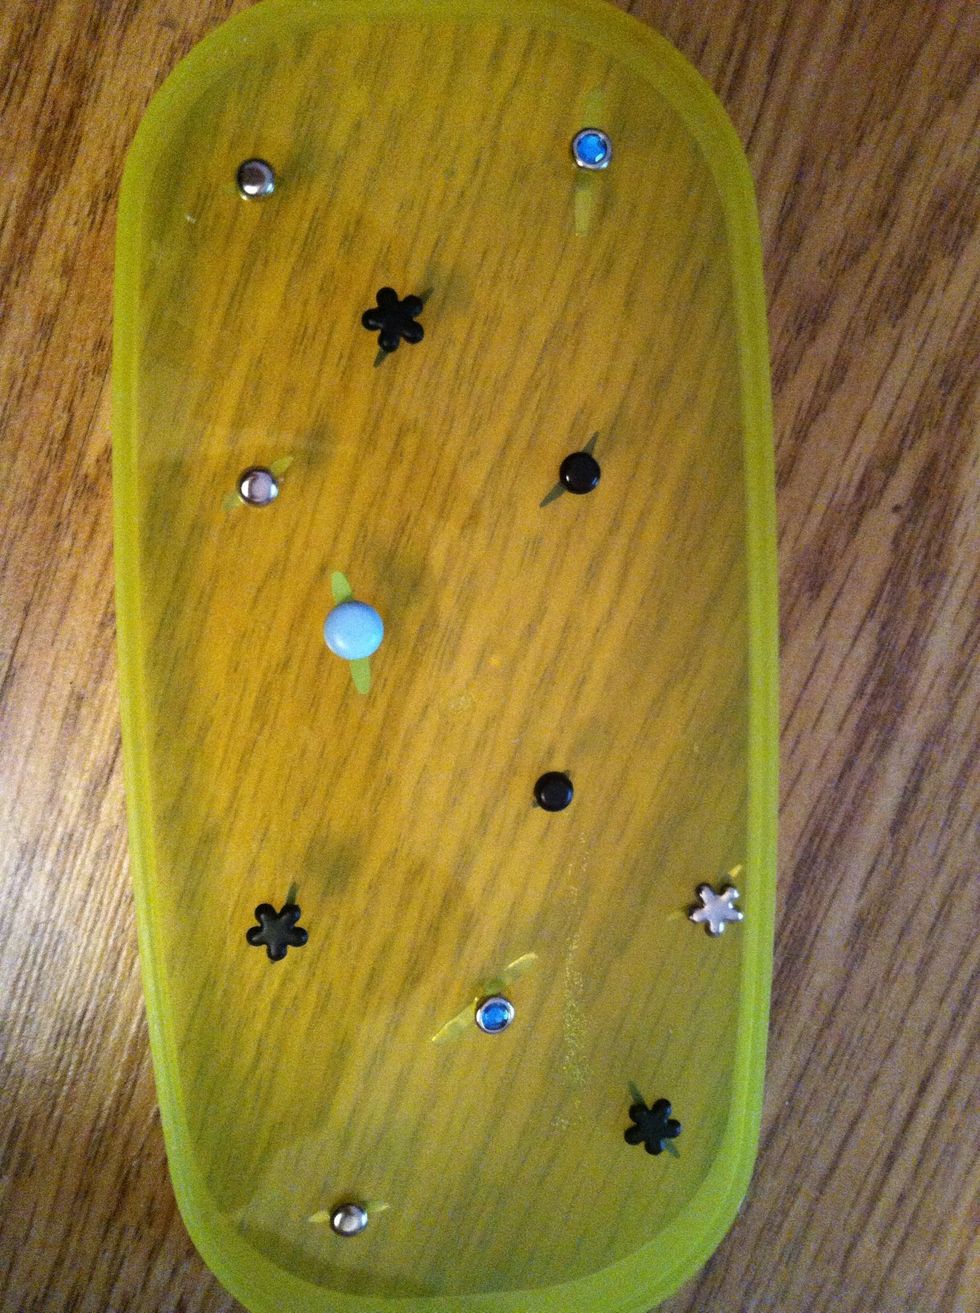
Put colorful brackets in your lid. You can use anything to decorate it actually (:

Now doesn't that look better!
You can add another piece of paper to the bottom as a base (: just simply glue it down .
The only thing bad about this project is the mess afterward ... Oh well, it's worth it!
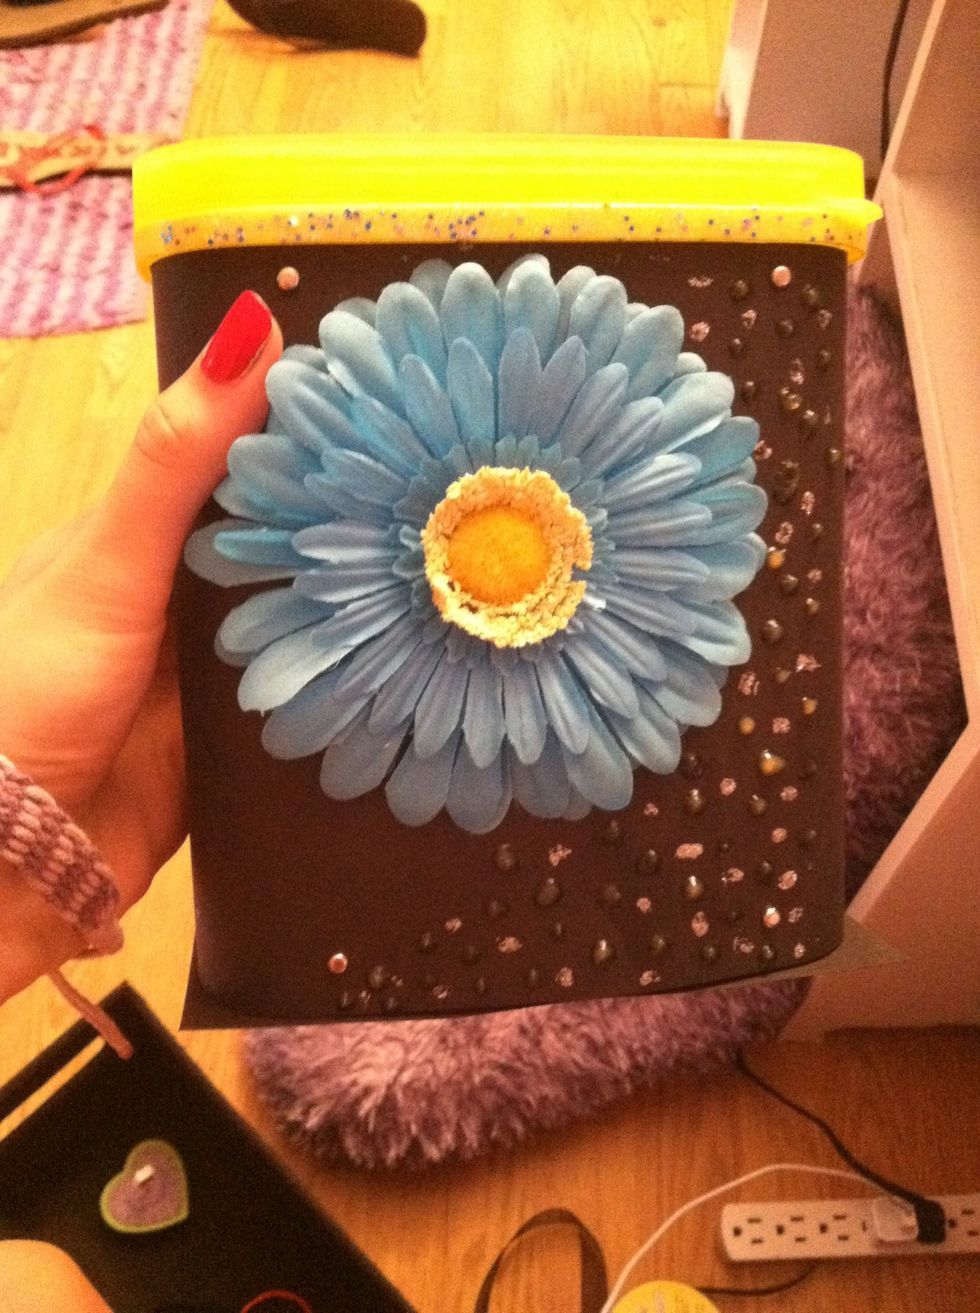
Here's the finished product! So simple yet so cute!
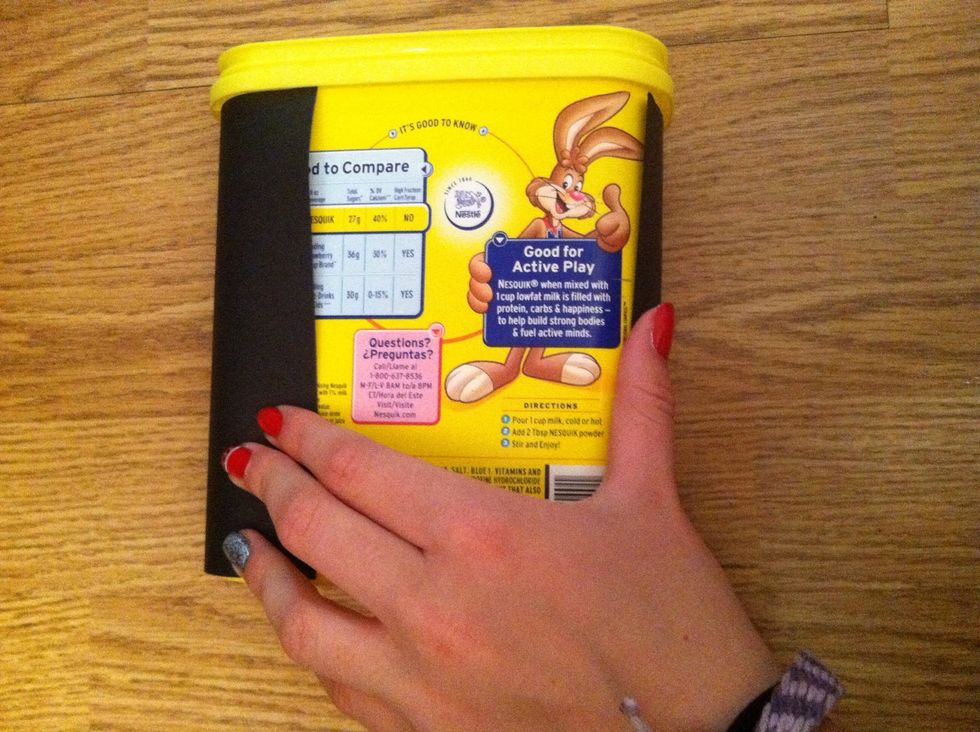
Who knew a nesquik container could be so fab?! But thanks for looking at my guide. Please like, comment and follow me! (: