The Conversation (0)
Sign Up
This guide is for creating a queen-sized headboard. However the same process can be done for any other bed size, just needing to resize the materials appropriately.

Sand down the edges and corners of the wood. Doesn't need to be silky smooth, just not sharp. I used a wood planer, but sandpaper can be sufficient with a little work.
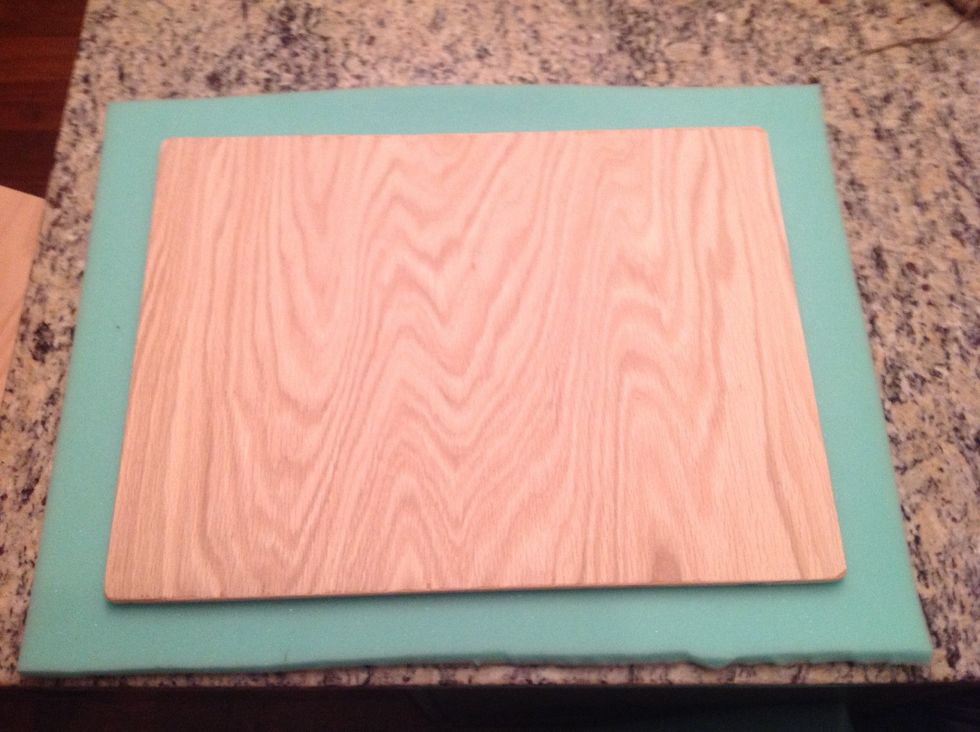
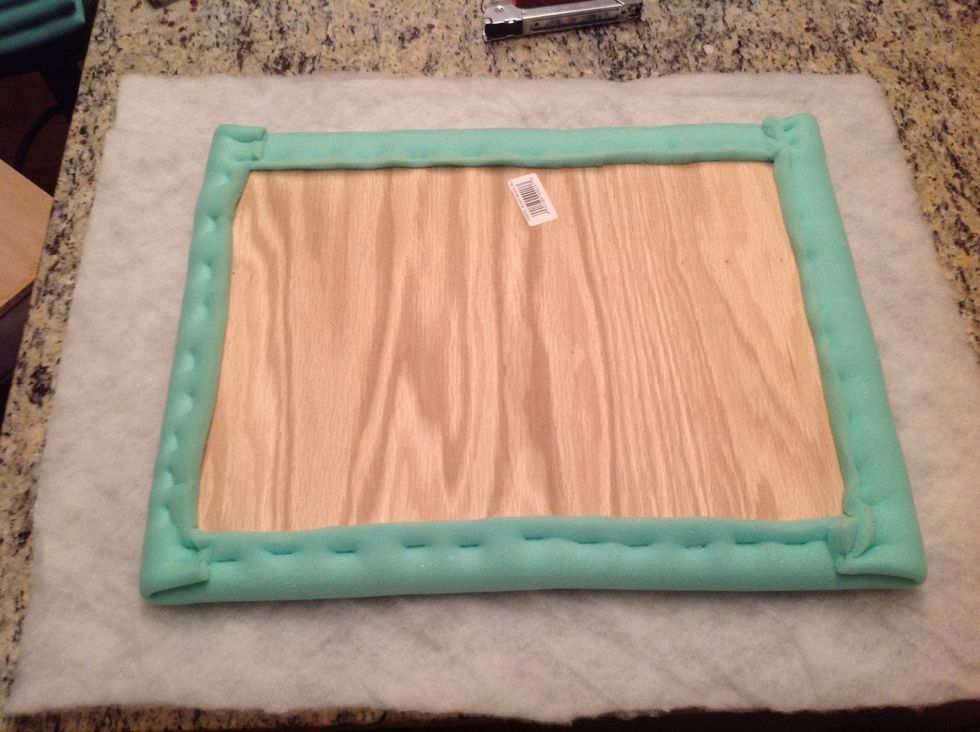
Place a panel onto some padding that is roughly 2in wider than the wood on each side. Spray adhesive onto the bottom of the wood to glue the two together.
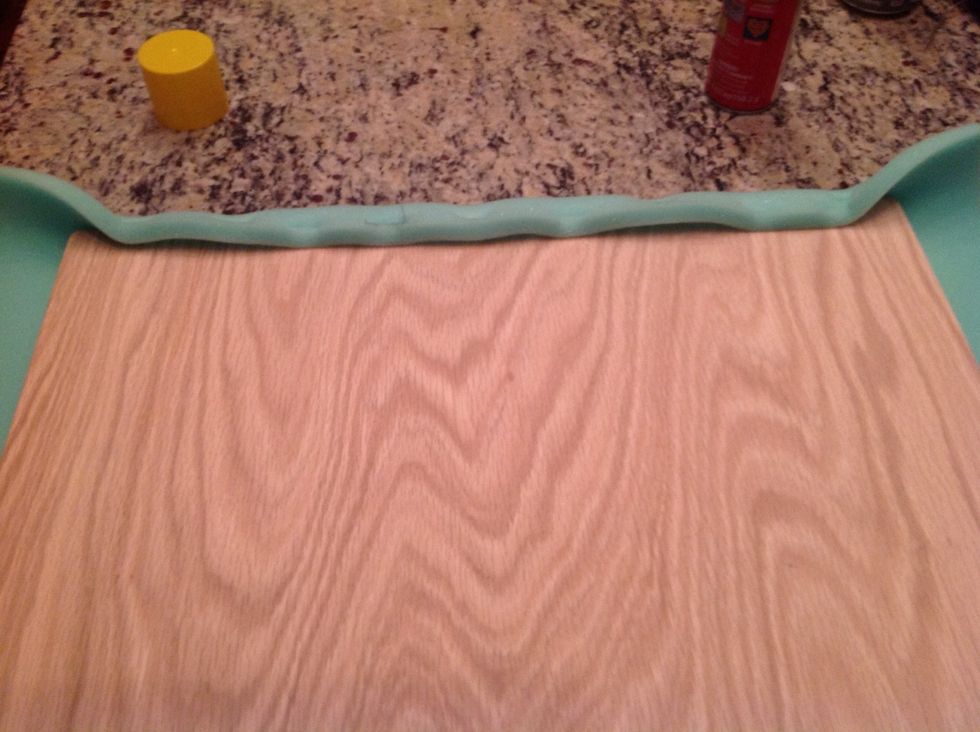
Staple the excess padding to the back for the top and bottom (longest sides).
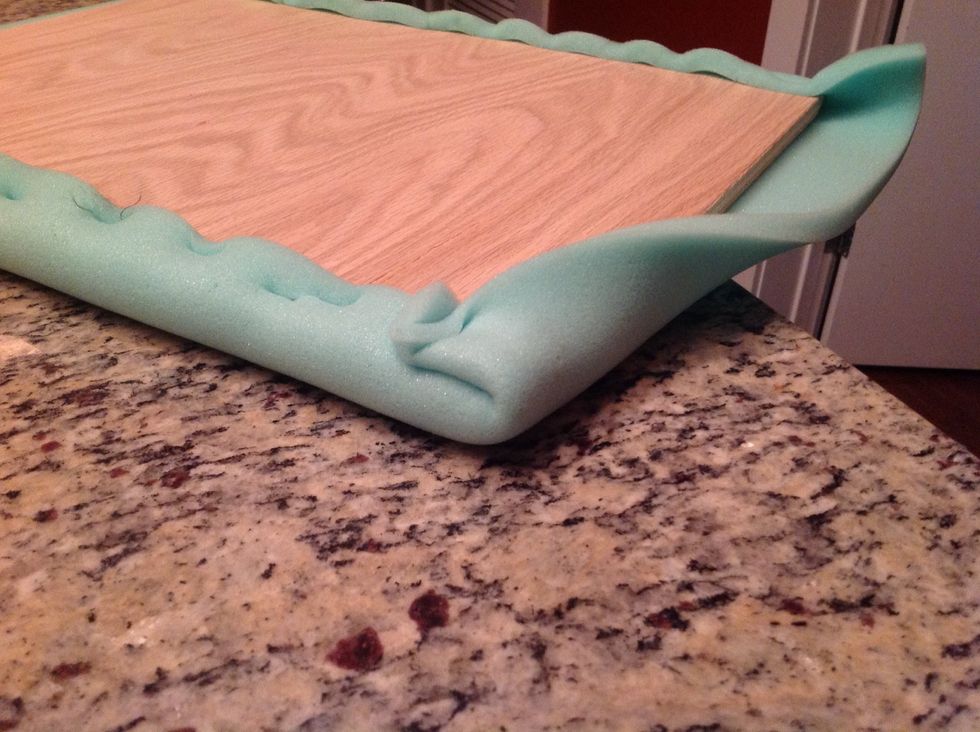
Do the same for the other sides, cleanly folding over the corners.
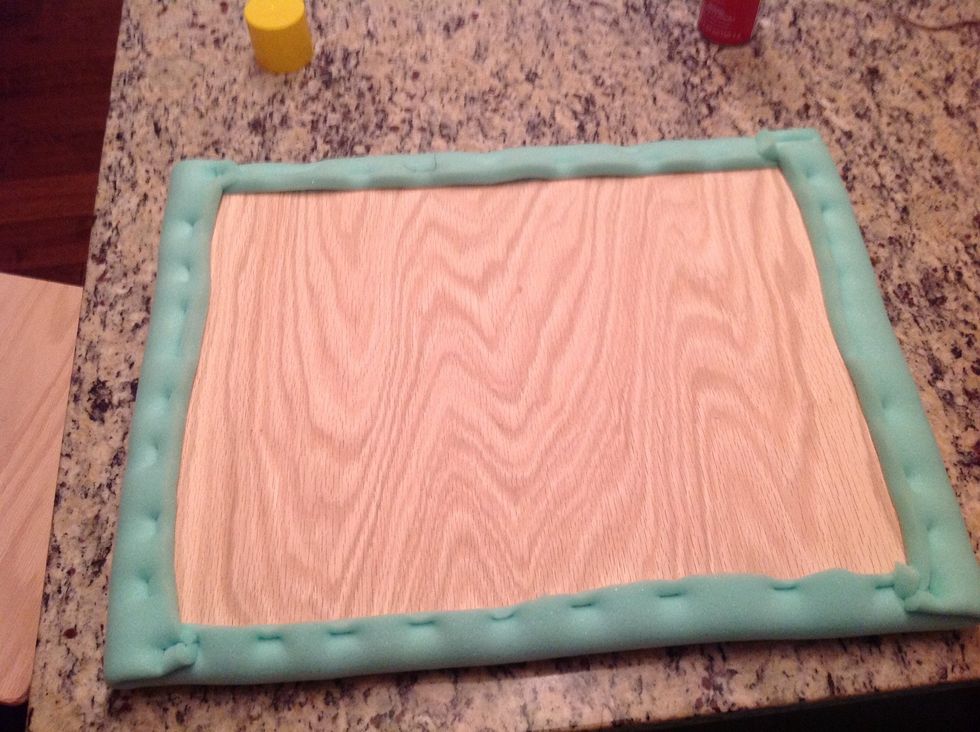
Repeat steps 3-5 for the remaining panels.
Repeat 3-6 with the bedding. However it will be 3in rather than 2 on the edges. Also be sure to make the corners and edges as even and sharp as possible.
For the next steps, go slow and make it look as good as possible. It's your final look.
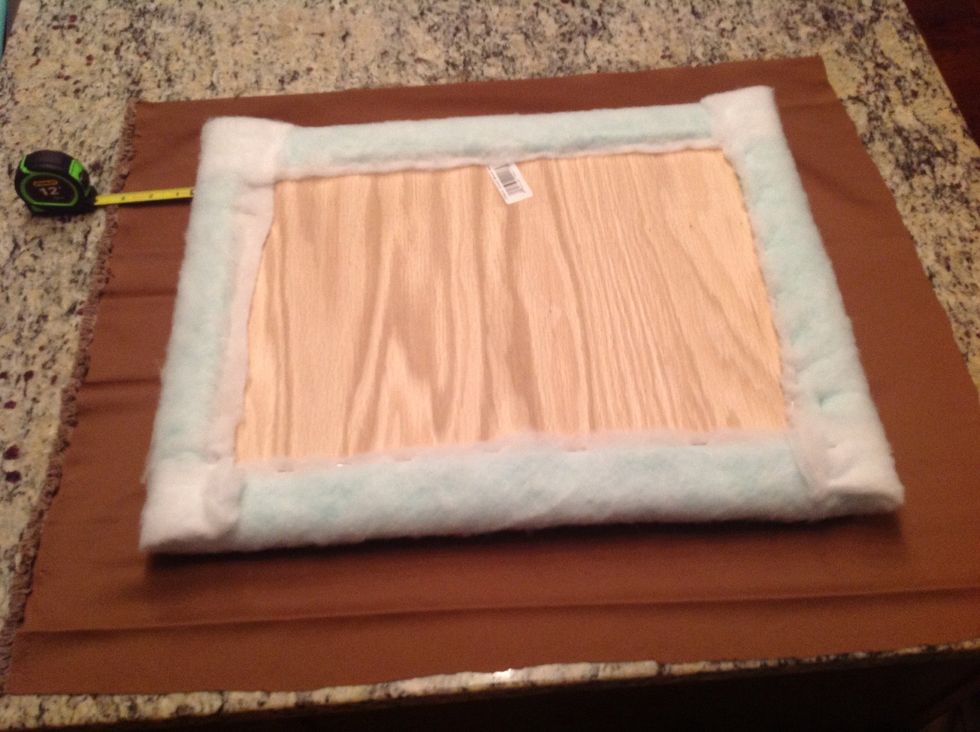
No adhesive! Have enough fabric on the edges to cover all bedding. We want to set this in place that would allow you to remove the fabric to replace, clean, etc...
For the following steps, you need to identify the 4 corners that will be rounded (imagine the entire headboard together). The rest of the corners need to be sharp so there is no gaps when assembled.

Loosely pull the top and bottom fabric and staple into place. You want to make sure the edge is straight and smooth. Before doing the bottom, make sure no excessive fabric is left on the front.

With all panels created, place them together to create two rows of three. Rounded edges on the outside.
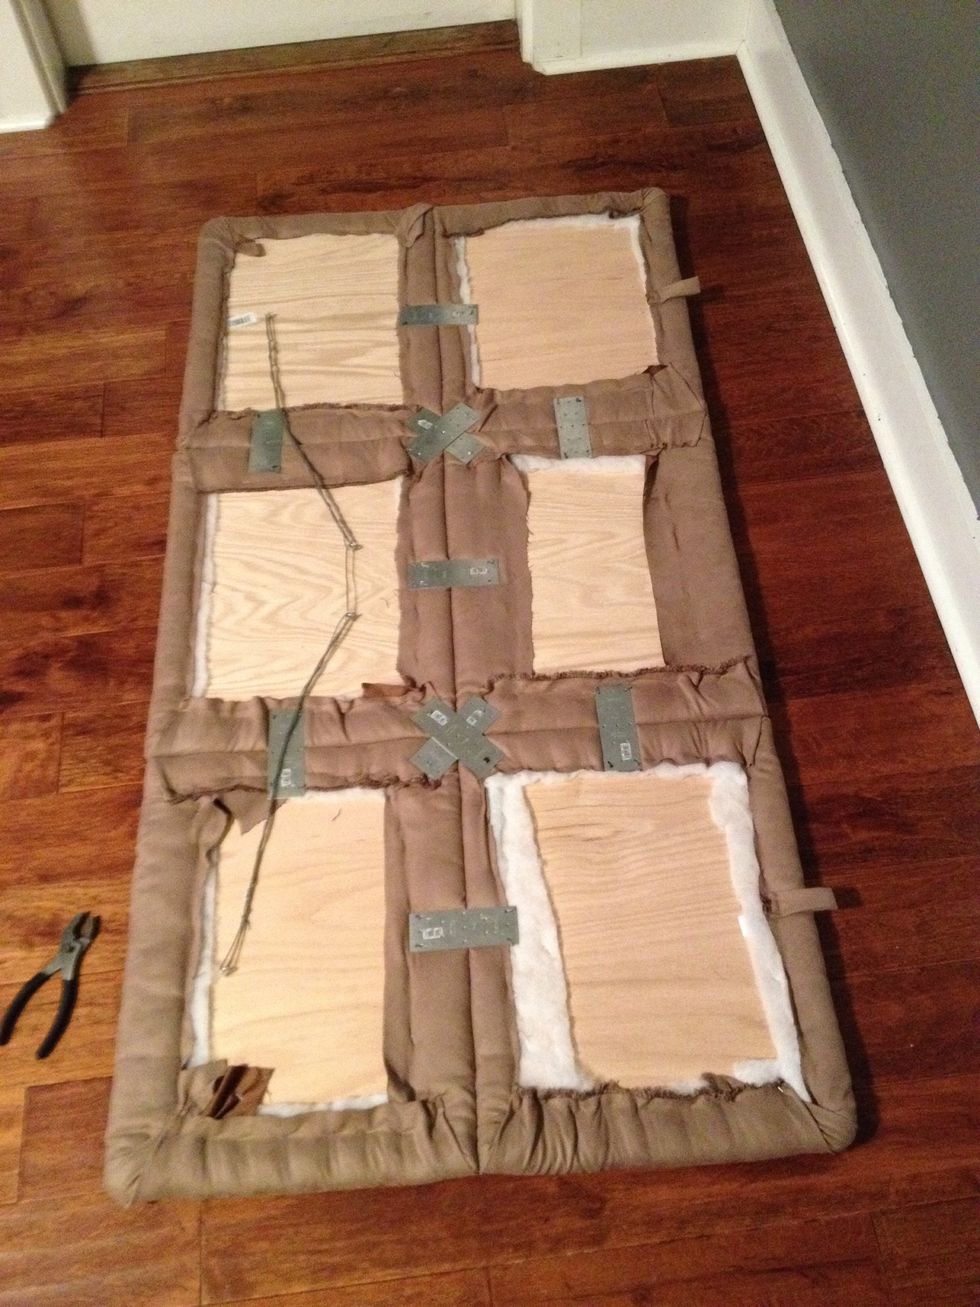
Use brackets to secure the panels together. HOWEVER, I really recommend using thin pieces of wood to go from the middle of each panels. The brackets I used were really weak.

As seen in the previous step, use picture frame wire mounts to secure the headboard to the wall.
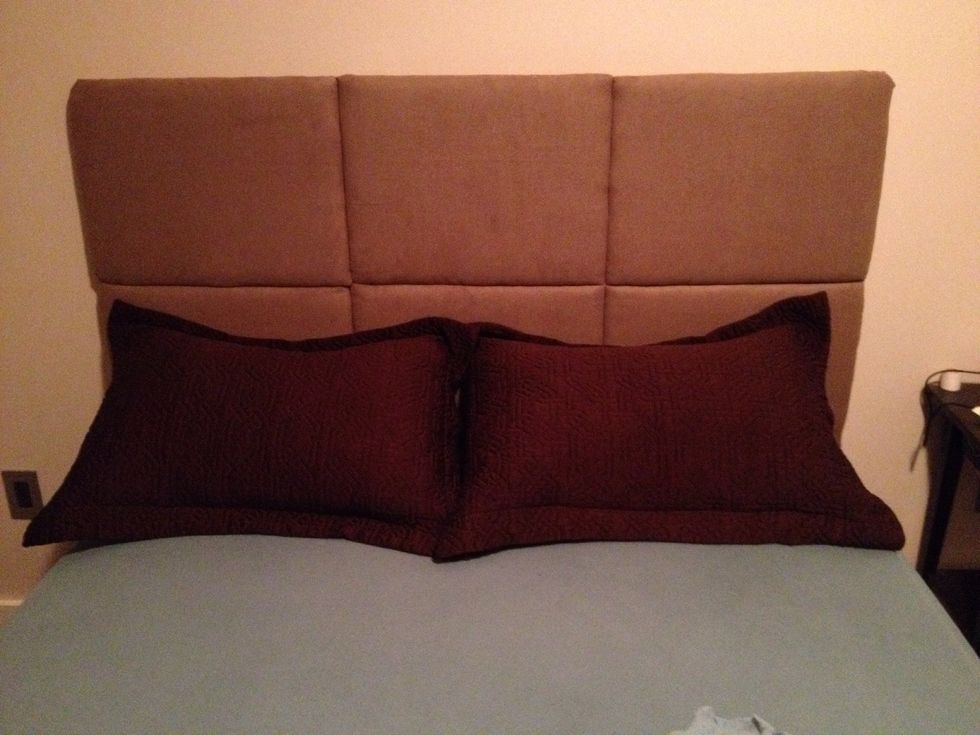
Finally, mount the headboard to the wall using strong wire photo frame mounts.