How to make a fabric or paper covered light switch plate.
Great for coordinating with other patterns in room!
3810
STEPS
TOOLS
Decoupage is gluing paper to objects for decoration. You can also use fabric. This project decoupages a light switch plate, but you can decoupage just about anything!

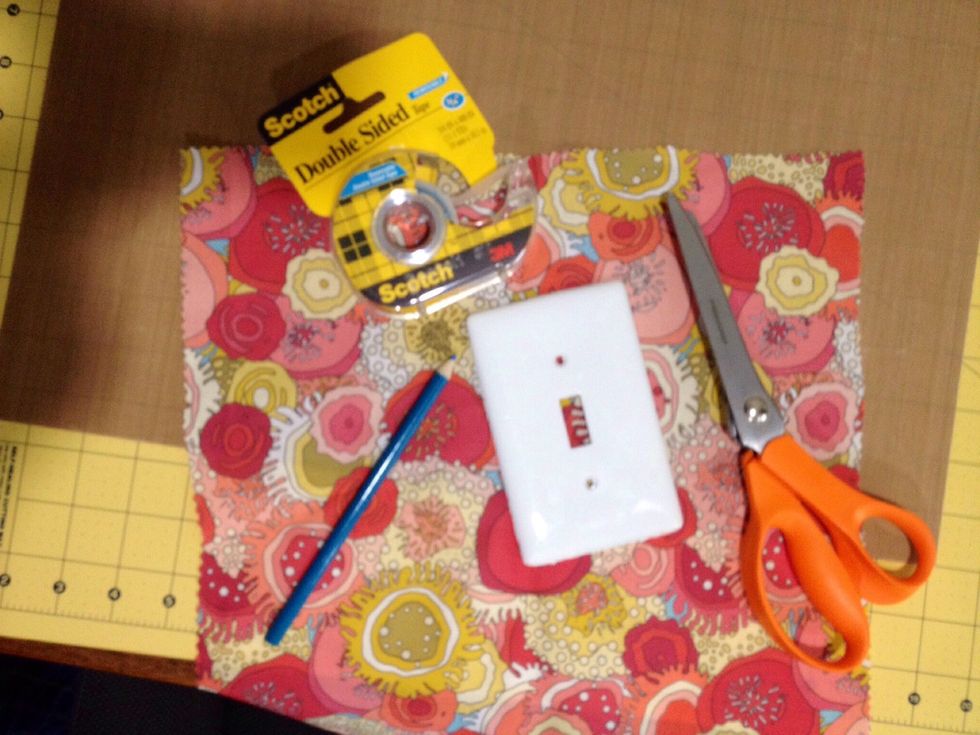
Supplies: light switch plate, fabric or paper, scissors, double-sided tape (optional).....

More supplies: decoupaging medium (Mod Podge), utility or exacto knife, foam craft brush. Wax paper is useful to protect your work surface when applying Mod Podge.

Unscrew light switch plate.

Measure and cut out fabric or paper to dimensions of light switch plate plus 1/2 to 3/4 inch border. Make sure pattern on other side is what you want for the front of the plate.

Cut corners of fabric/paper rectangle at about 45 degrees. This will help when decoupaging the corners of the light switch plate.

If using fabric, you can adhere it to the front side of the light switch plate using double sided tape, which will help keep it in place when applying mod podge (decoupaging medium).

Brush on Mod Podge to fabric/paper edges with front of plate down against the wrong side of the fabric/paper. Fold over onto backside of plate. Then flip plate over and apply Mod Podge to front.

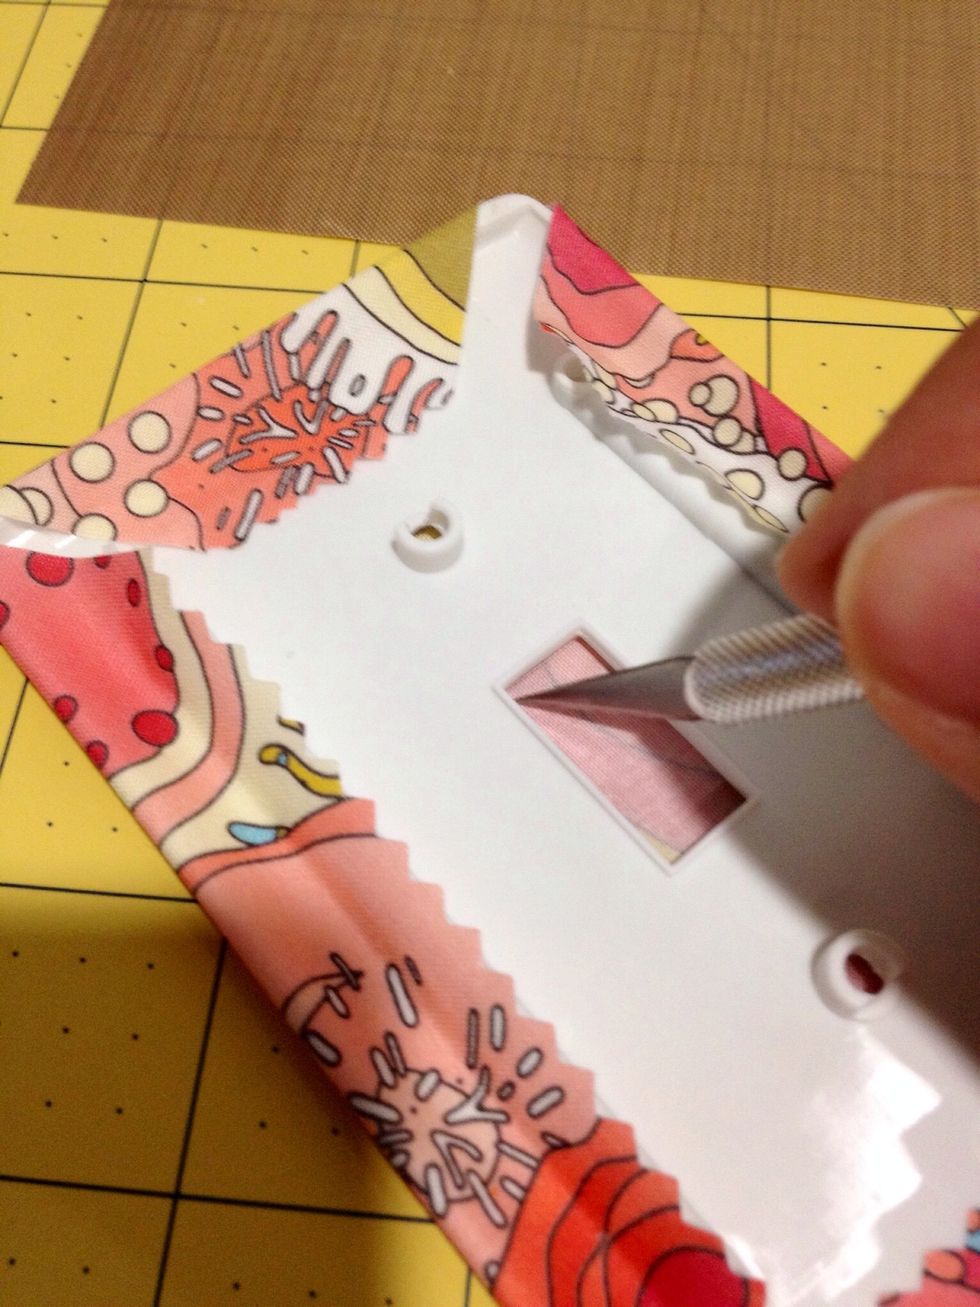
When dry, cut an X in the switch window of plate and fold in the fabric/paper edges, or cut out the window rectangle.

Poke exacto knife through the screw holes.

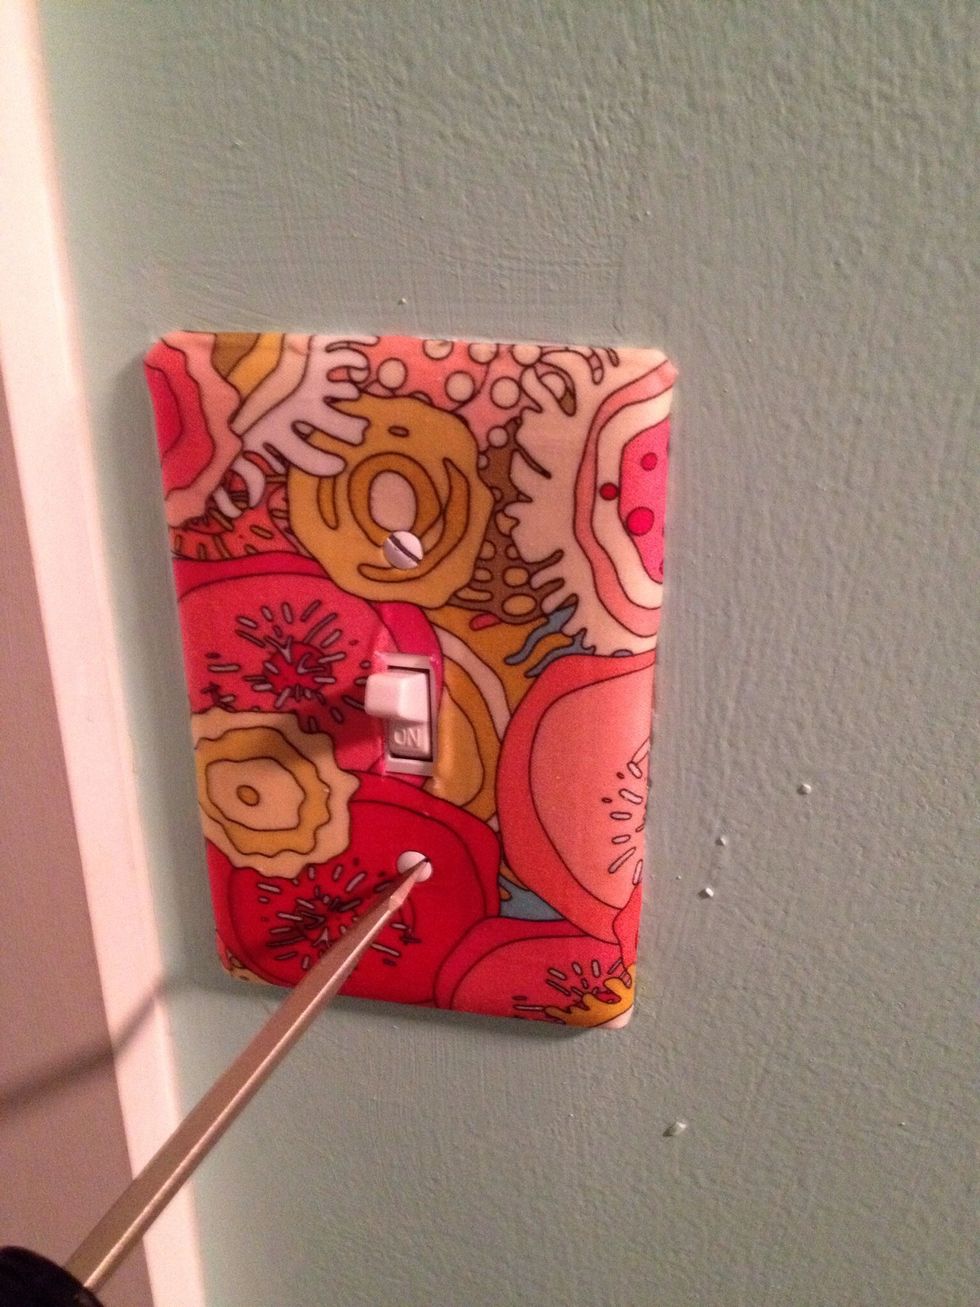
Screw plate back onto switch. Tada! See my other Snapguides for no-sew fabric-covering projects.
- Light switch plate
- Fabric or paper of your choice
- Scissors
- Razor or exacto knife
- Decoupage medium (mod Podge) or adhesive
- Craft foam brush
- Double-sided tape (optional)
The Conversation (0)
Sign Up