The Conversation (0)
Sign Up
Measure window width and add 6 inches. This is the length of your cornice. Add 6 more inches. This is the minimum length of pine board you need to buy. The board should be 1 inch thick.
Decide if you want 10 inch or 12 inch wide board. Lowes or Home Depot will frequently give three cuts free! You need two 3 inch long blocks and one the length of your cornice (window width plus 3").
Obtain mounting device and screws. An L bracket is sufficient. Half inch screws are needed to mount to the sides of the board as the board is only 1 inch thick. Measure and plan mounting to wall.

Drill holes using 1/8th inch drill bit. Screw the 3 inch long blocks to the long board at each end using 1.5 inch #8 wood screws. Pre-drill holes for mounting brackets.
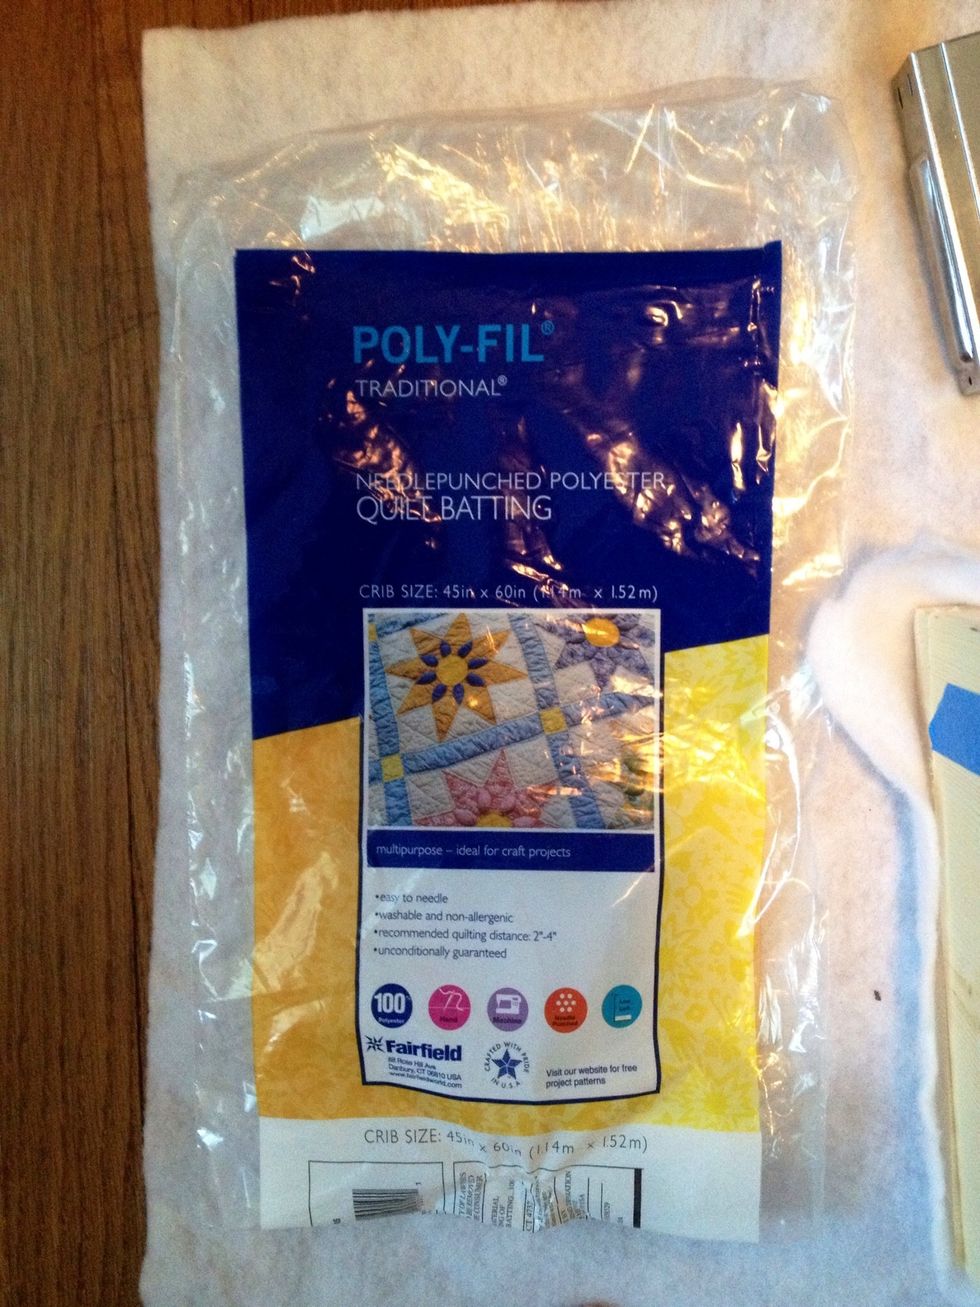
Cut BATTING and FABRIC to at least 6 inches wider than your cornice board and at least 12 inches longer than the length of your cornice.
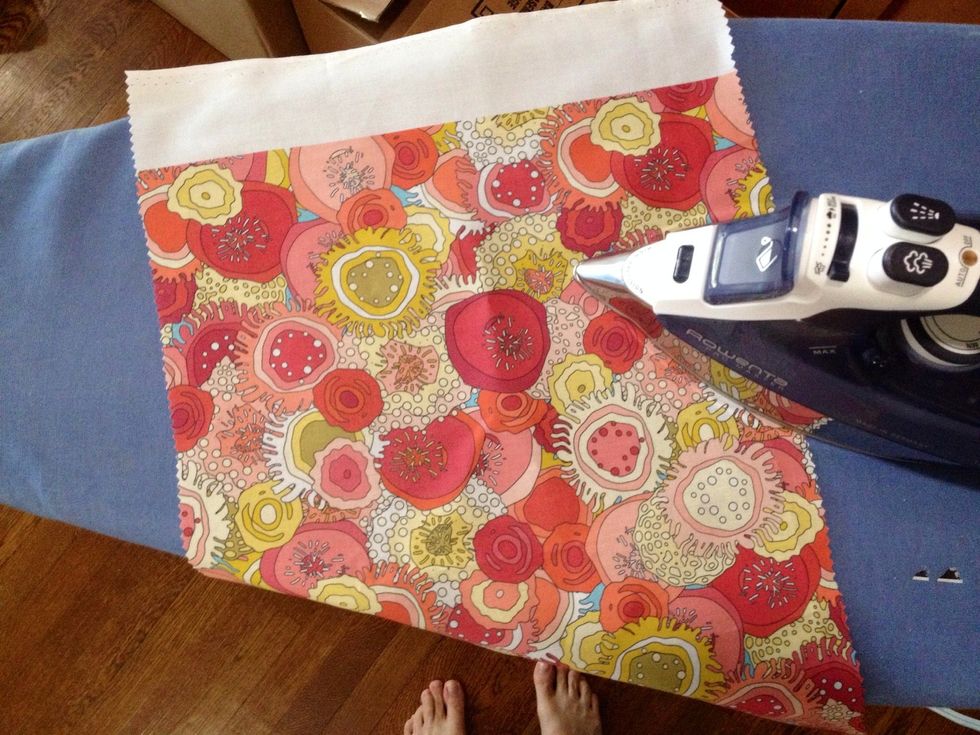
Iron your fabric. This is fabric is "Coral Garden" by Scrummy on Spoonflower.com in basic combed cotton.
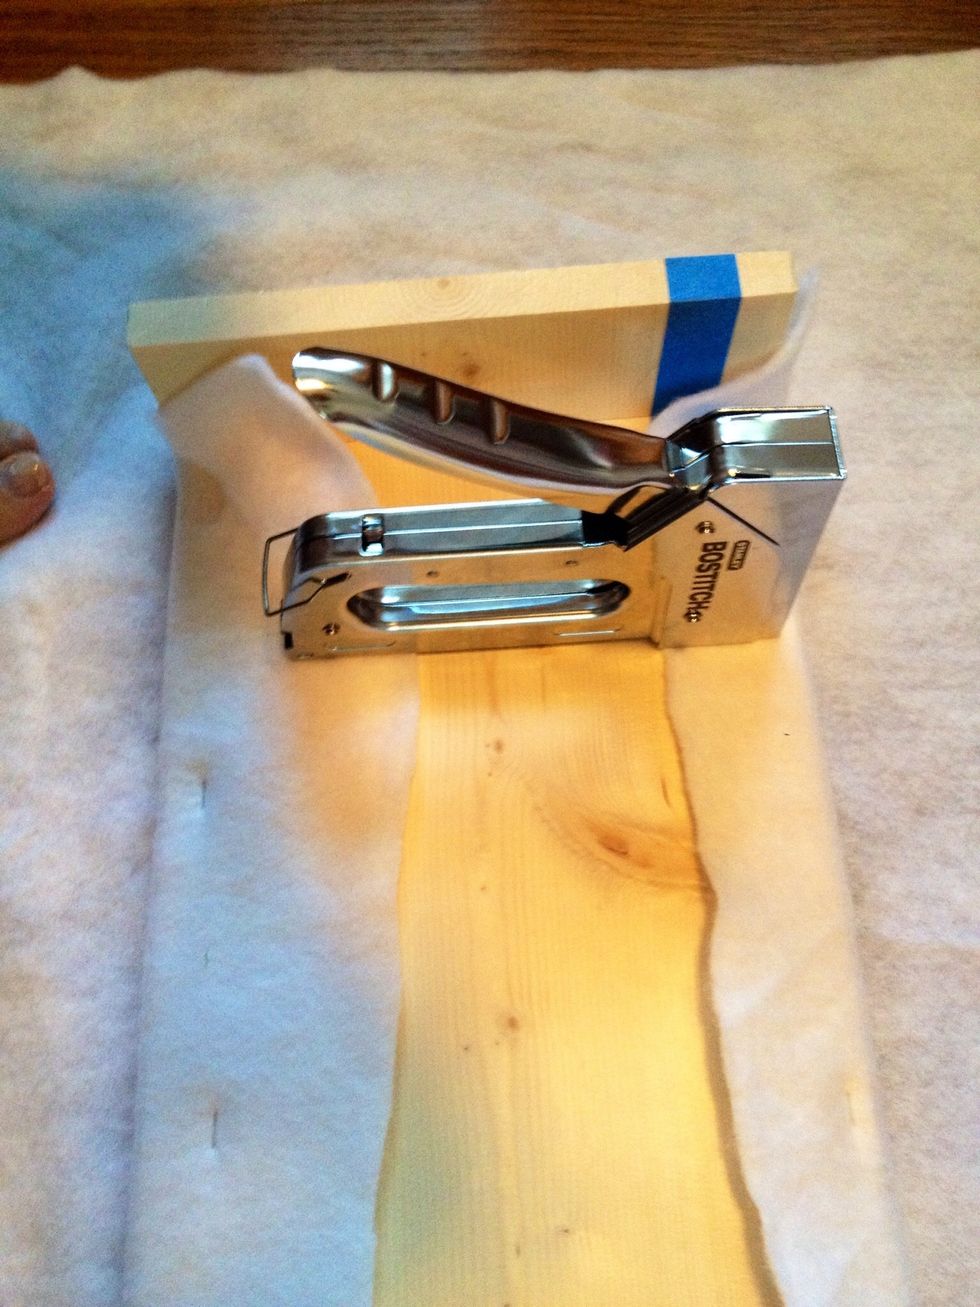
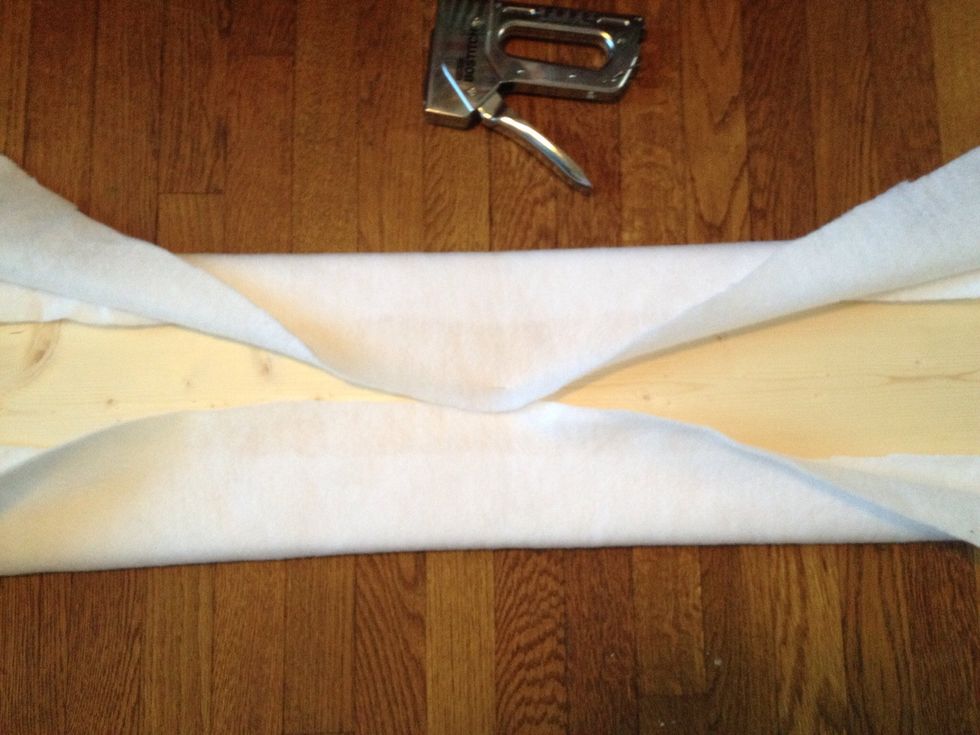
Center cornice in middle of batting rectangle. Gently pull one side over to the back of the cornice, starting at the middle, and staple. Repeat on opposite side.
Repeat back and forth working from center of cornice outward. This cornice is going in a nursery so I am using two layers of batting. The first layer will stop short so the ends are not too bulky.
I doubled batting for style in the nursery. If using two layers, repeat with the second layer of batting, stapling starting in center and moving out, back and forth.
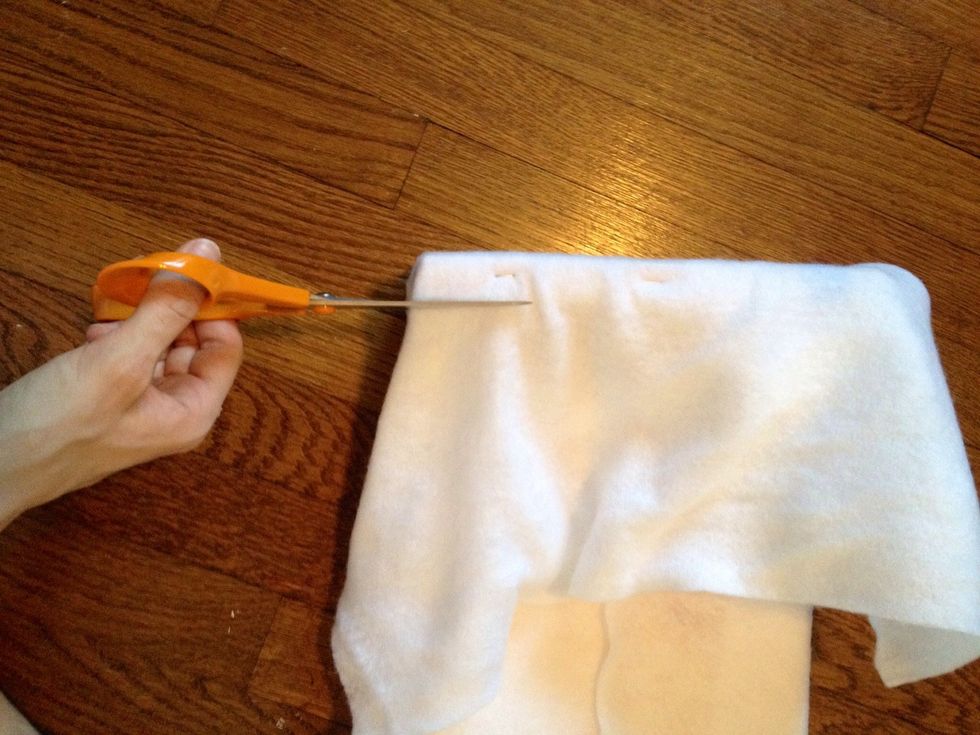
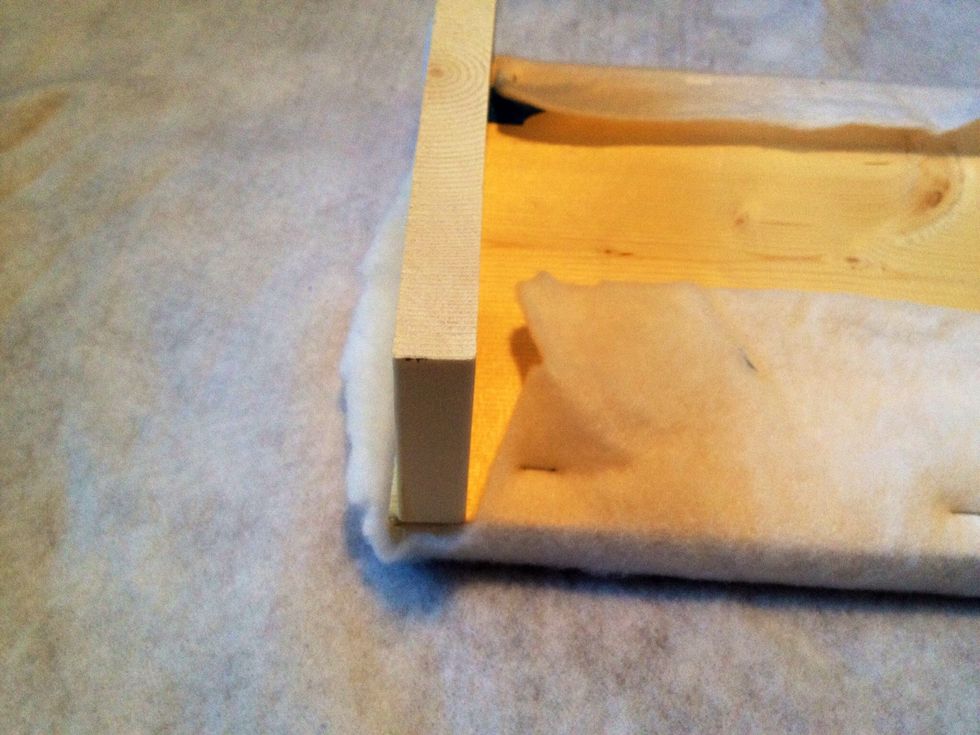
Fold batting at corners. Batting is very forgiving and stretches well. Cut off excess batting.
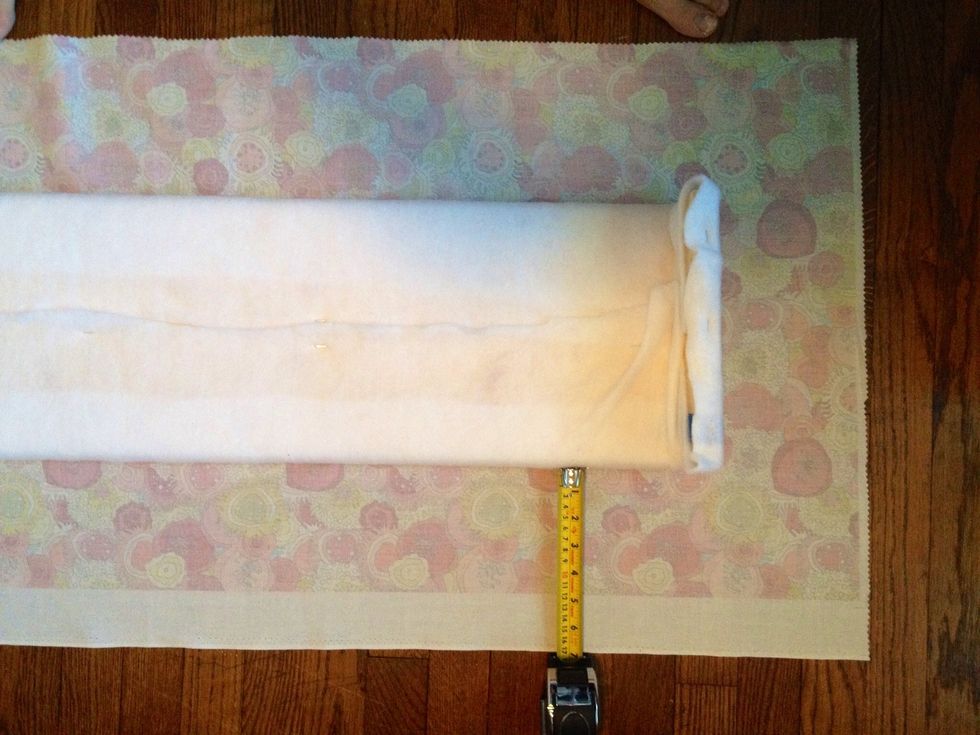
Fold corners as best to a hospital corner and center batted cornice in the middle of fabric with the print side down.
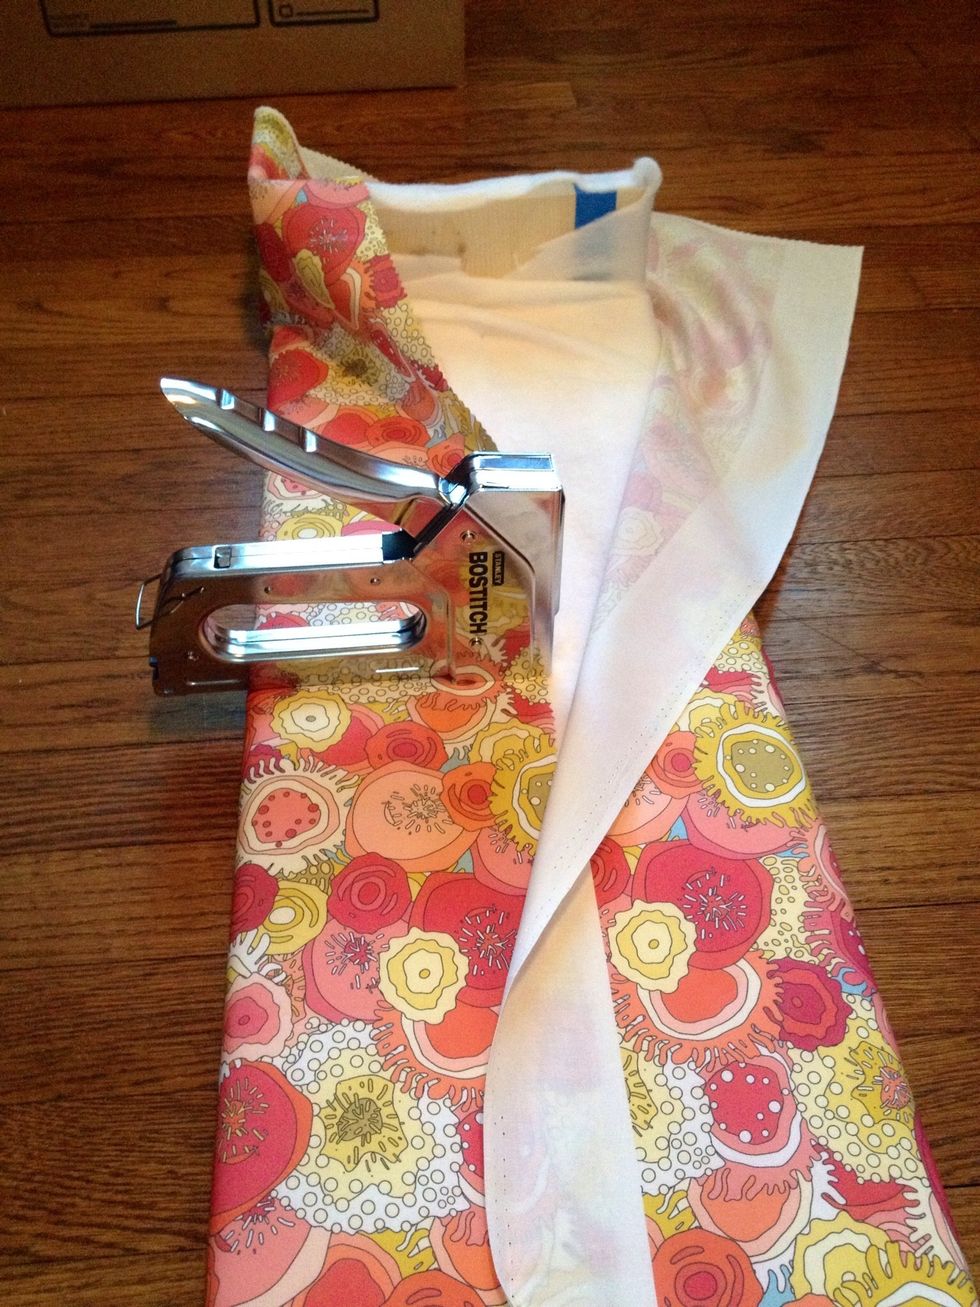
Repeat same steps as with batting. Pull over edges but not extremely firm or you will have some areas that pull more than others, giving an uneven appearance.
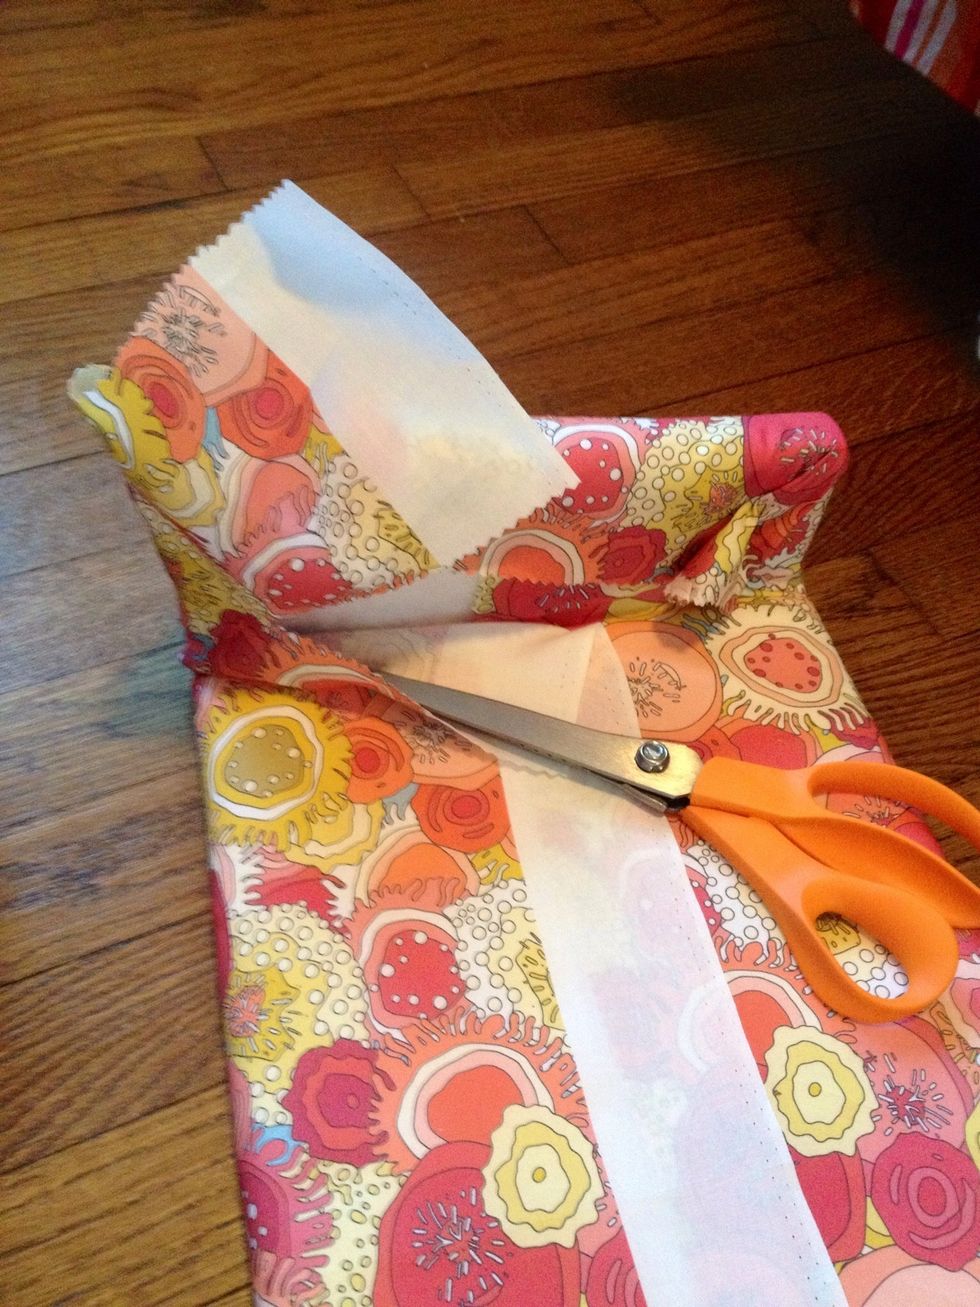
Trim excess fabric at corners. Gather remaining fabric and staple. Cut out area for the mounting bracket of choice.
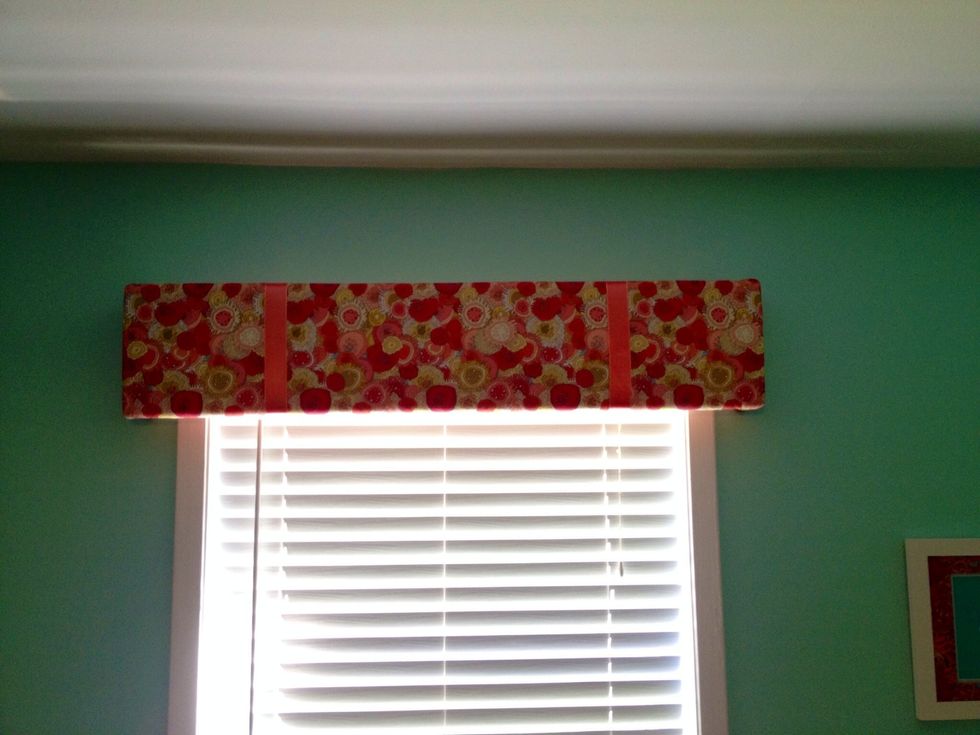
Two ribbons were added to this cornice. A variety of edging could be added to the bottom. Mount bracket to wall first, then slide cornice over brackets and secure with screws.
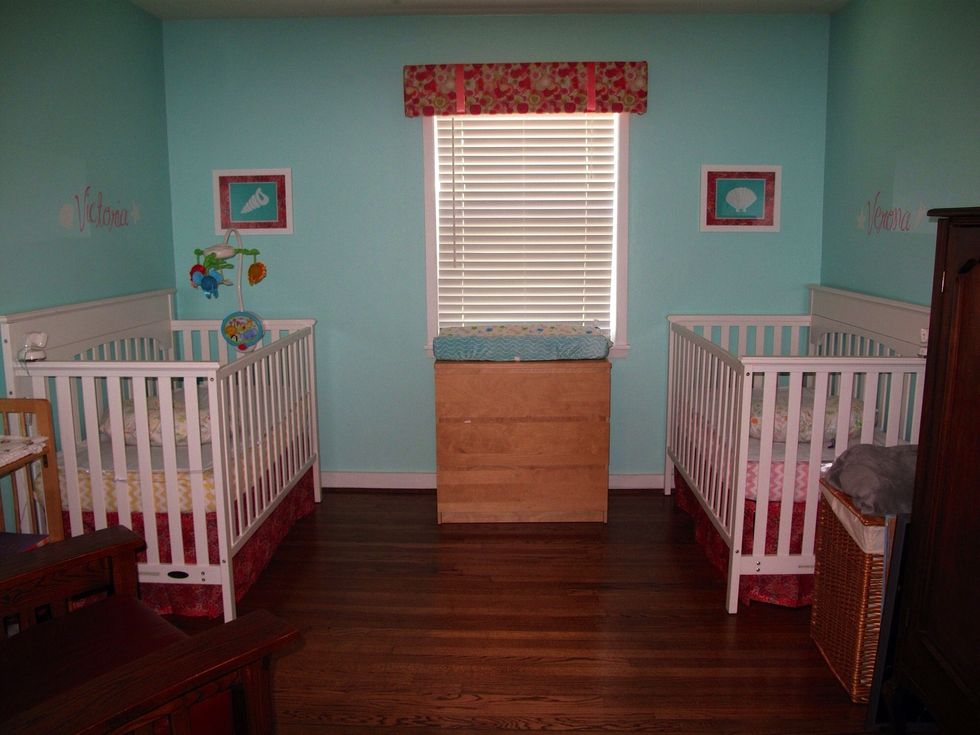
Now you have an easy, simple, beautiful coordinating window treatment! See my guide for fabric-covered frame mats for a coordinating project.