The Conversation (0)
Sign Up
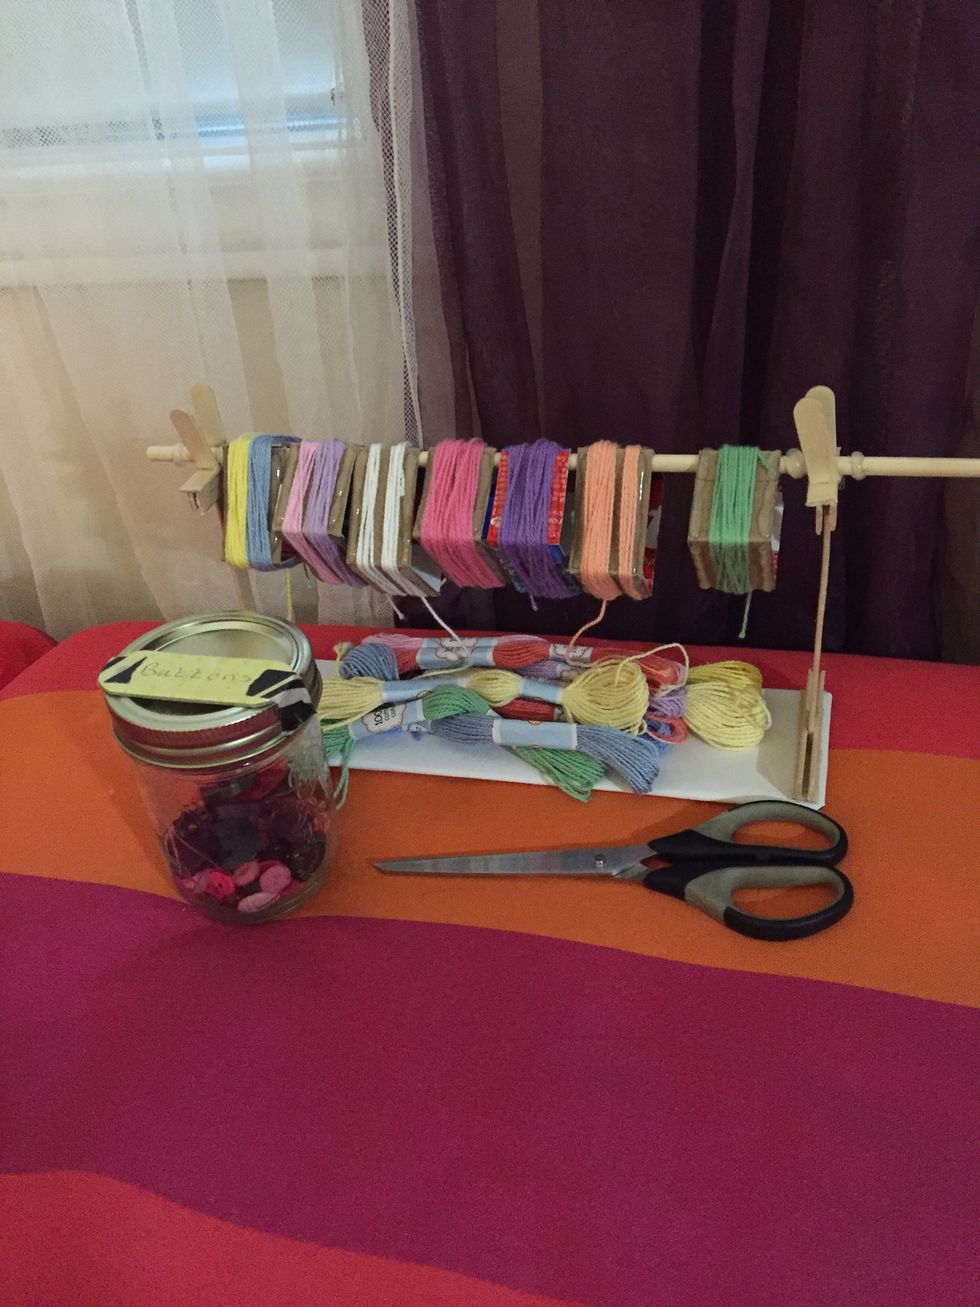
Gather your materials: string (I used embroidery floss), a button,scissors and tape
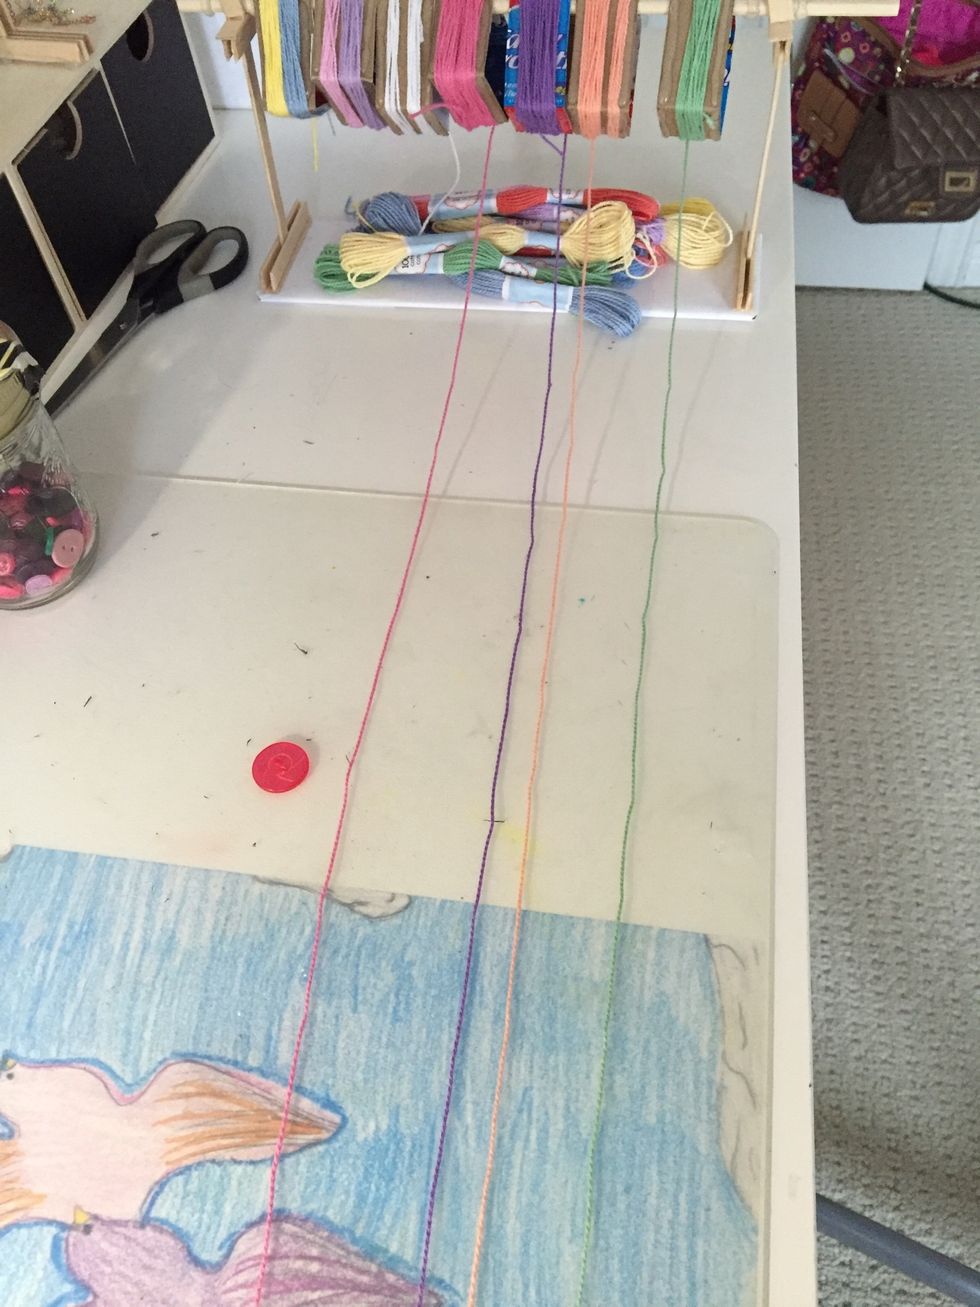
Now I measured about 1 meter of string for each colour and got a button that matched the colour of my string

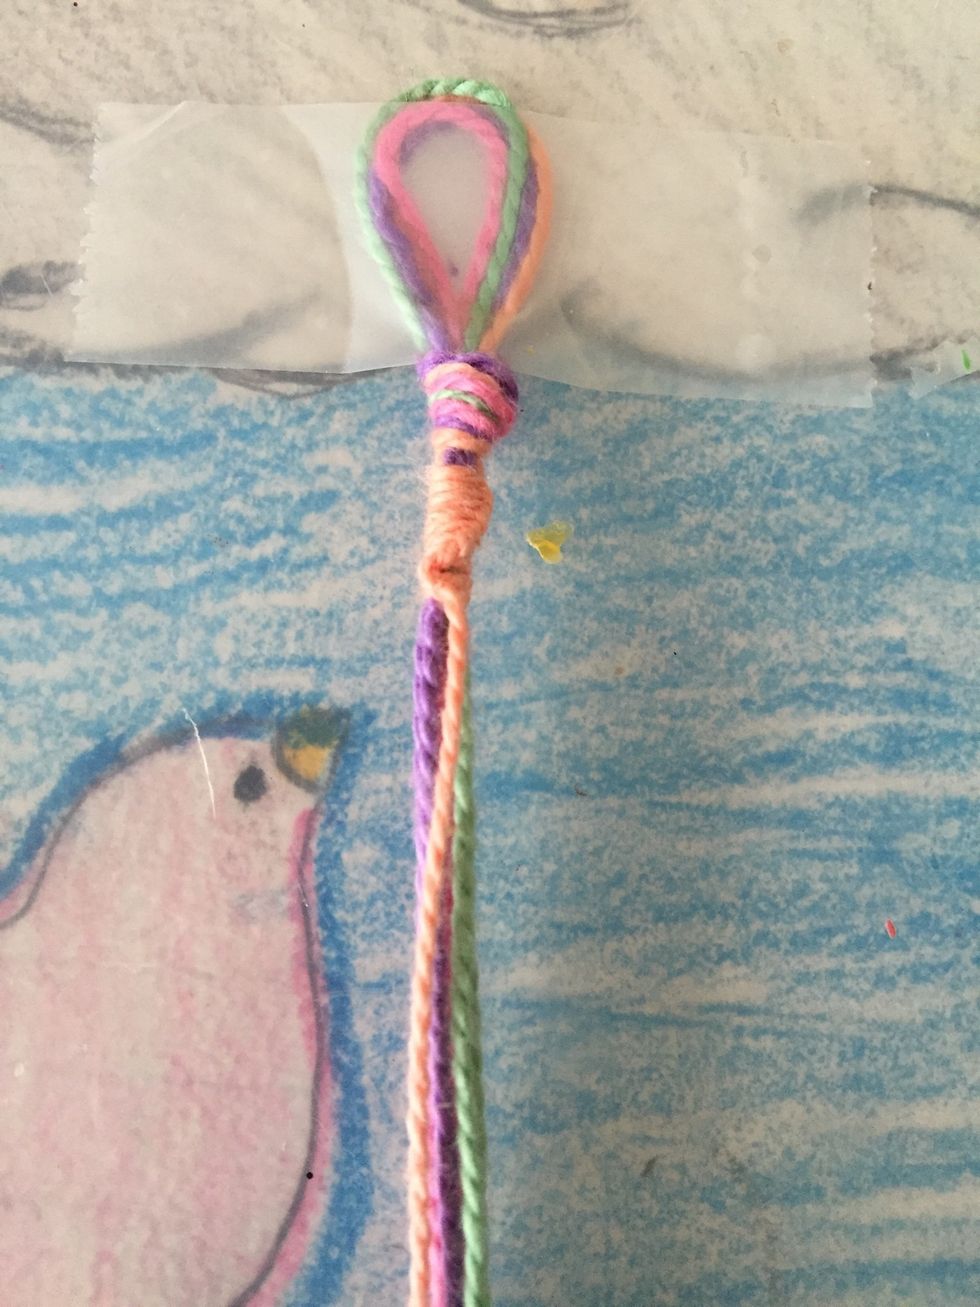
Put the string together and fold it
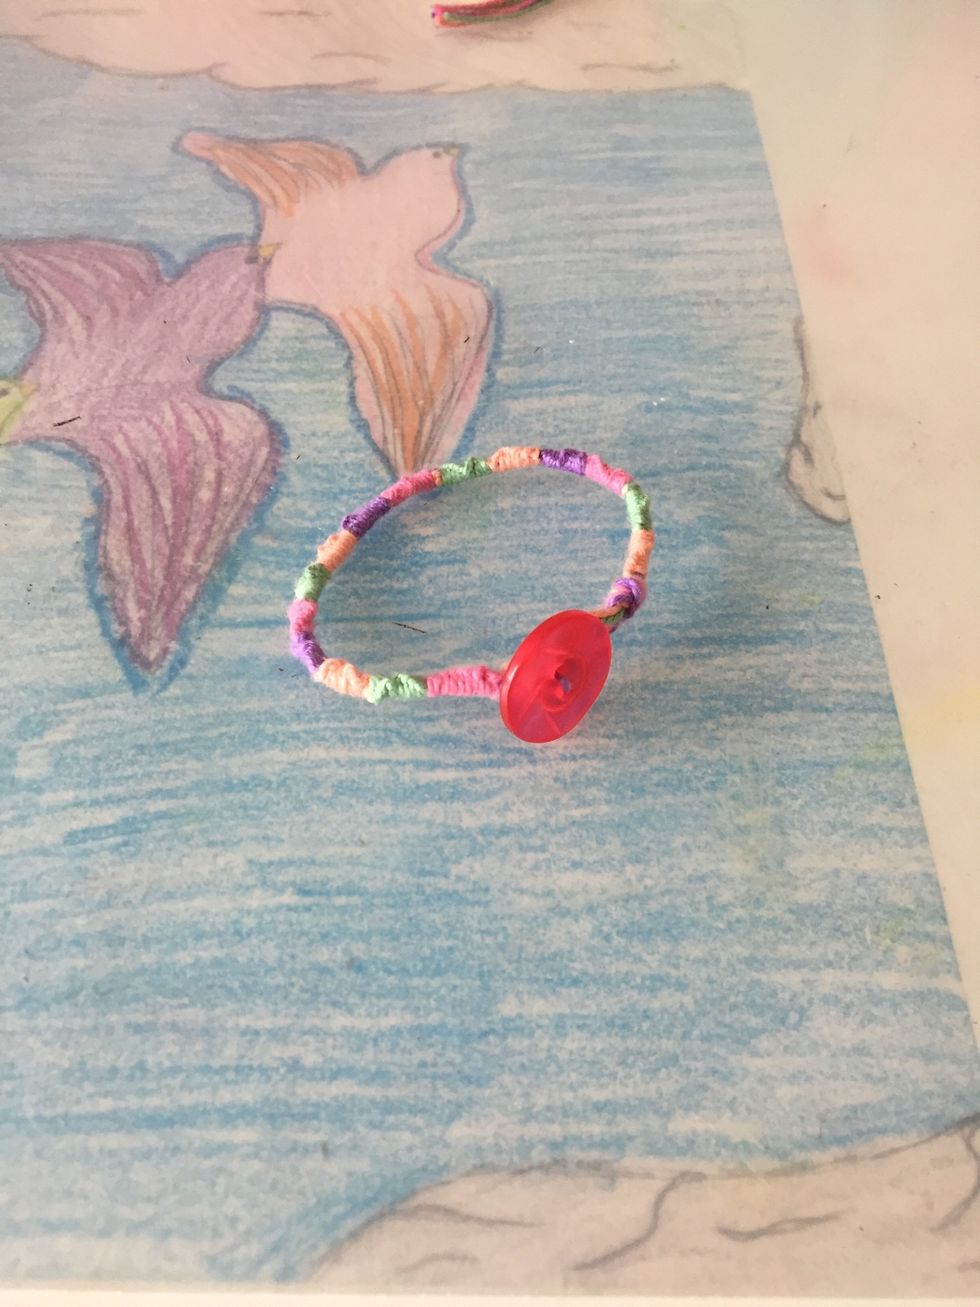
Make a knot where the fold/loop is(make sure your button can fit through the loop. It will act as a clasp to close your bracelet)
To make is easier I taped down the string
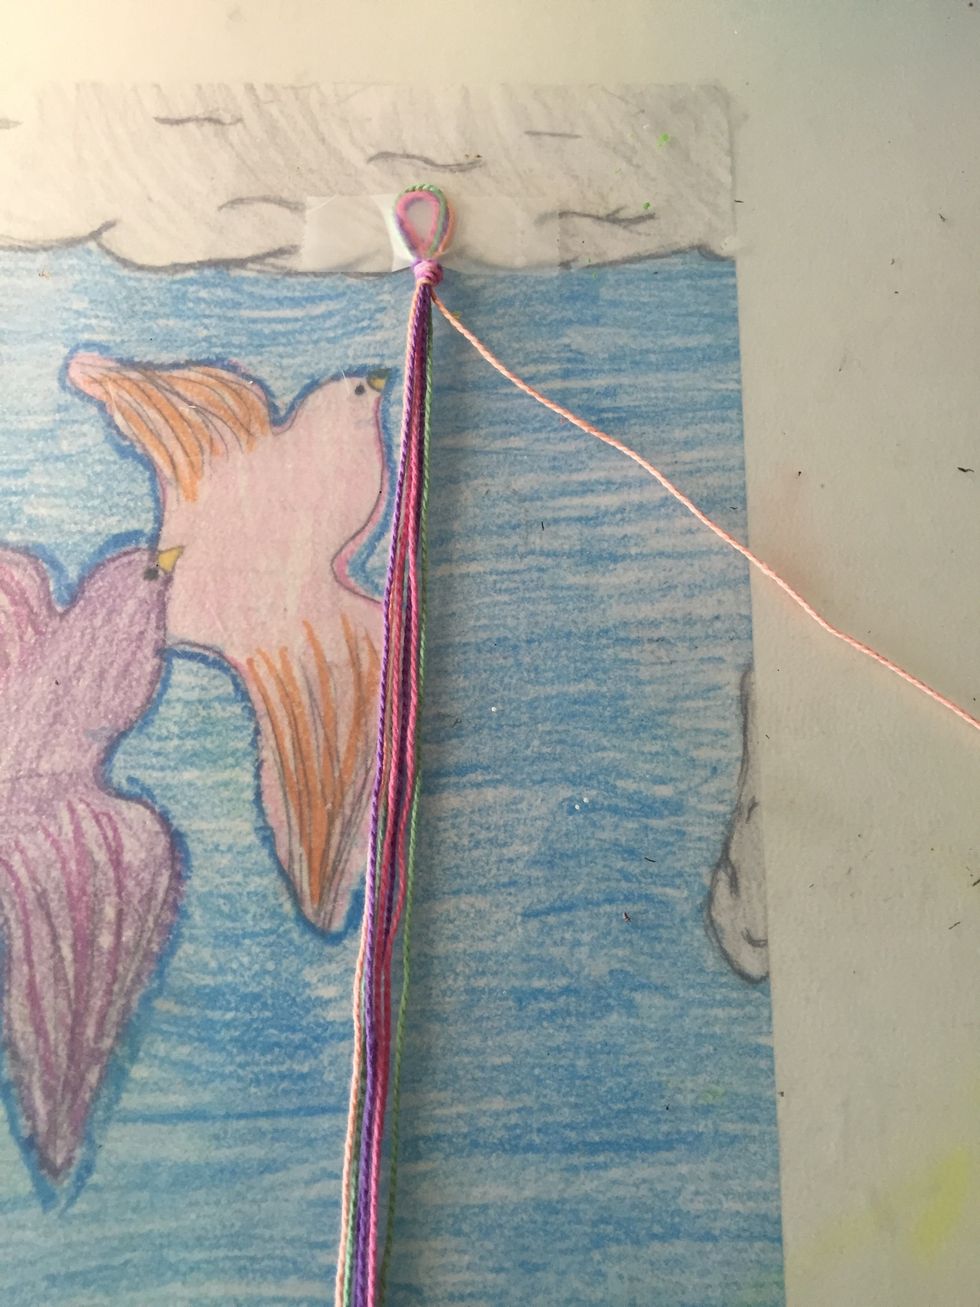
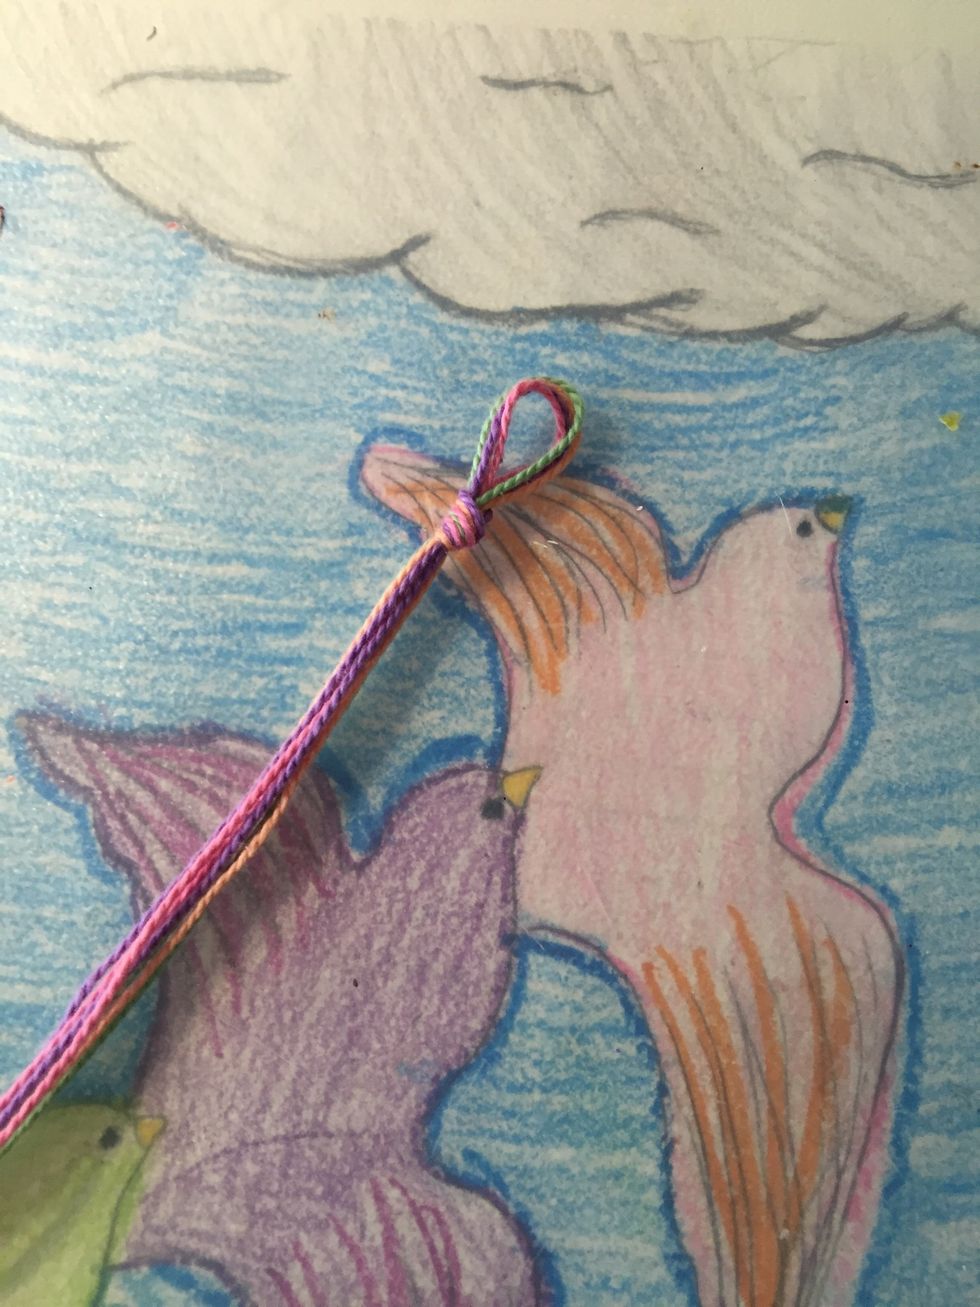
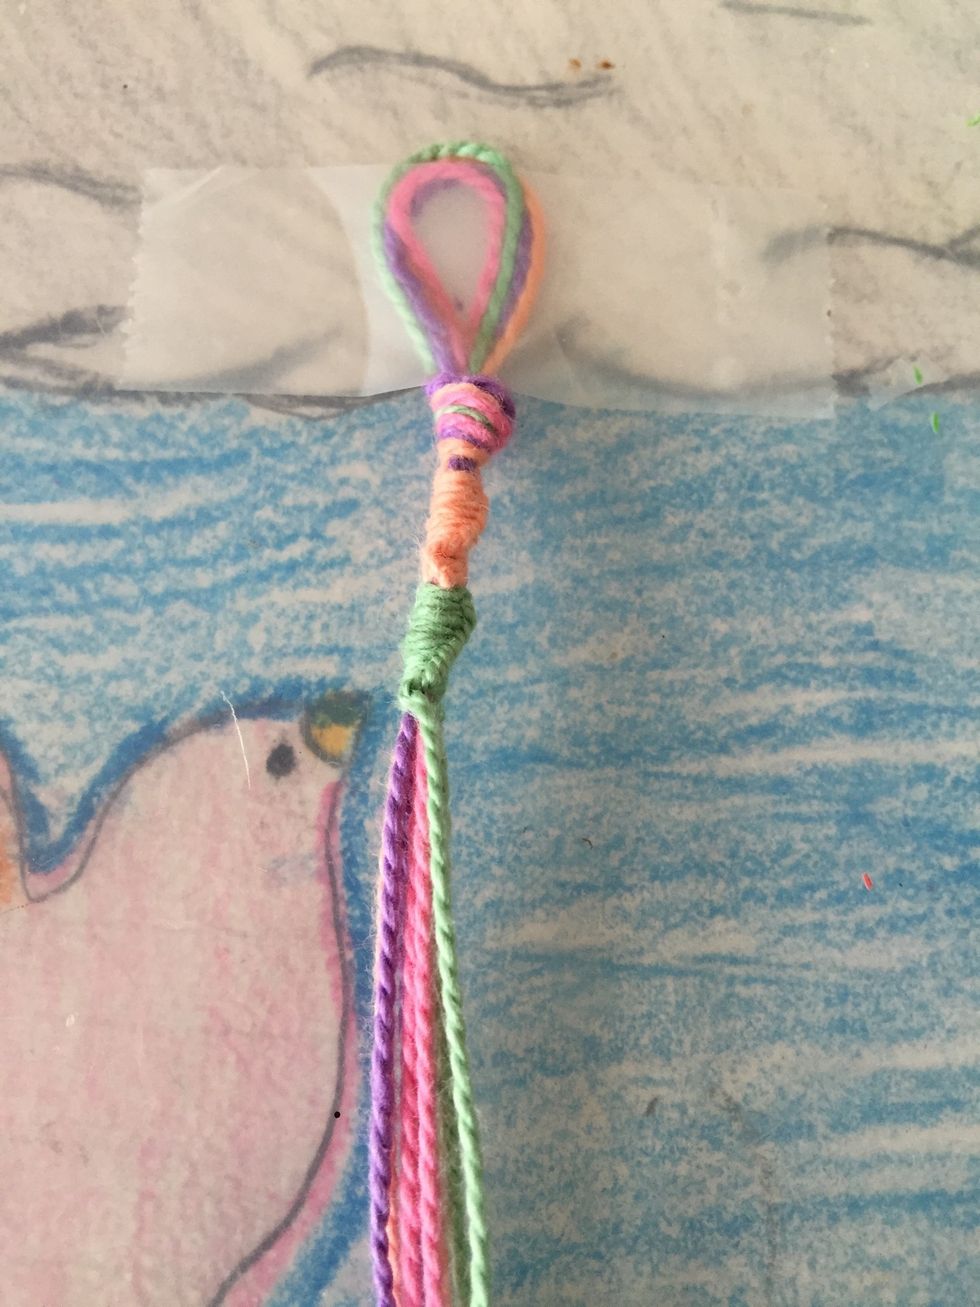
Take out any string from the batch (doesn't matter what string you take out)
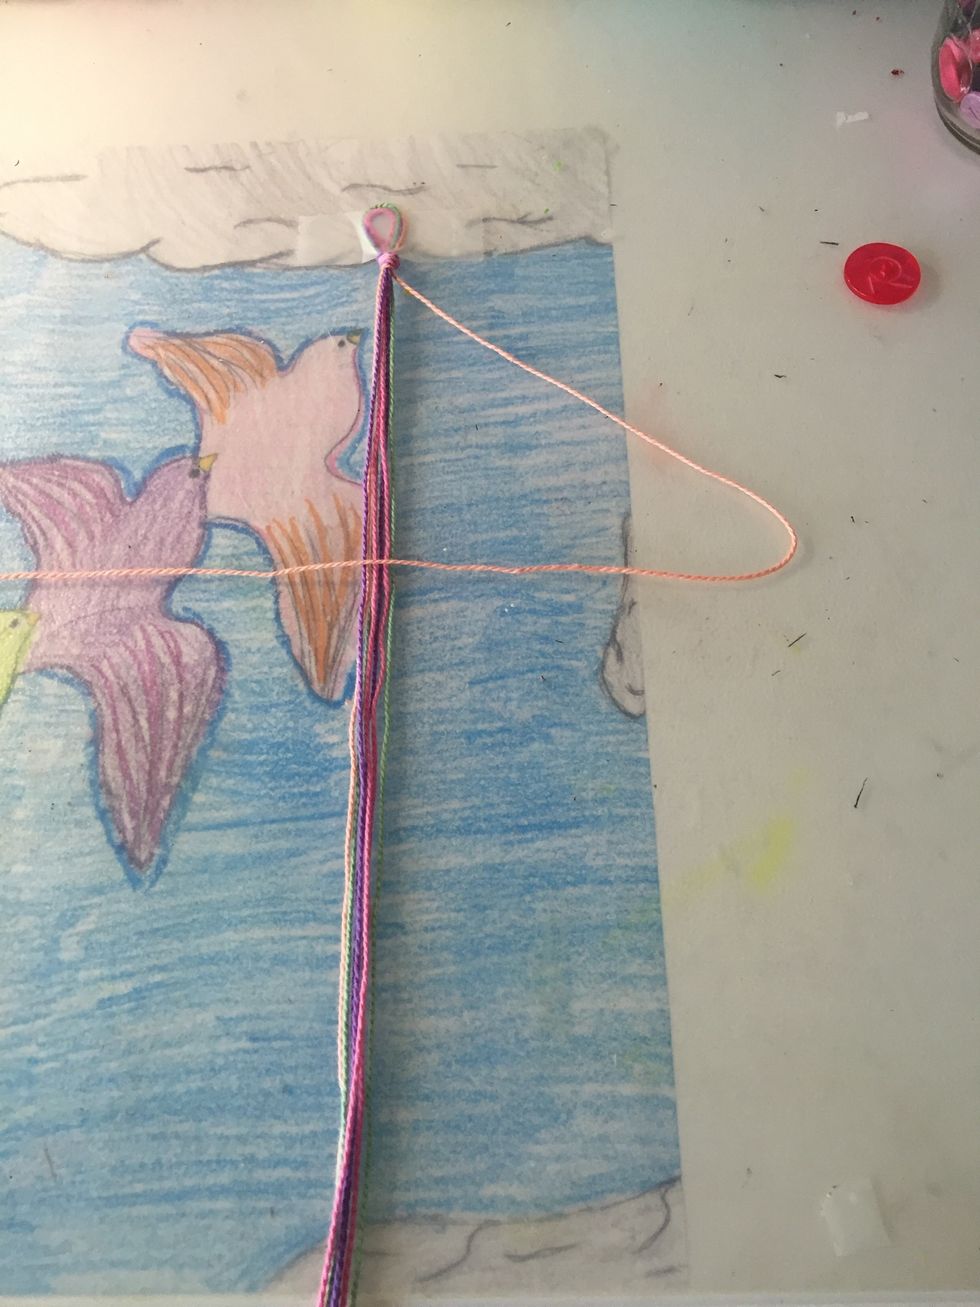
With the string you took out make a '4' shape like shown in the picture
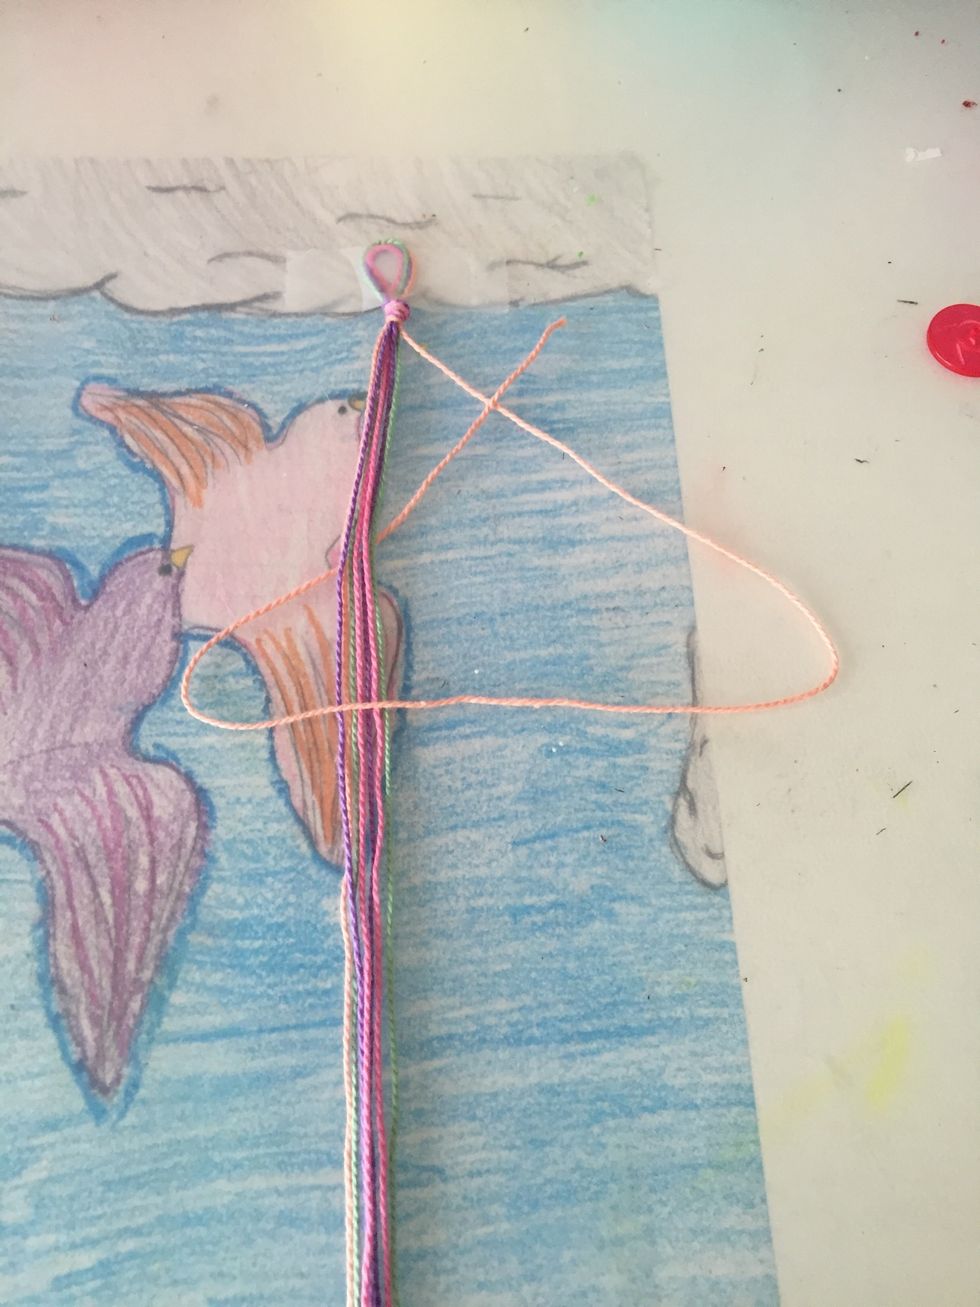
I put the string under the middle strings and put it through the '4'
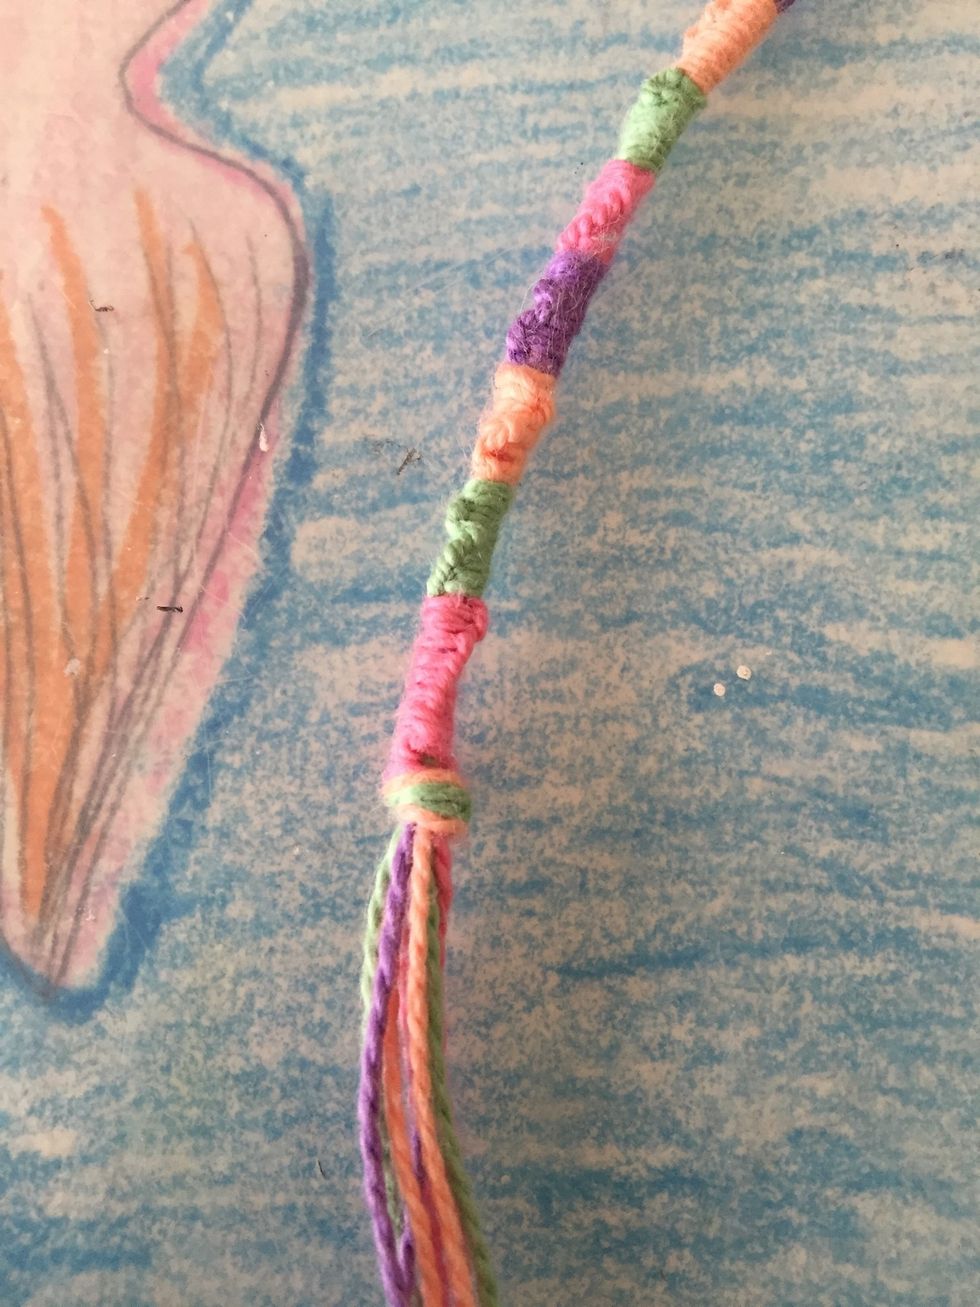
When I pull the string it should look like this

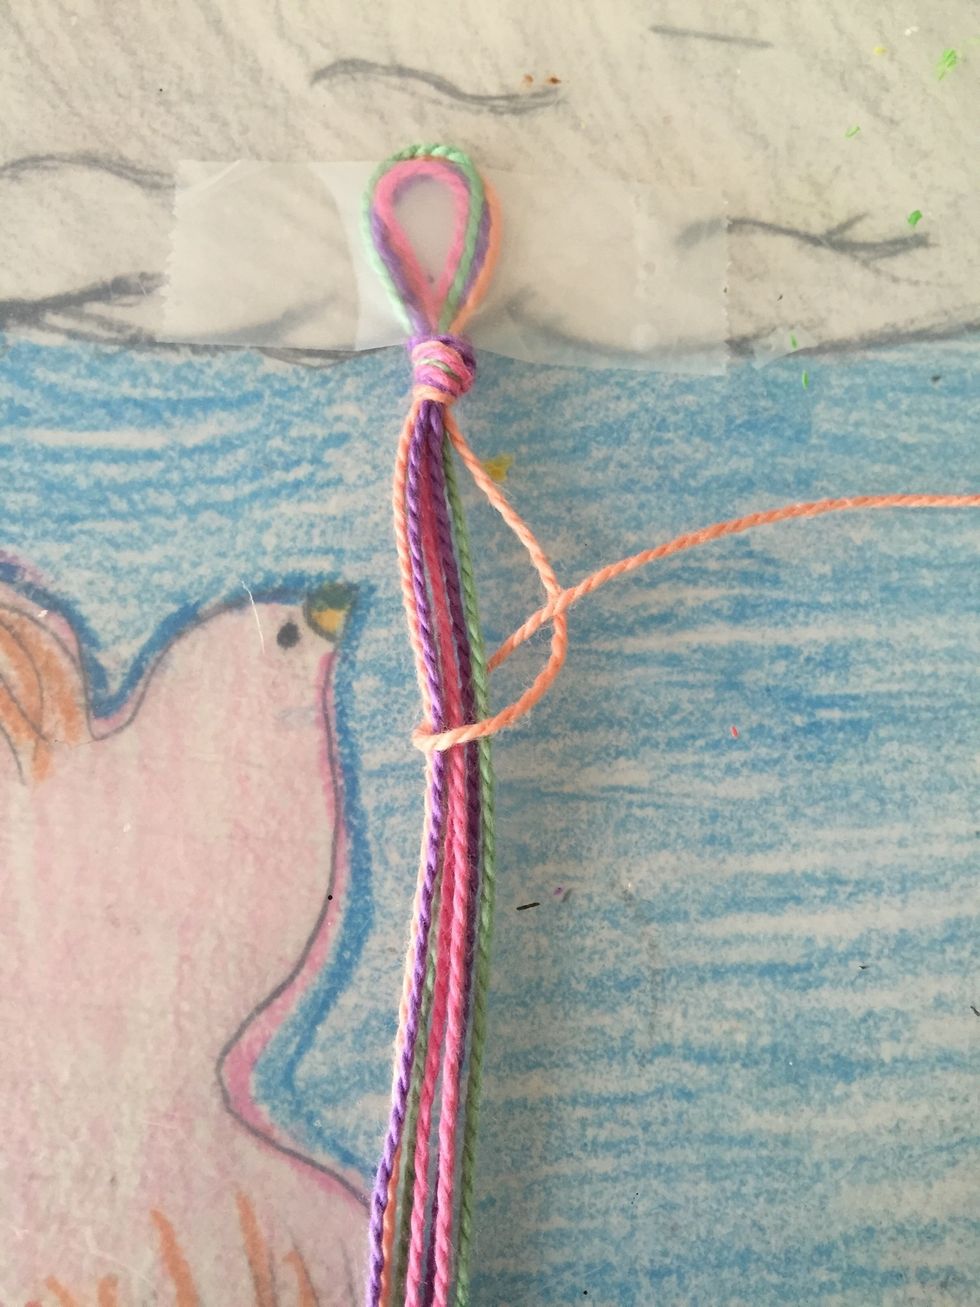
You want to pull it all the way until it is tight
Keep on repeating this step until you get your bracelet to the right length
If you want to change the colour just pick out another string and keep going
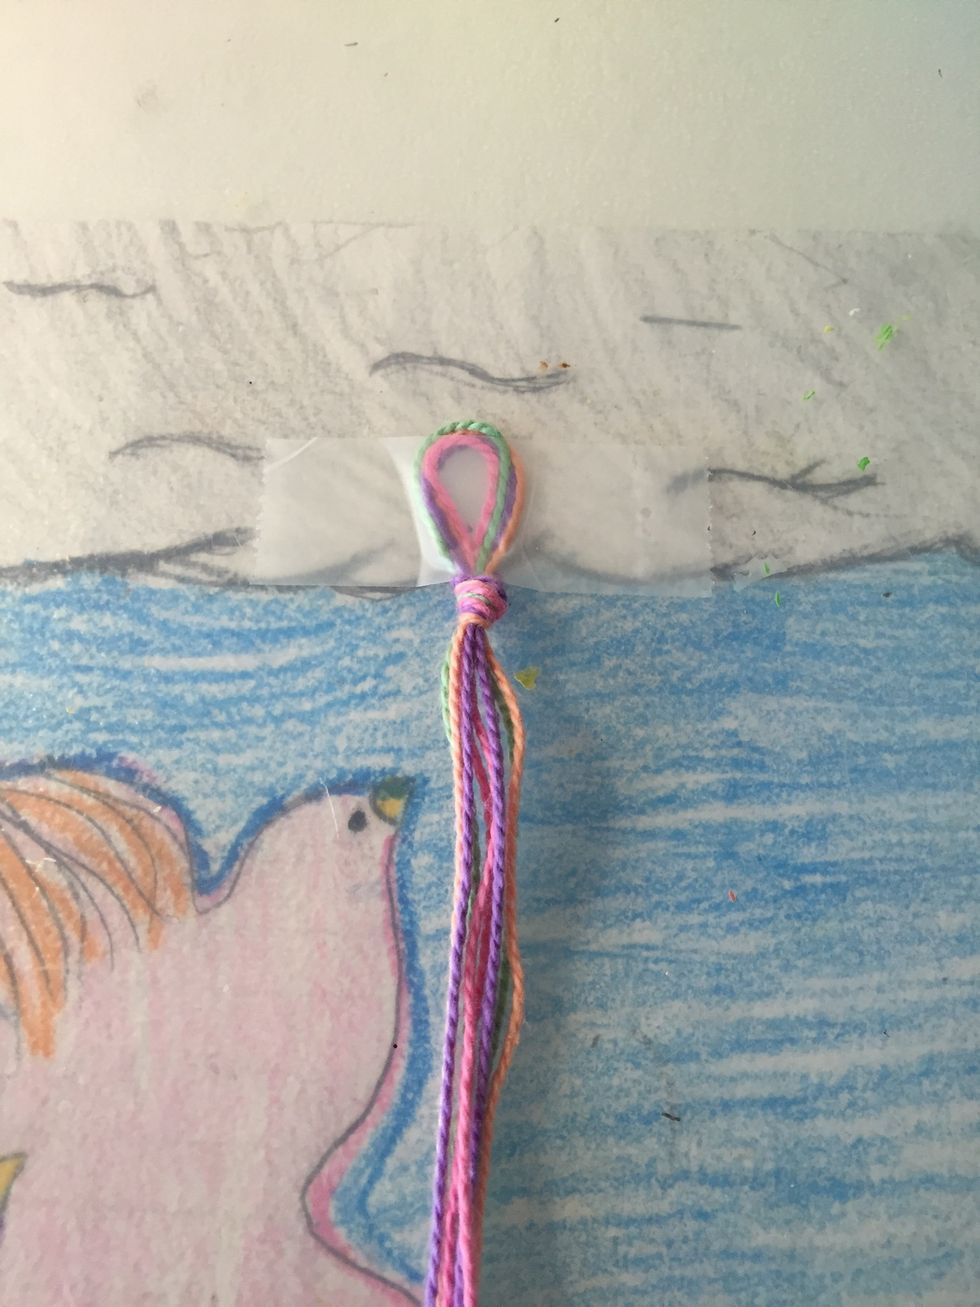
Now that my bracelet is long enough to wrap around my wrist I tied a knot so it wouldn't fall apart
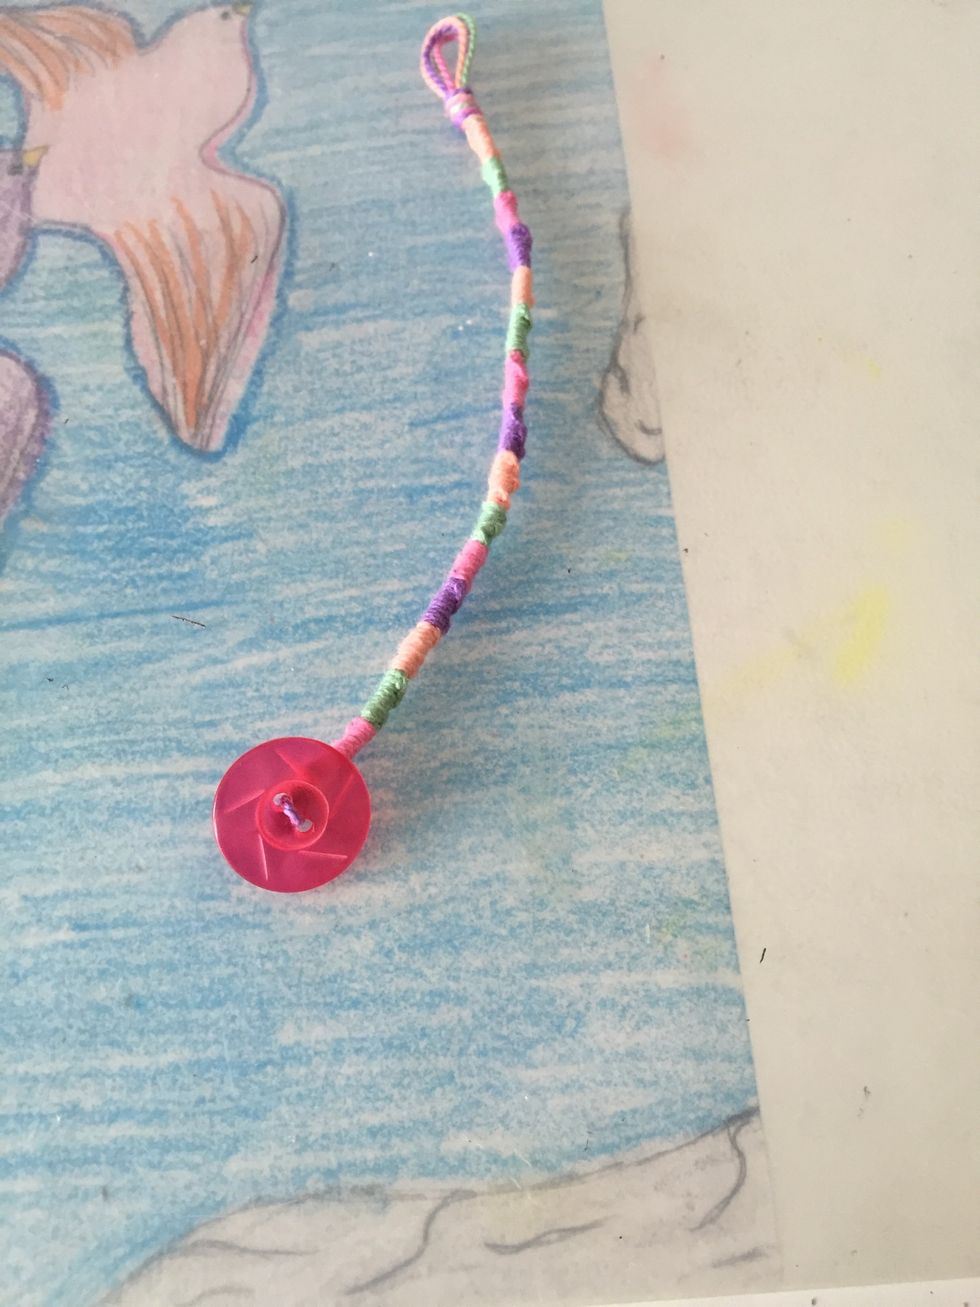
I put on a button using the leftover string and tied another knot and cut of the extra string
Now you are ready to wear your DIY bracelet!