The Conversation (0)
Sign Up
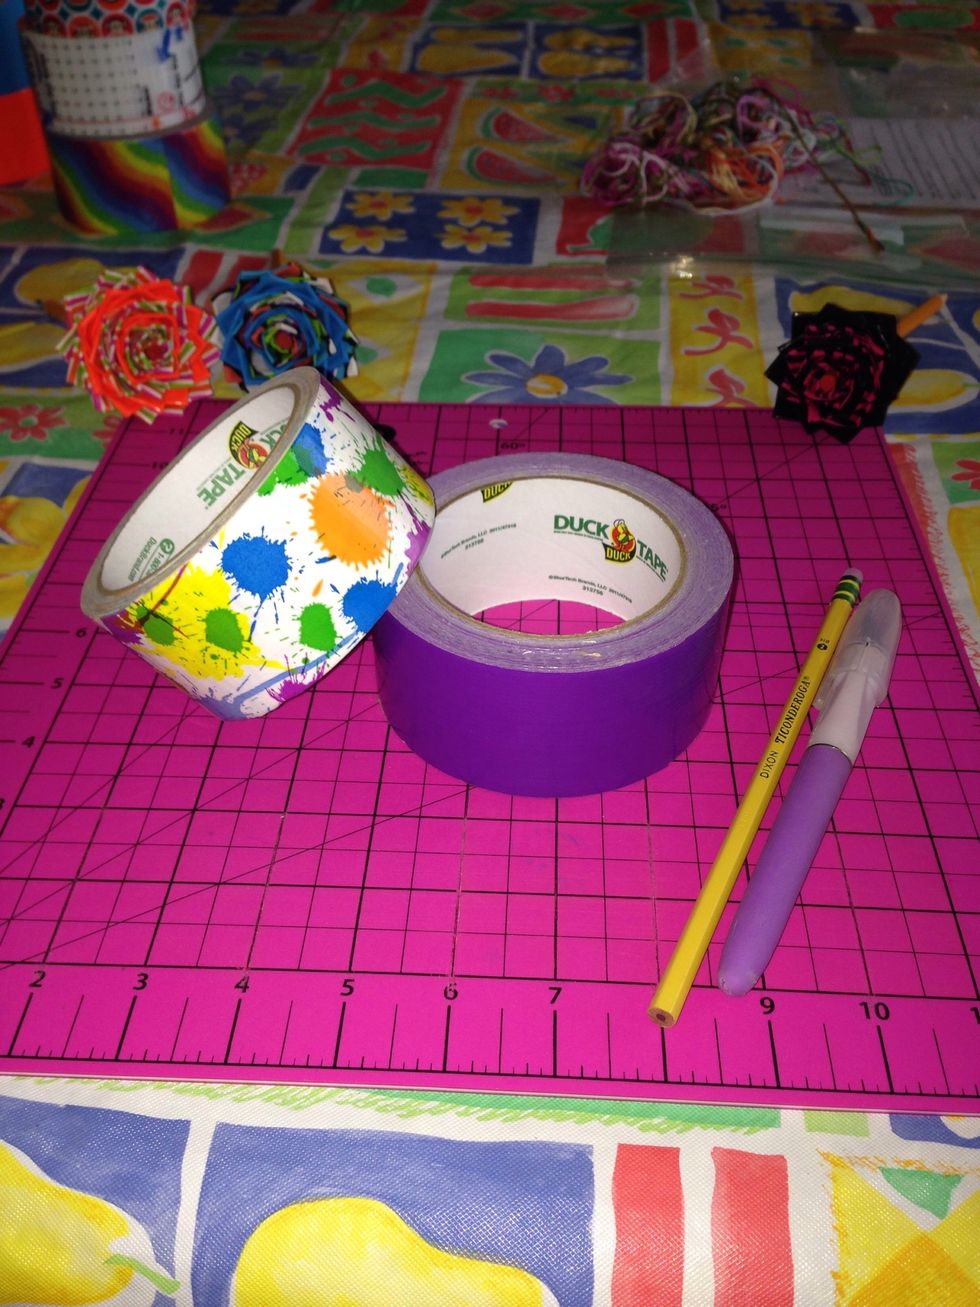
First gather your supplies.
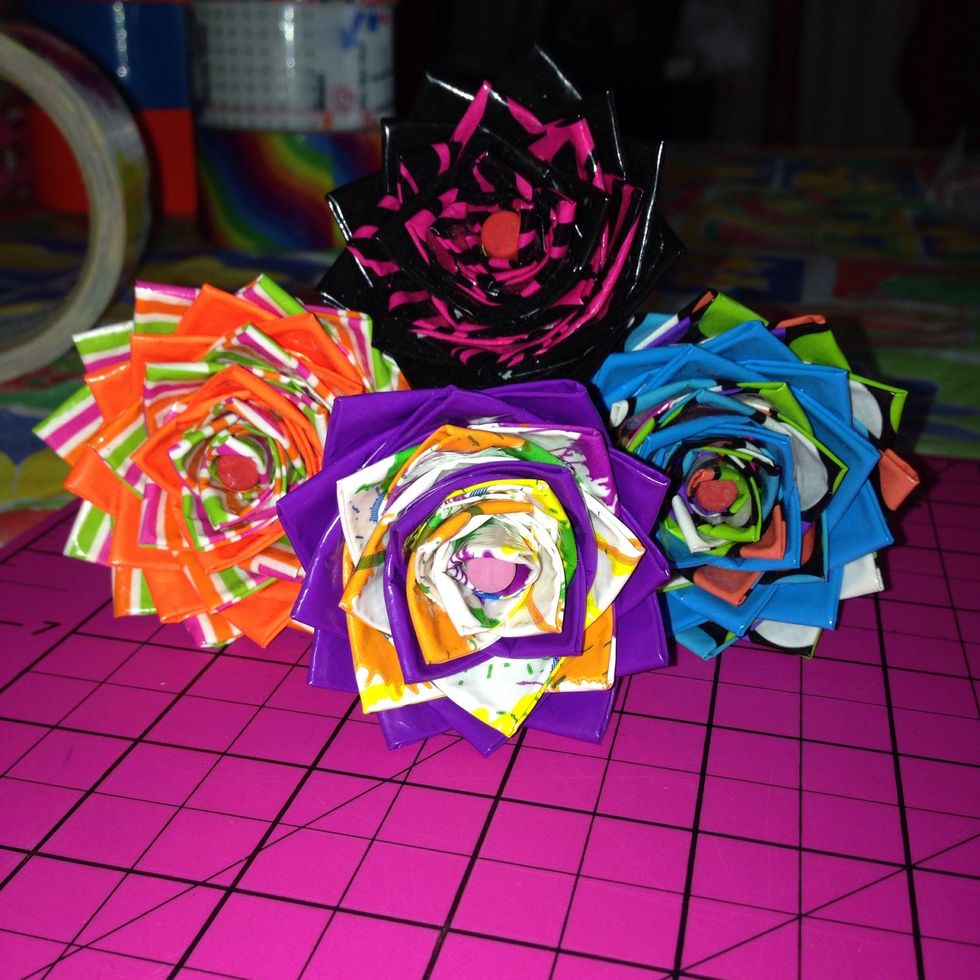
Decide which duck tape color you want the outside of your flower to be. Start the inside with the opposite color. (Ex. Out=purple, In=tie die)
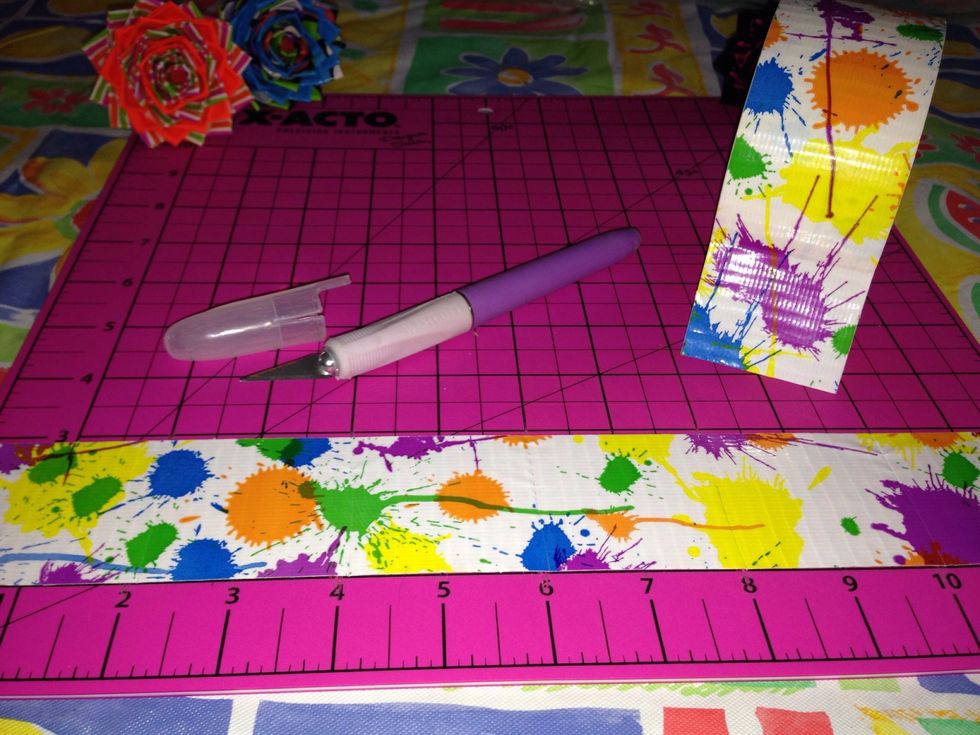
Roll out 12 inches of duct tape and cut it into 2in pieces. You'll have 6 pieces.
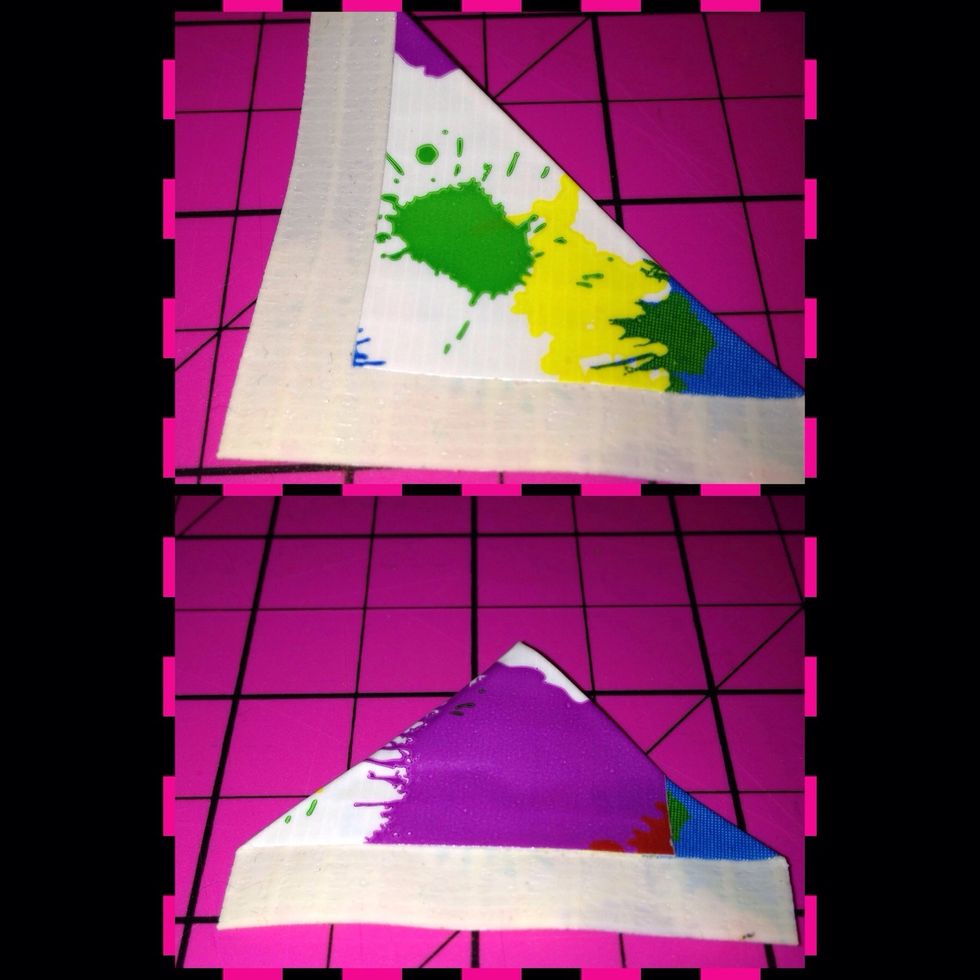
Now take one of the pieces and fold over one corner. And take the other corner to meet up at the bottom of the first corner. Make sure there still stickiness at the bottom.
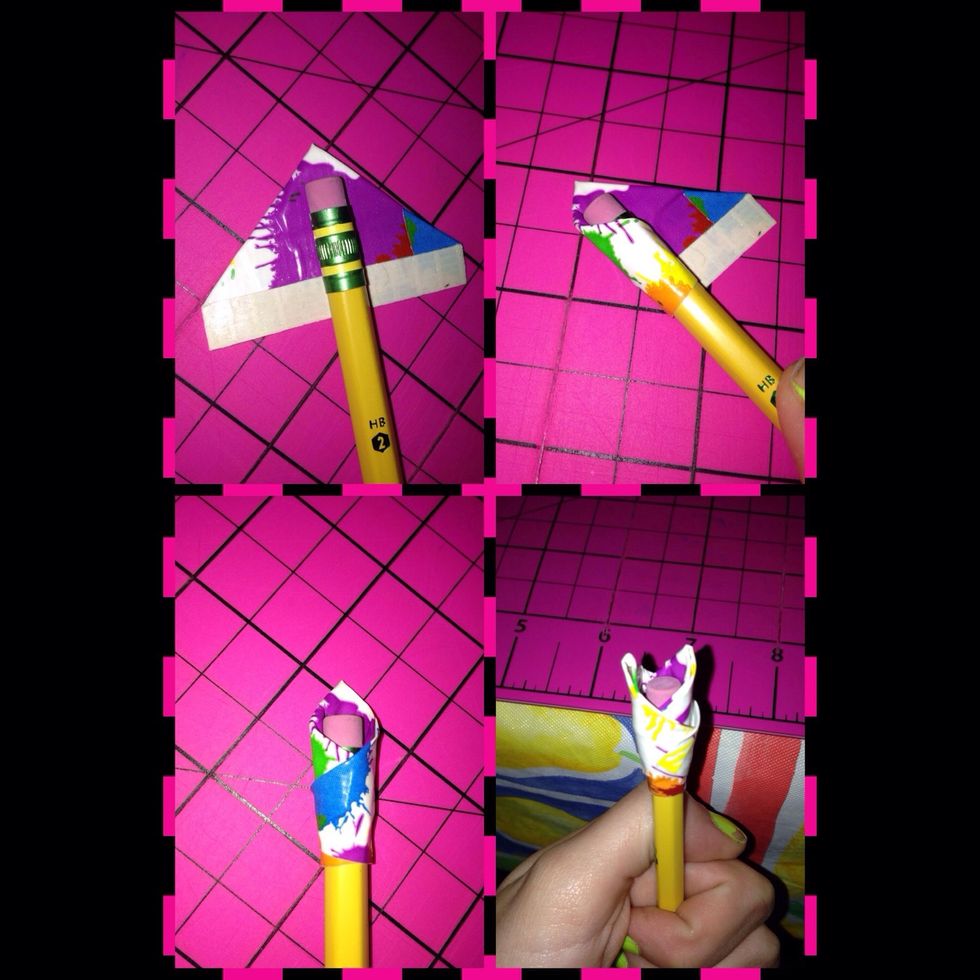
Now follow the directions in the picture.
Follow the picture ^
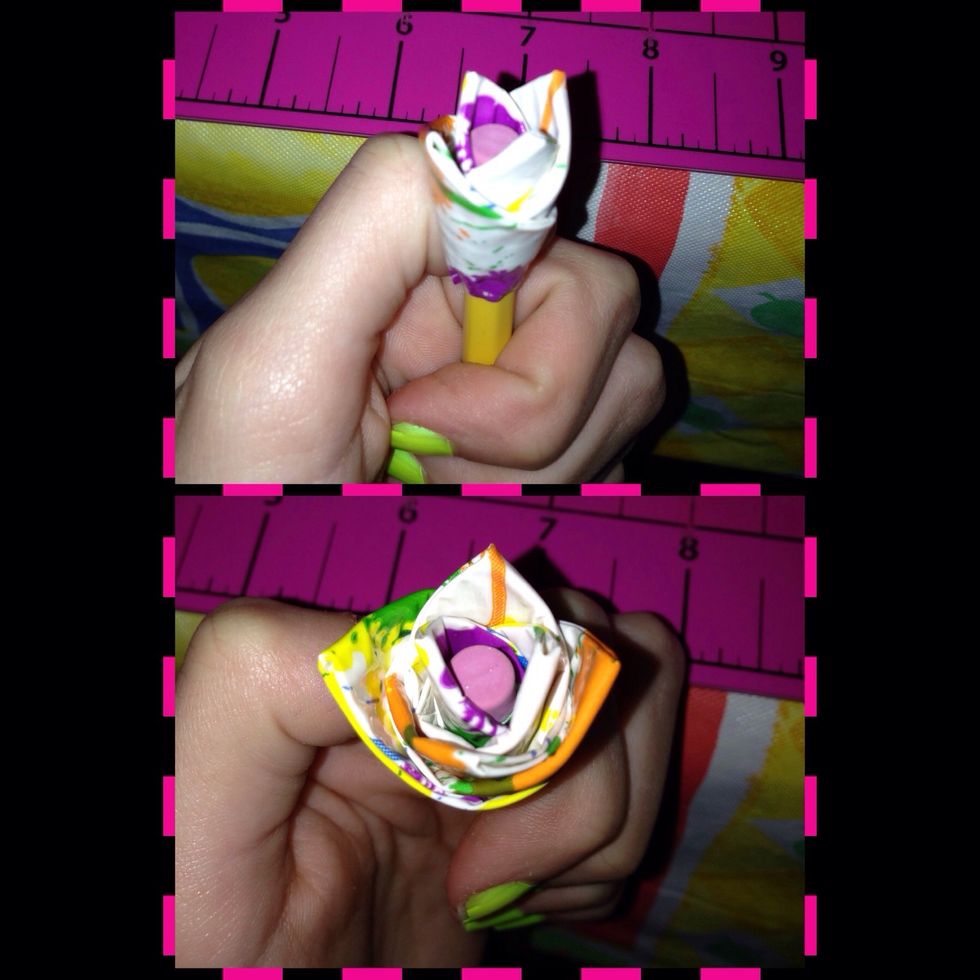
Keep following. ^ make sure to be switching the colors !
Keep going^
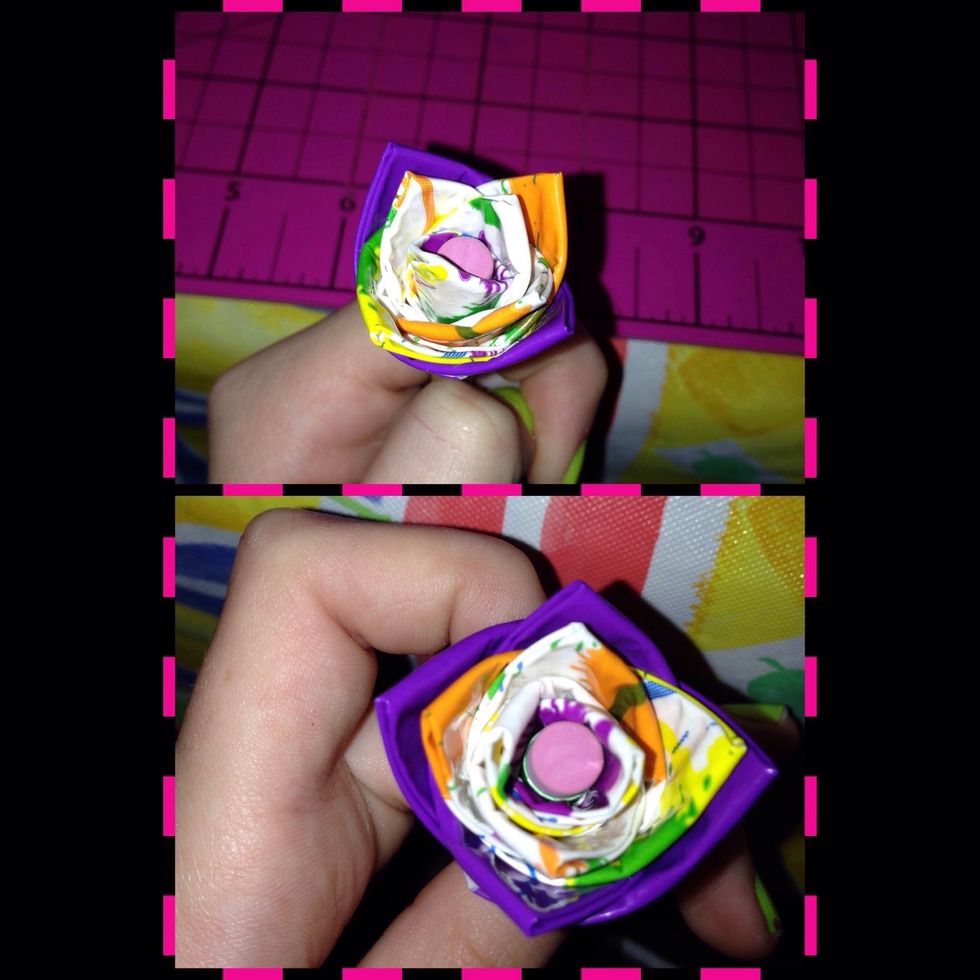
Make sure to follow this one exactly^
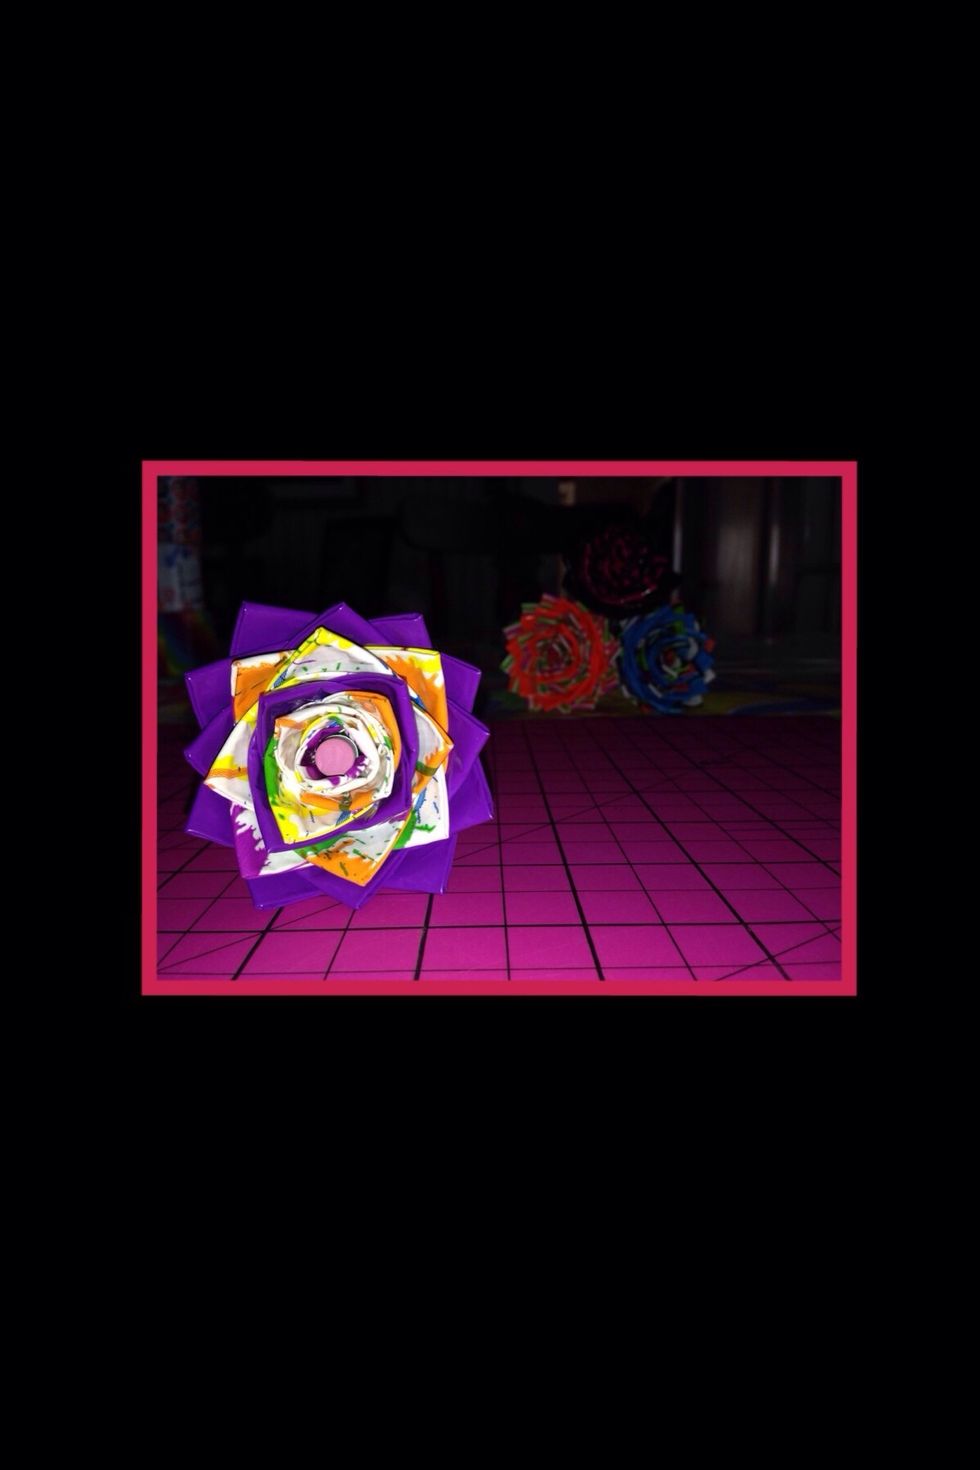
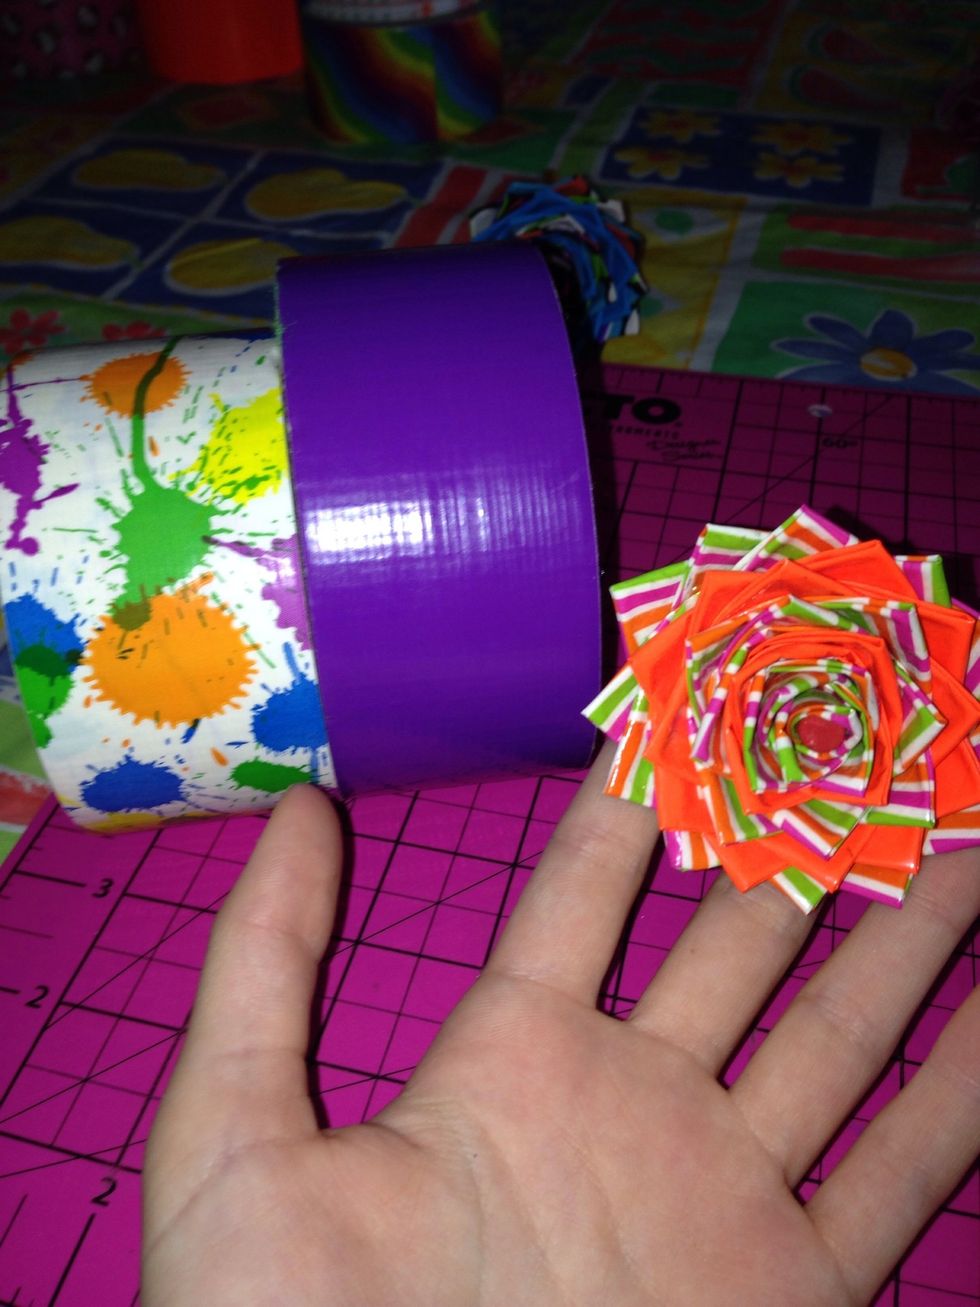
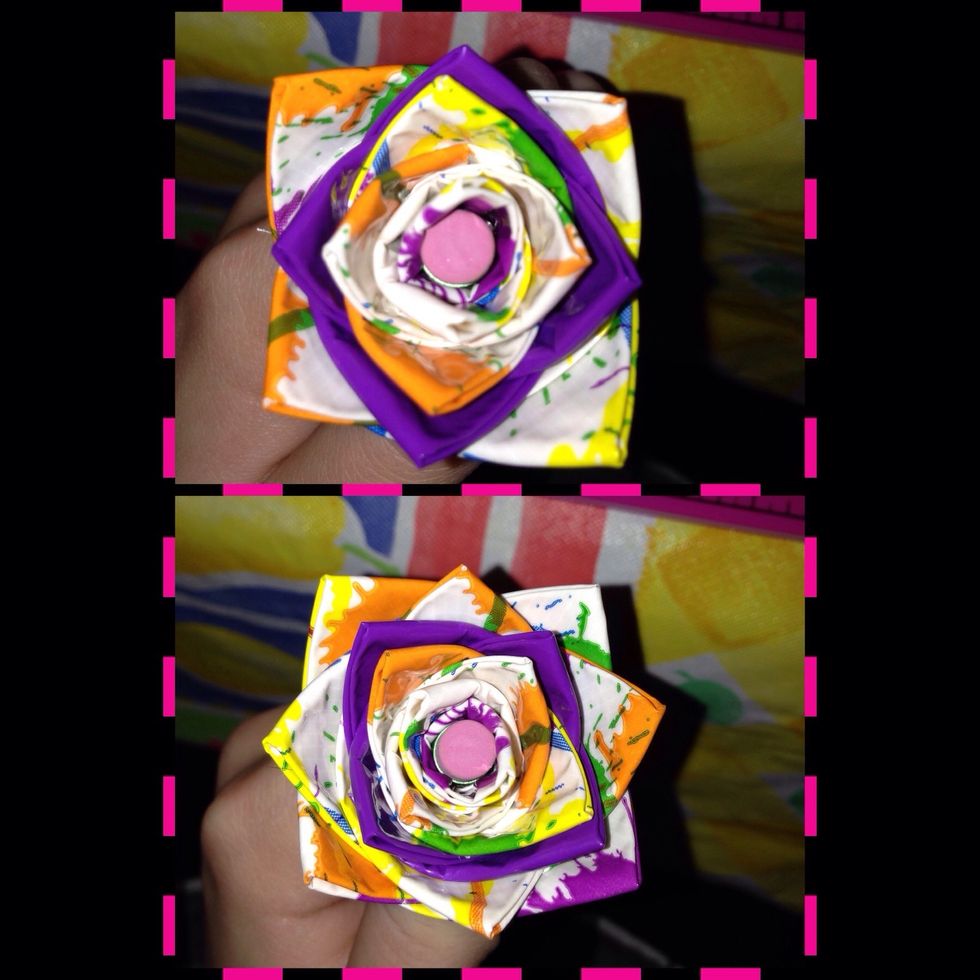
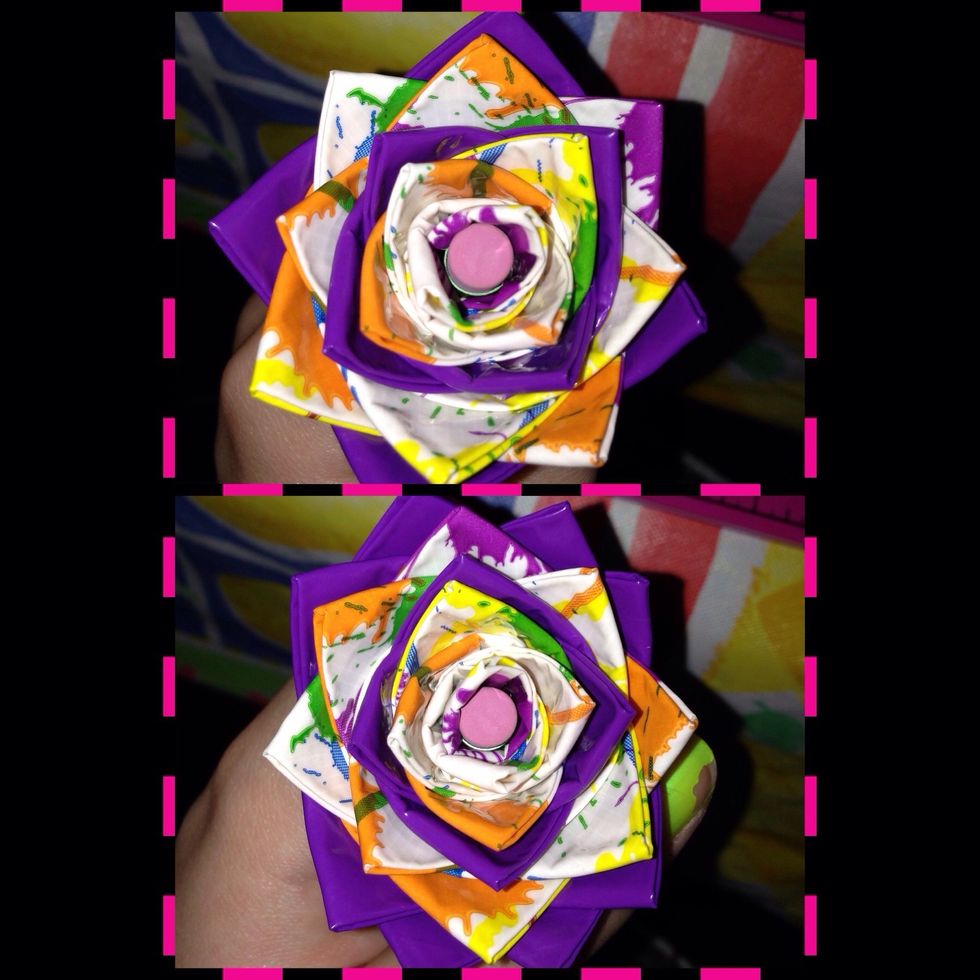
This is the finished product and you can go back to make sure that the petals look exactly like they do in my pictures!
I hope you enjoyed this guide on how to make a Duct Tape flower pencil!