The Conversation (0)
Sign Up
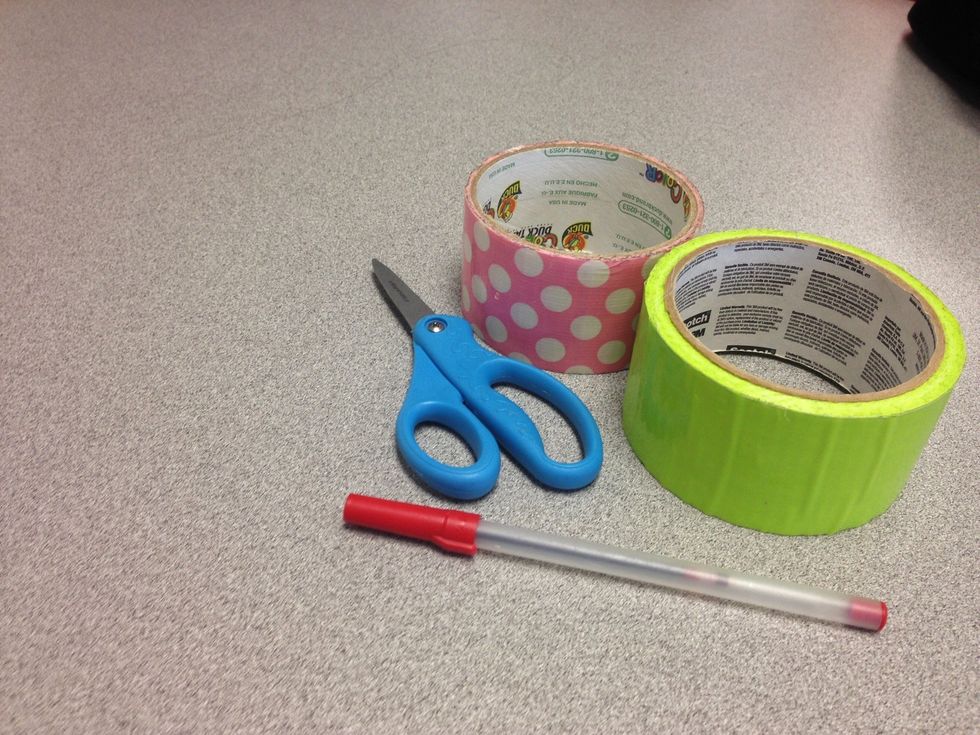
First, gather all materials which includes duct tape, scissors, and a pen.
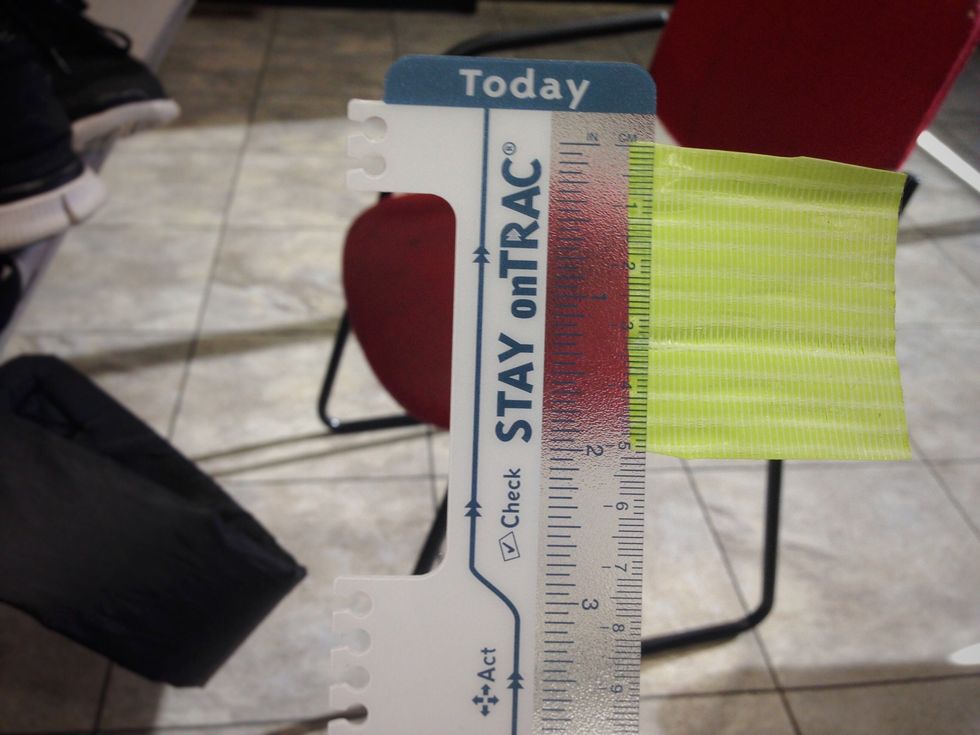
Next, pick the color of duct tape you would like the center of your flower to be and cut a two inch piece of it with your scissors.
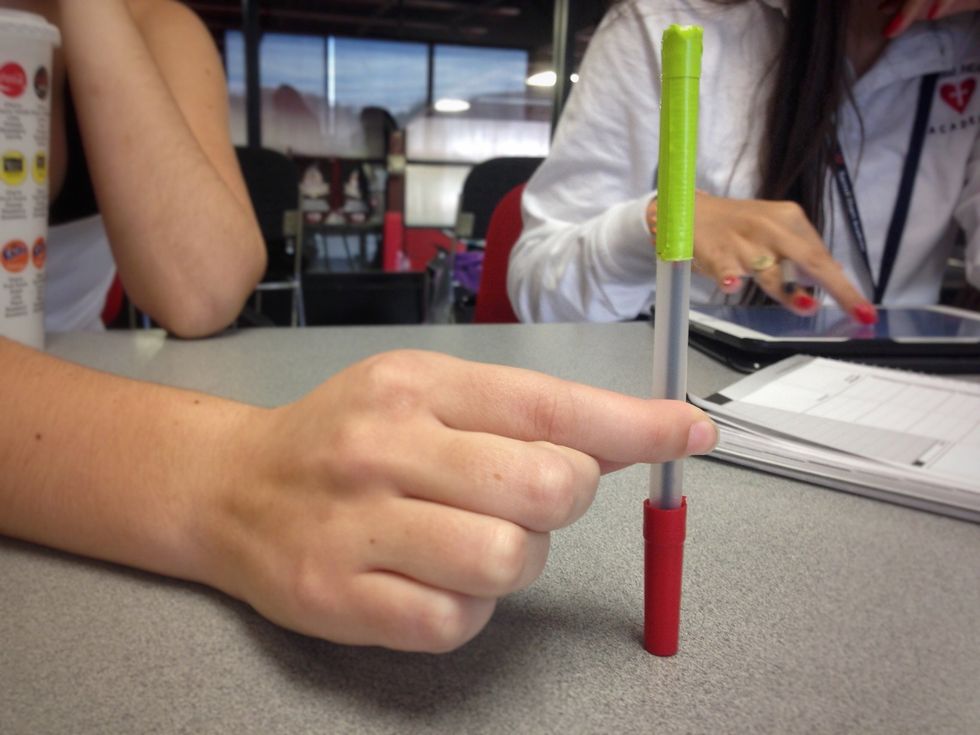
Cover the end of your pen with the piece of tape that you cut.
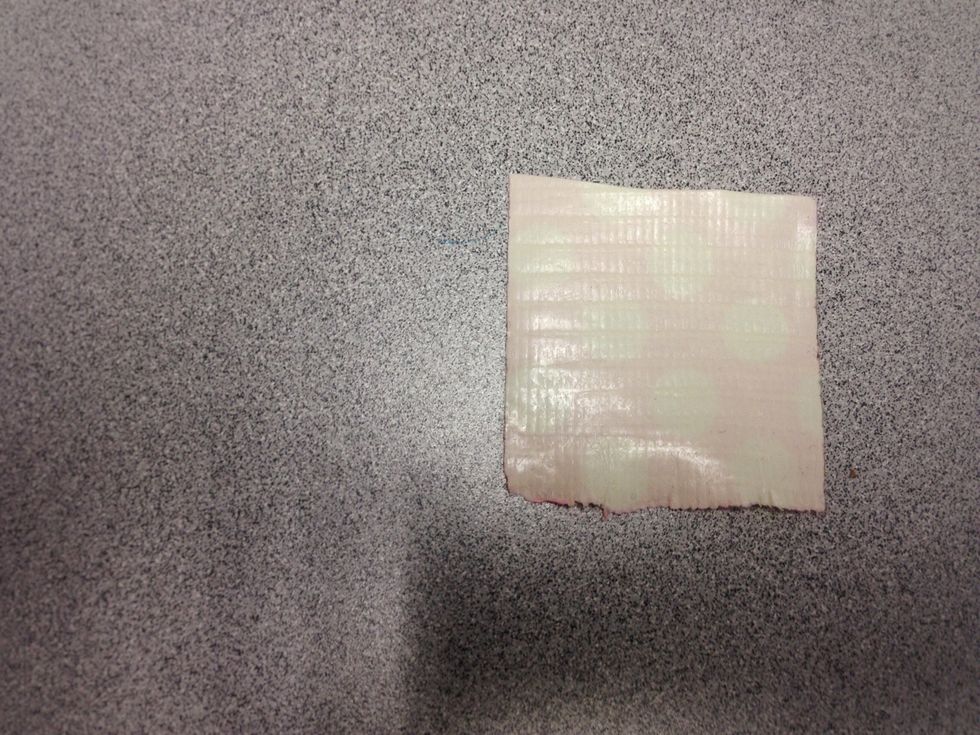
After this, you can start making the "petals" of the flower. Cut another two inch piece of duct tape.
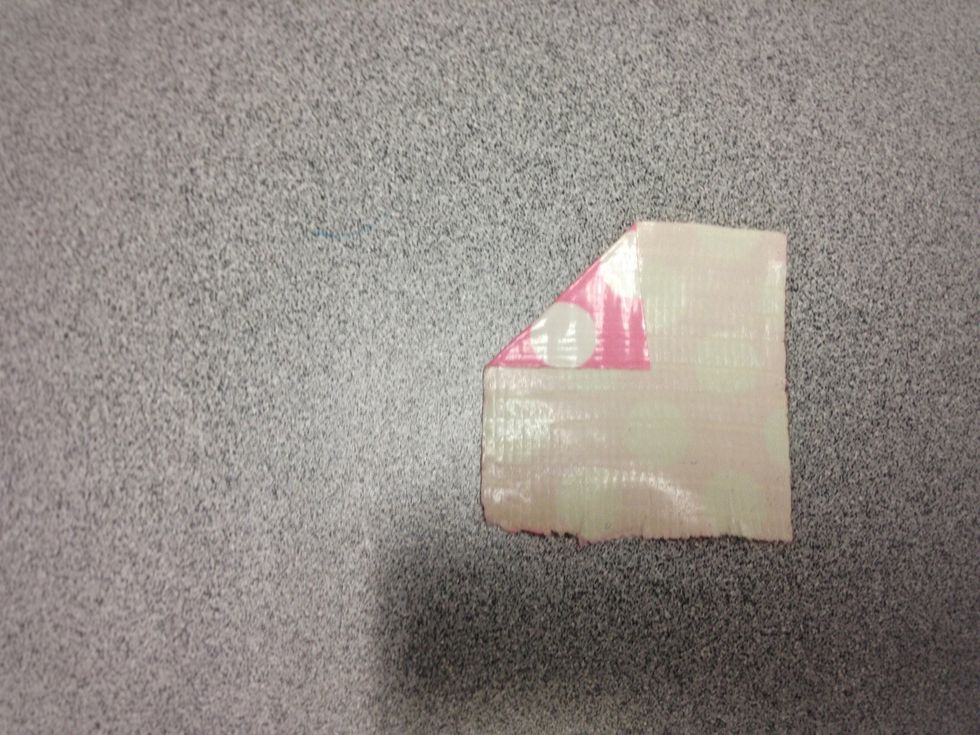
Fold the left upper hand corner towards the middle.
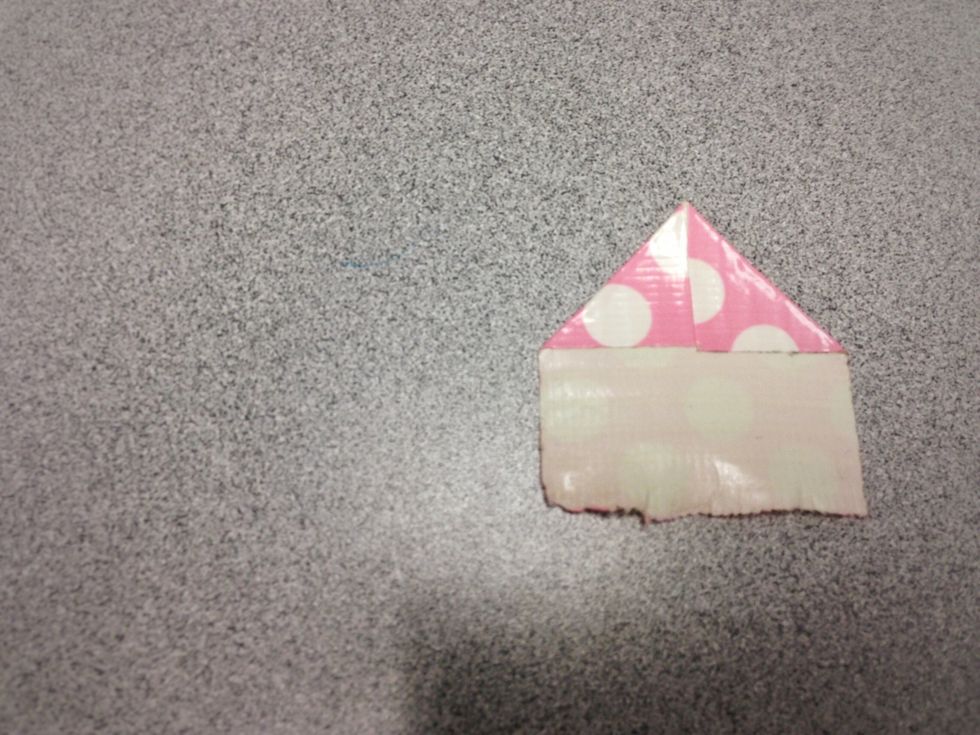
Then fold the right upper hand corner to align with the other half you have already folded.
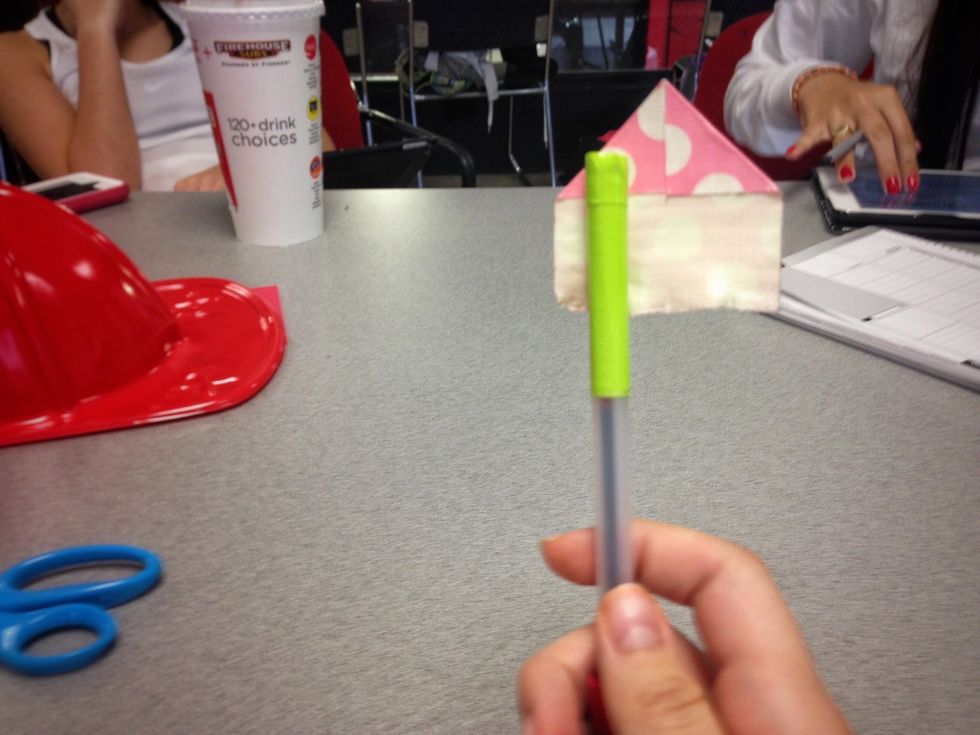
Place the sticky part of the tape onto the end of your pen.
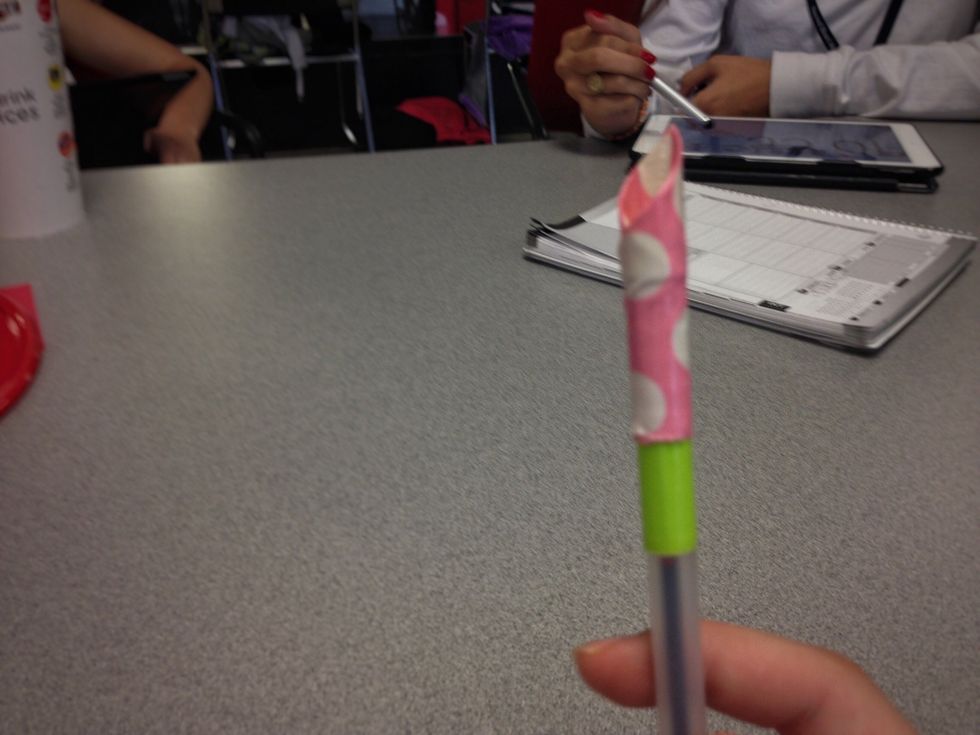
Fold the tape around the pen so that it sticks and you will have your first petal!

Continue adding petals on the end of your pen and you will create something like this!