The Conversation (0)
Sign Up
It is your preference to which measurement technique you want to use. For me, I used a cutting mat and a ruler because my cutting mat is only 11 x 7 inches.
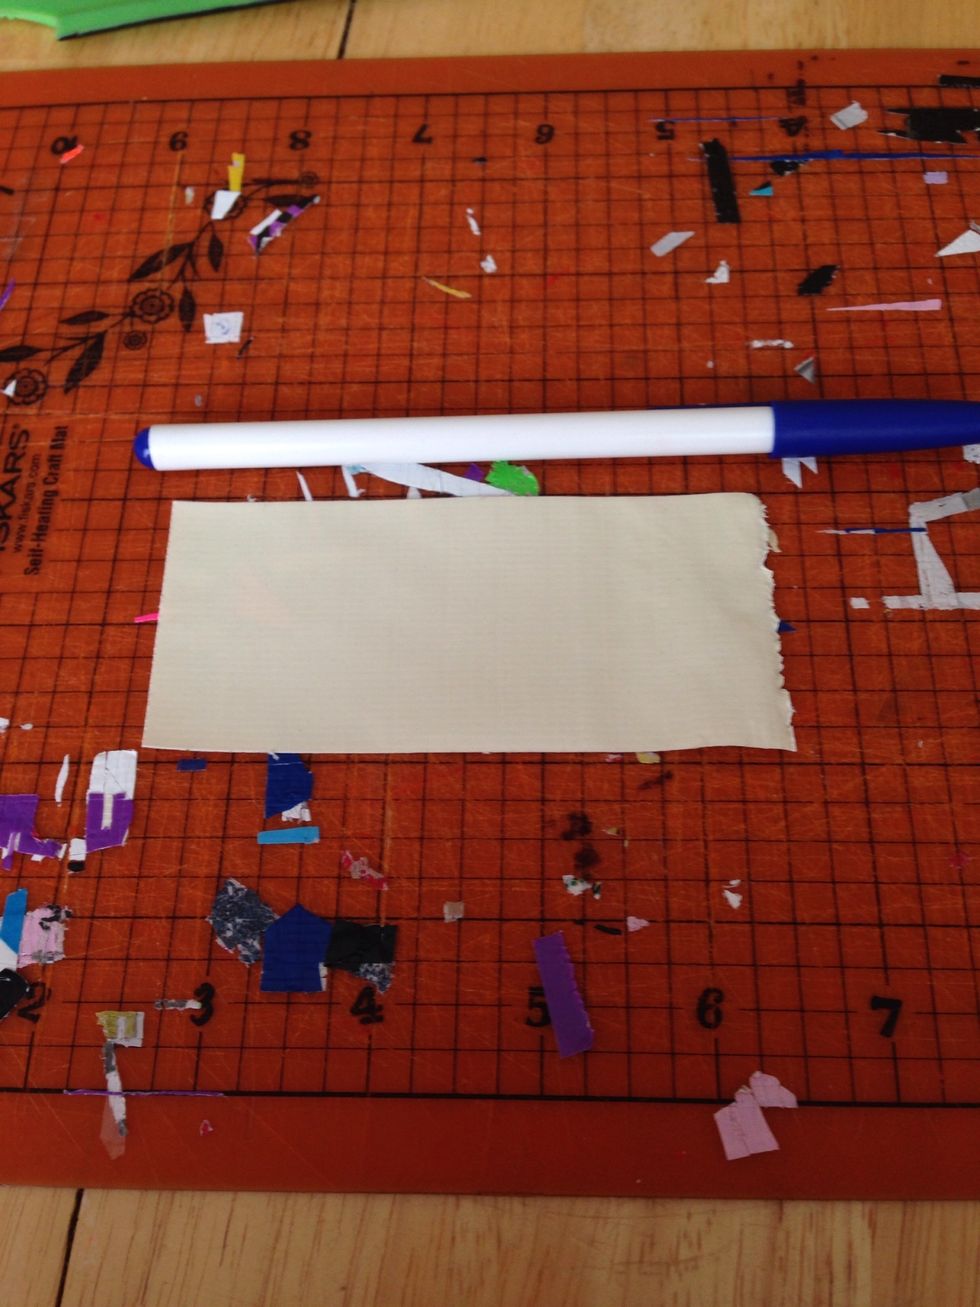
Leave the cap on to measure length of the tape. You don't really need a ruler for this part. Just measure from the end of the cap to the end of the pen. I used white tape even though the pen is white
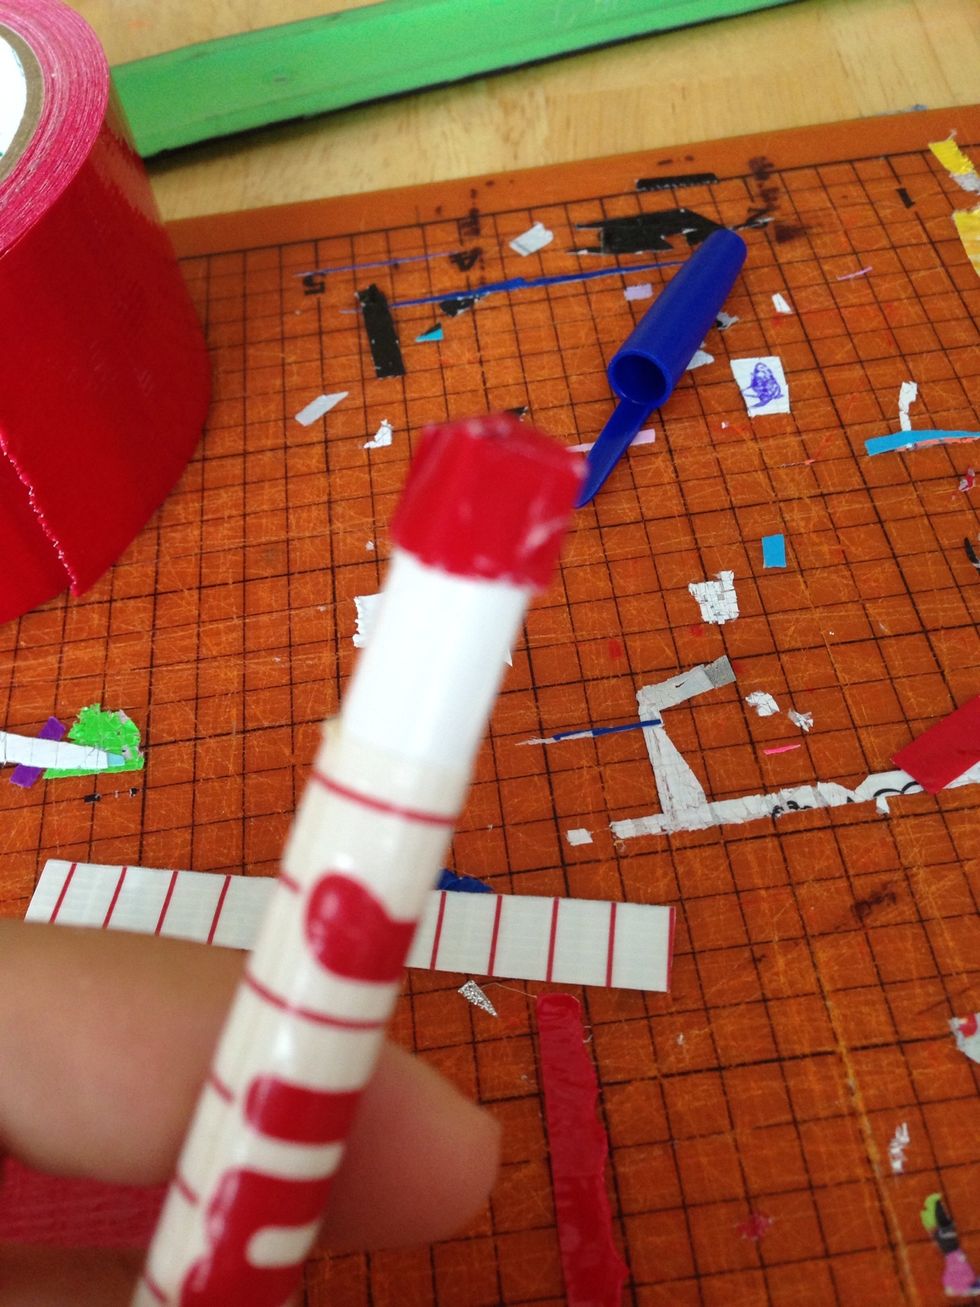
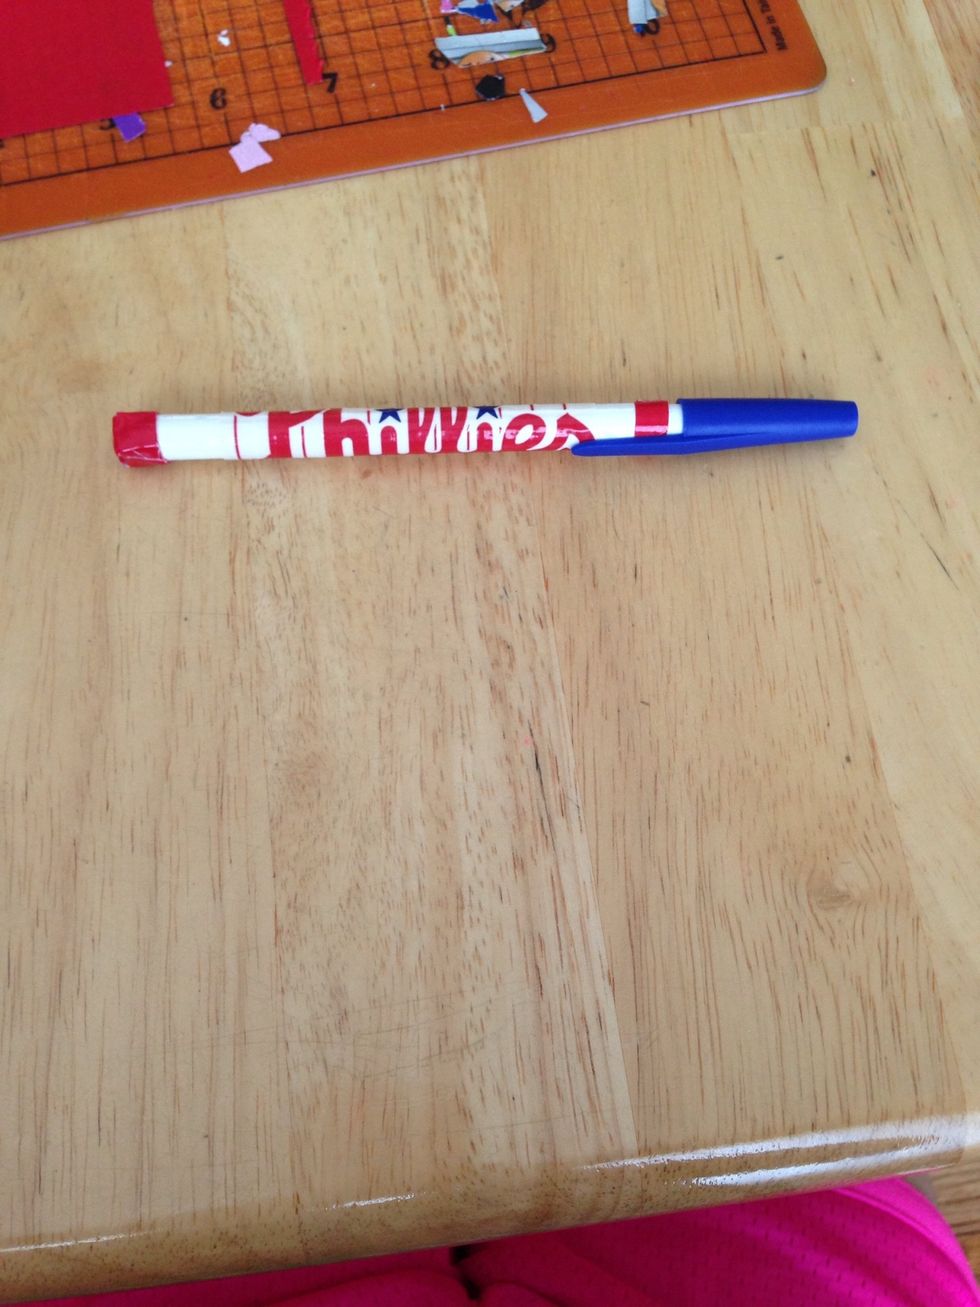
I cut the Phillies duct tape around the logo to fit in the center of the pen. Also you can wrap a strip of red tape at the top of the pen.
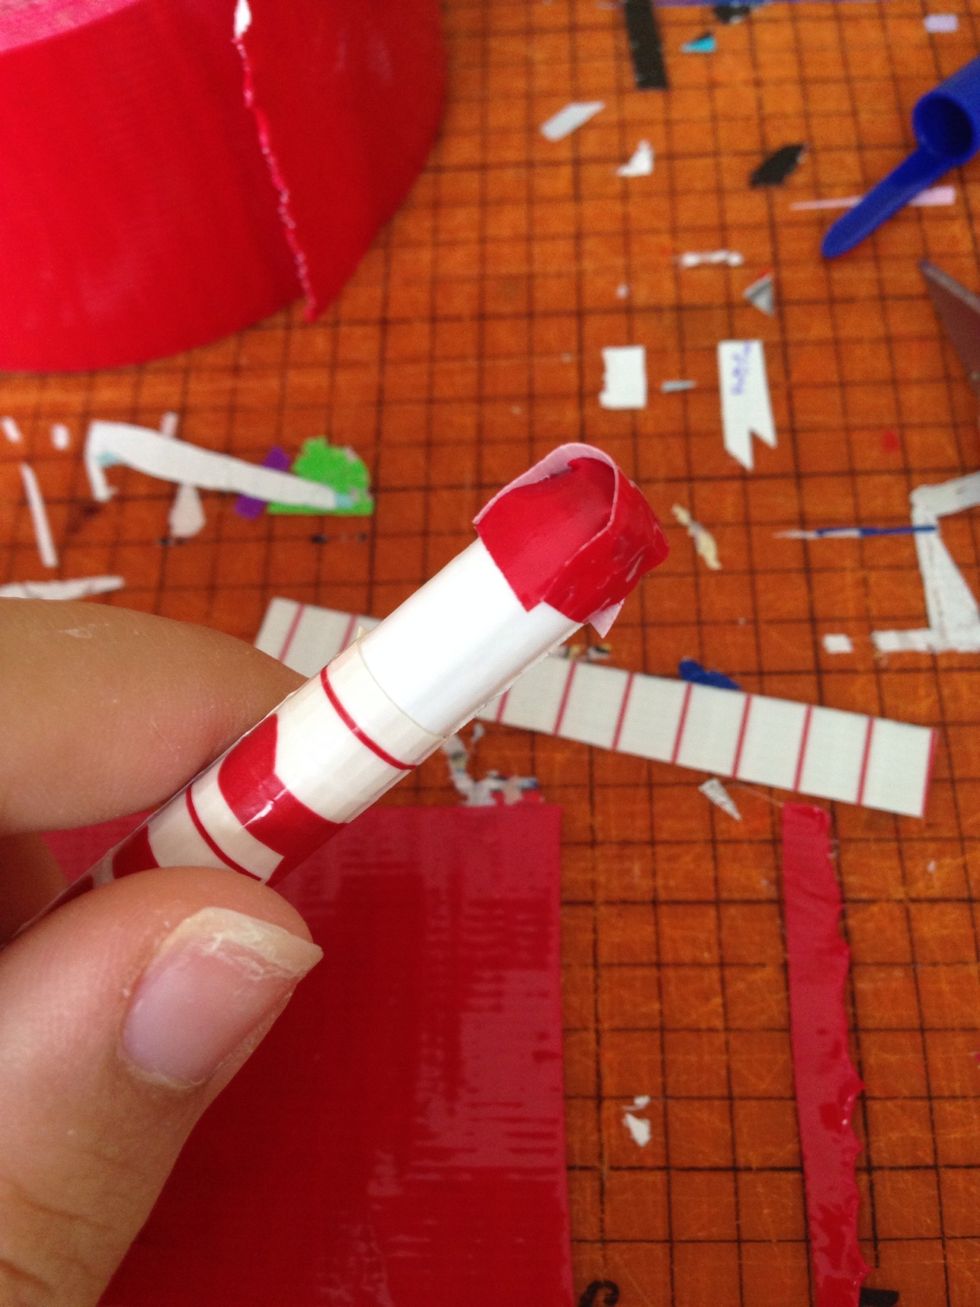
Criss cross two strips of red tape on the end of the pen. This will be the center of the flower.
To secure it, wrap another small strip around the loose ends of the strips.
This is what it should look like after following those steps. I hope that was easy to understand😉
The flower size that I make for the pen has 36 petals. For each of the 3 colors, it's 12 petals each.
Now it's time to make the petals. 12 in. will get you 6 petals. Make another 12 in. piece of tape and you have your 12 colored petals.
Take the bottom right corner and fold it toward the top left corner.

Now take the bottom left corner and fold it toward the top right corner.
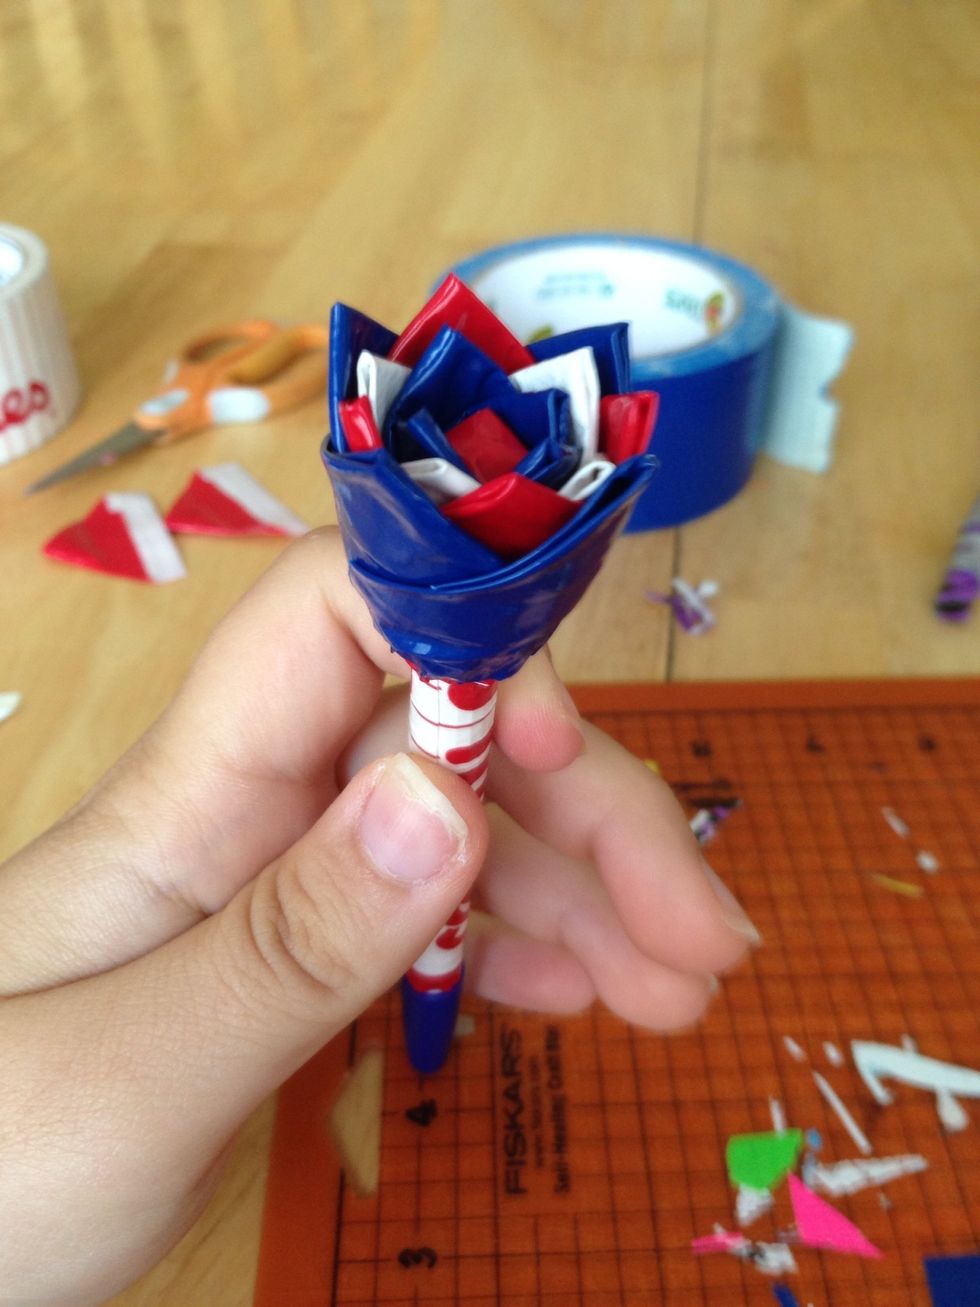
So for each layer you would make four petals. I used blue for the 1st layer🔵
Start wrapping the petals. Try to start on one of the 4 sides that was created when you put the red tape on the end of the pen
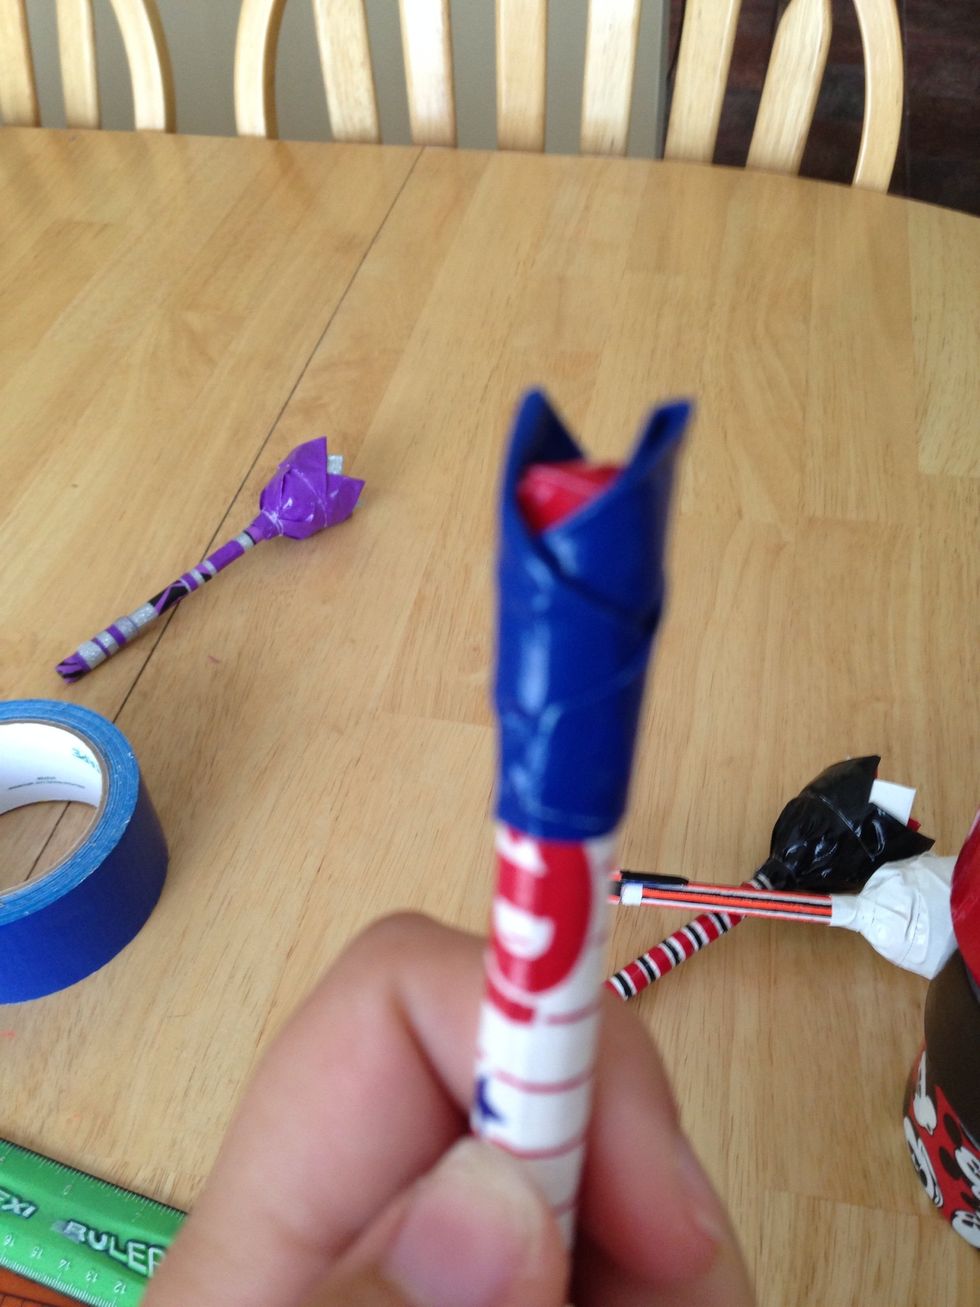
The sticky part of the petals will overlap.

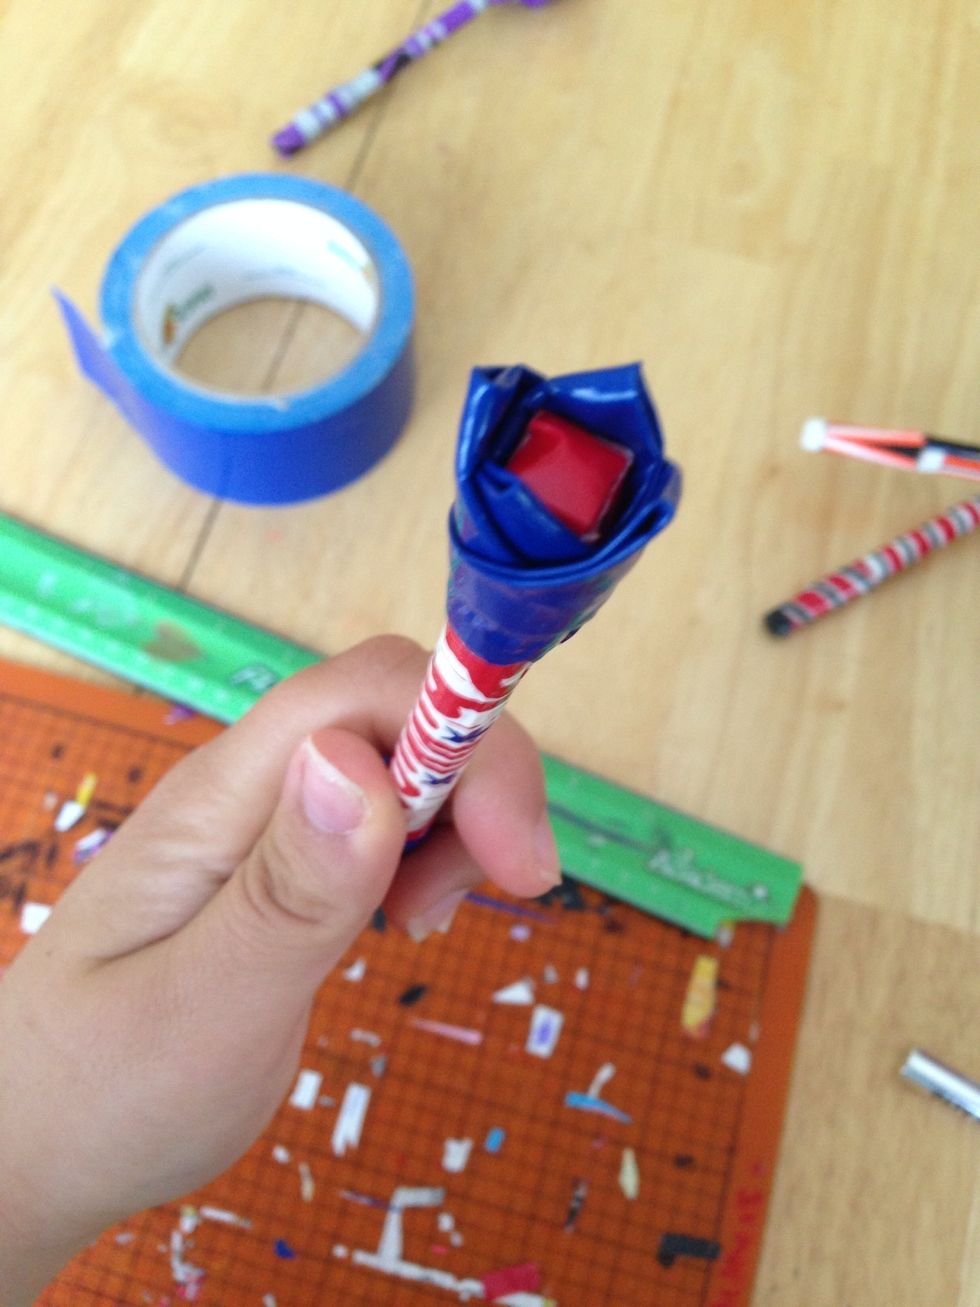
1st layer is done. Now move on to the next color.
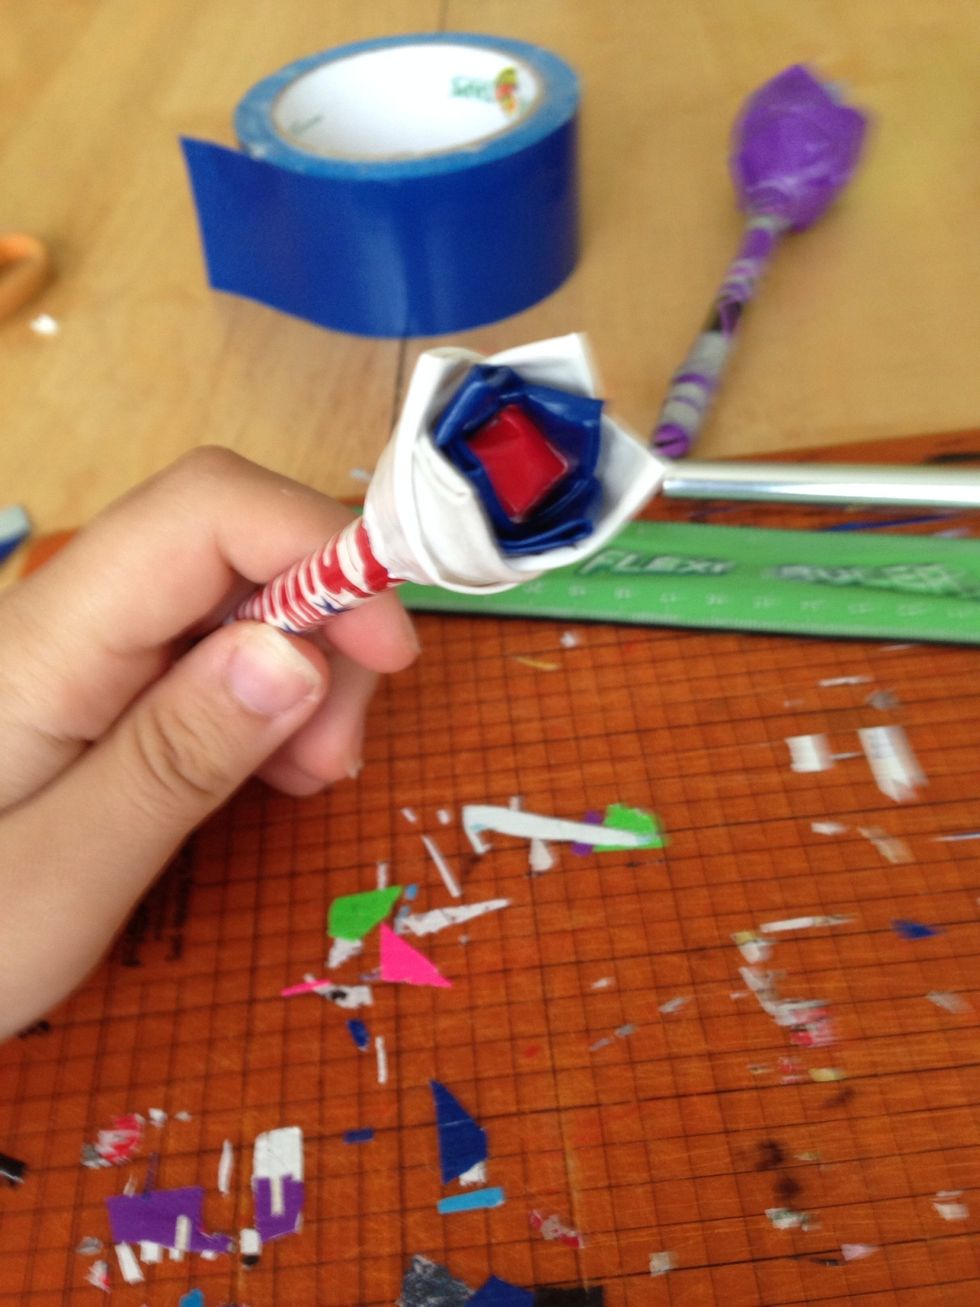
White ⚪️
Red🔴
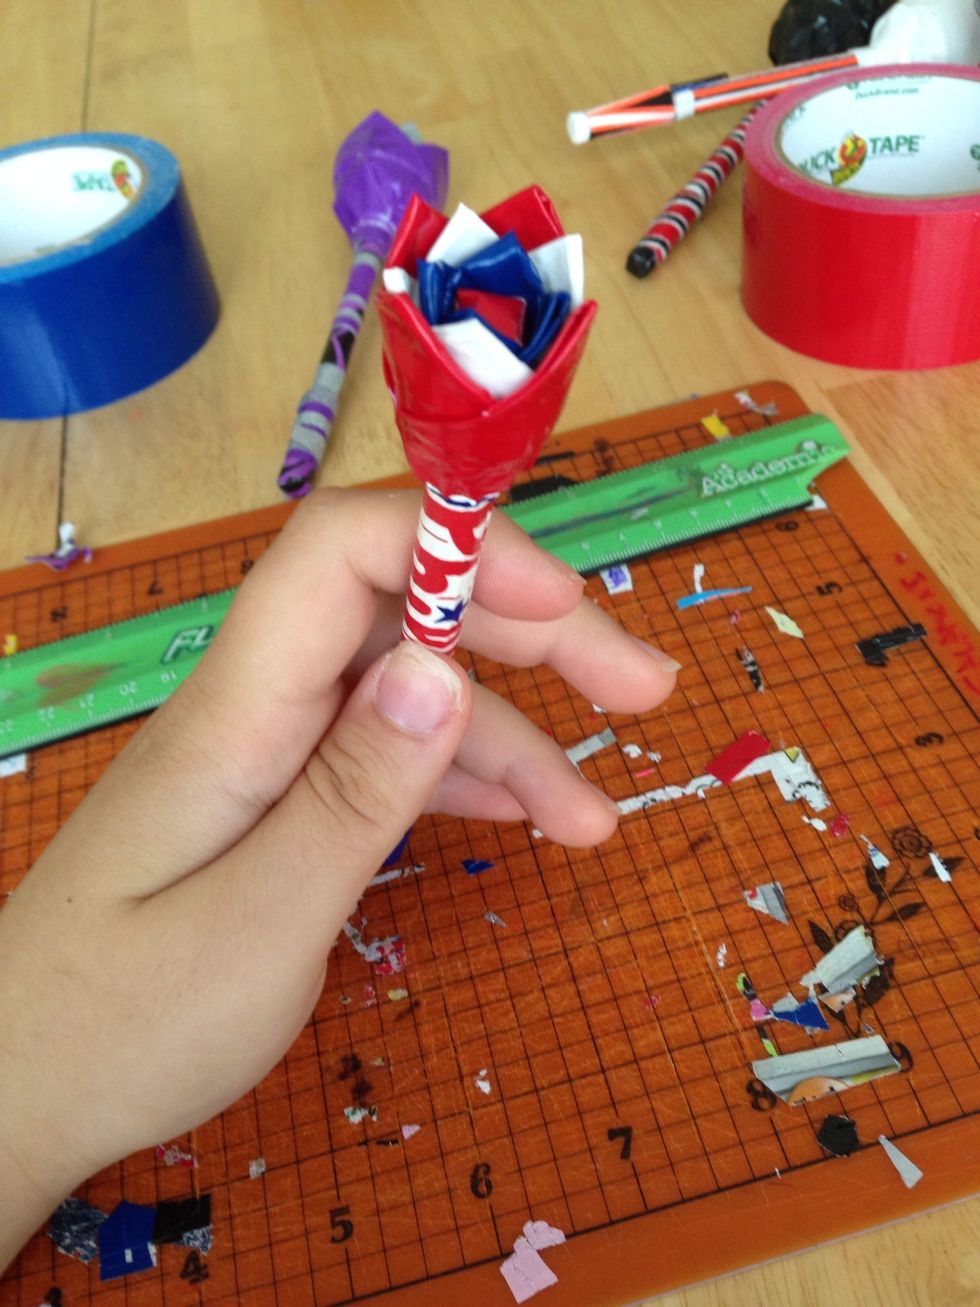
Keep adding layers until you reach your desired amount of layers
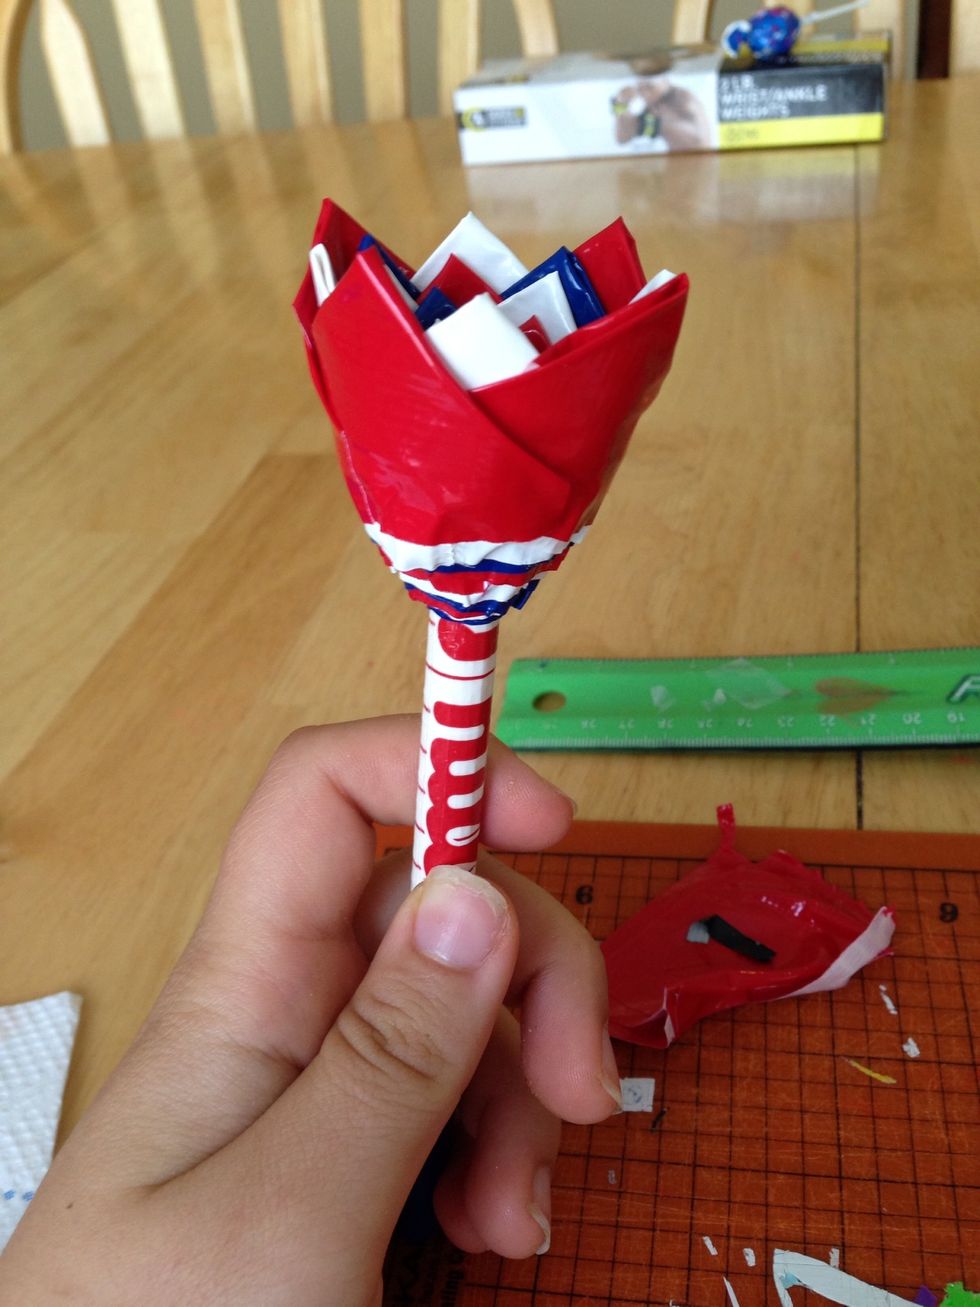
Wrap the other colors w the last color tape, which in this case is red.

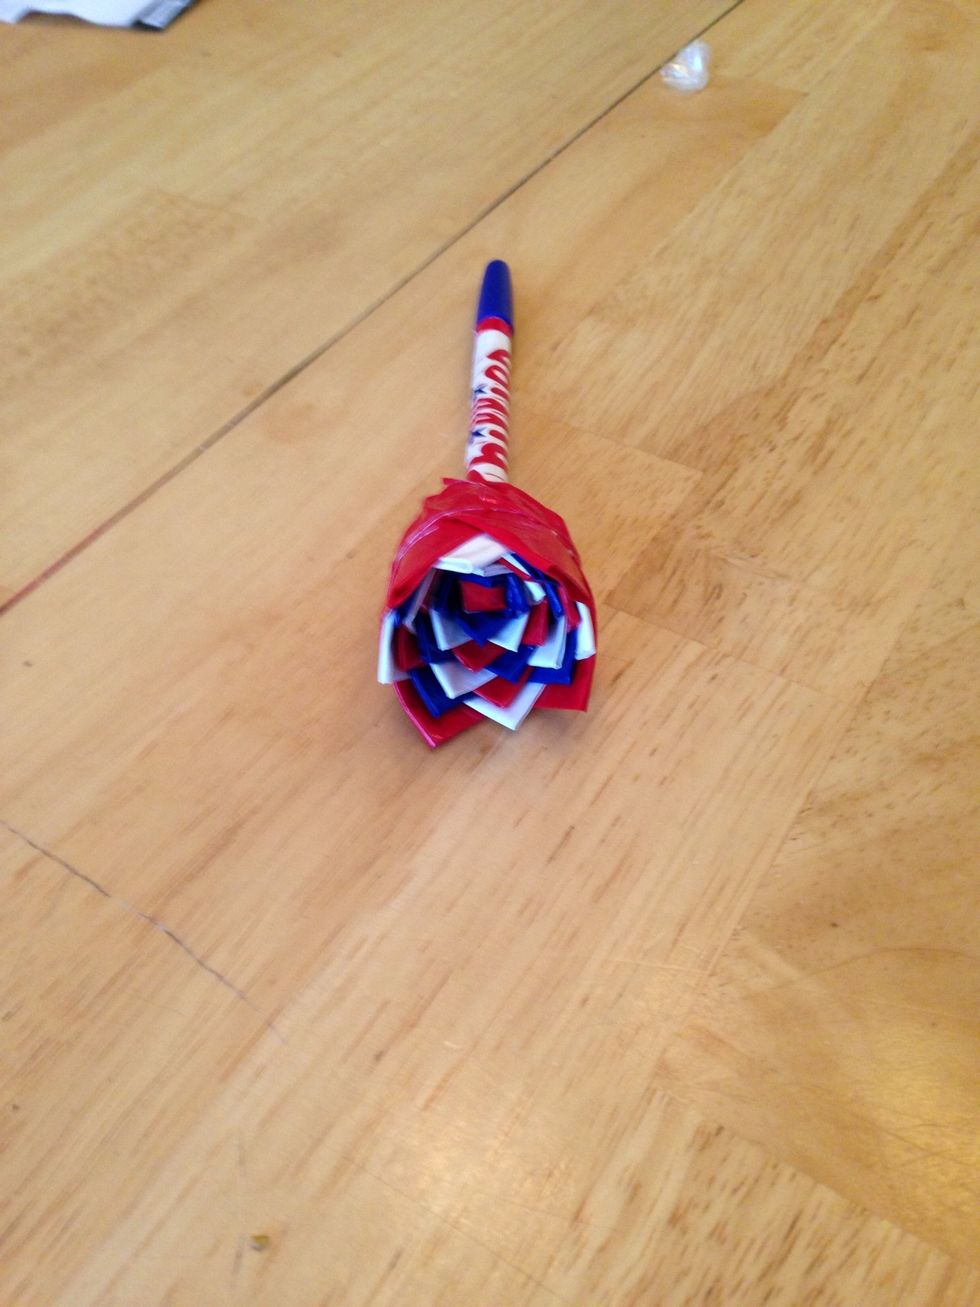
Here's your finished duct tape flower pen. Hope you enjoyed the tutorial😉🔴⚪️🔵🌷✒️