The Conversation (0)
Sign Up
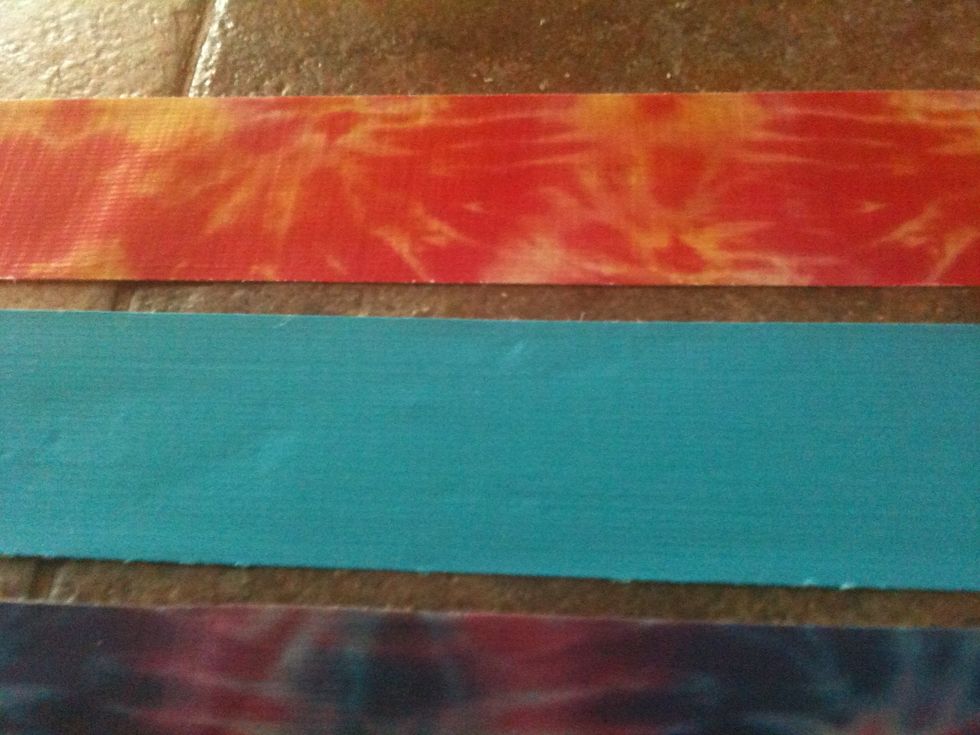
Cut 3 long strips of duct tape. Lay them out on your hard surface

Fold each strip in half, "hot dog" style (the long way).
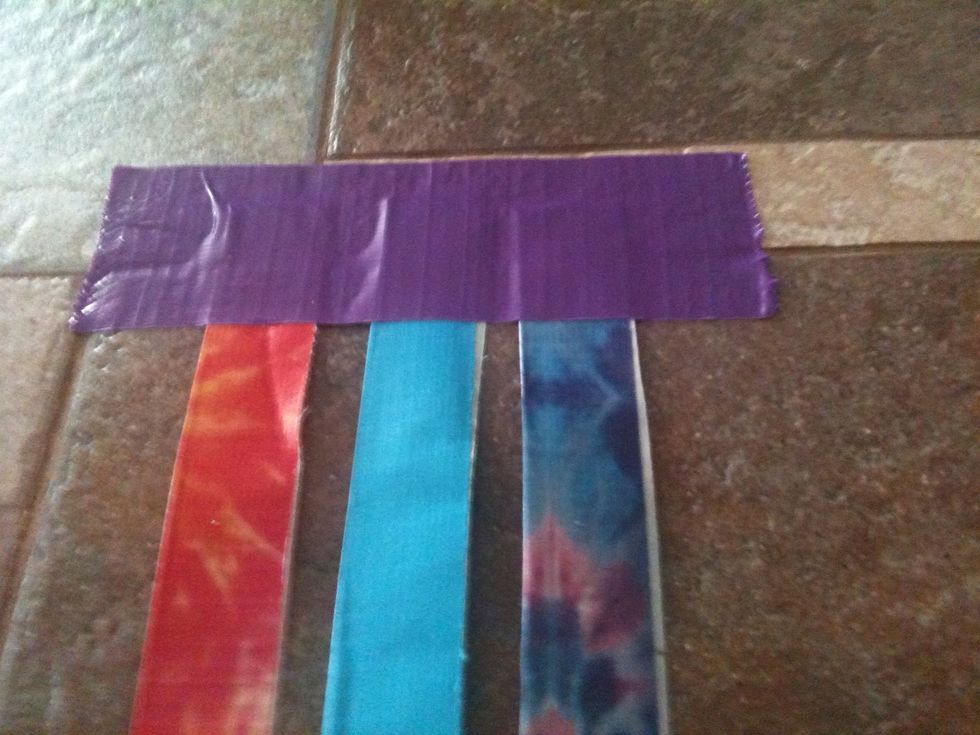
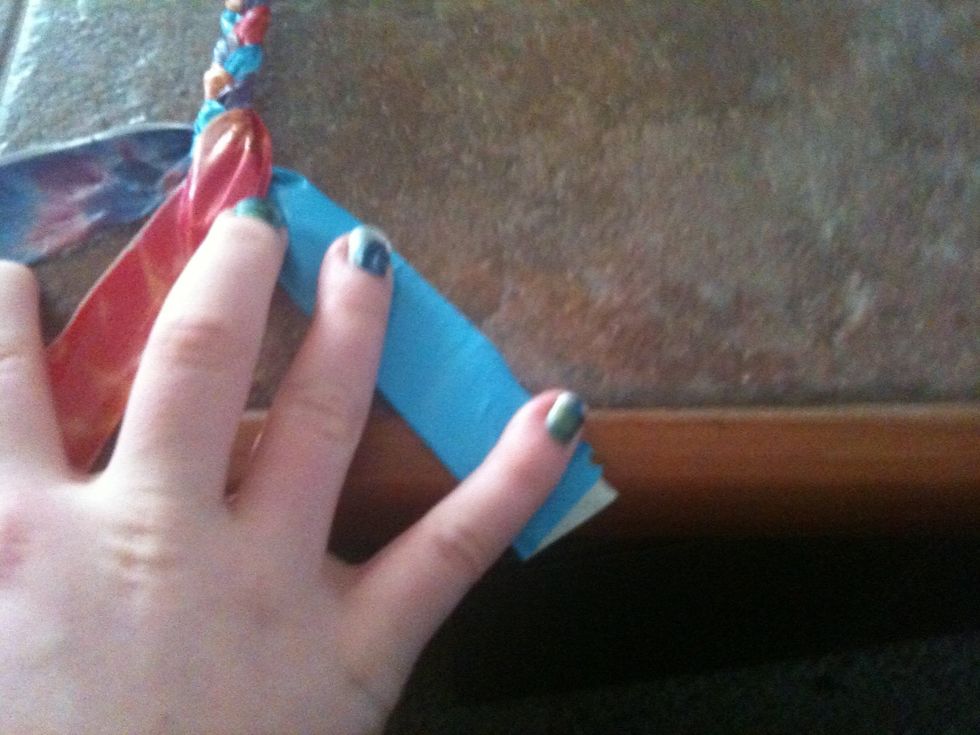
Cut another strip, not as long, and tape your three strips side to side to the table.
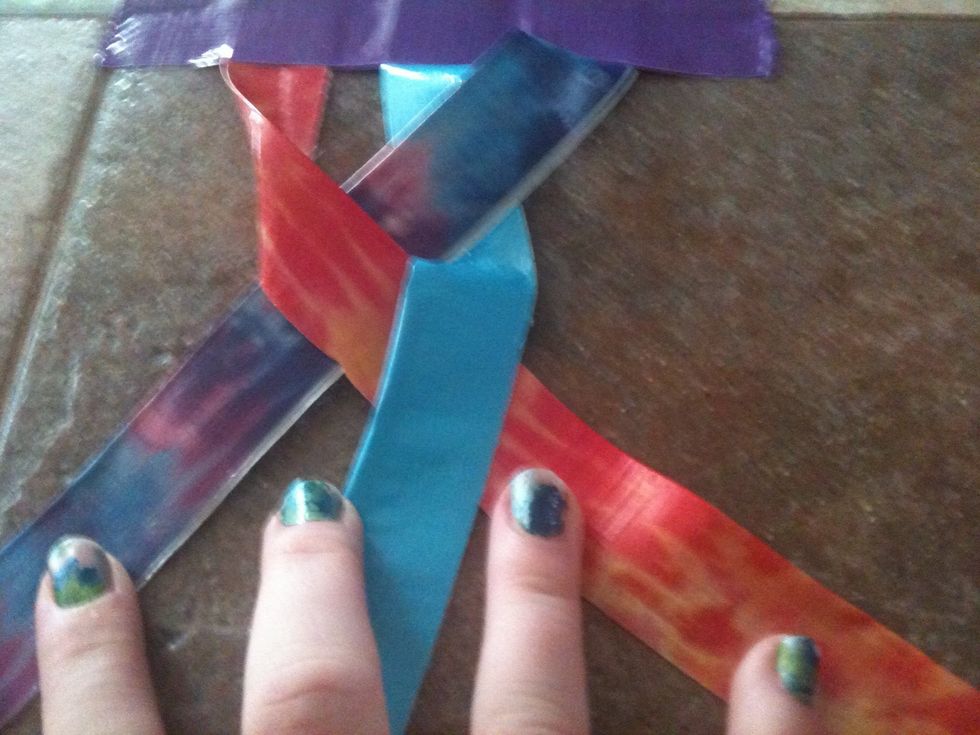
Braid the three strips. Start loosely at the beginning and once you have braided four or so stitches you should start braiding tighter.To make your braid tighter braid another stitch and then pull up.
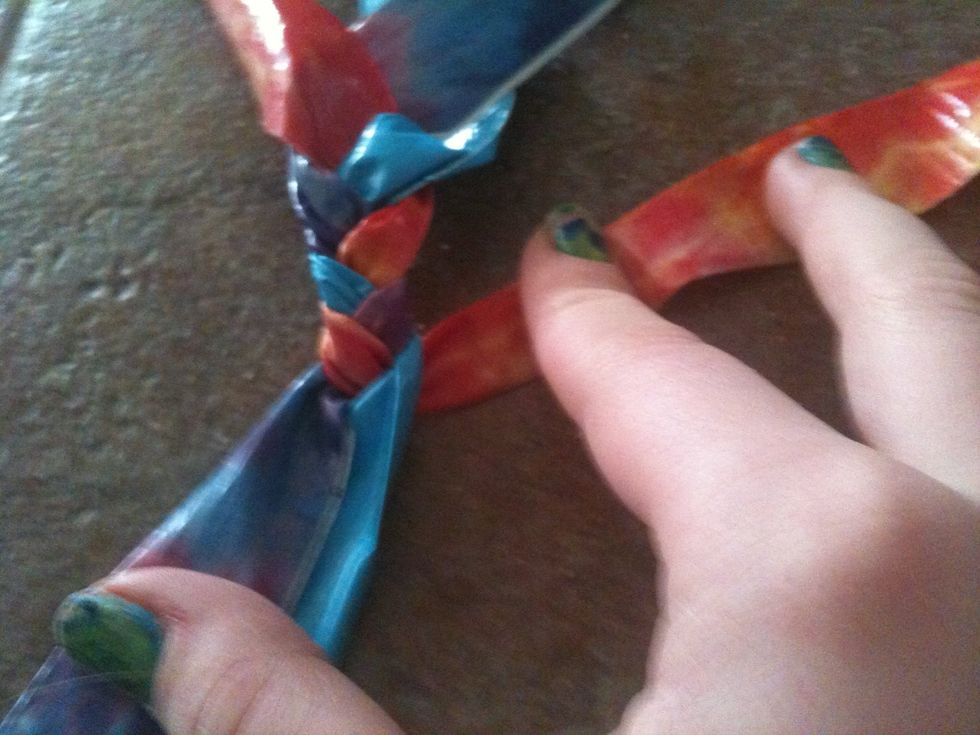
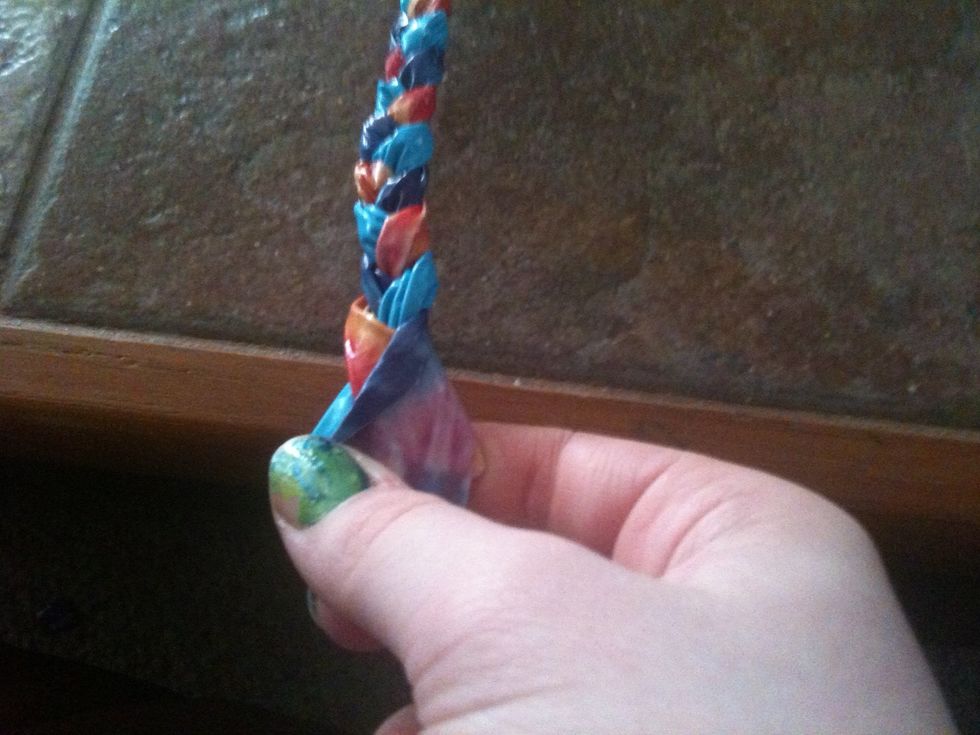
Continue braiding, once almost all of your duct tape has been braided cut a small strip.
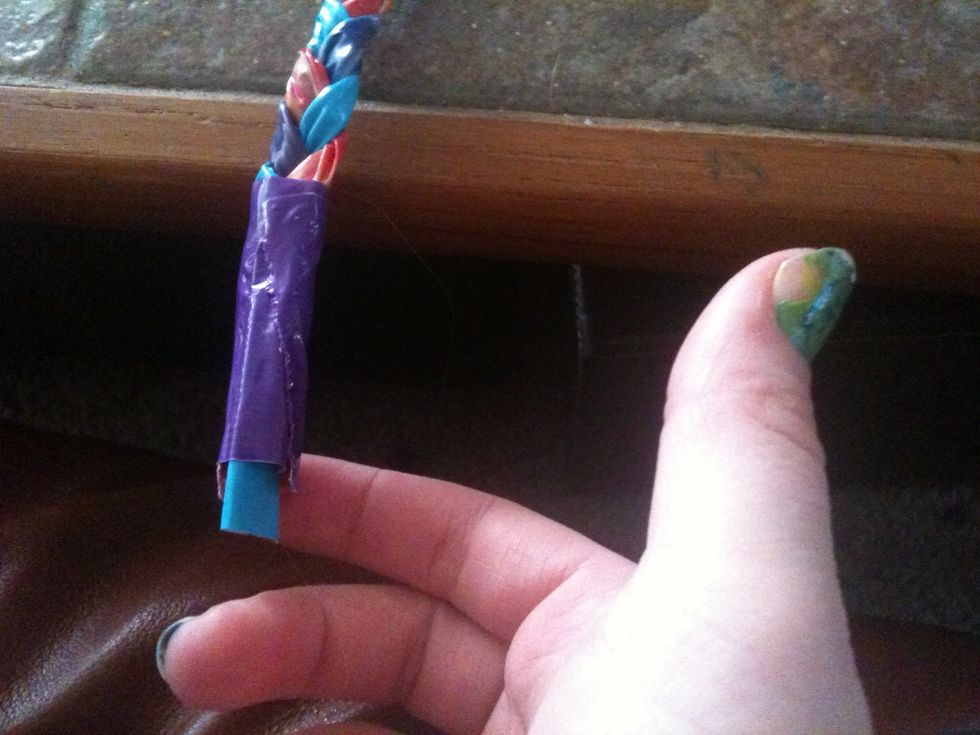
Wrap it around the end of the braid.
Pull the piece of tape up that was holding your braid down. Turn your braid around and flip it over. Tape it back down.
Undo the loose part of the braid and re-braid tightly. Tie off the end like you did the other end.
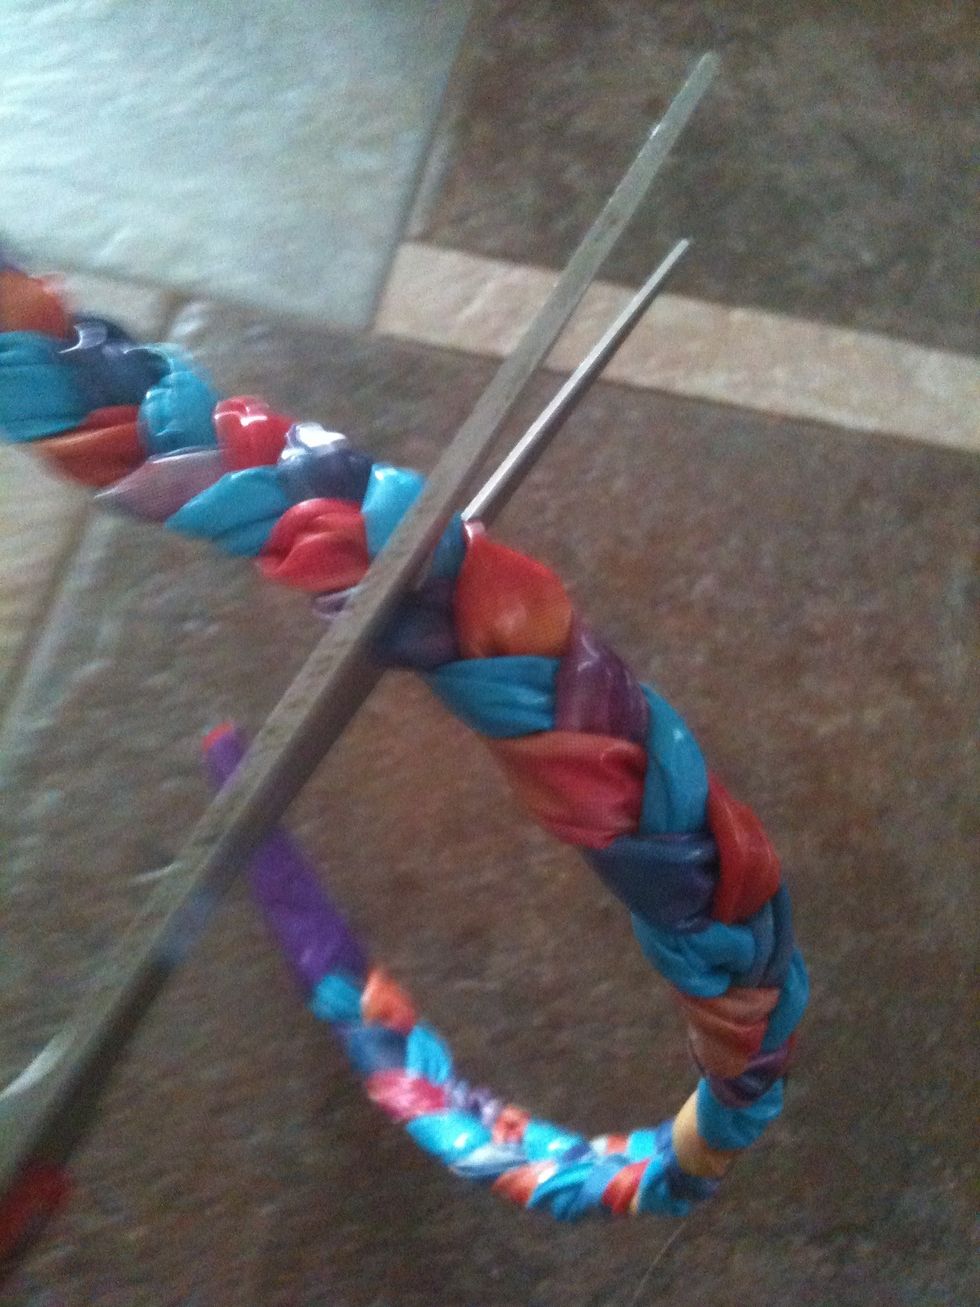
Wrap the braid around your wrist and cut it so that it is only a little bigger than your wrist.
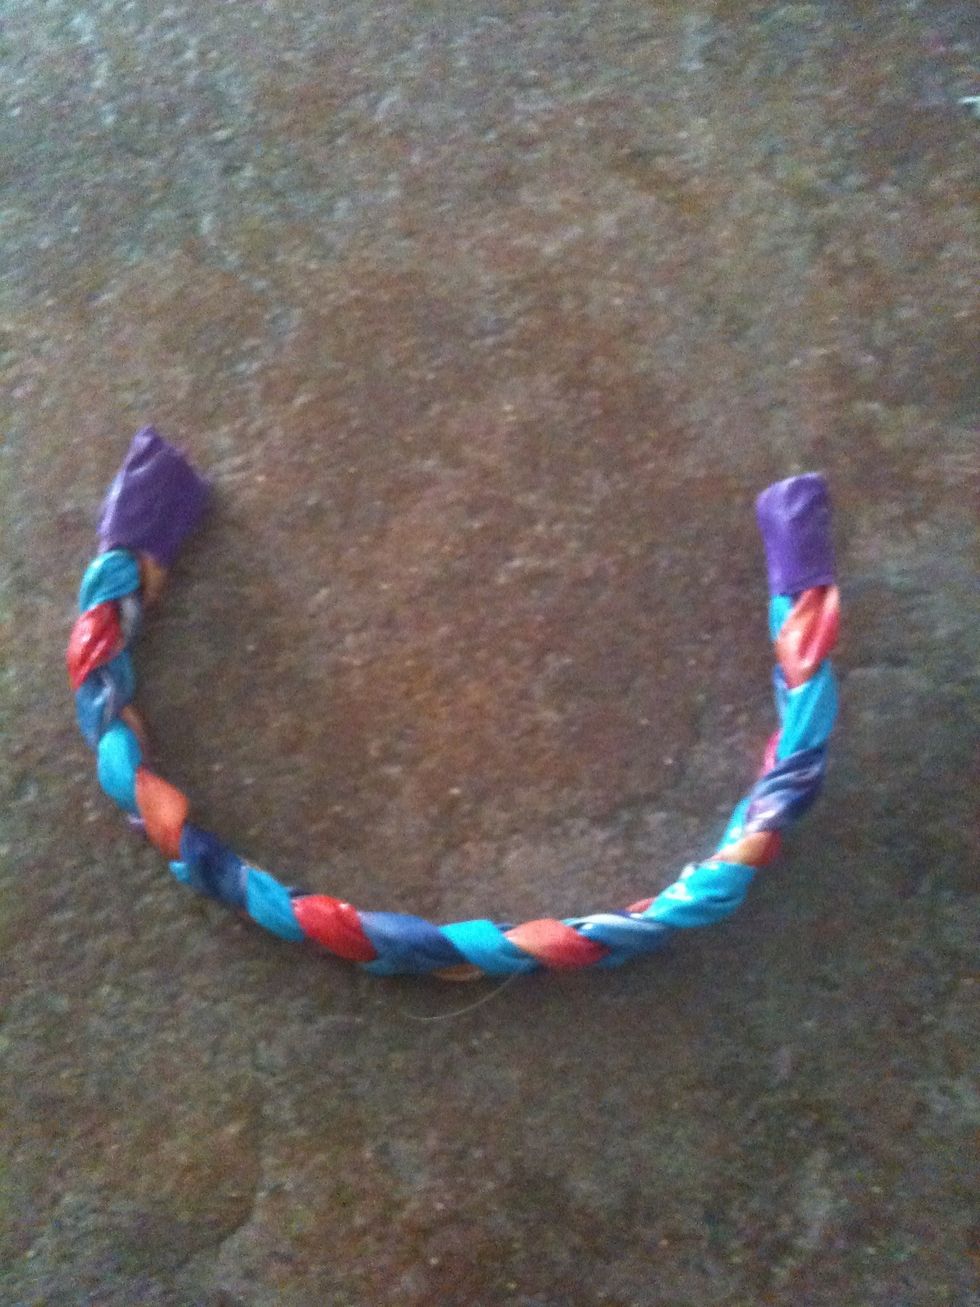
Tie off the new end like the others.
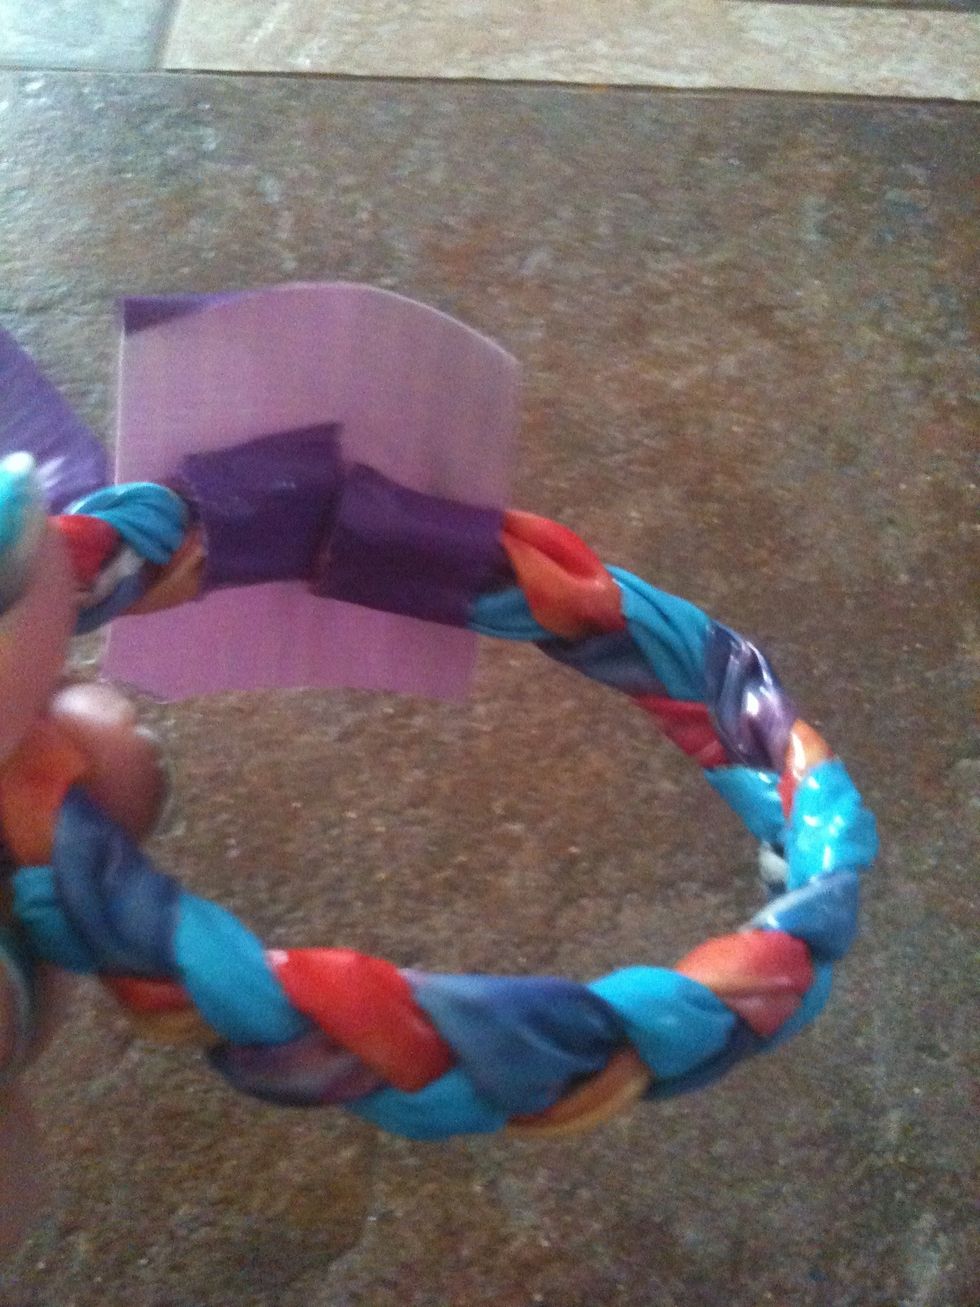
Cut a strip a little longer than the ones you used to tie the ends off of your braid. Make the ends of your bracelet come together and tape them so that they stay together
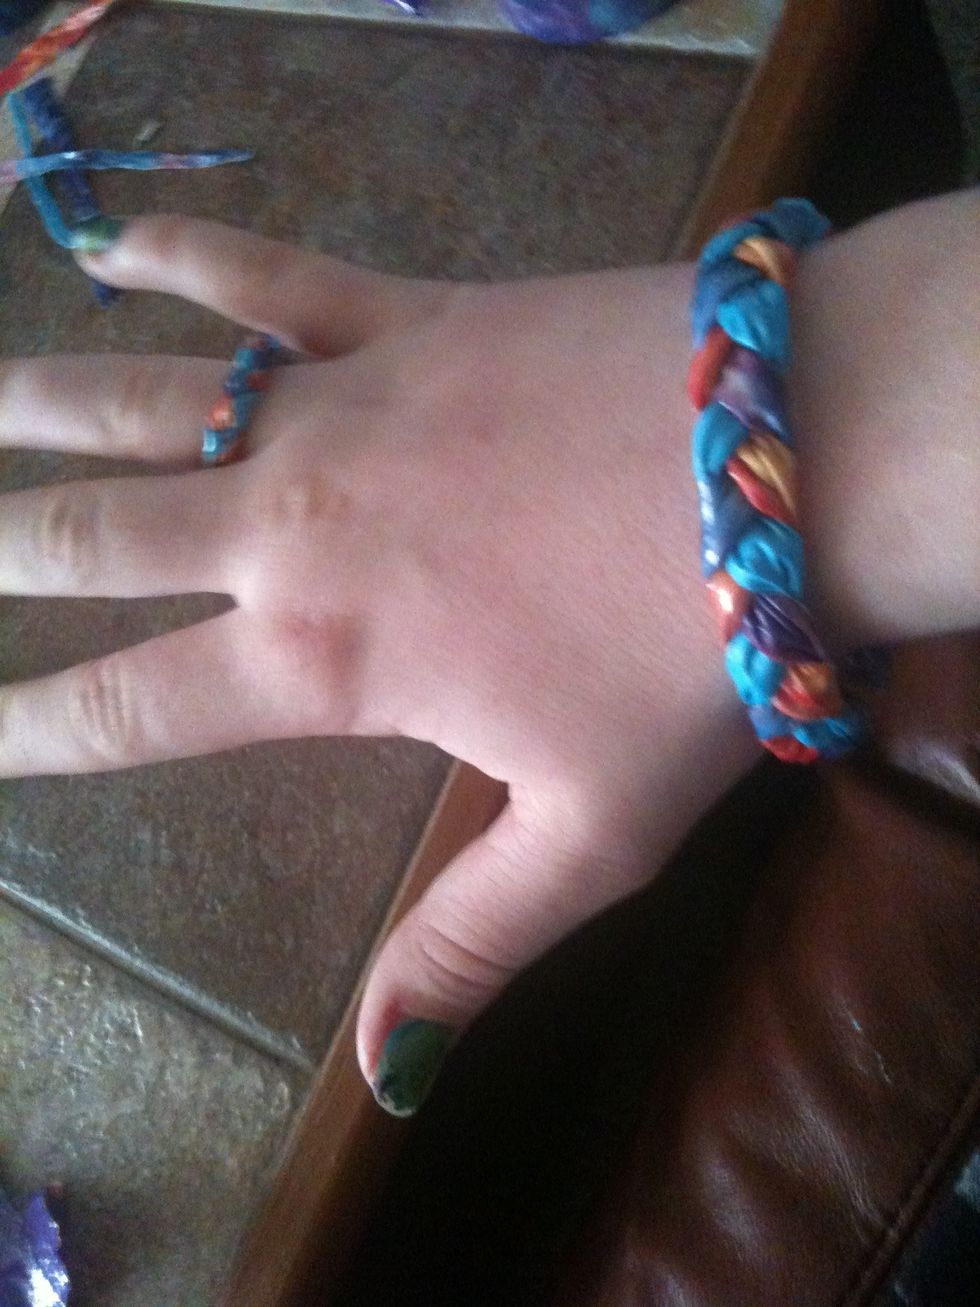
Congrats! Your bracelet is now finished. You can make a ring like this by cutting the strips in the beginning in fourths after folding in half. Continue like you did the bracelet. Size to your finger.