The Conversation (0)
Sign Up
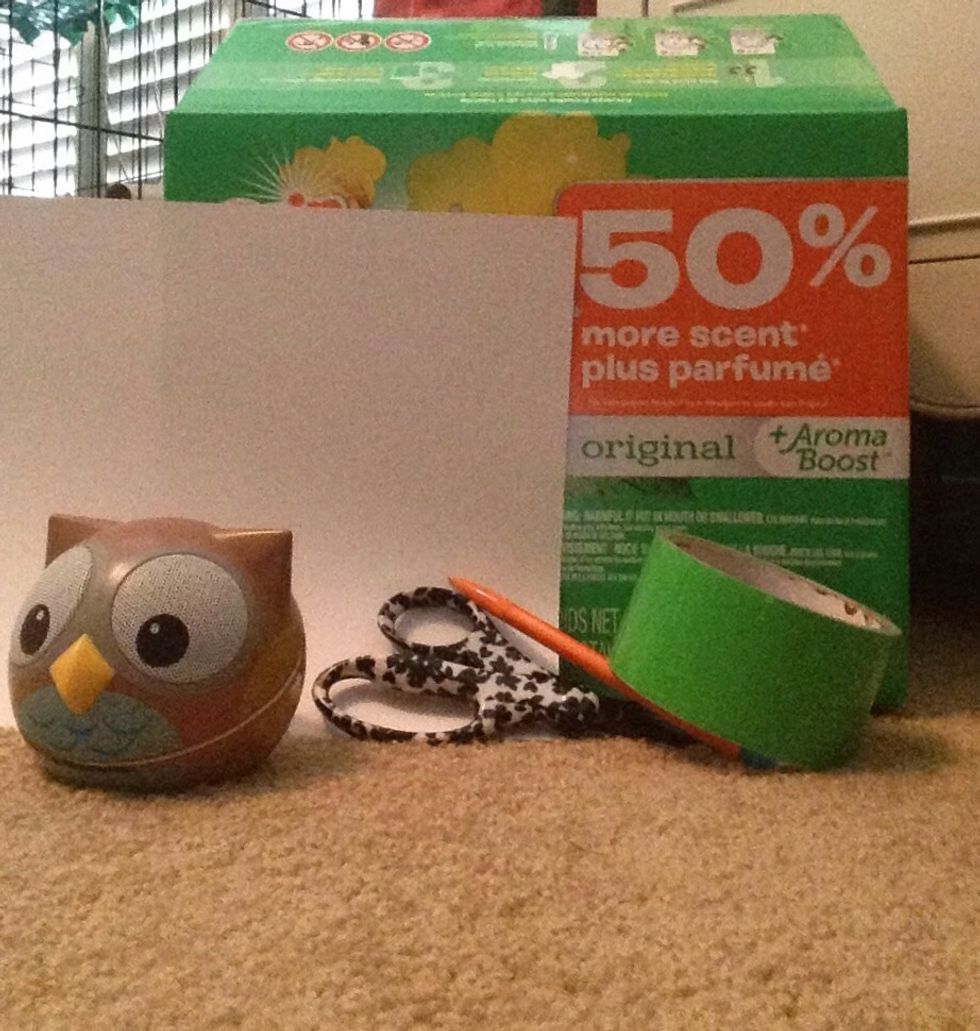
Here are your supplies. I used the owl speaker as my small circle and the duck tape as the large circle.
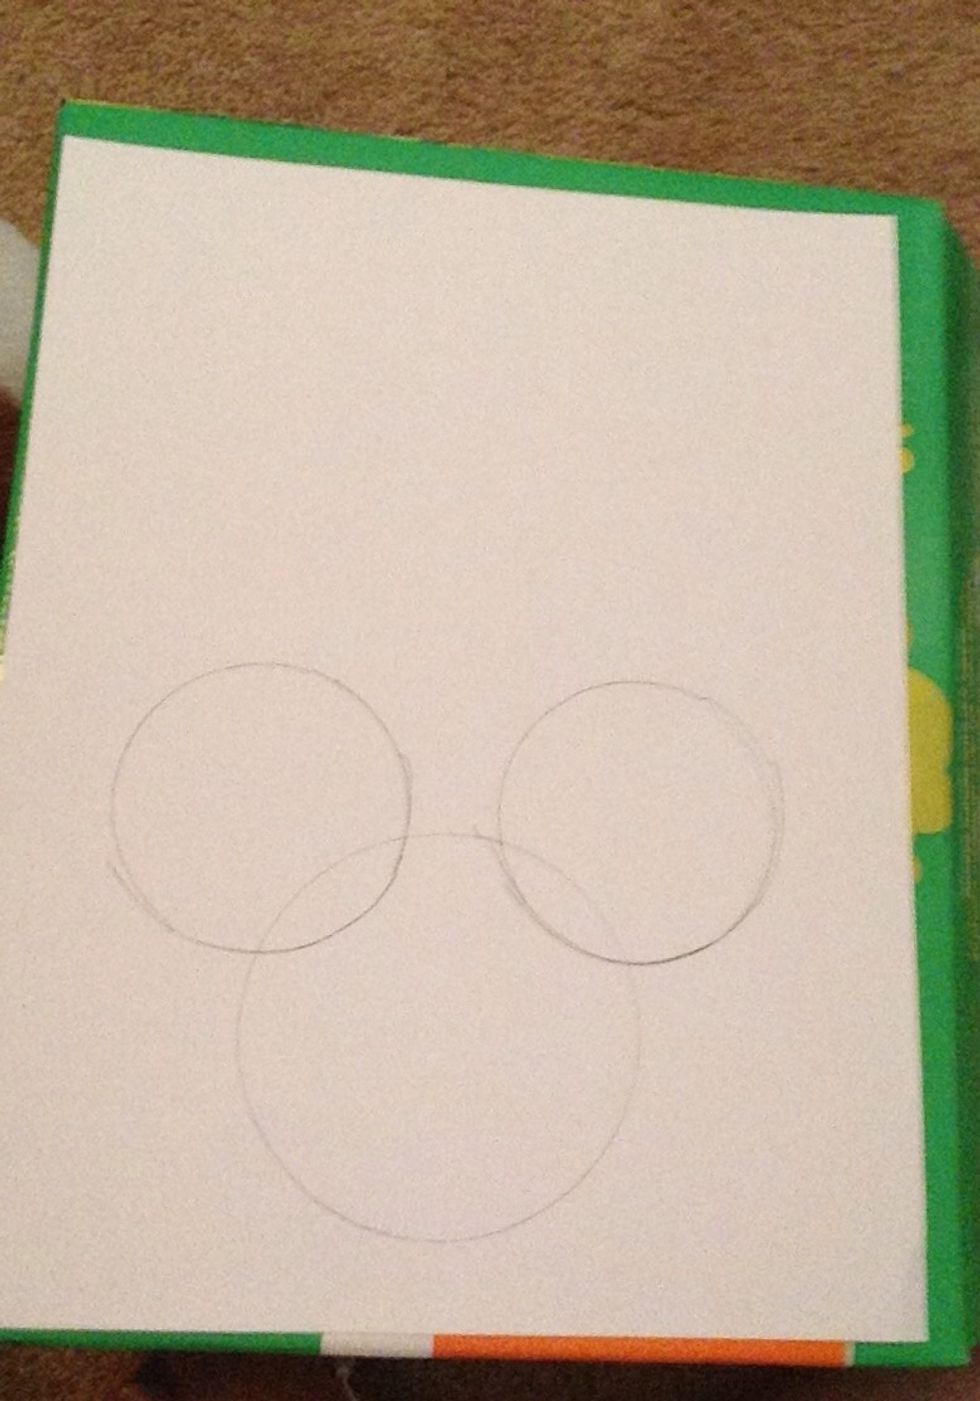
Place your large circle where you like and trace around it. This is the head. Then place your small circle where the ears would go. After you have traced them, it should look similar to the top.
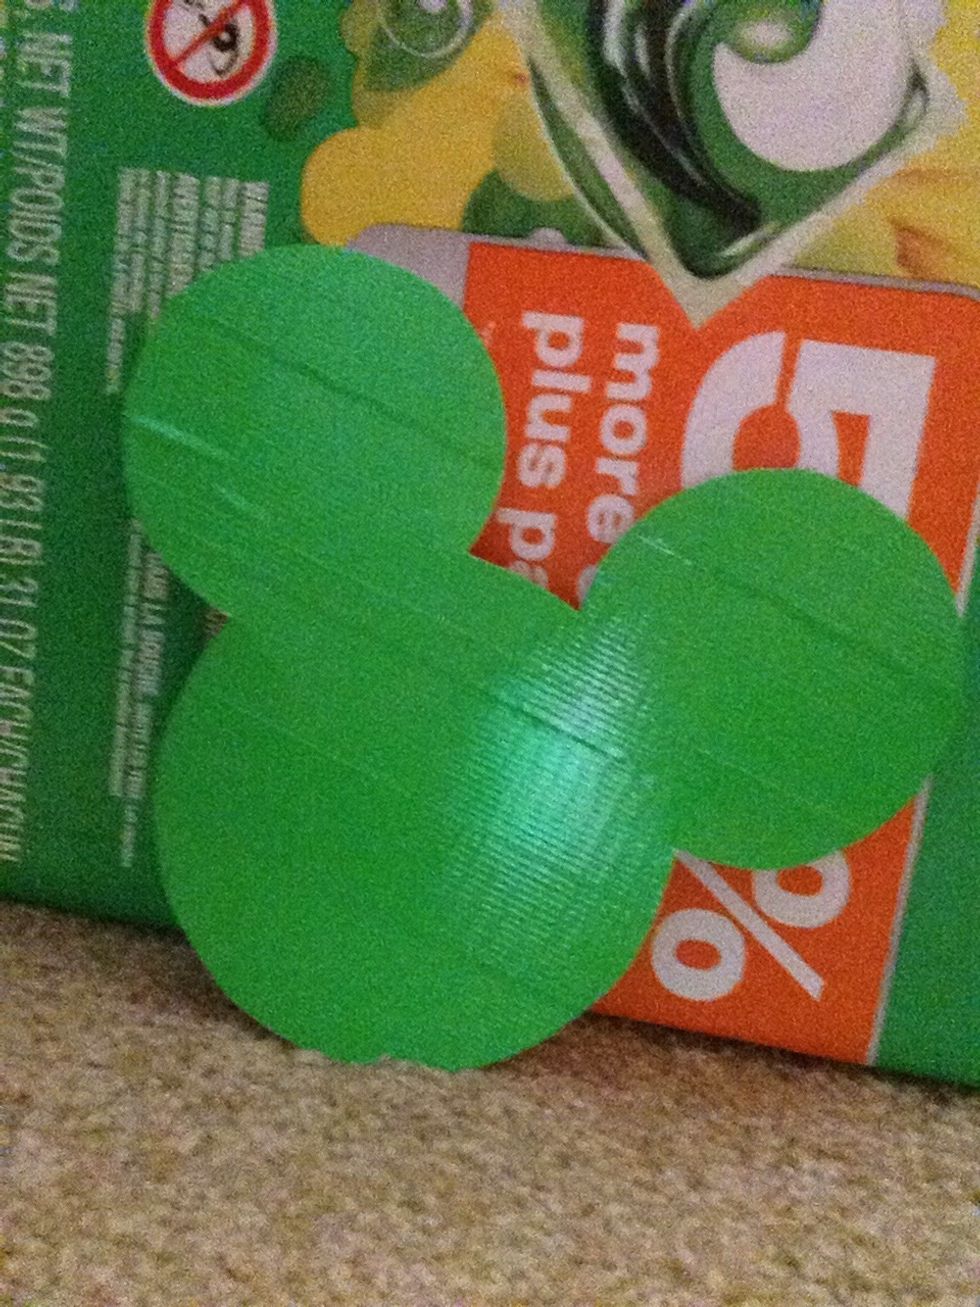
Next, start duck taping your Mickey/Minnie. Flip your paper over so you can't see the shape. Make rows overlapping each other to cover the head. When you've finished taping, start cutting.
If you want Mickey, STOP HERE! But if you want Minnie, keep going.
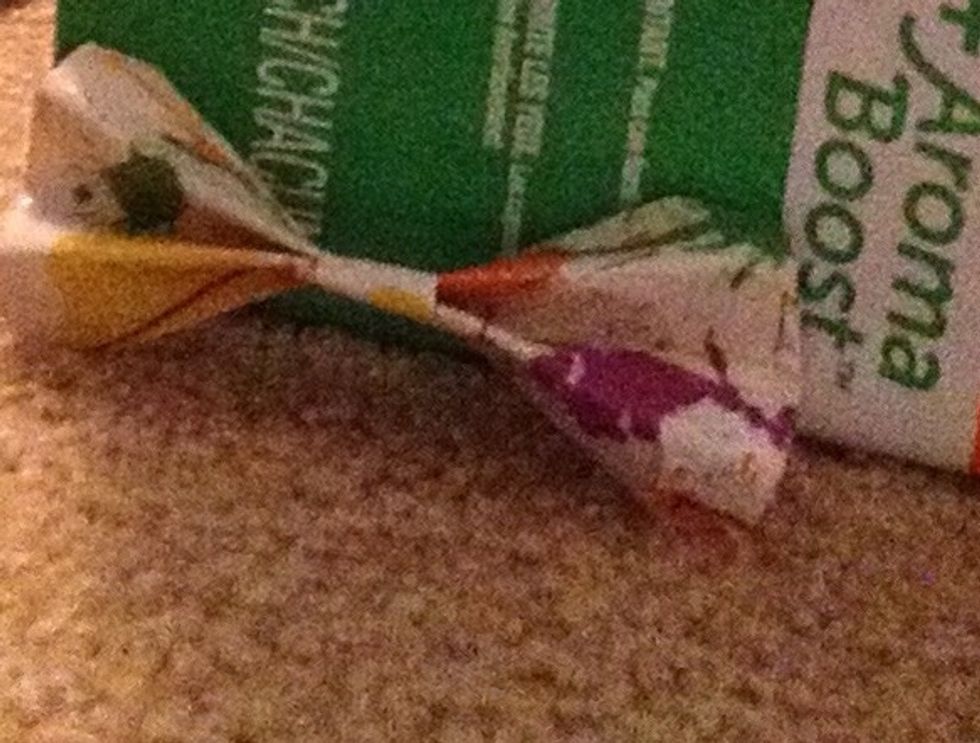
For Minnie, you're going to need to make a duck tape bow. Cut a larger piece of duck tape and fold it in half hamburger. Then accordion it the long way. Then put a piece of tape in the middle.

To attach the bow to Minnie, cut a few small pieces of tape and connect it from the top of the bow to the back of the head.
Hope y'all enjoyed this Disney craft!!! Plz comment down below and follow!!!!