The Conversation (0)
Sign Up
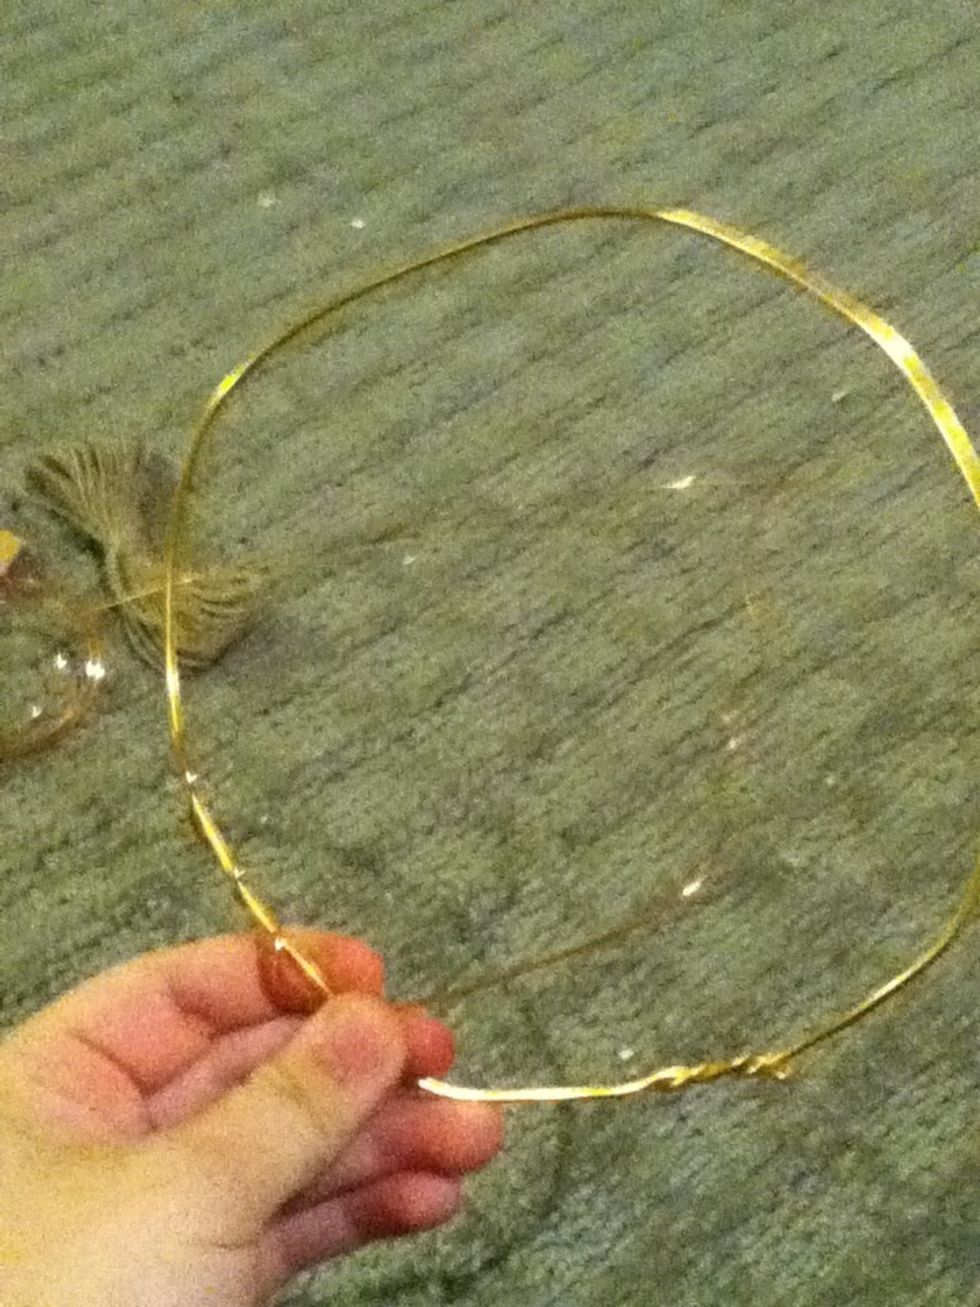
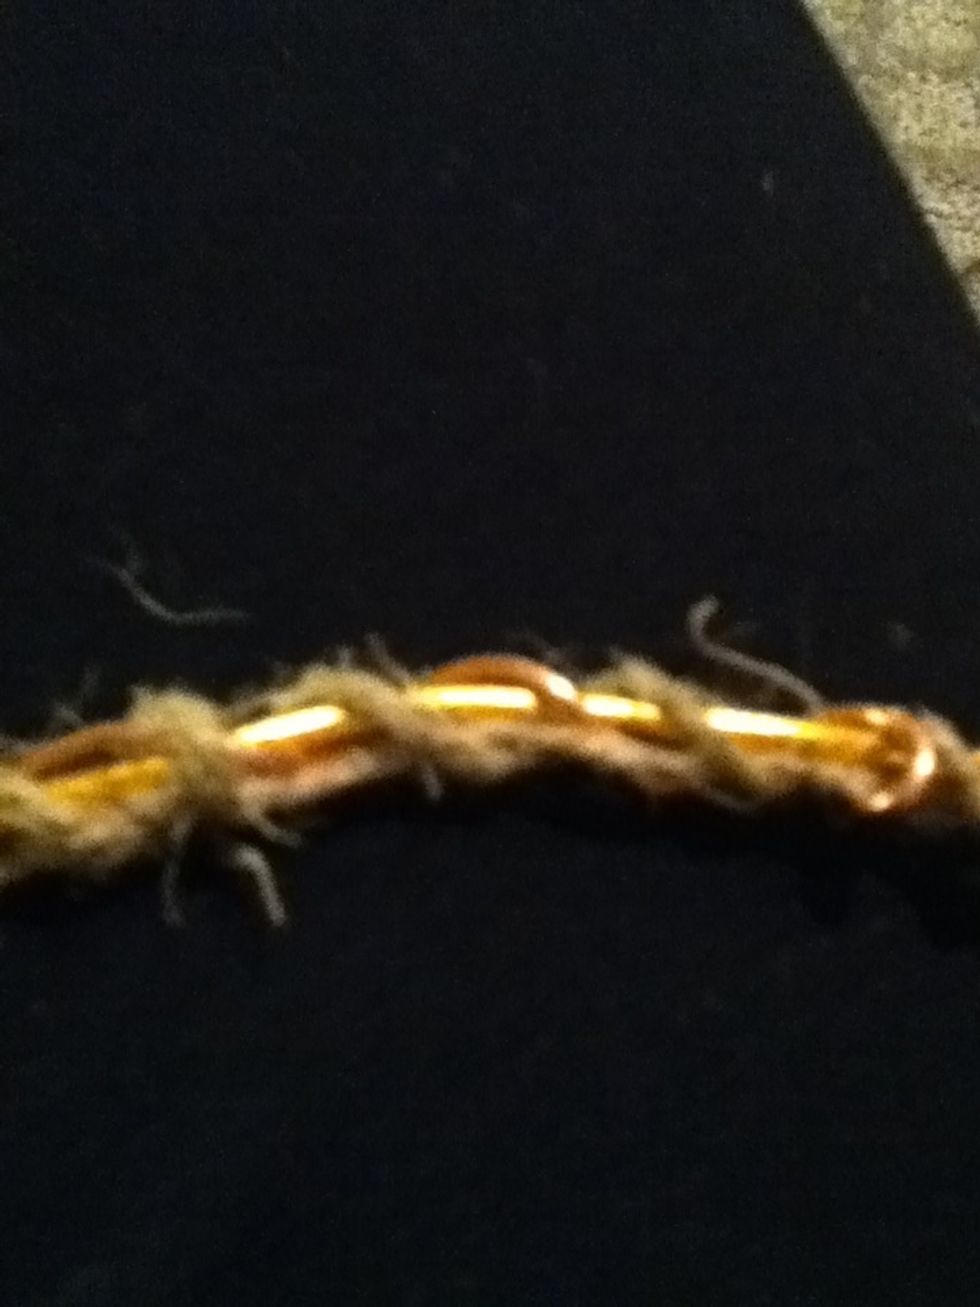
Start with your metal ring. I didn't have one on me and I also have no money, so I used some old metal wire.
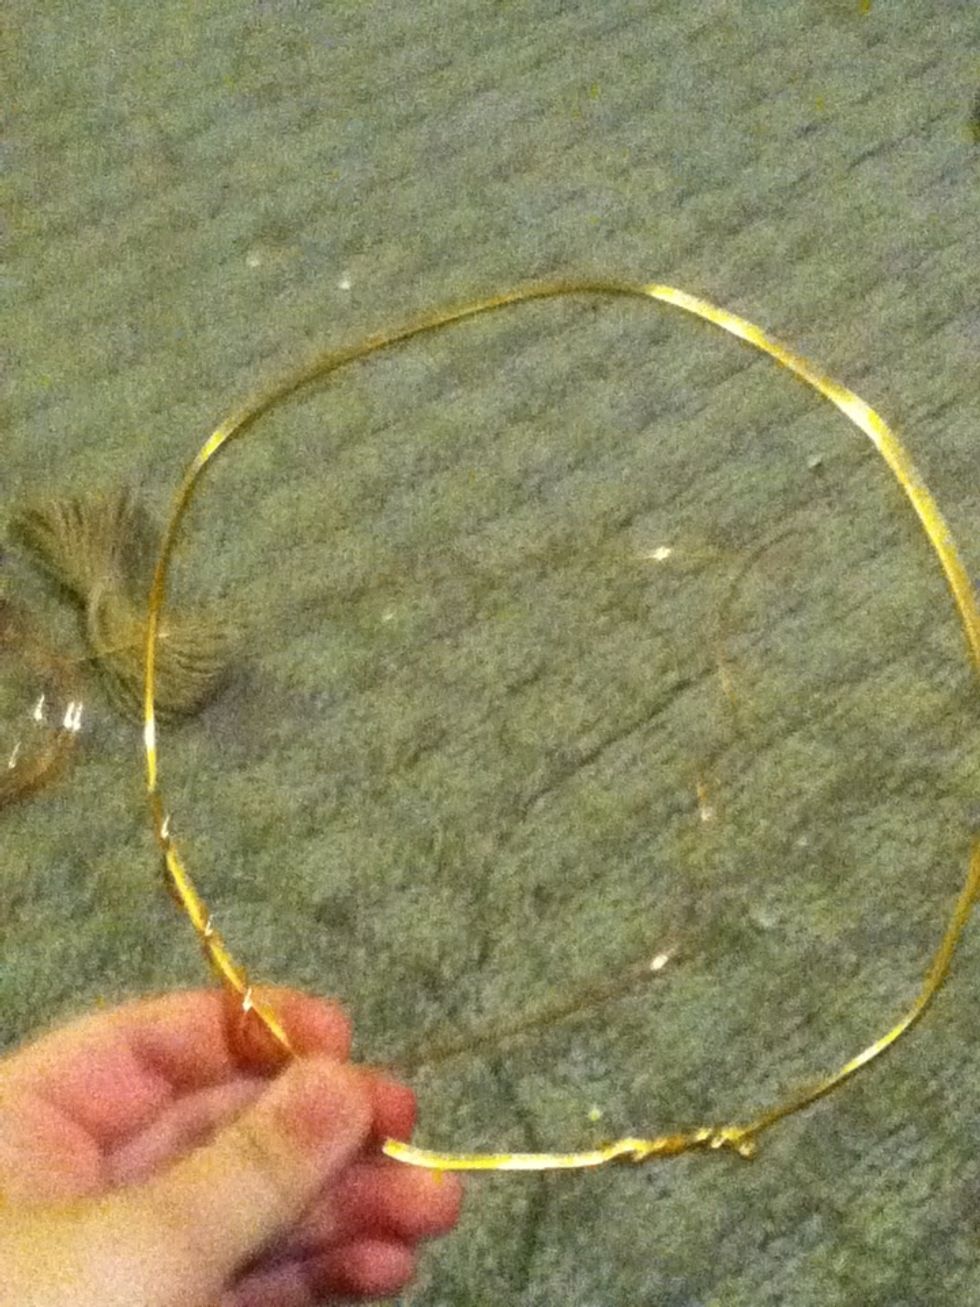
If you're doing what I did with the wire, make sure to reinforce it with additional wire or some material so that the metal circle won't turn into a metal oval, ya feel me?;)

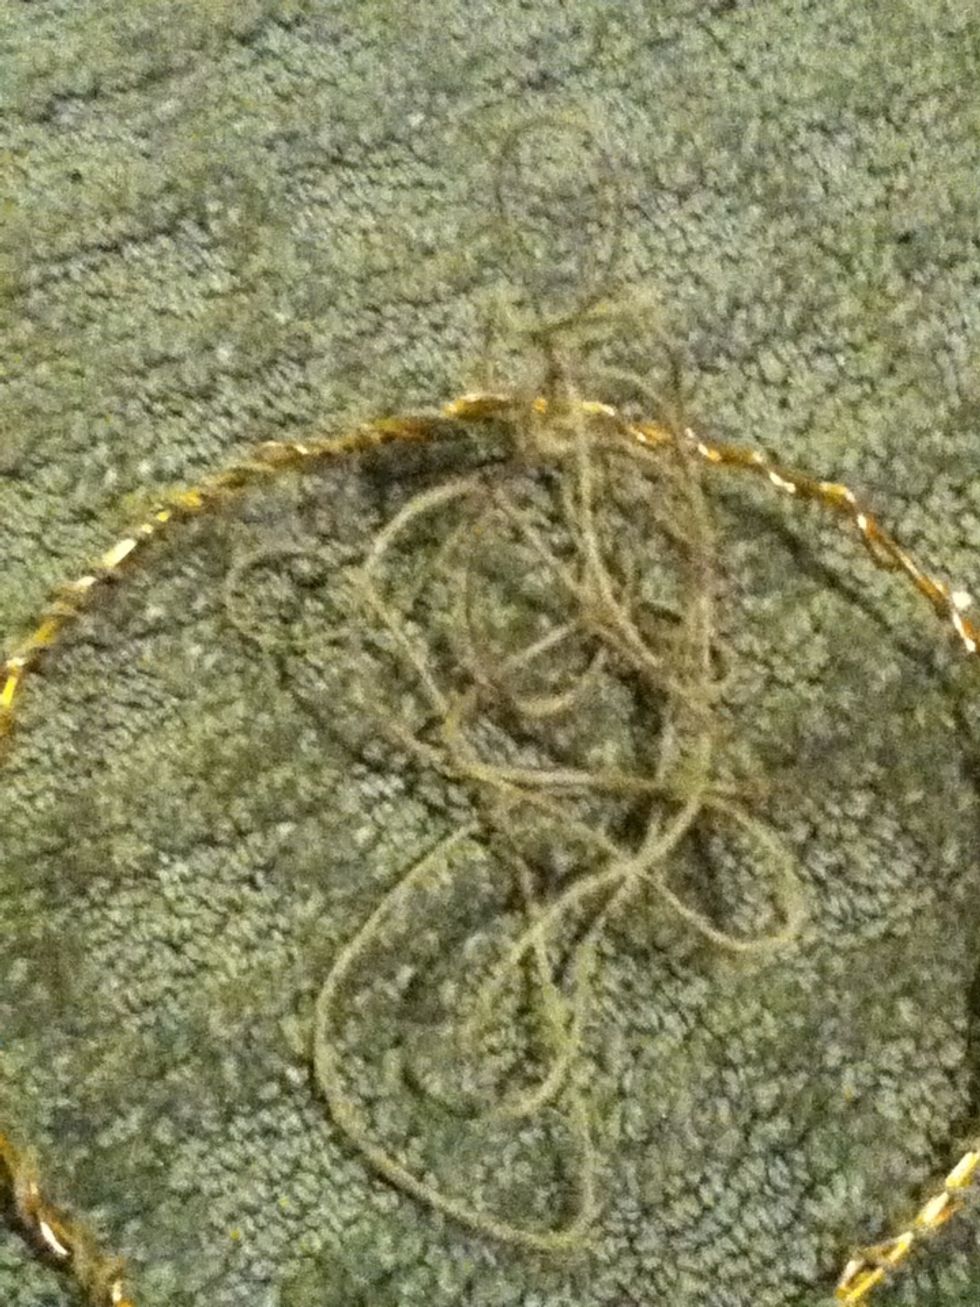
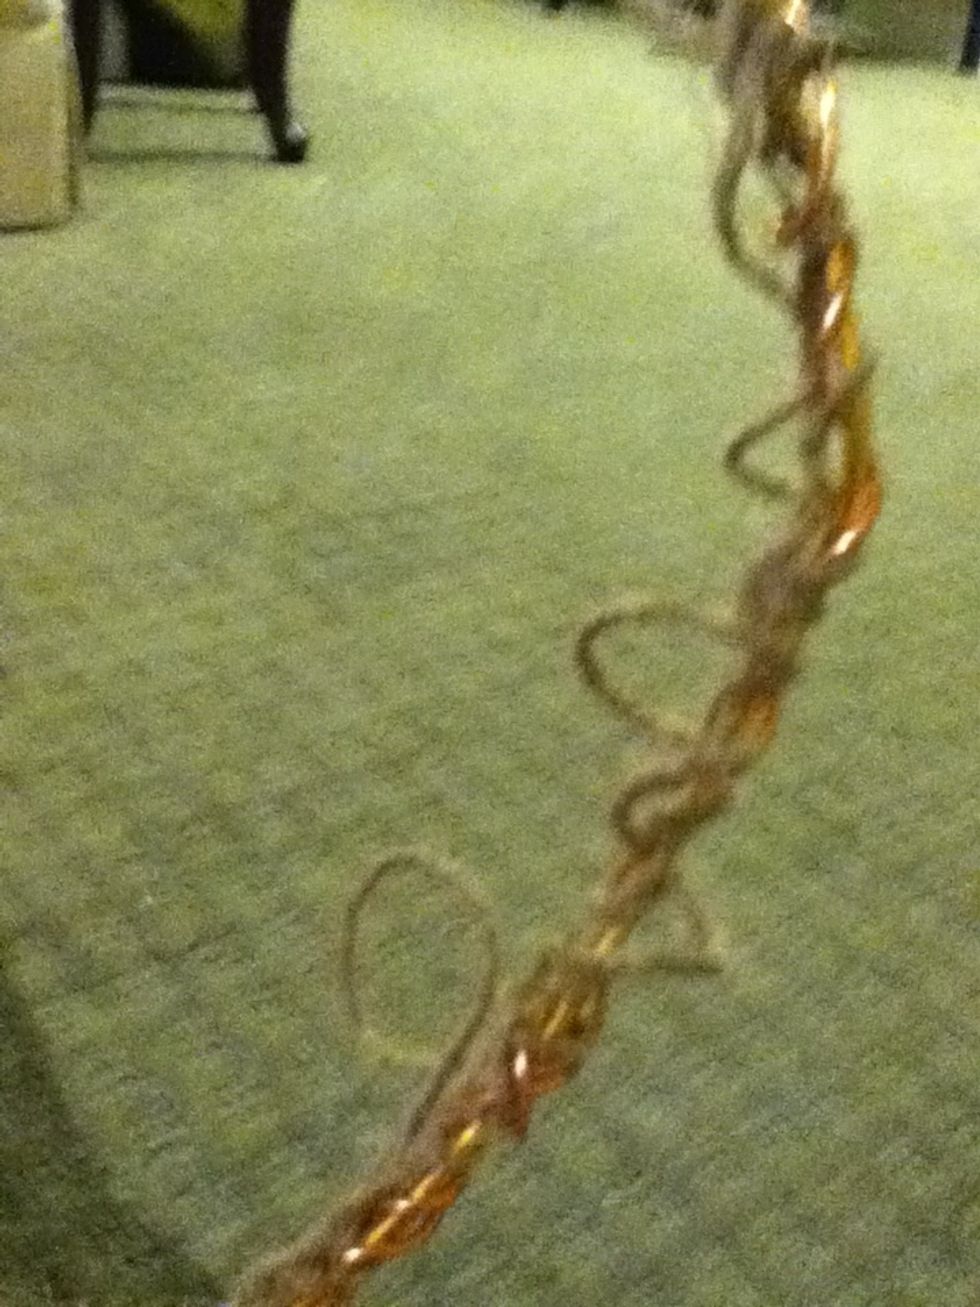
With your completed ring, get your twine/yarn/string material of choice.
Start winding the twine or string around the metal ring. Make sure to keep the string loose, as you will need room in following steps.
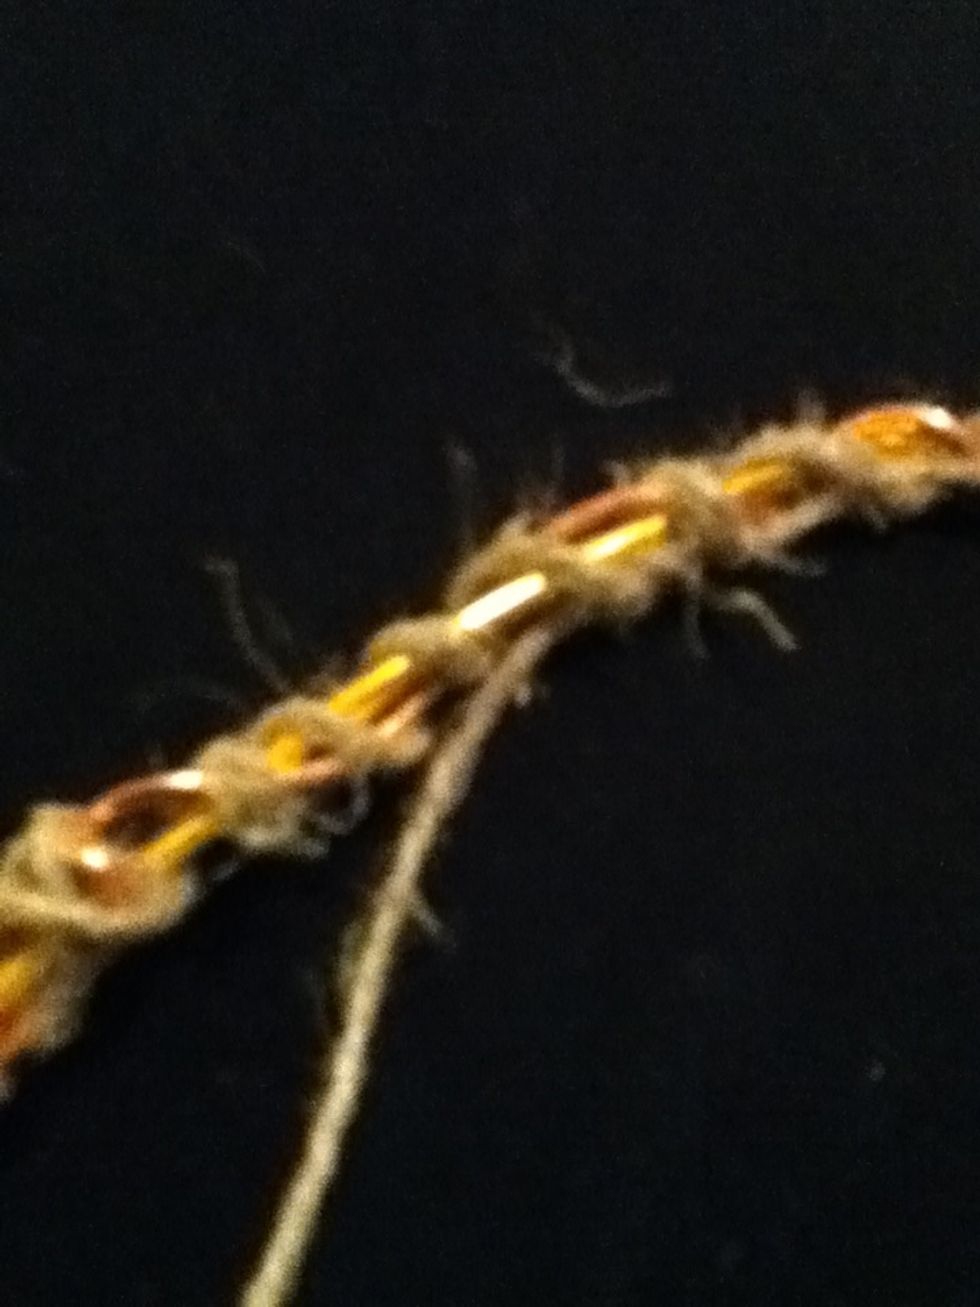
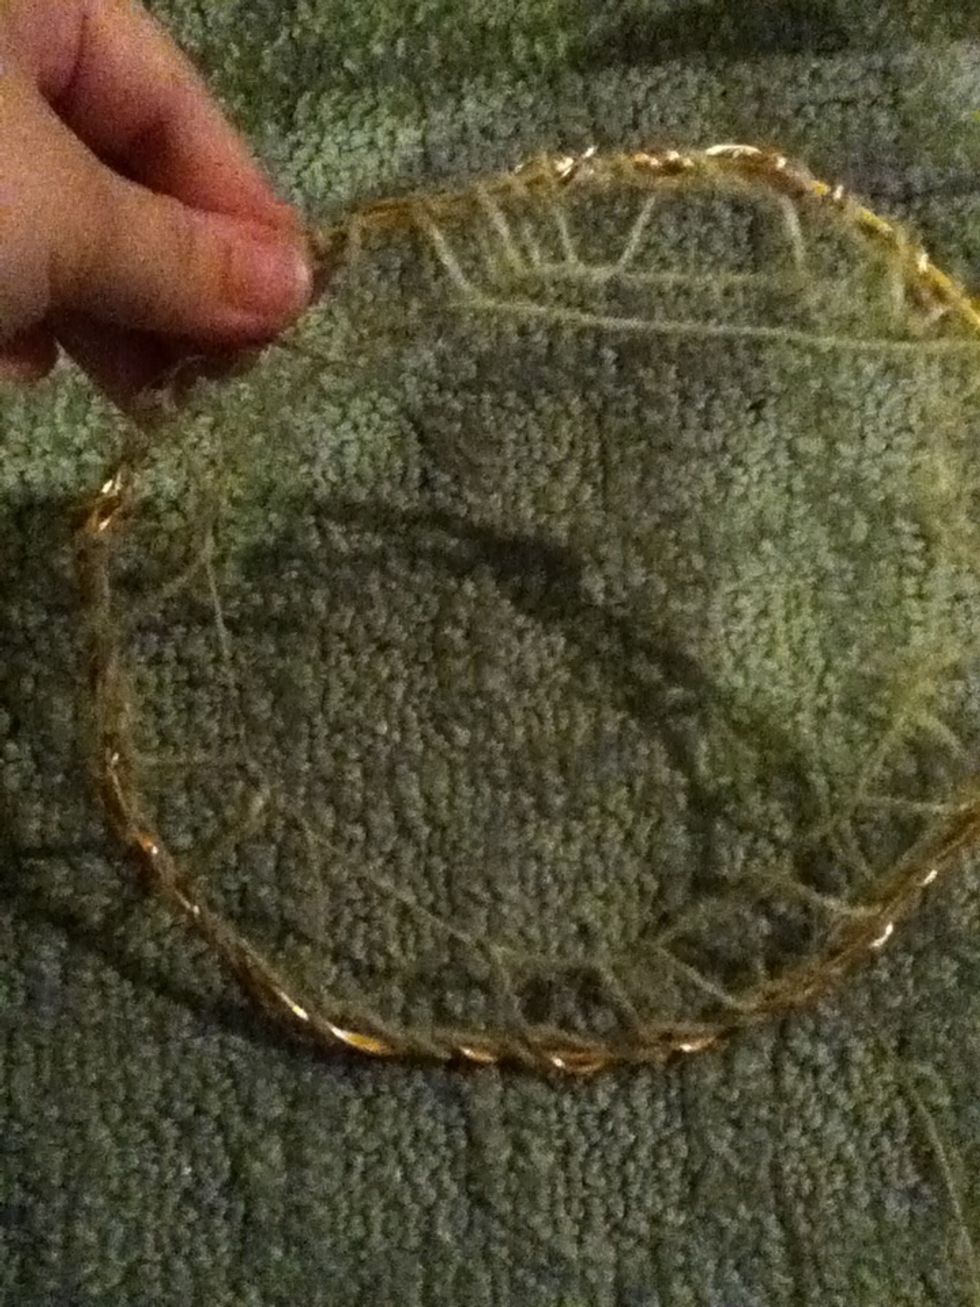
After wrapping string around the first time, continue with the same string in and out of the wraps you have already done.
It should look something like this.
Because you didn't pull the string tight when wrapping it around the ring, you should be able to pull the weaving apart slightly, so that holes can be easily seen and twine can be stringed through.

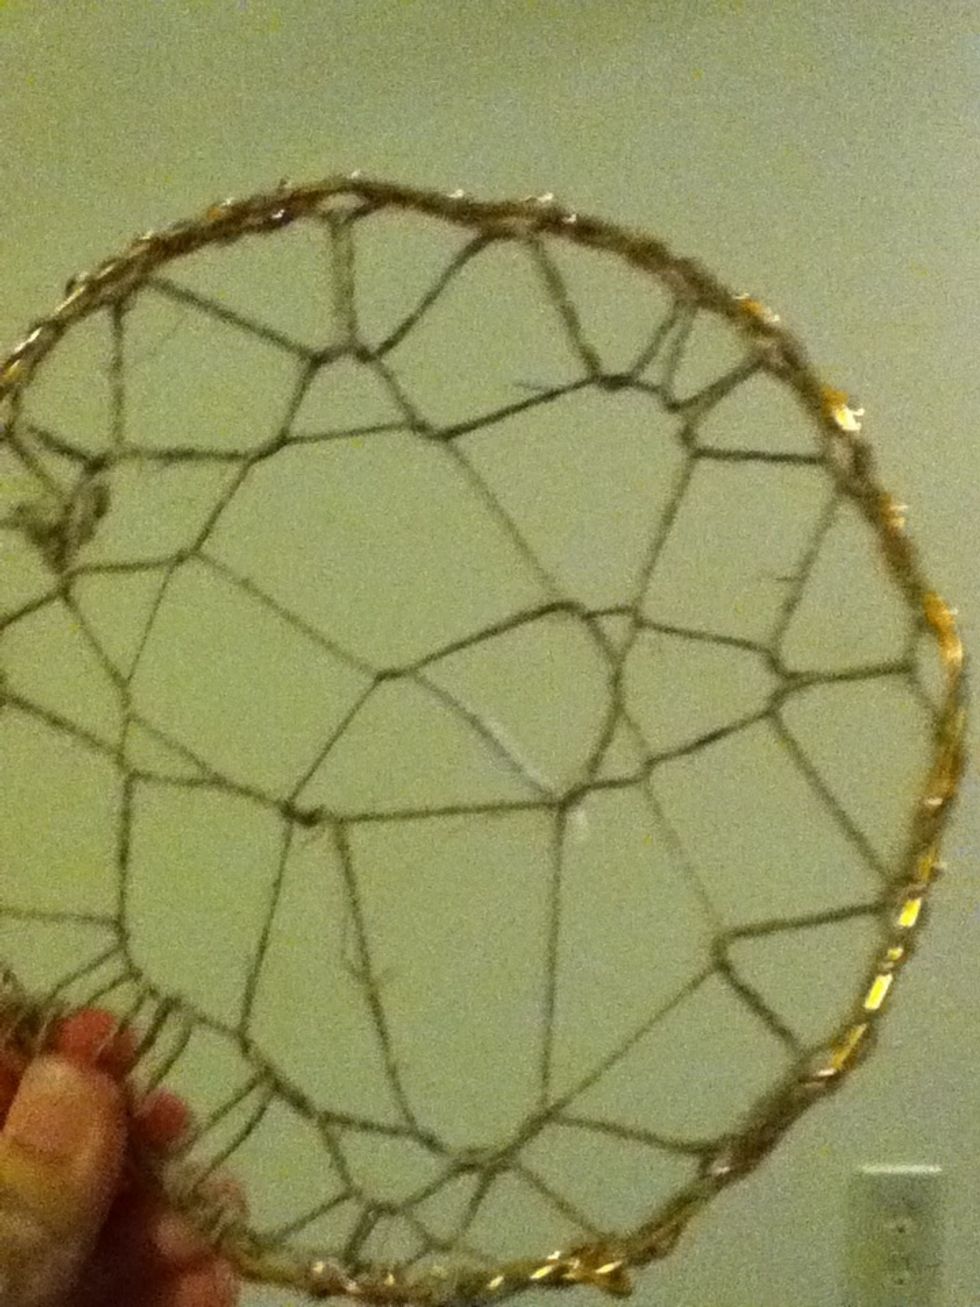
This is where it gets tricky. If you're still following me, you should take the string and pull it through all open holes...
When you pull it tight it should look like this. If you need clarification on all of the weaving, please comment. I'll try my hardest to provide a clearer and more thorough explanation.

Take the string again and pull it through the newly formed holes. Continue doing this until the circle is filled.
Finished product. Most dreamcatchers vary on the maker, type of string, and how intricate you wanna be. Don't fret if it's not identical to this. So long as it's the idea of it, you'll be fine.
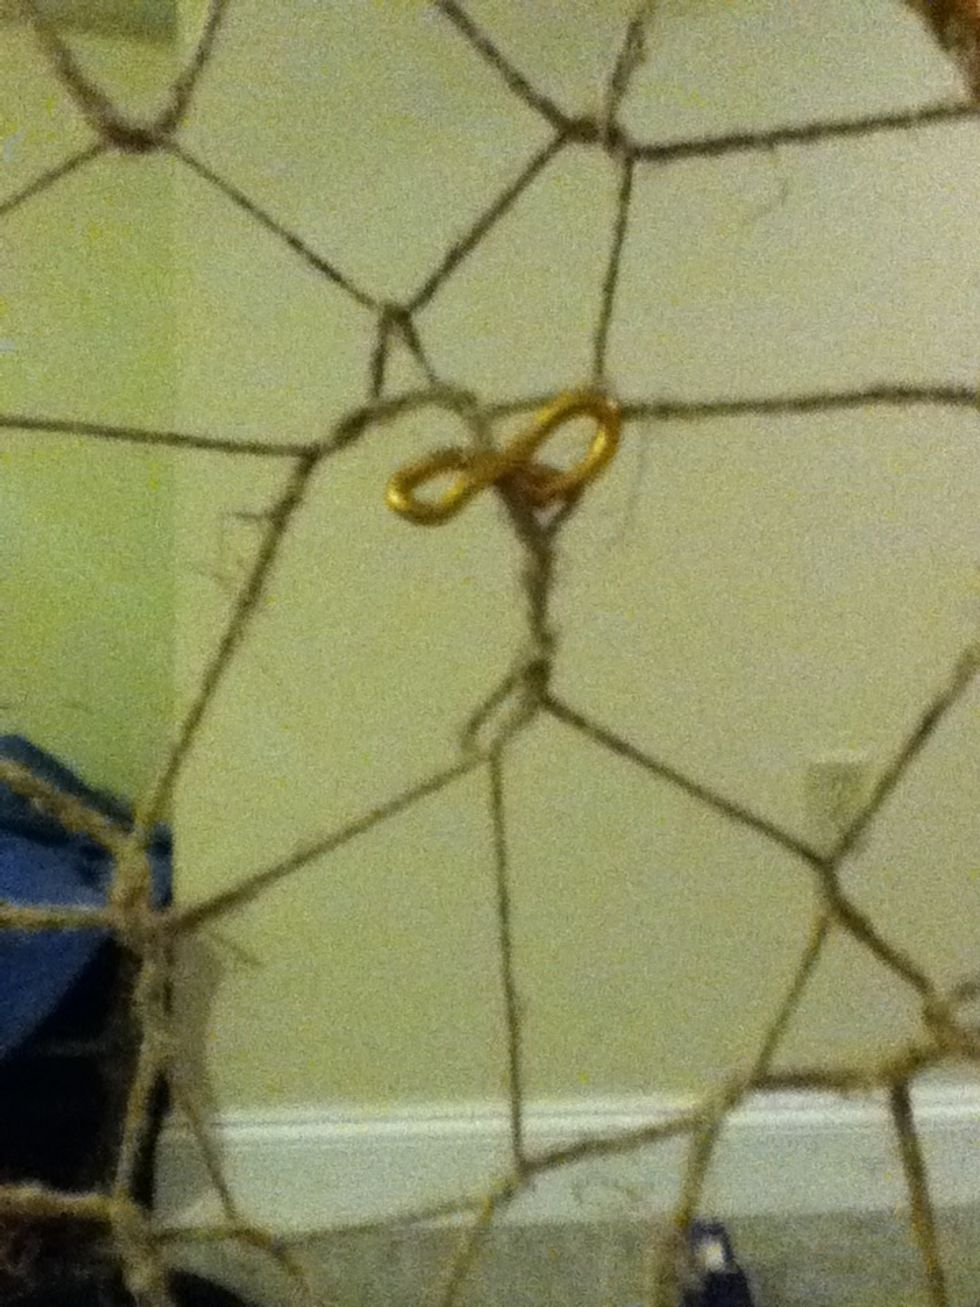
Also note that you can put a bead or trinket in the dreamy web. I put an infinity symbol. Because I figured that since making this is trendy enough as it is, I may as well go all out into hipsterdom.

Start tying threads to the bottom of your dream catcher. I used the thread that is most commonly used for friendship bracelets.

Tie on several of these and attach feathers, suede strips, beads, and anything else you'd like to your thread. Be as creative as you'd like. Sweet dreams. :)