The Conversation (0)
Sign Up
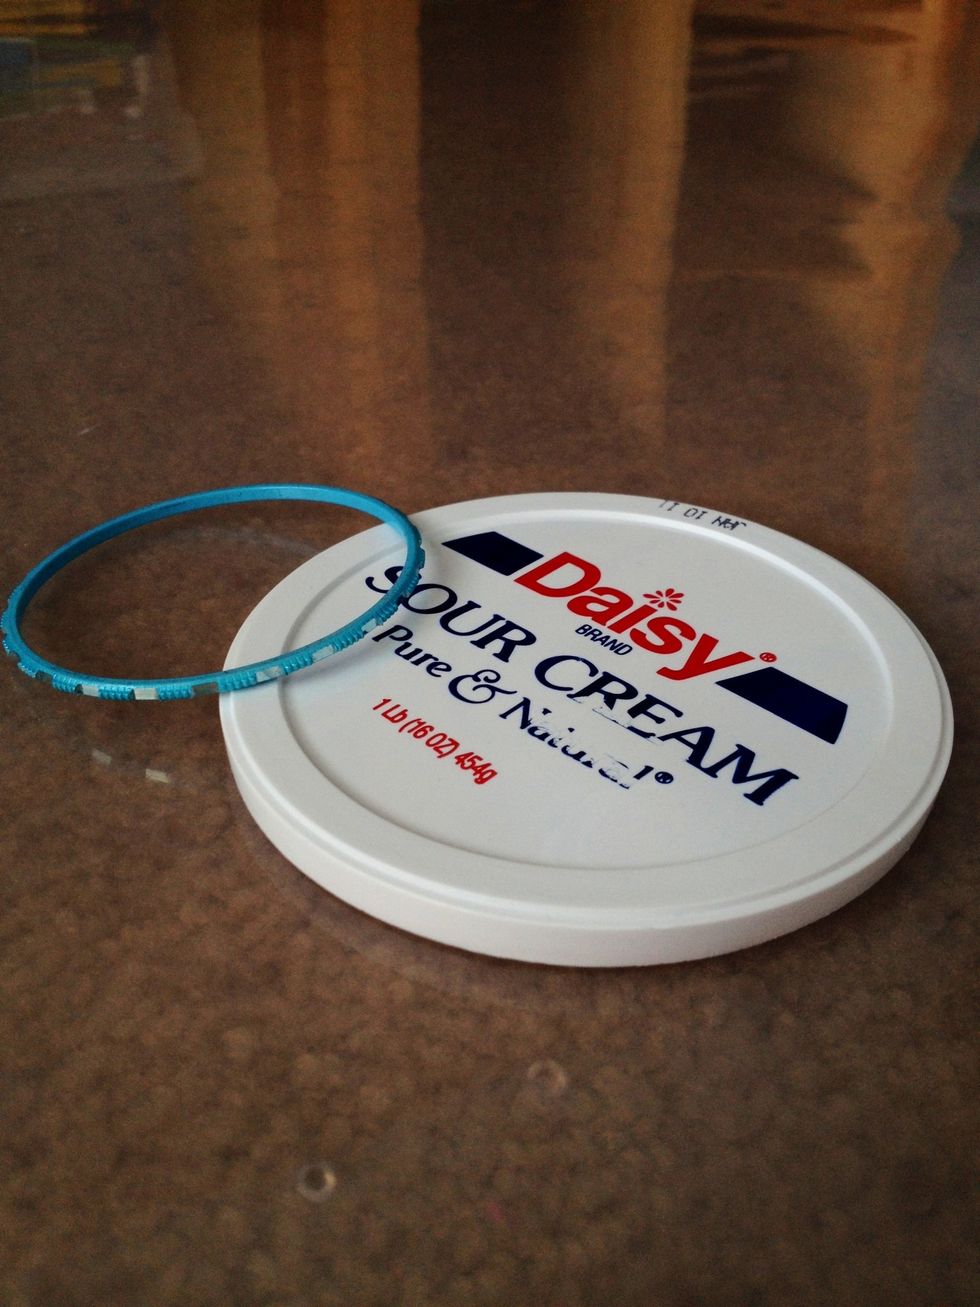
Traditional dreamcatchers are made with grapevine. You can use any ring-shaped object such as a bangle. I'll show you how to use a plastic lid.
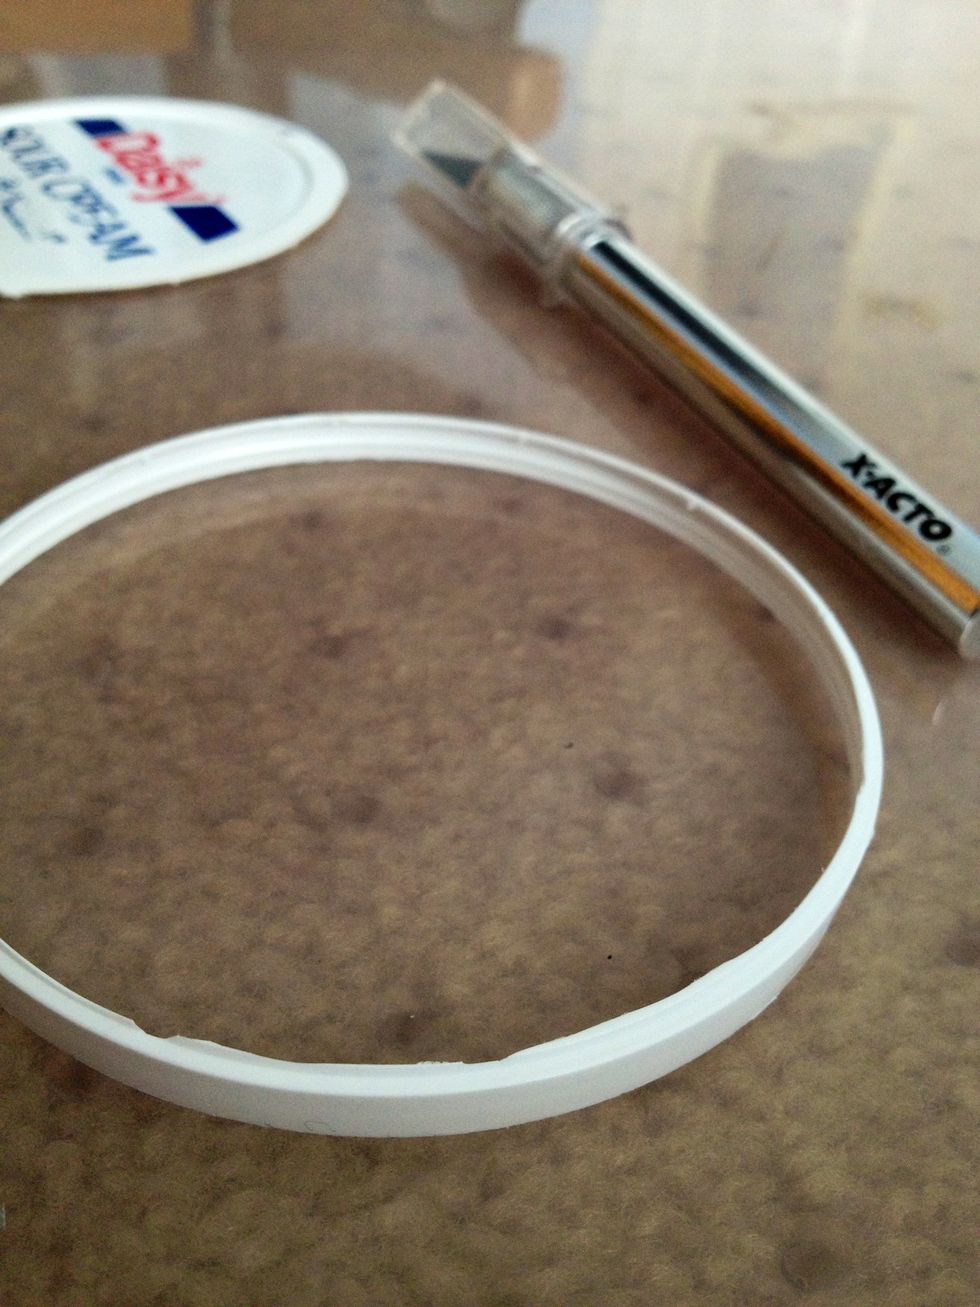
Use an X-acto knife to cut out the ring shape. Be careful while using it! If you are a child, ask an adult to do this for you.

Decide what you want to wrap the ring with. It can be string, leather, ribbon, etc. I chose twine.
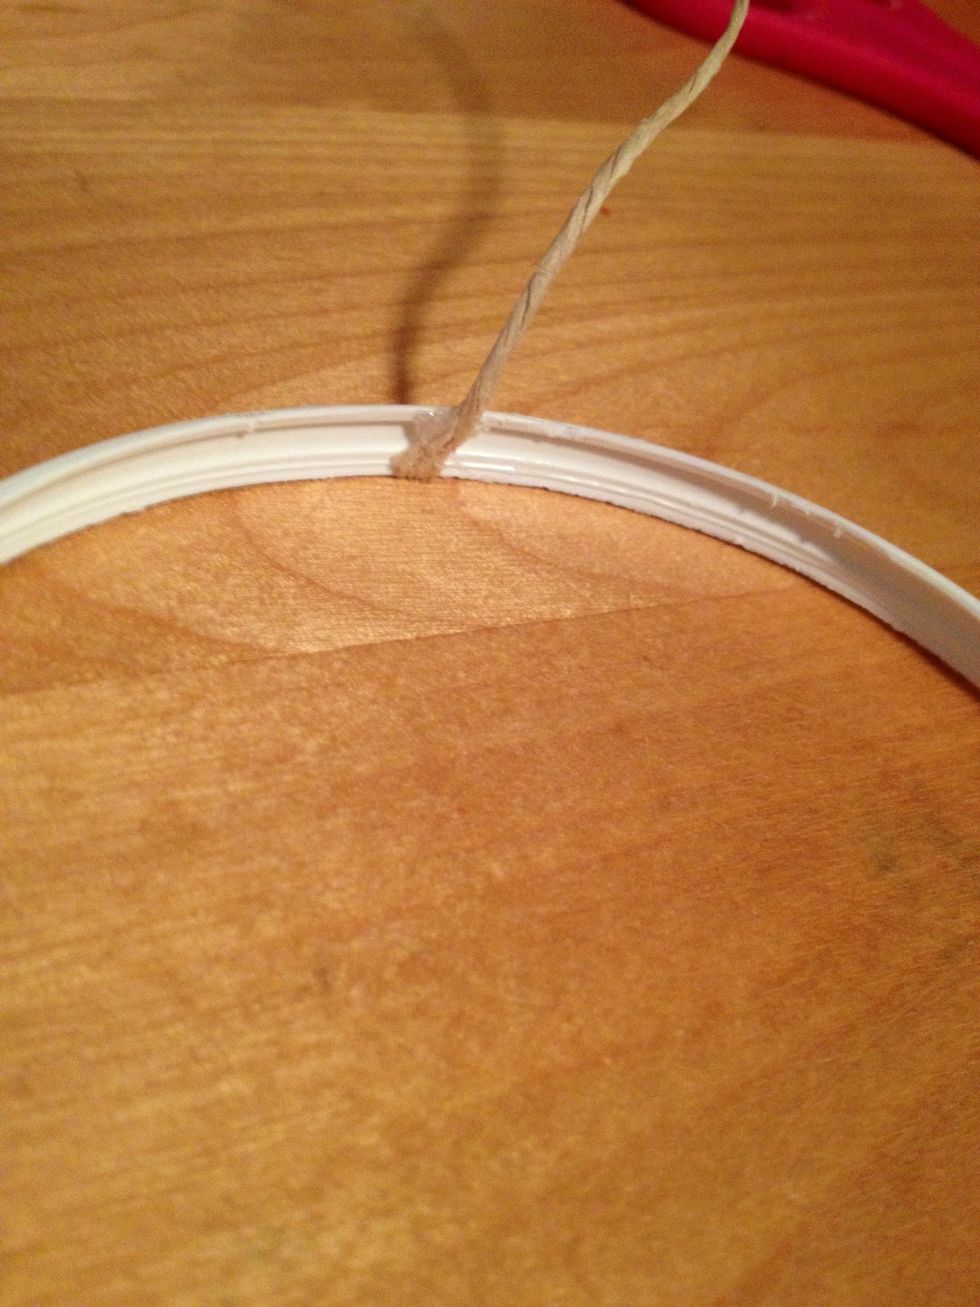
Add some hot glue inside the ring and attach the string.

Wrap about 5 times then add a little more glue on the ring before wrapping the next loop.

Continue until.....
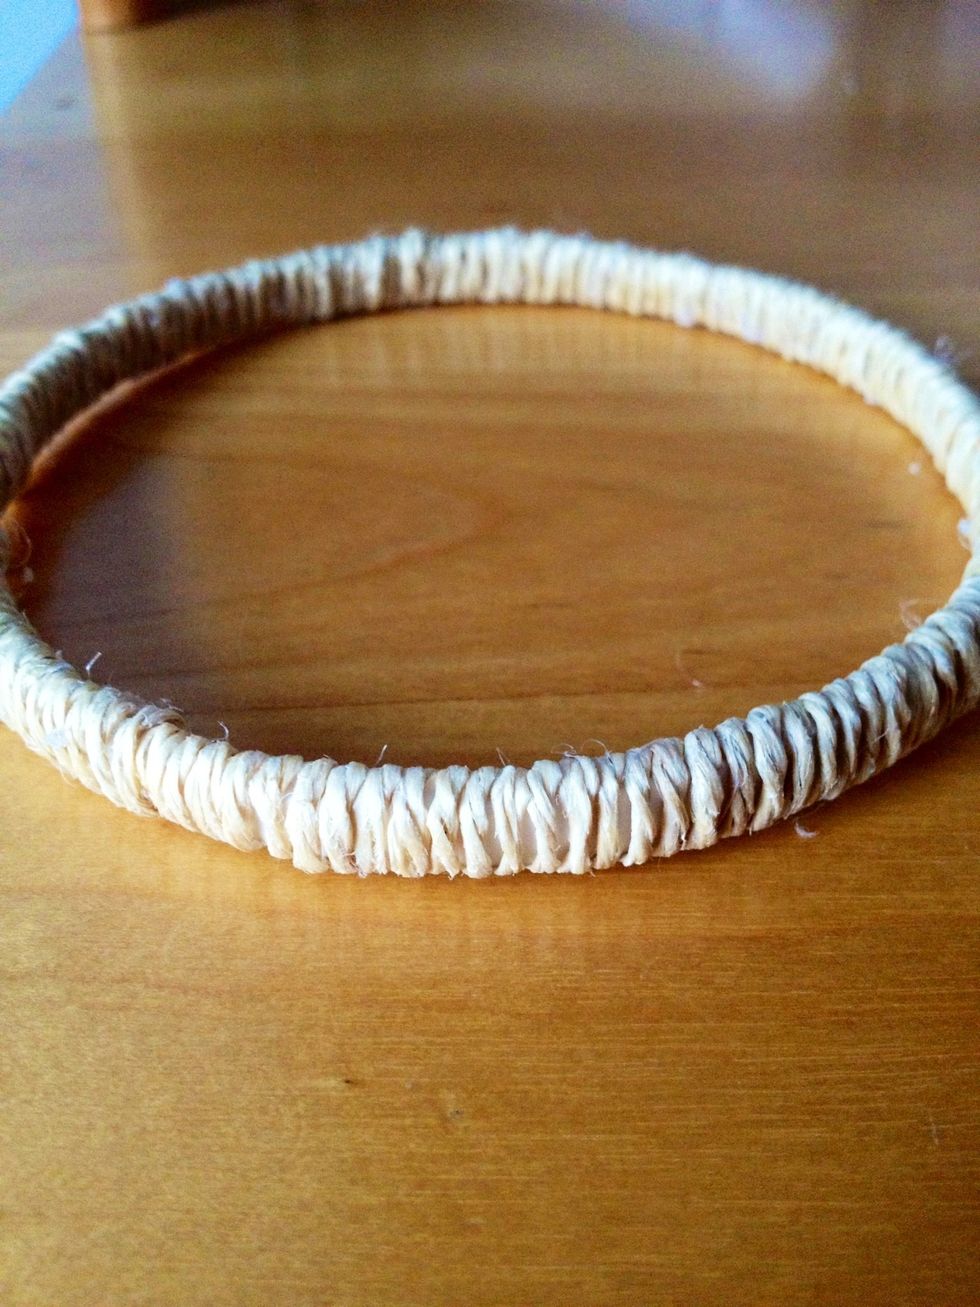
The ring is completed! I found that twine takes longer than string, but I love the "earthy" look of it.

Get a LONG piece of string (about 10-15 times the diameter of your ring) and tie a knot to the ring. You can cut off the "tail." To make it more secure, hot glue the tail down so your knot won't slip.
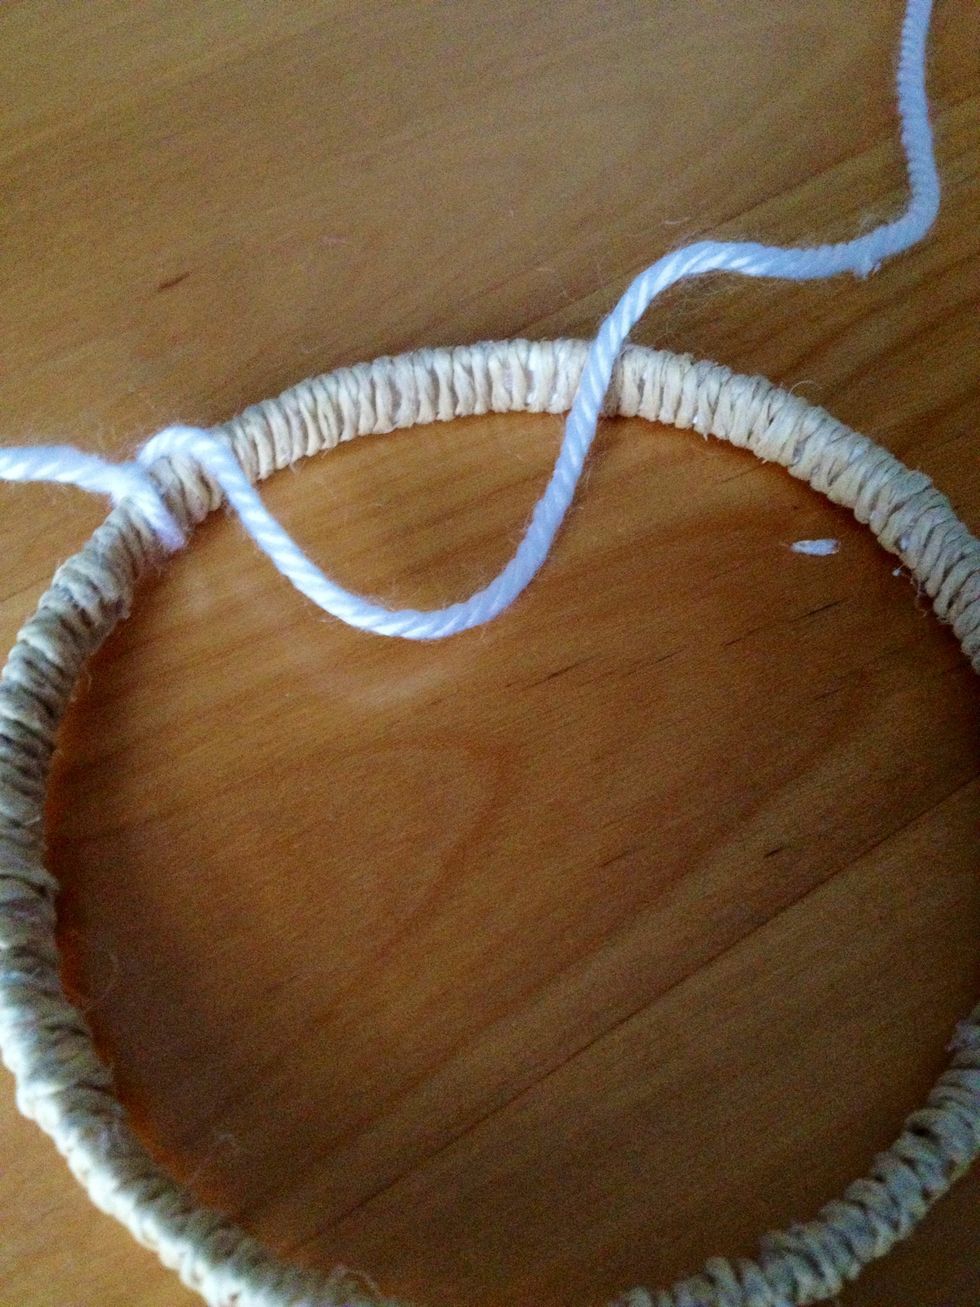
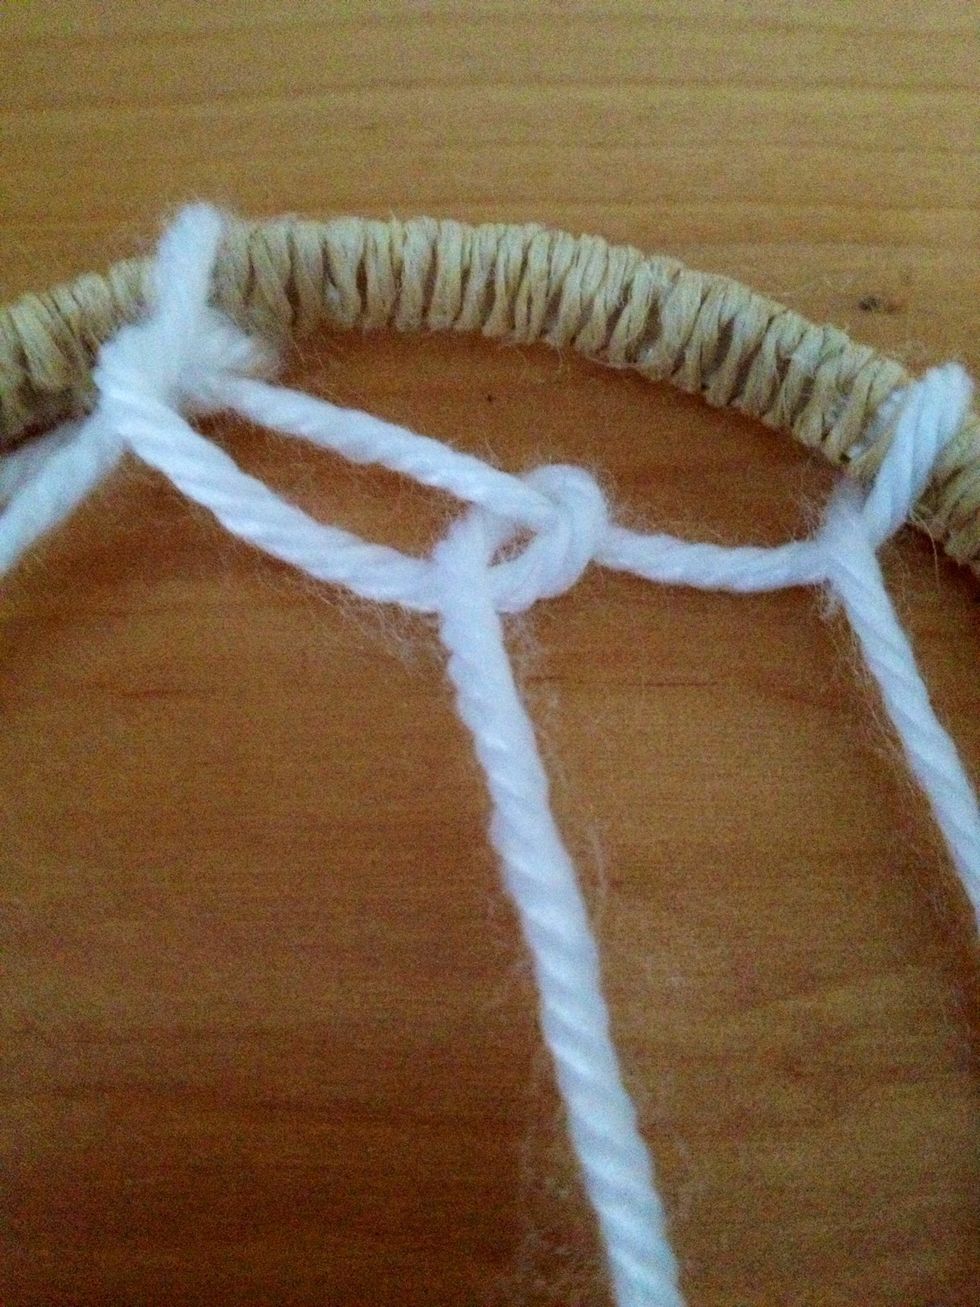
Make a loop with the string that lies on top of the ring like so.
Bring the end under the ring through the loop.
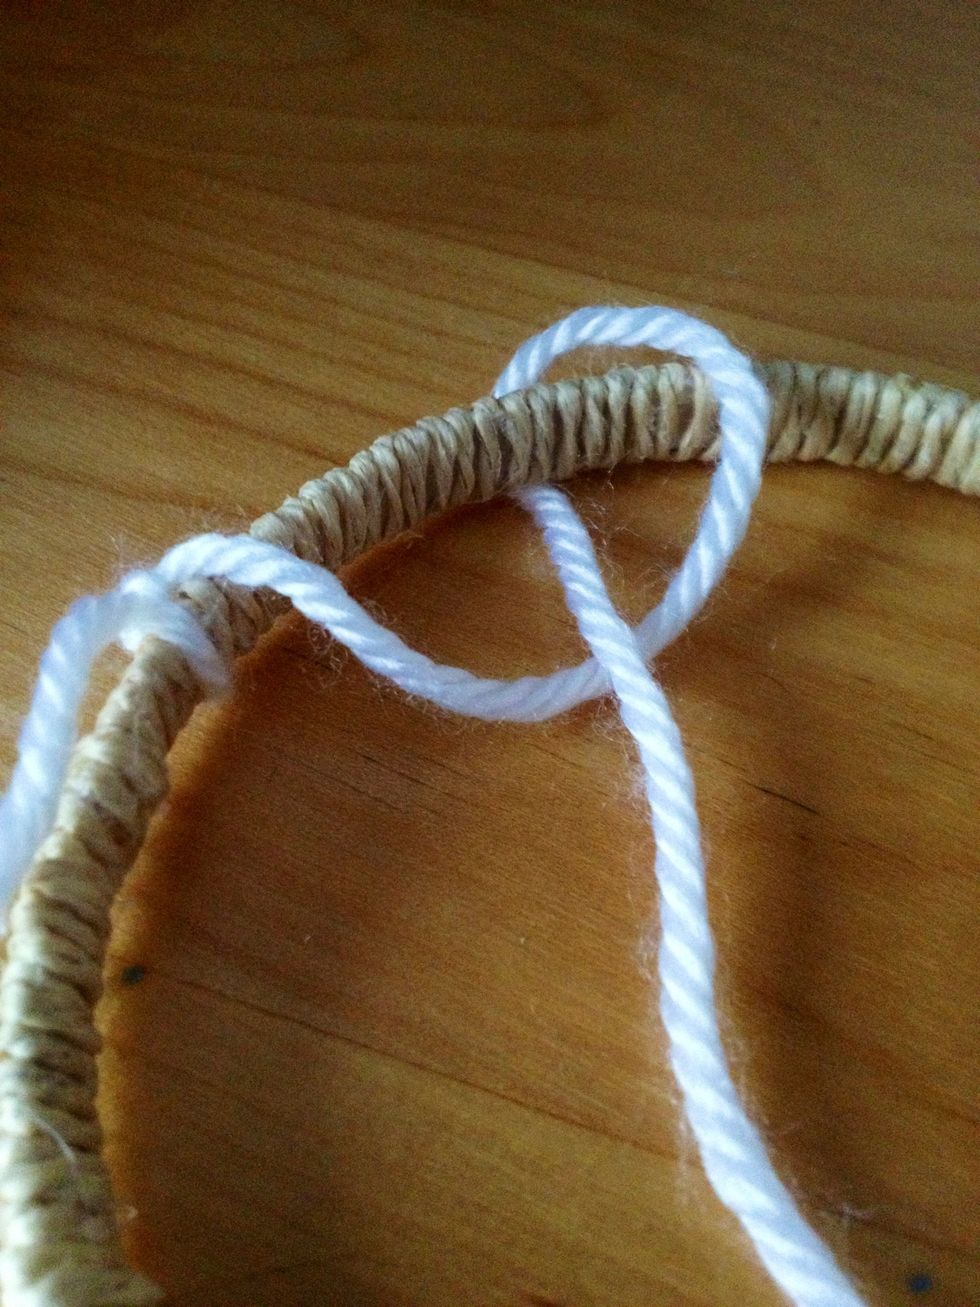
Pull the end tight. It won't look like a loop anymore, but it'll make your dreamcatcher have a better result.
Here's how the first round should look. For the last loop, pull the string on the right side of your original knot.
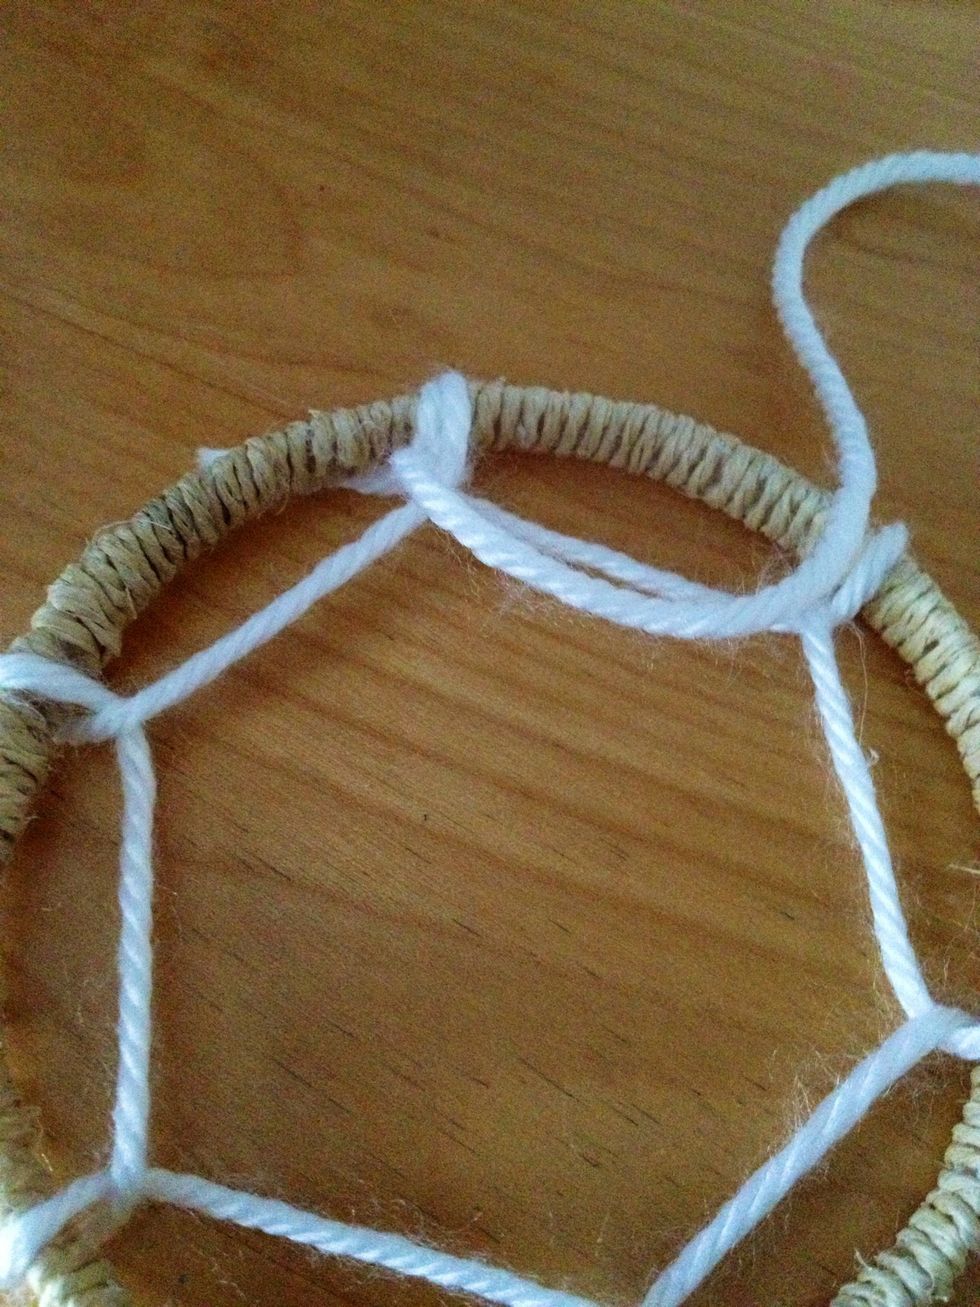
The new loop is the one on the right. This keeps the weaving a little more stiff.
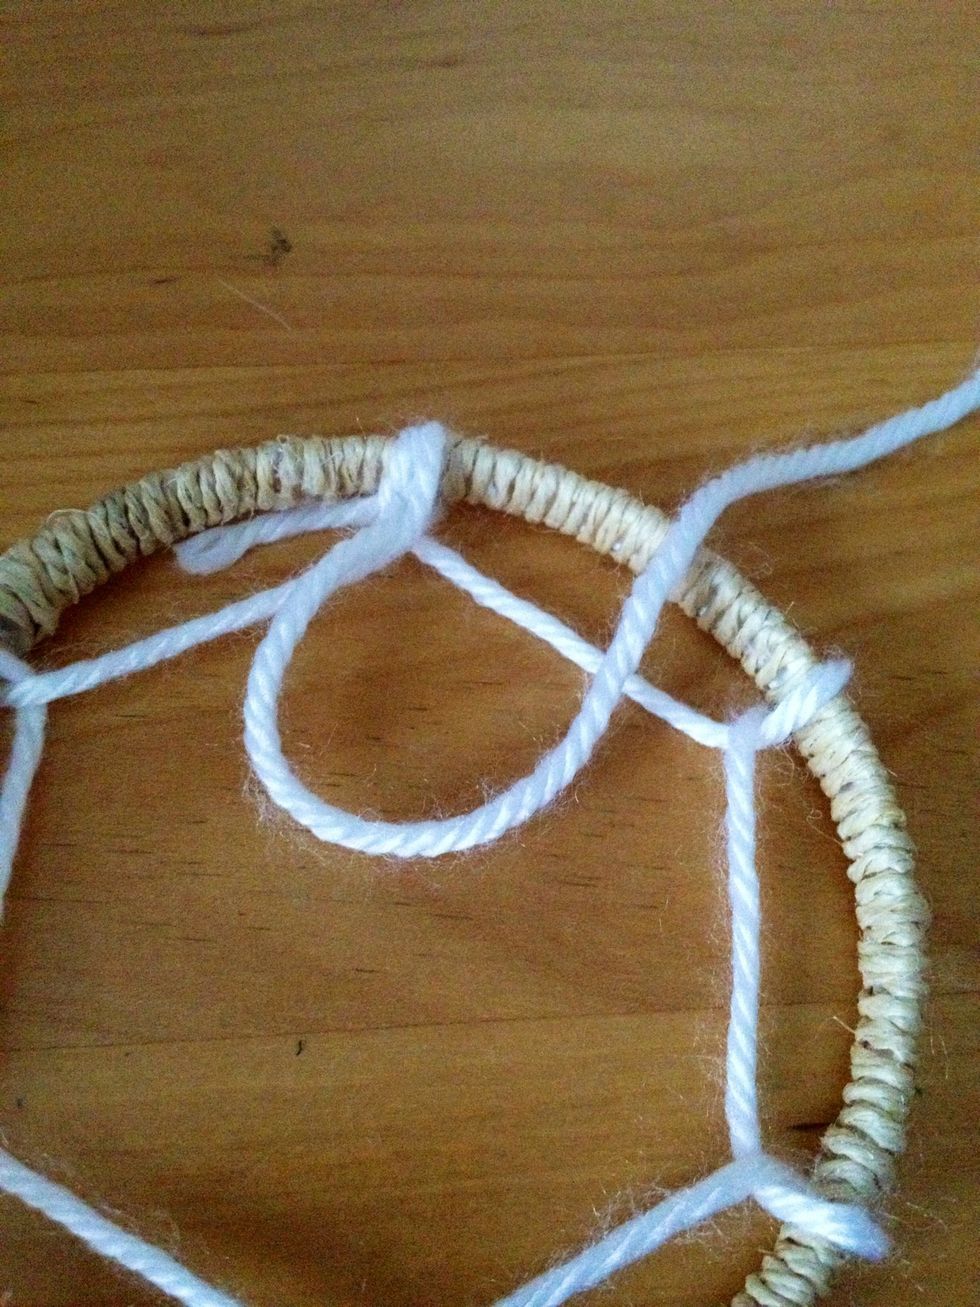
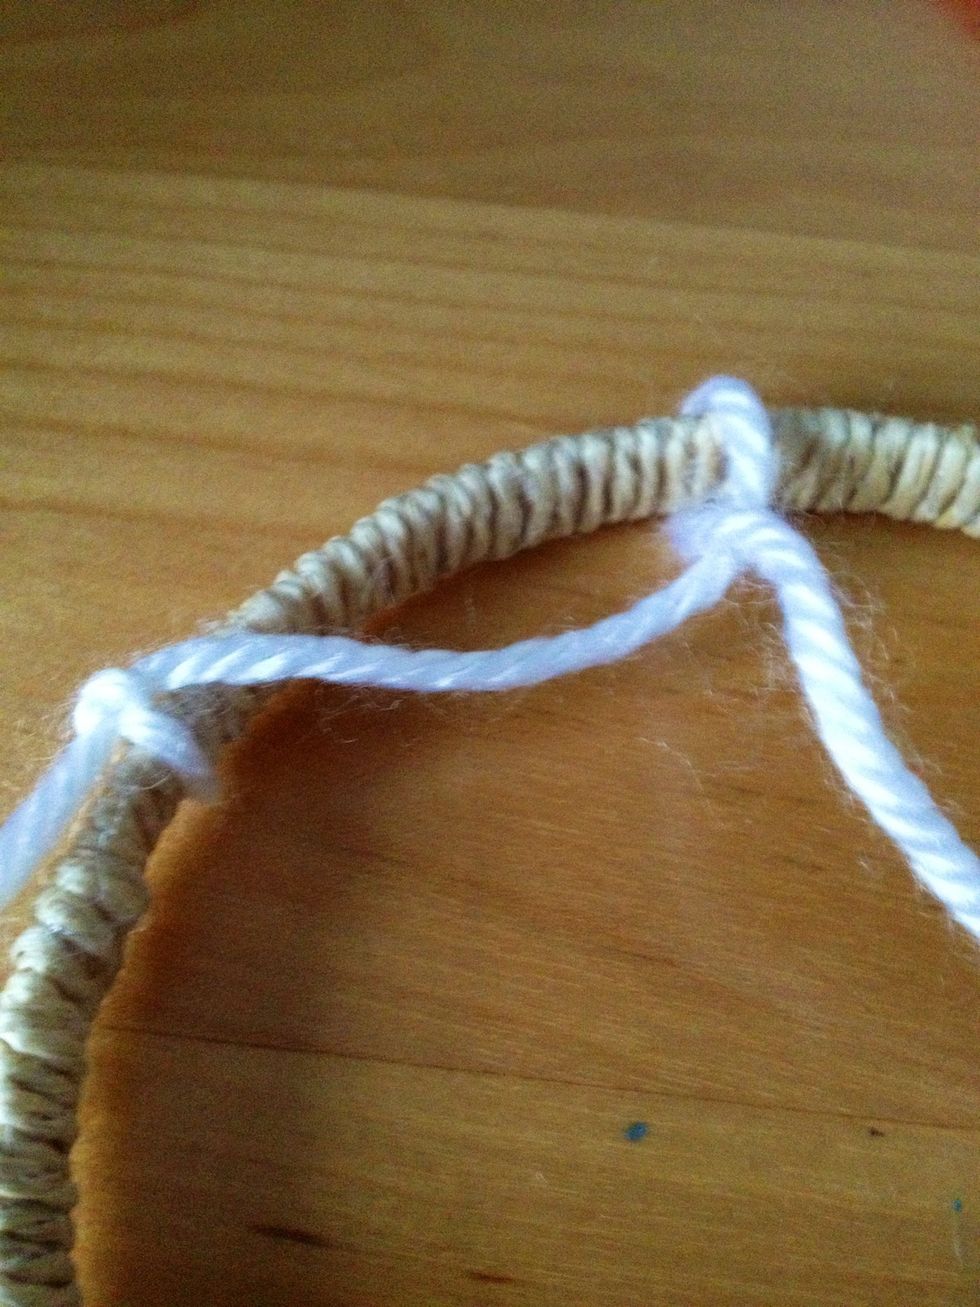
For the second round, follow the same process except instead of pulling the end of the string under the ring, you pull it under the old loop you made. Keep the new loop in the middle of the old loops.
This is what I was talking about. Again, it's much easier when you start doing it.
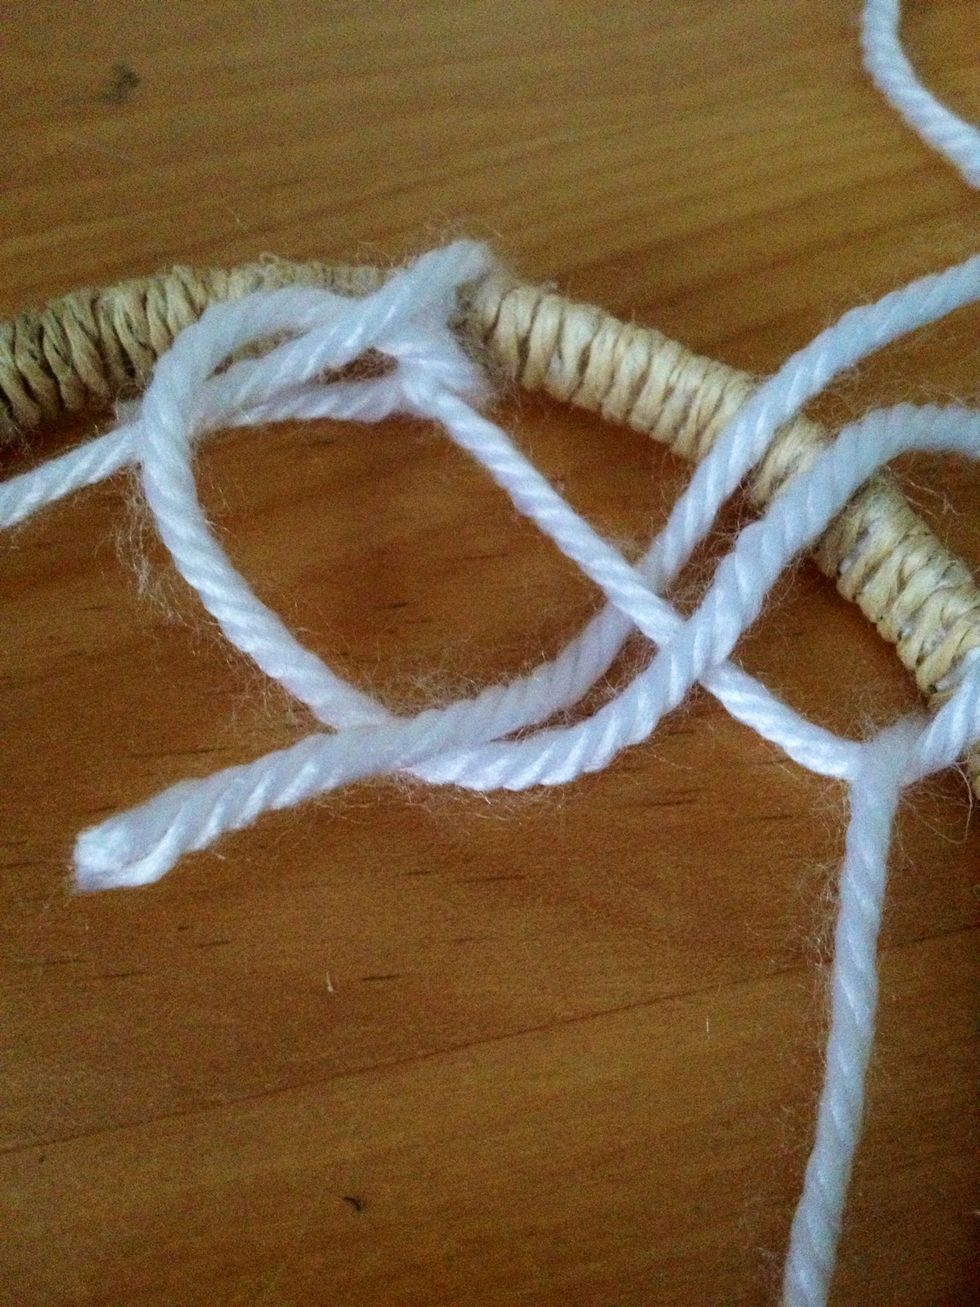
Remember to pull it tight. Continue this throughout the rest of the weaving.

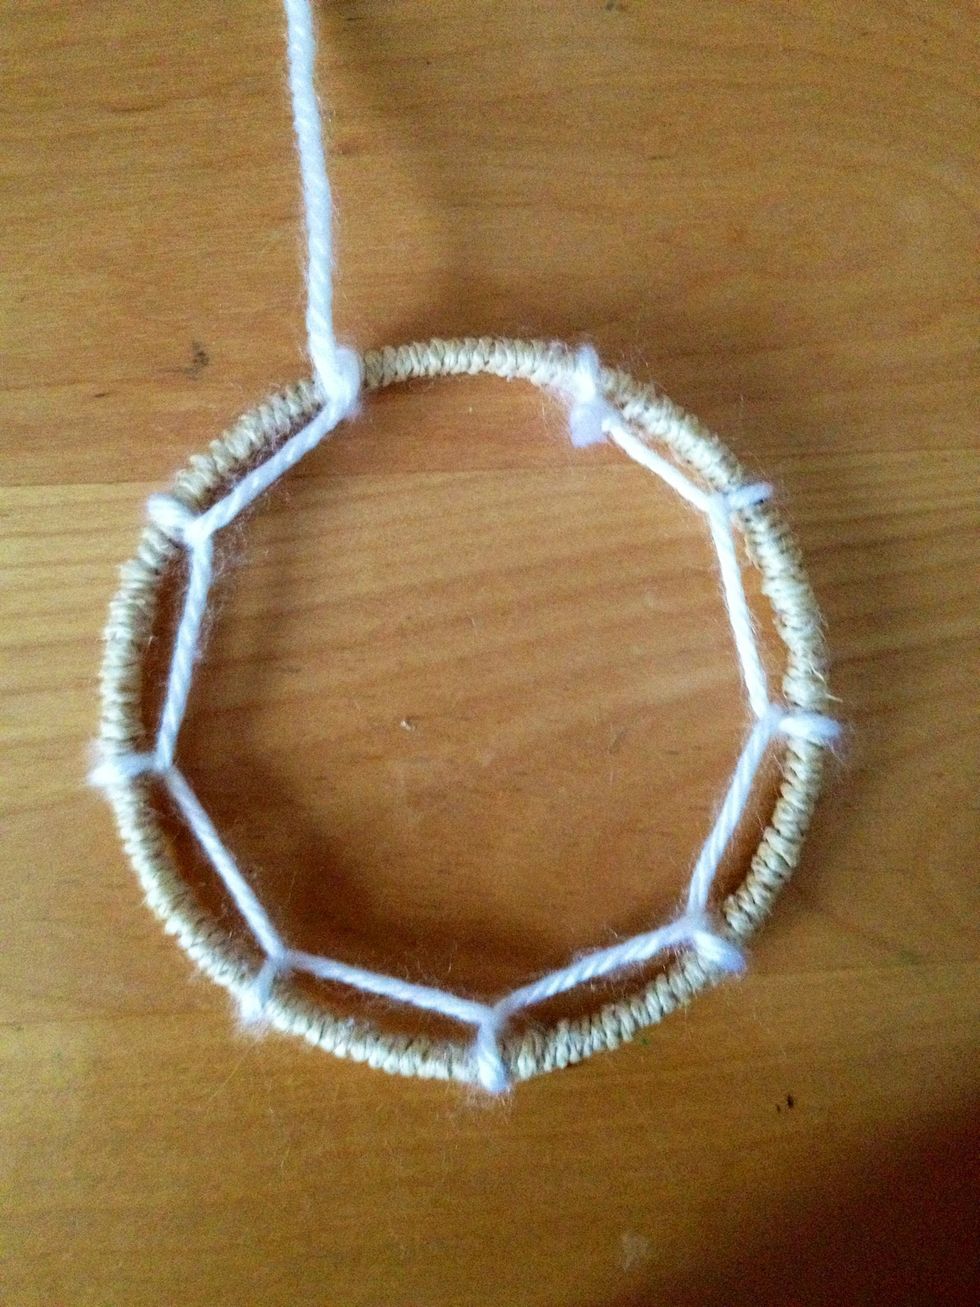
After you keep on going, you should end with the string coming out of the middle.
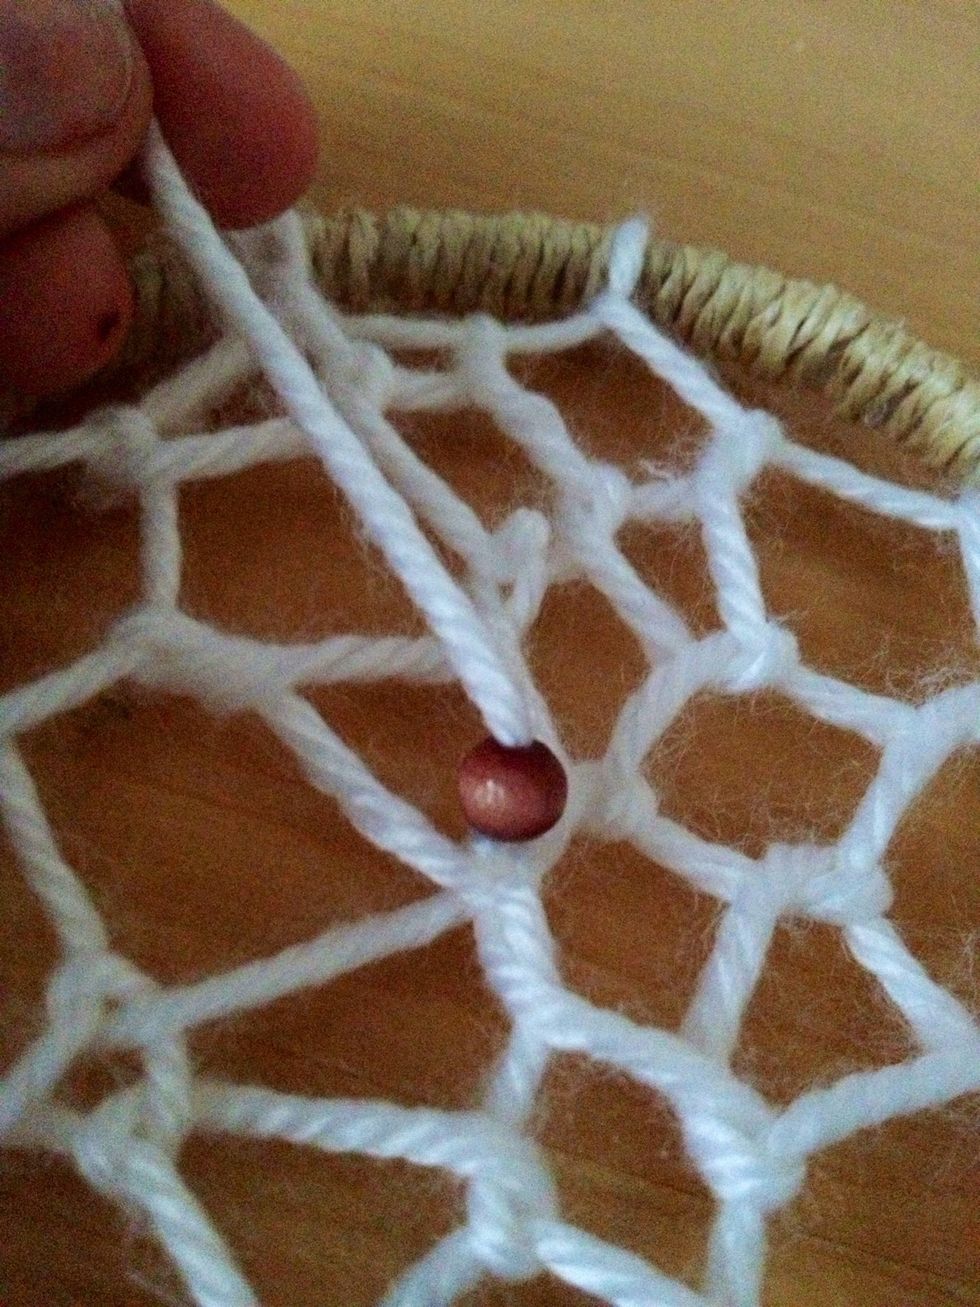
If you want, you can add a bead here by threading it through the string. You can add beads or shells wherever you want in the dreamcatcher by threading them in before completing a loop.
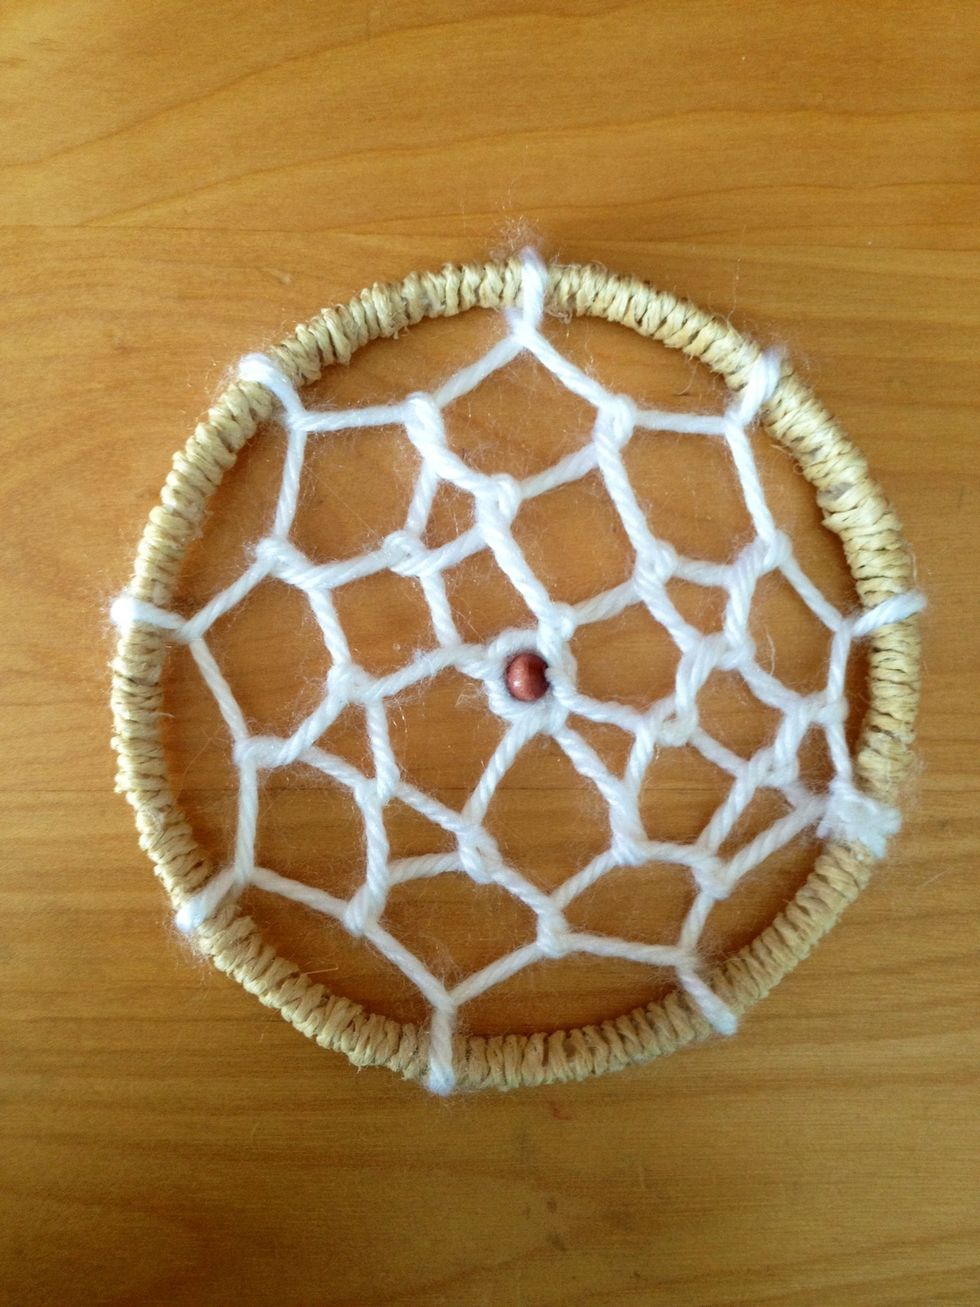
Tie a knot in the back, cut off the excess string and secure with hot glue (optional).
Remember that all dreamcatchers are different. You might have to try more than once until you like the result. Experiment with different tightness and more or less space between loops.
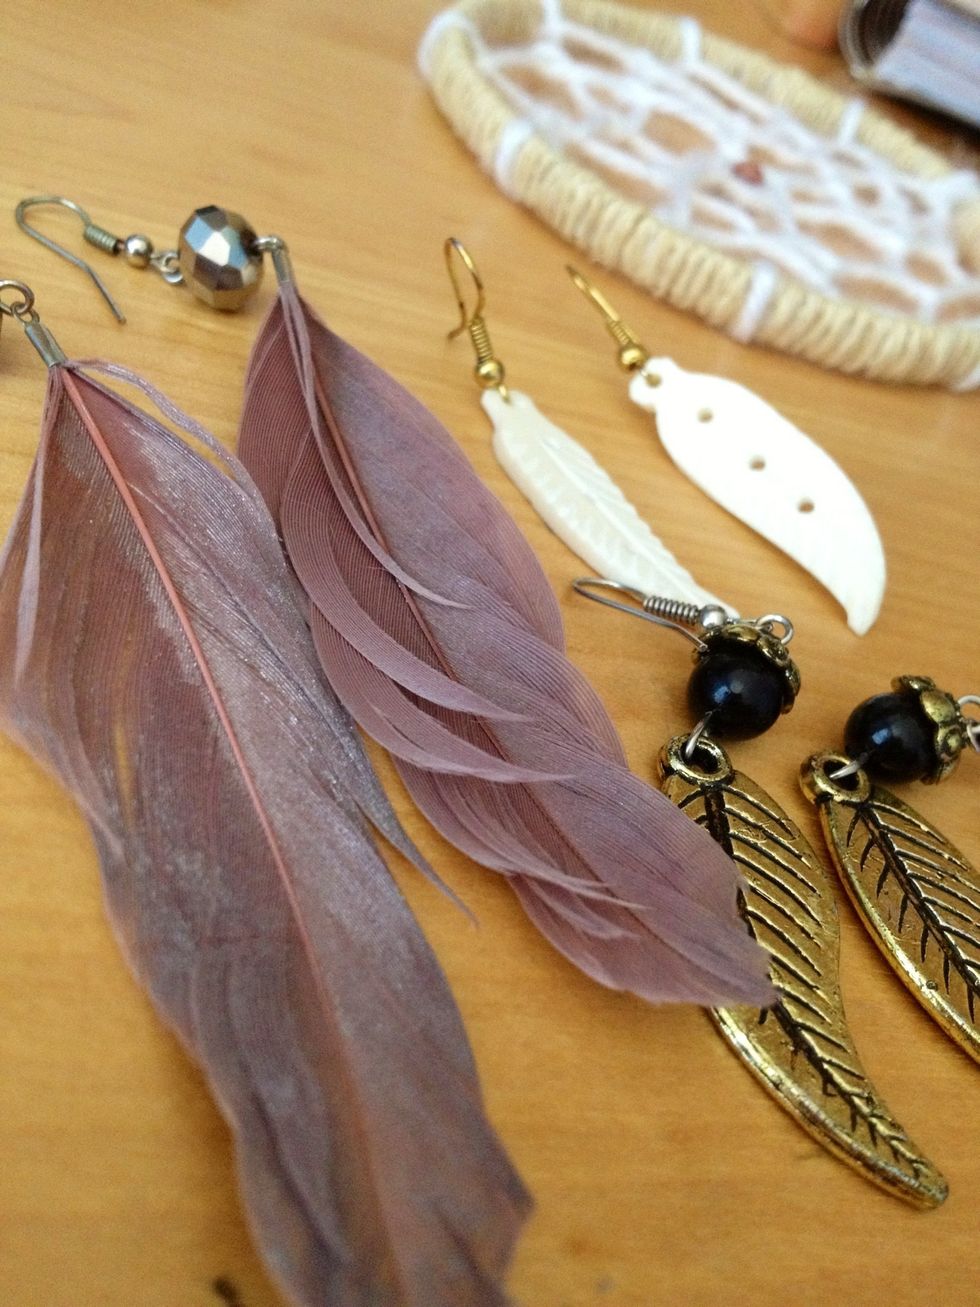
Now for the dangling decorations! I couldn't find any plain feathers, but I found a lot of old feather earrings that I don't wear anymore. These were my favorite to use on the dream catcher.
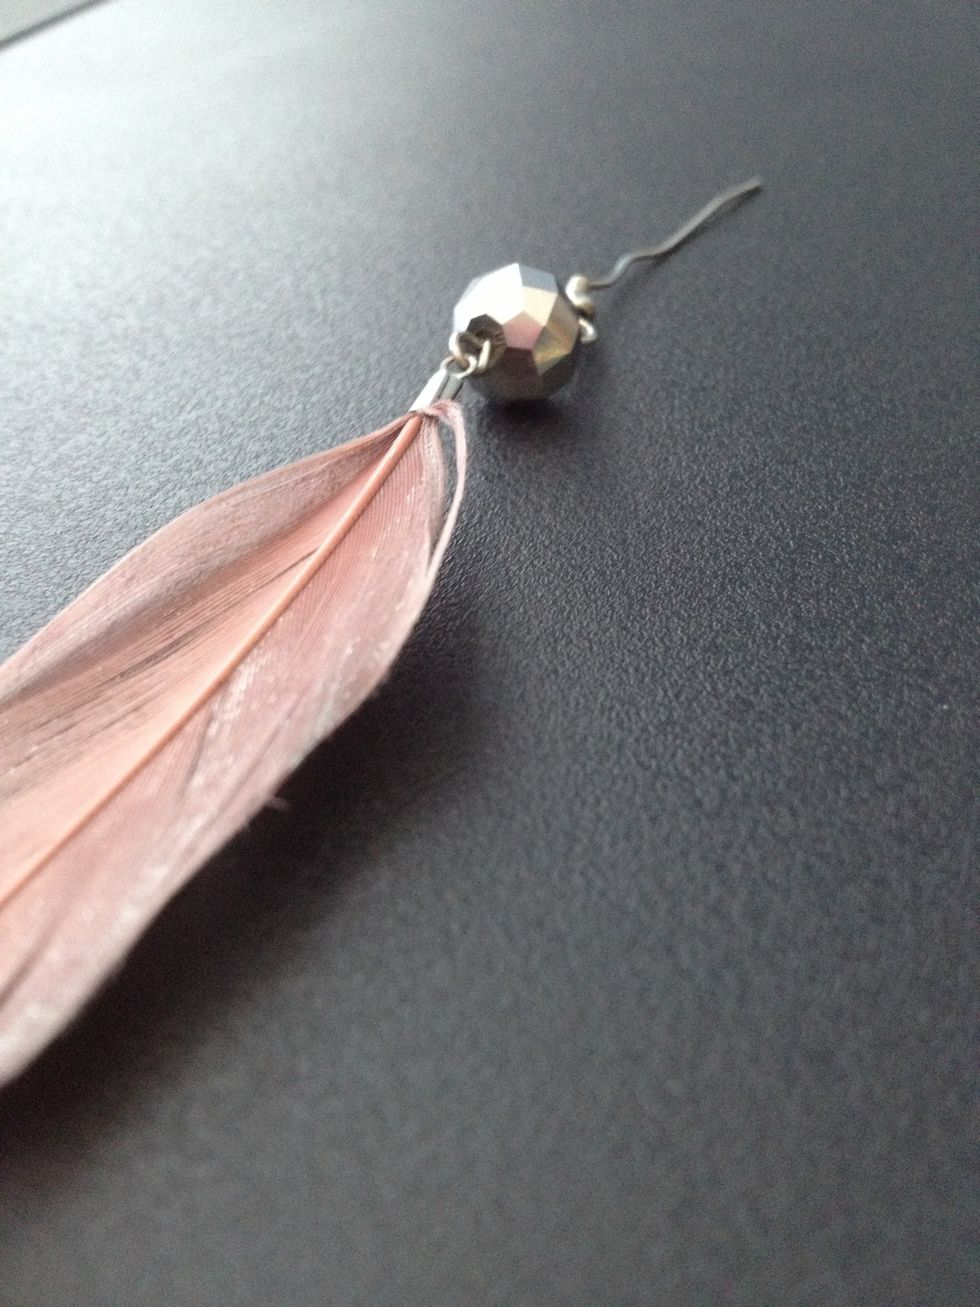
If you're using earrings, just straighten out the hook with jewelry pliers or your fingers.
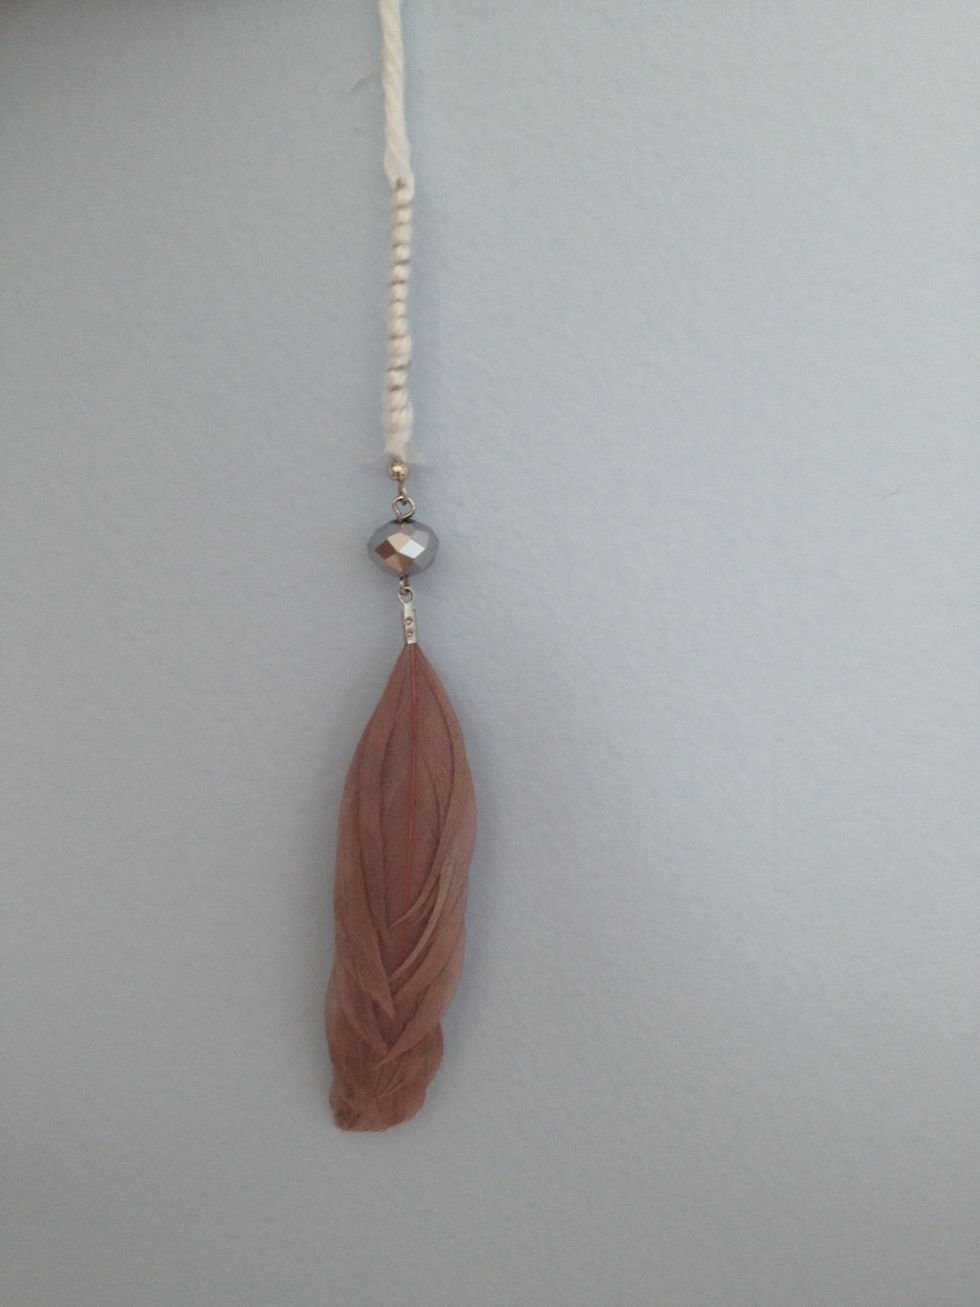
Then wrap it with string and tie it to the dream catcher. If you're using regular feathers just tie them to the dream catcher.
To hang it on the wall, you can make a loop out of string and attach it to the top of the dream catcher with some glue. Slide the loop onto a wall hook and that's it!

And there you go! A dream catcher made with under 5 dollars! I chose to make mine simple but you can make yours any way you want! Hope you liked this guide and HAVE FUN!