The Conversation (0)
Sign Up
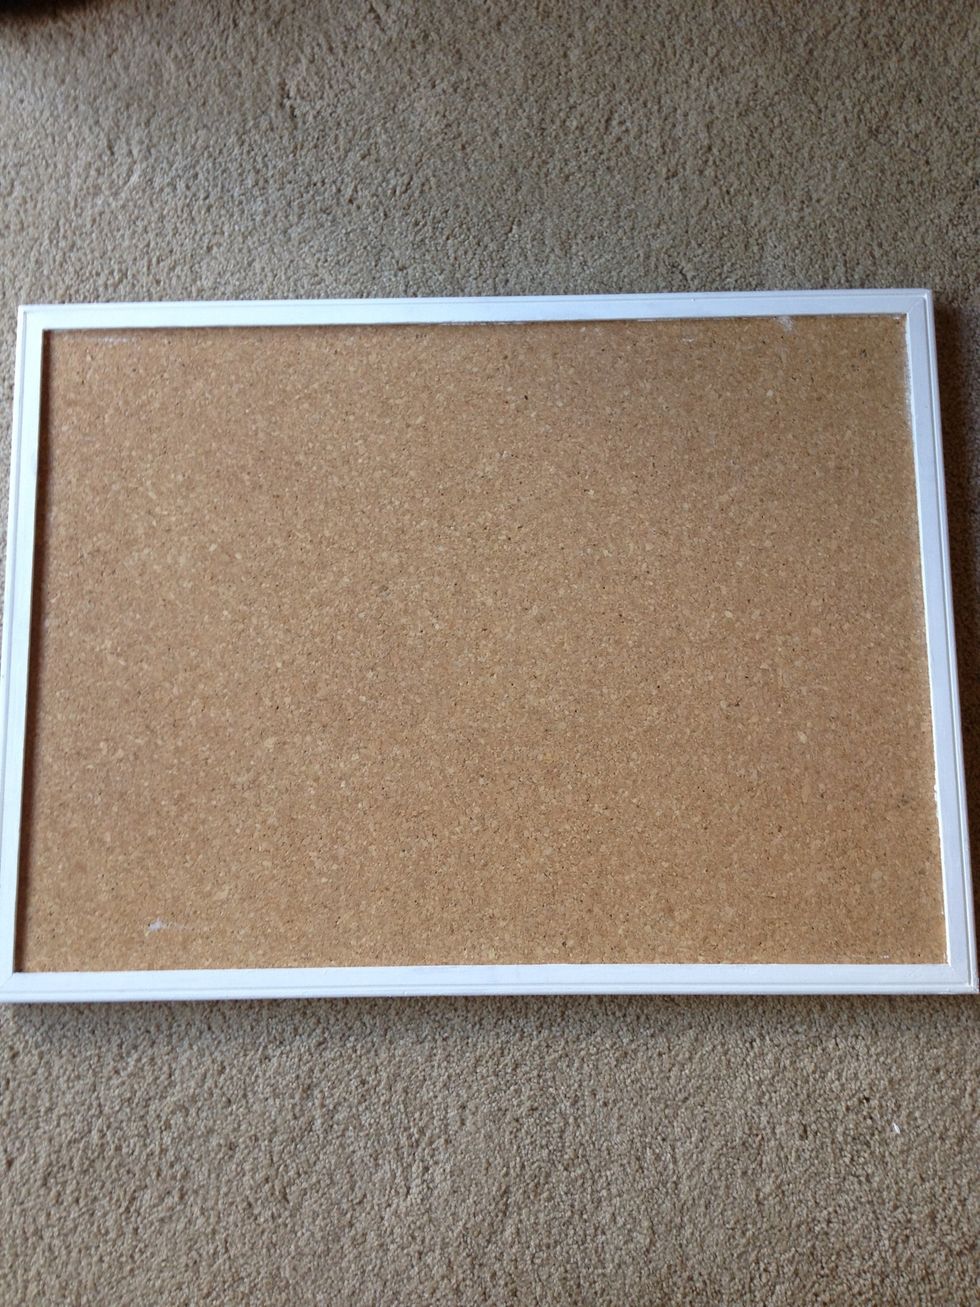
Start off with a plain cork board (or a thick poster board). I painted the framework on mine white to personalize it and make it fun!
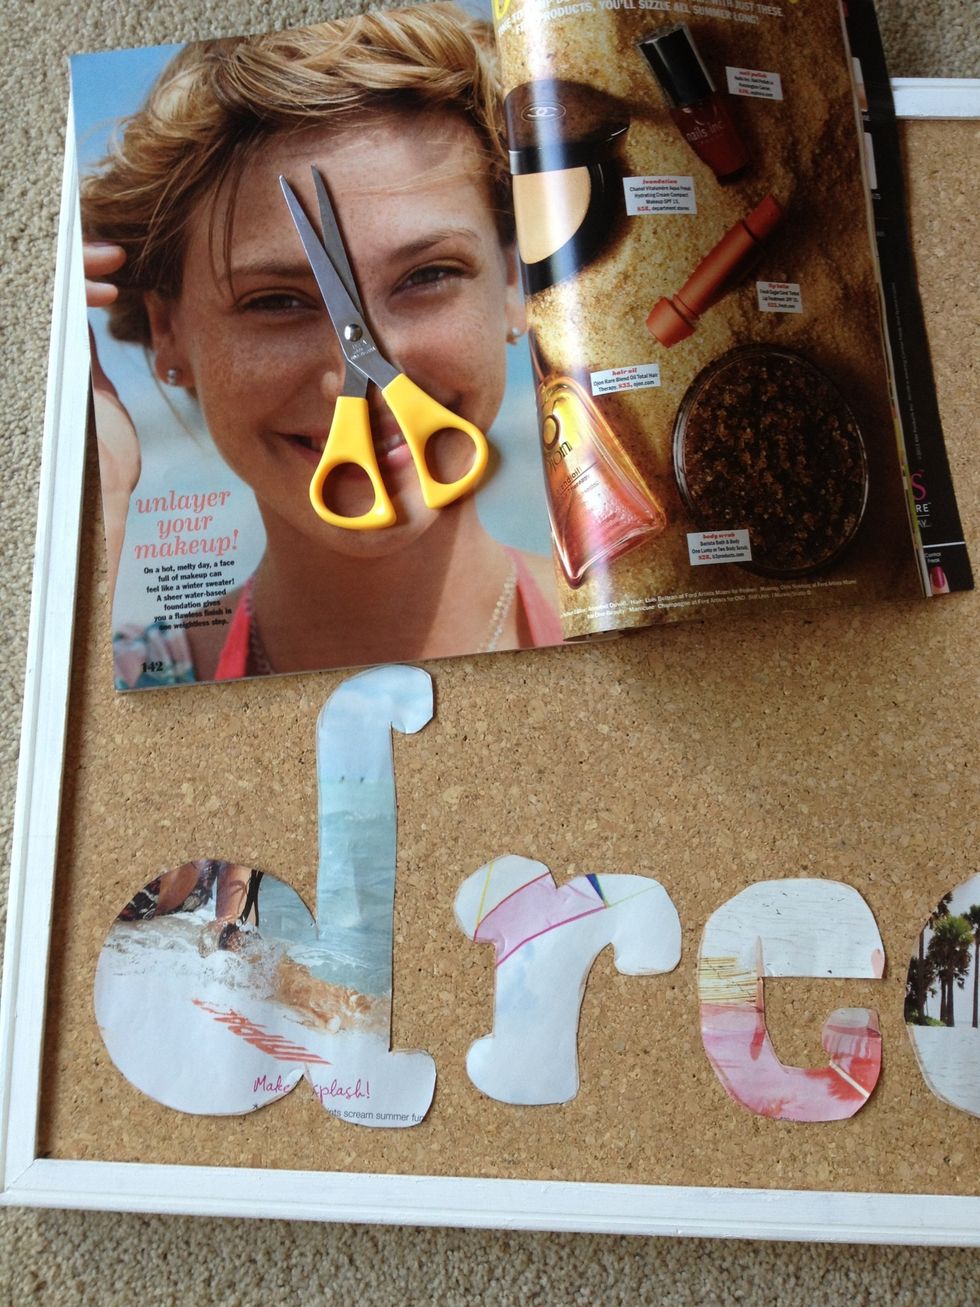
I cut out the letters for "dream" using different pages in magazines. Anything with a cool background or fun colors works. Just stencil it and cut!
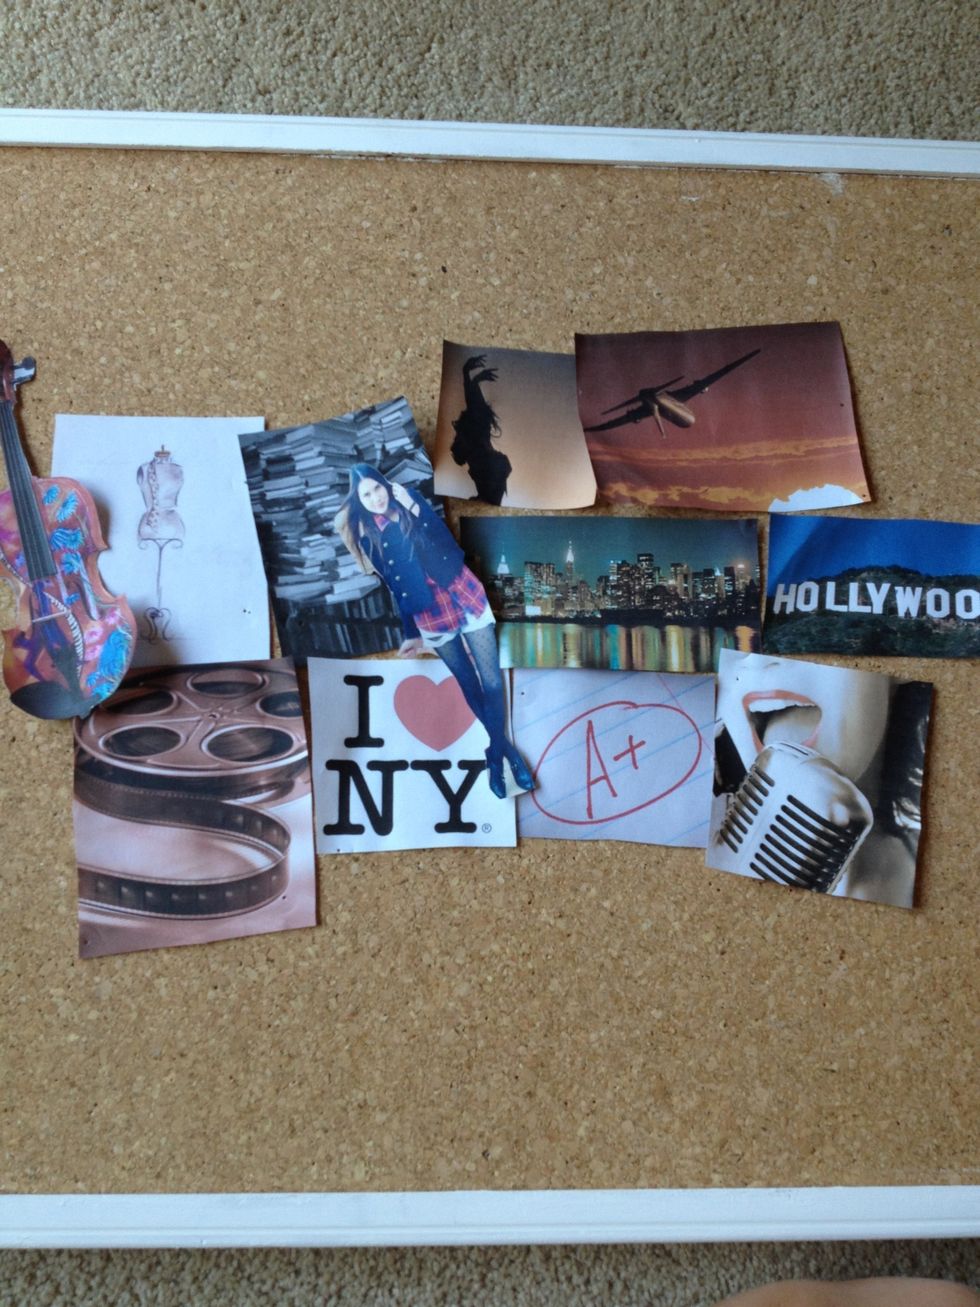
Print out pictures that represent your goals. You can also add in your favorite quotes and photographs! I'm waiting till I have everything to put it all together.

Glue the thumb tacks onto your flowers (or any other decorative item you have) using tacky glue or a hot glue gun. This way you can add and move them around easily with no fuss.
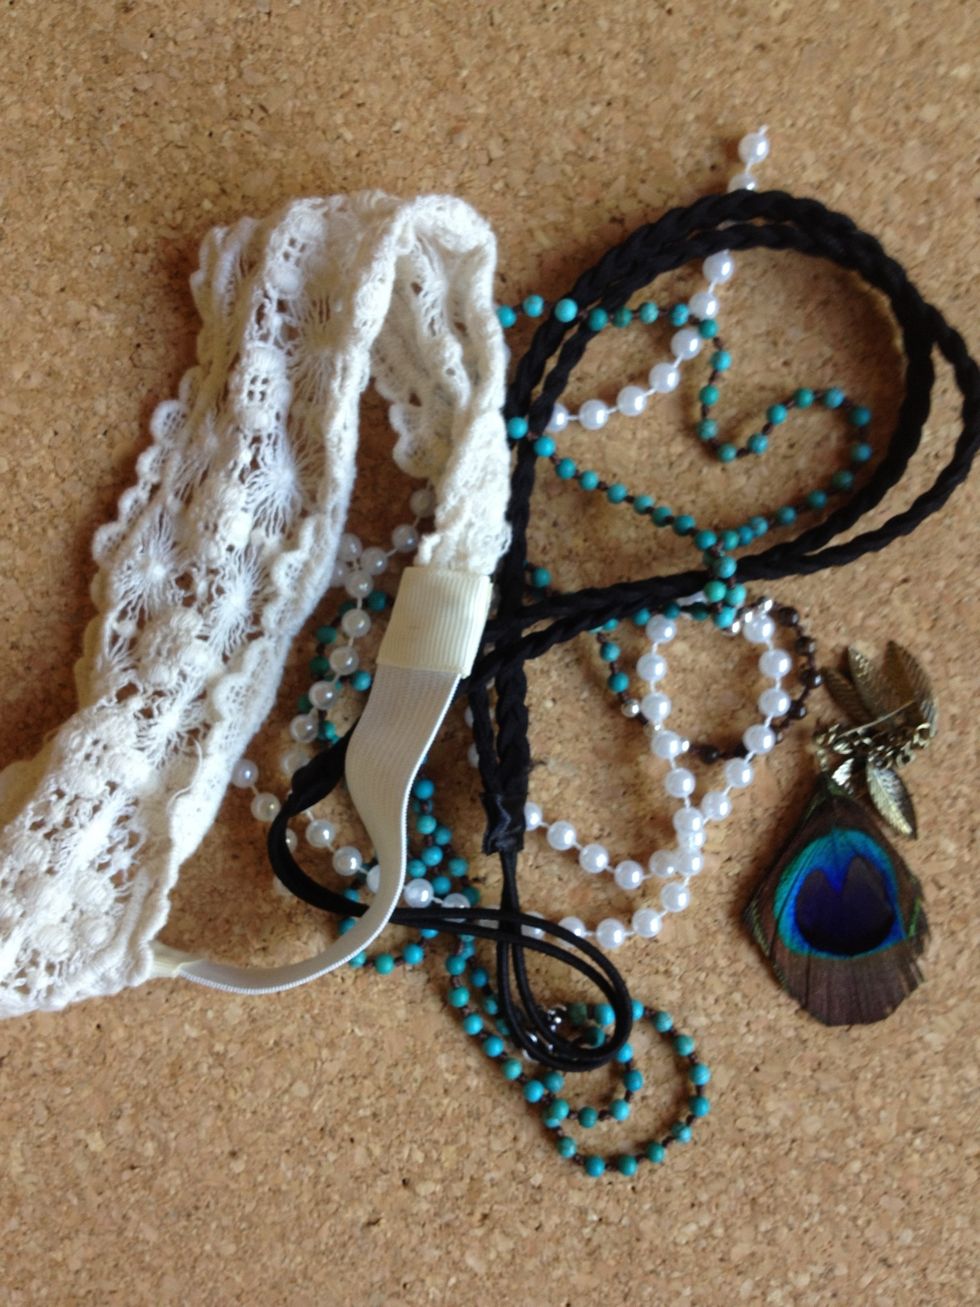
Accumulate old necklaces, headbands, earrings, ribbons, etc to put on your board. Be creative with it!

Start laying out where you want your pictures to go so you have an idea of what you want. Ex: You could have the "dream" letters vertically, horizontal, diagonal, etc.

Finally, thumb tack your pictures onto the board. I overlap them a little bit, and then pin them where they overlap to save tacks. When you are done pinning, feel free to add your decorations!
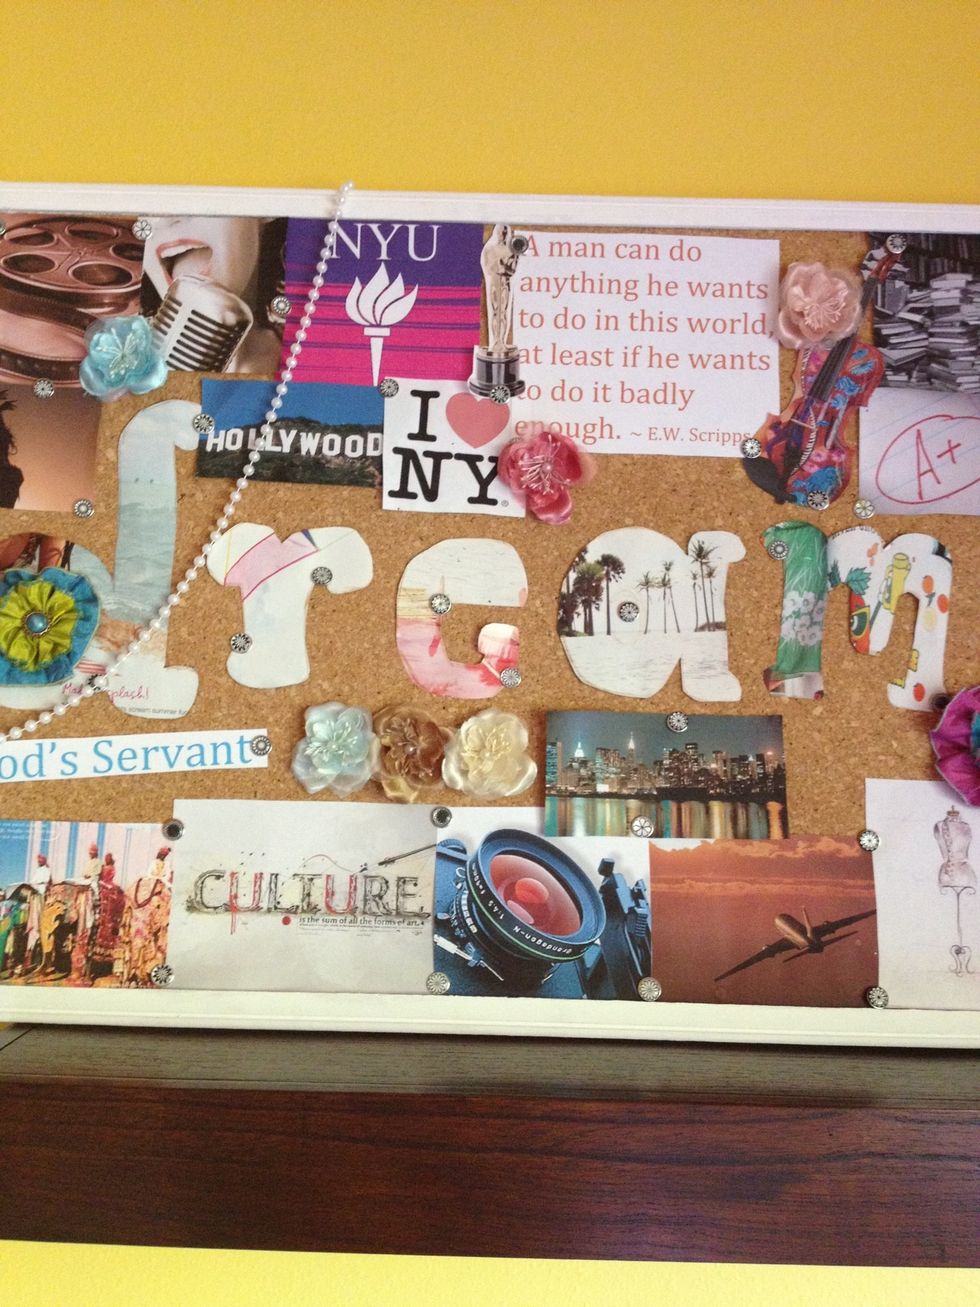
Your board is done and ready to inspire! :)