The Conversation (0)
Sign Up
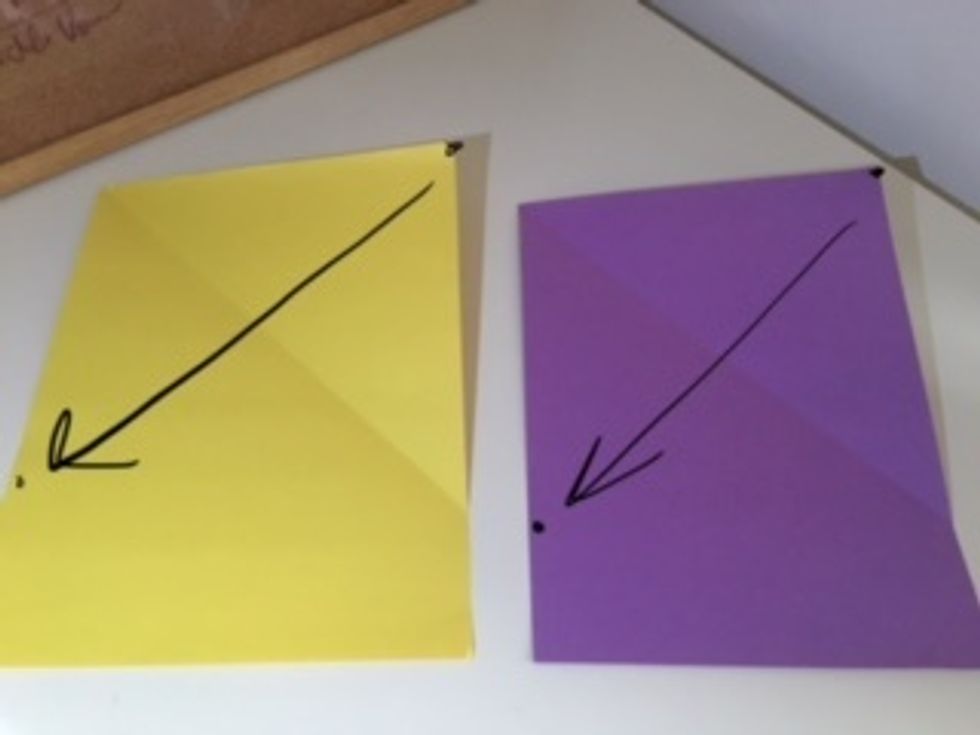
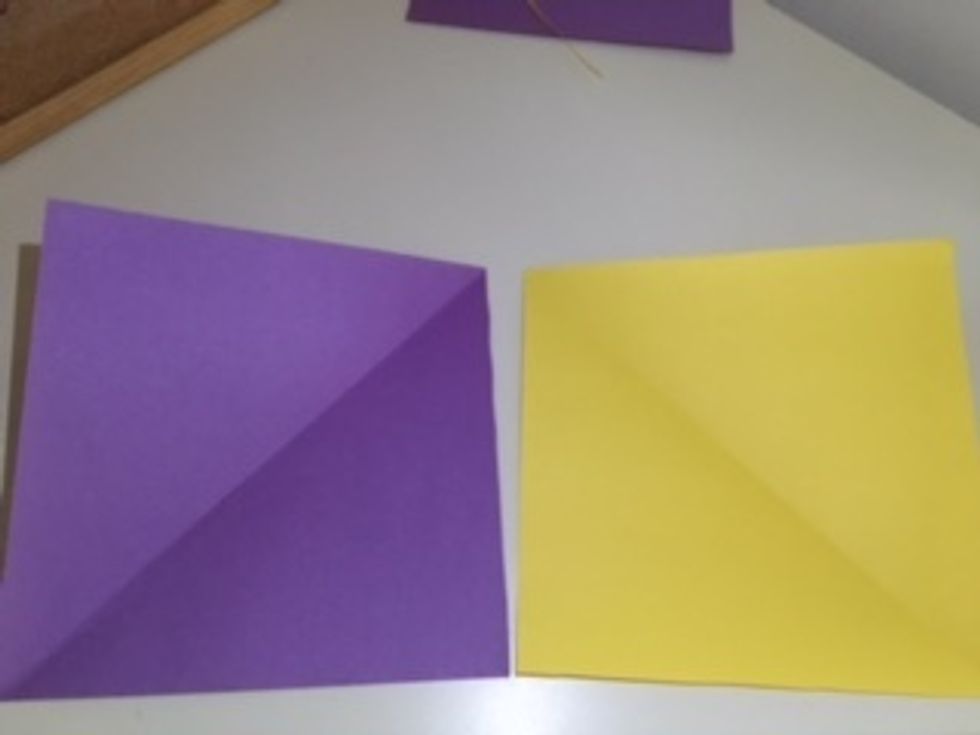
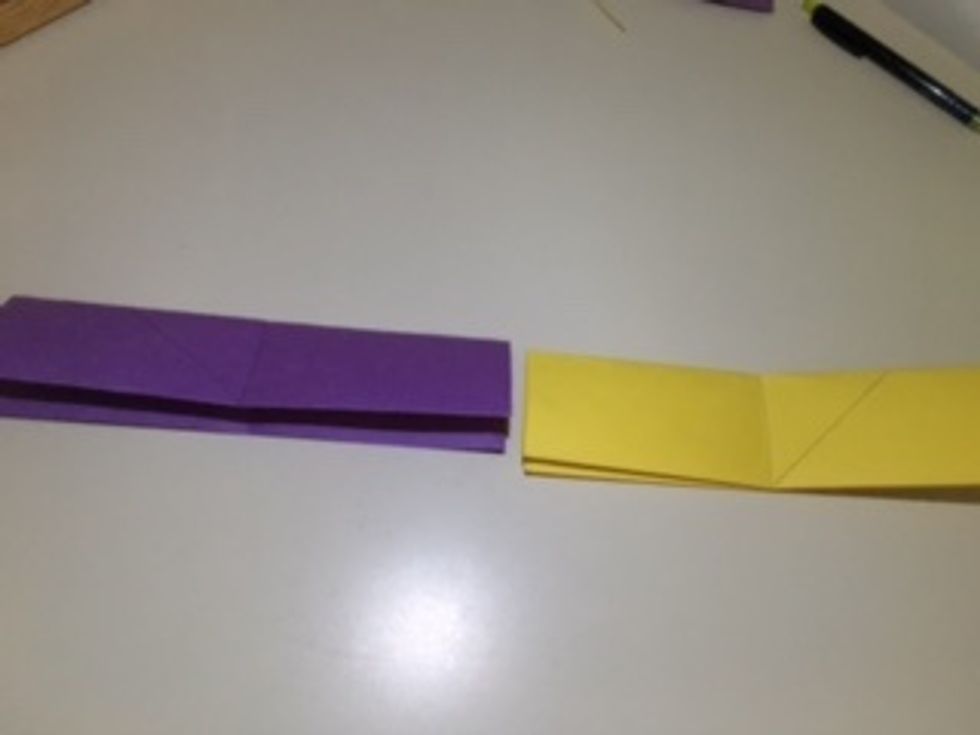
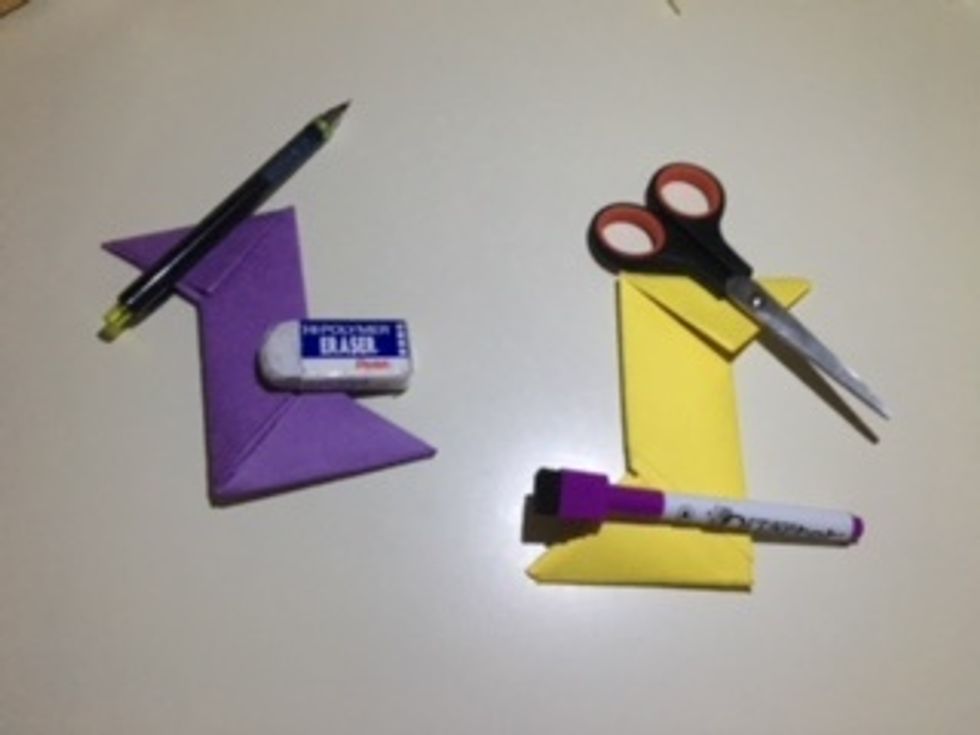
Take the top right corner and fold it down so the top side will line up with the left side. You can see the crease it will make. Do the same to the other paper.
Make the creases tight. There should be a rectangle strip of excess paper on both.
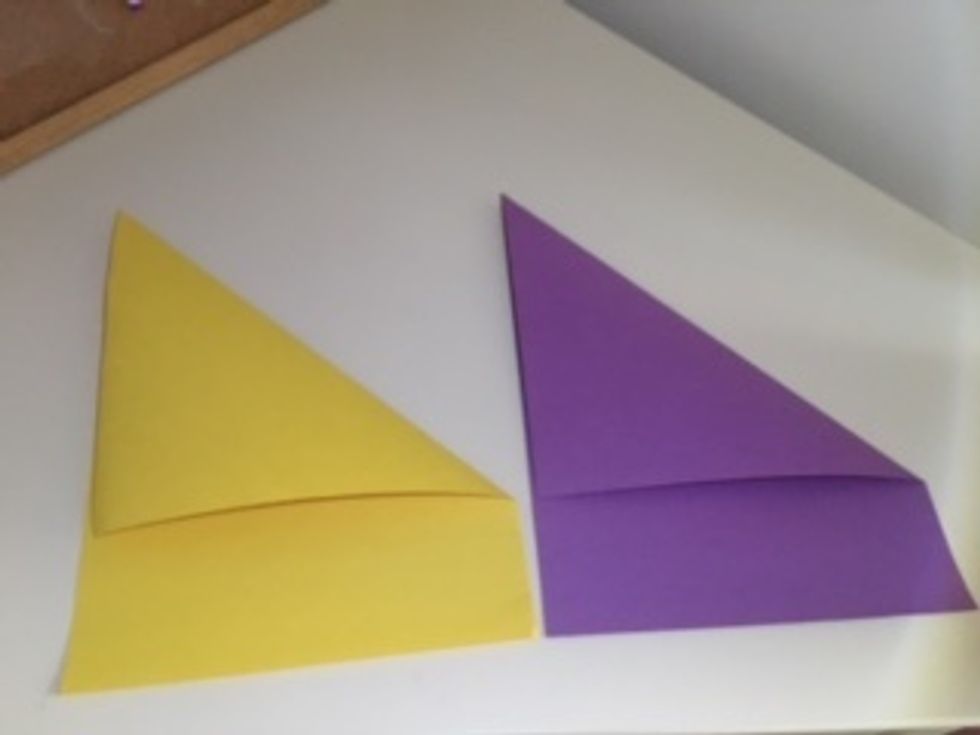
Cut that off so you are left with the triangular part.
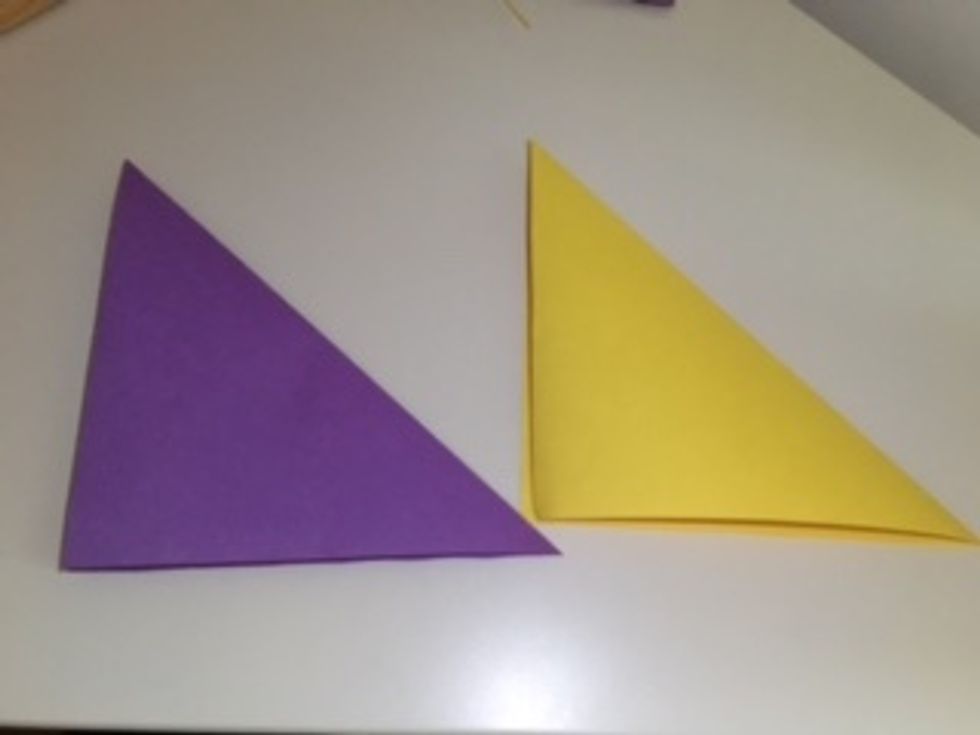
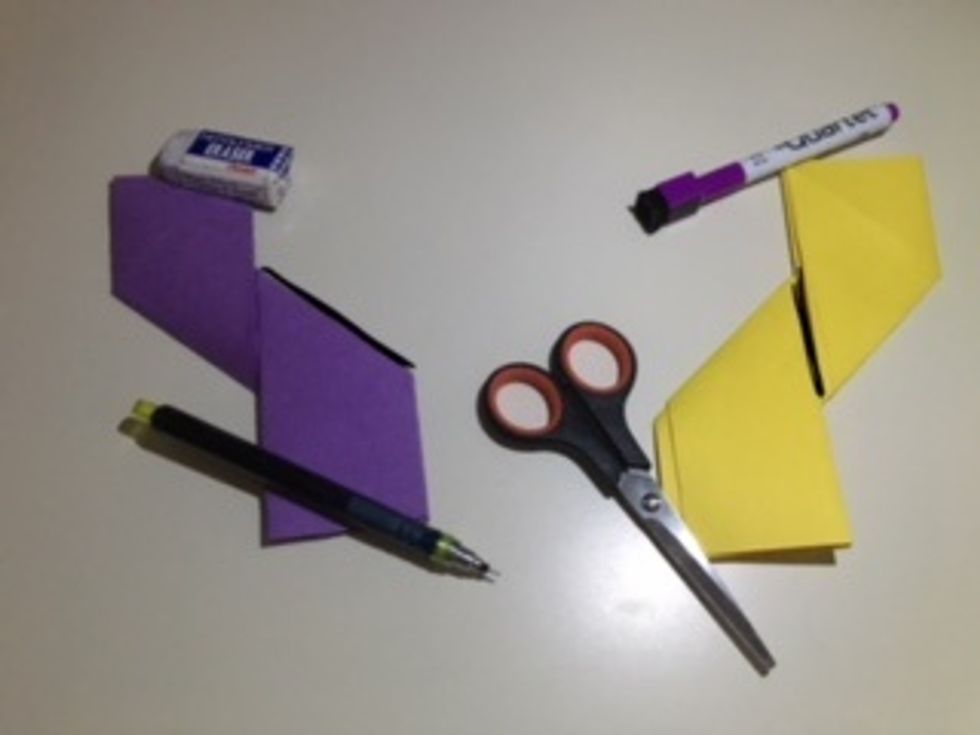
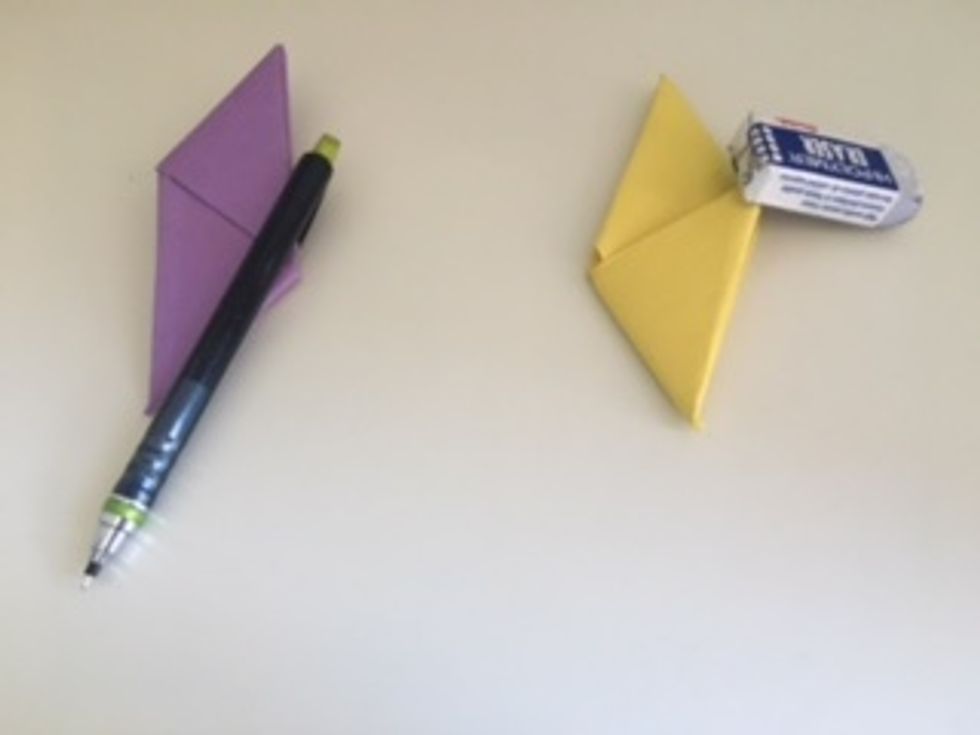
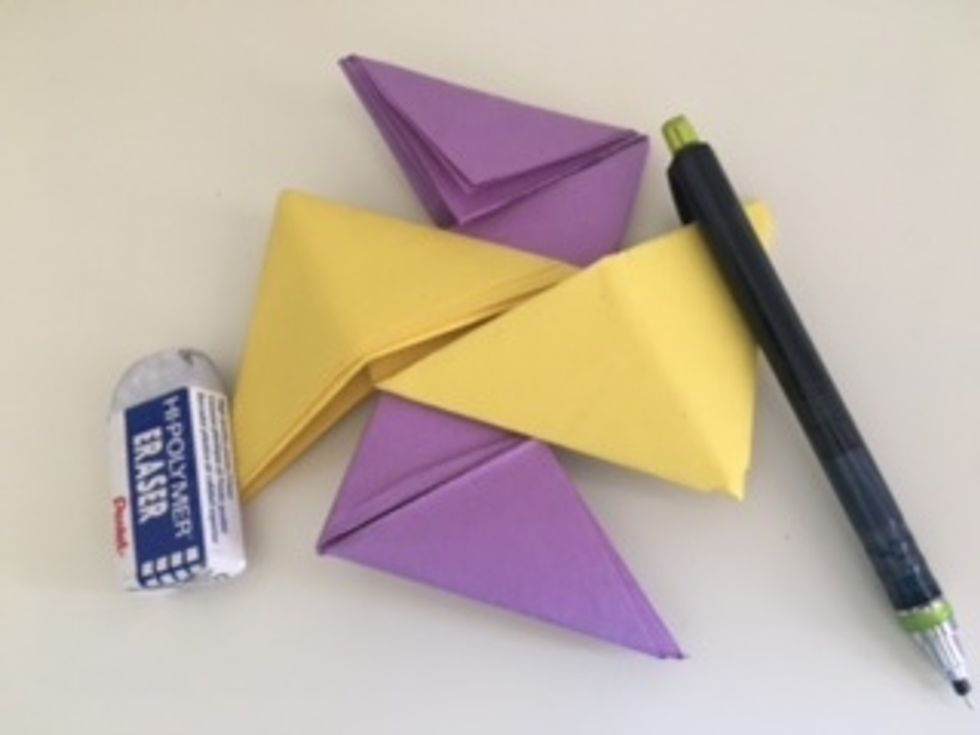
Face them toward each other as shown.
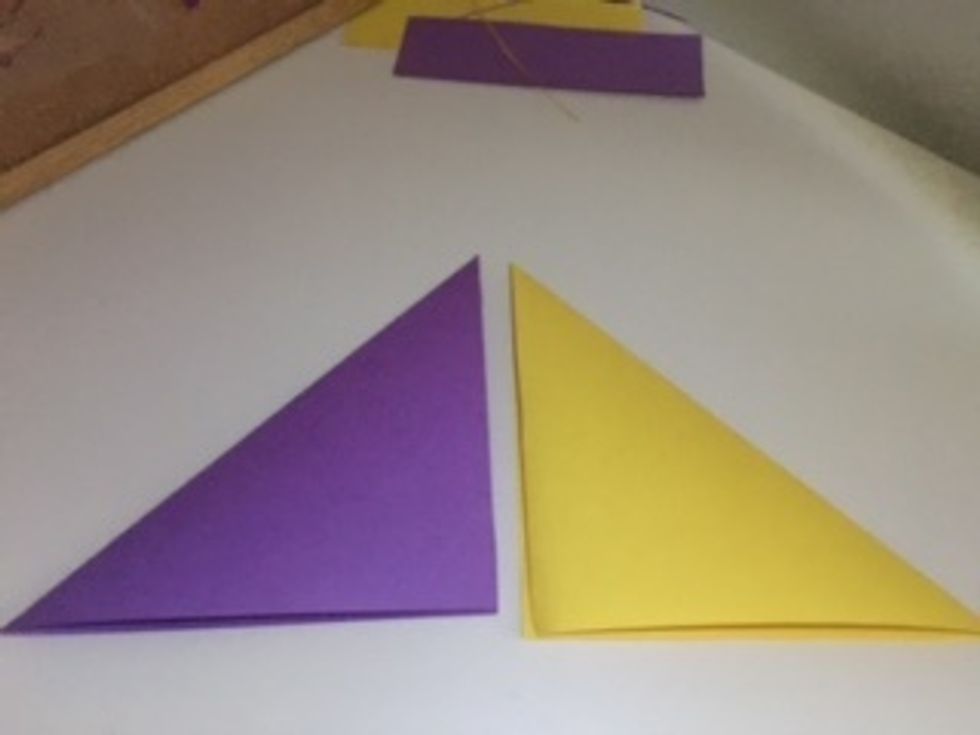
Open them up. As per the crease, you can see that the two papers are mirror images.
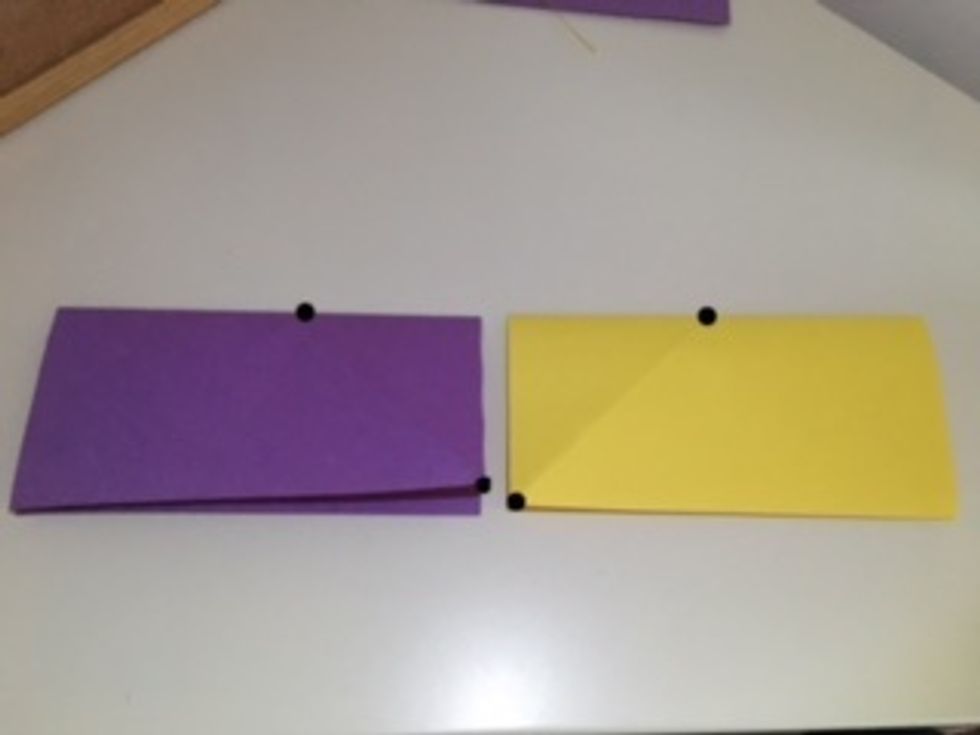
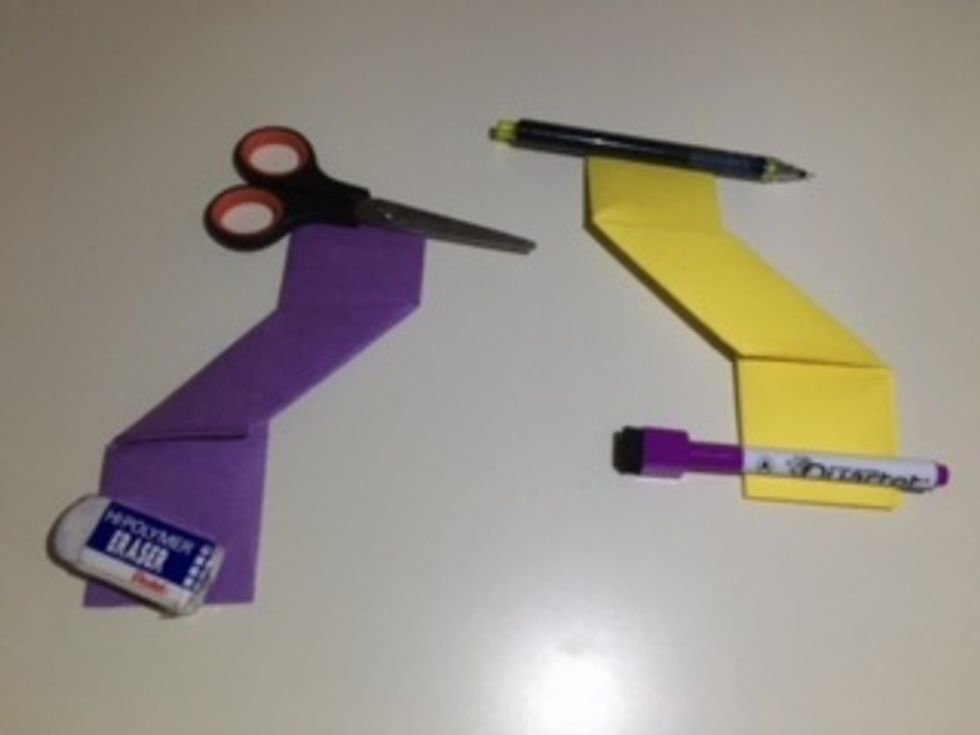
Fold both papers down "hotdog" style so they look like this. The top sides should meet the bottom sides. These black dots show the endpoints of the previous ceases. They should still be mirror images.
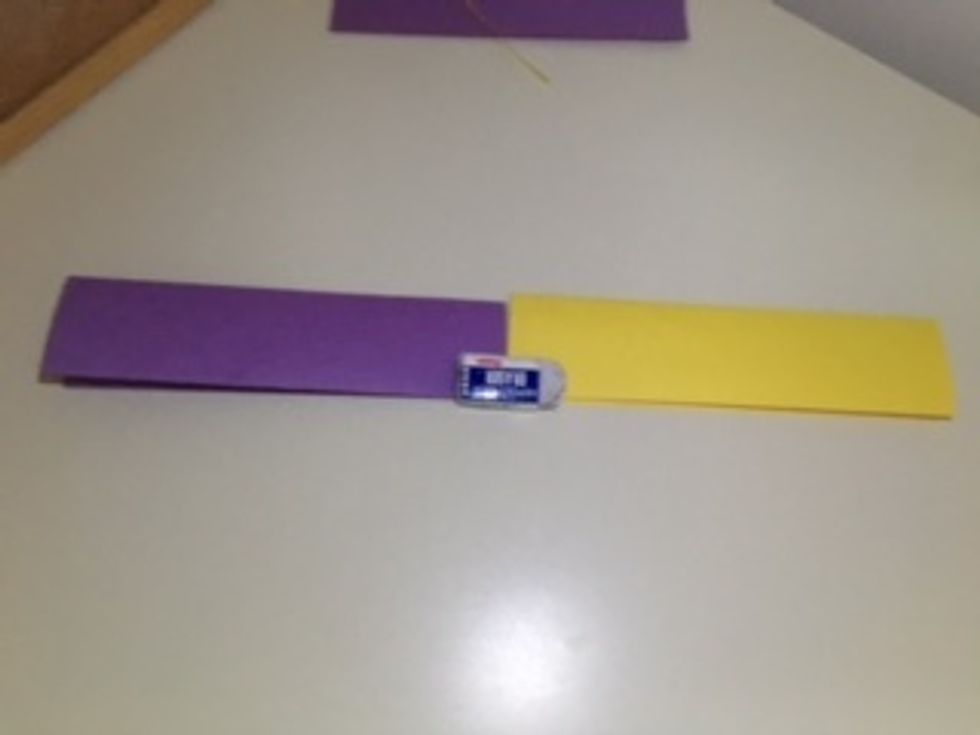
Fold both down "hotdog" style again. (My eraser is just there to hold it down).
Fold both sheets "hamburger style" so the left sides meet the right. (Again, the eraser and scissors are only there to hold it down so it is easier to see).
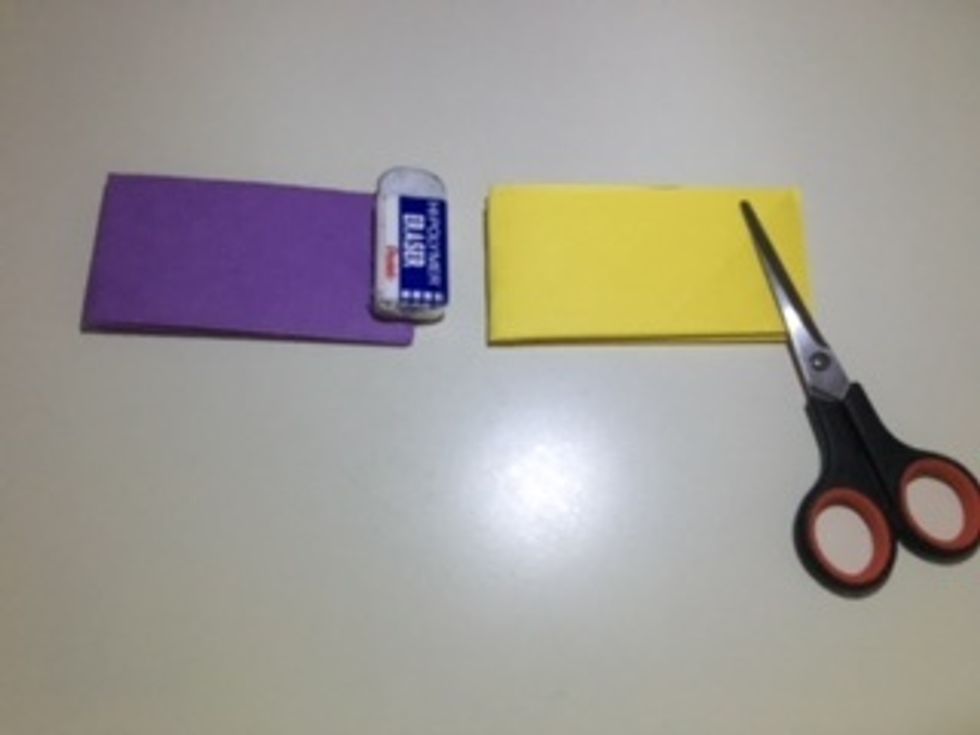
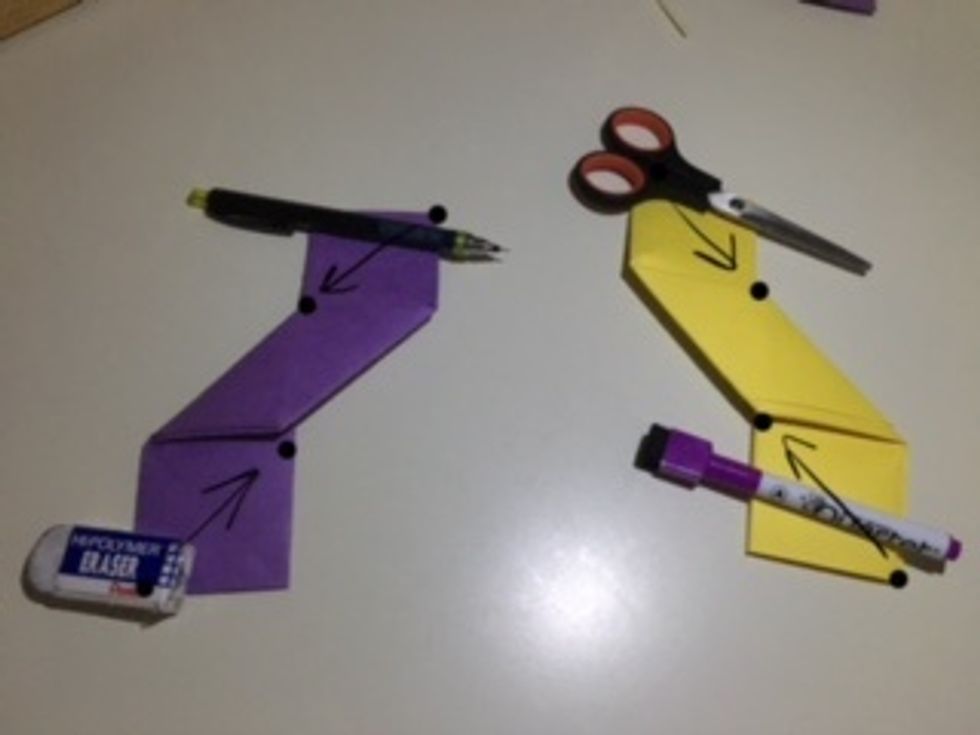
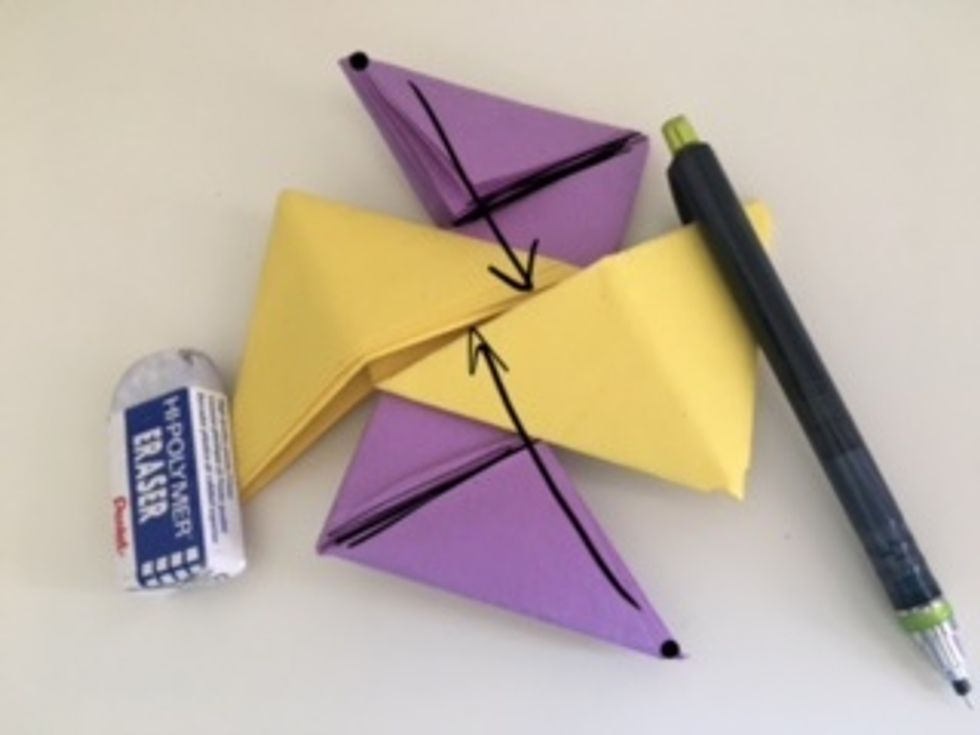
Open the "hamburger" fold so you have step 7, but now it has the vertical crease down the middle. Both are mirror images. I traced the creases, as well as the triangles' creases. (You don't have to).

Fold the first paper along its vertical crease. Same with the other one. But fold the first one upwards and the second one downwards.
First paper: Fold the other side down so it partially aligns with the upward trapezoid at the vertical crease. Second paper: Do the same as the first, except fold the other side up. See mirror images.
Flip both sides over. Keep the mirror images.
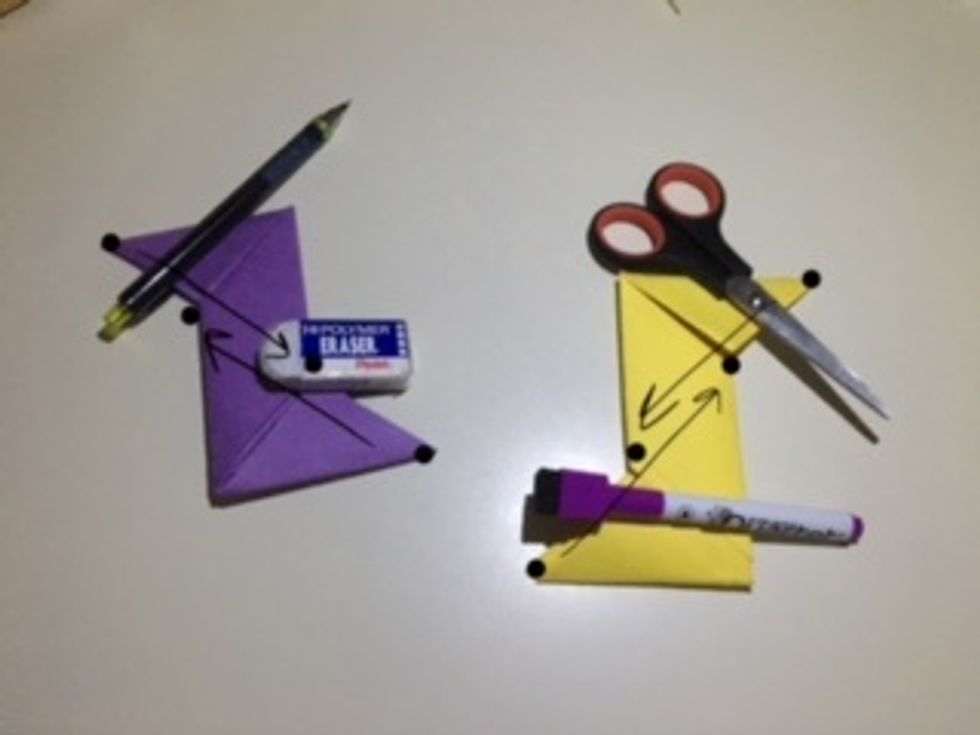
The black dots show what to fold. Take the first paper's top right corner and fold it so it meets the bottom right corner of that square. Follow suit for the rest. The result is the next picture.
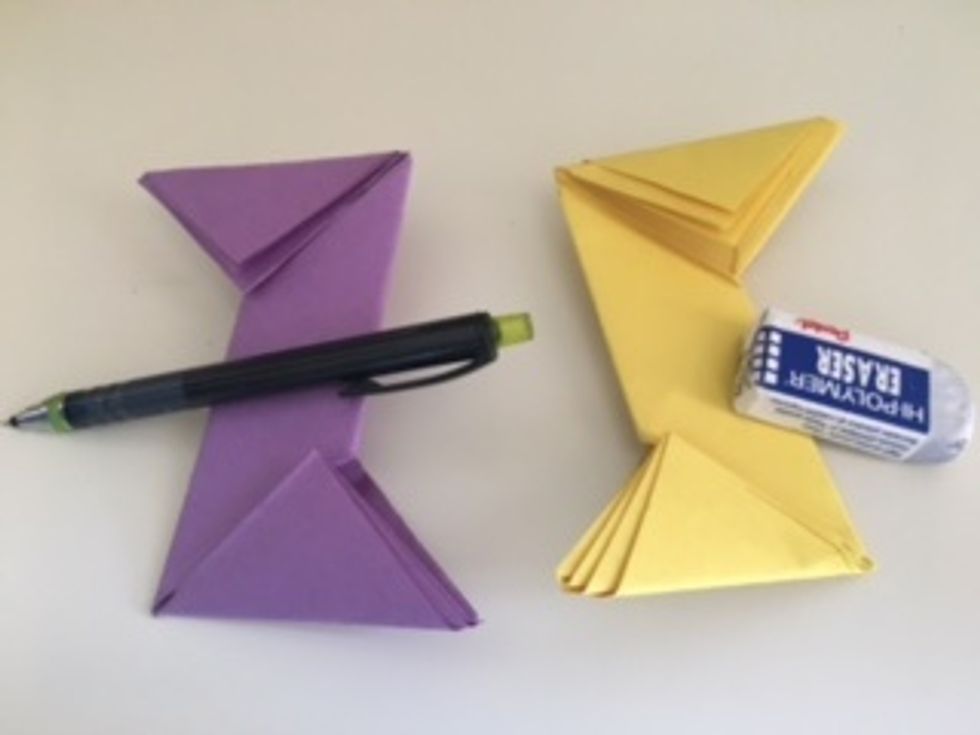
The first piece should look like a Z and the second should look like a S. If you end up with a L, make sure you folded the right corners on to each other.
Fold the triangle ends in on both parts so you end up with two rhombuses so that the separation forms two small triangles. It should match the next picture.
They should look like this.
Open those last folds so you have the Z piece and the S piece again. Those creases will help later.
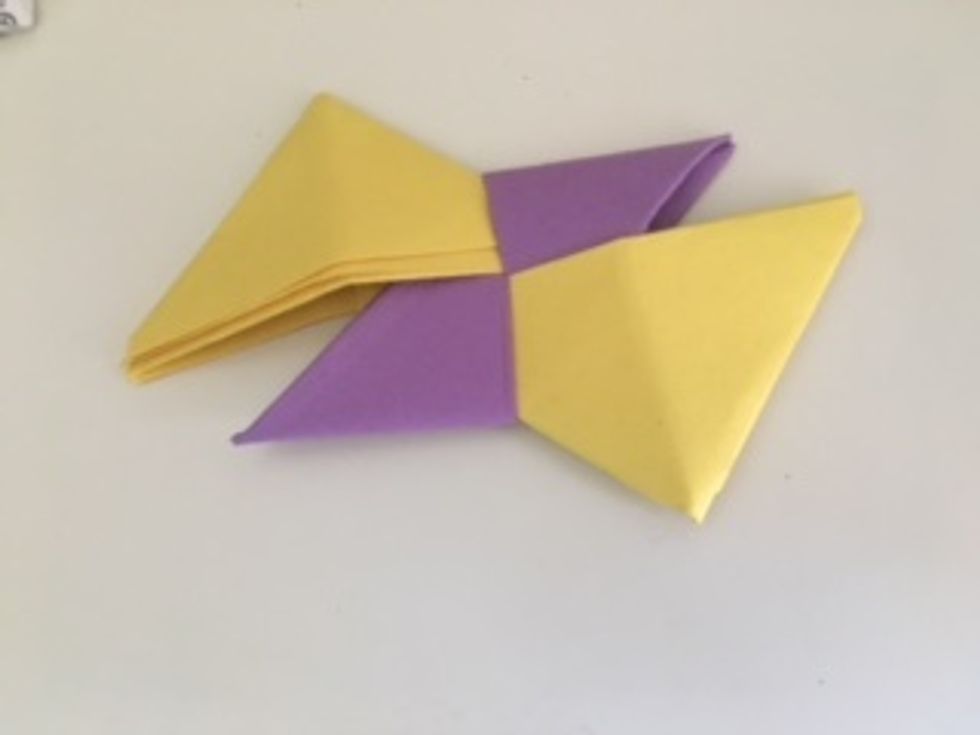
Flip the S piece over and lay it on top of the Z piece like shown.
The S piece has 2 "pockets." Fold the end corners of the Z pieces into the pockets. They should be on the creases the black lines are on.
It should look like this, the flaps tucked into the pockets.
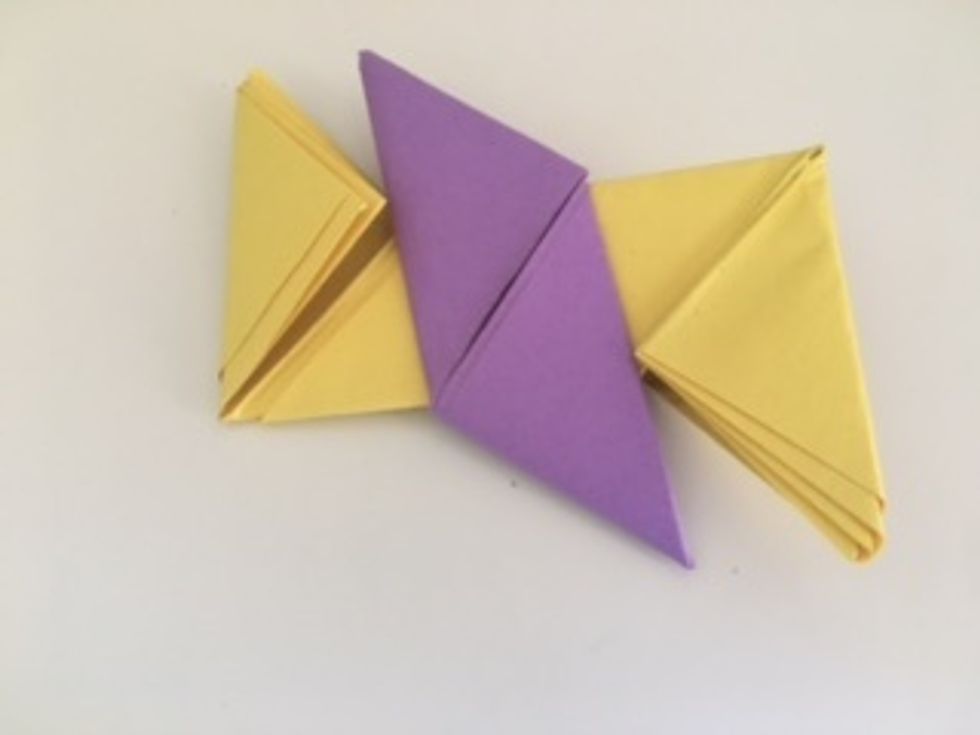
Flip the figure over. Now, the purple piece (which was the Z piece before) has two pockets.
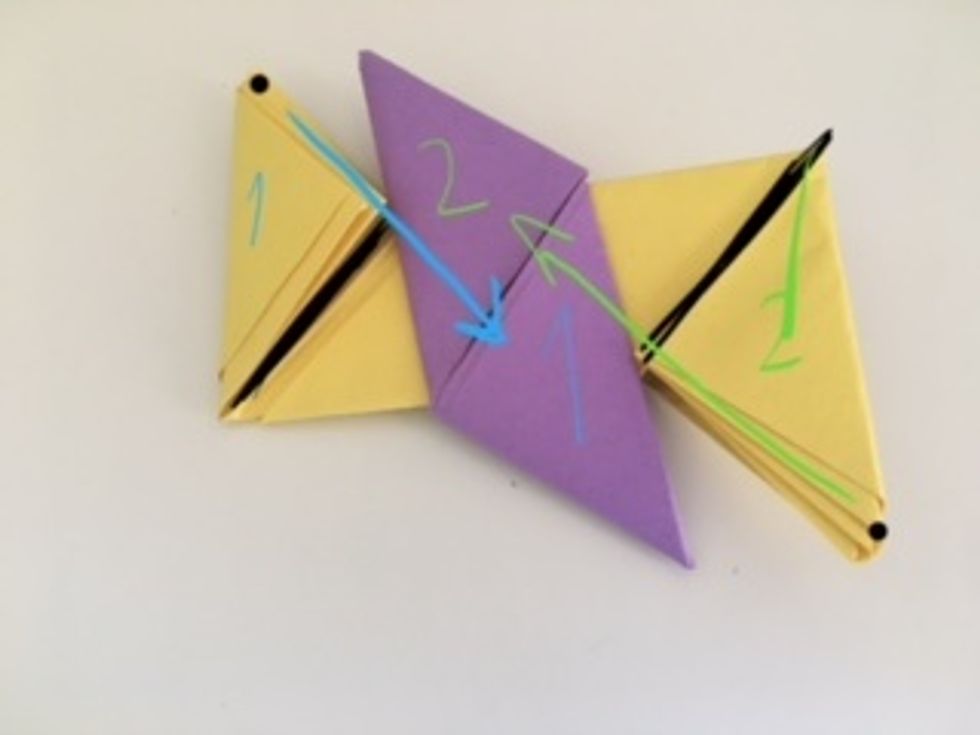
Tuck the yellow triangle marked 1 into the purple pocket marked 1. Do the same for 2. Both yellow triangles should be folded over their respective black lines.
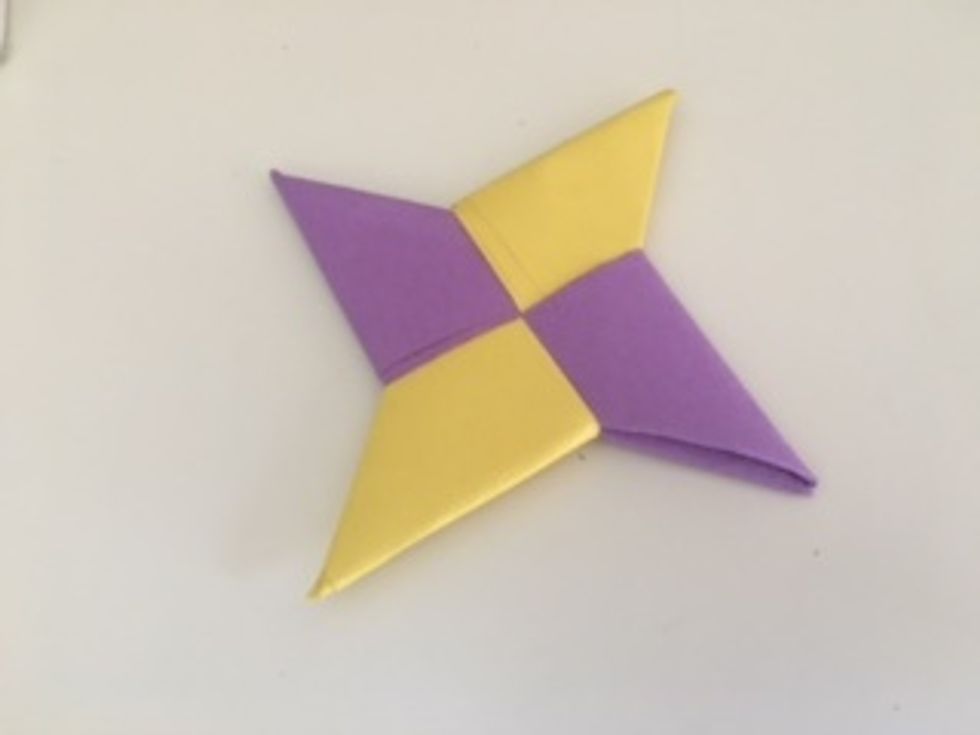
Here's your final ninja star!