The Conversation (0)
Sign Up
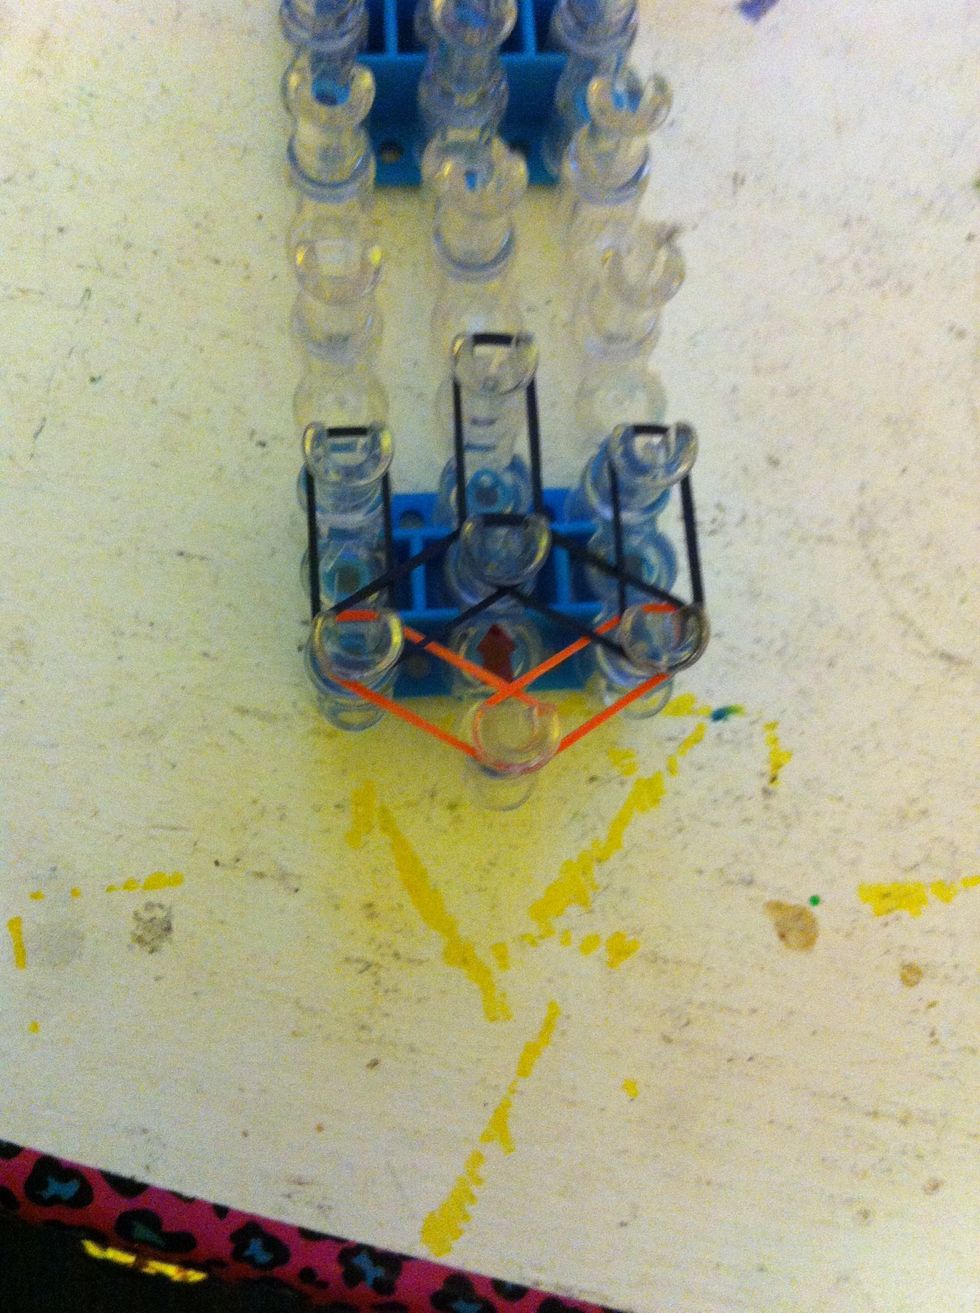
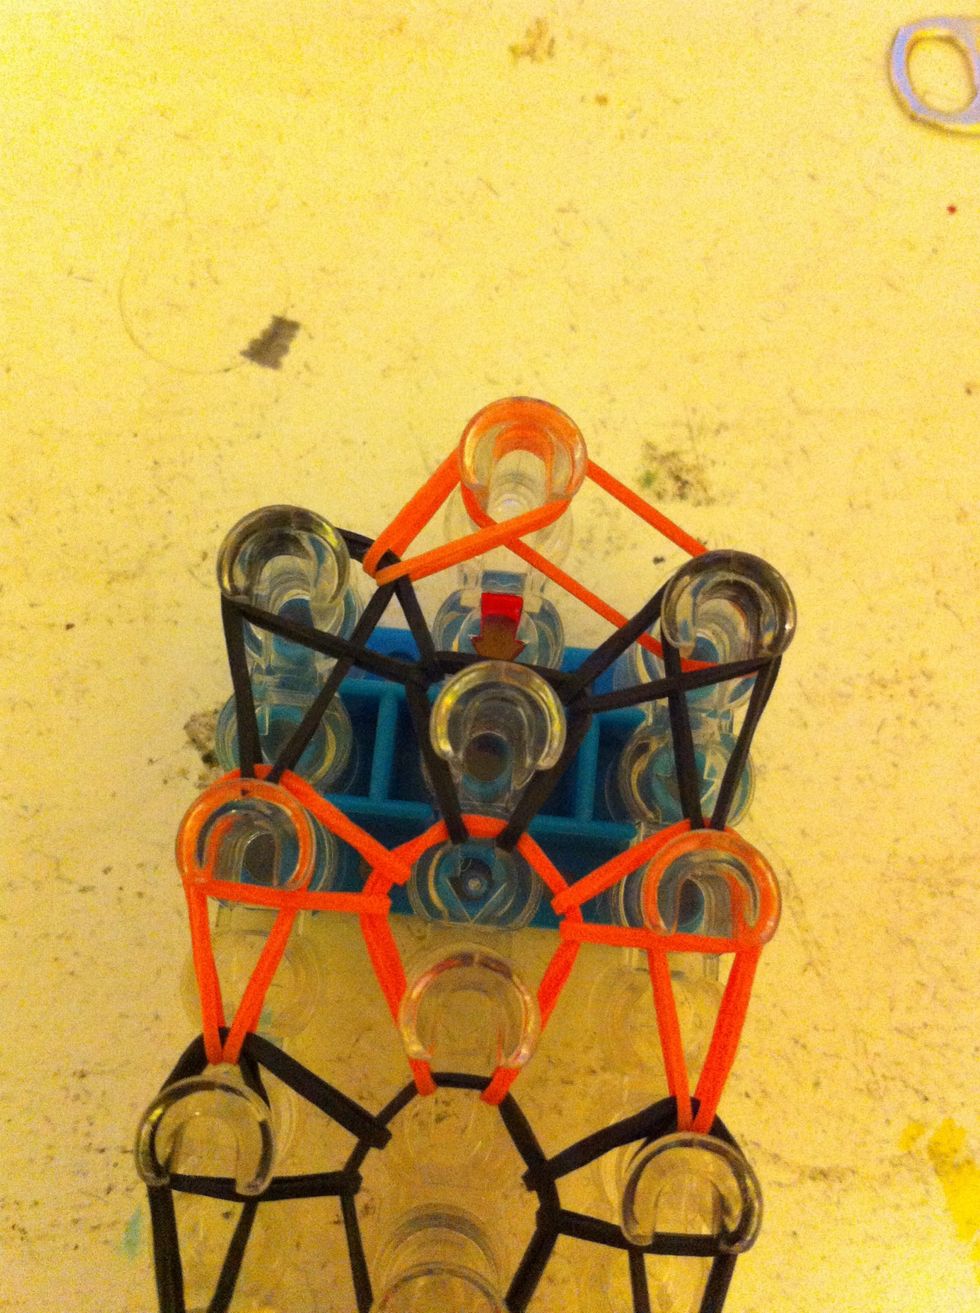
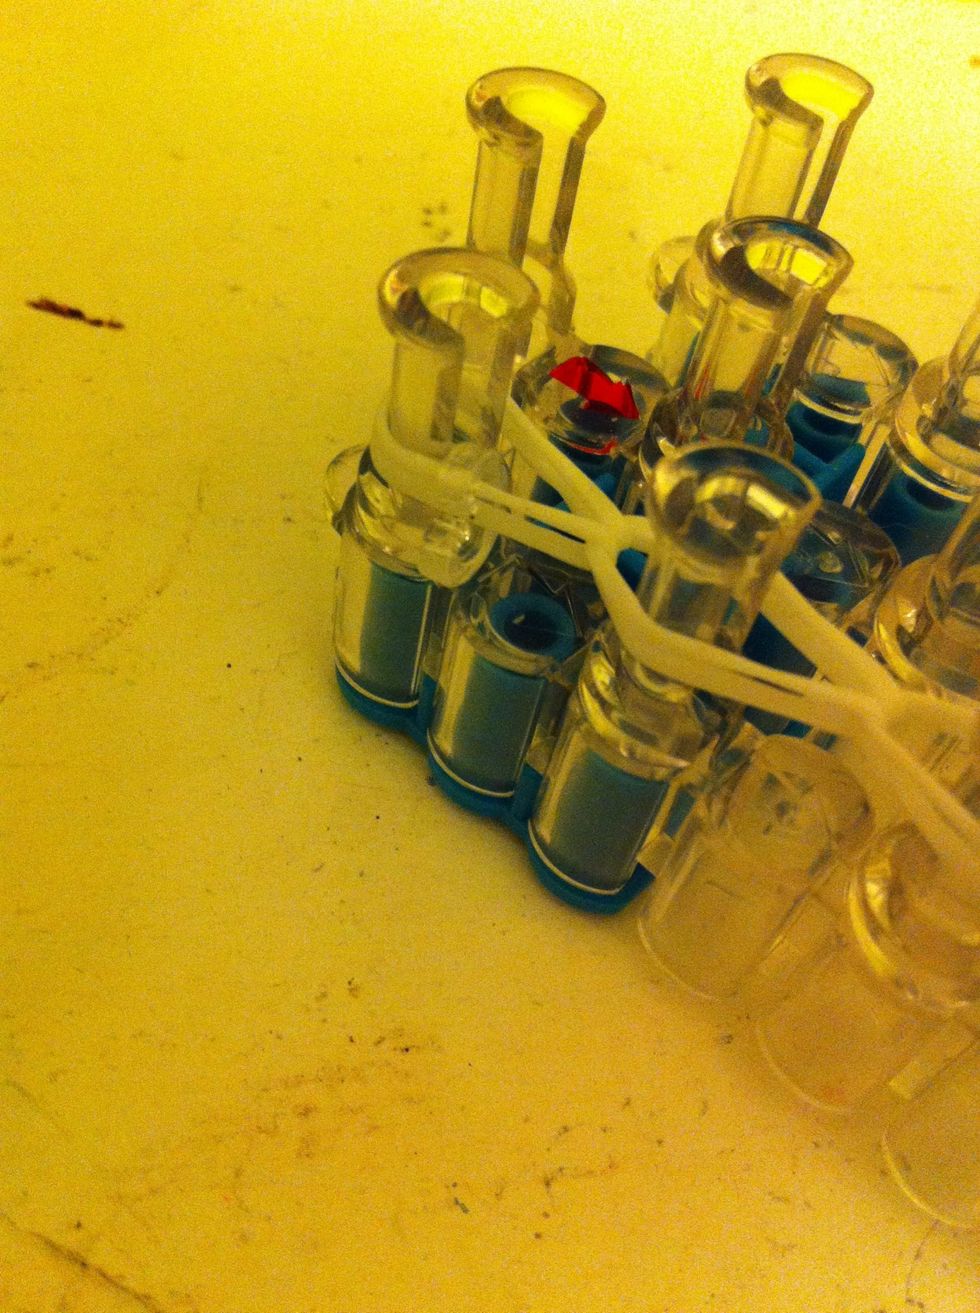
Step one- Make sure the red arrow is facing away from you, and Place the first orange band
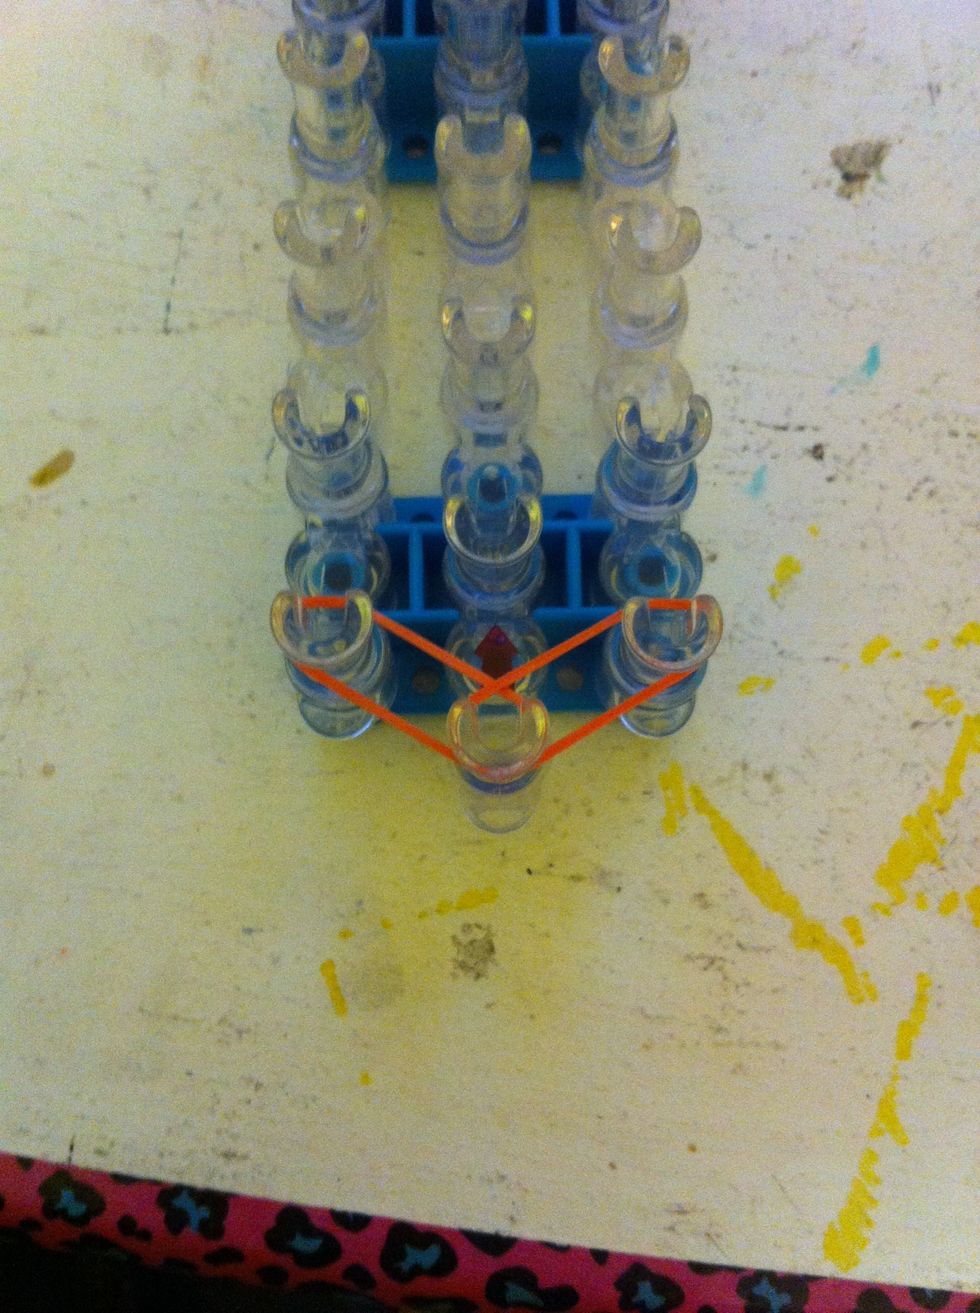
Step two- place the second orange band
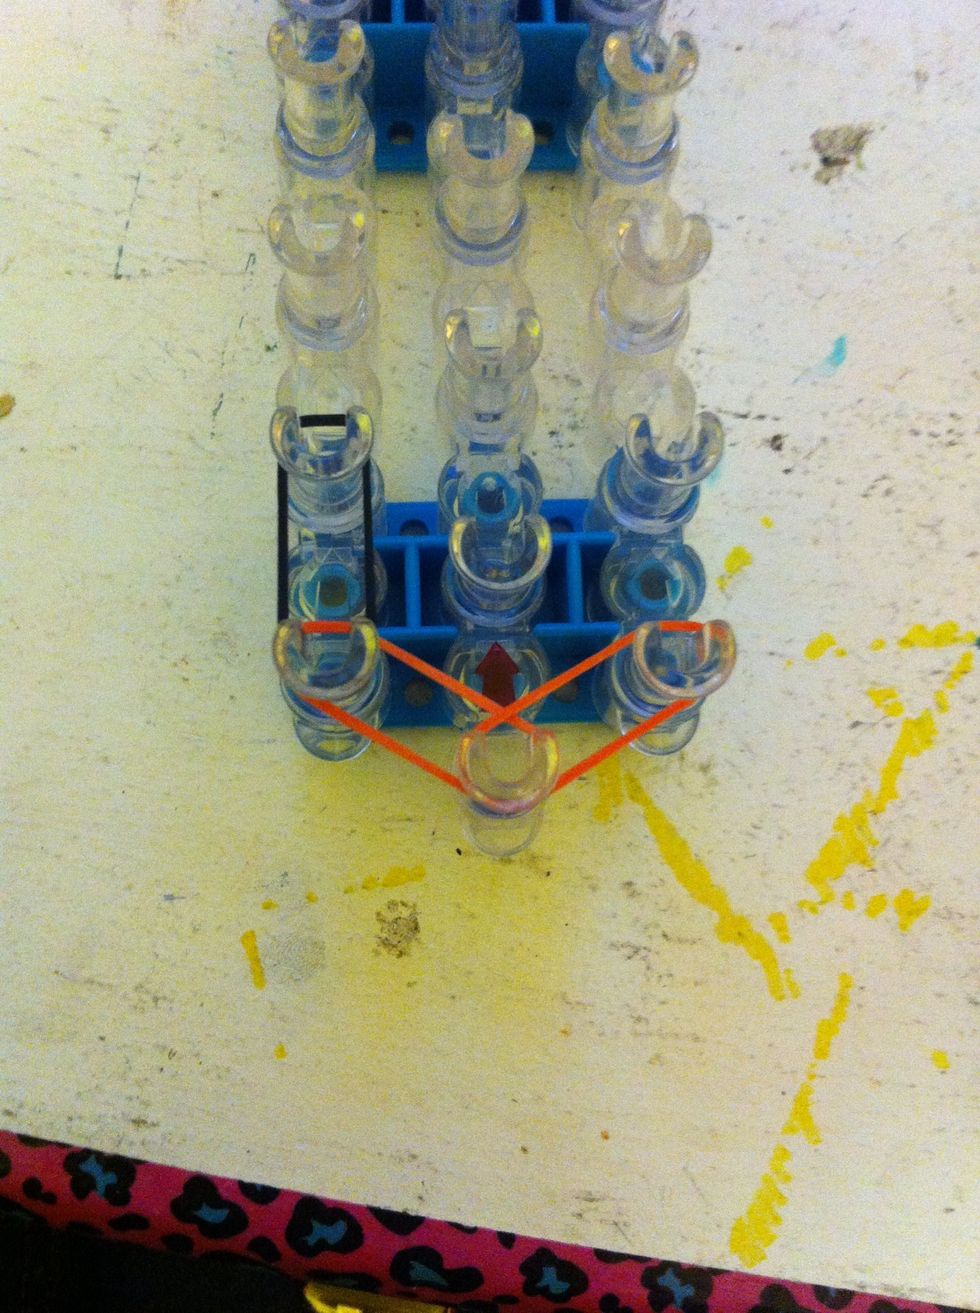
Step three- Place the first black band
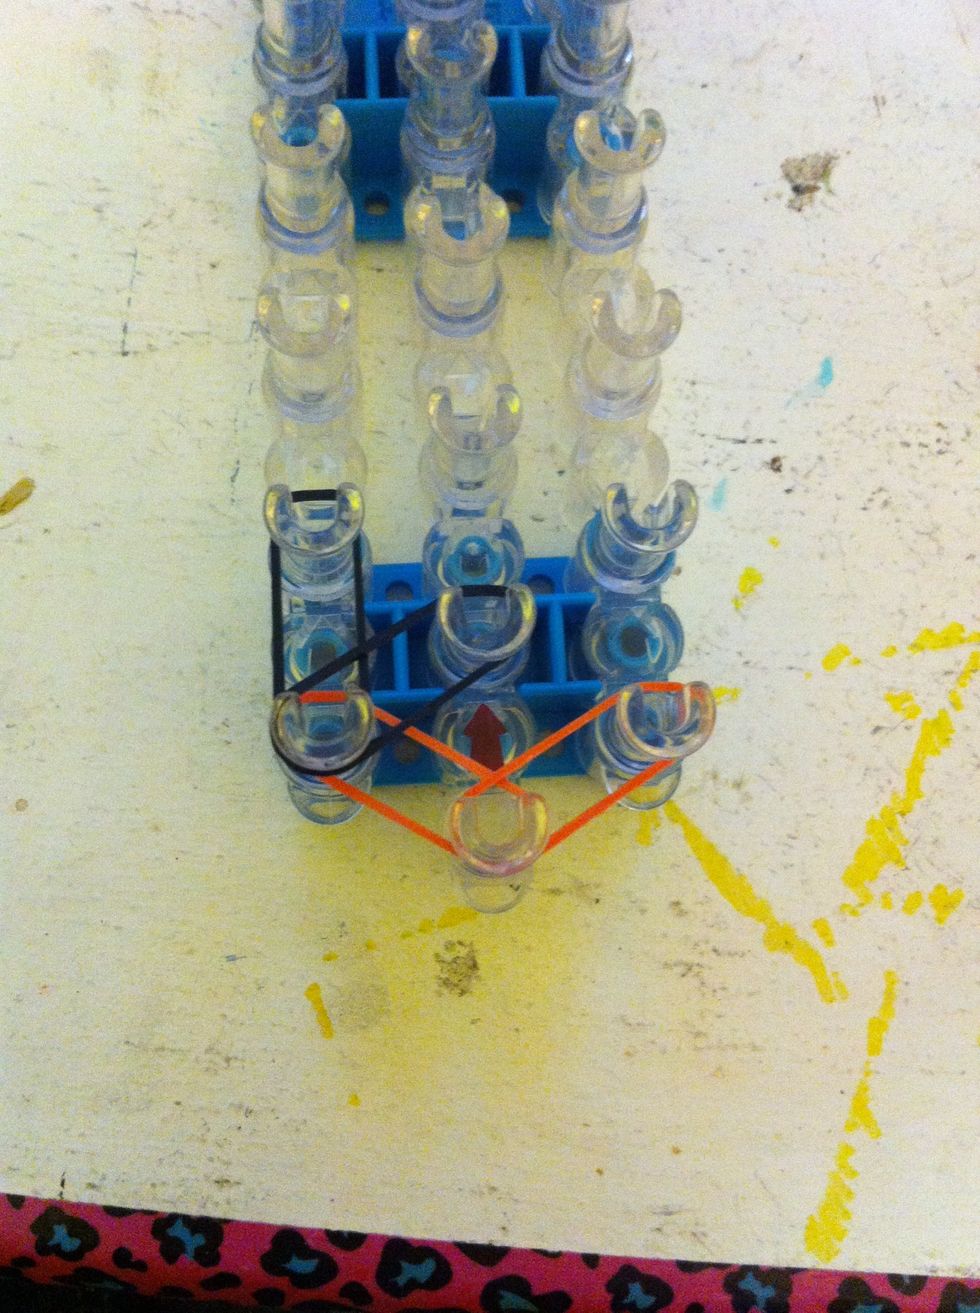
Step four- place the second black band
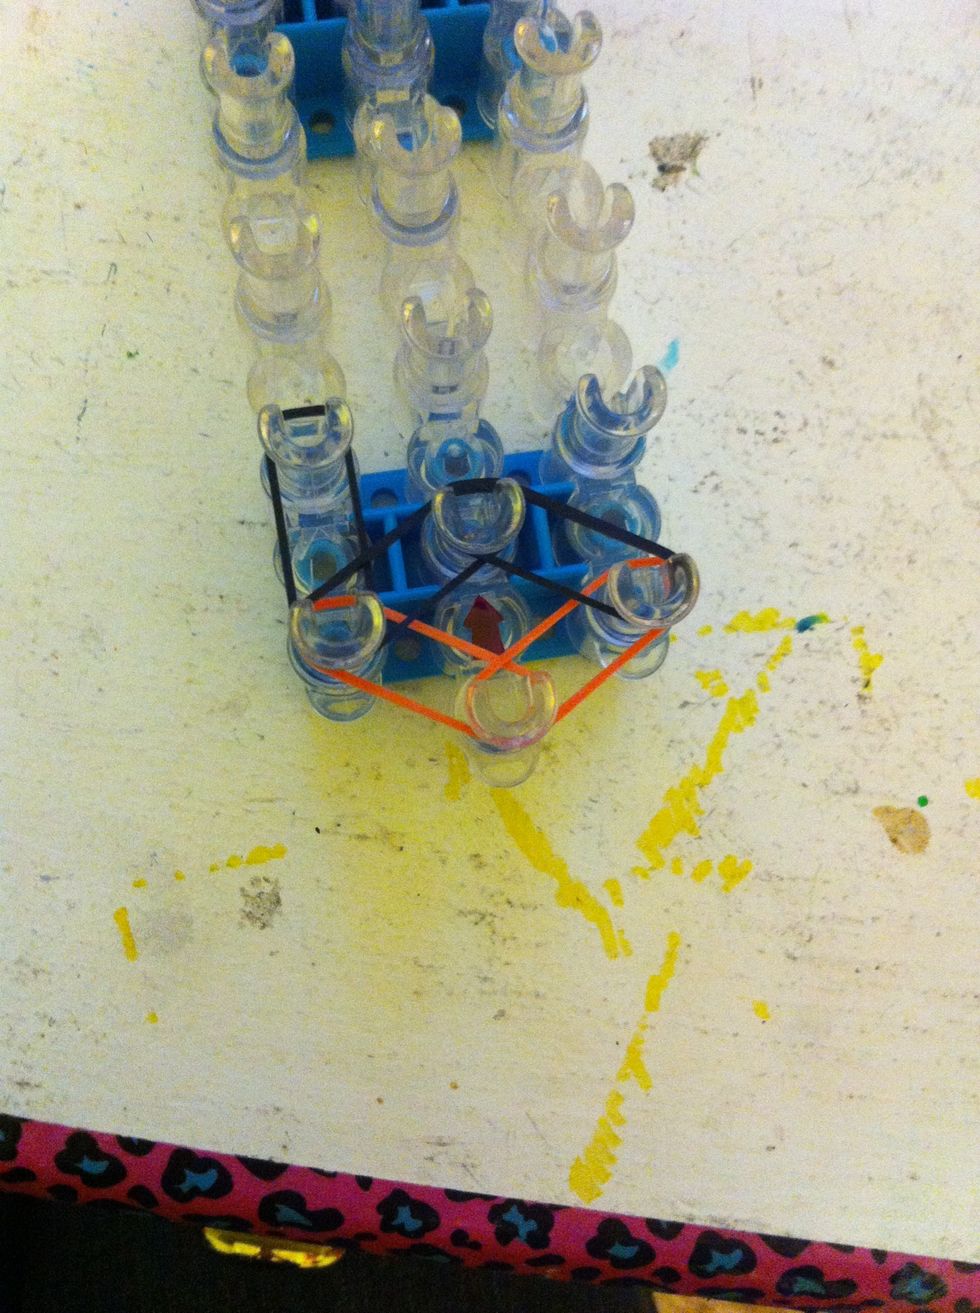
Step five- place the third black band

Step six- place the fourth black band- it's making sort of a w pattern from left to right!
Step seven- place the fifth black band
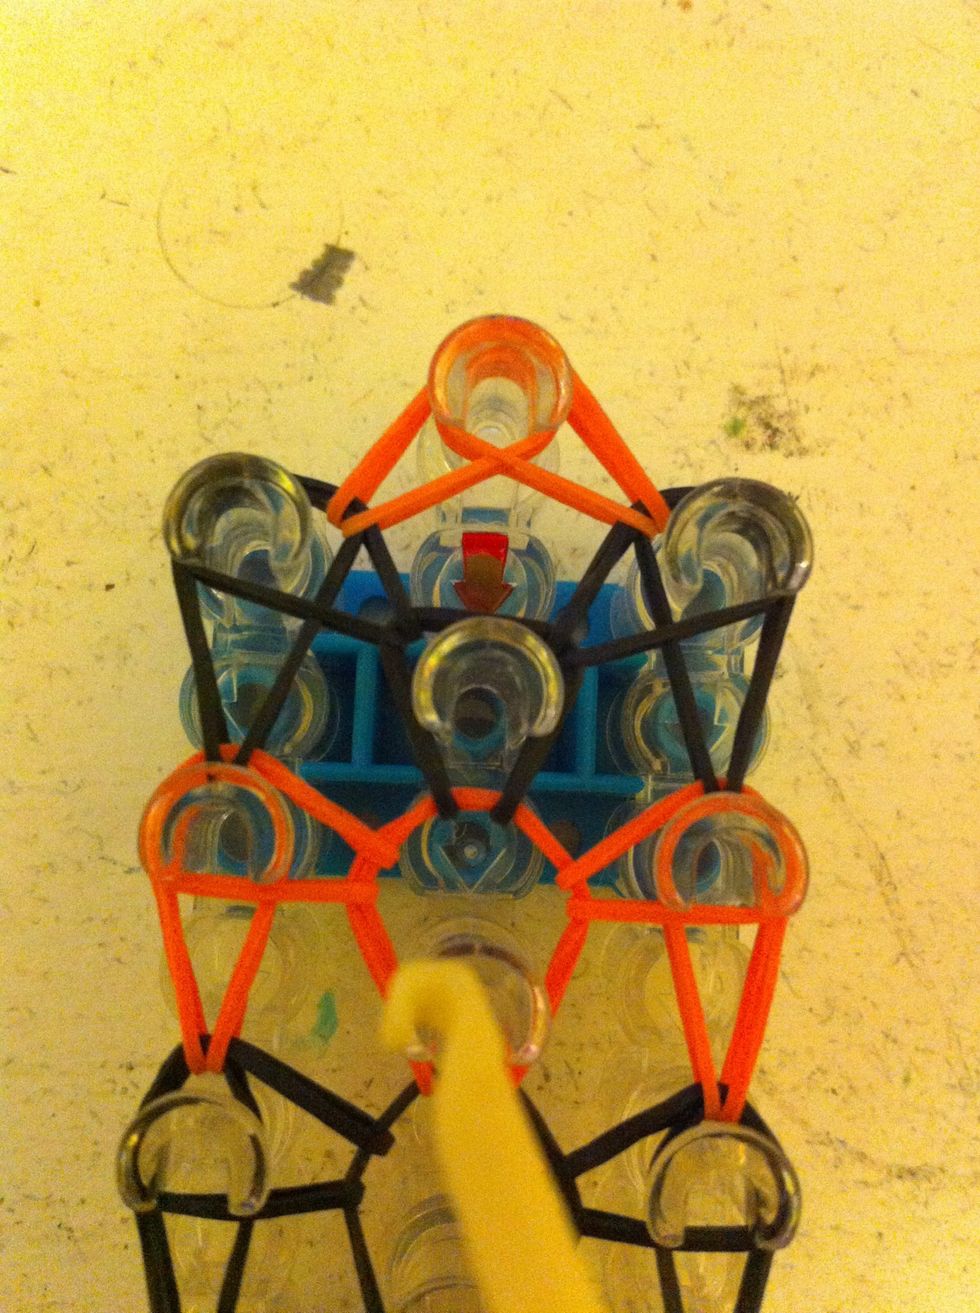
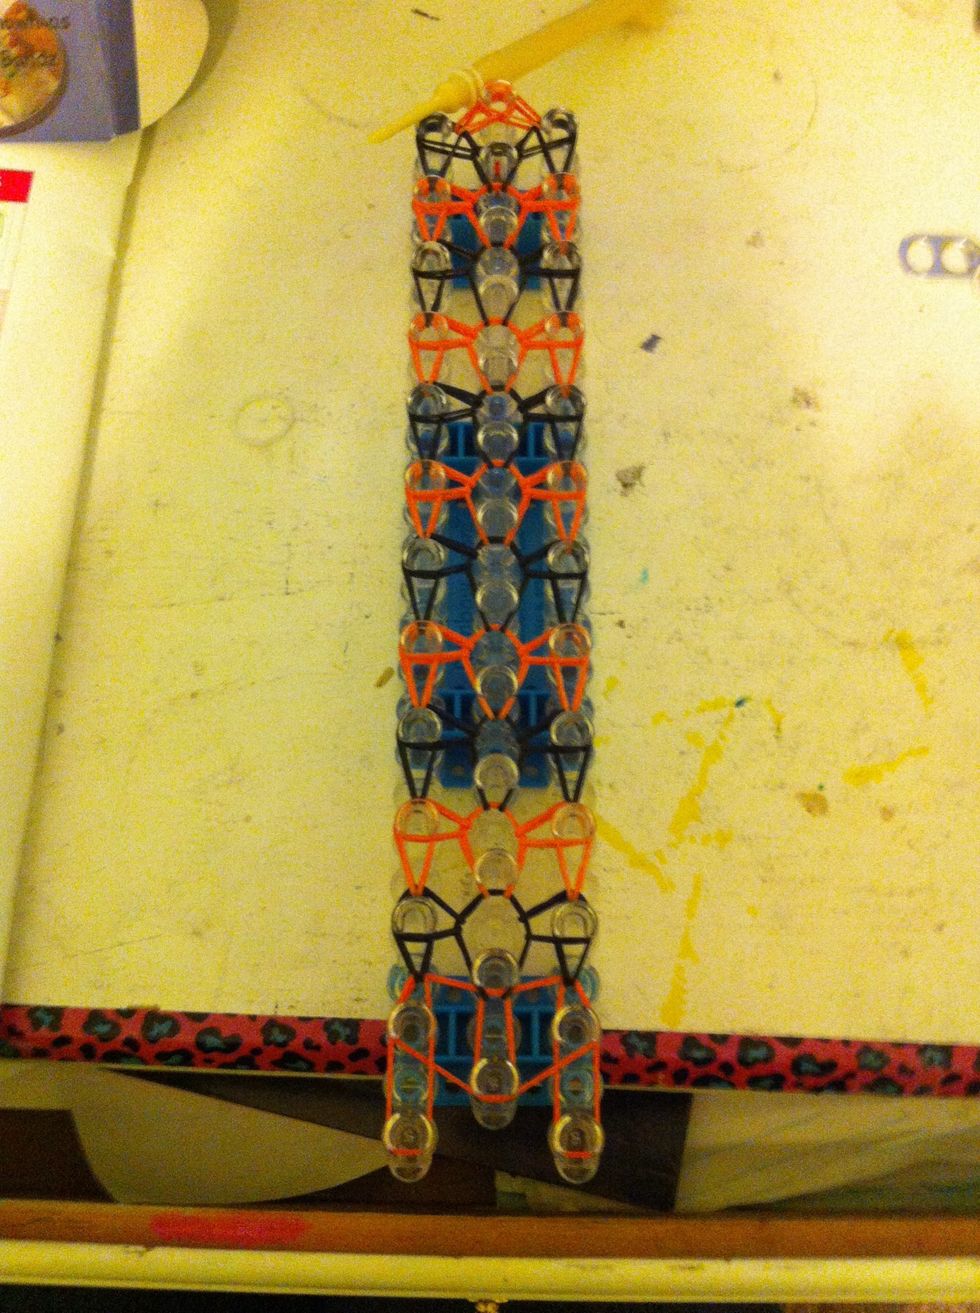
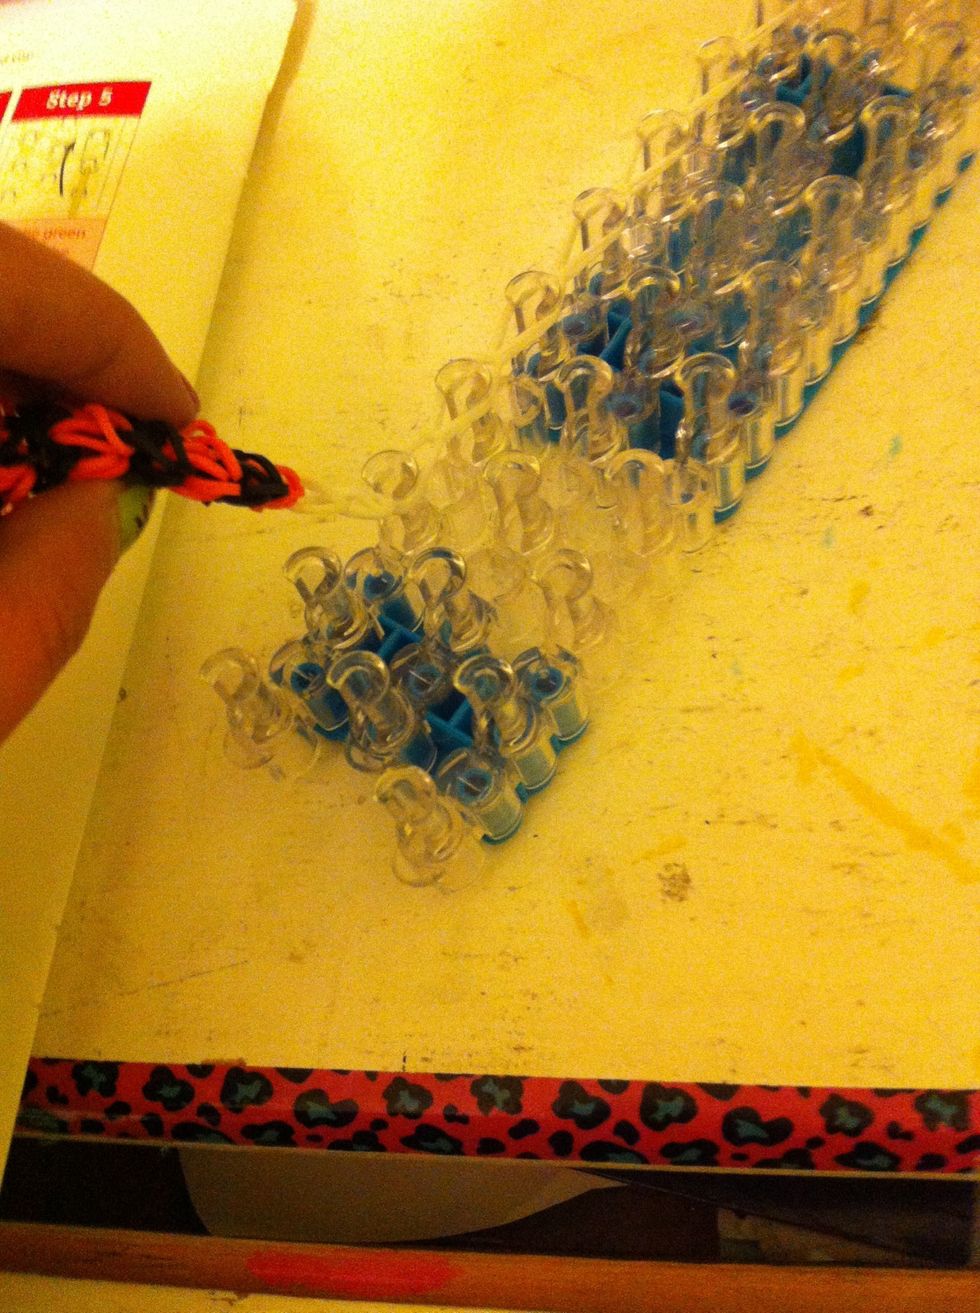
Beginning with orange, repeat from step three to place black and orange bands on the loom.
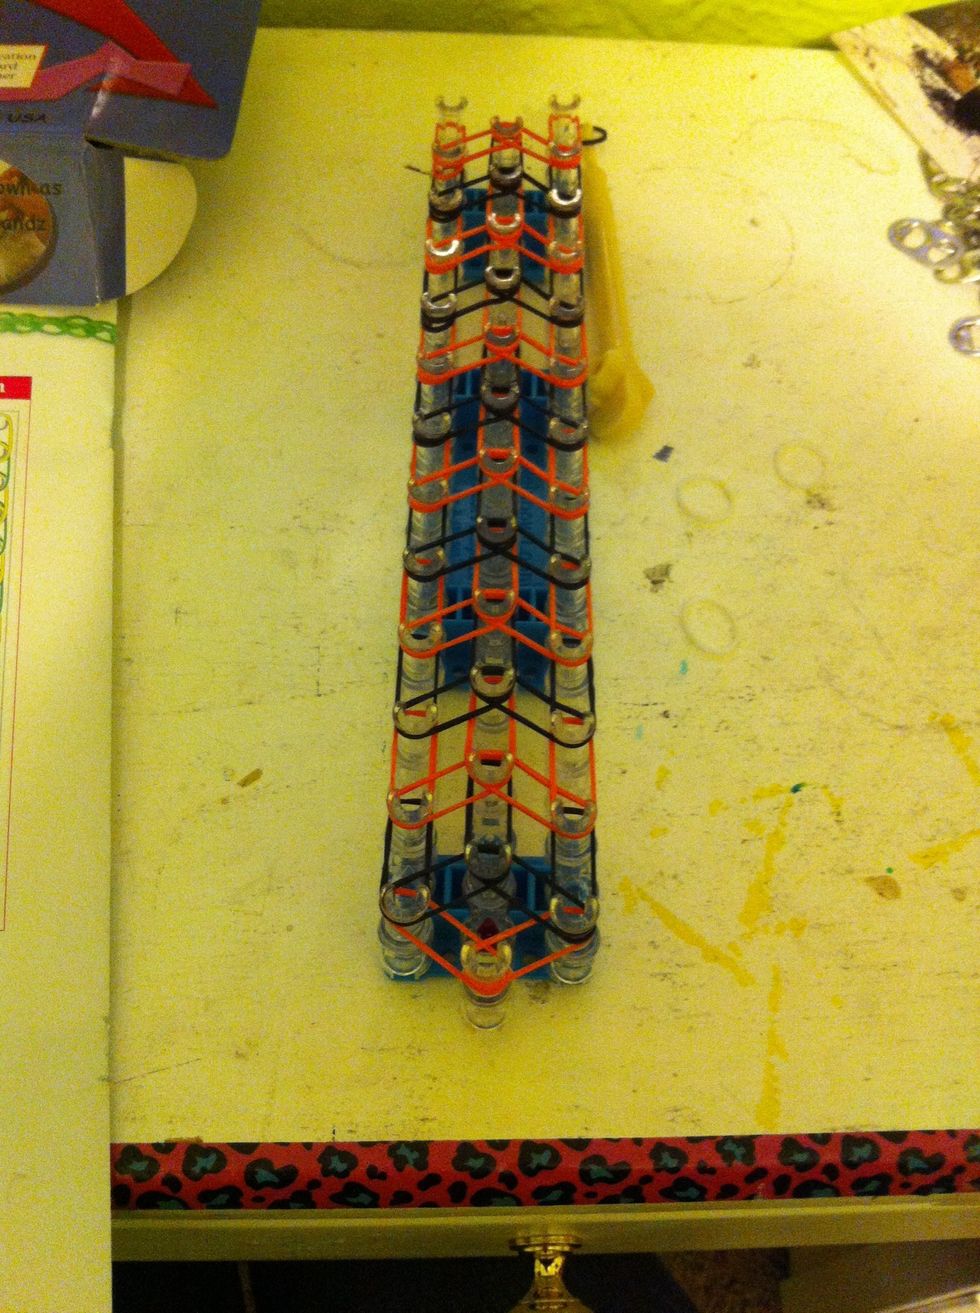
This is what it should look like when it's done
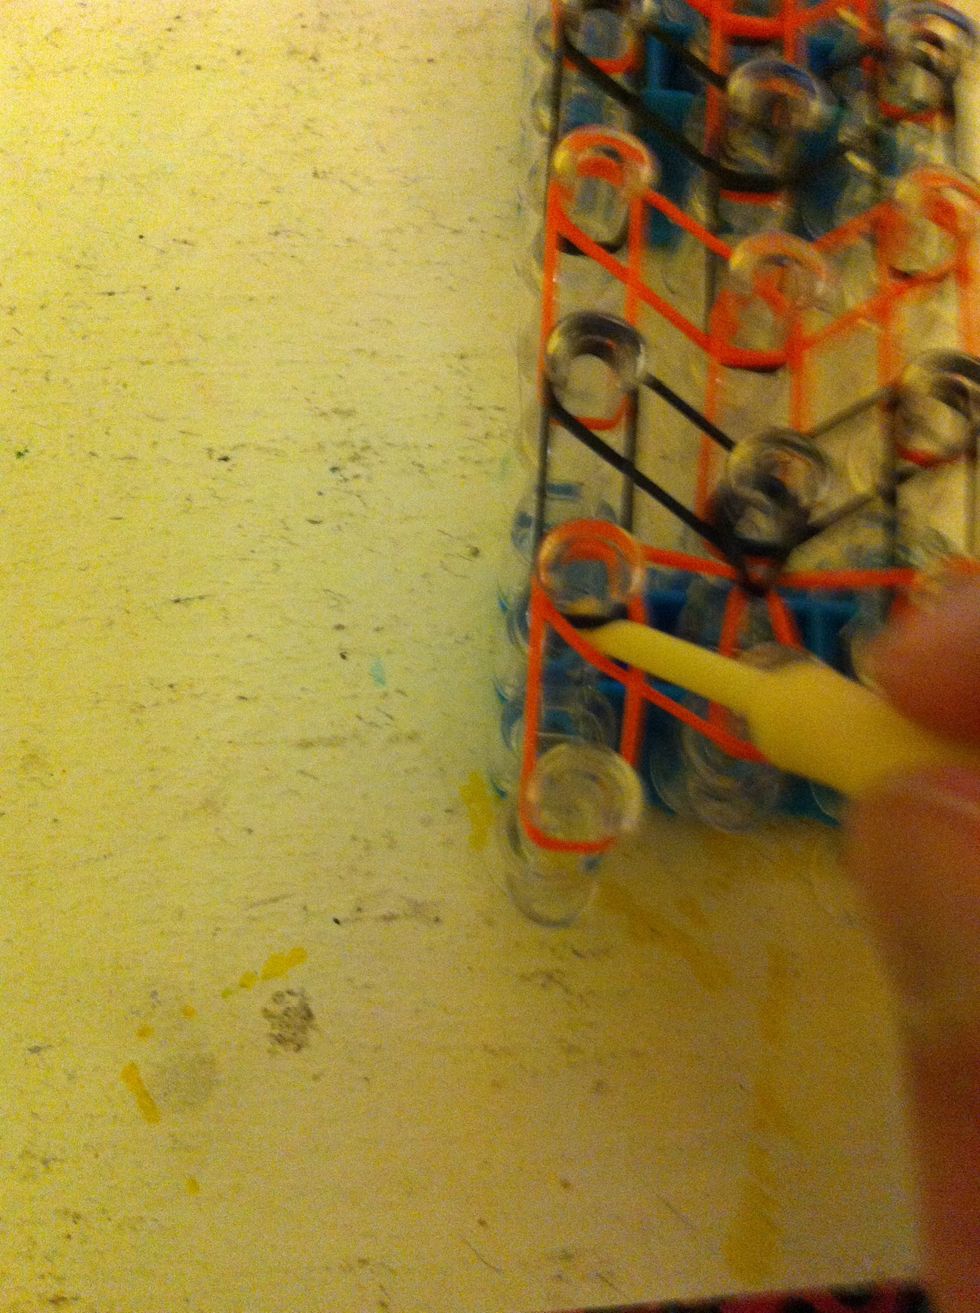
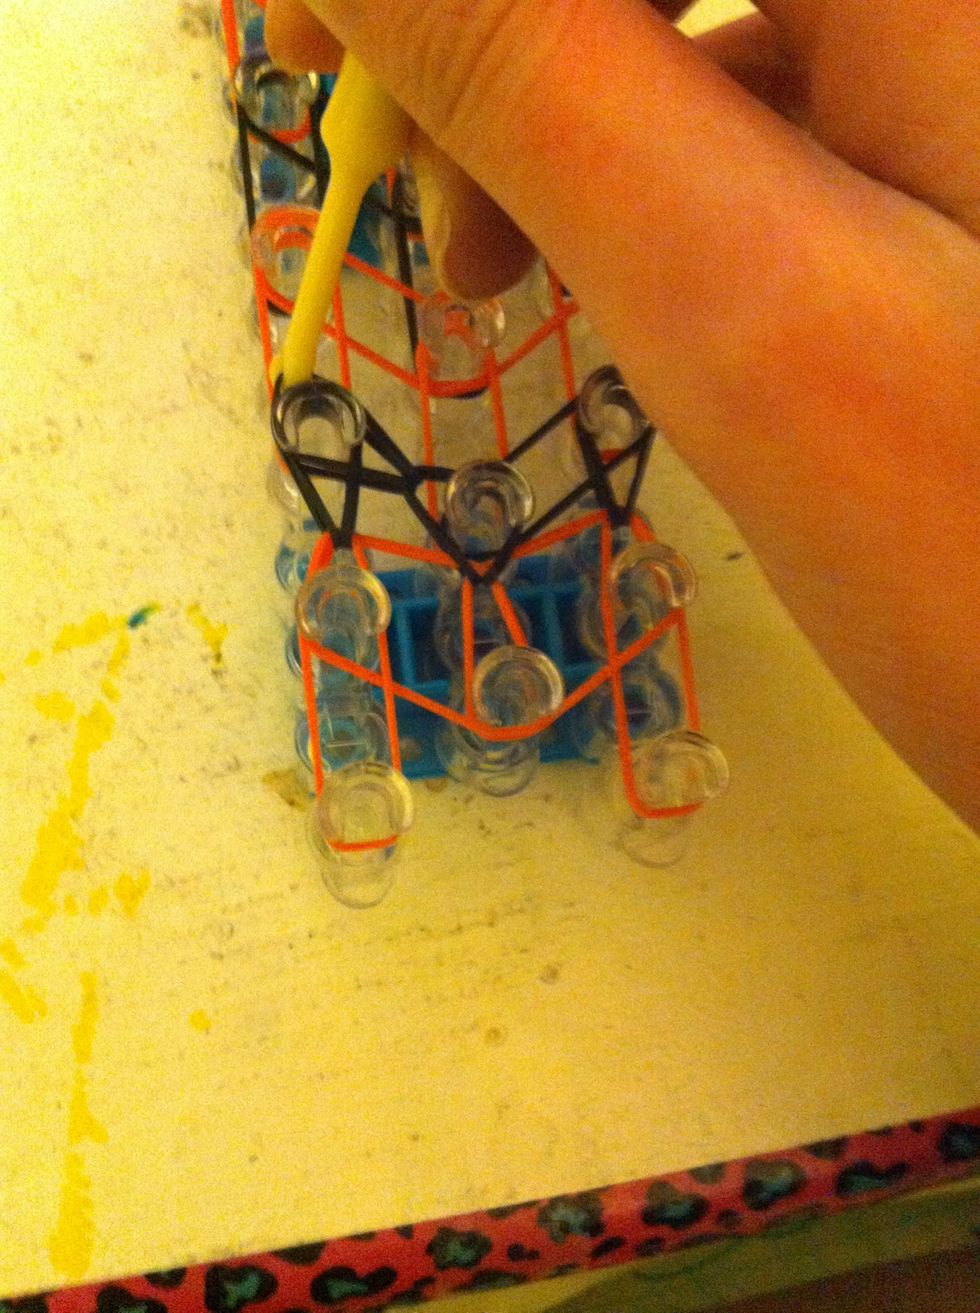
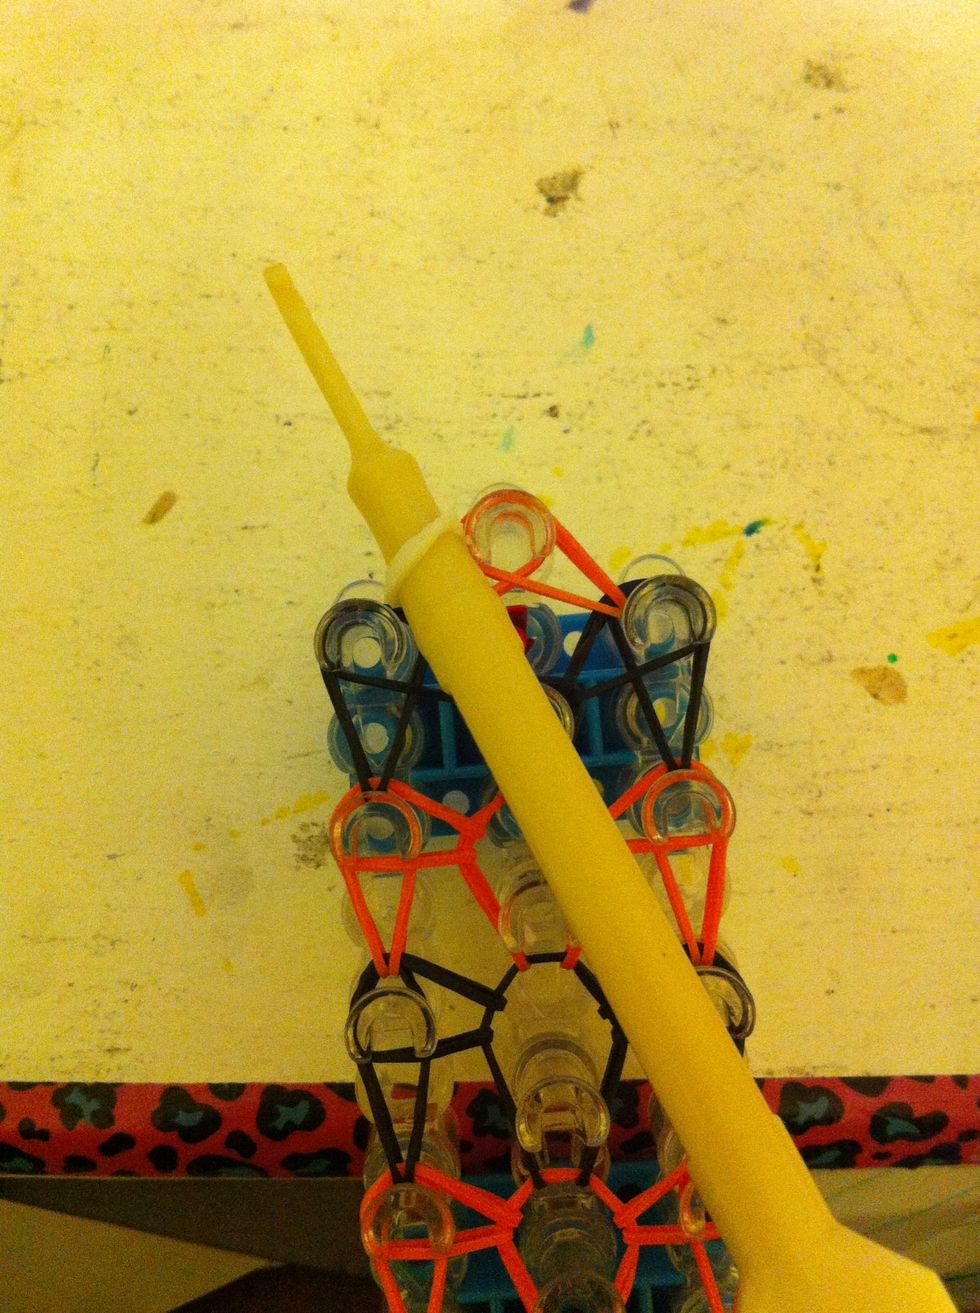
Flip the loom around so the arrow is facing you
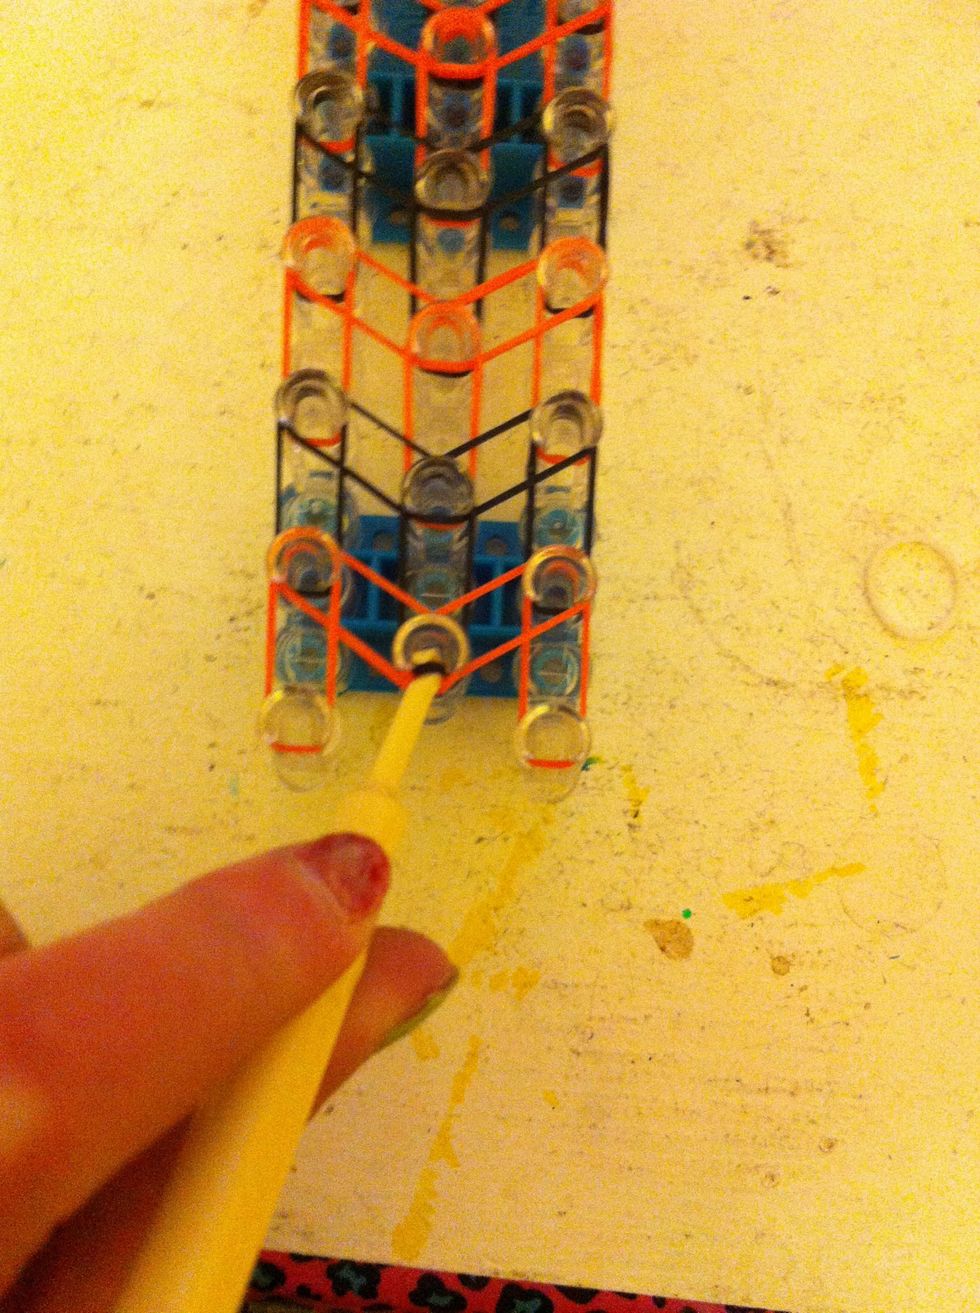
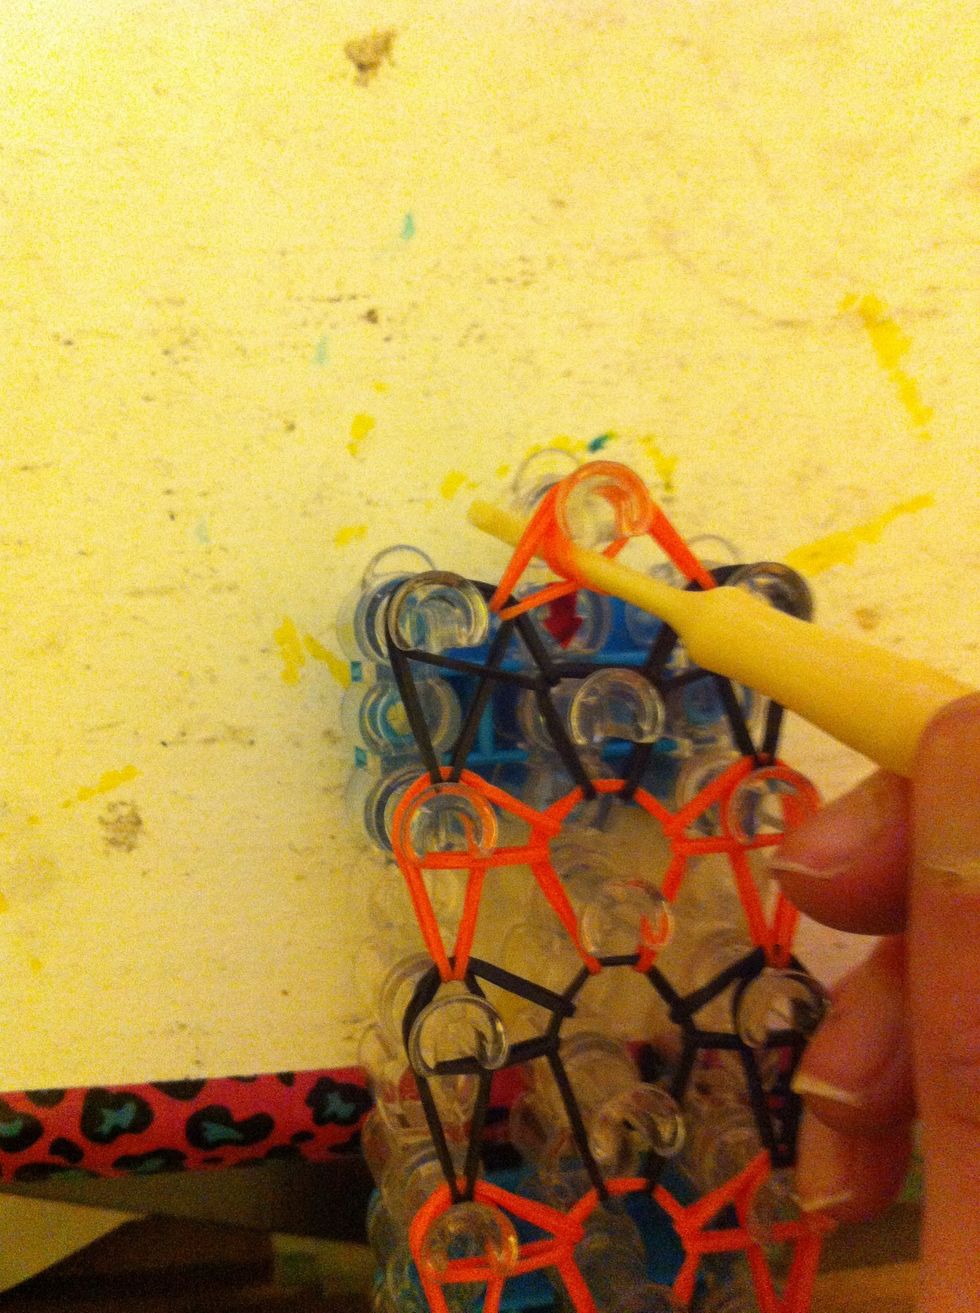
Take the black band on the center pin
Loop up
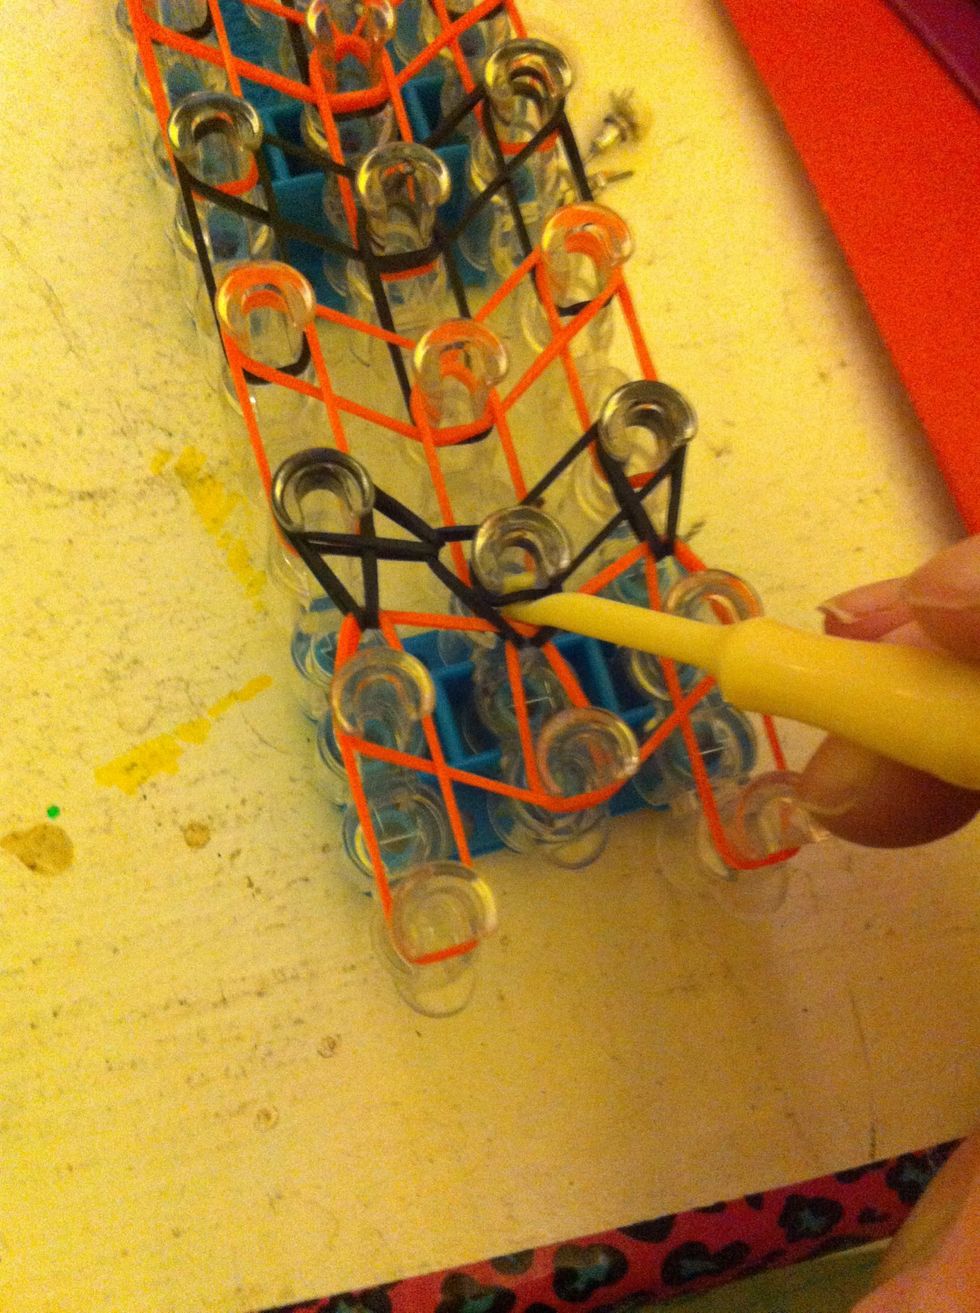
Take the black ban left of it
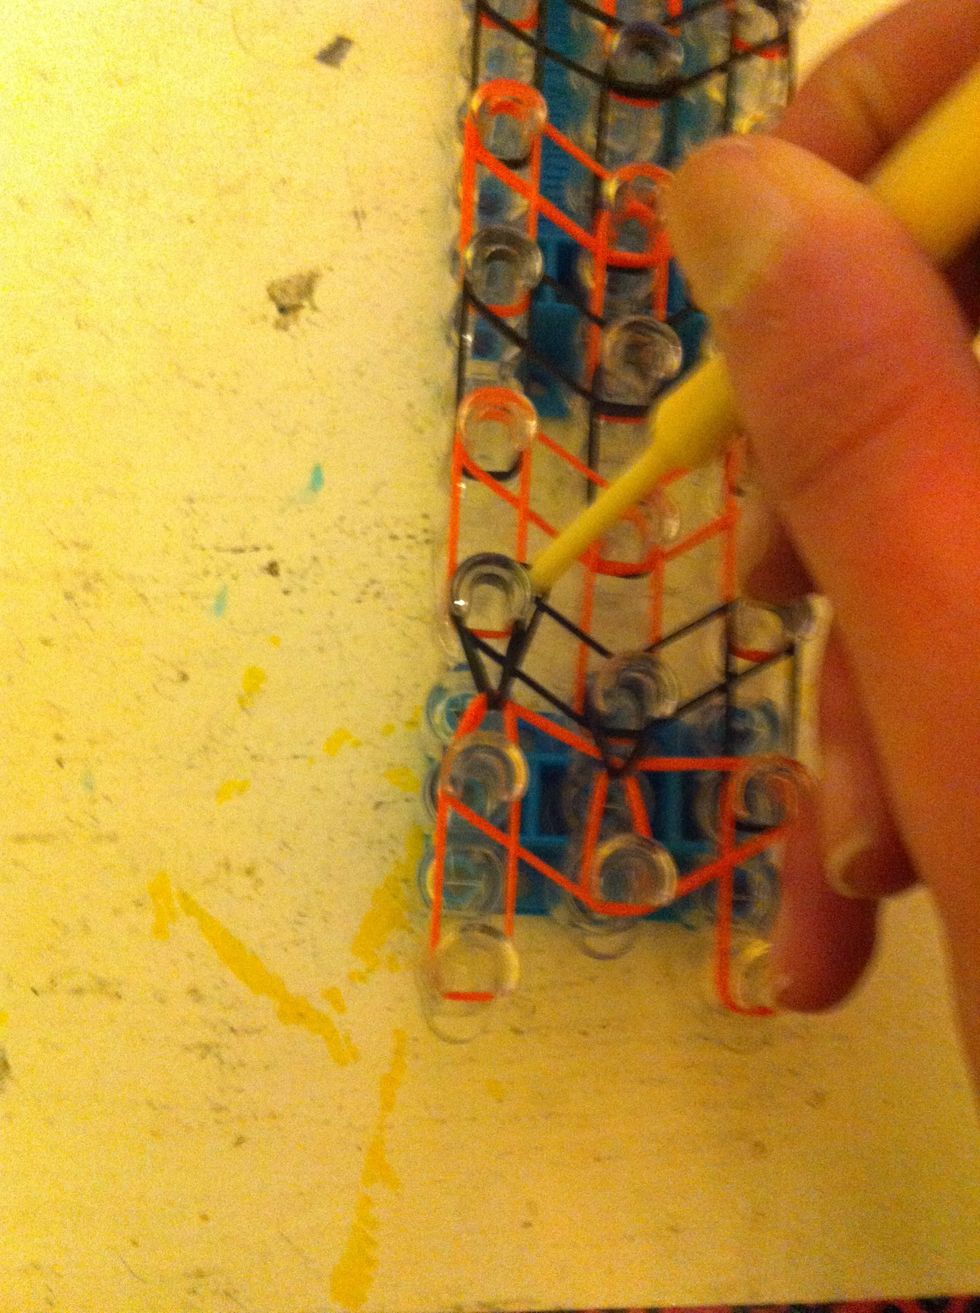
Loop that up

Take the one on the right
Loop that up
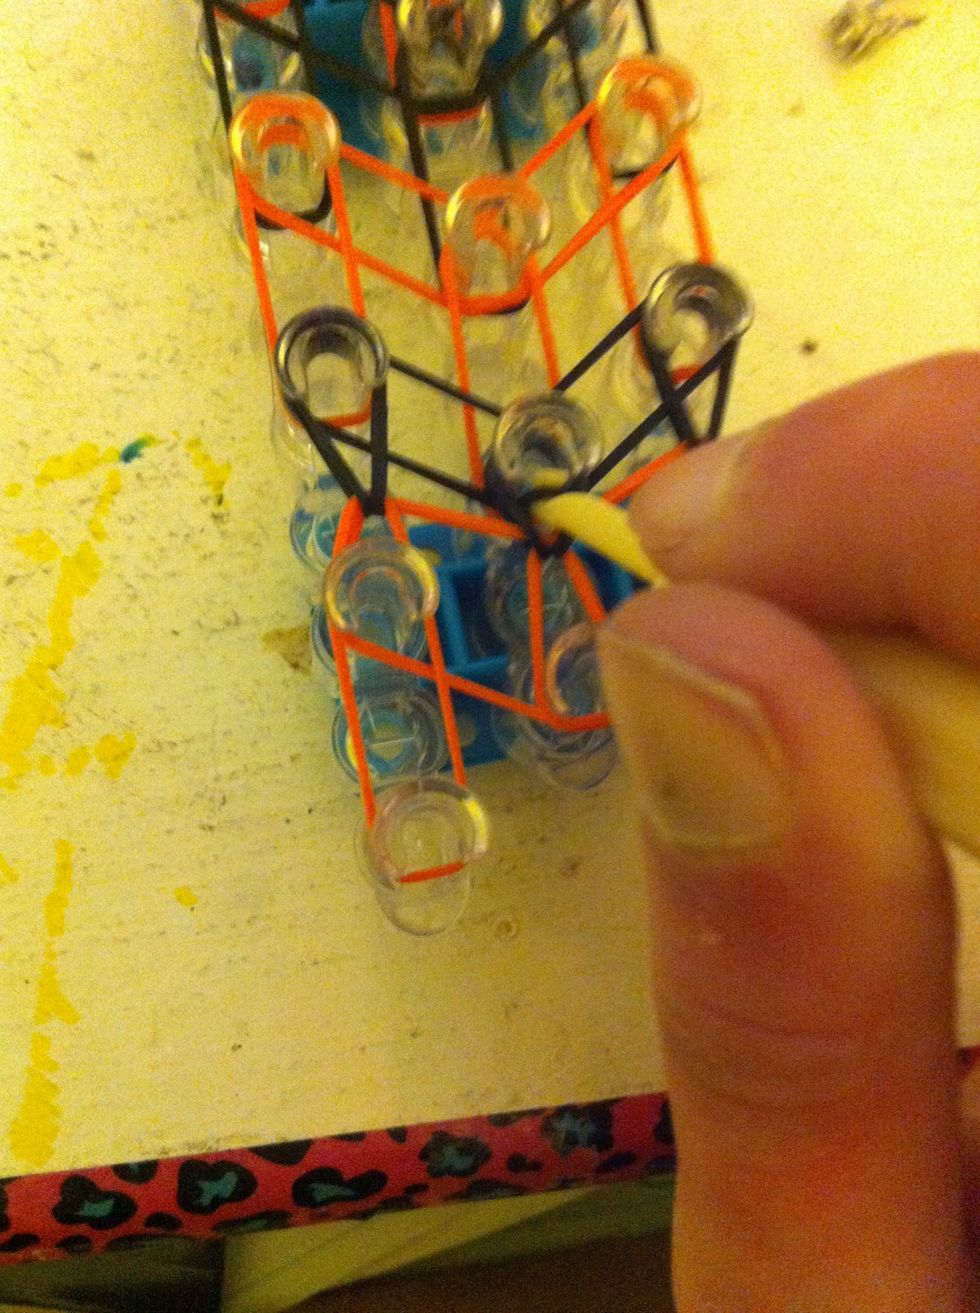
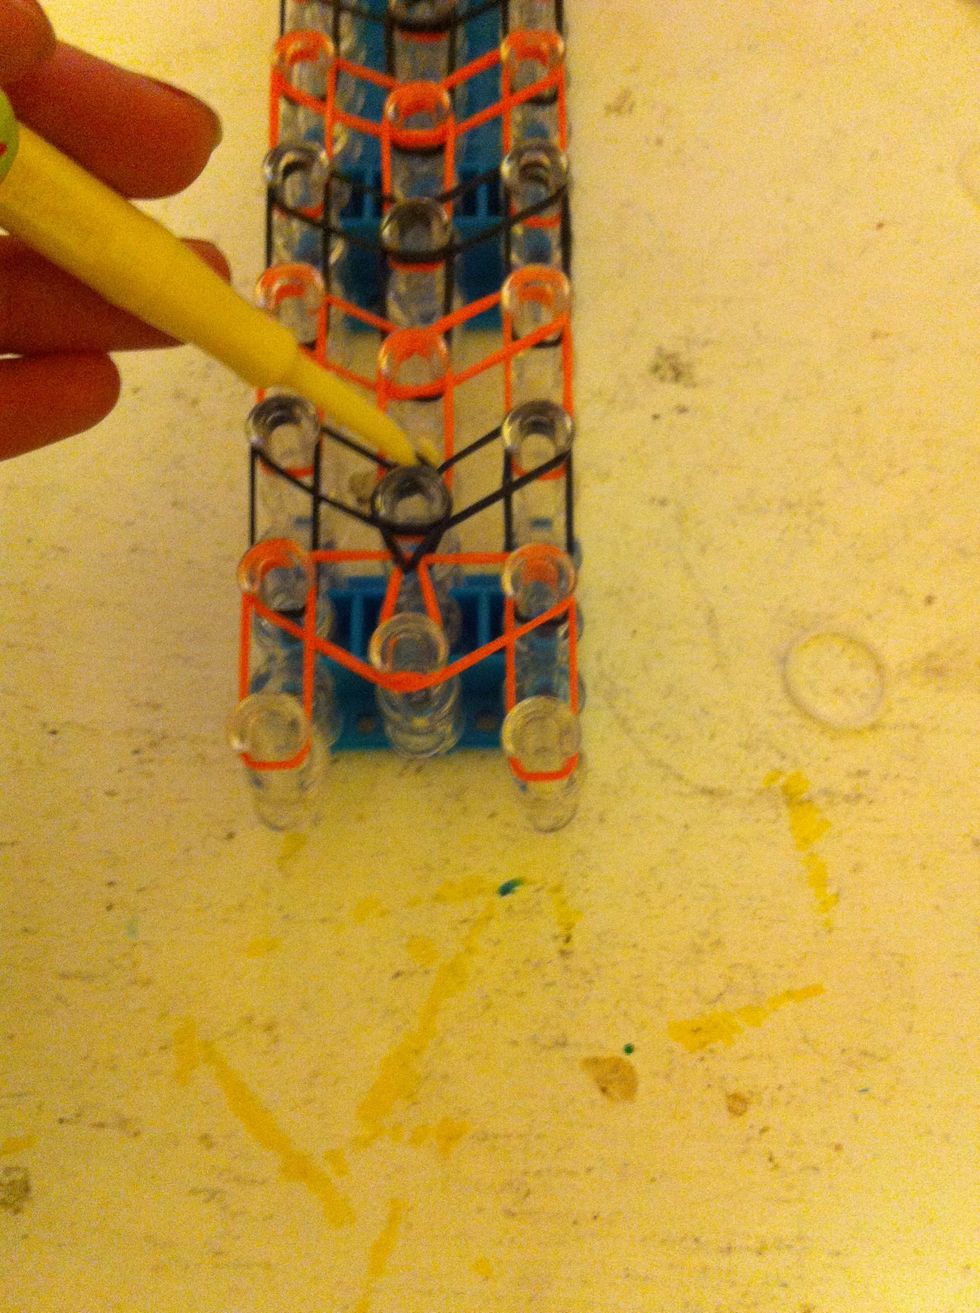
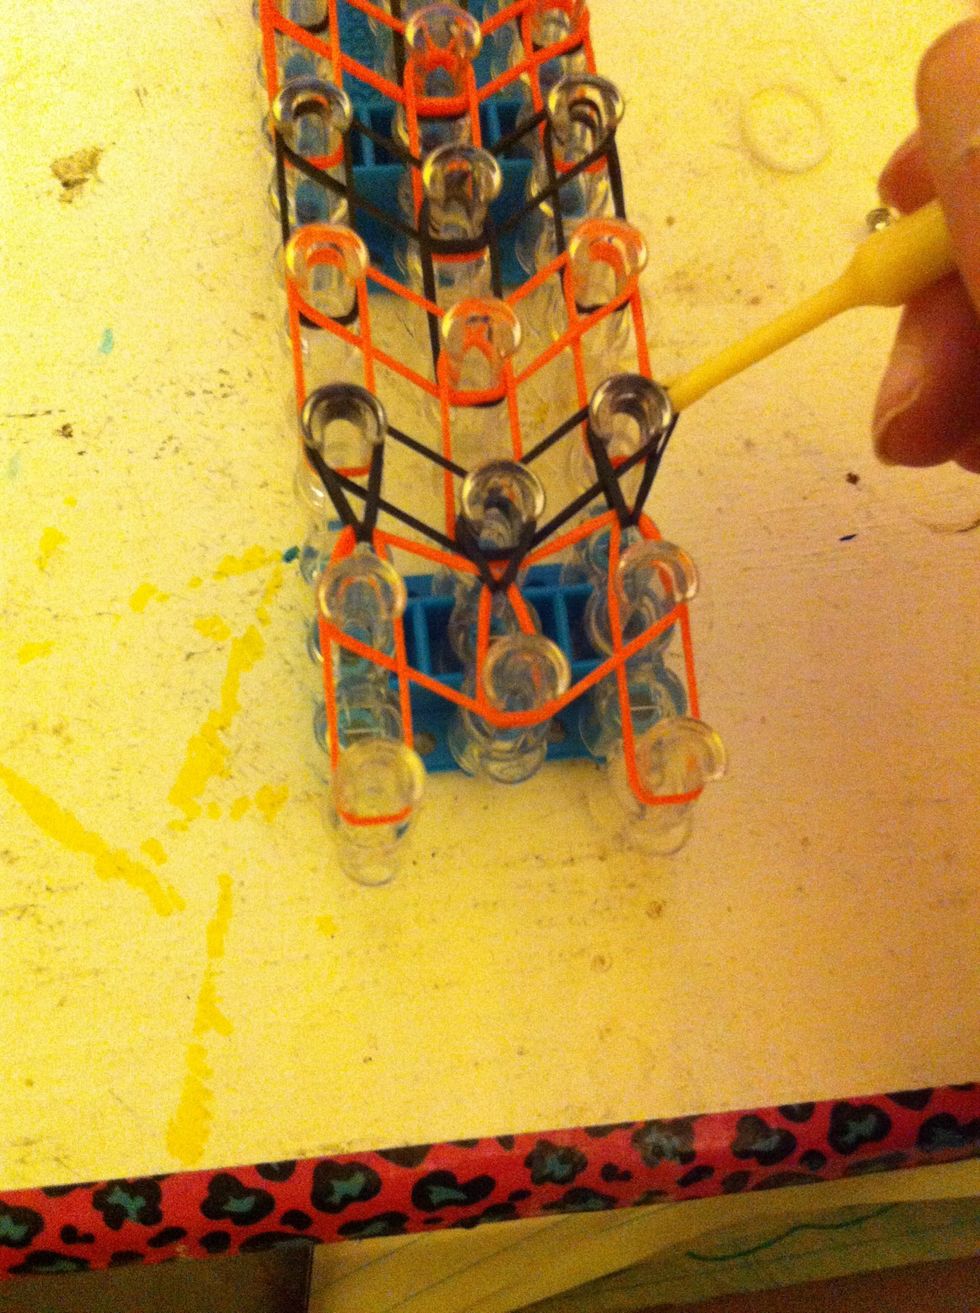
Take the top black band
Loop it left
Take the other black band
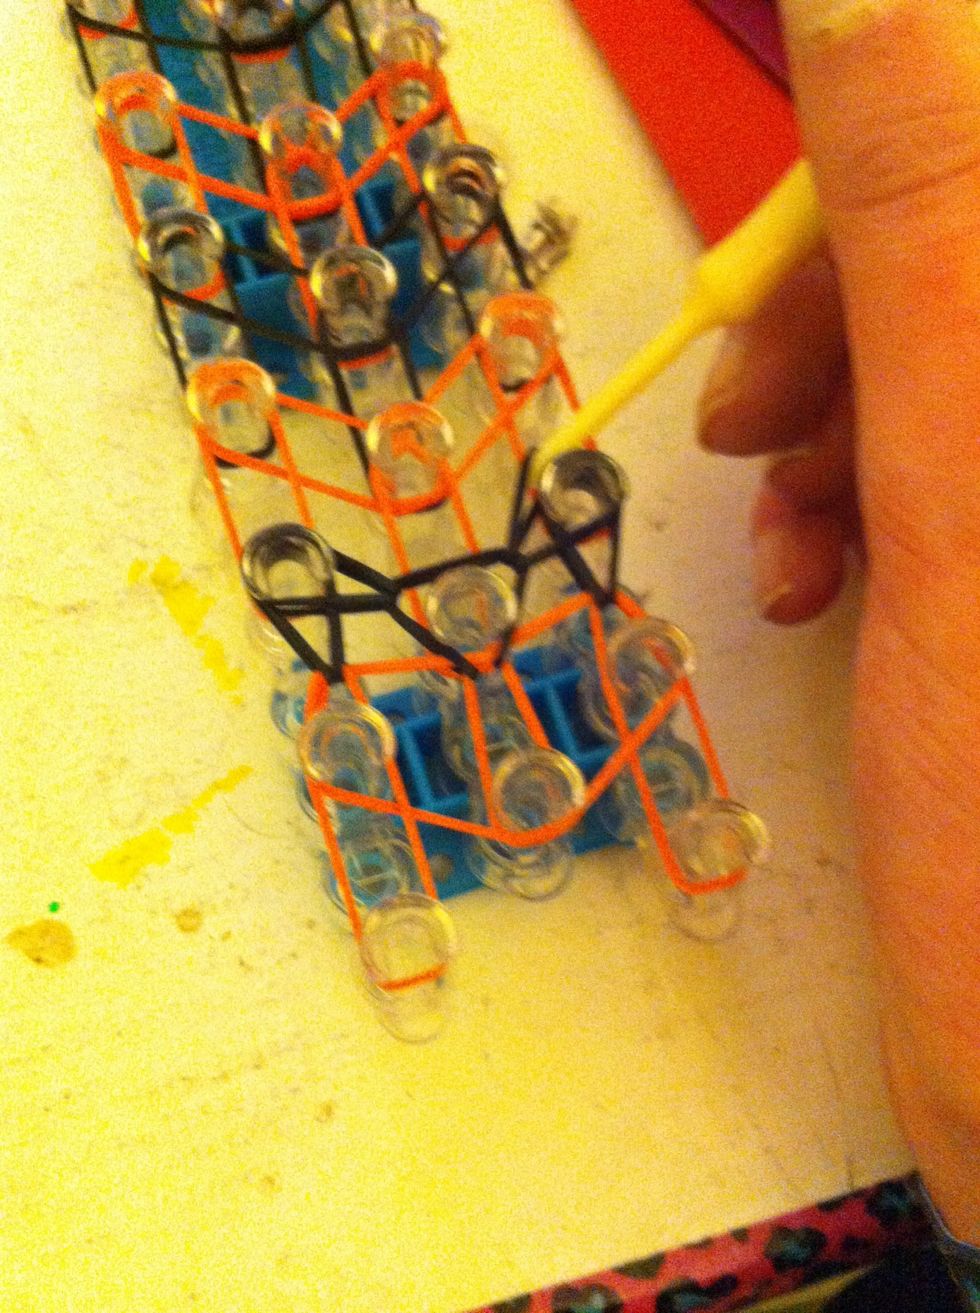
Loop it right
Continue this pattern until you reach the top.
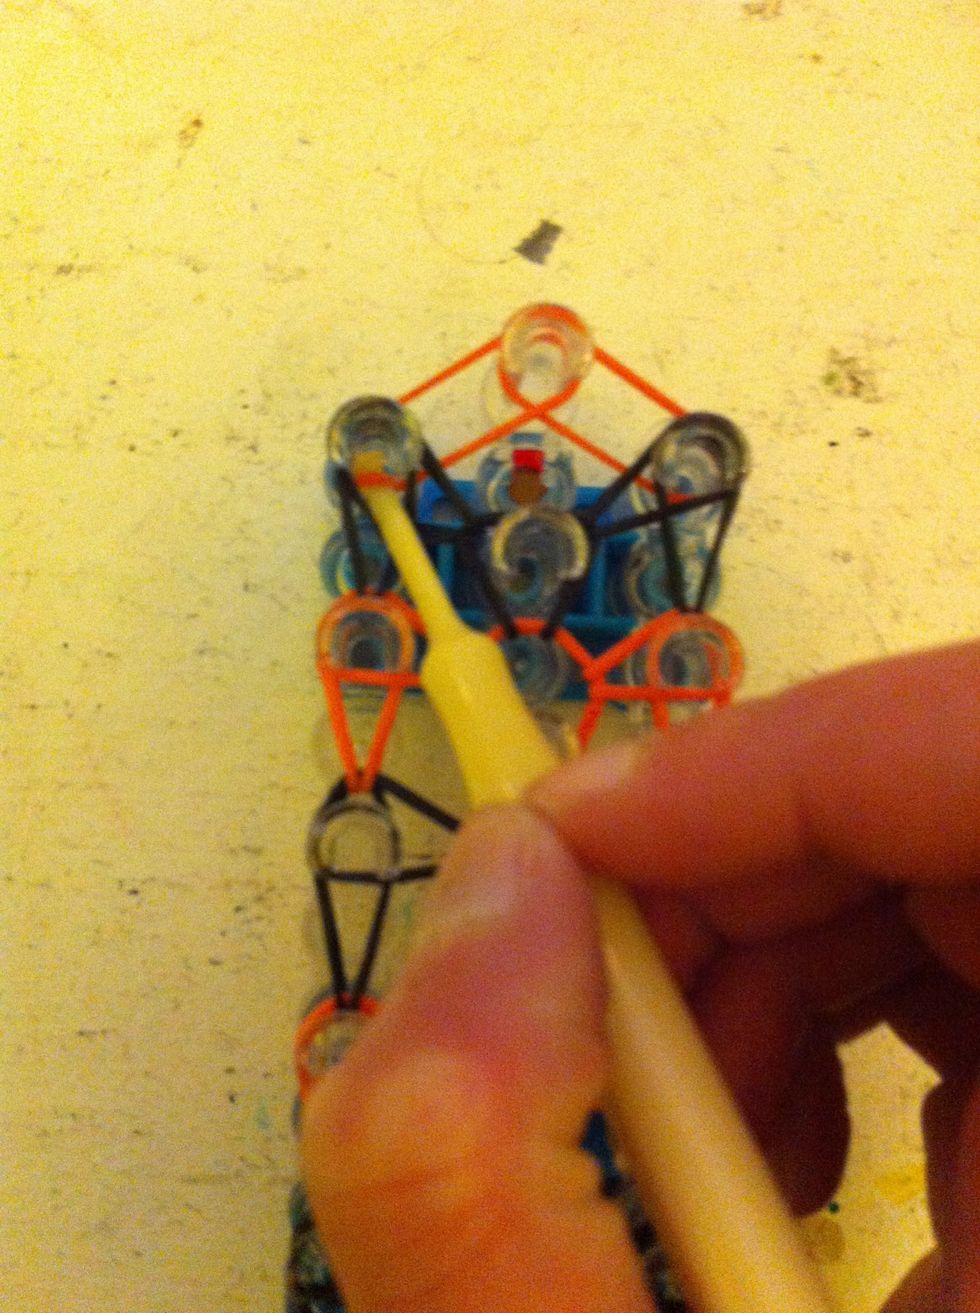
When you get there, take the orange band
Loop it to the center
Do the same on the other side
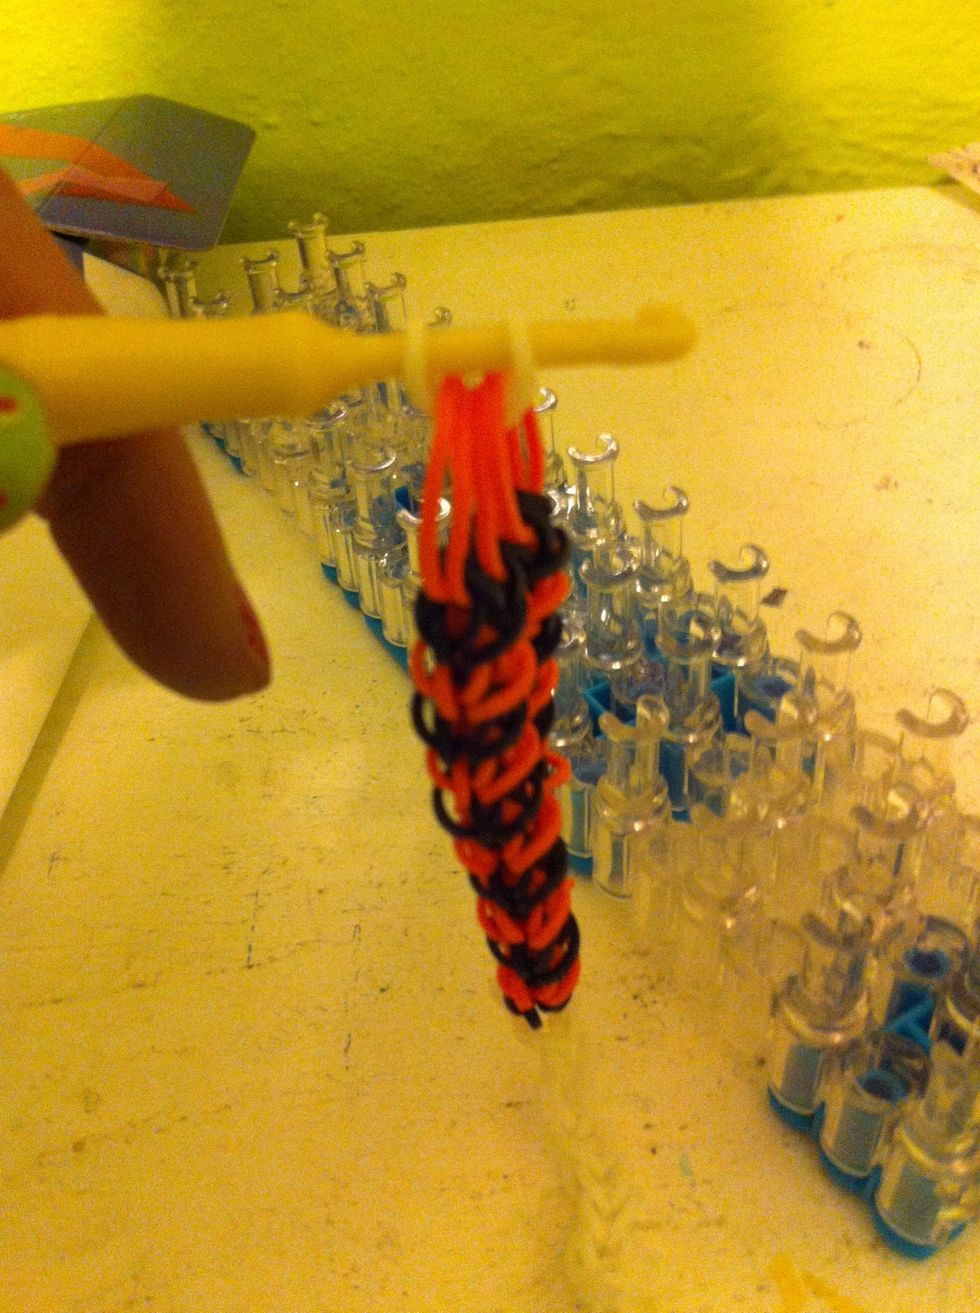
Slide your needle through the top pin and lean it sideways
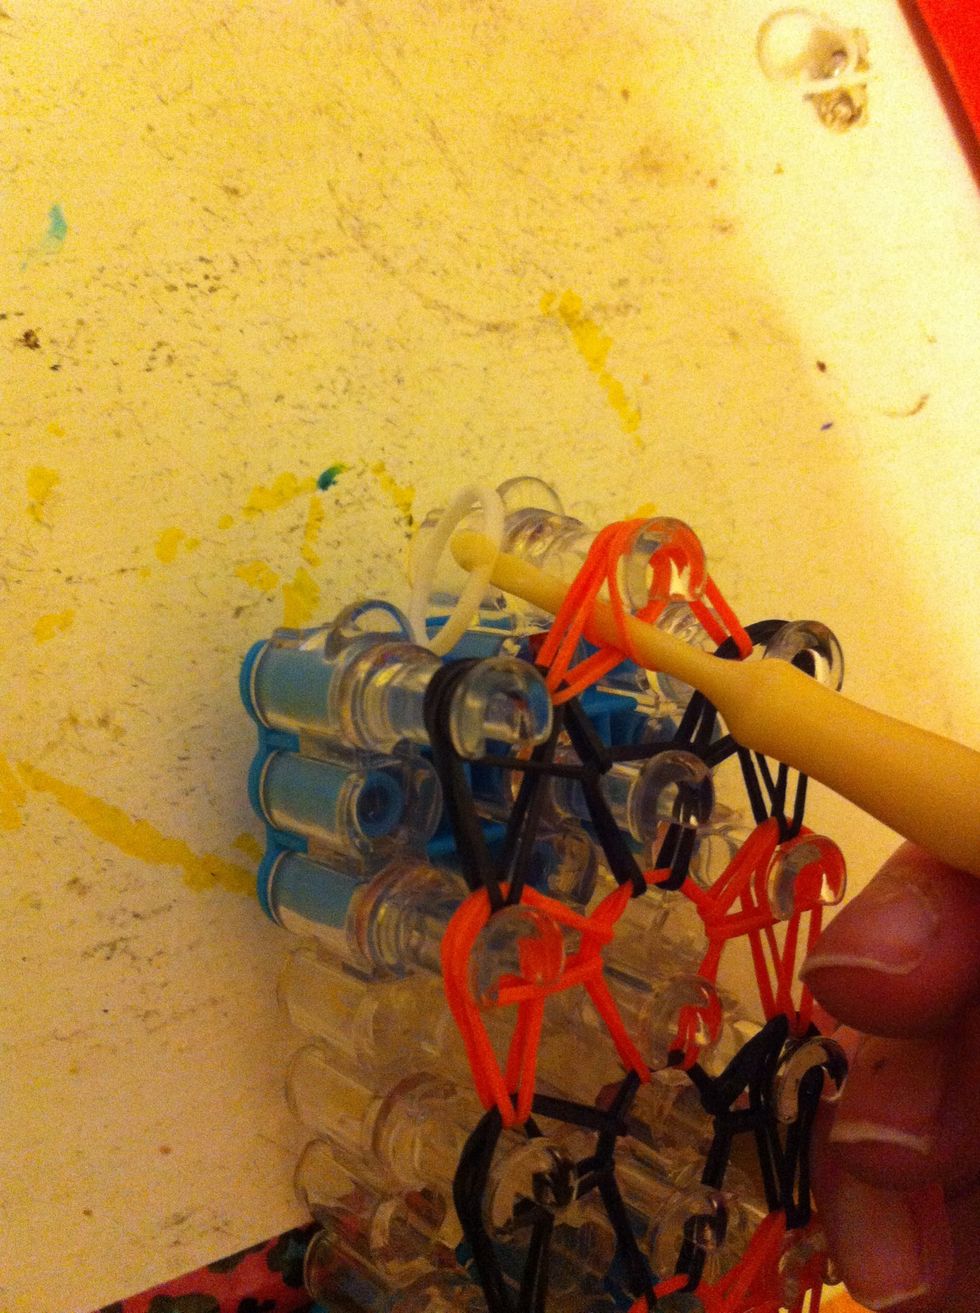
Hook on a white band

Pull it through and loop it around the needles end
Push it up so it doesn't fall off
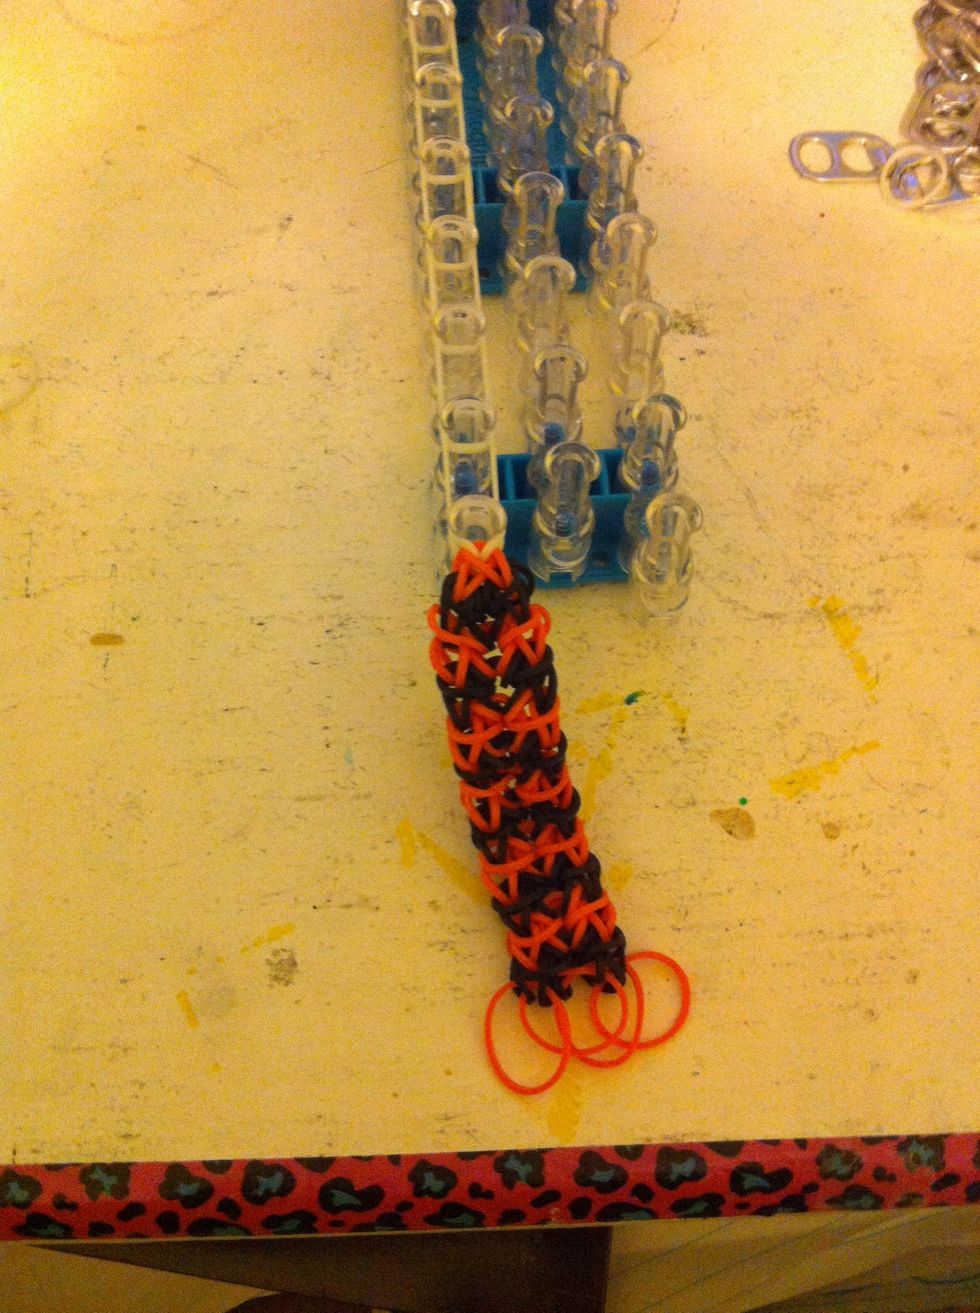
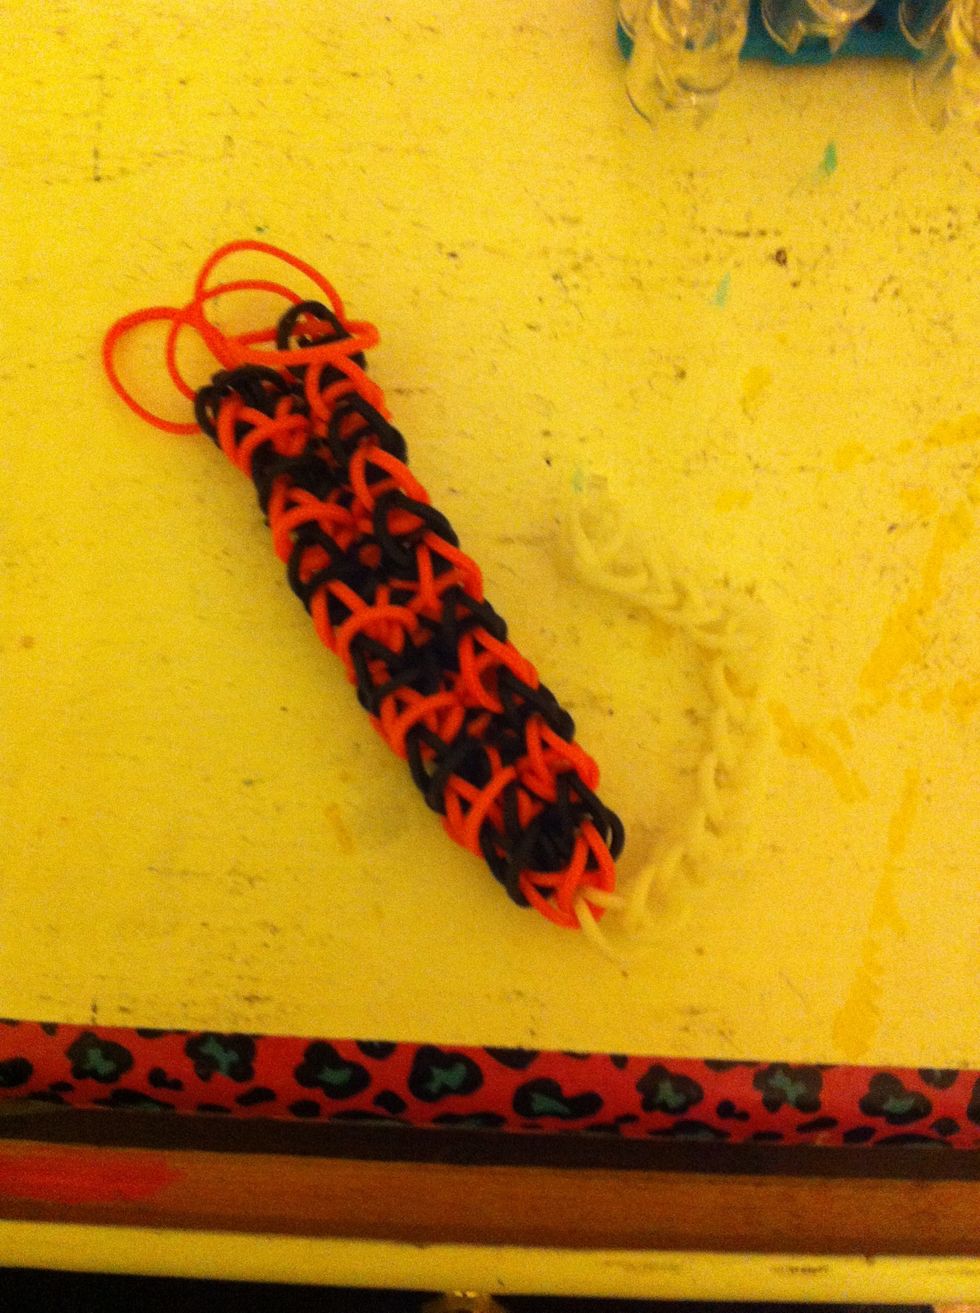
Here's what it looks like when done
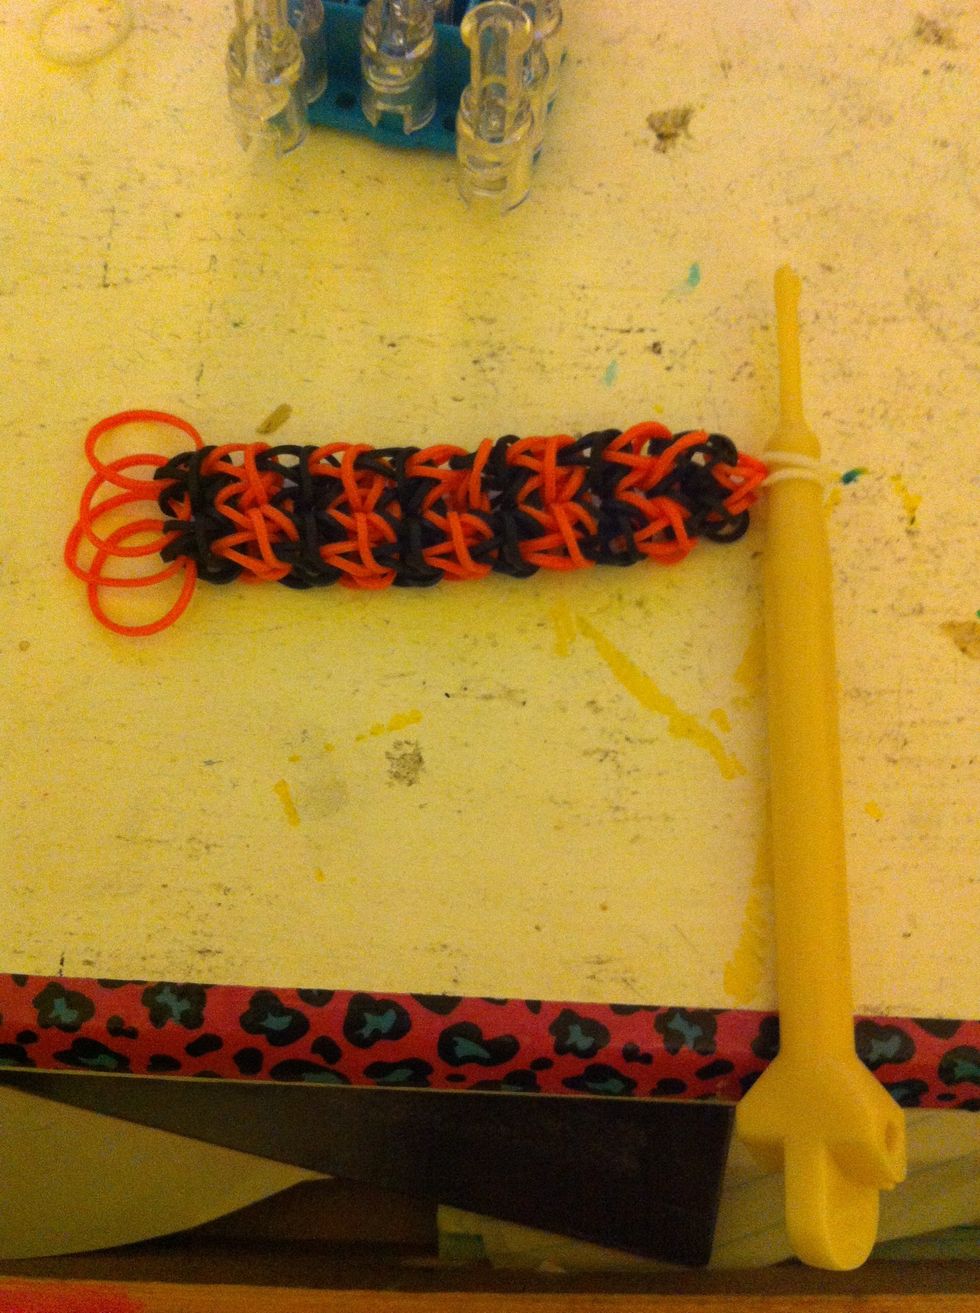
Wala! But you're not done yet!
Flip the loom back around so the arrow is facing away
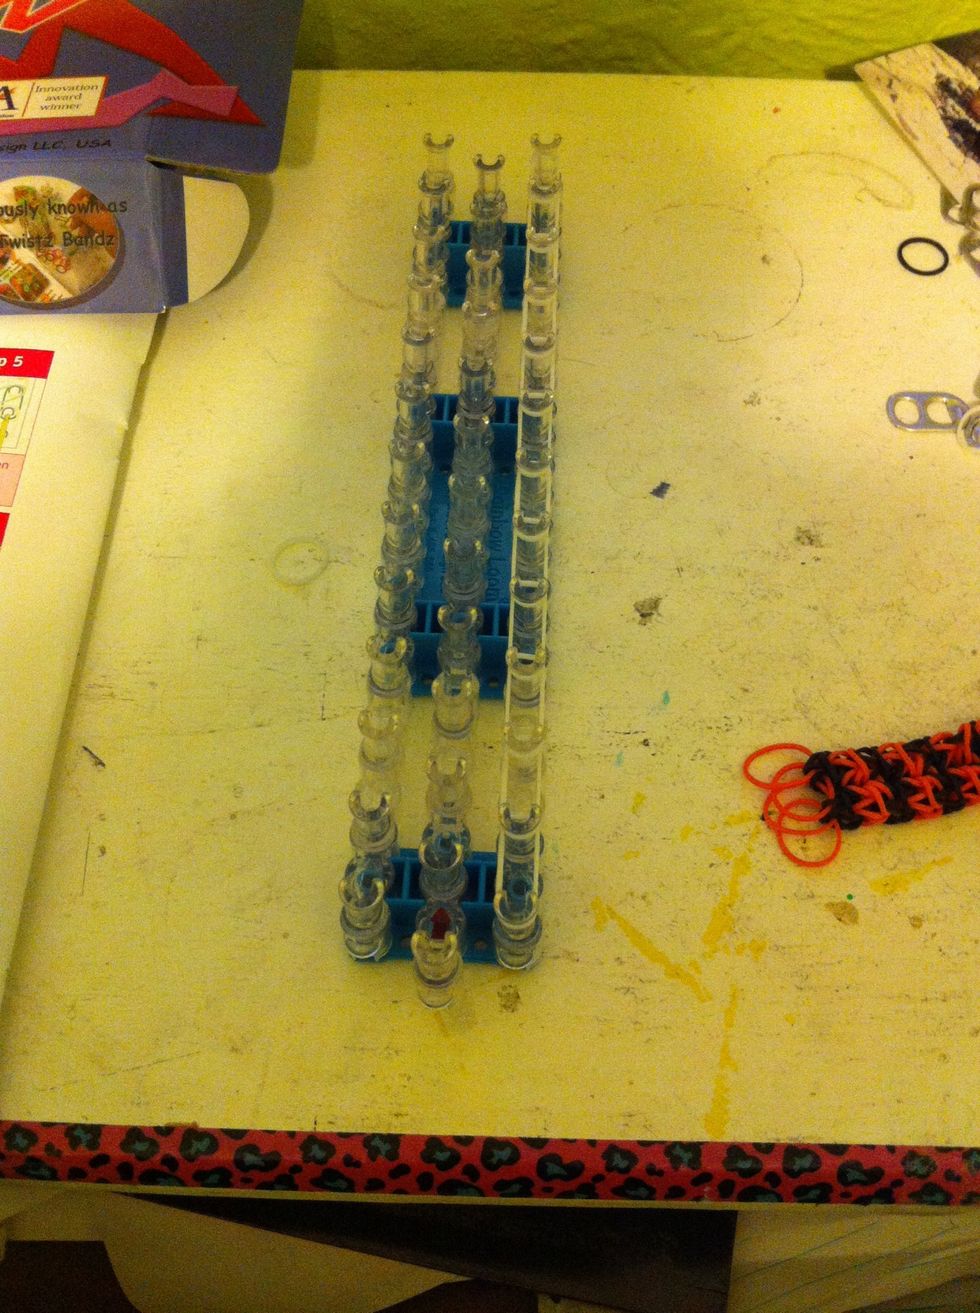
Put white bad along one side of the loom
Flip loom around and attach the bracelet
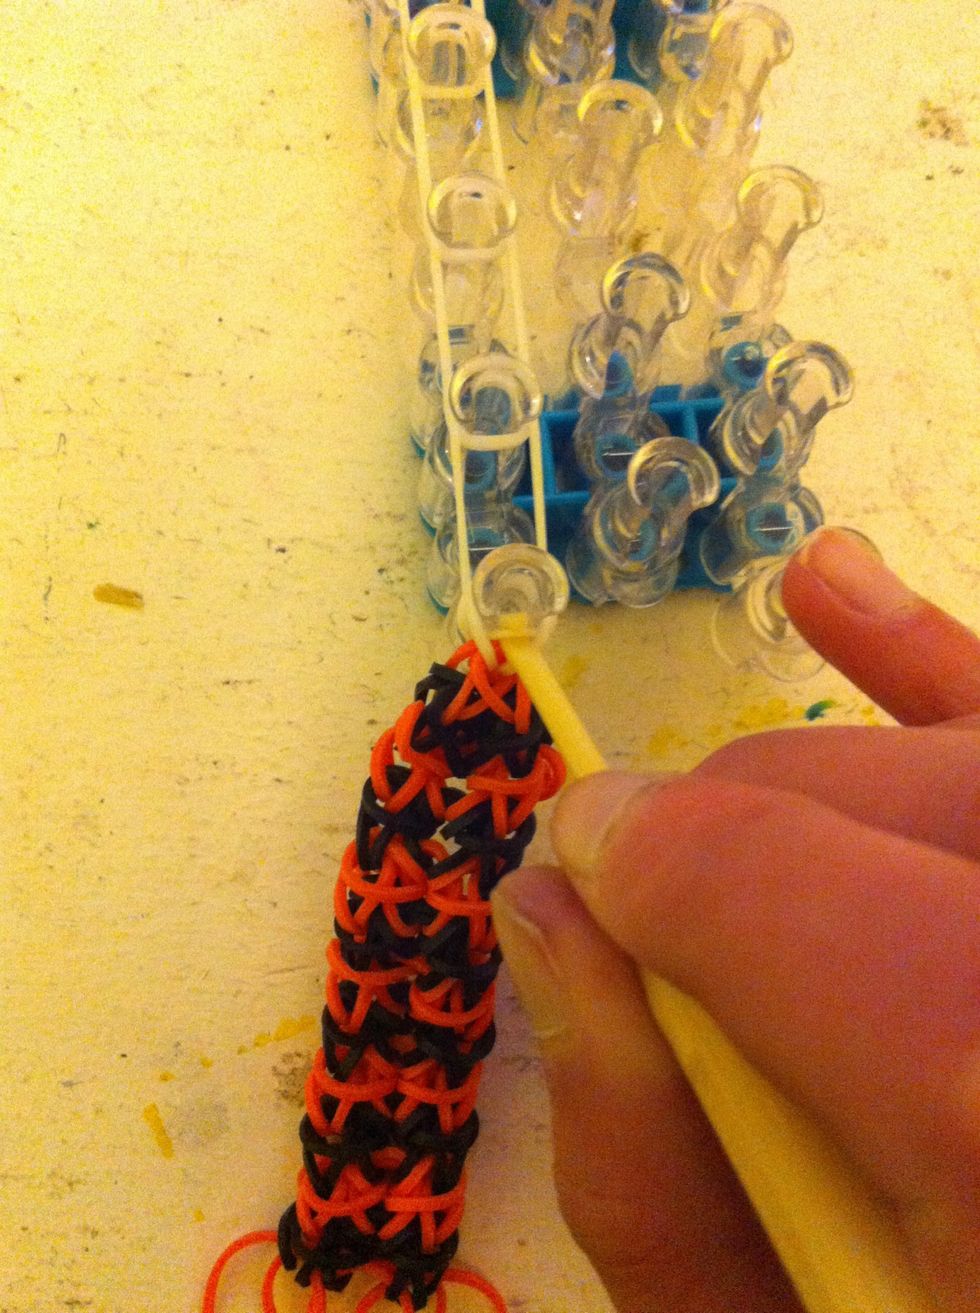
Take the white rubber band
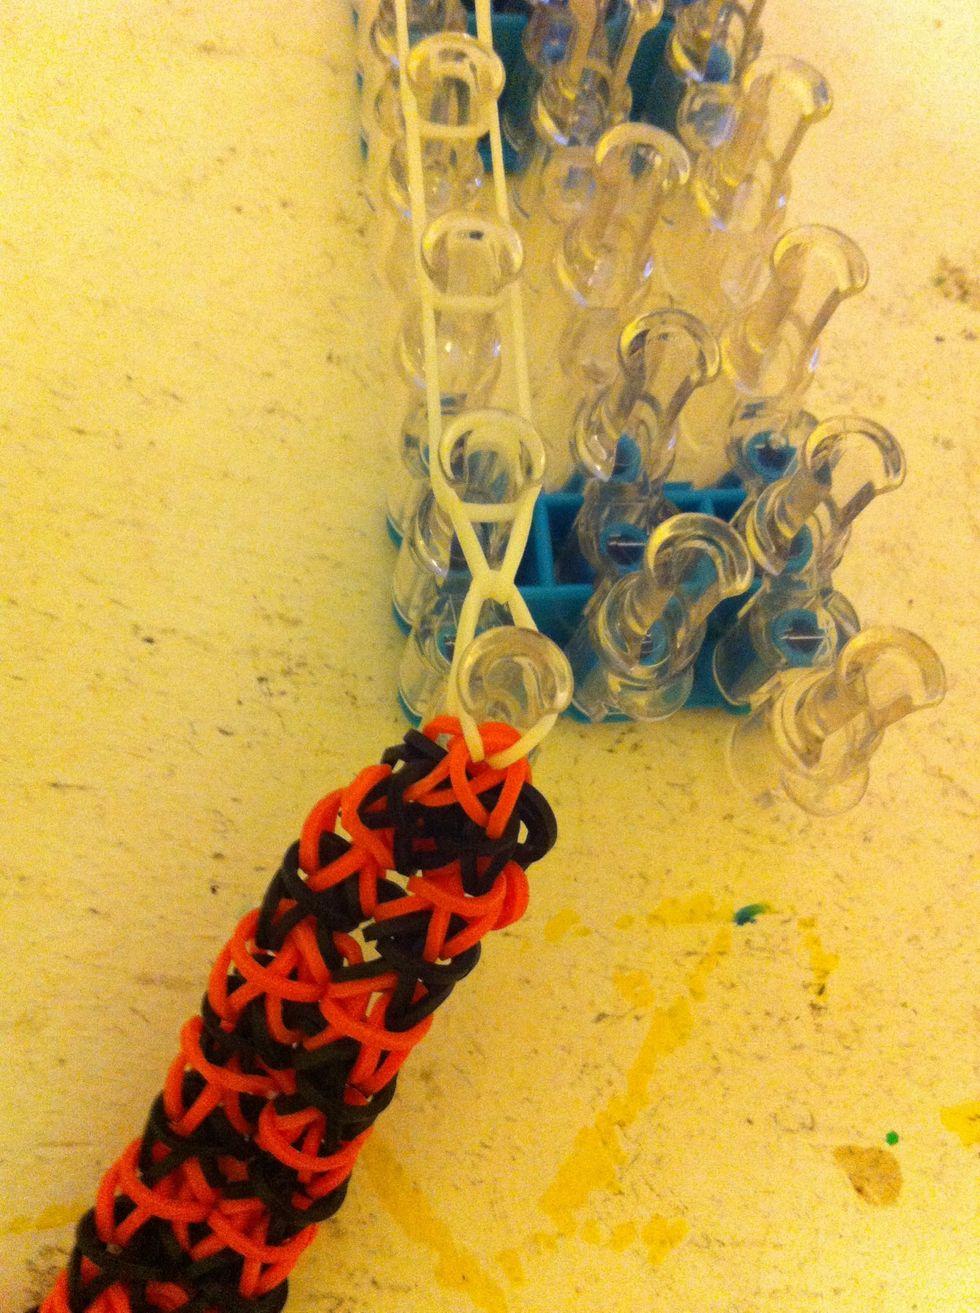
Loop it up
Do this all the way up
Attach a c-clip to the end
Remove the extension
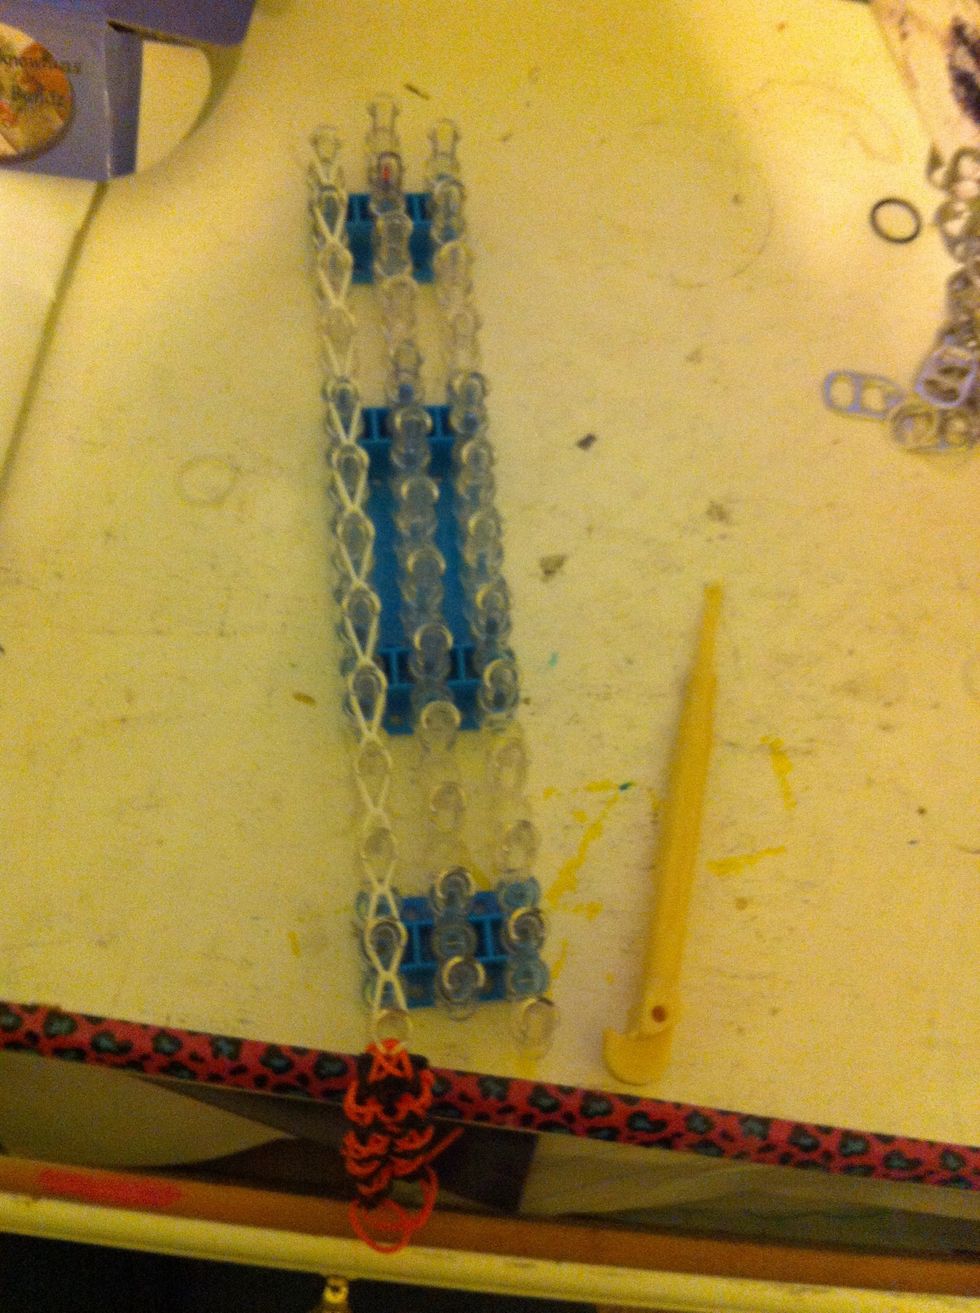
Here's the bracelet, but it's not fully assembled
I lined up the extra orange bands and slid a white band through them so it looked neater

Attach with the other end
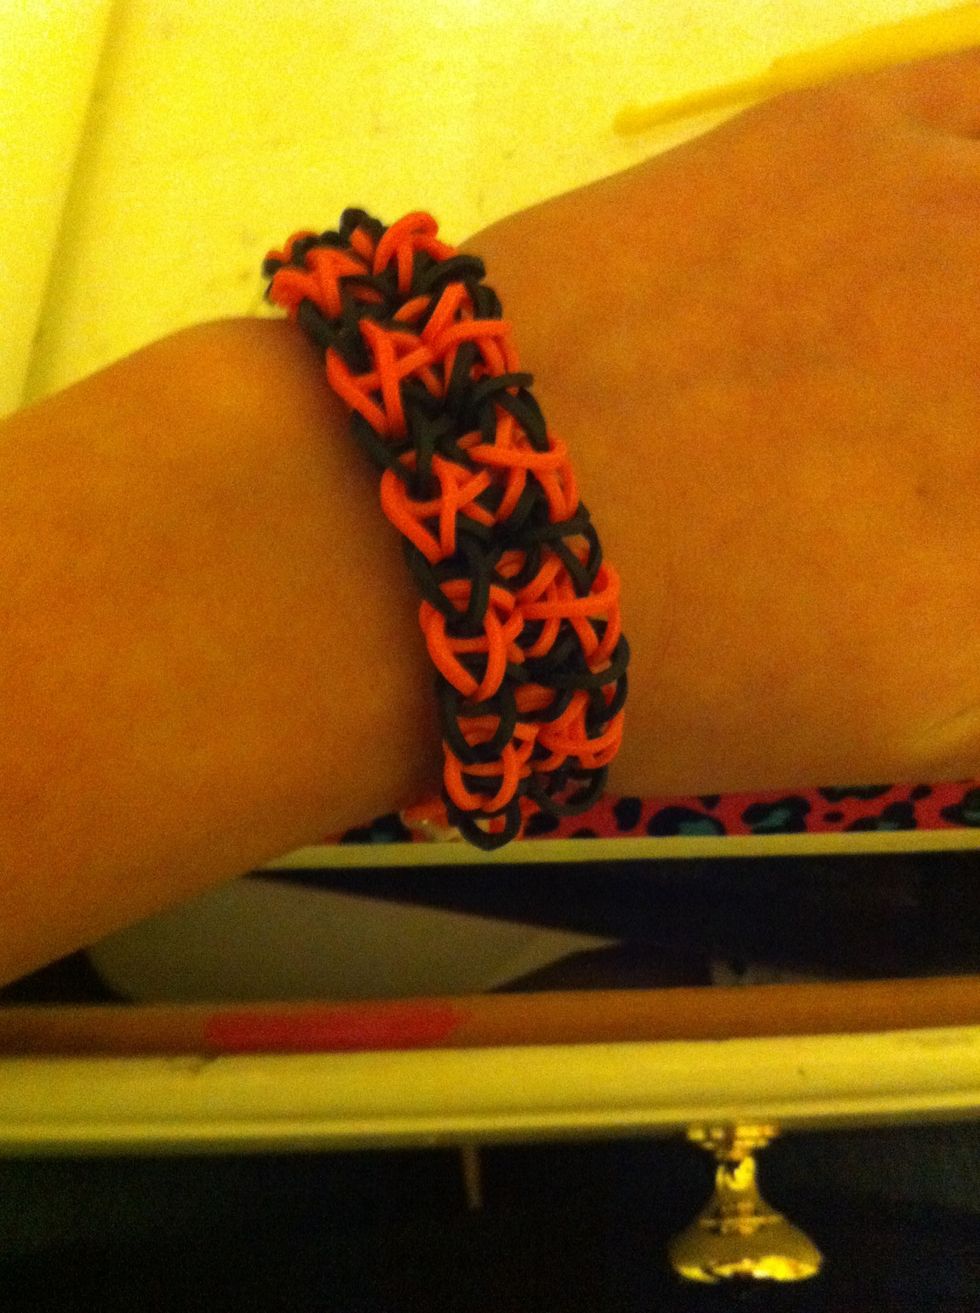
Wala! All done!
All done! You can try different colors, or just stay with a solid color. Don't forget to follow and like, please!;) Have an amazing day!