The Conversation (0)
Sign Up
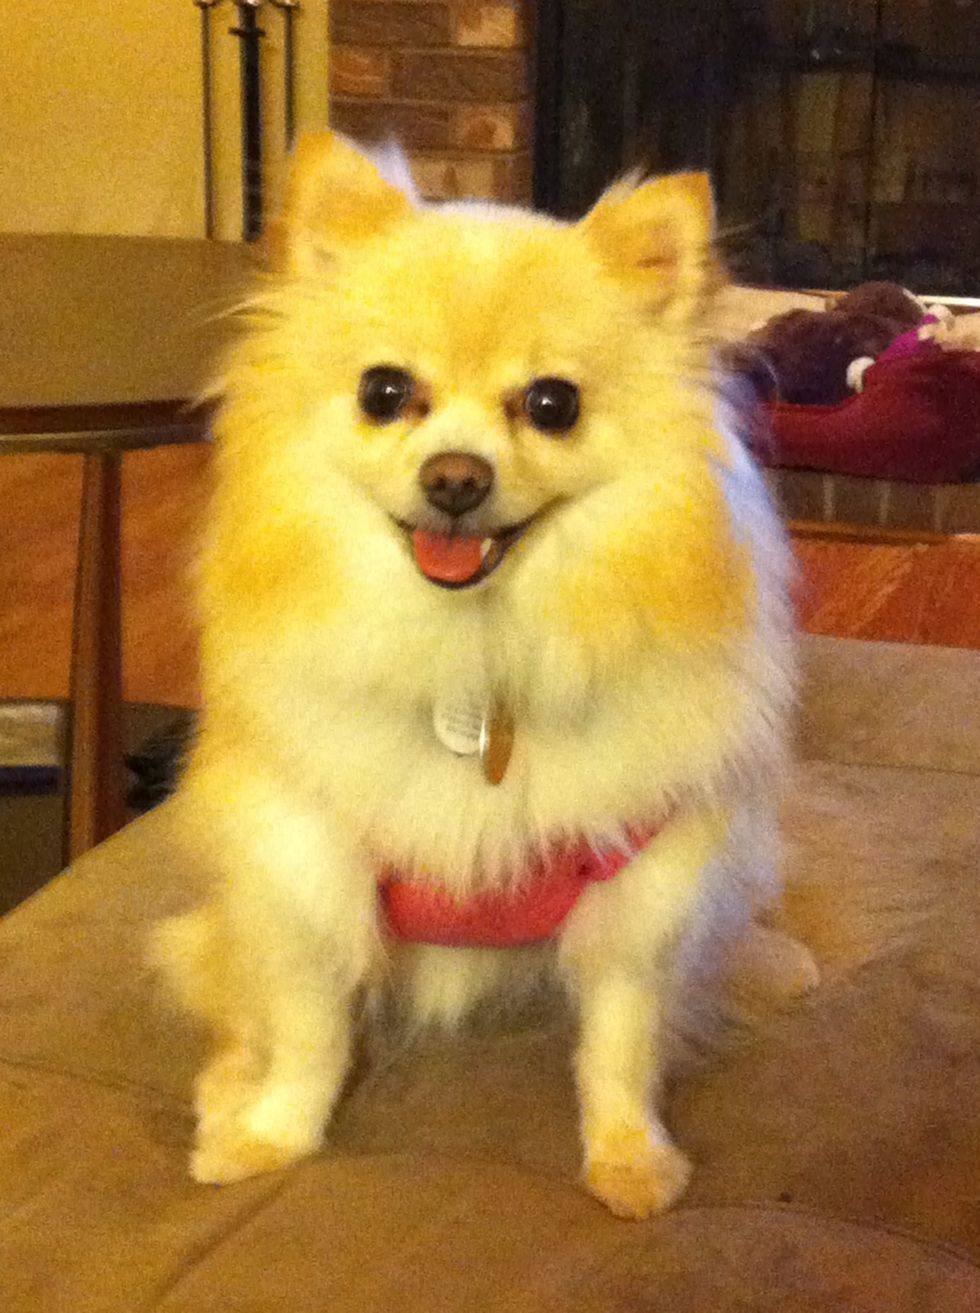
This is my baby pika aka pikachu - she says if i can do it then so can u ! If u can't then contact me :3 now get ready arf !
Joanne's fabric near fall = sales ! This sweater 40% off & fleeces were 50% off per yard. 50% off threads :3 woo ! lets start - lay ur sweater flat & measure :3
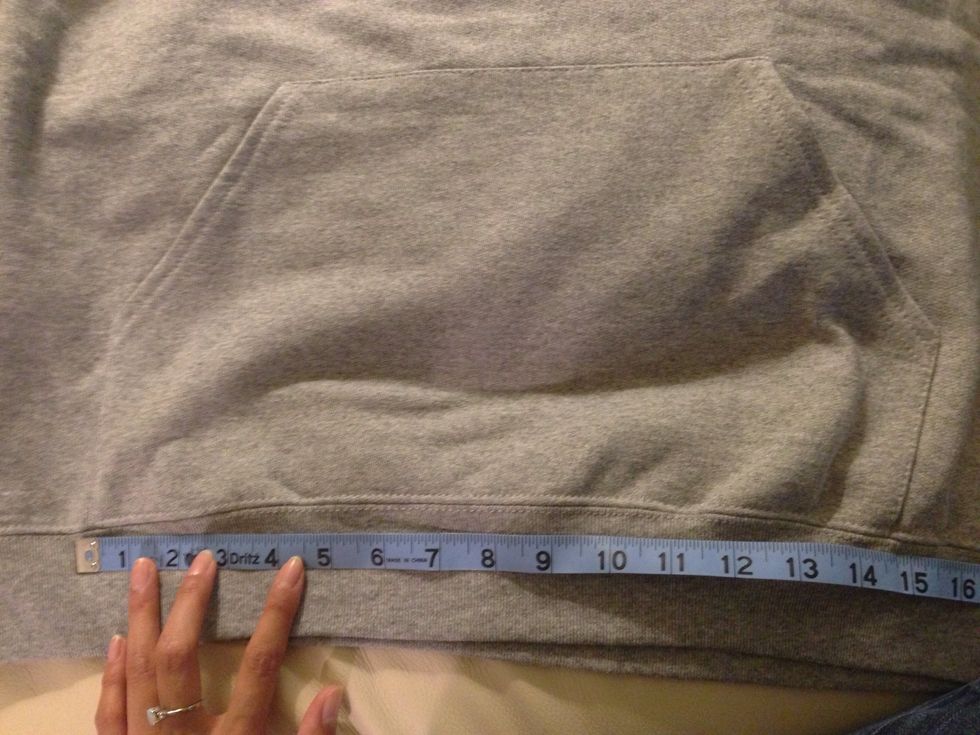
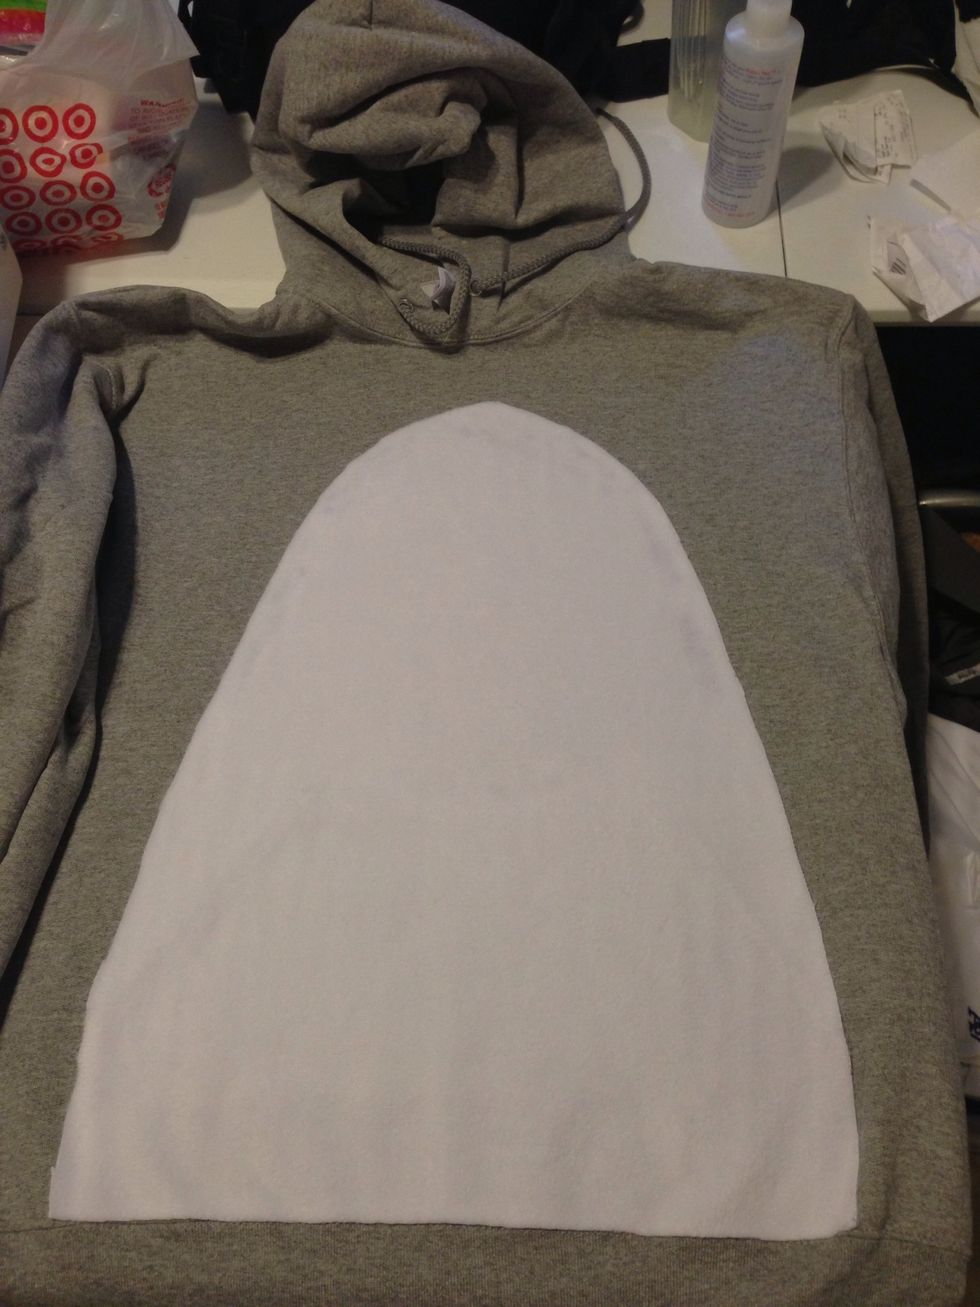
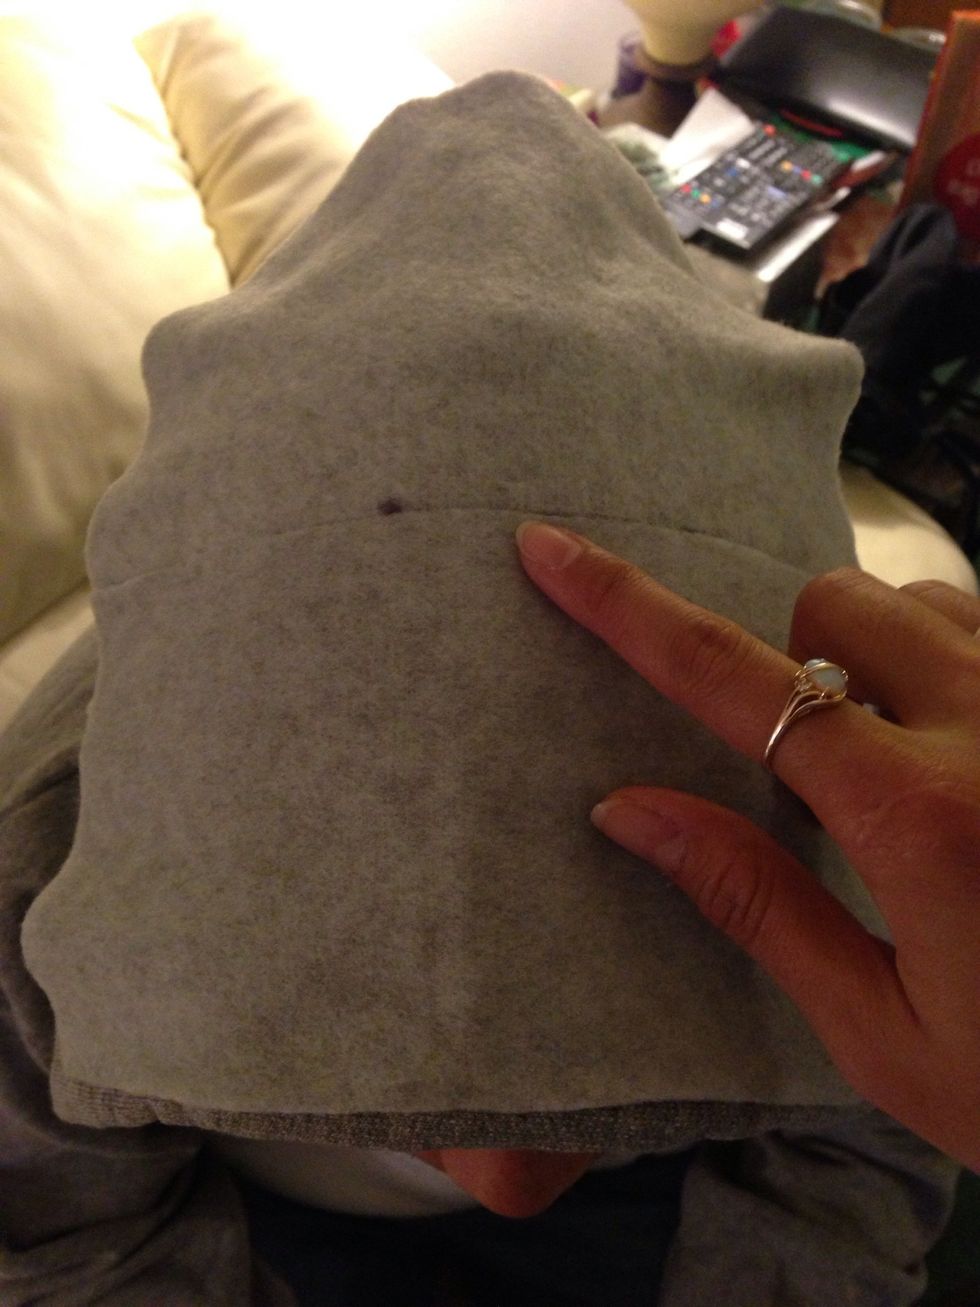
I want to make a white belly - measure the pocket length to see how big the belly will be. pocket is : 12in - i still want to be able to access the pocket :3
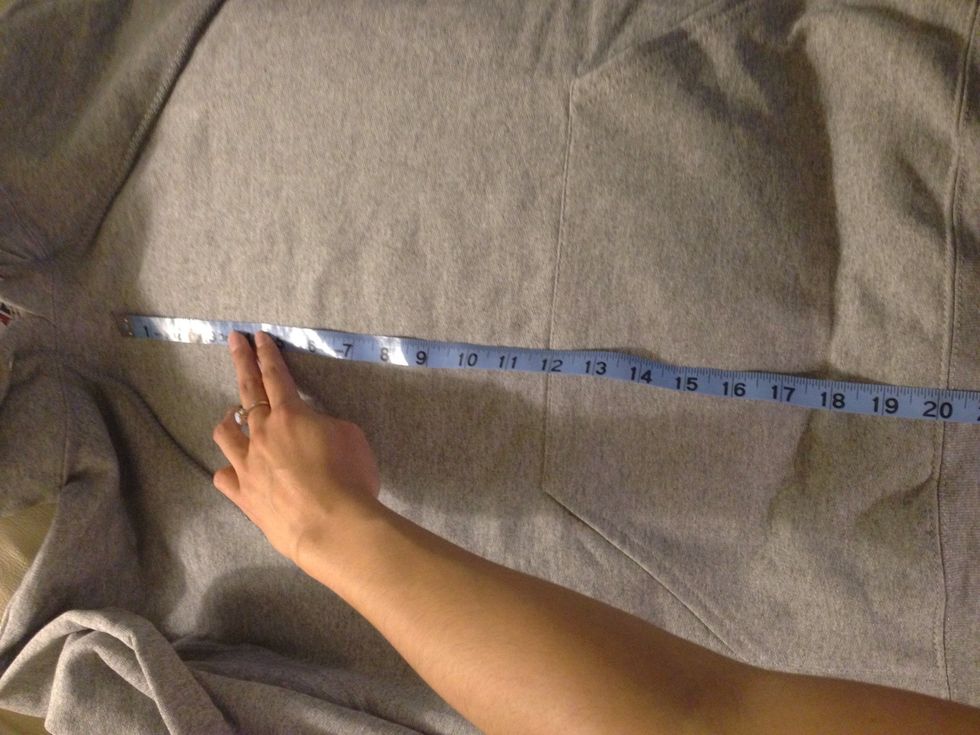
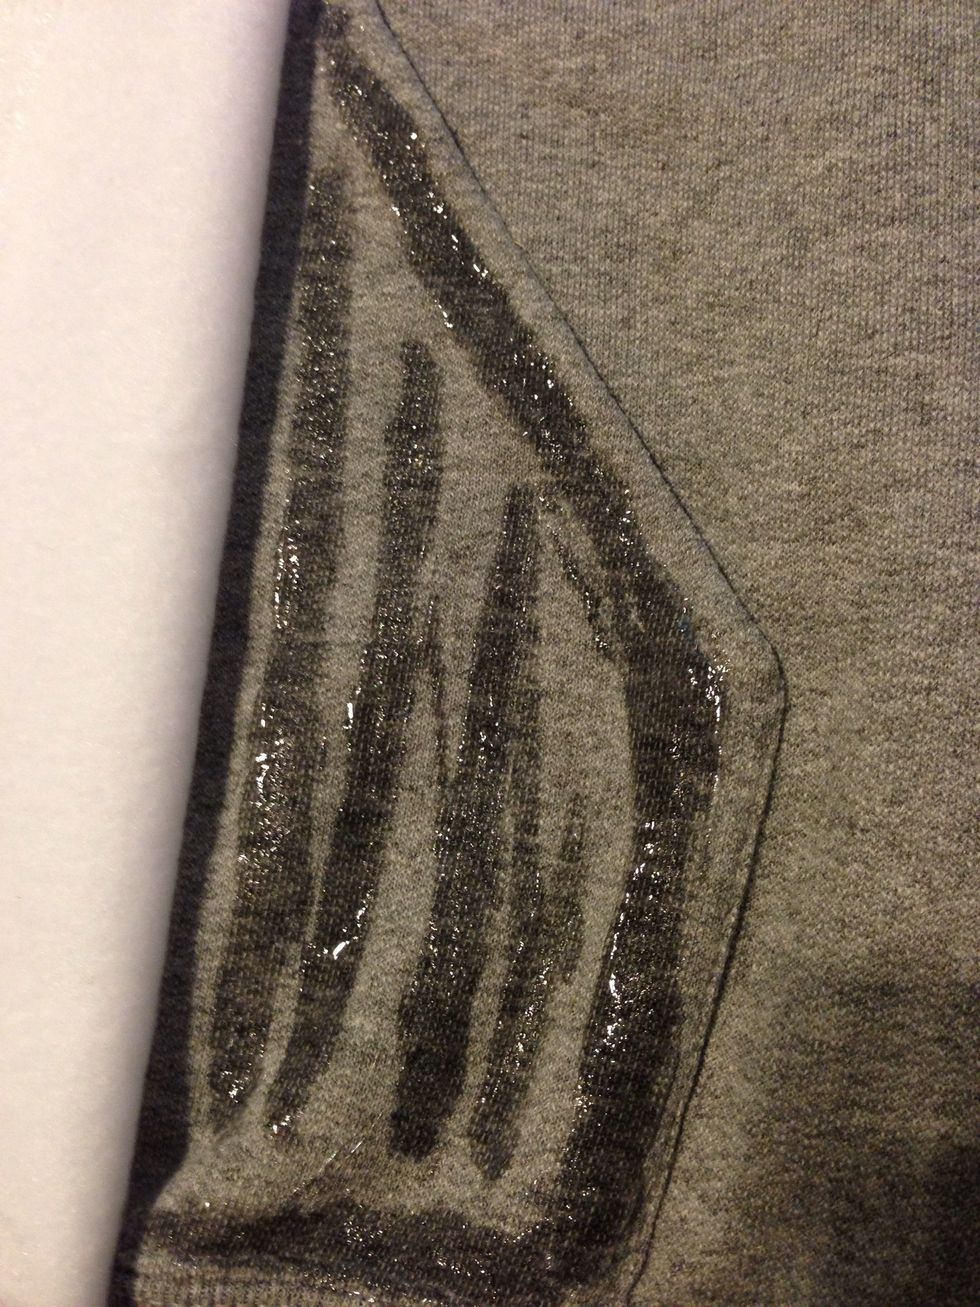
Now measure up and down : 20in from middle - top to bottom of front pocket why:? Because we are going to cover this with a cute curvy white belly
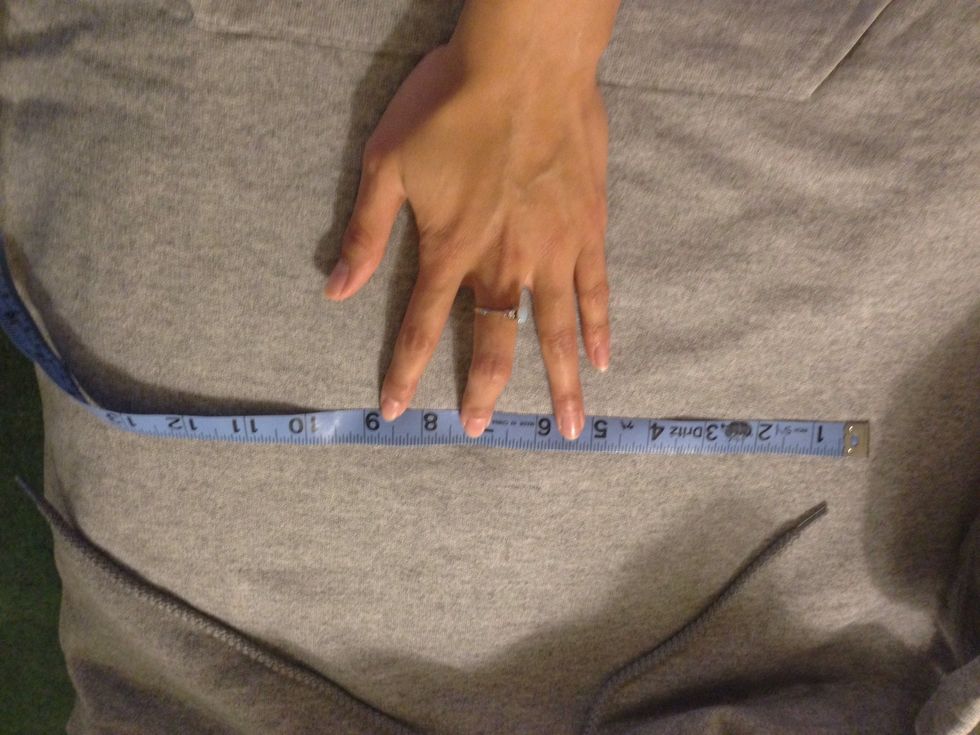
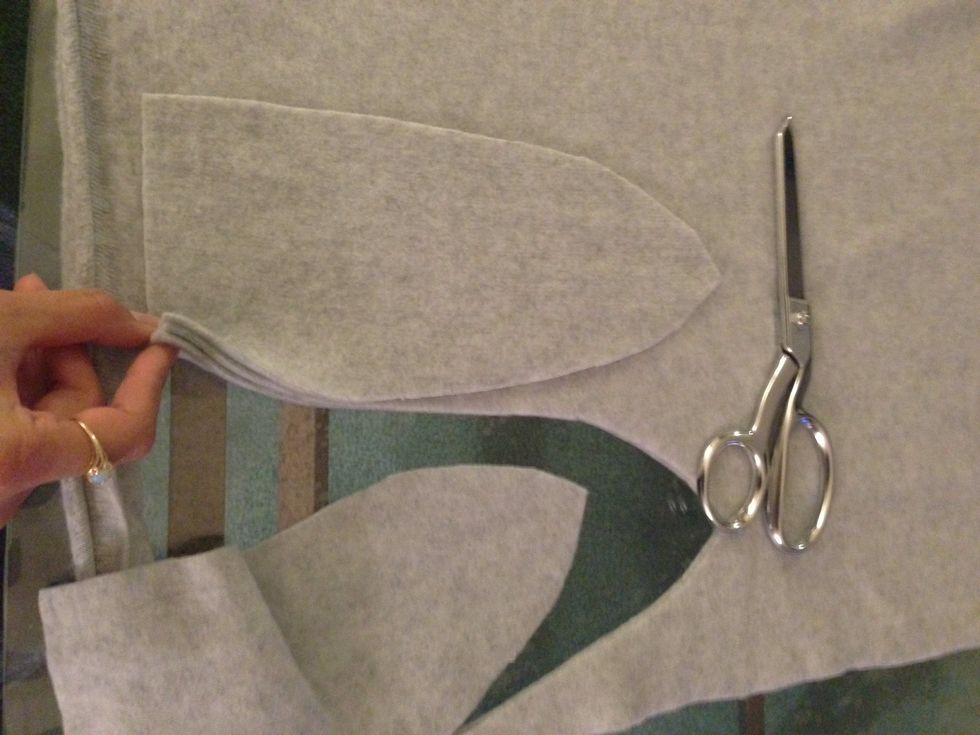
I then measured the middle doing it by eye to see how far I need to curve top to bottom creating the sides 7 1/2 will be my center point.
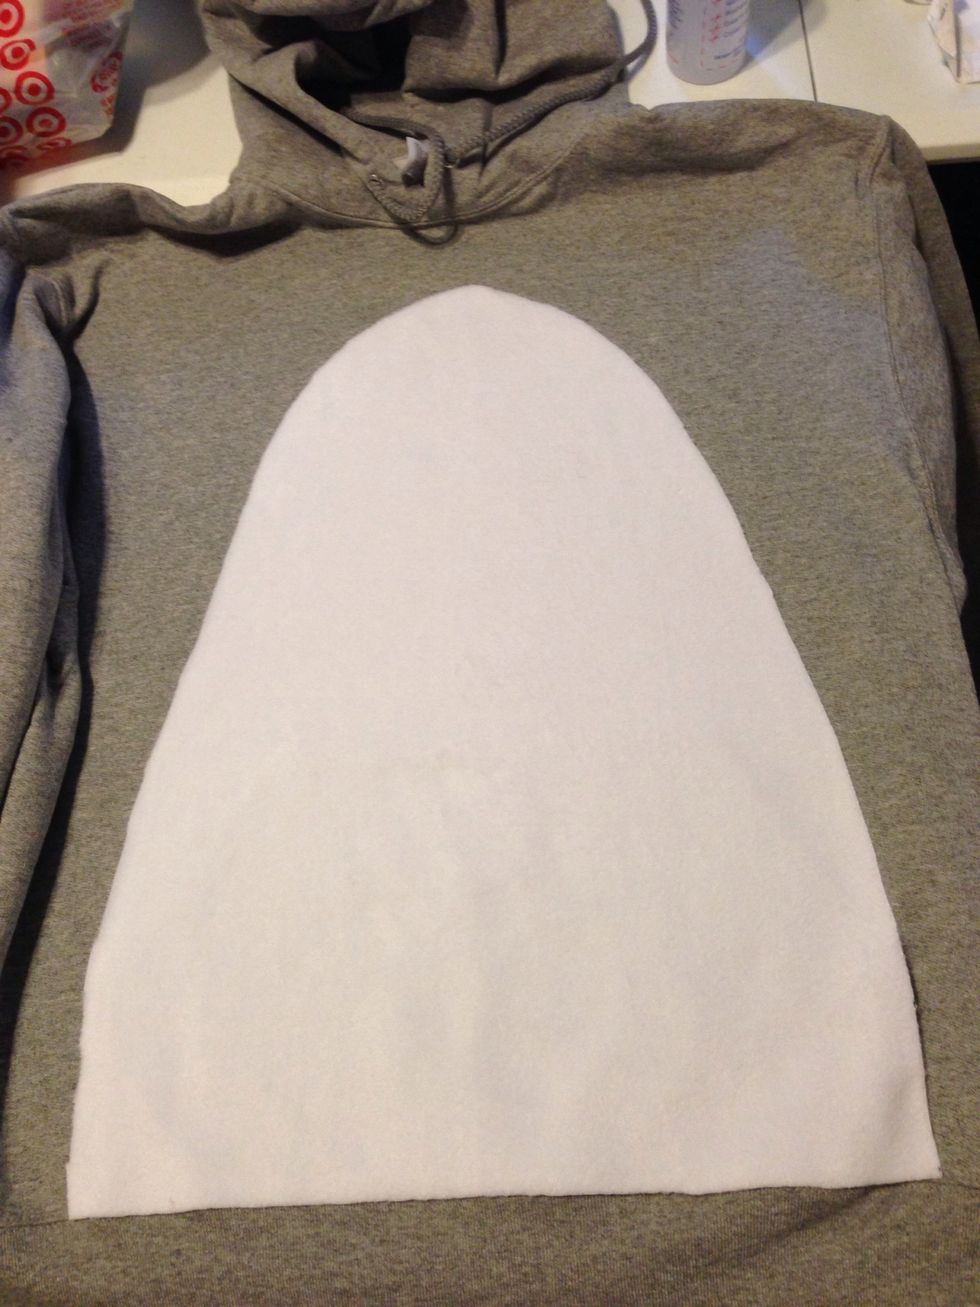
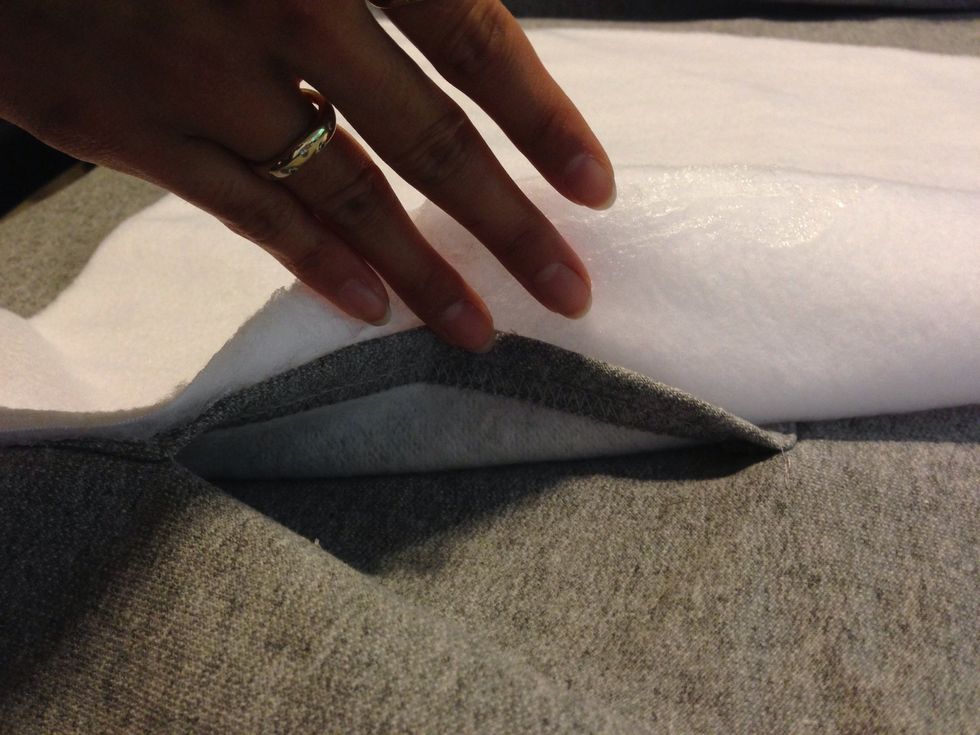
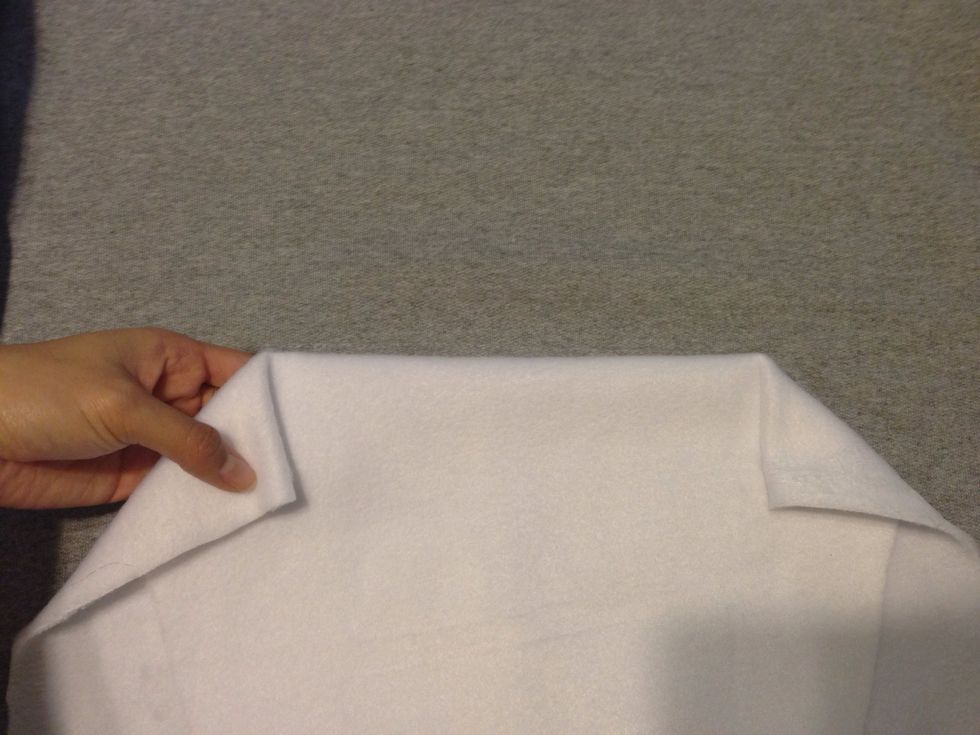
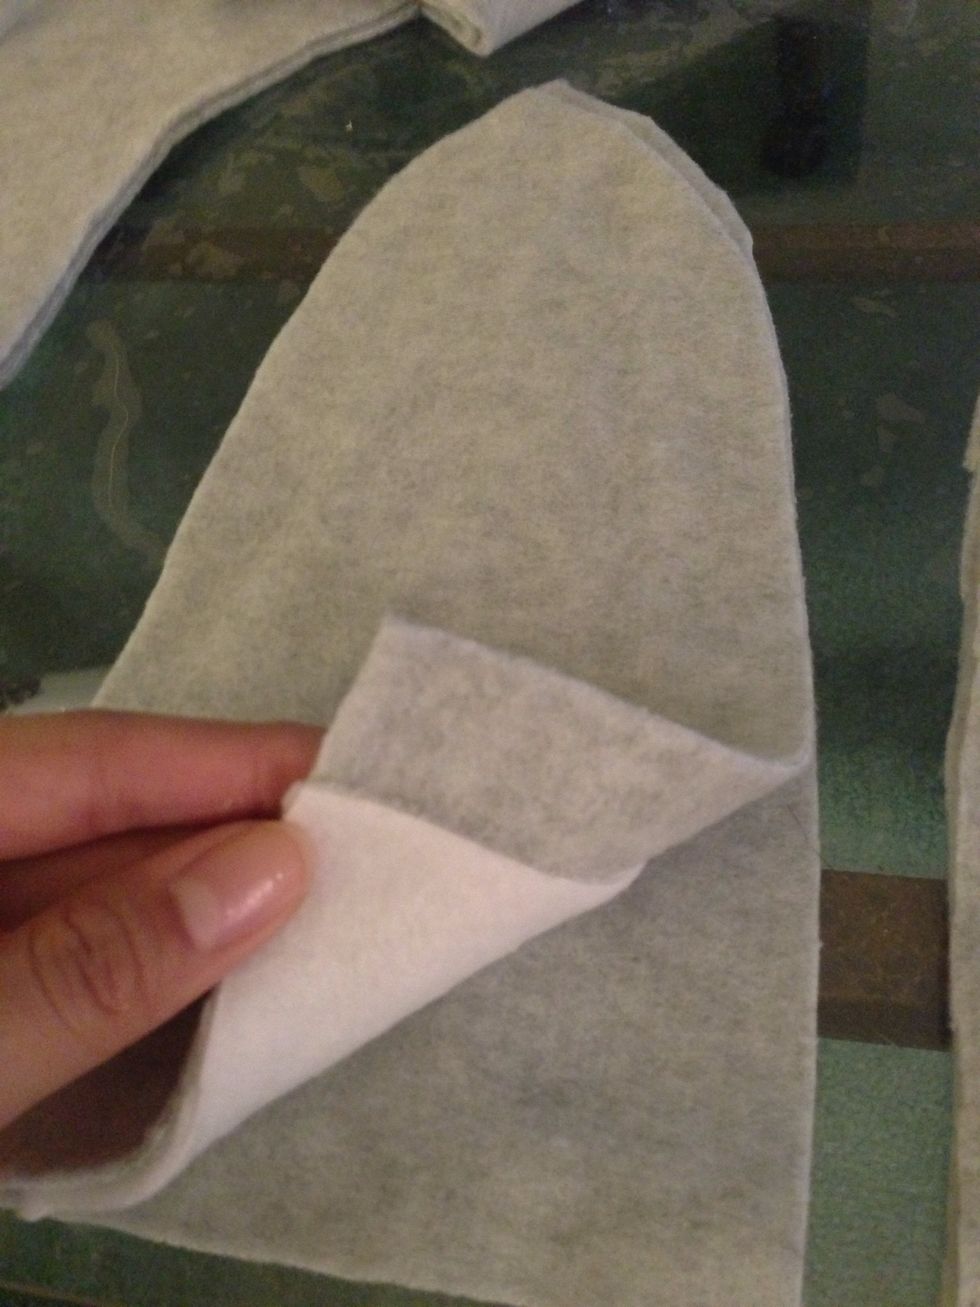
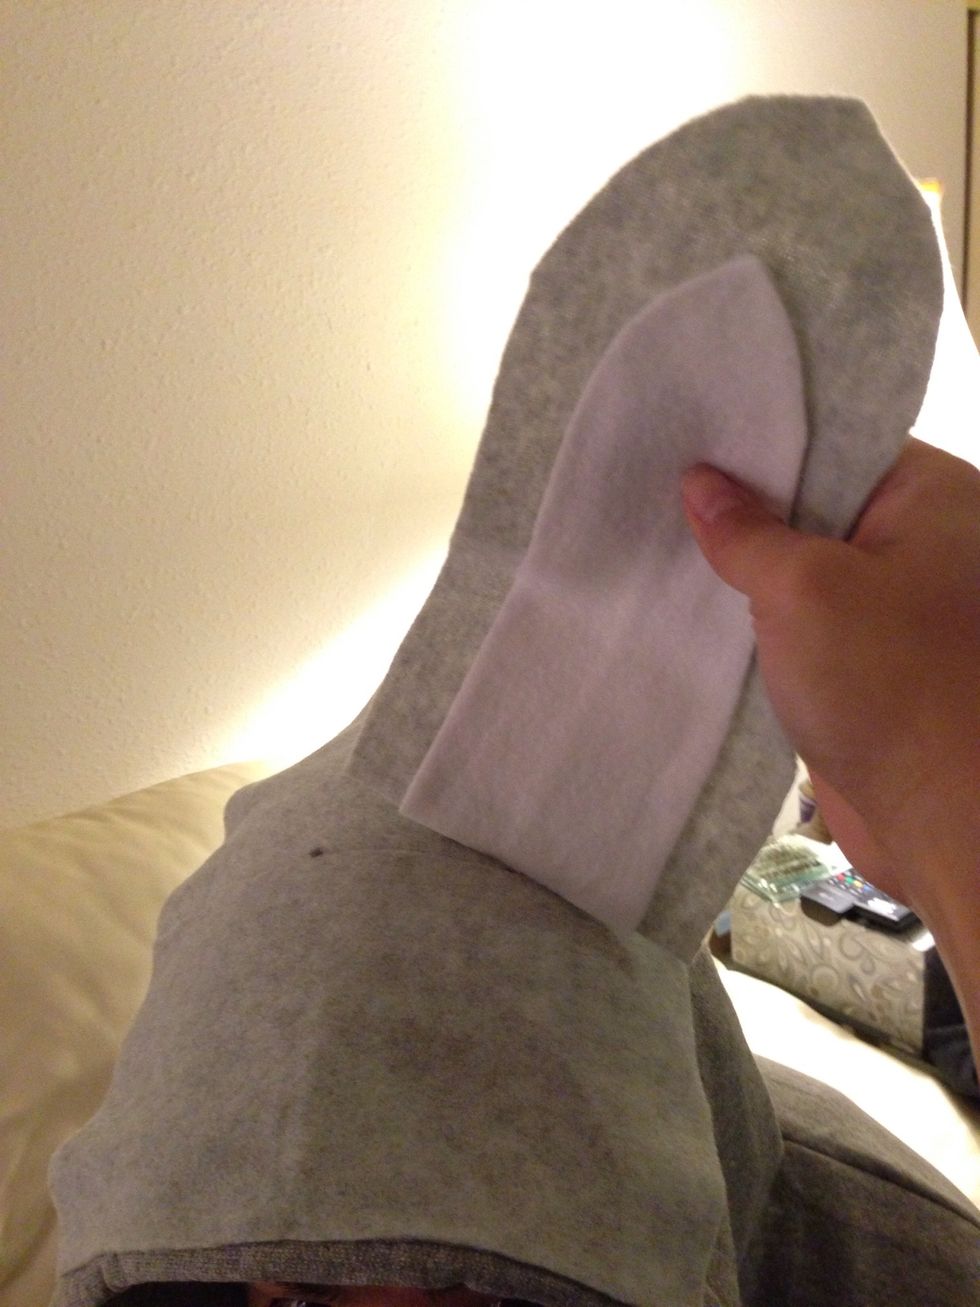
Cut out ur white fleece & it should look like this :3 the bottom aligns with pocket seam. This will be like a ruler to keep the bottom straight. Have the top point in the middle of the neck
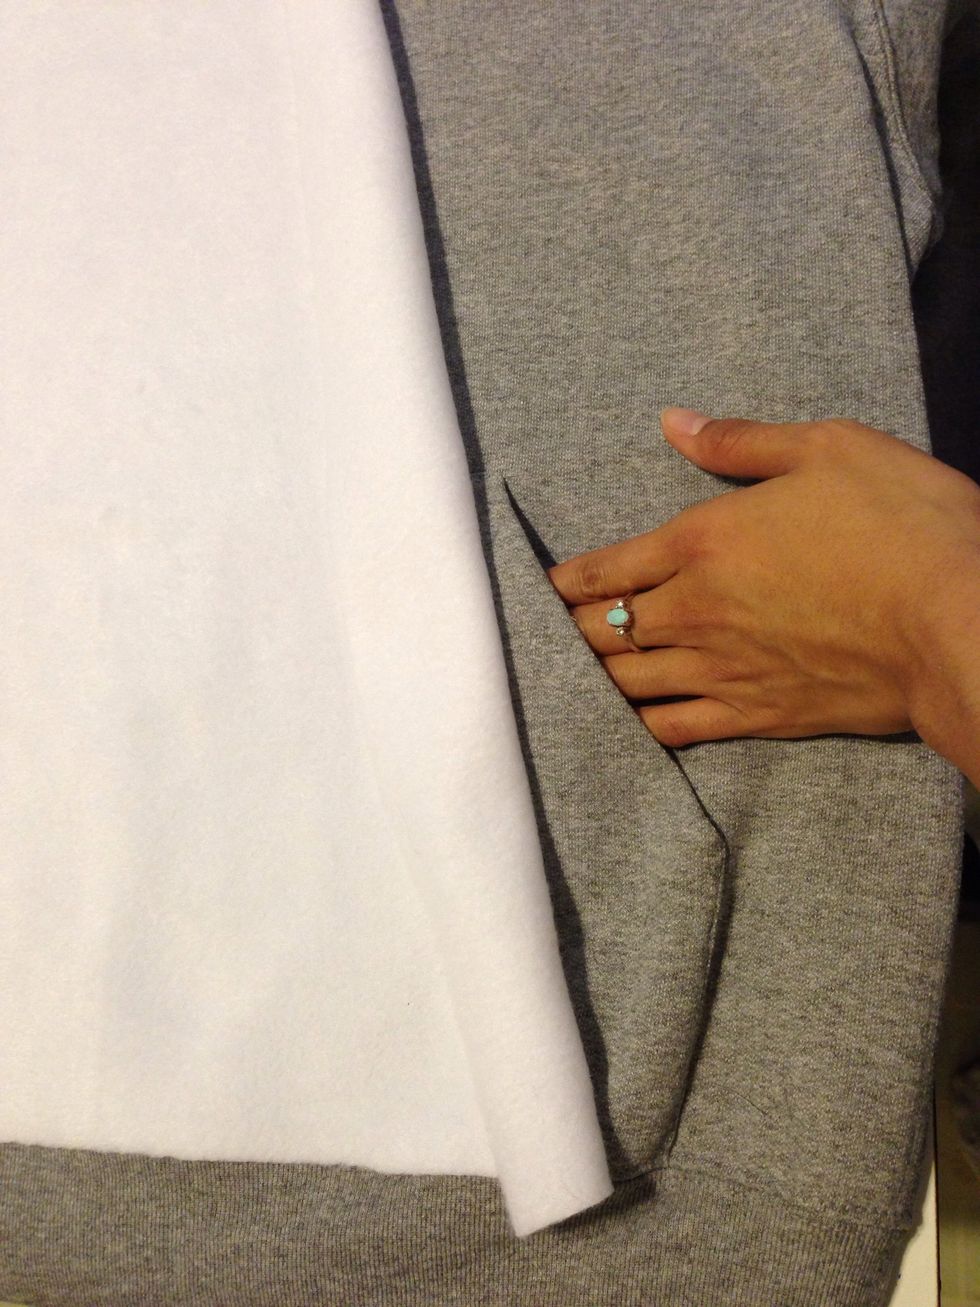
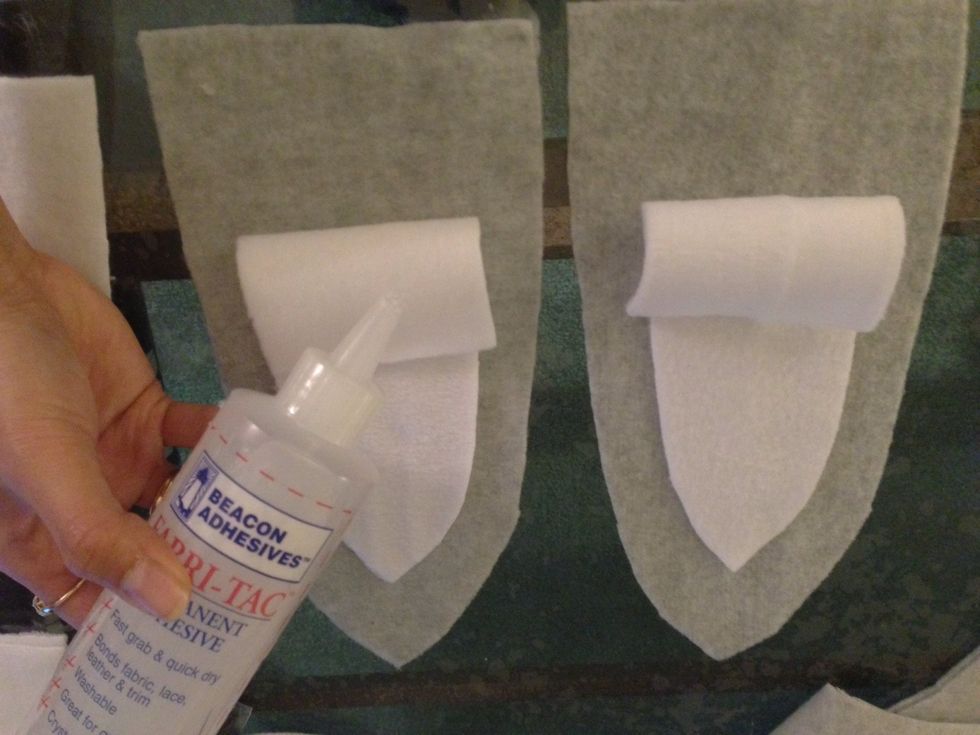
This is where we need to access the pocket. We will take the glue and skip this area when gluing the white down onto the donkey belly.
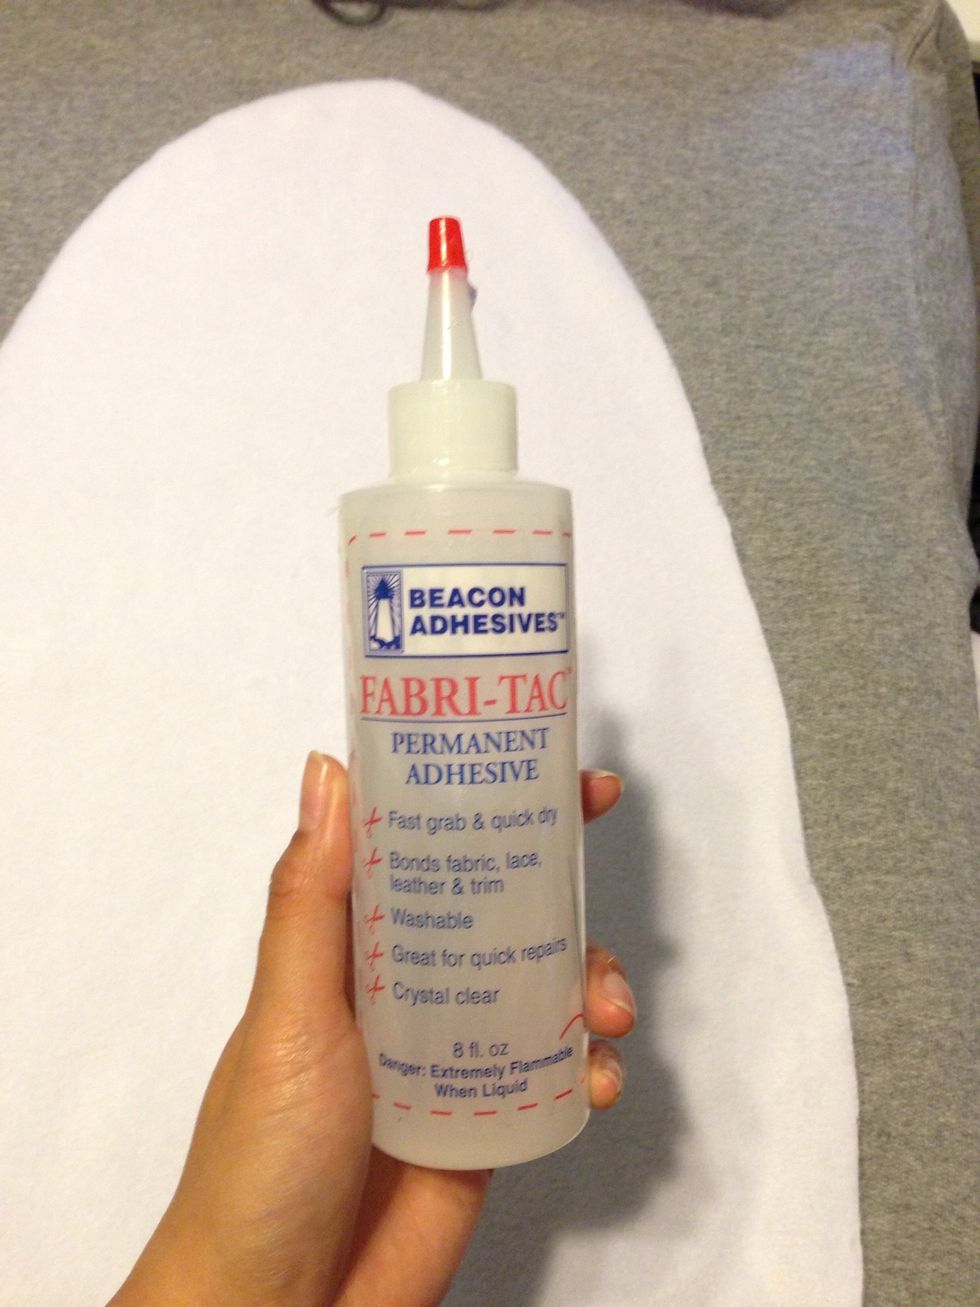
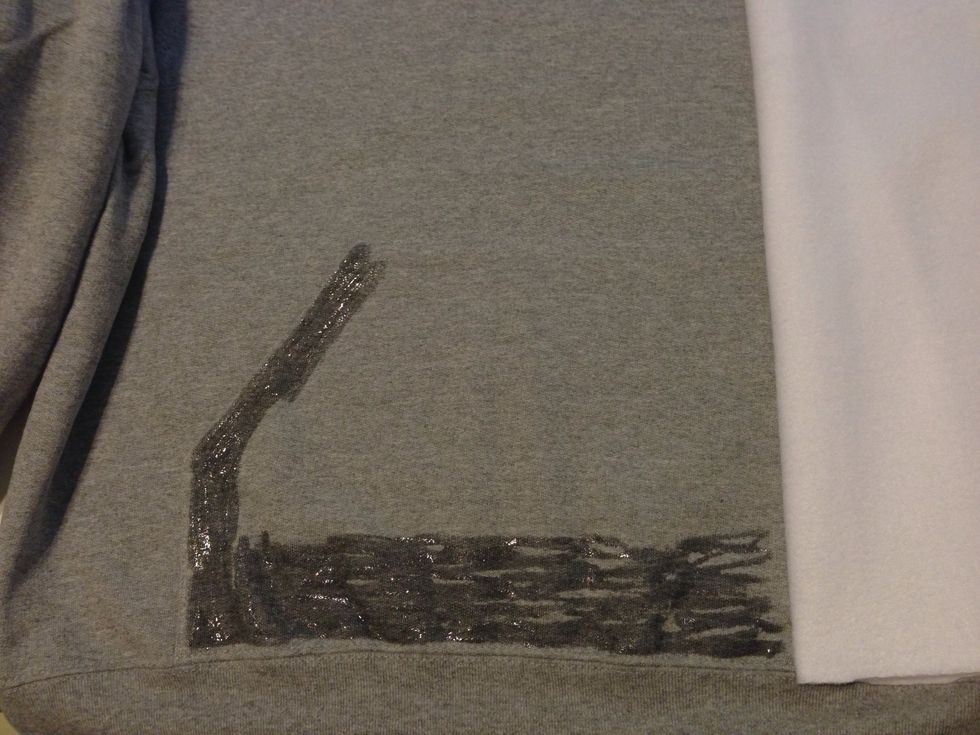
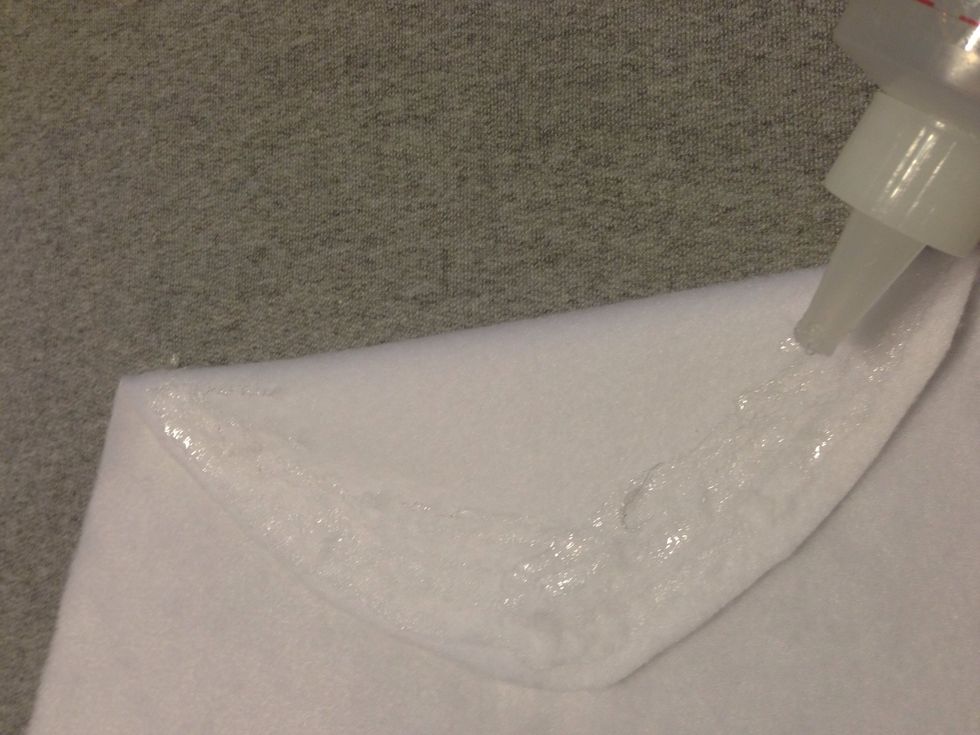
Glue time ! This stuff is magical. Go ahead & start gluing using the tip as a brush. Glide the glue with a thin layer on top of the opening of the pocket. This way u can still have access.
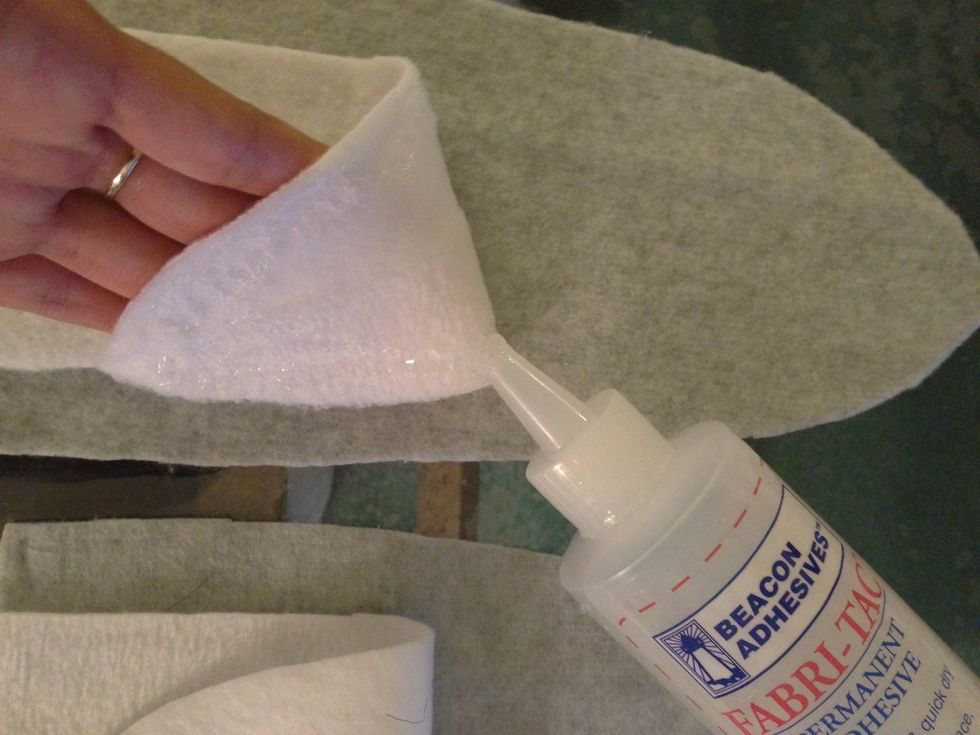
Should something like this - i start here so that after i press down i can glue everywhere else except above the pocket hole. Otherwise ur hand can't get in if u glue the whole white down kekeke :3
Tada ! Invisible belly pocket :3 now start gluing the top of the pocket to the white so it really disappears and the rest of the belly down. For the other side of the pocket do the same.
Example for the left side. Remember in my nyan cat i said to not make blobs anywhere instead smooth them out with the tip of ur glue to make layers otherwise the glue could seep through.
Here's an example after u have pressed down and it dried a little. Anywhere else u think needs to be glued down go for it :3
Here's an example of the top part of the pocket with the white fleece glued down. I stuck my hands in so u can see where to not apply glue. Now glue going up to the top. Thin layers along the edges.
Thin layer
Press down
Almost done
Ding! Donkey belly finished! Let it dry and press down if needed or glue down anywhere you think needs to be. Now onto prepping the donkey ears.
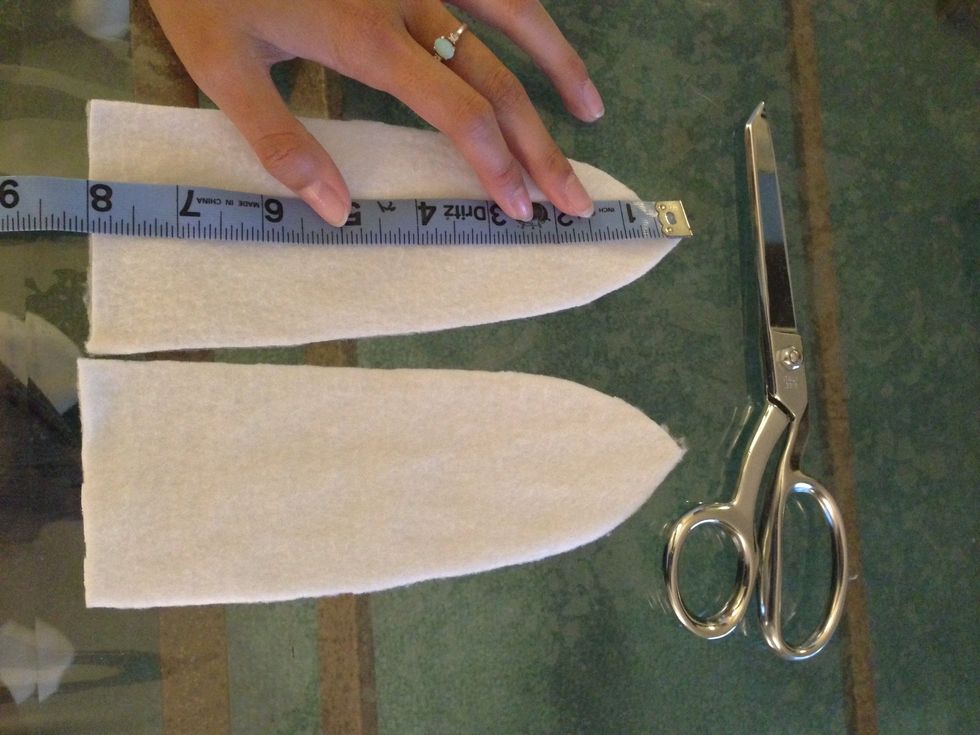
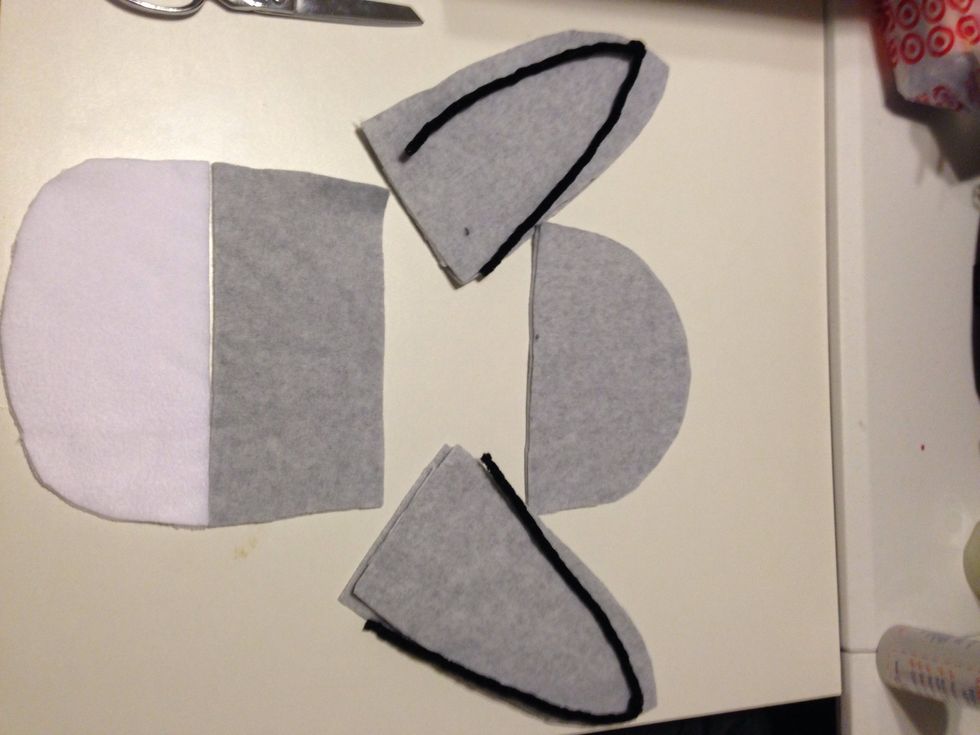
Take the white fleece and fold it <--- this way u can save time and cut two pieces instead of one each. I measured 7 in top to bottom and with just an eye, created my own curve.
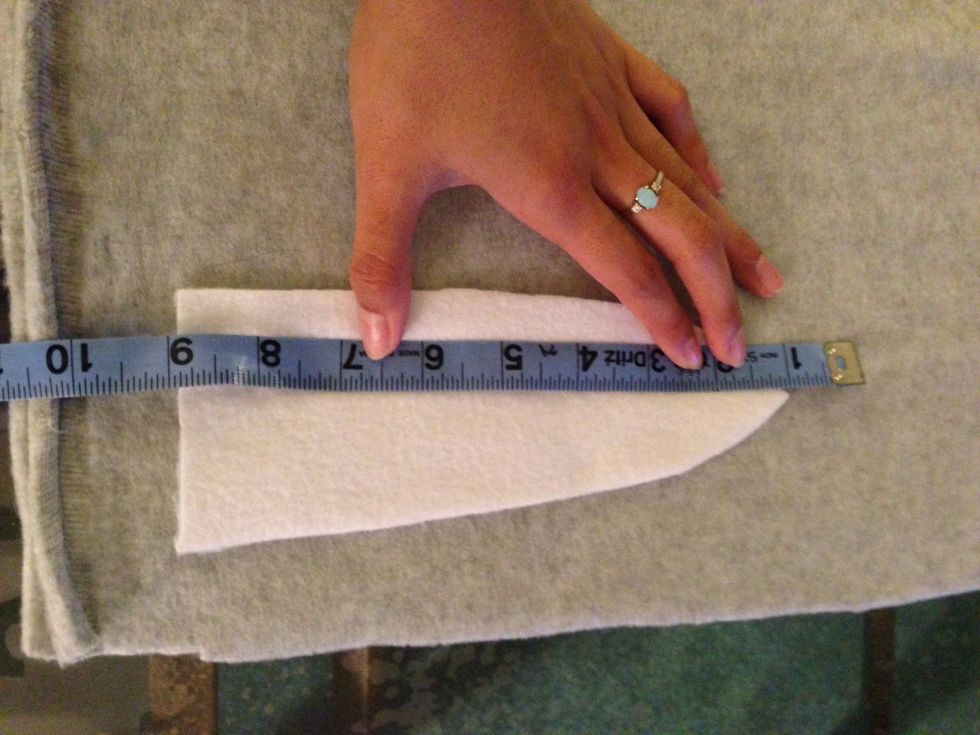
Now take ur donkey inside ear and place it on top of the outside donkey grey fleece. I used the white as a pattern. Measure 1 in away all around the white. That's where we'll cut the outside pieces.
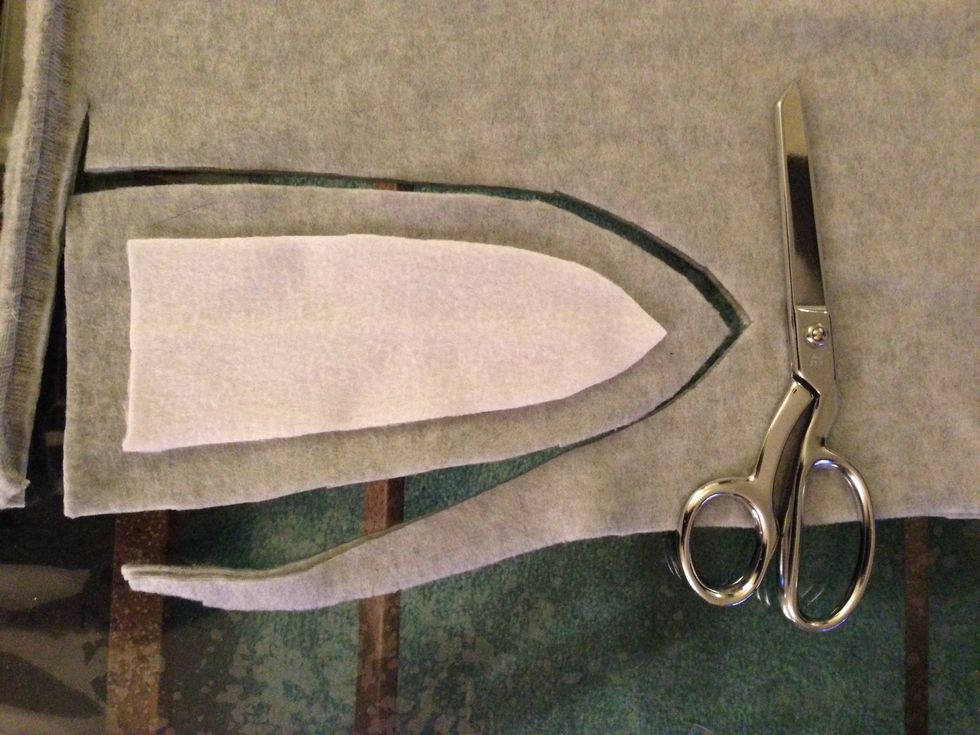
Here's an example of how I do my patterns and cut outs. U can see when u get ur fabric, its already folded making a 2 ply (piece) when u cut.
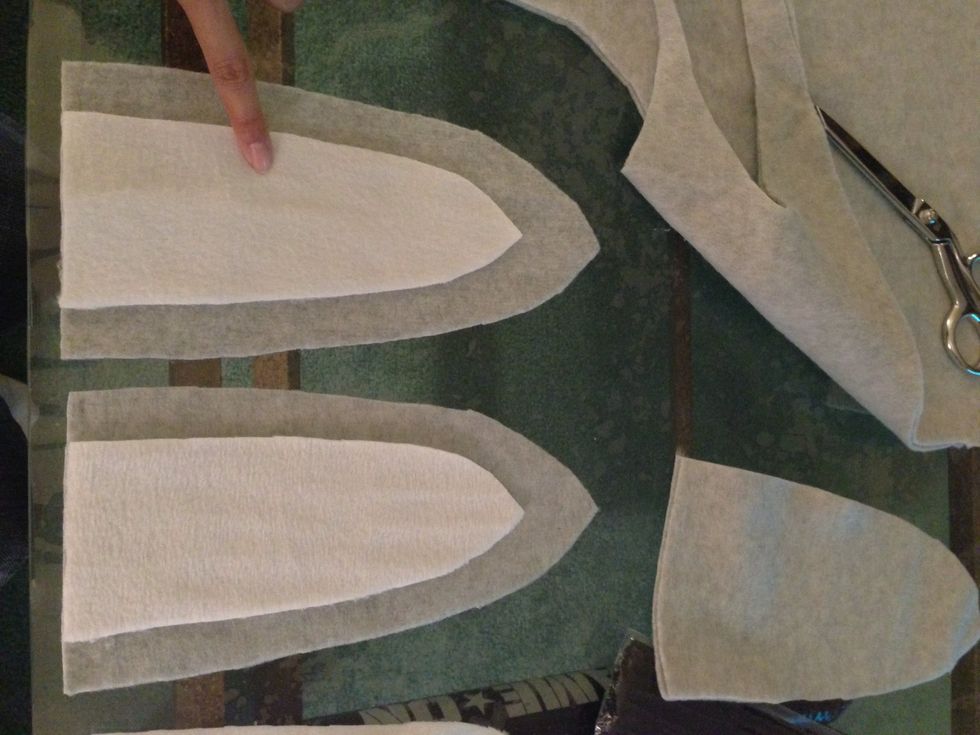
We are going to make a total of 4 outside pieces for the ears
Take two pieces of the outside and place the white inside on top. We are going to glue the white onto this making this our "top" of the ear.
Hello glue we meet again. Muahahaha. O ya - glue the white onto the grey :)
Another view going to the top member to not make blobs or it will seep through - thin layers along the edges
When it is dry (like 5 mins) flip the top of the ear and place it on the top of the grey back ear piece like so / do the same for the other ear
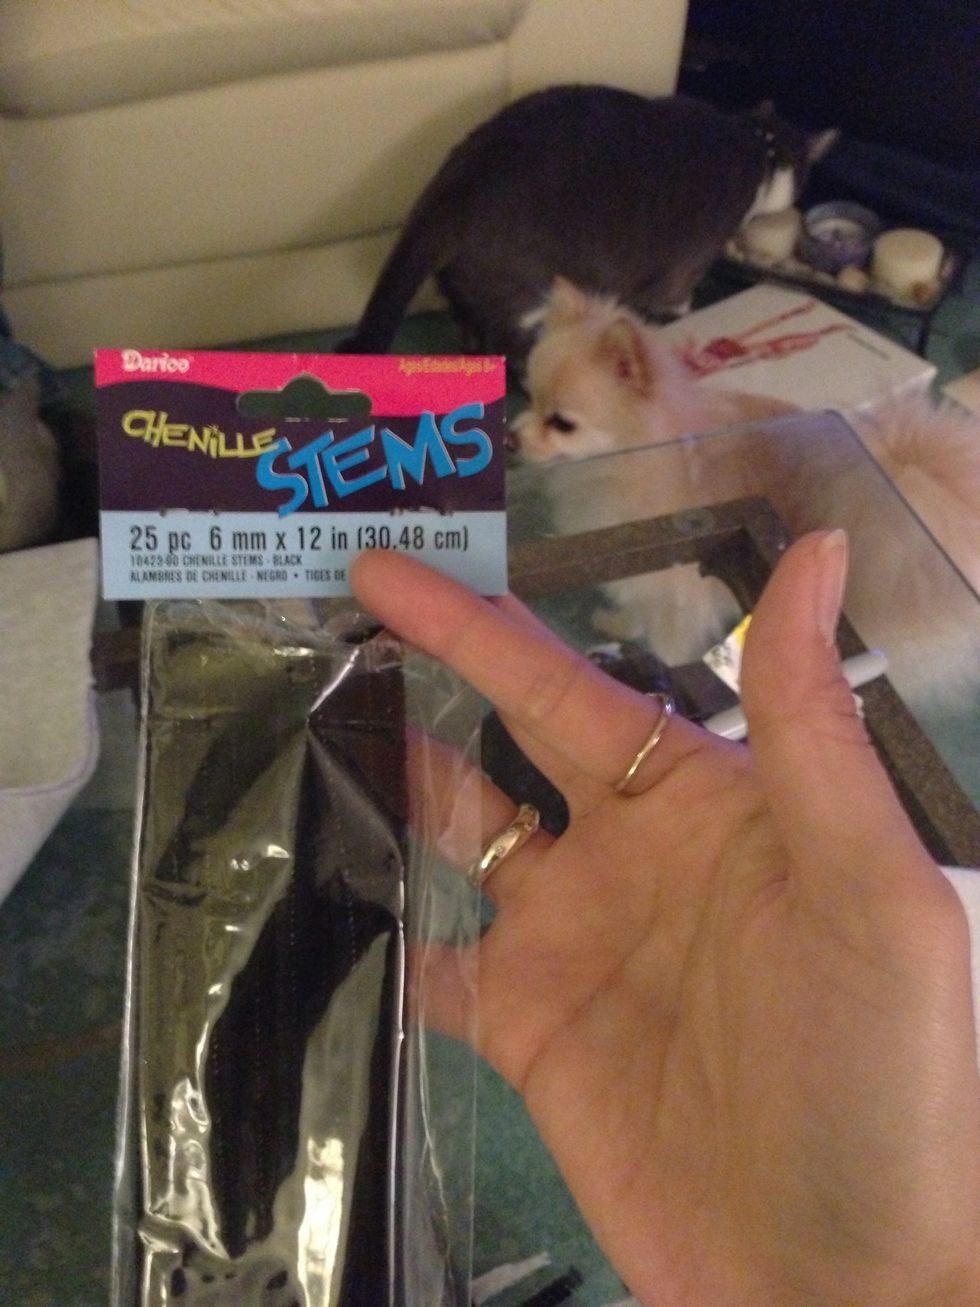
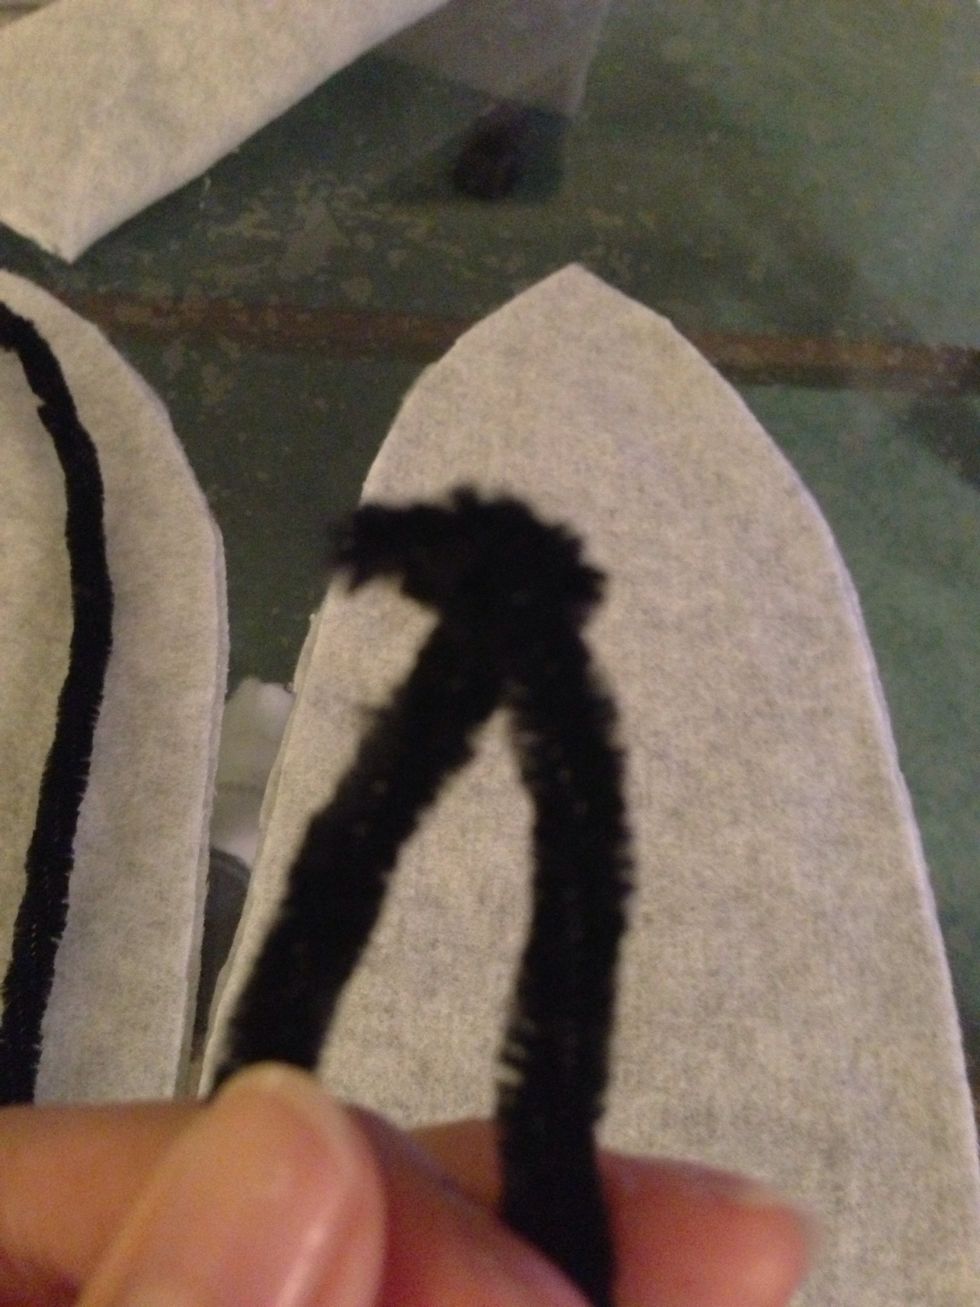
Time for the stems. This was only 99 cents for a pack woo ! i want the ears to be able to mold & move or even stand up. This will help hold the ears in place. O u can see the kiddos in the back hehe
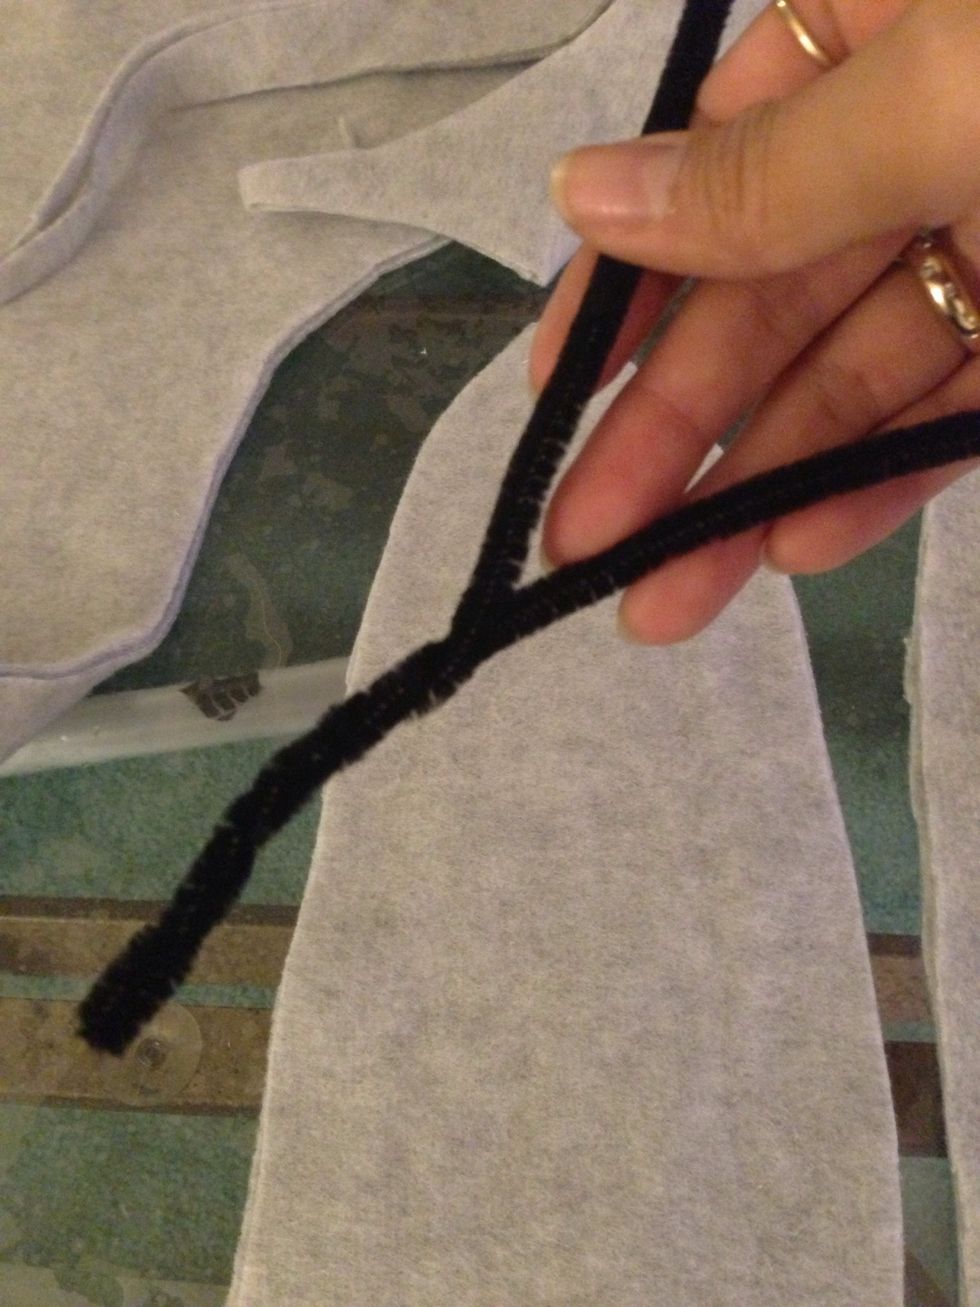
Take 8 stems out and I didnt feel like one alone was tough enough so im taking two and twisting them together like so
U can see the thickness compared to a one stem :3 this should do the trick. Do this to the rest of them
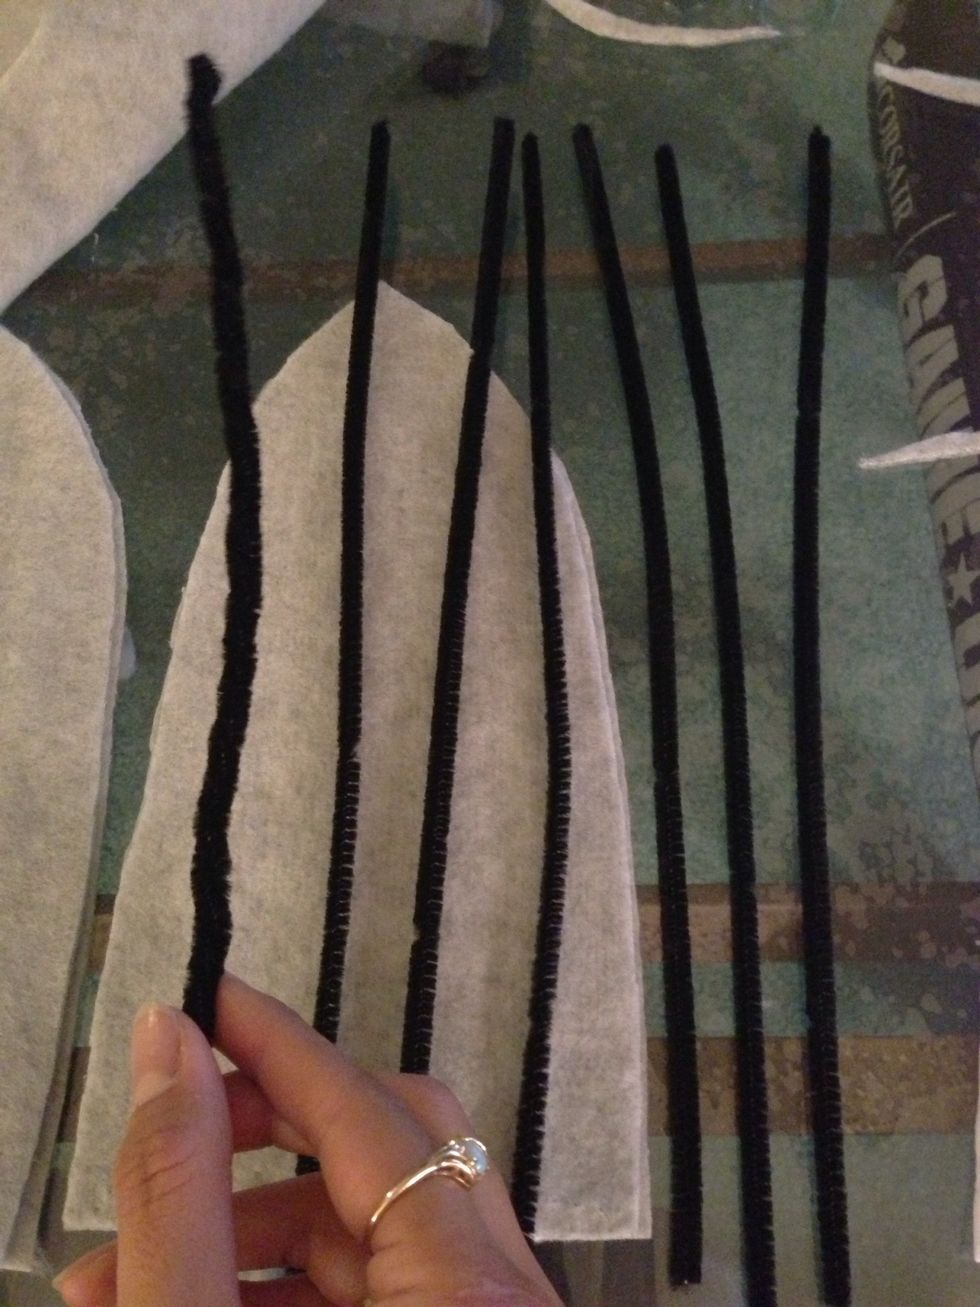
After u have ur twisting done, we have to connect two together and another two together. Like so. Think of this like the ear bone oooo
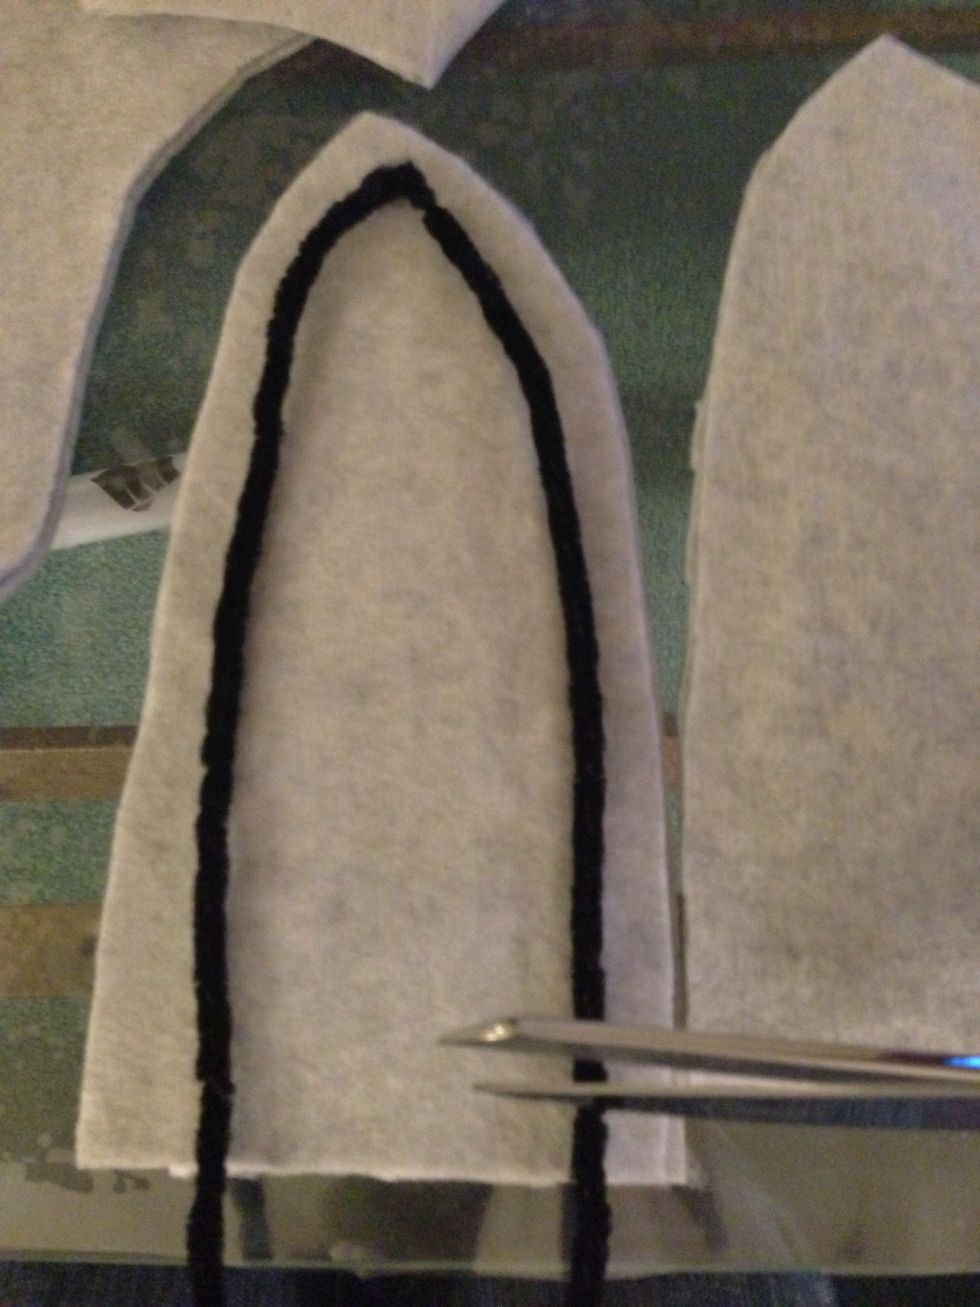
It's a bit too long so i went ahead and cut some off the bottom. We need to be able to see the ears later. After u made ur bones for each ear and cut them have someone put on the hoodie.
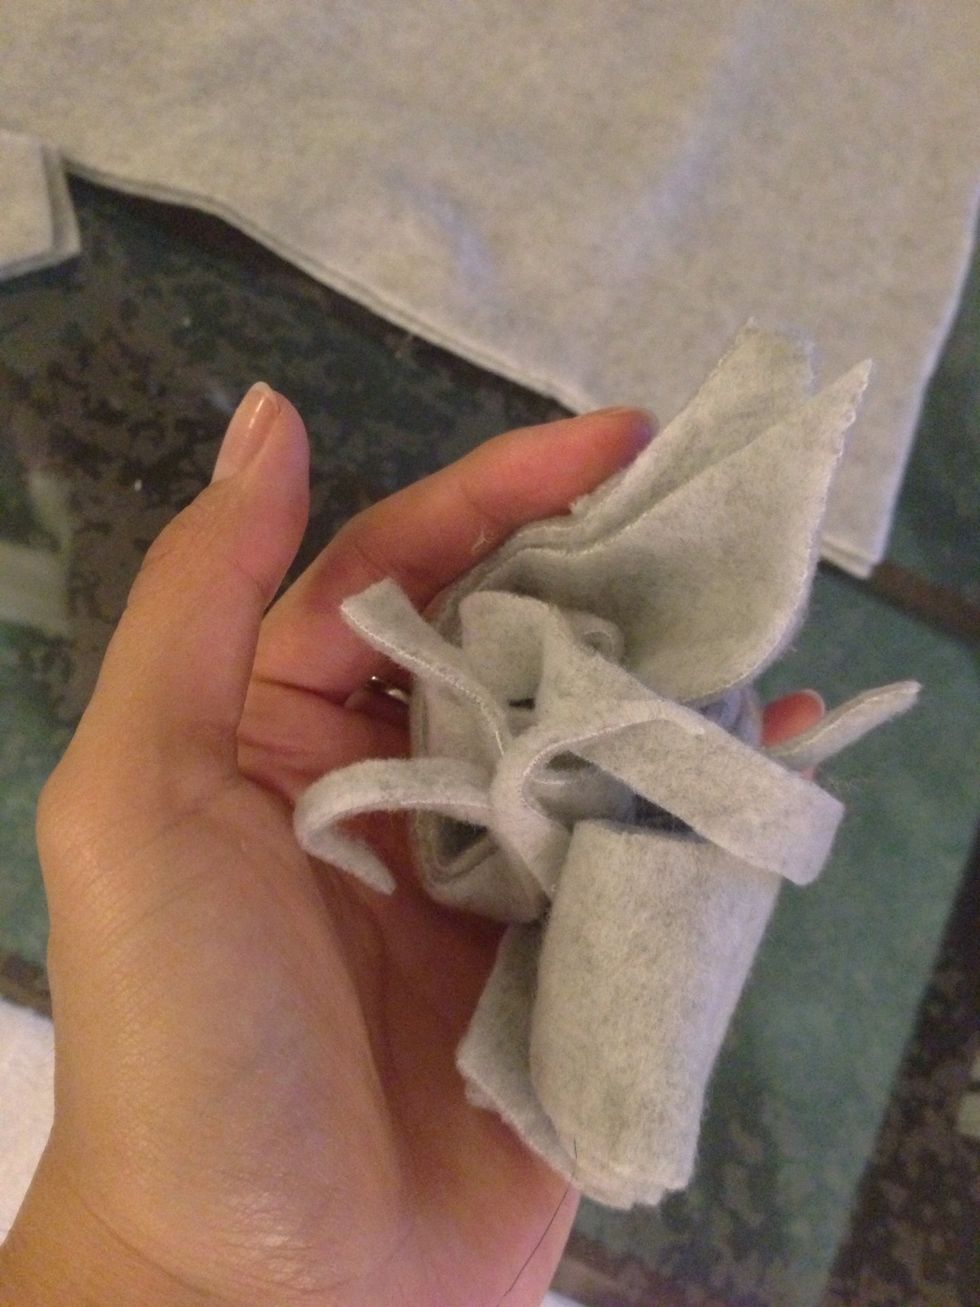
O ya any scraps left over from cutting dont throw them away ! Well need them to stuff the donkey later :3
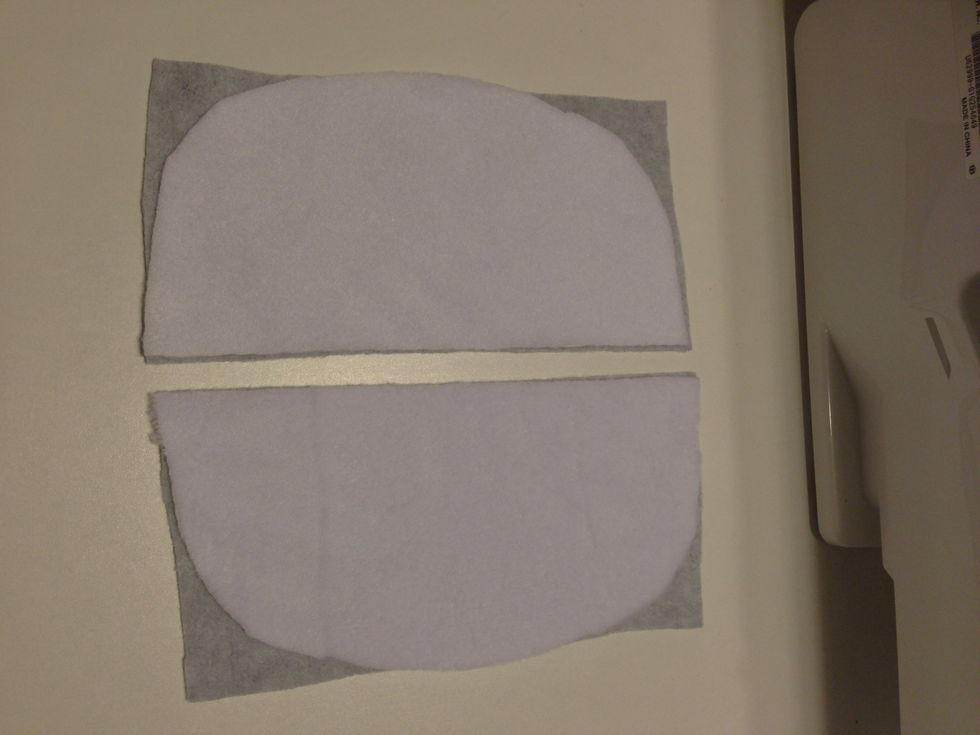
While someone is putting on the hoodie, take the white fold & cut out a 7in wide mouth (2 piece) again i did the curve by eye. To have the same curve on the otherwise, I folded it and then cut it out
Now take the grey fleece and cut the width of the mouth 7in and cut up again i did the curve by eye. Lay it on top of ur model & align the bottom seam to make it straight. Find a center point and mark
Hehe here im just trying to wing a visual to see what the ears would look like.
Ok I brought all my pieces and for the head, i cut where my mark was in half. I just placed the ears next to the head so u can see what im trying to visualize. Placement.
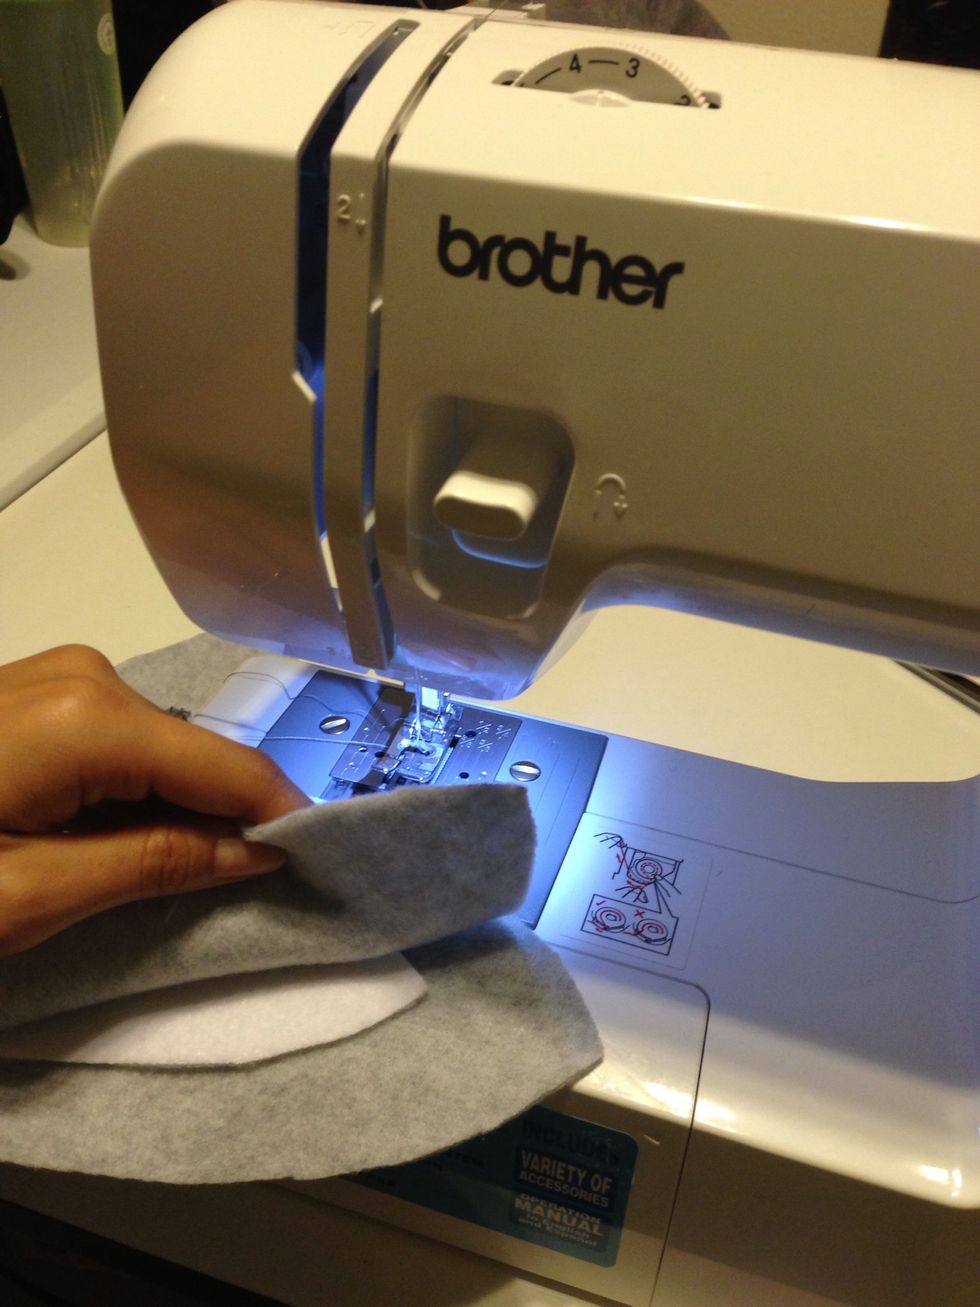
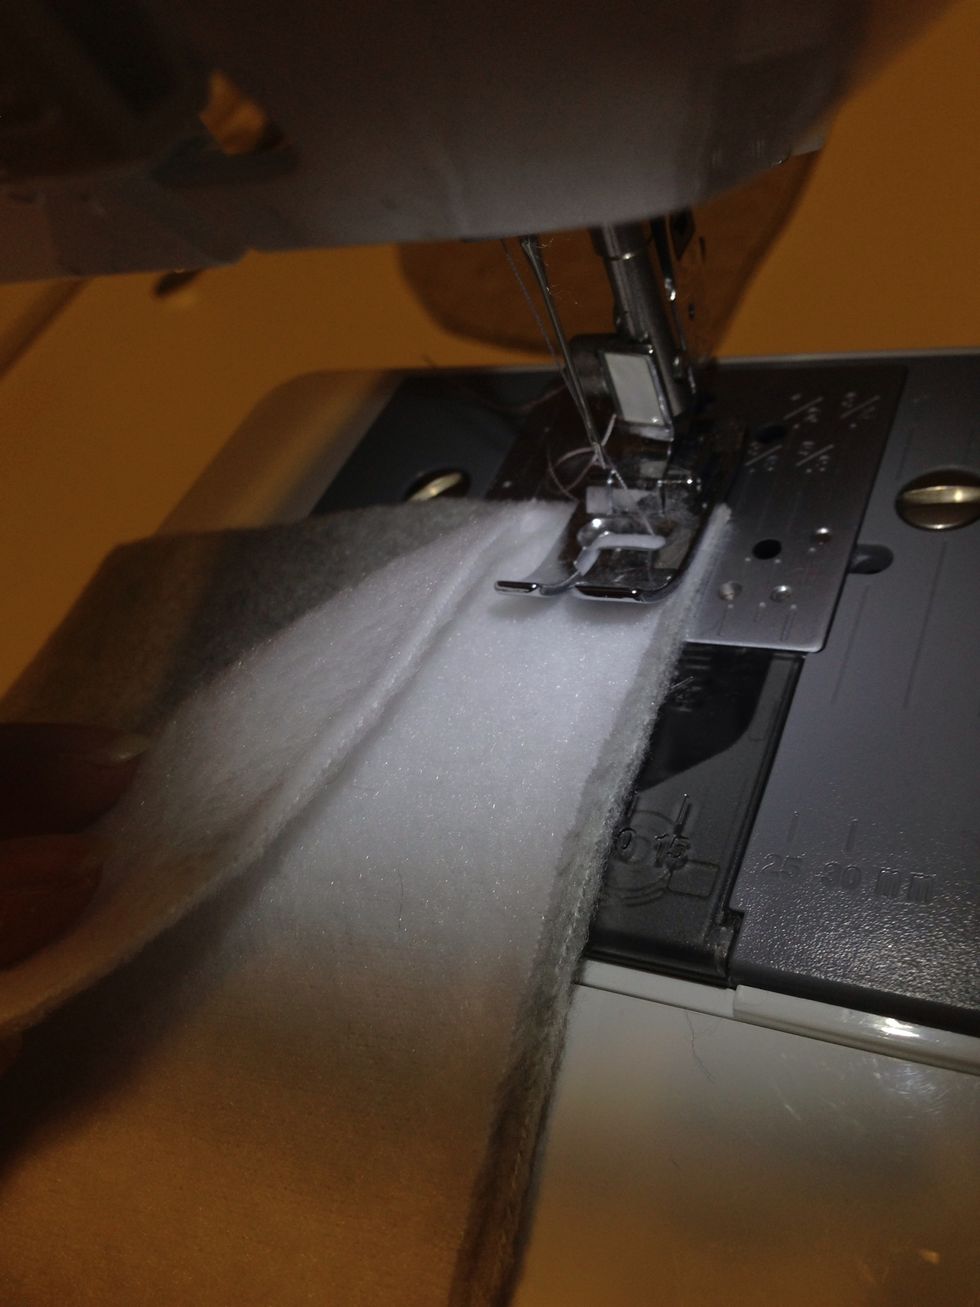
It's sewing time ! I have here a brother heavy duty. Changed the thread to grey. Get ready to sew the ears, member the white should be on the inside.
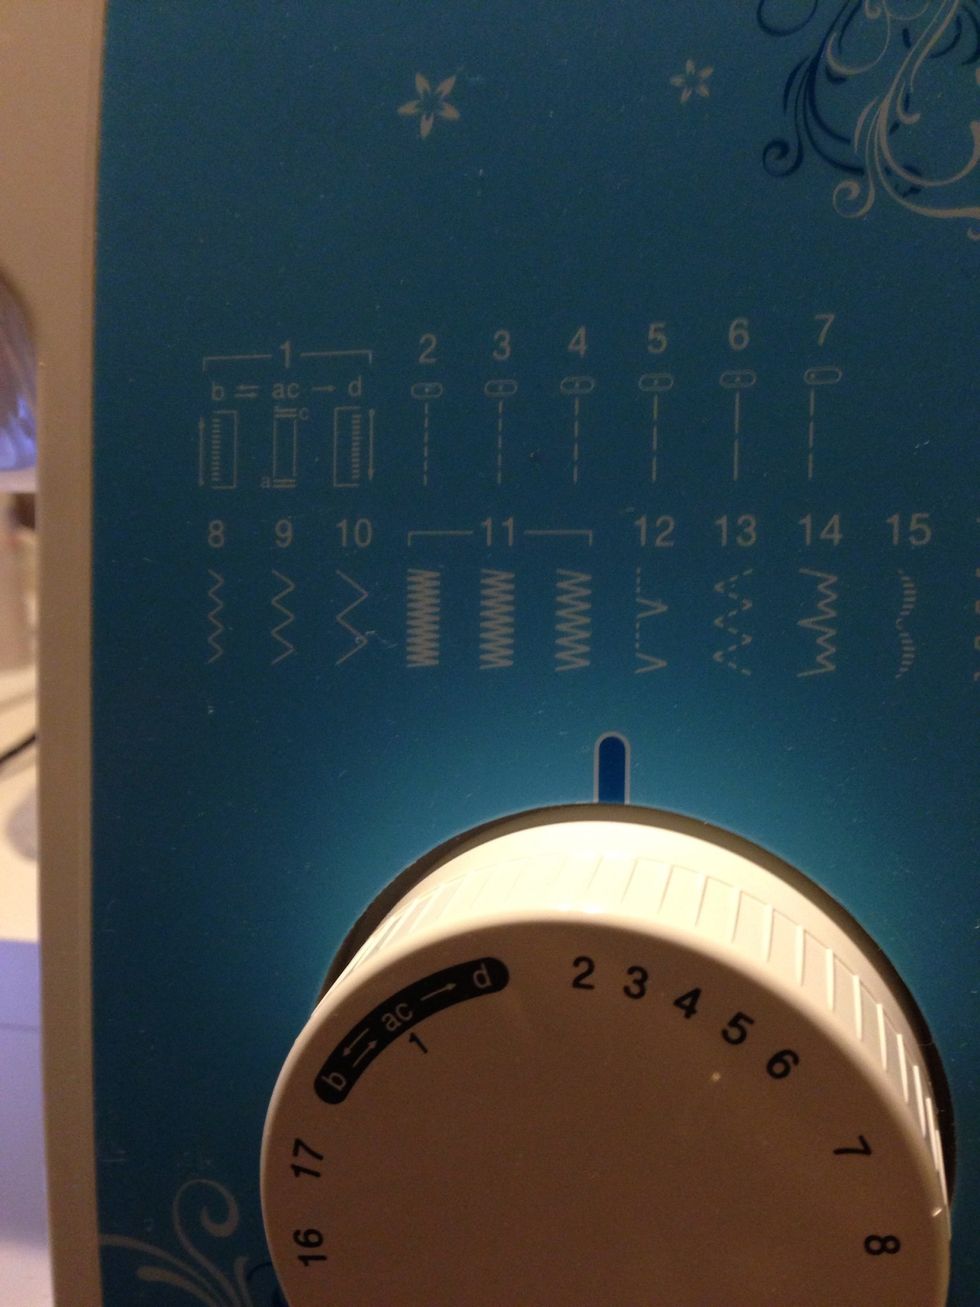
Im using stitch 2 as shown here. I don't want any of my sewing to come undone so the closer sewn thread the better.

When sewing, move with the thread. Im doing a 3/4 seam. When I start I sew about 1 inch and then reverse and sew forward. Slow down when u get near the tip of the ear
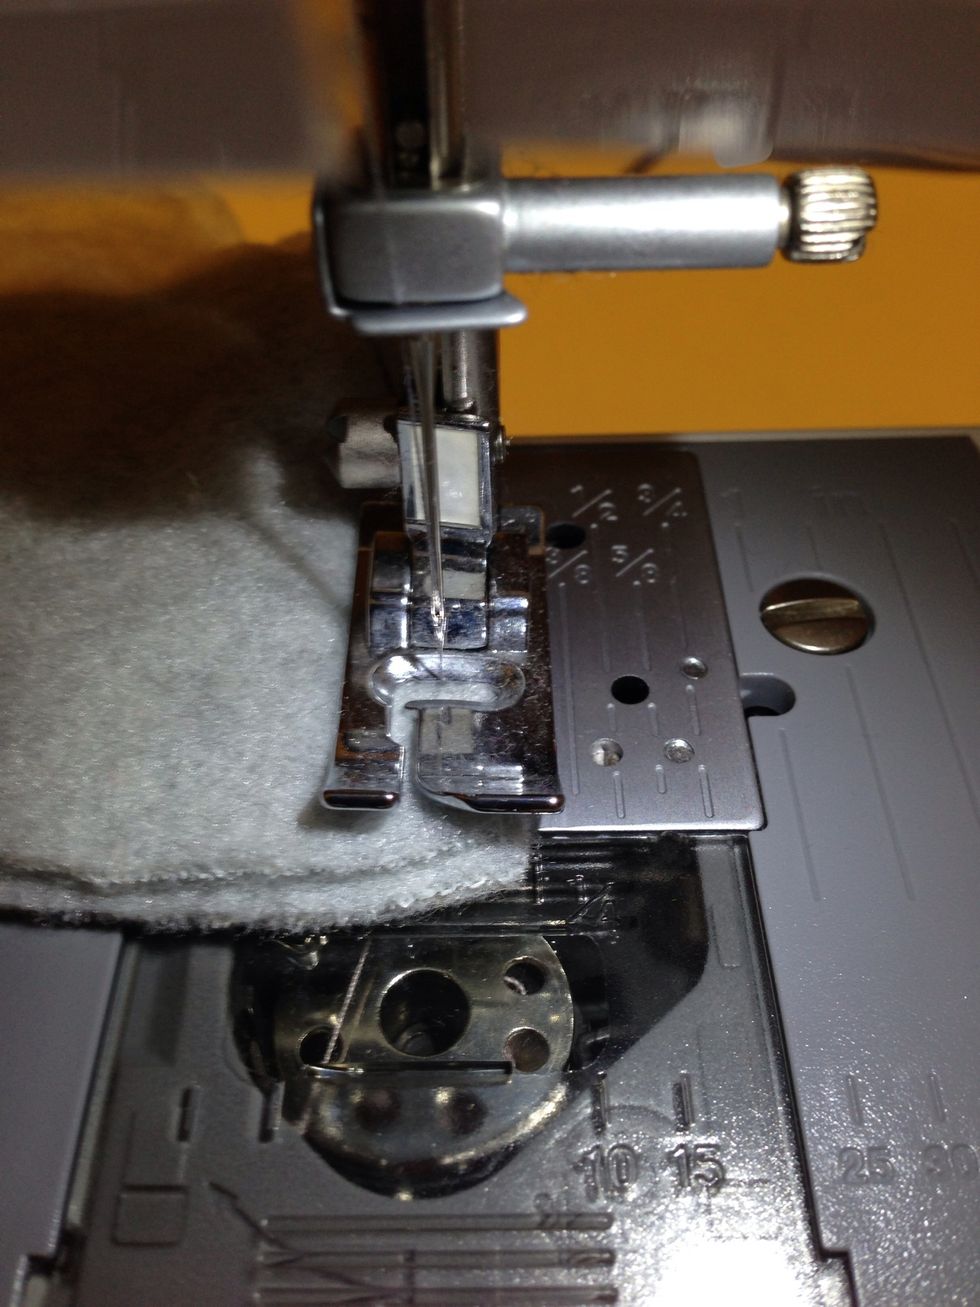
Yeah near the tip slowed down and let the needle stick all the way through when ur at the tip. Ur then going to lift the foot (the part holding down the fabric) and pivot the ear to the other side wee

Again I start sewing / reverse / and sew again until at the end of this side. Reverse and sew then ur done ! Do the same for the other ear
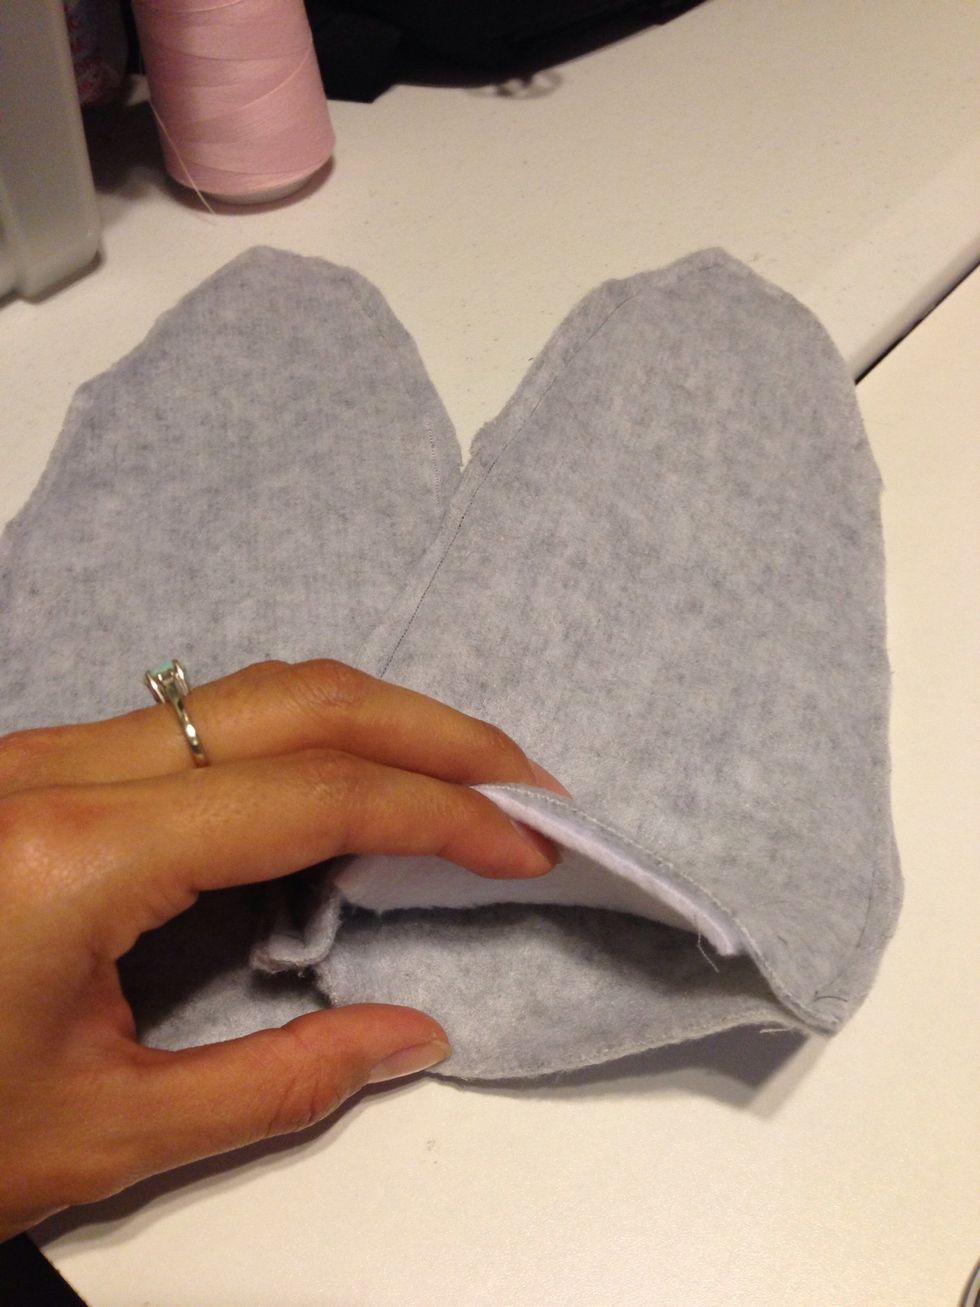
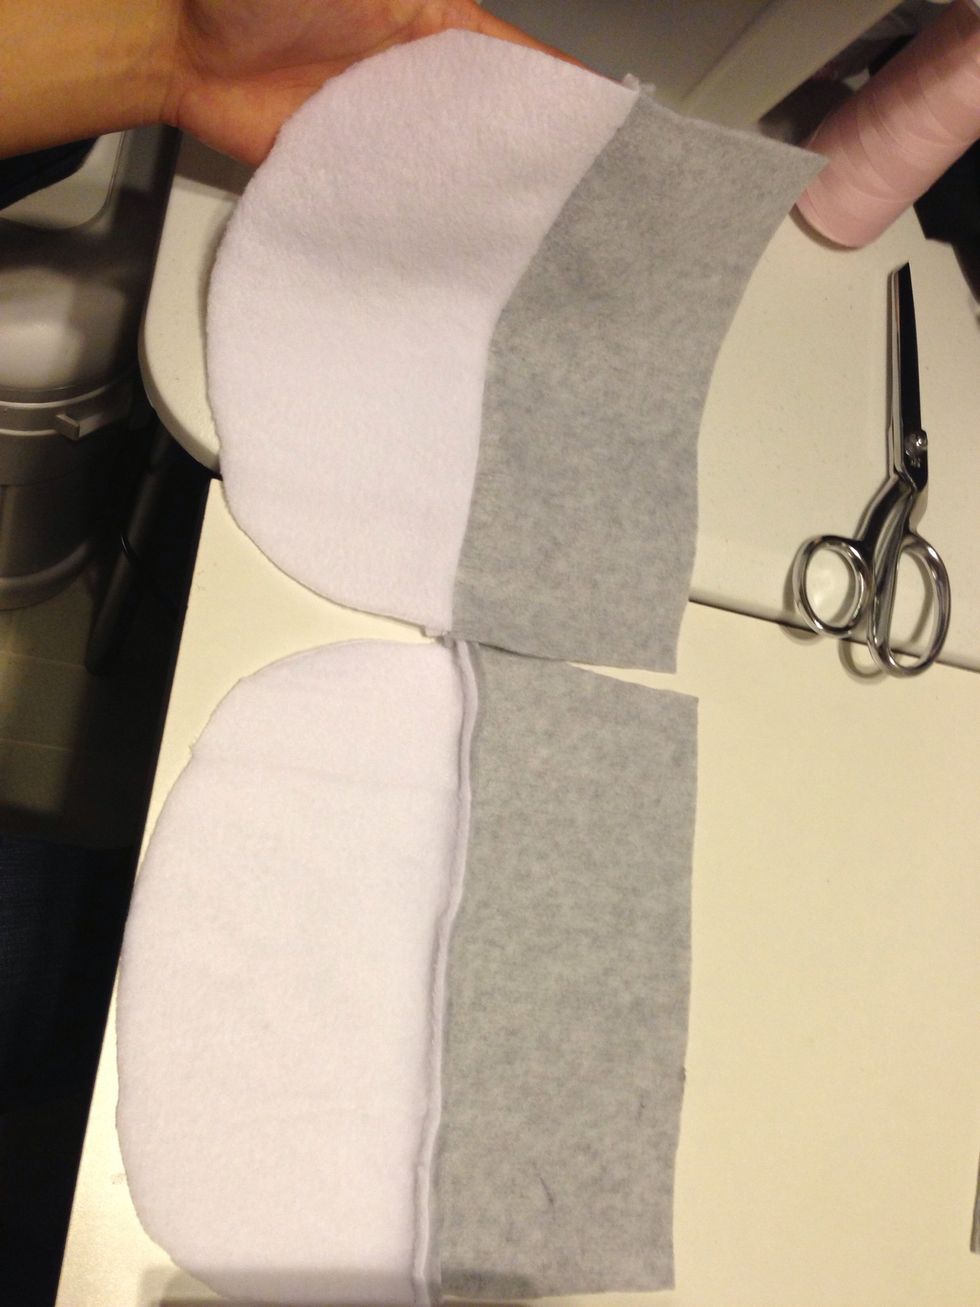
Done! Should look something like this
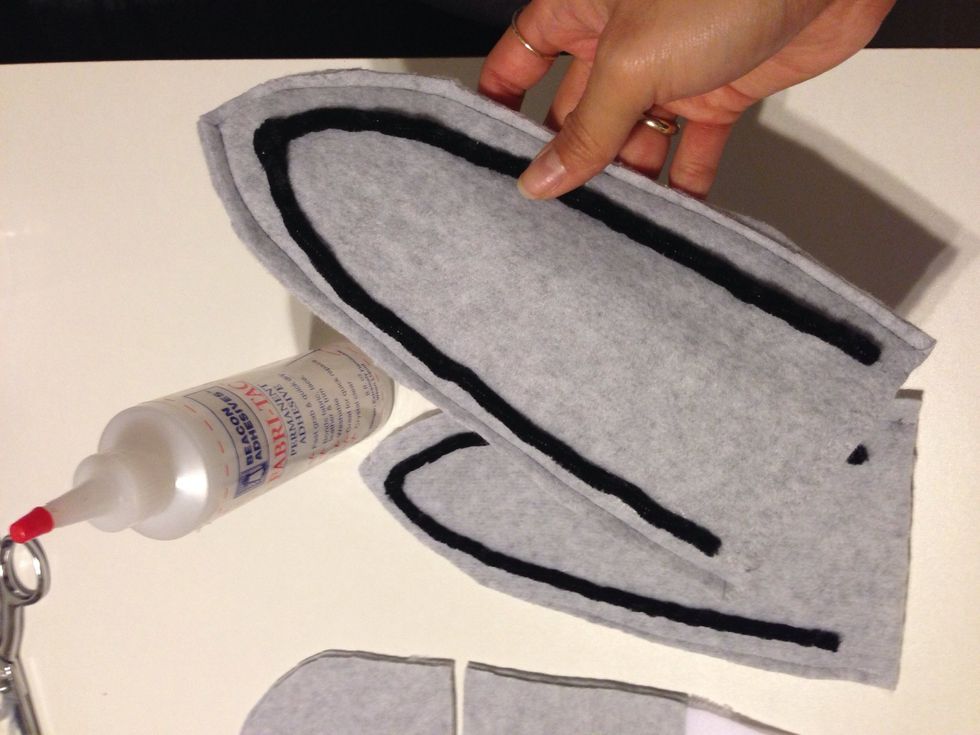
Time to glue in the stems on the back side of the ear (i haven't turned them inside out yet.) When u glue, go 1/4 away from the seam (sewing thread line) don't want to be on it. Let it dry
While thats set aside to dry, take ur white mouth and lower part of face like this. We're going to sew these together
Again sew / reverse / sew and then at the end sew reverse sew and done :)
So the same for the other and ding should look like this :3 ok this ends part one. Super tired thank u for viewing ! Part two up soon :D

Sleepy time until part two stay tuned :3 pika and miyu bffs