The Conversation (0)
Sign Up
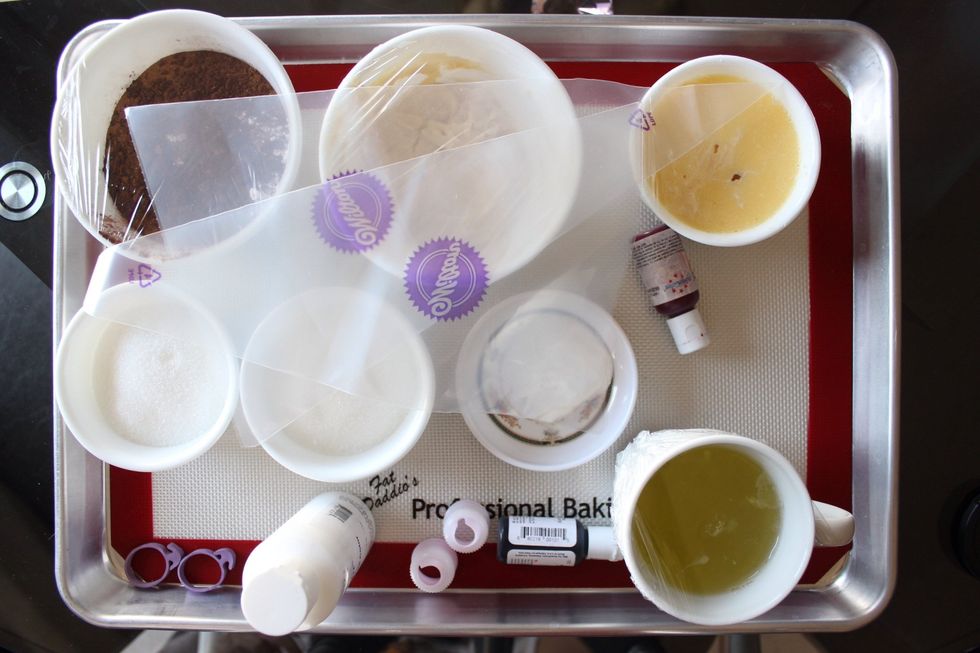
Gather all your ingredients and tools. Ensure that all ingredients are at room temperature before whipping up your cake batter. If your ingredients are cold, you will end up over beating your batter.
Mix together the ingredients for the decorative icing in a bowl. Divide that amongst 3 bowls. Colour one bowl red, 2nd bowl black and the 3rd bowl white (or leave uncoloured for an off-white colour).
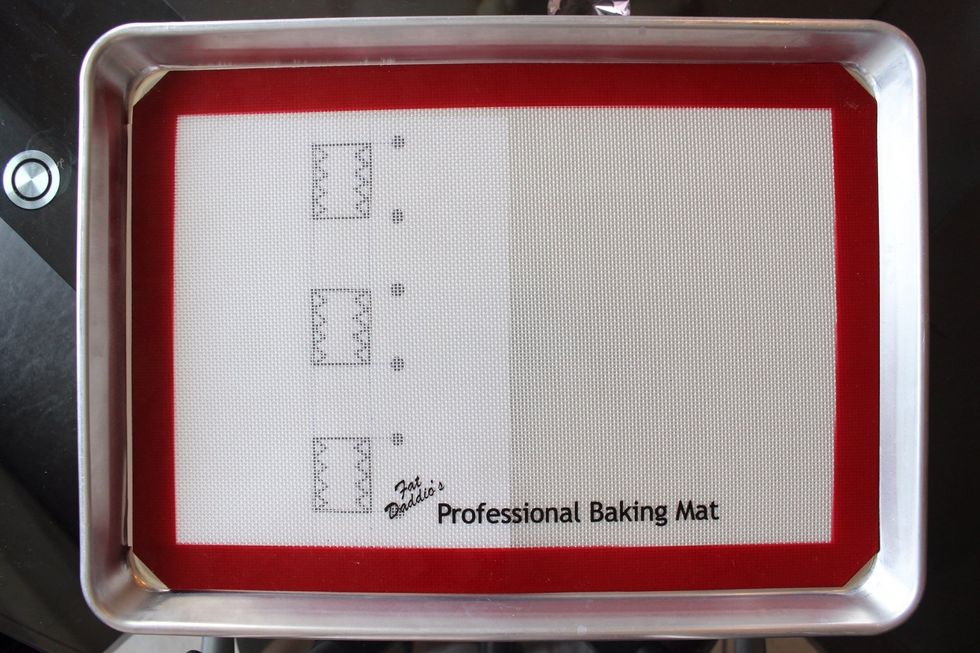
Draw your Domo-kun design with a permanent black marker on a sheet of plain white printing paper. Place your template under the silicon mat like so (not too high and not too low).
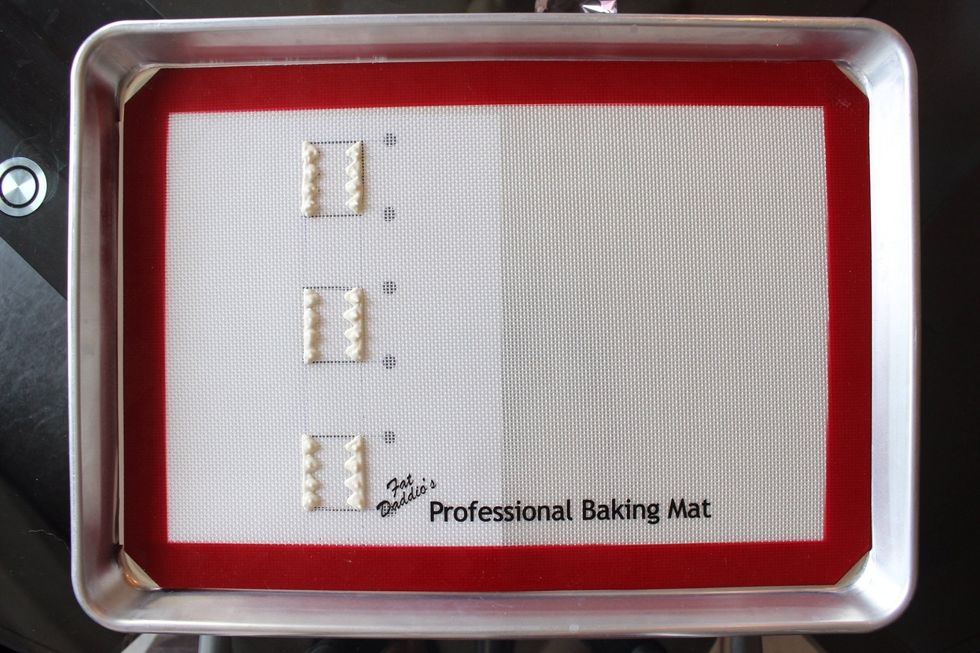
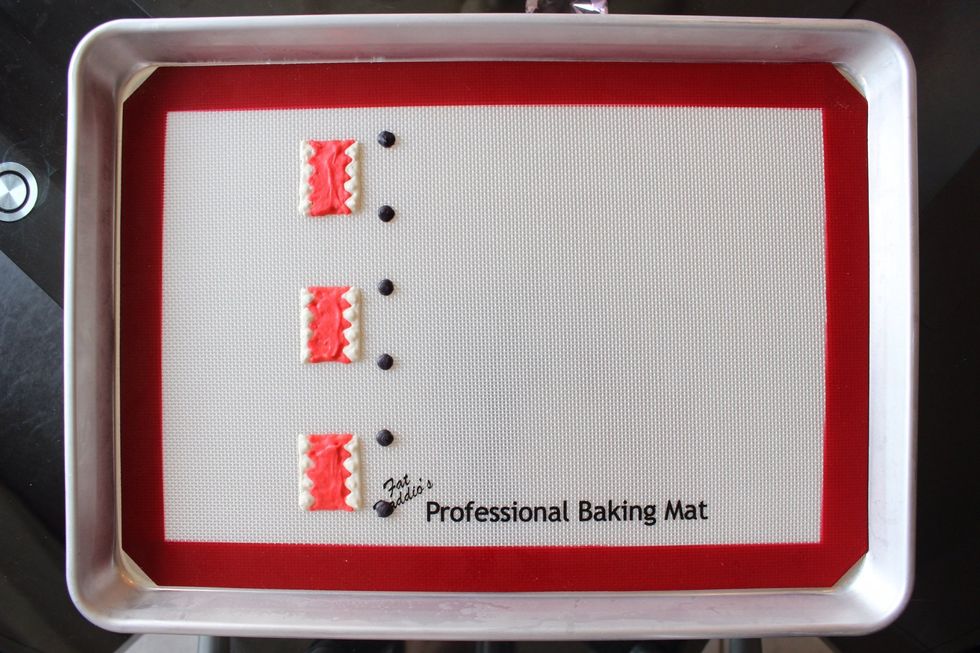
Pipe in the teeth with your white decorative icing.
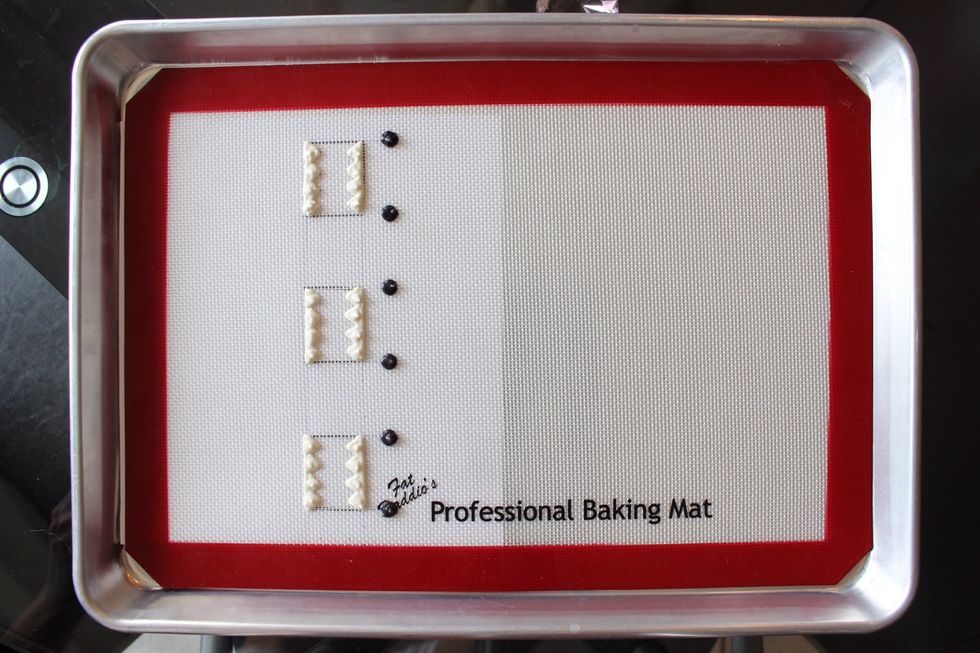
Pipe in the black eyes. Freeze the design for 5-10 minutes. It doesn't need to be rock hard but it shouldn't be runny either. The firmer the frosted design, the better for layering different colours.
Gently pull out your paper template to remove. DO NOT BAKE WITH THE TEMPLATE! I don't imagine paper in the oven is safe or tasty in a cake haha.
Pipe in the red mouth. Freeze for 5-10 minutes.
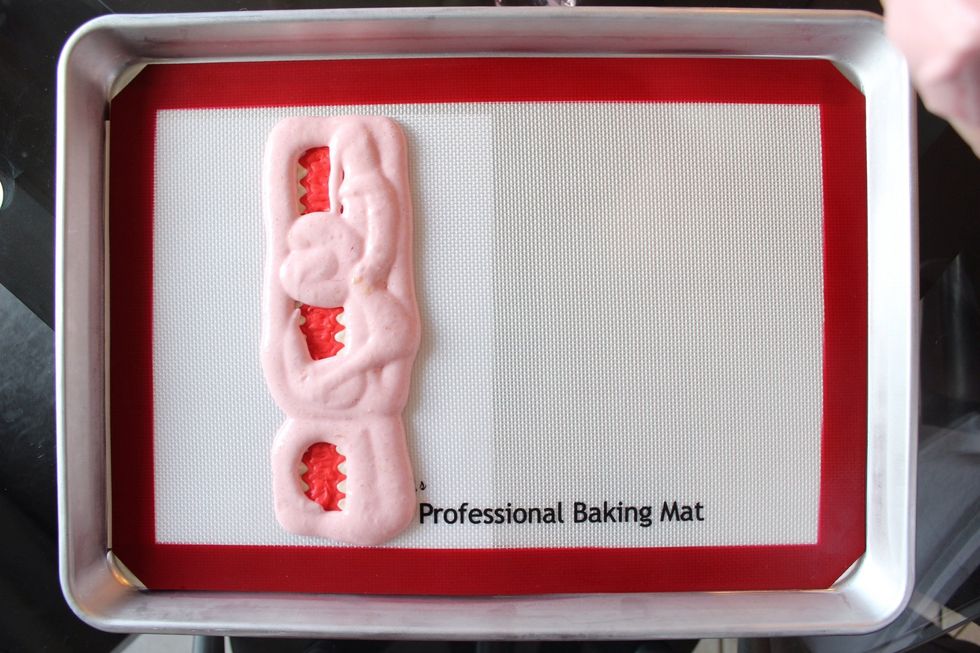
Pipe (or spoon) about 1 cup of your cake batter over the design using a sandwich bag with a corner snipped off. Start with piping around the eyes first. Then pipe around the mouth.
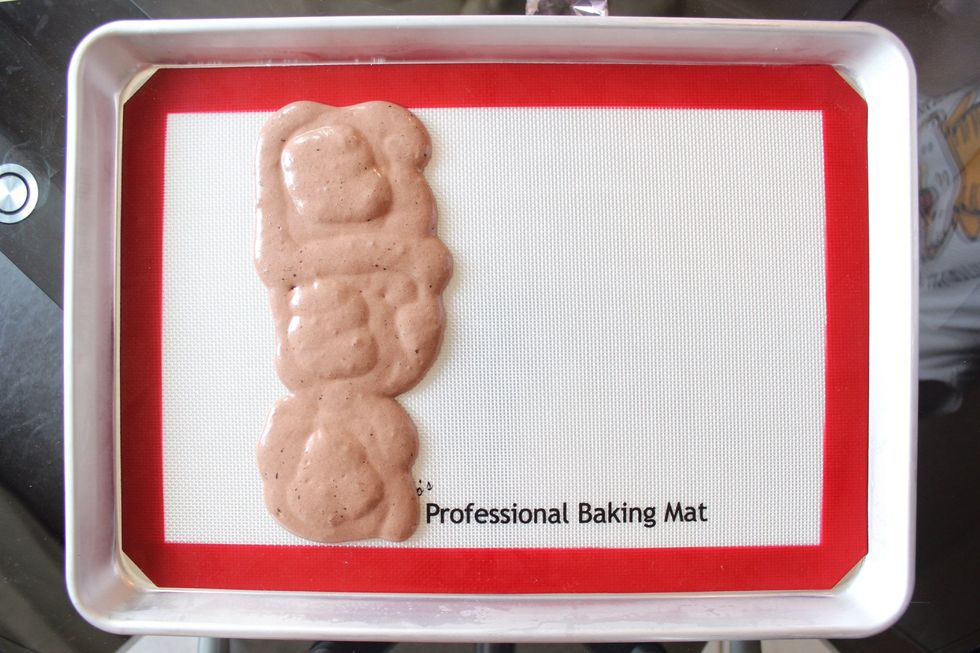
Fill in the mouth...
BLOOPER: As you can see in this photo, I forgot to remove my paper template! I didn't remember to pull it out until I poured all the cake batter in....what a mess. -_-

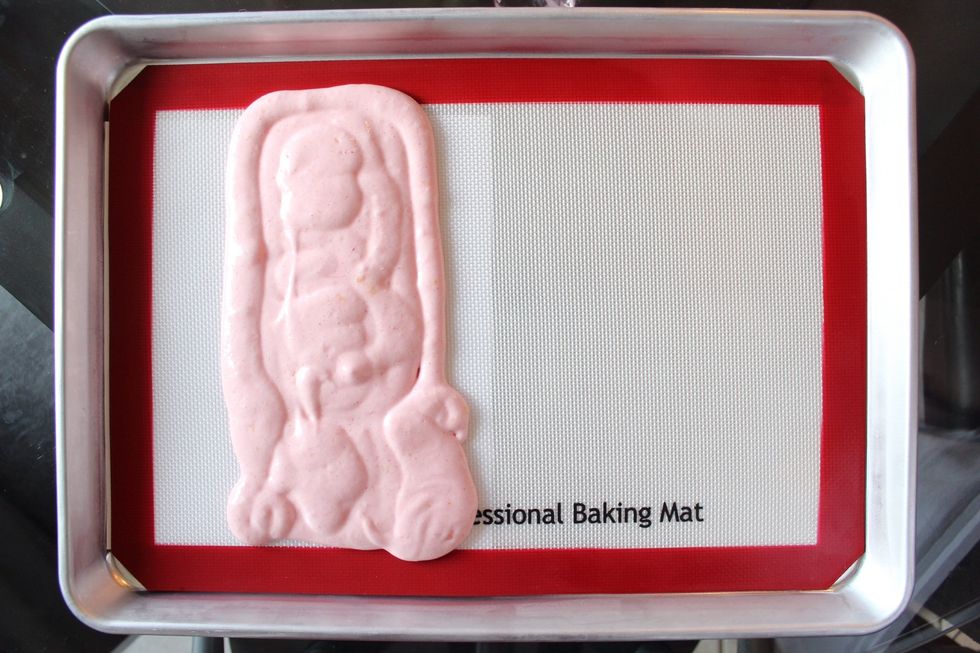
Now pour in the rest of your cake batter over your design.
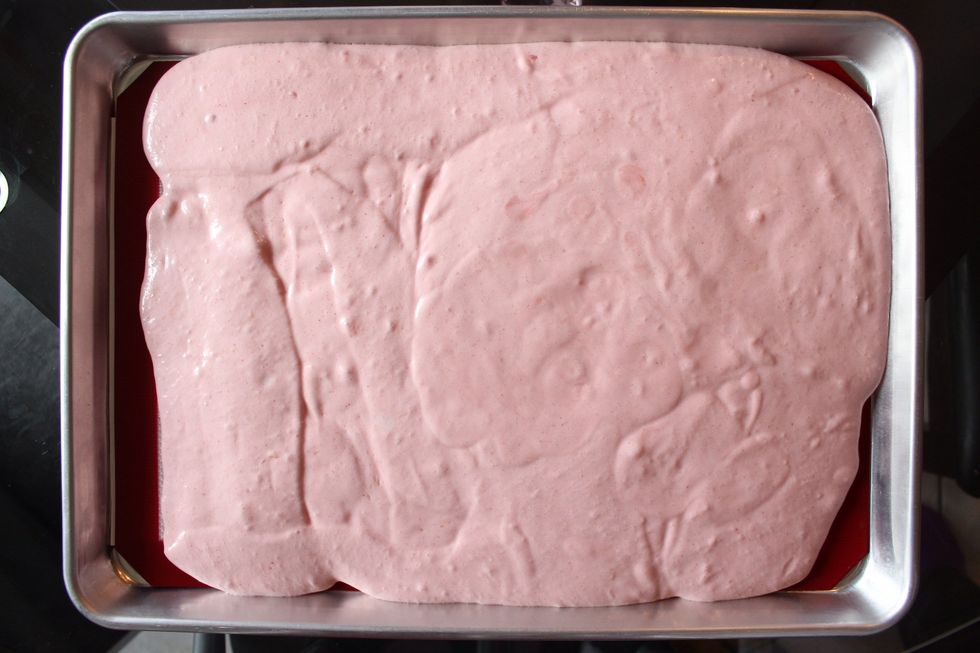
TIP: Try to pour the batter in evenly so you don't have to move the batter around trying to even it out.
Use a spatula to even out the cake batter. Jiggling the pan lightly and tapping it on your counter will also help to even out the batter and remove any large uneven air bubbles. Now bake!
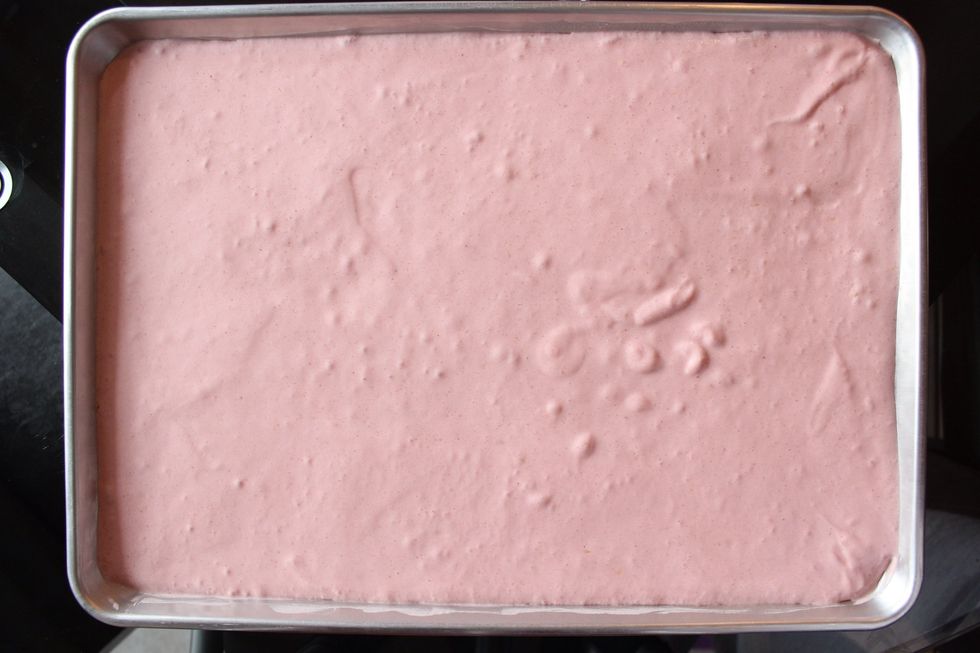
TIP: It's important to use a spatula to even out the cake batter because bumps like the ones in this photo will show up in your final baked result....which is not pretty.

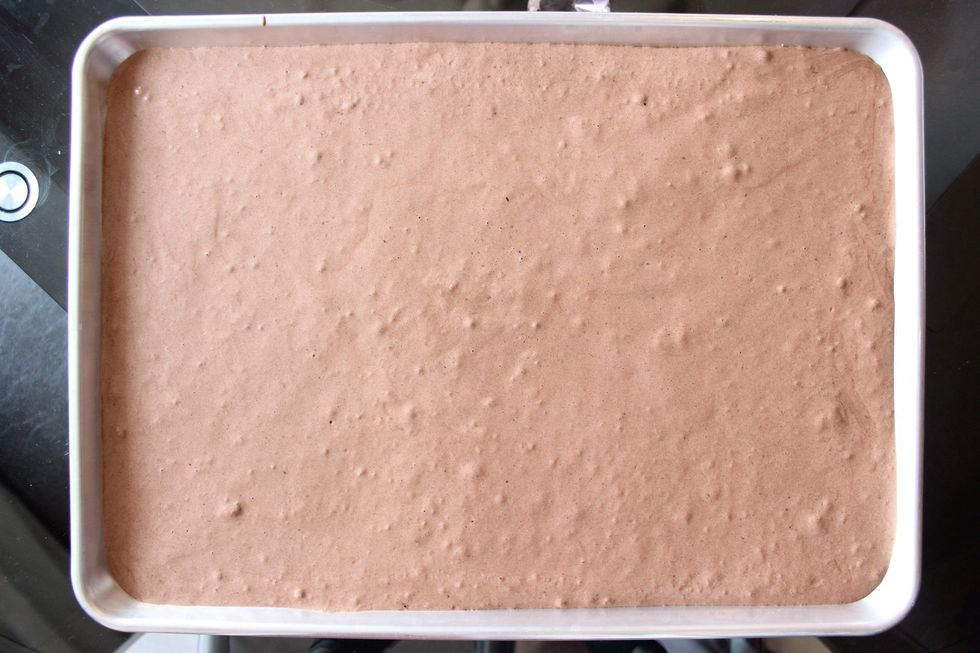
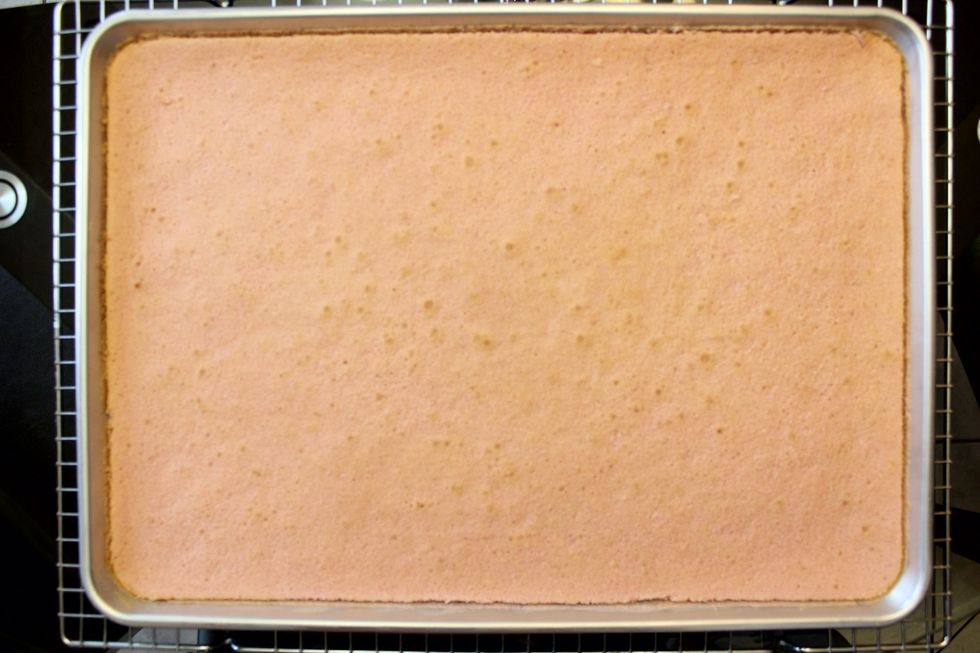
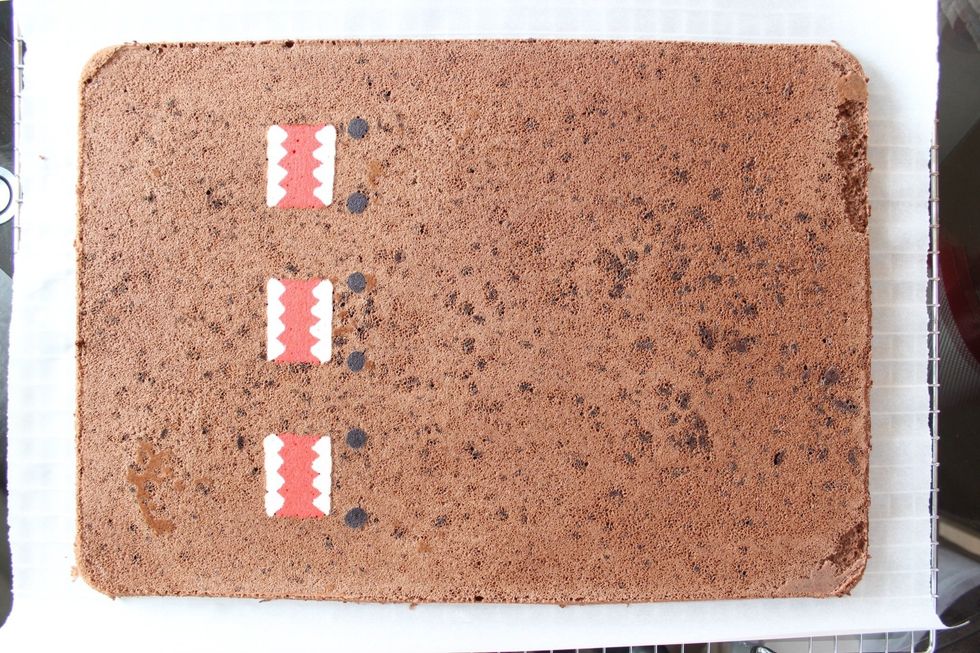
Cake is done baking when the cake starts to pull away from the edges of the pan and a toothpick inserted through the middle comes out clean. You can see the 2 holes I poked in the middle :)
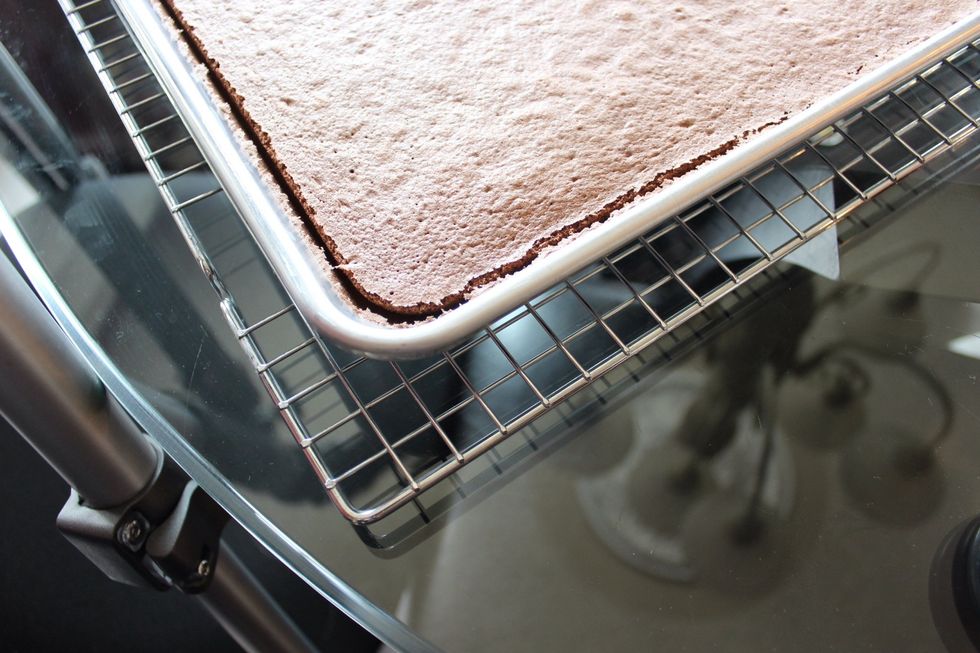
Note how the cake has naturally pulled away from the cake pan. Be careful not to over bake! Over baking will result in a dry and cracked cake.
Use a knife to cut the cake along the edge/perimeter of the pan. This ensures that the cake comes out in one piece.
Now put a large sheet of parchment paper over the cake. The parchment paper should be large enough to cover the whole cake. Place a large cooling rack on top of the parchment paper.
Carefully flip over everything! Make sure you hold the pan to the cooling rack securely so you don't end up with a sad mess in the kitchen.
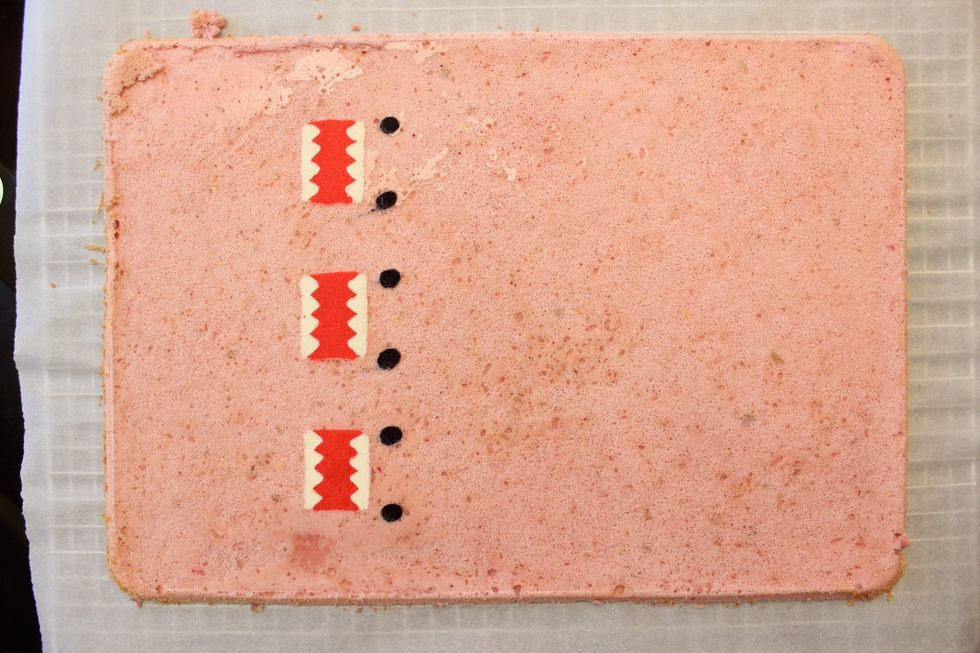
Remove your pan to reveal the cake!
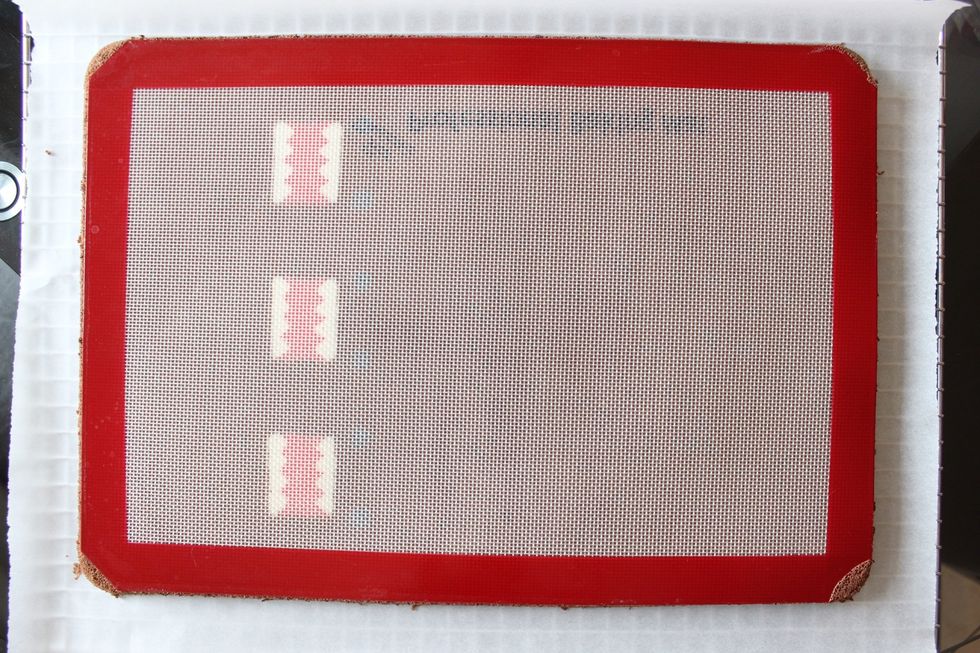
Remove your silicon mat.
BLOOPER: See that gob of cake on the top left corner? That was from cake batter seeping underneath my silicon mat when I was trying to remove the paper template....
Let your cake cool completely.
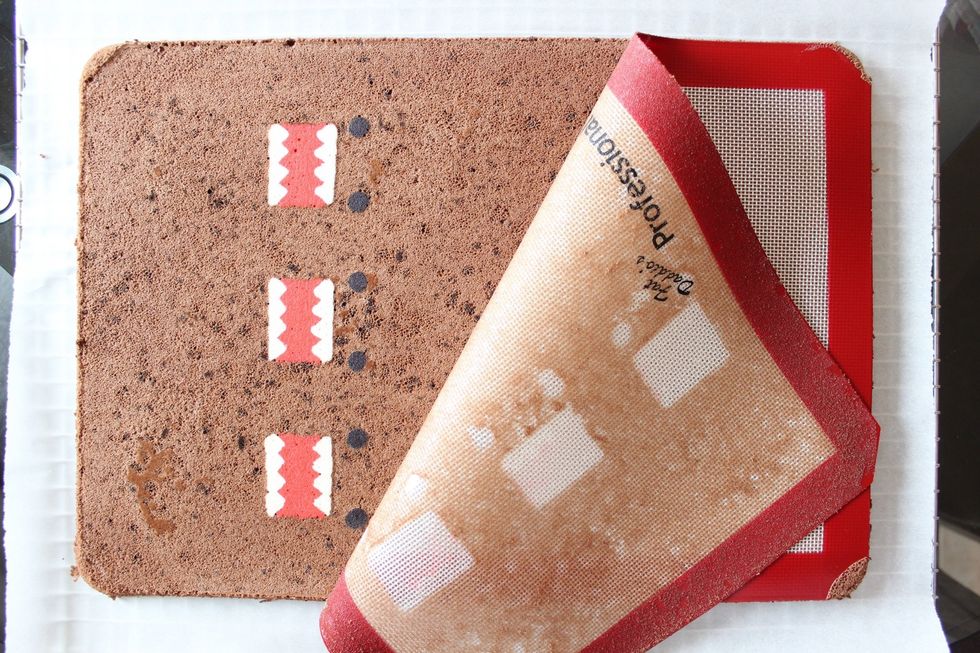
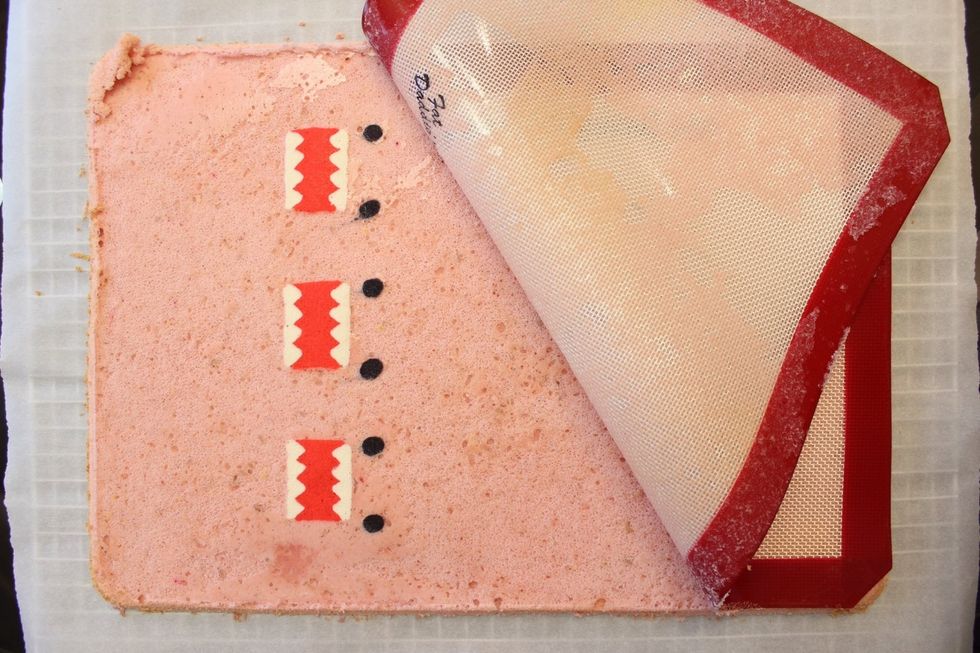
Cover with another sheet of parchment paper and then with another cooling rack (or the bottom side of your cake pan) and flip over!
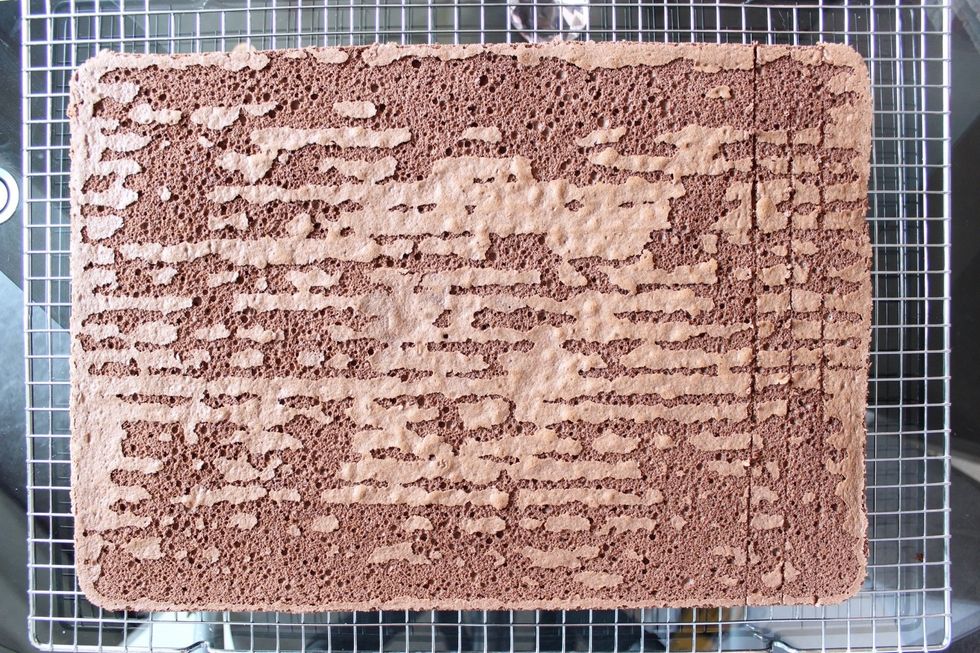
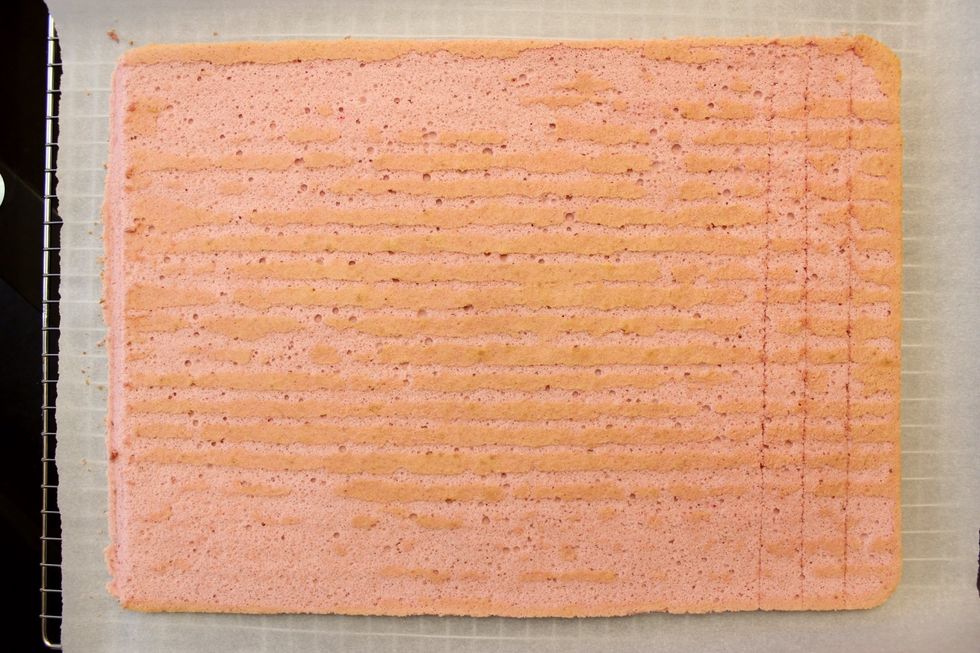
Note that the design is now on the bottom side on the left. Use a paring knife to gently score 3 shallow marks (1 cm apart and about 1/3-1/2 into the cake) down the right side of the cake.
Using a paring knife, do a 45 degree cut off the left edge of the cake roll. Remove/eat the cut-off. This step is optional. I do it because it helps to taper the edge for rolling a more seamless cake.
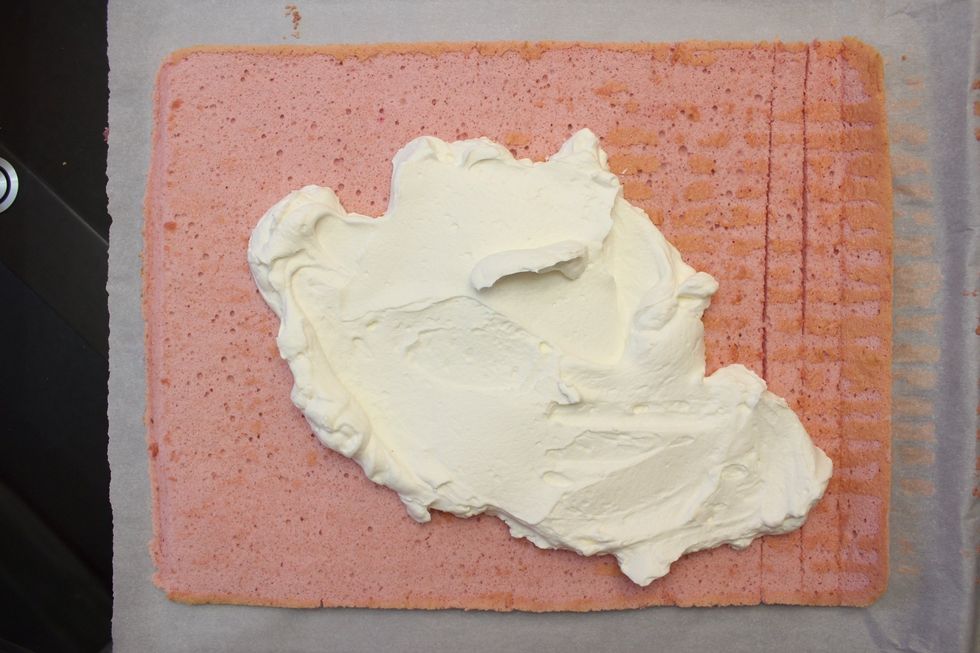
Time to lather on some of your frosting. You can fill it with chantilly creme (vanilla whipped cream), buttercream, jam, sprinkle on some chopped fruits.....etc.
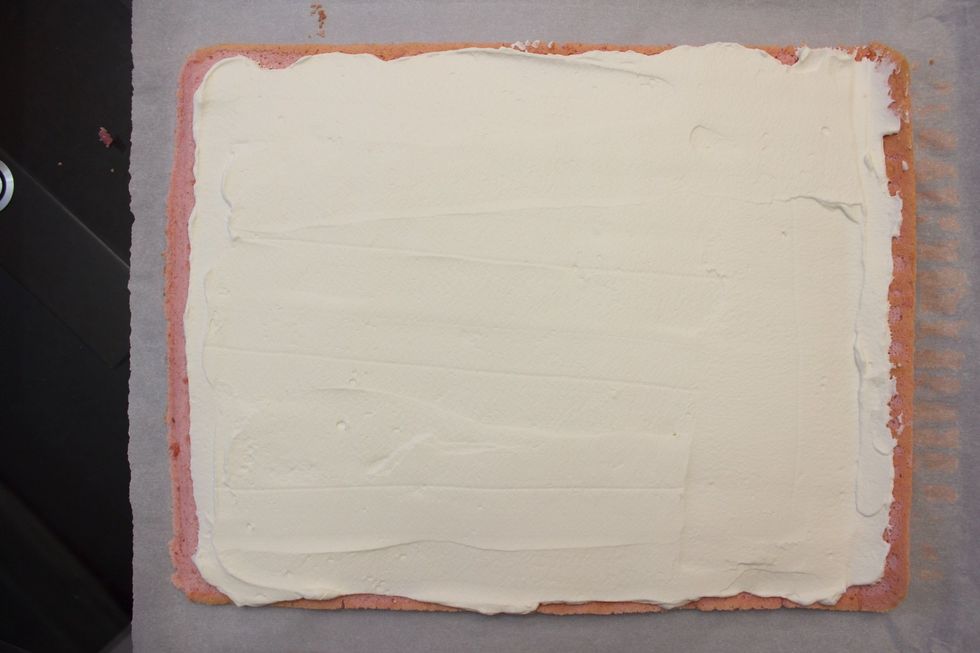
Use a spatula to even out the filling while leaving 1-2 cm un-frosted around the perimeter so the filling doesn't squeeze out during the rolling process.
Now roll! Start from the right edge (the edge with the 3 scores (opposite of design). Use the parchment paper under the cake to guide the cake to roll by lifting the paper up. Roll to the left side.
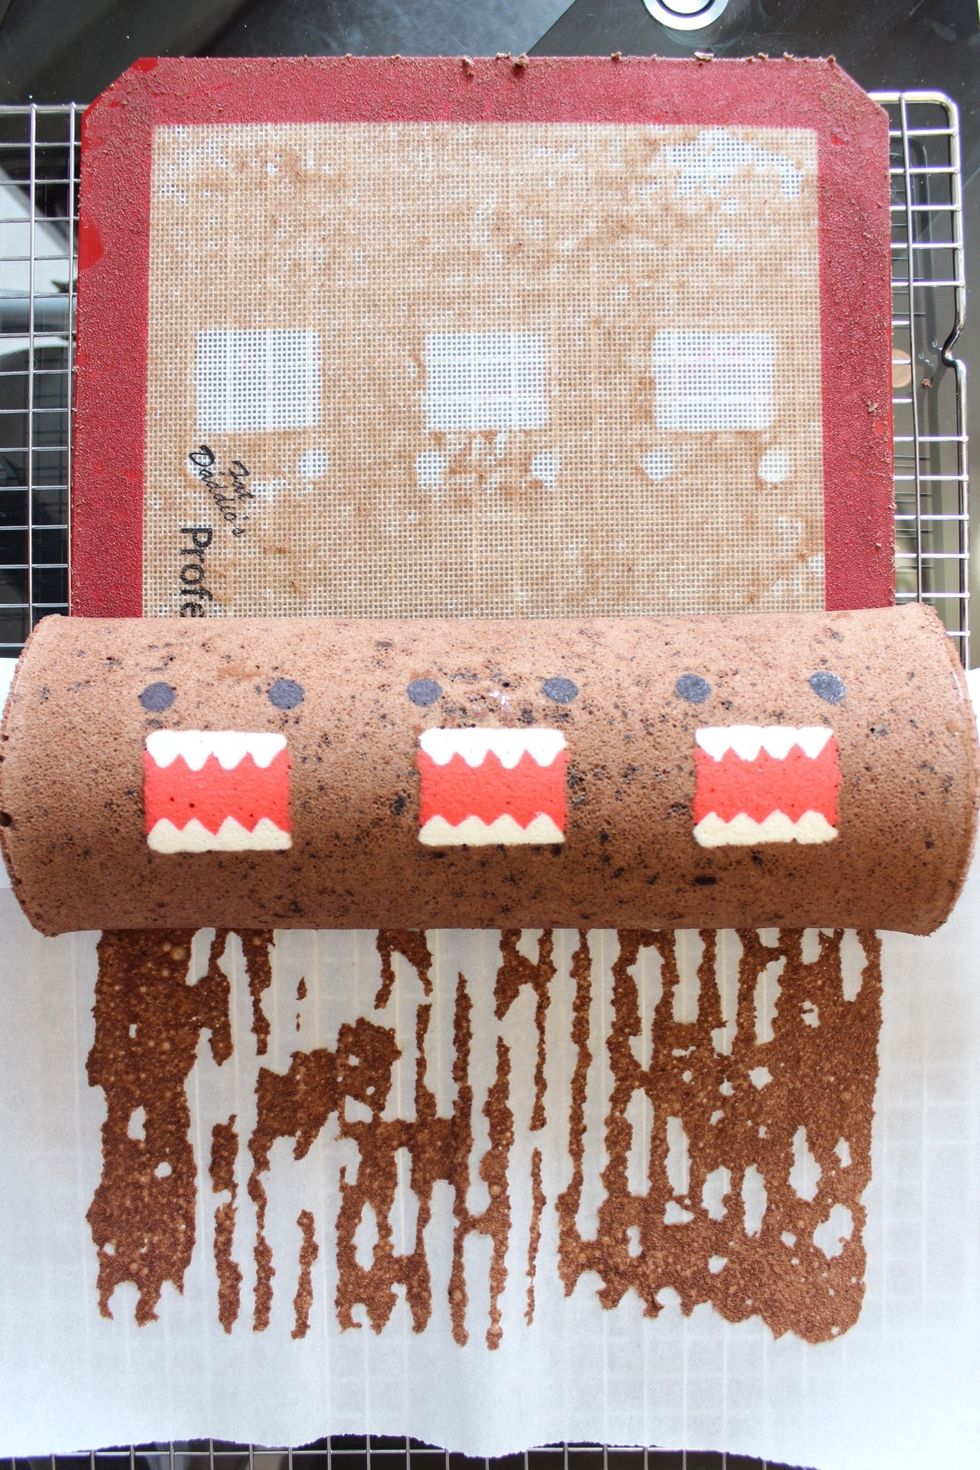
Voila! Done rolling. Hopefully I explained that well enough....
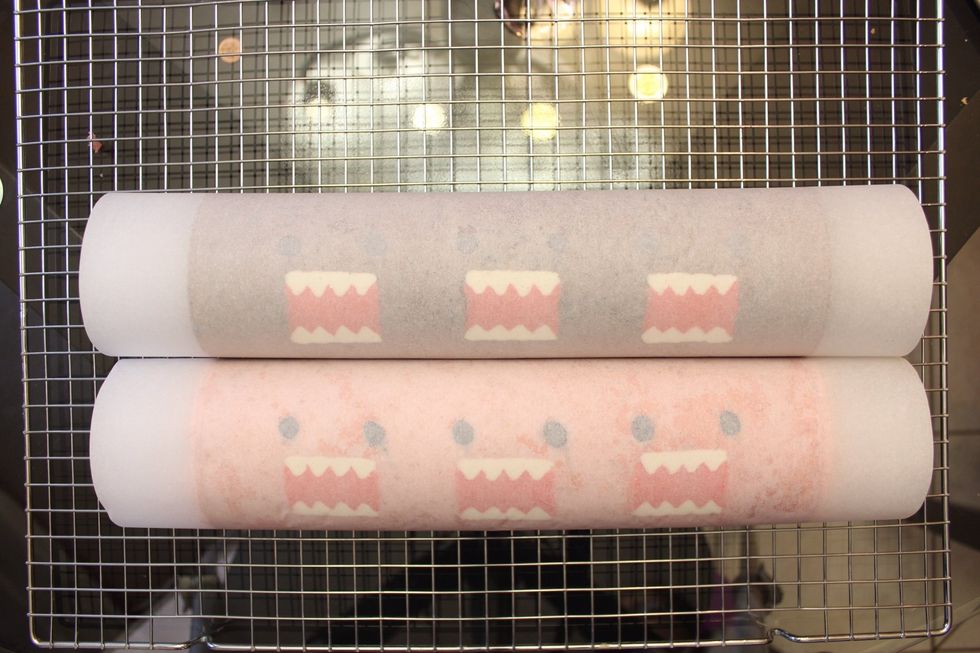
Wrap the rolls tightly in parchment paper. And then wrap again in plastic food wrap. Refrigerate for 30 minutes (to give the cake a chance to firm up). You can also freeze the cake at this point.
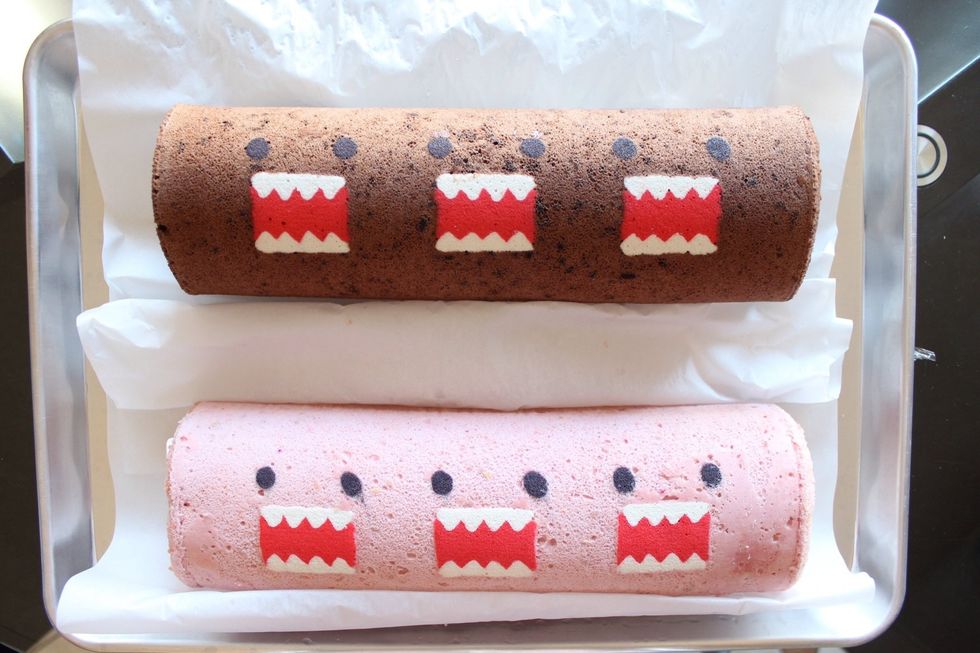
Unwrap!
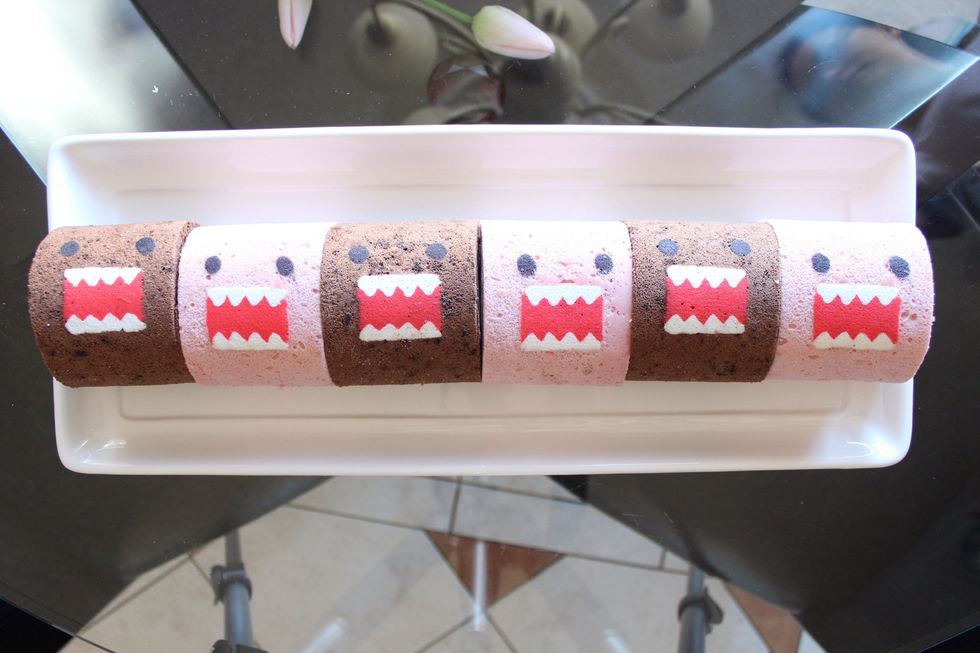
Slice and serve!