The Conversation (0)
Sign Up
This can be a potential strangling/choking hazard. **Build at your own risk**
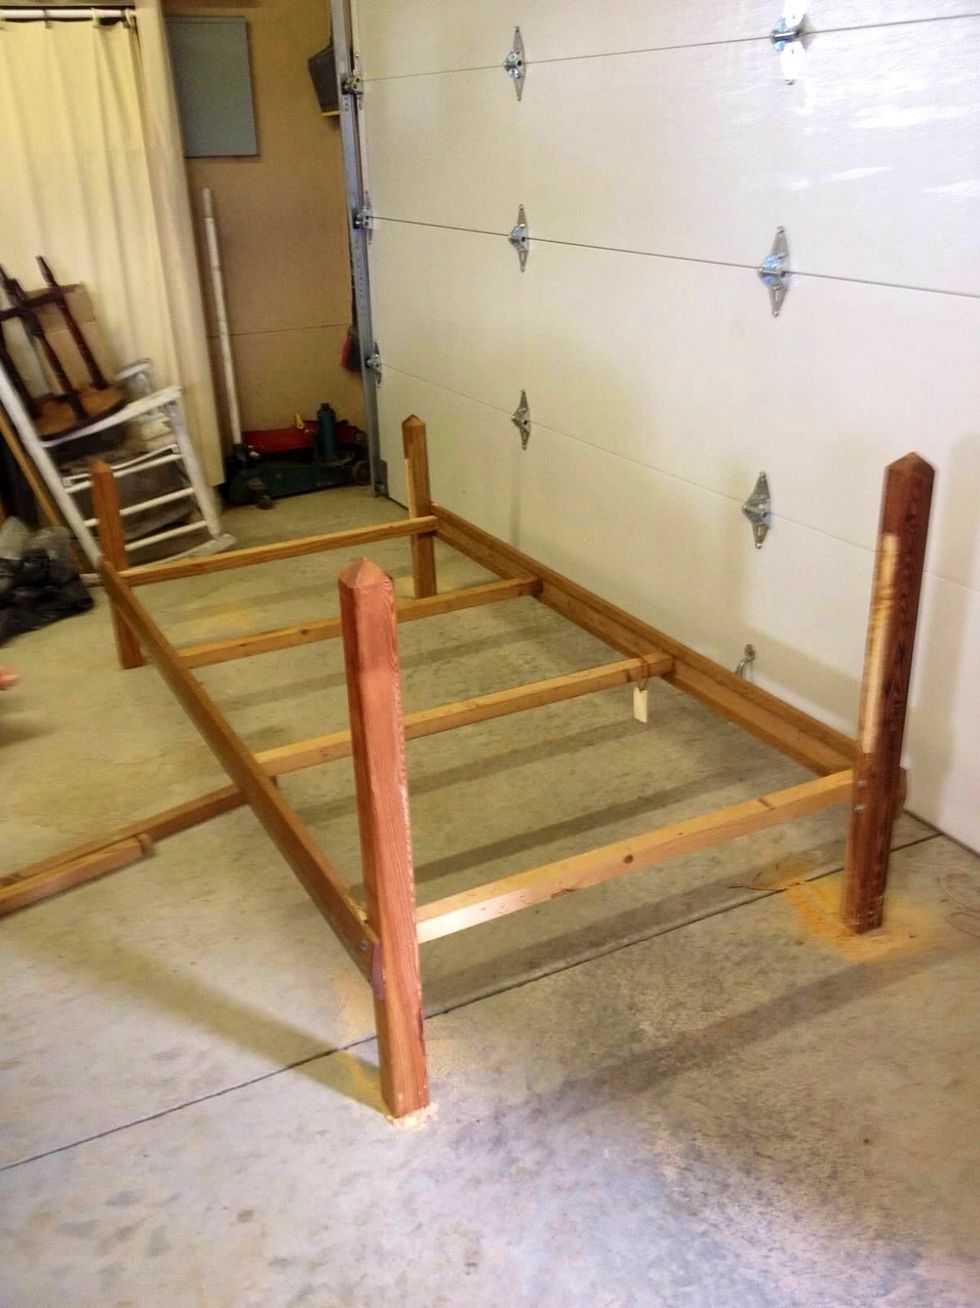
Note: This project cost me under $100 to make because I designed it by things I already had around the house. First: I cut the head and foot board off of this old bed frame I had.
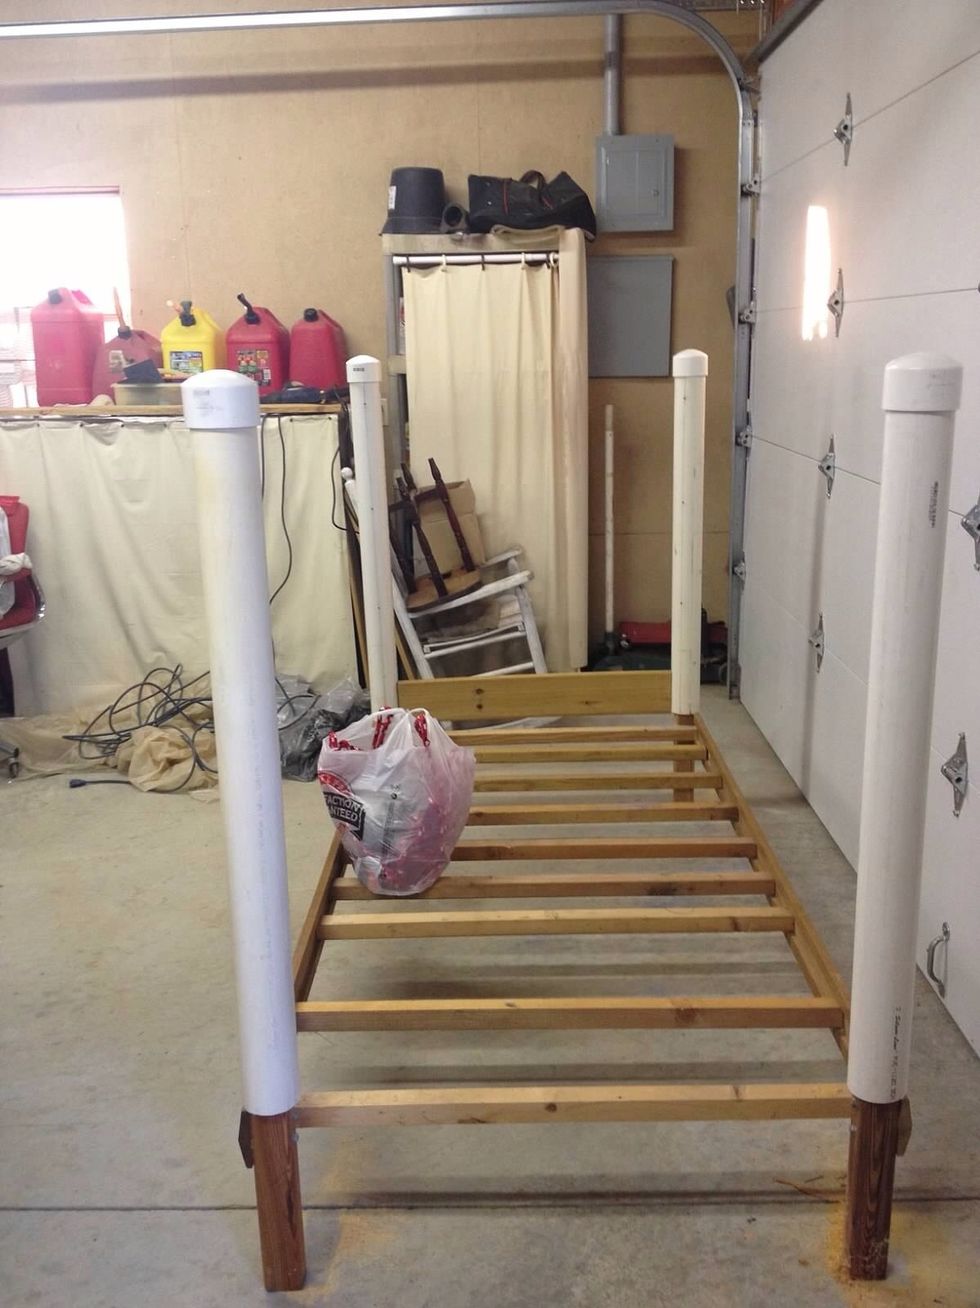
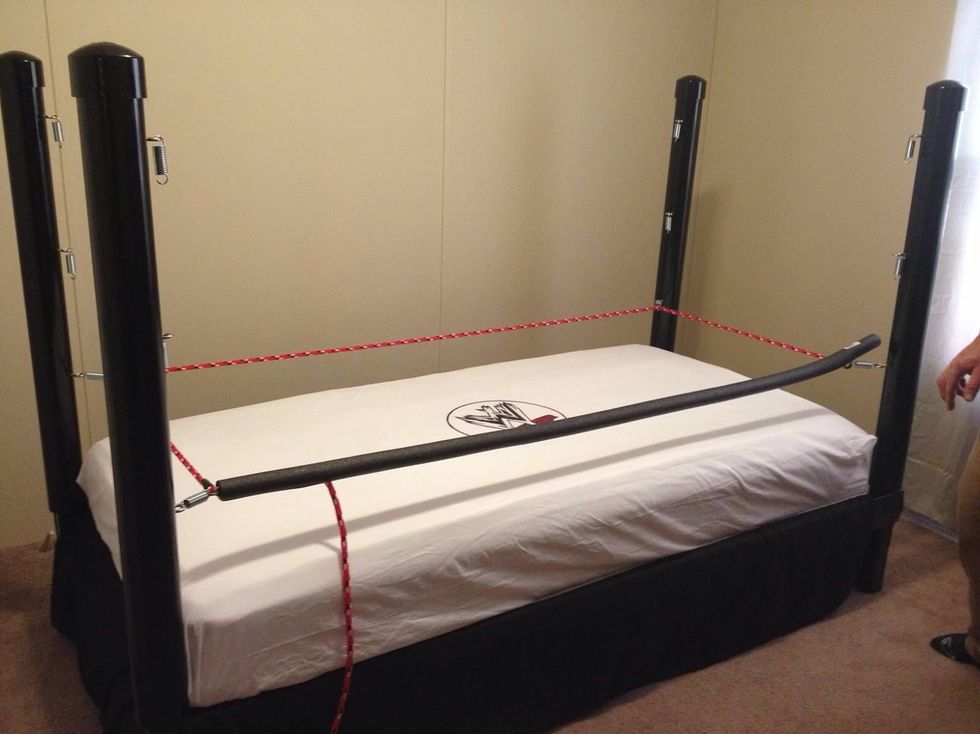
Cut 4 PVC pipes equal lengths. Top with caps. Slide pipes over corner bed poles. Drill 3 holes equal lengths apart down each pipe where the ropes will go.
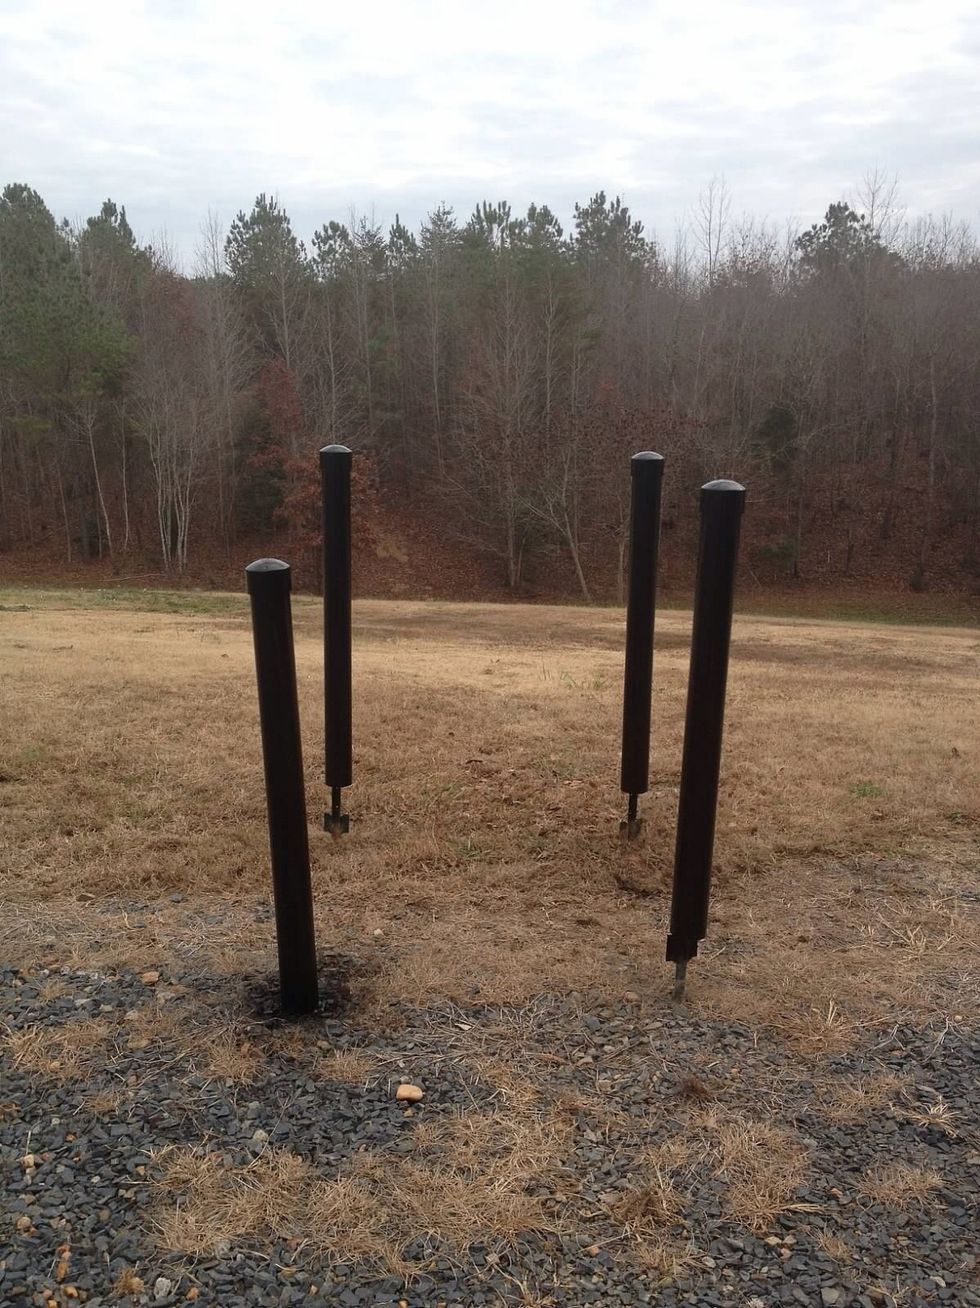
Spray paint the PVC pipes black and let dry.
I attached a metal rod the same length as the pipe to each bed pole and slid the pipe over both the rod and bed pole. This stopped the pipe from bowing in when tightening the ropes.

I Cut extra 2x2 support strips for under the mattress. I cut 2x6 boards (not pictured) and screwed them between the base of the 2 front & 2 back legs to stable them b/c the headboards were now gone.
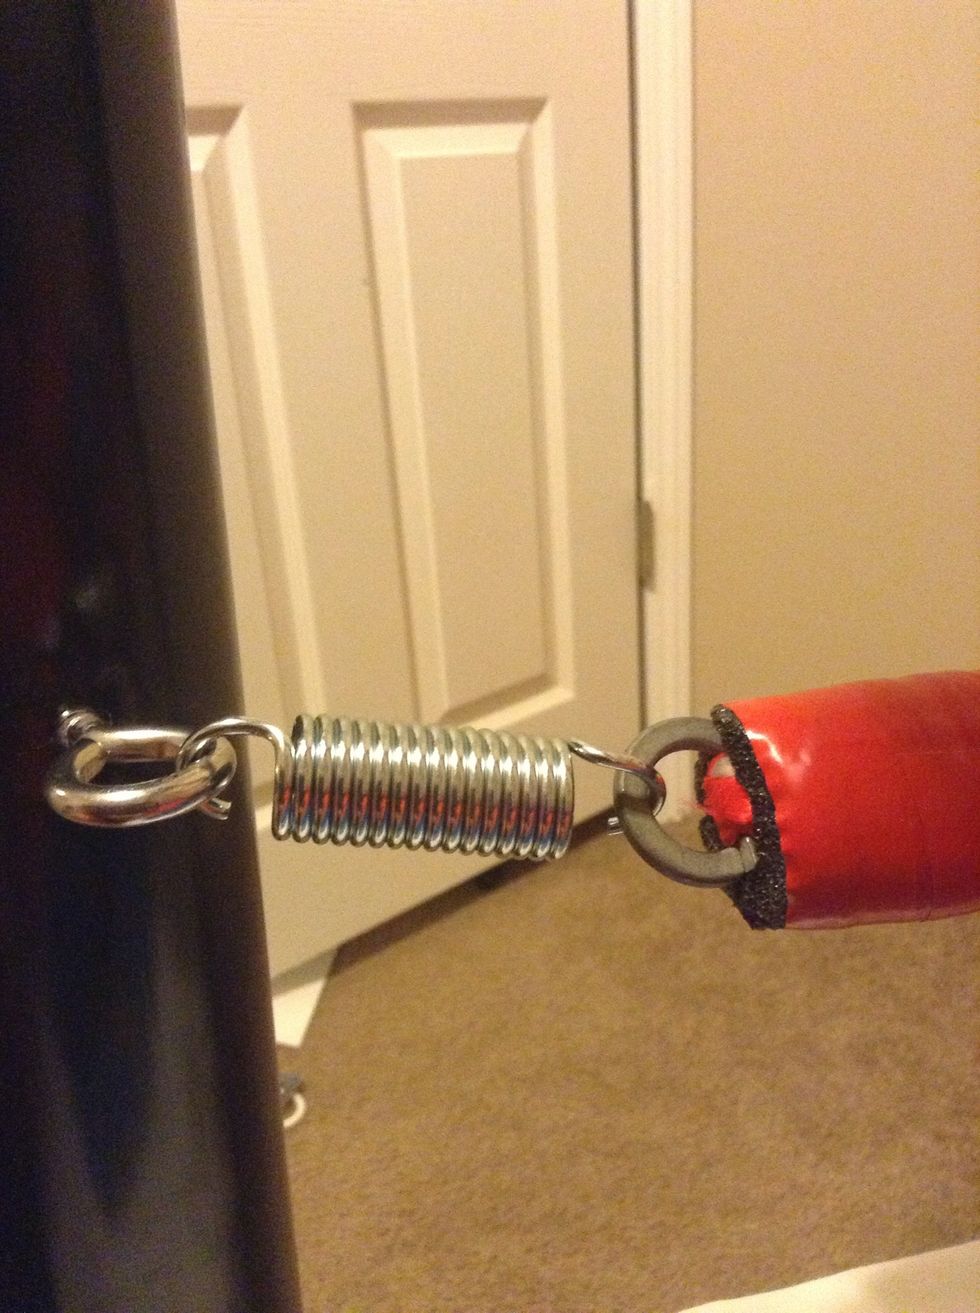
Screw eye bolts in all the holes drilled Before. I used small springs (turnbuckles were too long for a twin bed) & hooked them to the eyebolt. Add a metal ring on the other end to run the rope through
Double over the rope through the 1st ring and tape together well. Run the rope through the other rings all the way around the bed. Repeat this for the other 2 ropes.
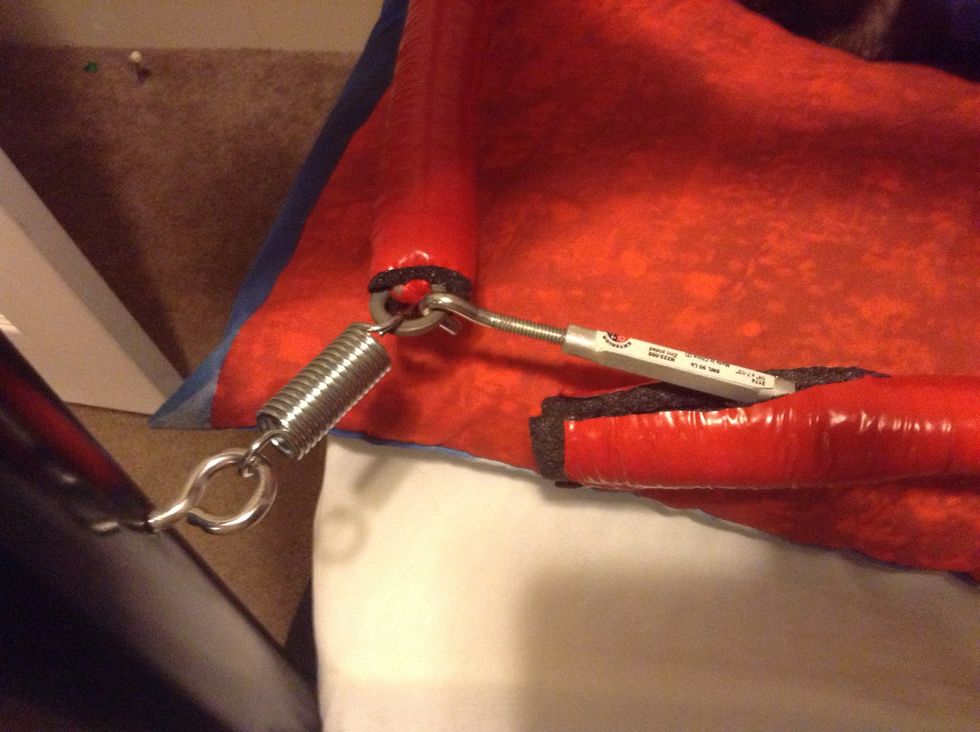
Once the rope is all the way around tape it to one end of a turnbuckle & hook the other end as shown. This allows tightening of the ropes and makes it easier to take down the front ropes if wanted.
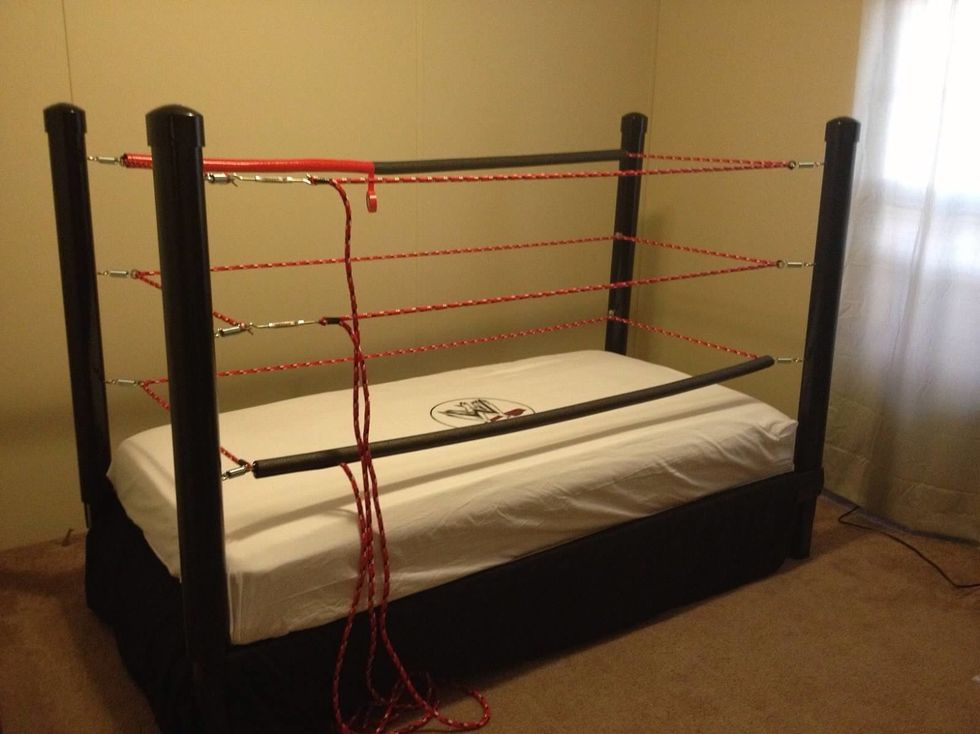
Trim excess rope. Cover all the ropes with pipe insulation and tape around each one with electric tape. **THIS IS A MUST TO HELP AVOID (NOT PREVENT) CHOKING/STRANGLING HAZARDS**
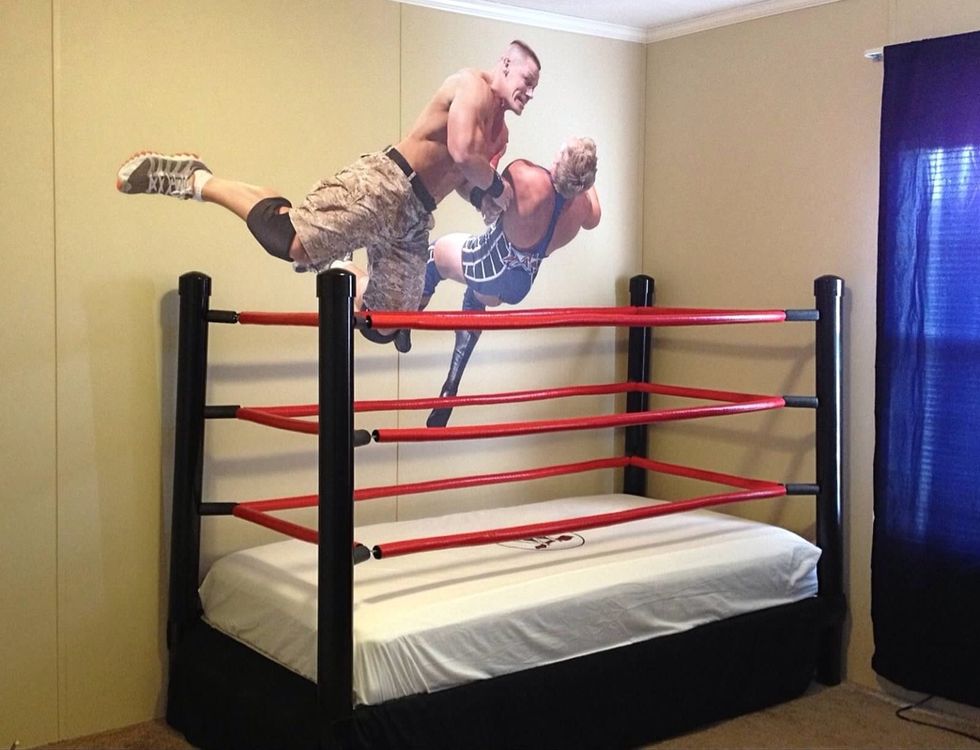
Cover the corner springs with pipe insulation also. I added an awesome Fathead wall graphic too!
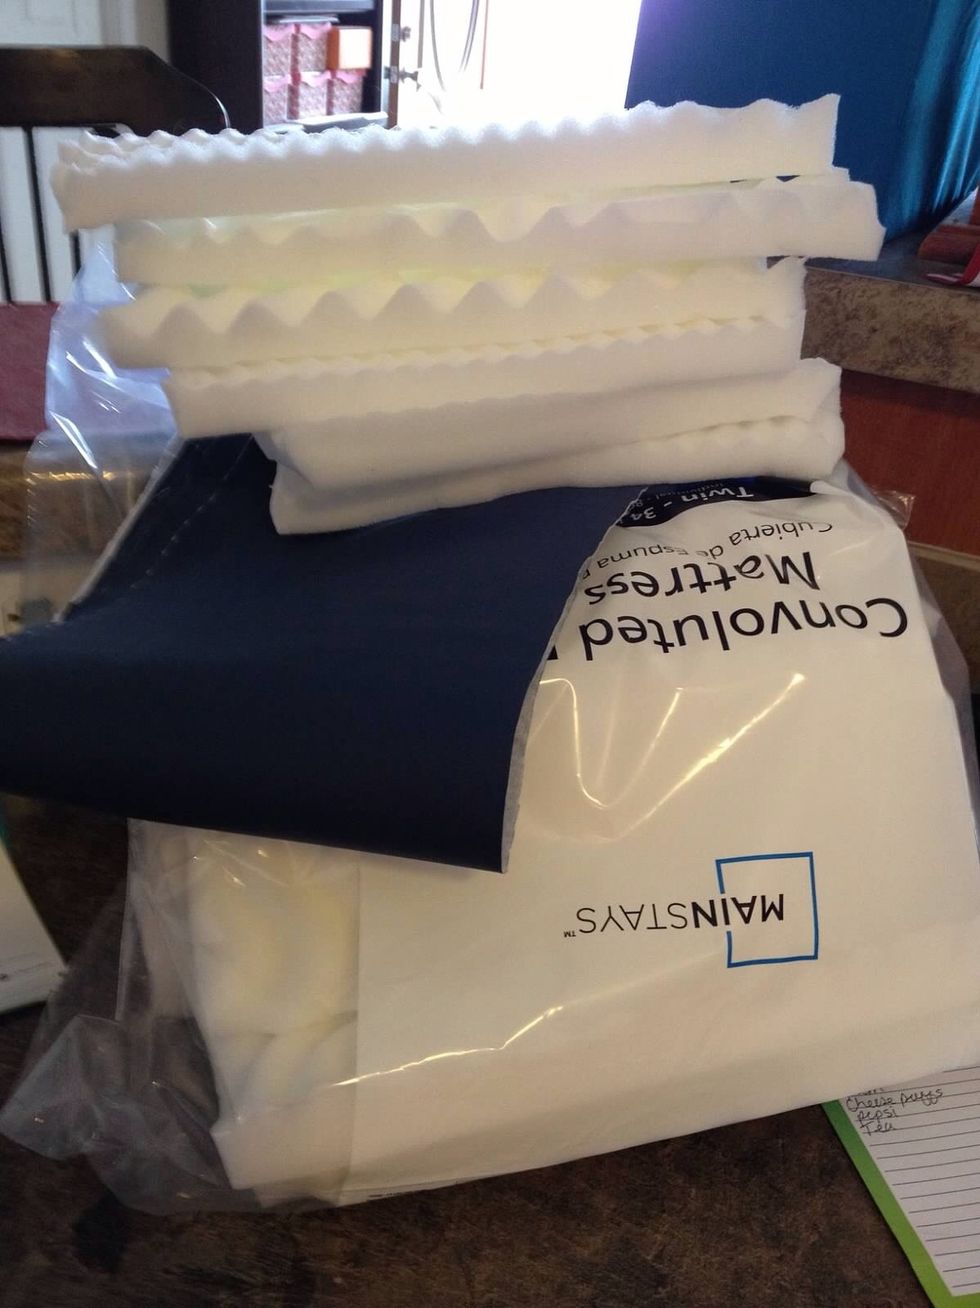
I cut rectangular pieces out of a mattress pad to use as padding for the turnbuckle covers and used vinyl fabric to cover the foam. (The mattress pad was much cheaper than buying foam pieces)
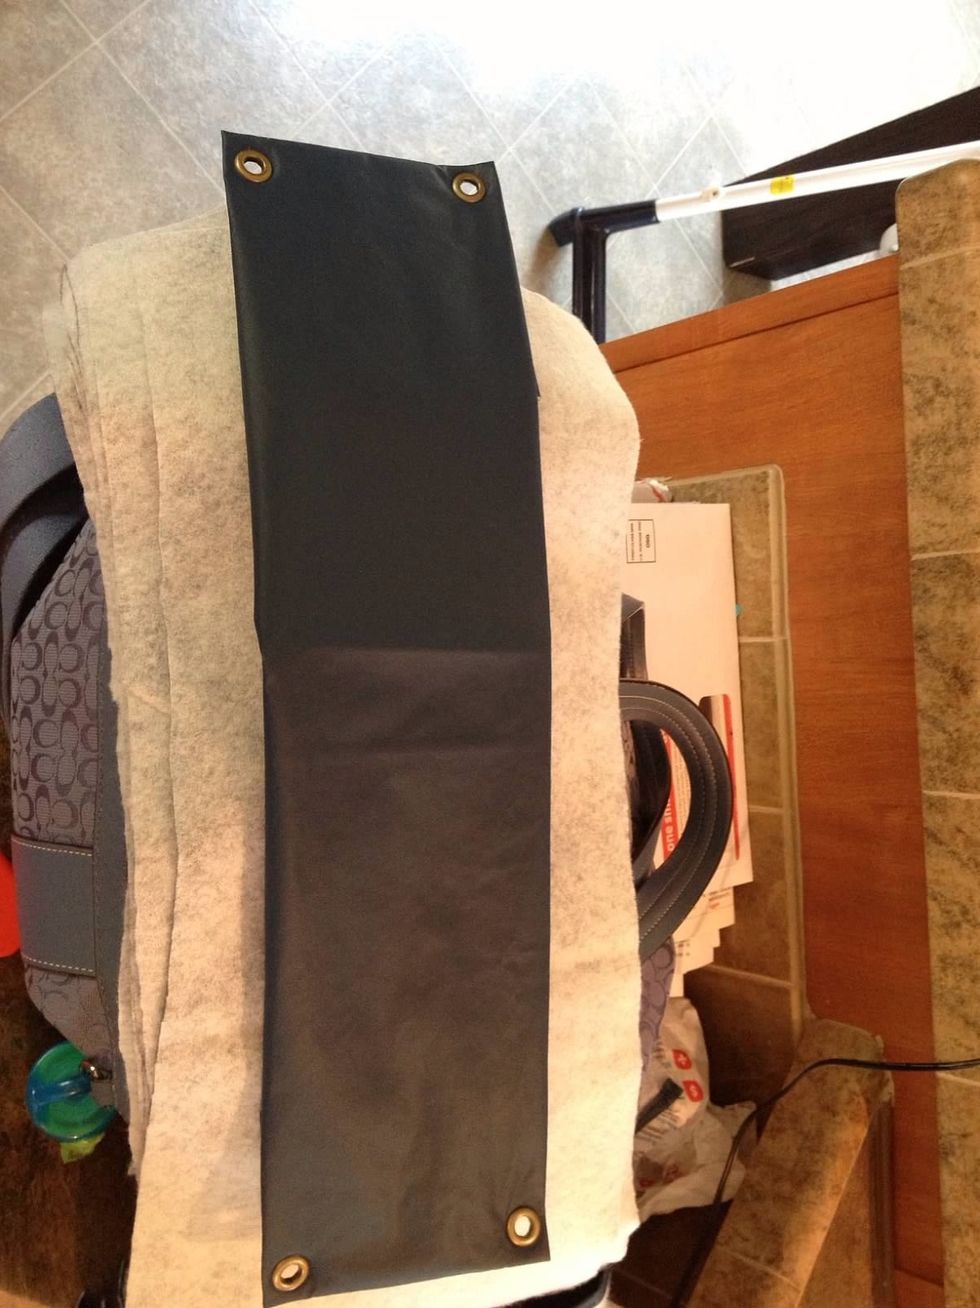
Fold the vinyl around the padding and put eyelets on each corner.
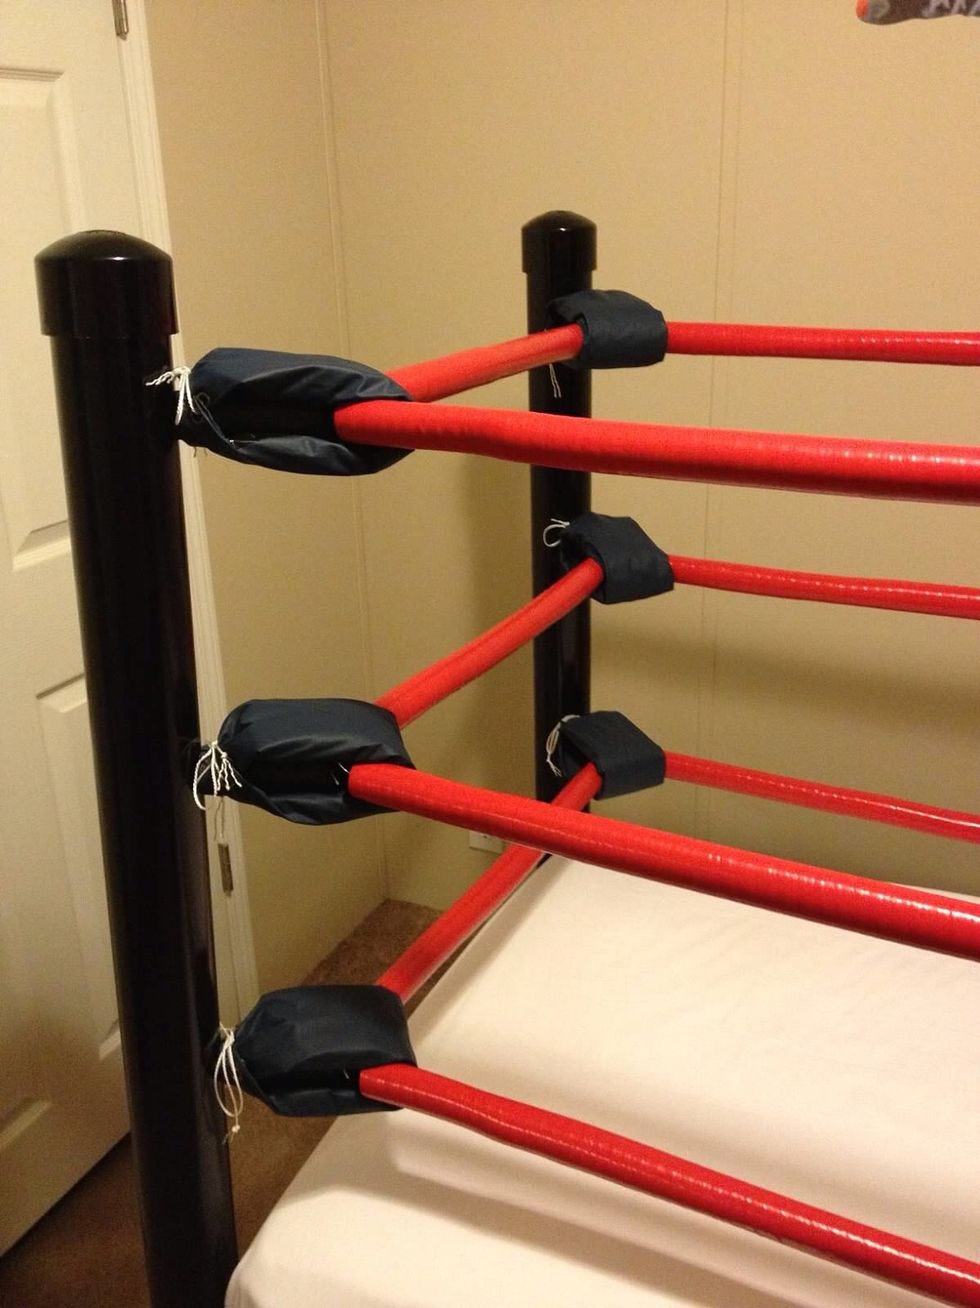
Fold the pads over the corner springs and tie.

I painted this emblem in the center of a plain white sheet to give the mattress the look of an official ring. I used a bunk bed board instead of a box spring to keep the mattress low.
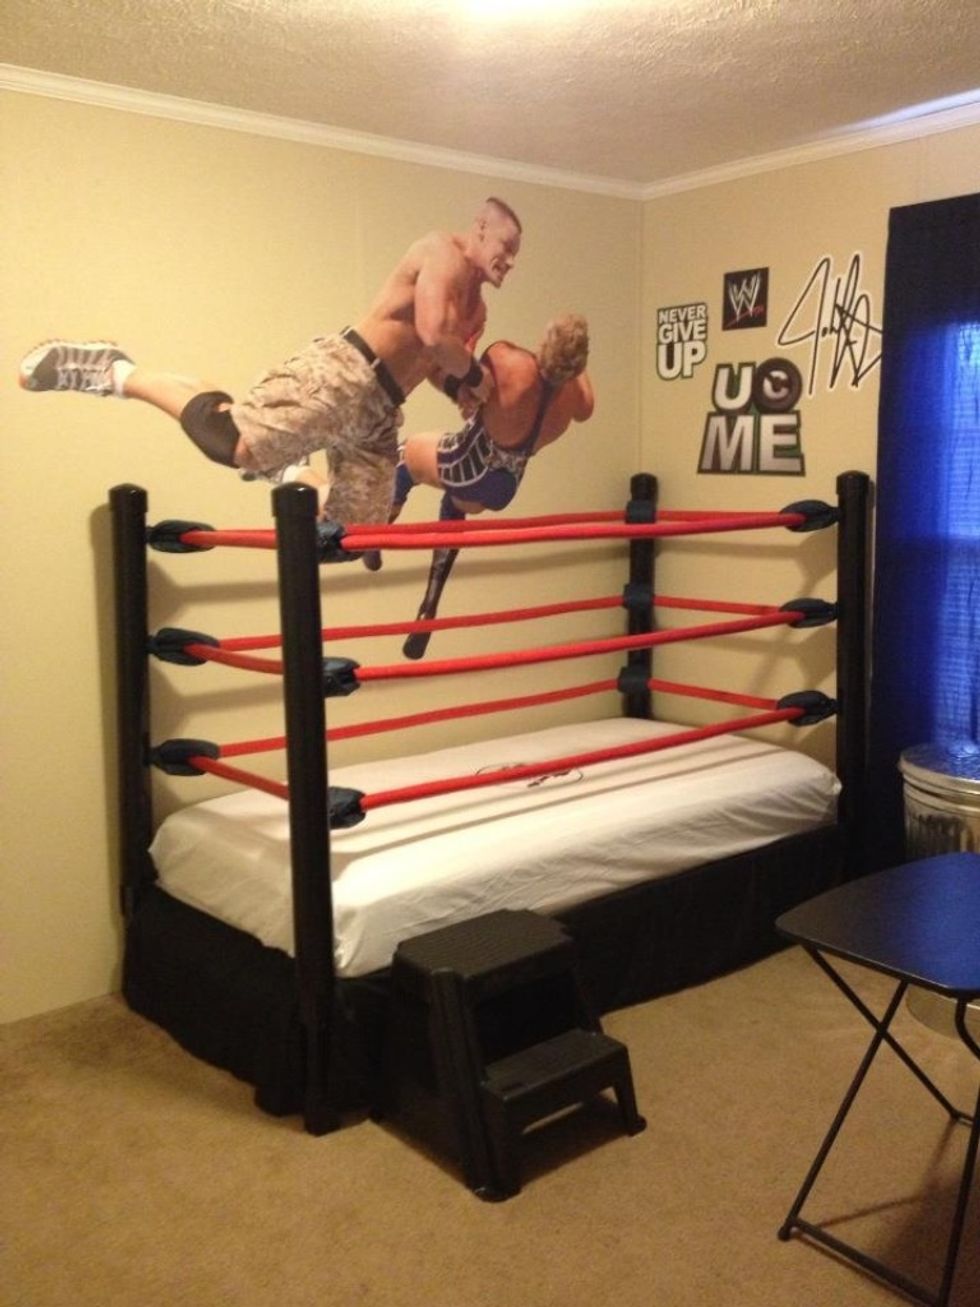
Add a metal trash can (perfect toy storage!) small black commentator table (for homework), steps, small ladder and a black bed skirt.
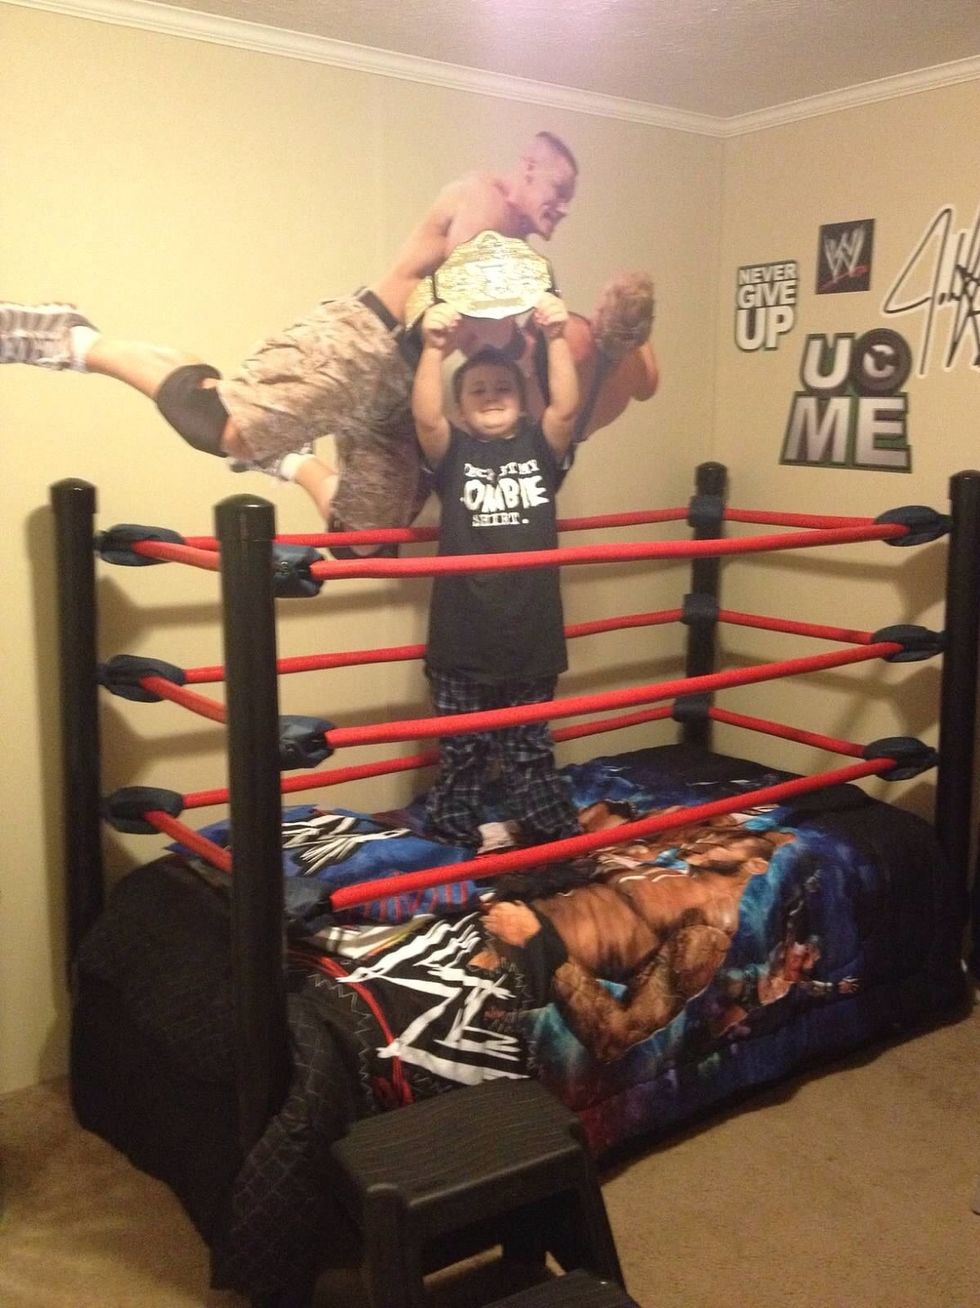
Result: One very Happy Little Man. See his reaction on You Tube! http://m.youtube.com/watch?v=a0D5HRn5vdc&feature=plcp