The Conversation (0)
Sign Up
Camping is so old school. In our era of photogenic activities, it’s all about a more glamorous form of camping: glamping! And we’re here to serve up fun glamping DIYs for the adventurer in all of us.
The Kia Sportage is all about adventure, whether planned or impromptu. It’s a great car for those of us who tend to be the planners in our families or group of friends.
The spacious trunk makes it easy to haul a couple of tents, sleeping bags and even an epic trunk canopy.
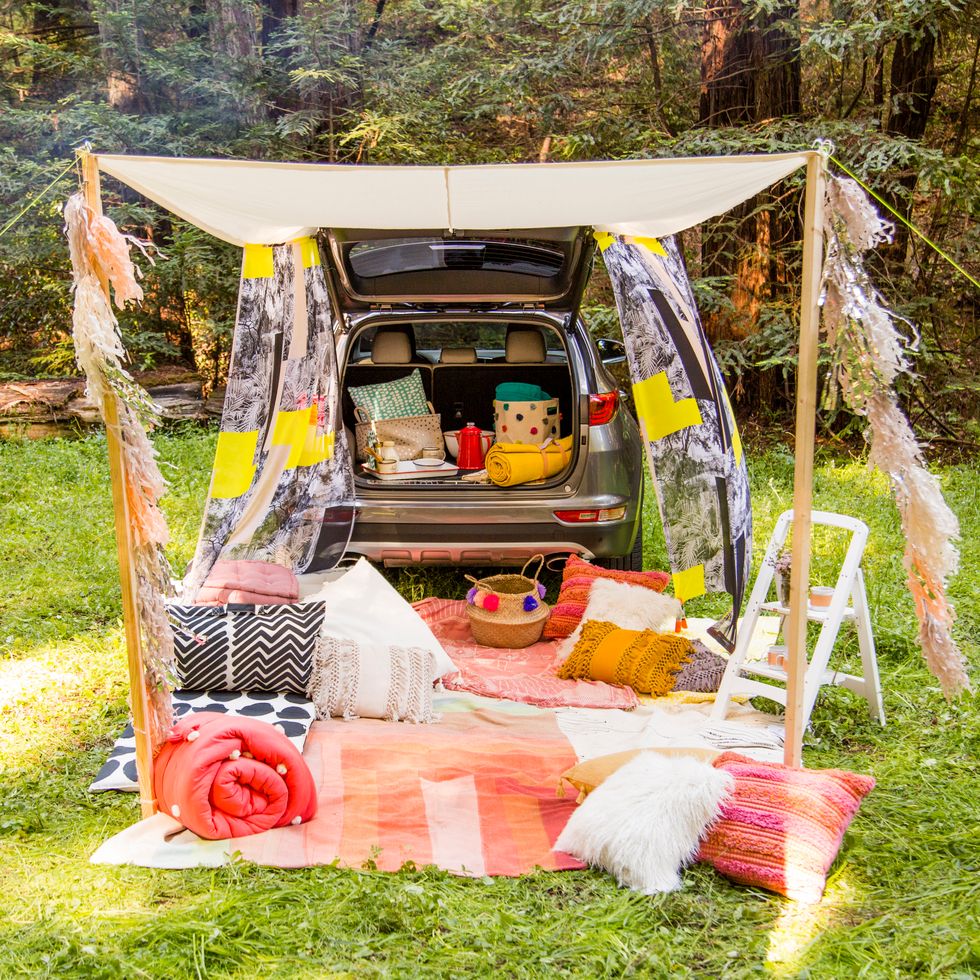
One thing that can be hard when camping is finding a hang zone besides inside your tent. We decided to create a chic little outdoor living room built right off the trunk of the Sportage.
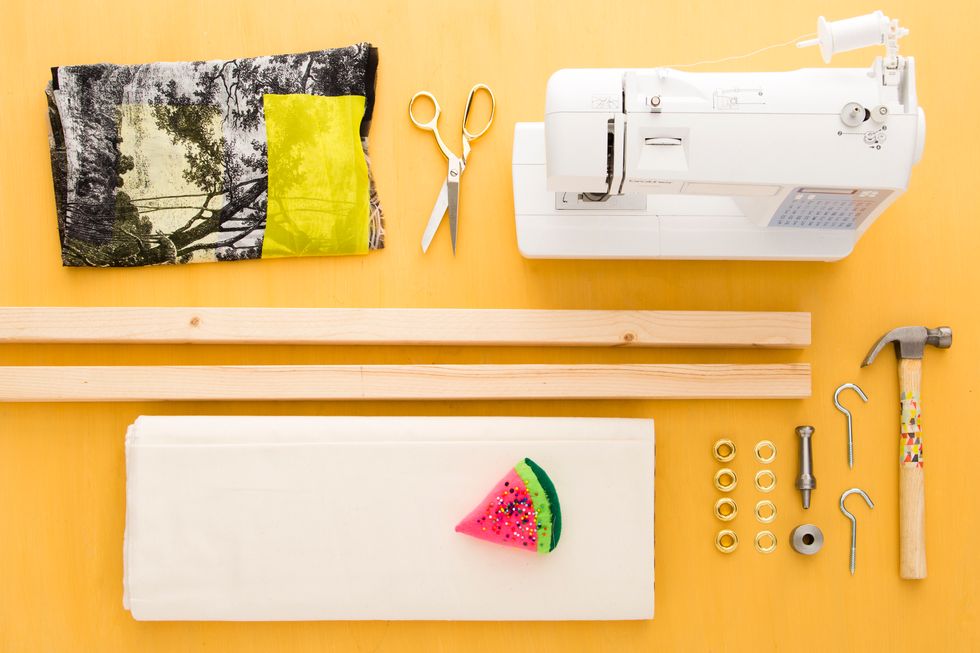
First things first, gather all your supplies.
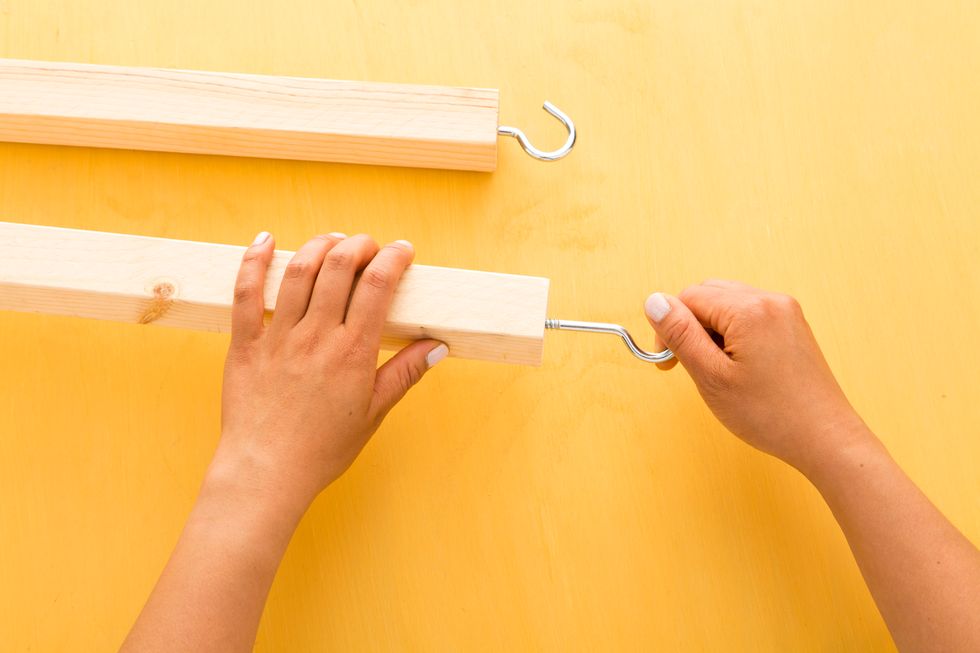
Attach a screw hook onto one end of each furring strip.
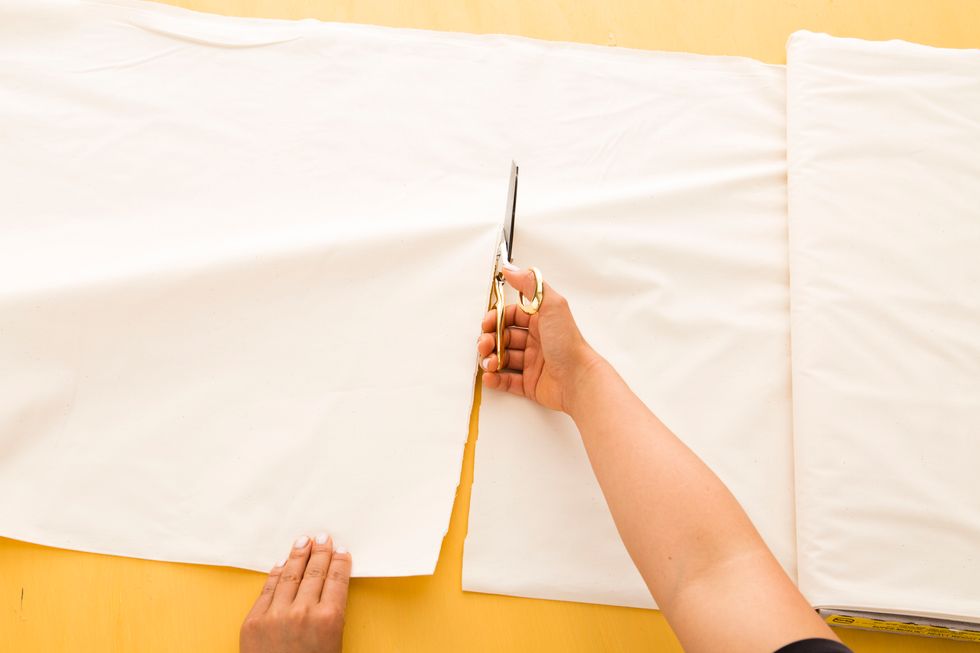
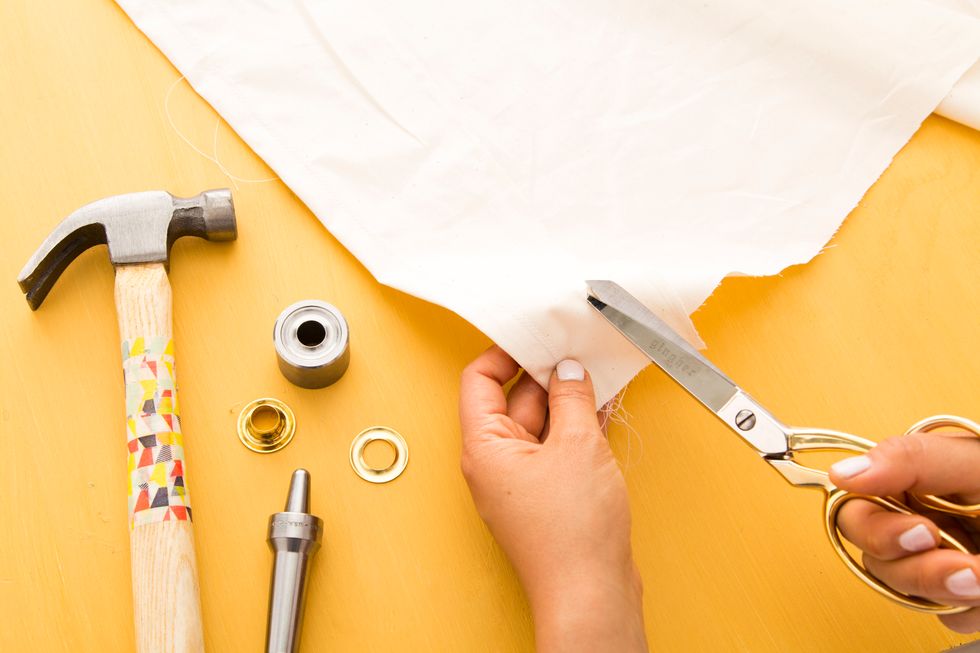
Next, cut two pieces of 10.5-foot-long white muslin fabric. Unfold each piece of fabric and lay them flat on top of each other.

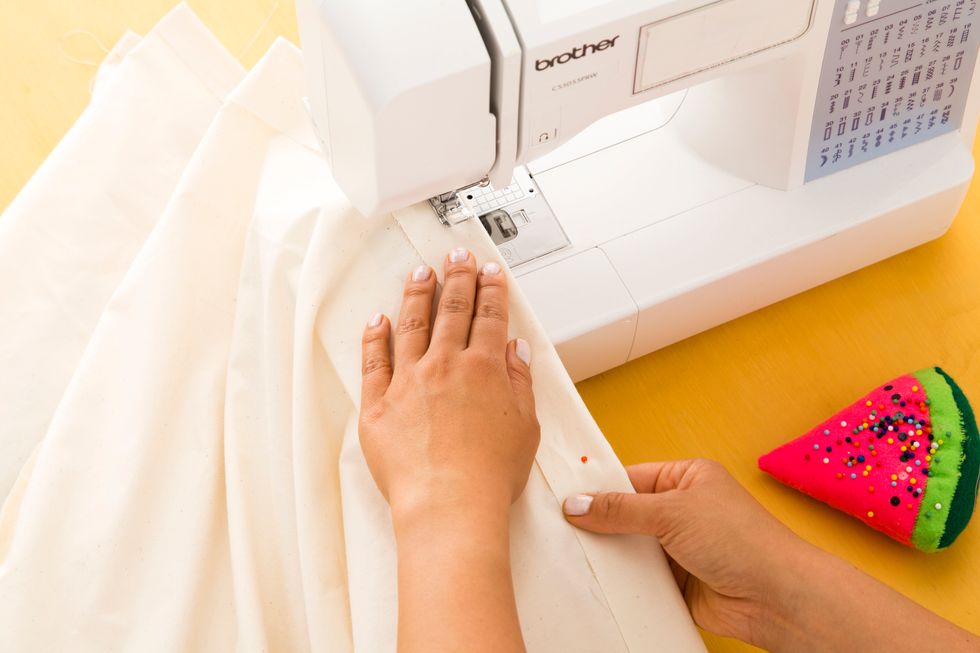
Pin down one side on the longest length.
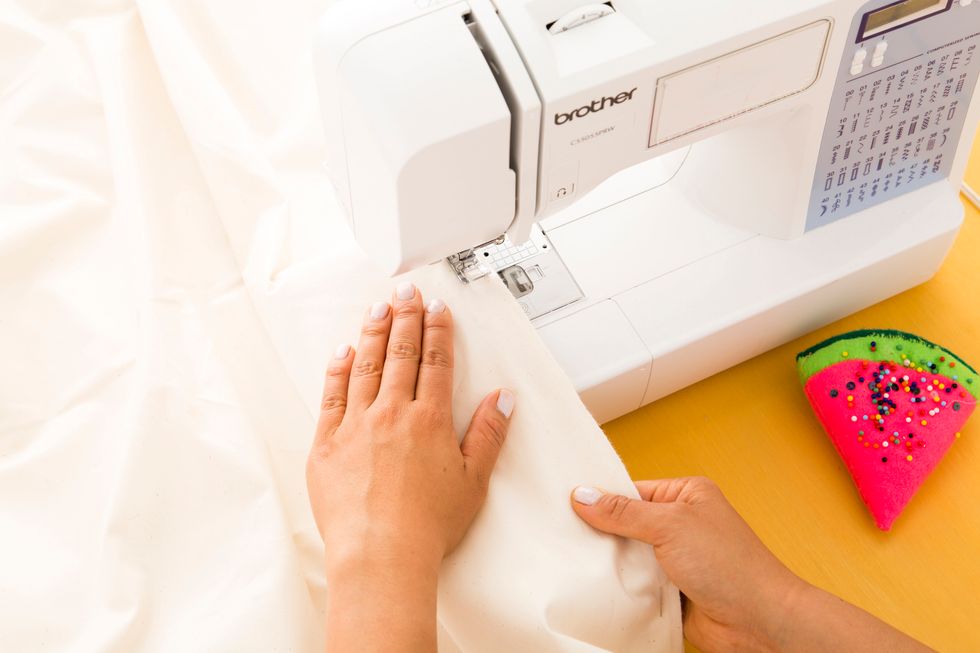
Run the pinned side through the sewing machine using a zigzag stitch for sturdiness. Once sewn, unfold the fabric and lay on the ground.
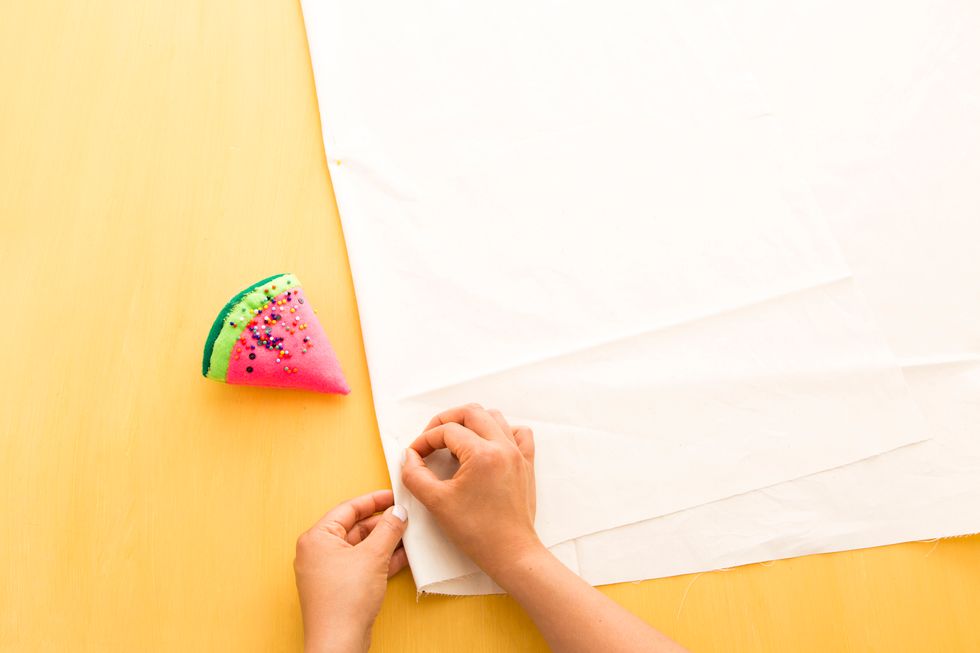
Next, measure the length of the back of your car. Along the shorter length of your fabric, measure two and a quarter feet on either side of the stitch you just made (your middle point).
This will equal four and a half feet centered in the middle of your fabric and will serve as the part that hooks to the back of your car.

fold a straight line from your mark to the corner of the other end of your long fabric. This will create a diagonal fold lengthwise. Do this to both sides.

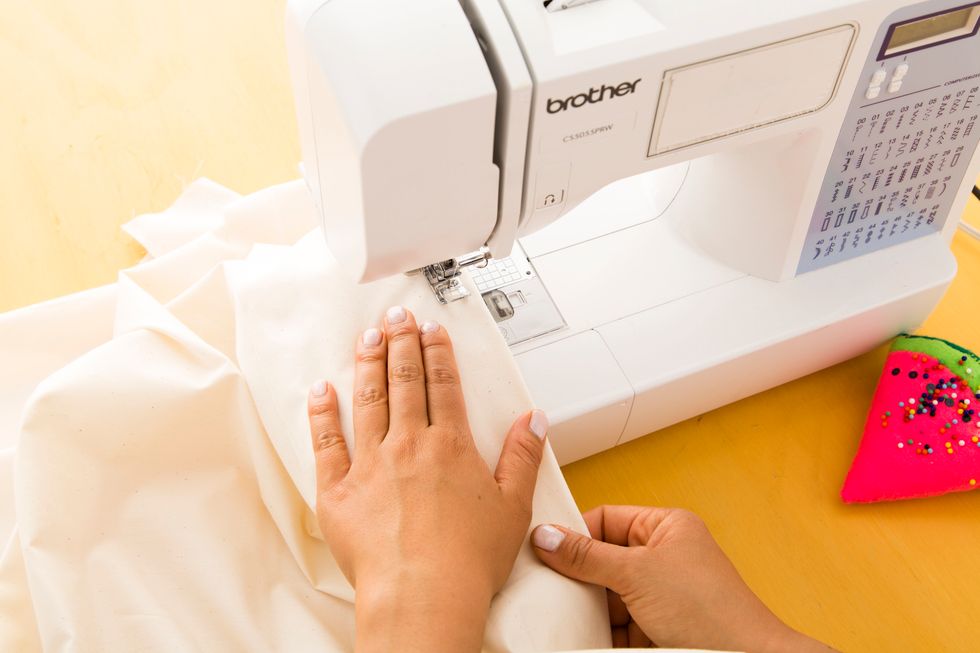
Your fabric should now look similar to a wide V shape. Pin along the folds and sew with the same zigzag stitch.
Now onto the grommets! Cut a small X two inches in on all four edges. This leaves enough room to hem any edges that haven't been hemmed yet.
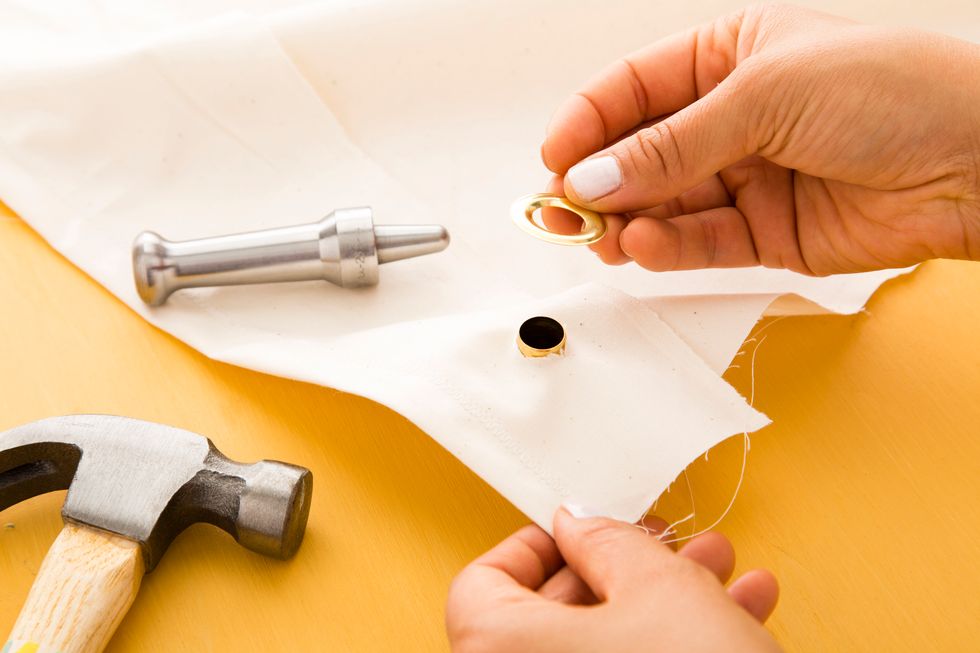
Place the raised grommet piece on the grommet tool, layer your fabric on top and put the other piece on top of the fabric.
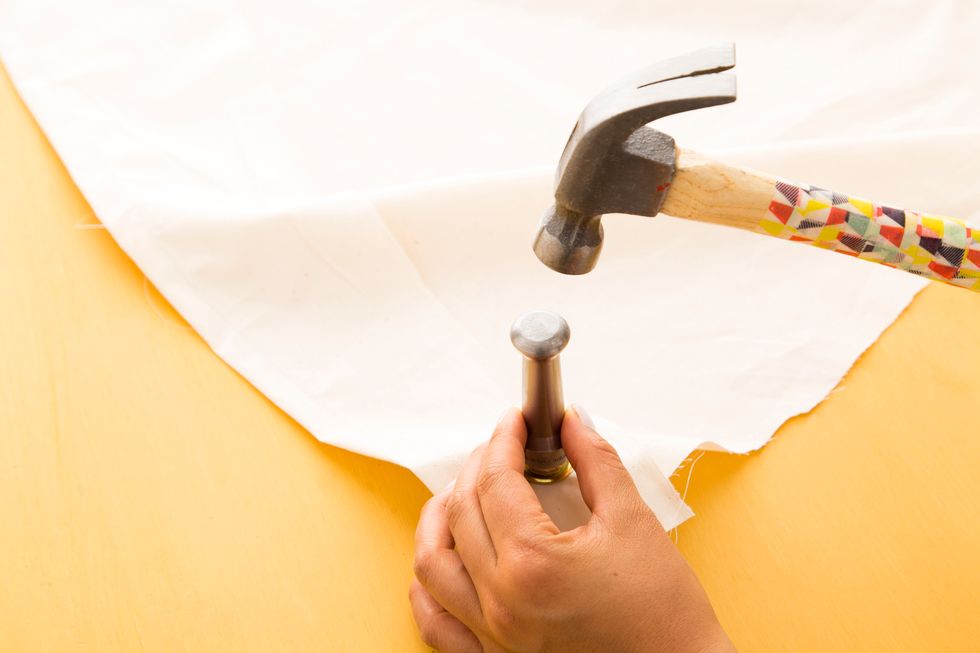
Set the second part of your grommet tool on top and hammer hard so that your grommet is locked and secured. Repeat on all four corners.
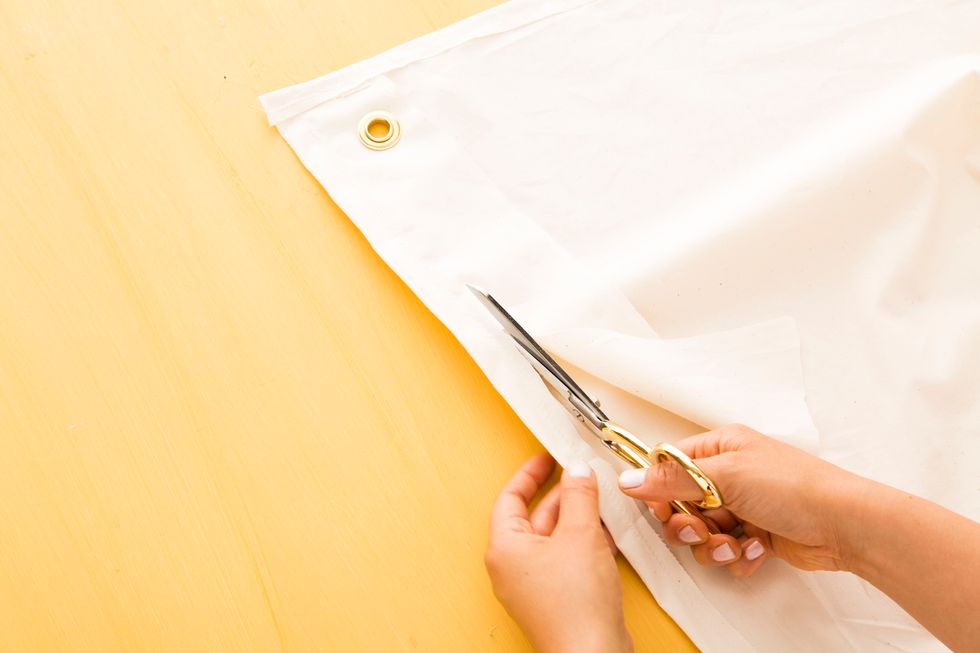
Hem all edges of your fabric and trim the excess.
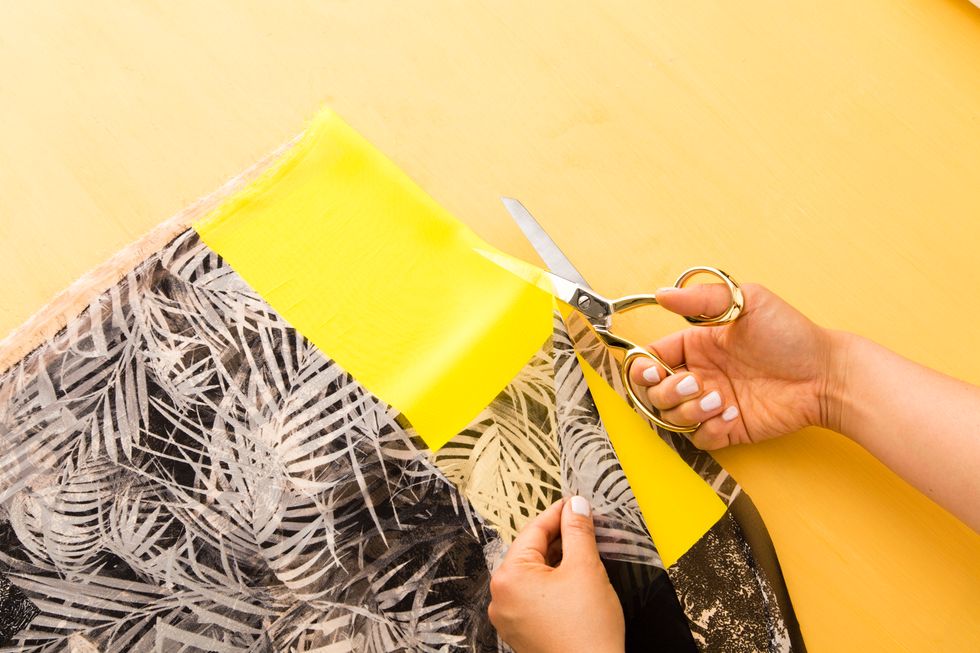
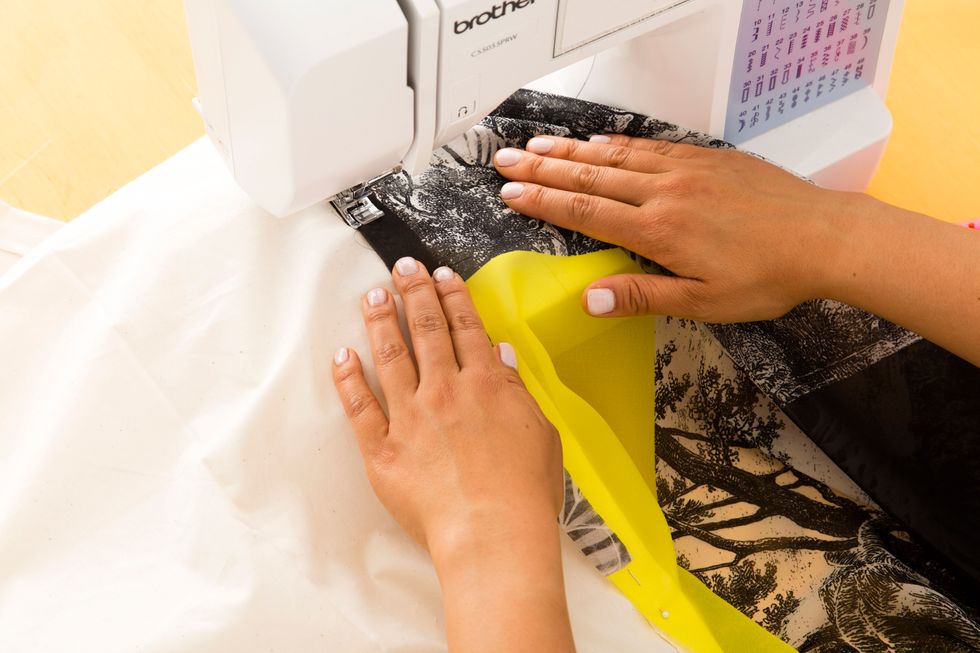
Fold and cut your colored or printed fabric in half. Pin one piece of printed fabric (the shorter end) to the smaller end of your V on the muslin fabric. Do this on both sides.
Make sure the hem line for both the muslin fabric and the printed fabric are pointed the same way. Sew along the edges where you pinned.
Use floral wire to hook two grommets to the back of the car by attaching them to the trunk door. Hook the other end of your canopy to the screw hooks on your wood furring strips.
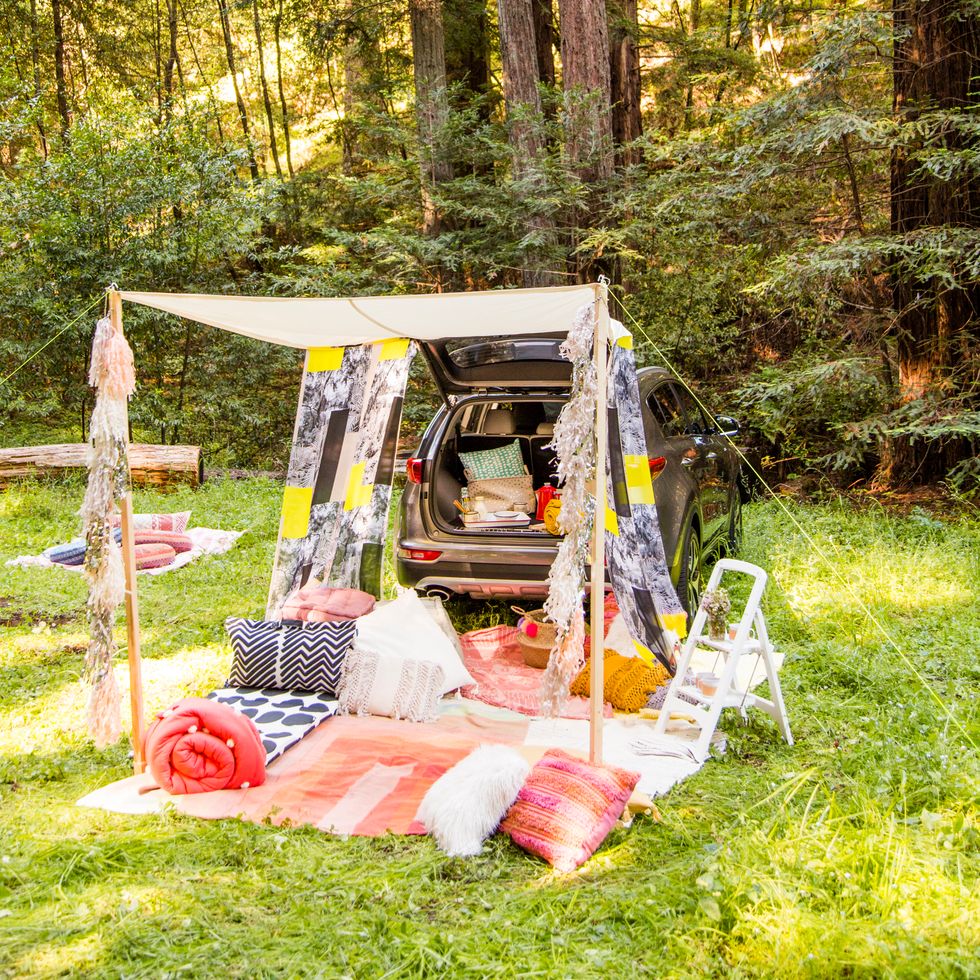
Have a friend help you dig a small hole. Hook and tie one end of your mason line to the screw hook and stand the wood furring strip upright within the hole.

Leverage the pole by tying your mason line to a tent stake and pulling it taut so that the wood furring strip will stand on its own. Repeat this to the other side.
For more glamping DIY's, click here: http://go.brit.co/1XVgaLe