The Conversation (0)
Sign Up
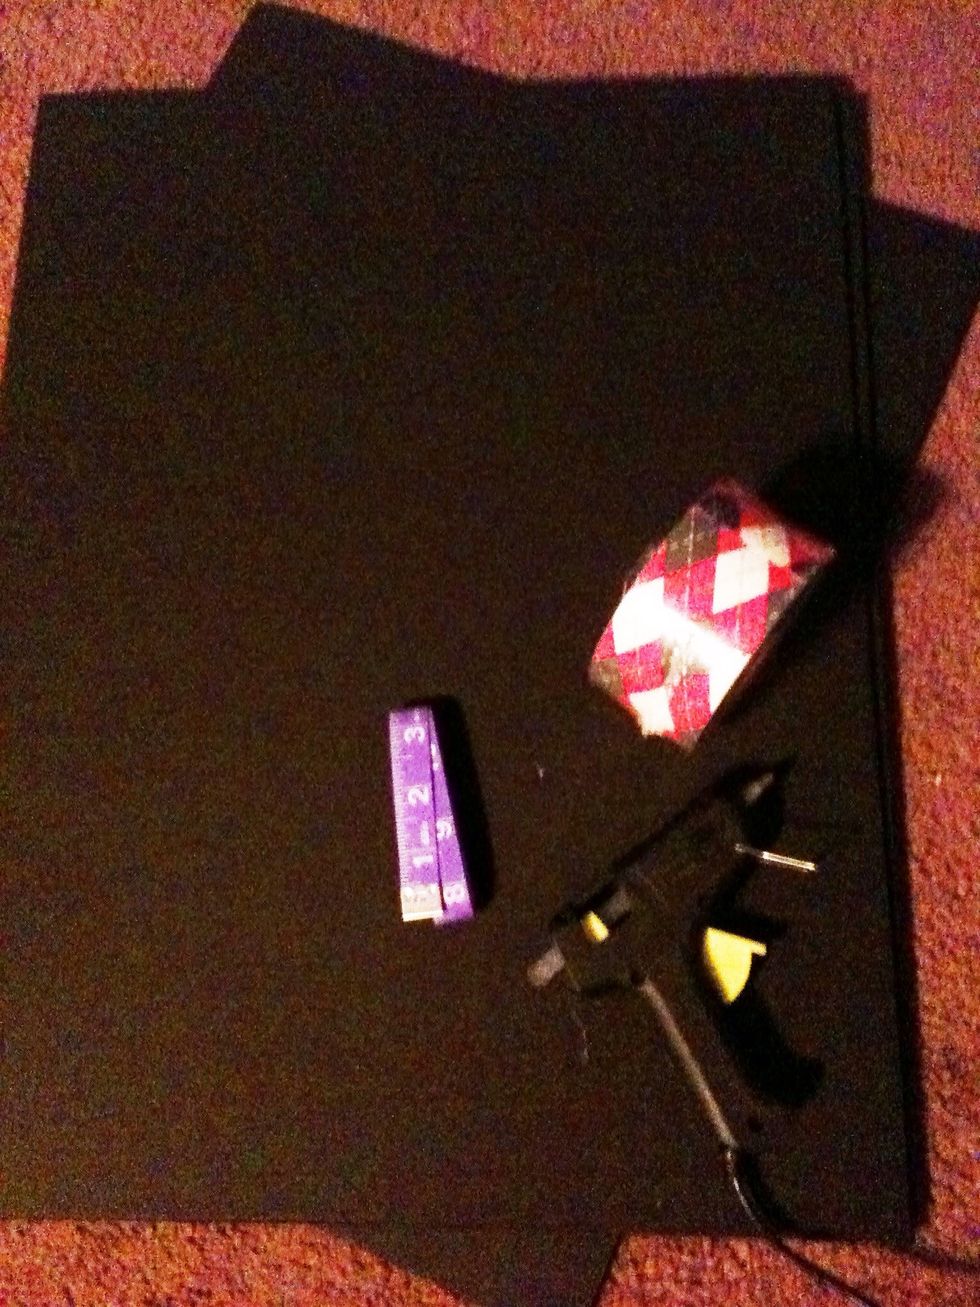
Supplies (wooden dowels not pictured because I started the project without them and bought them later as an afterthought)
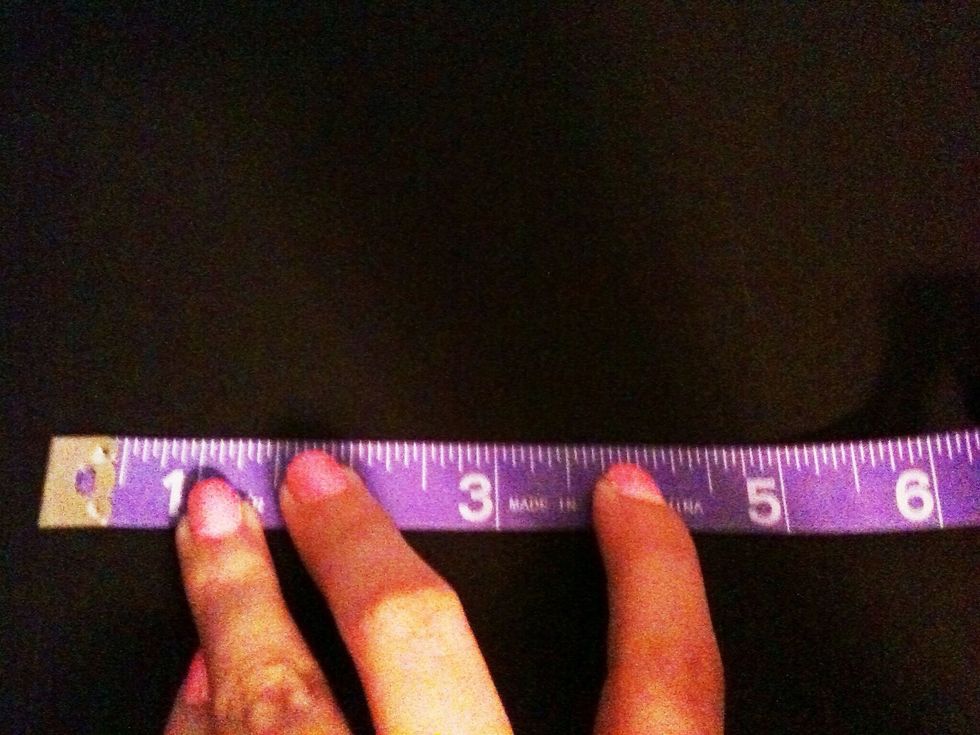
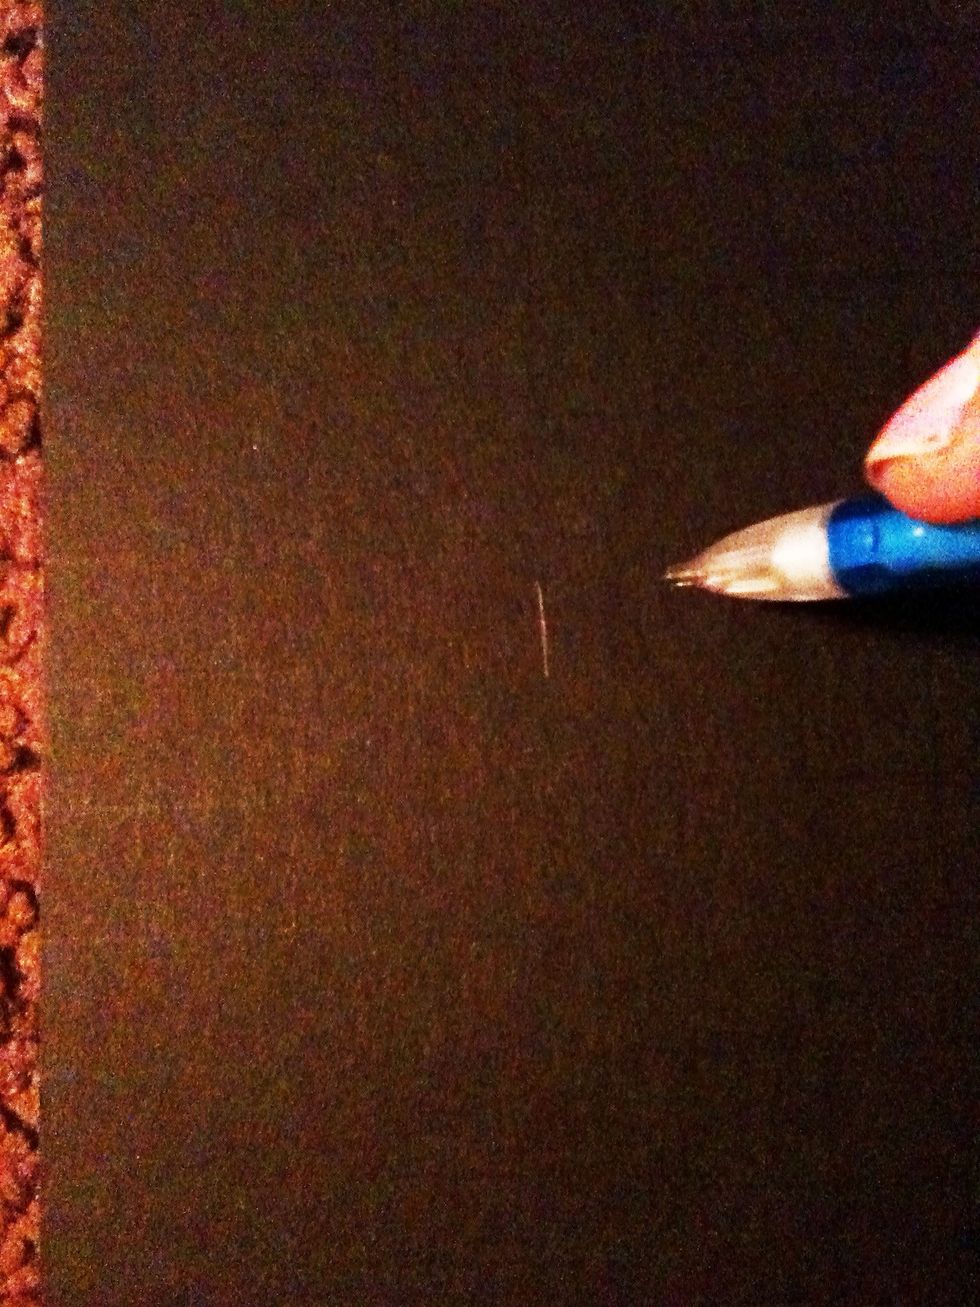
Take your first board and draw a horizontal line every 5 inches
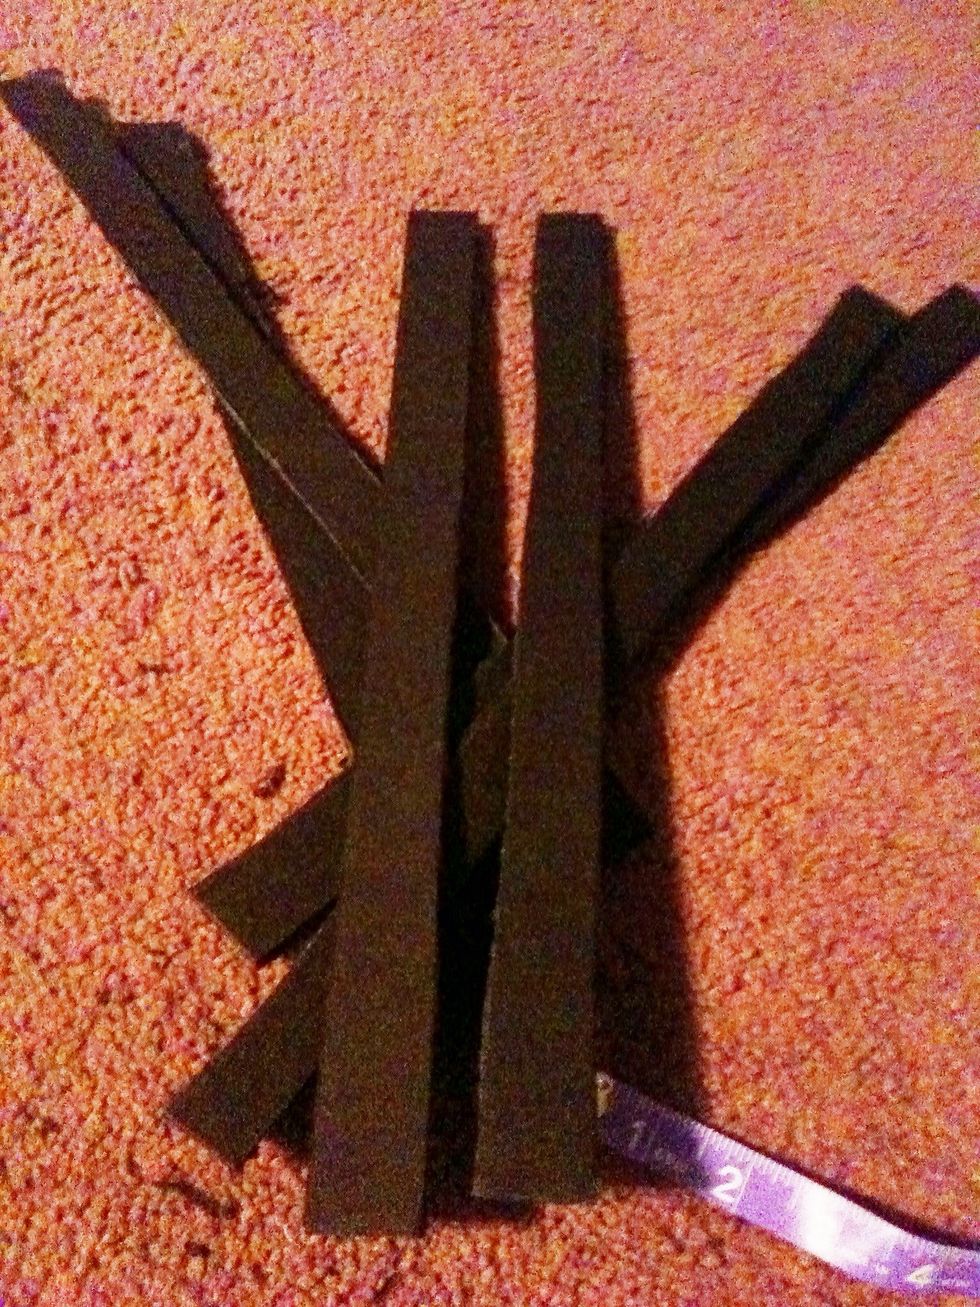
Take your second board and measure out four 2 inch horizontal strips.
Cut these apart. These will be your shelves.
My shelves. (I know there are five when I said cut four. The original instructions left me with pieces left over)

Next, with the remaining of your second board, measure out five 1 inch horizontal strips. These will create a lip for your shelves so that your polishes won't fall off.
My 1 inch strips. (Again, ignore that I have more pictured than I said to cut.)
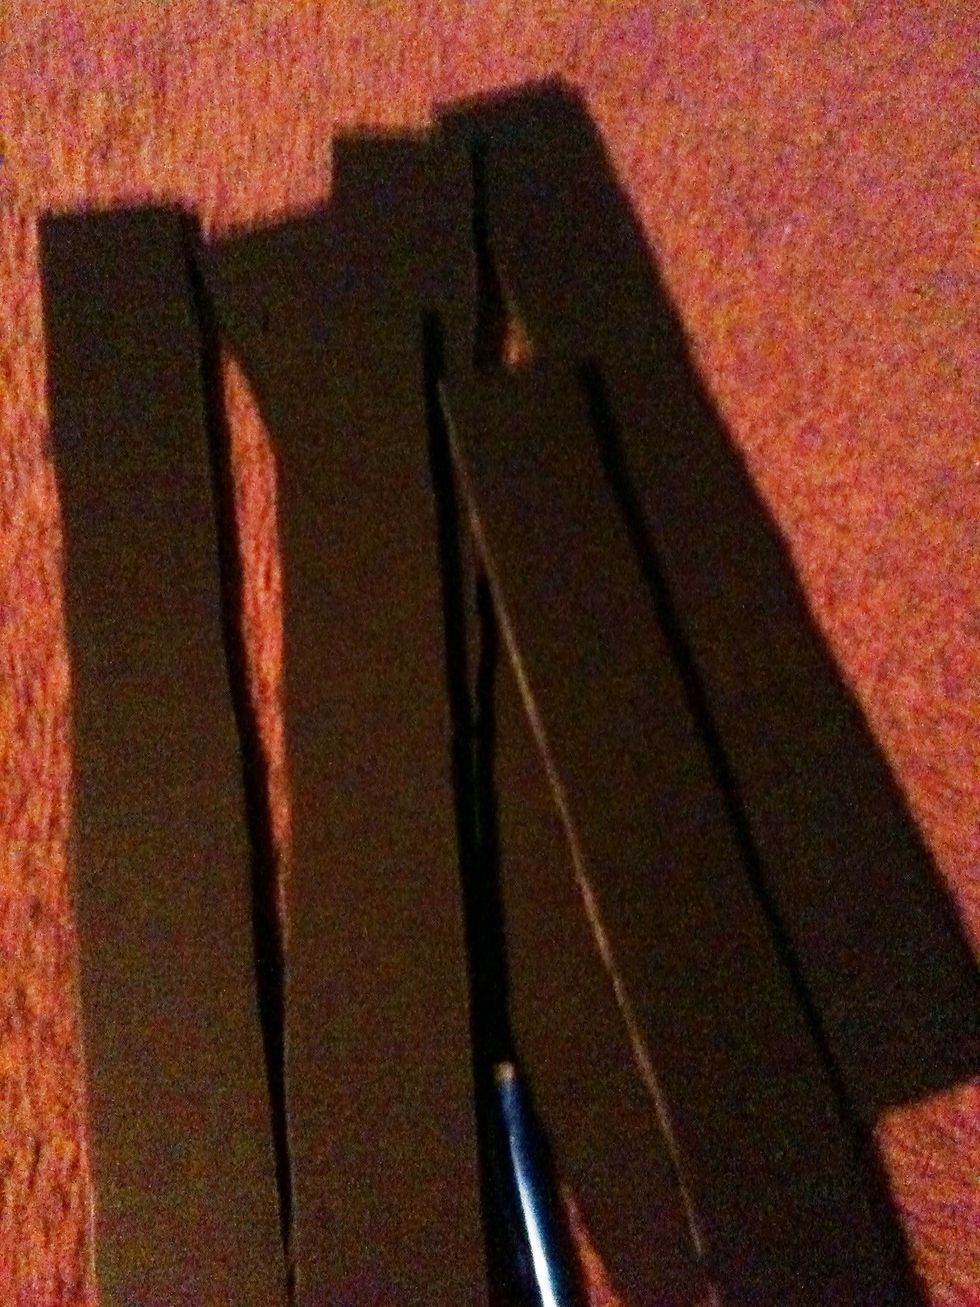
Take your last board and measure and cut two 2 1/3 vertical strips. These will be your sides. (Sorry, I forgot to take a photo.)
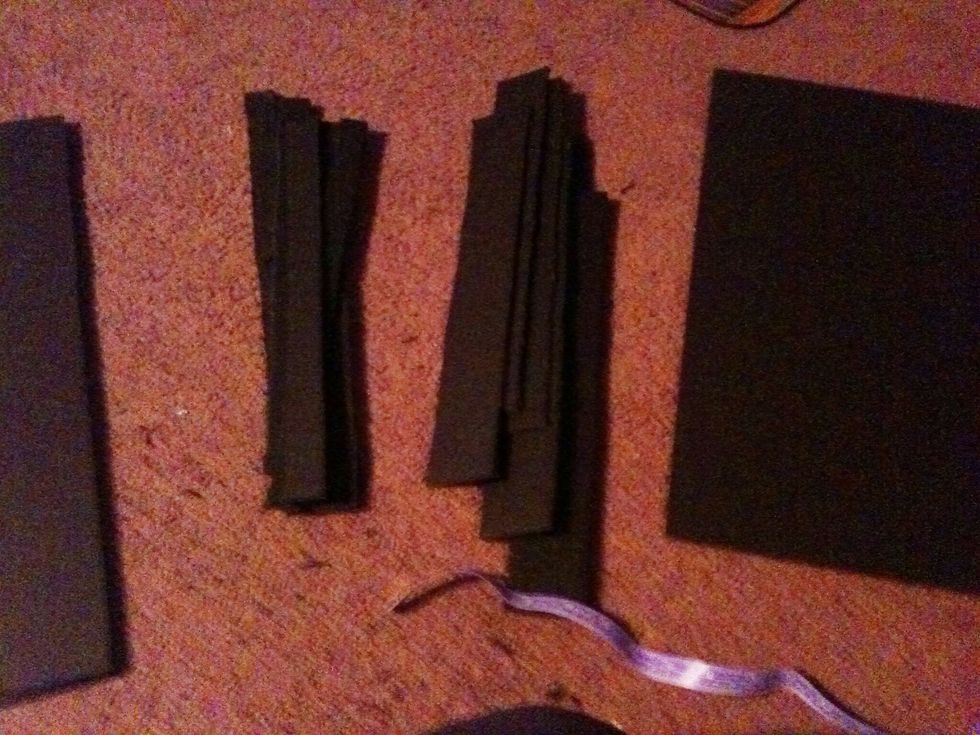
All my cut out strips
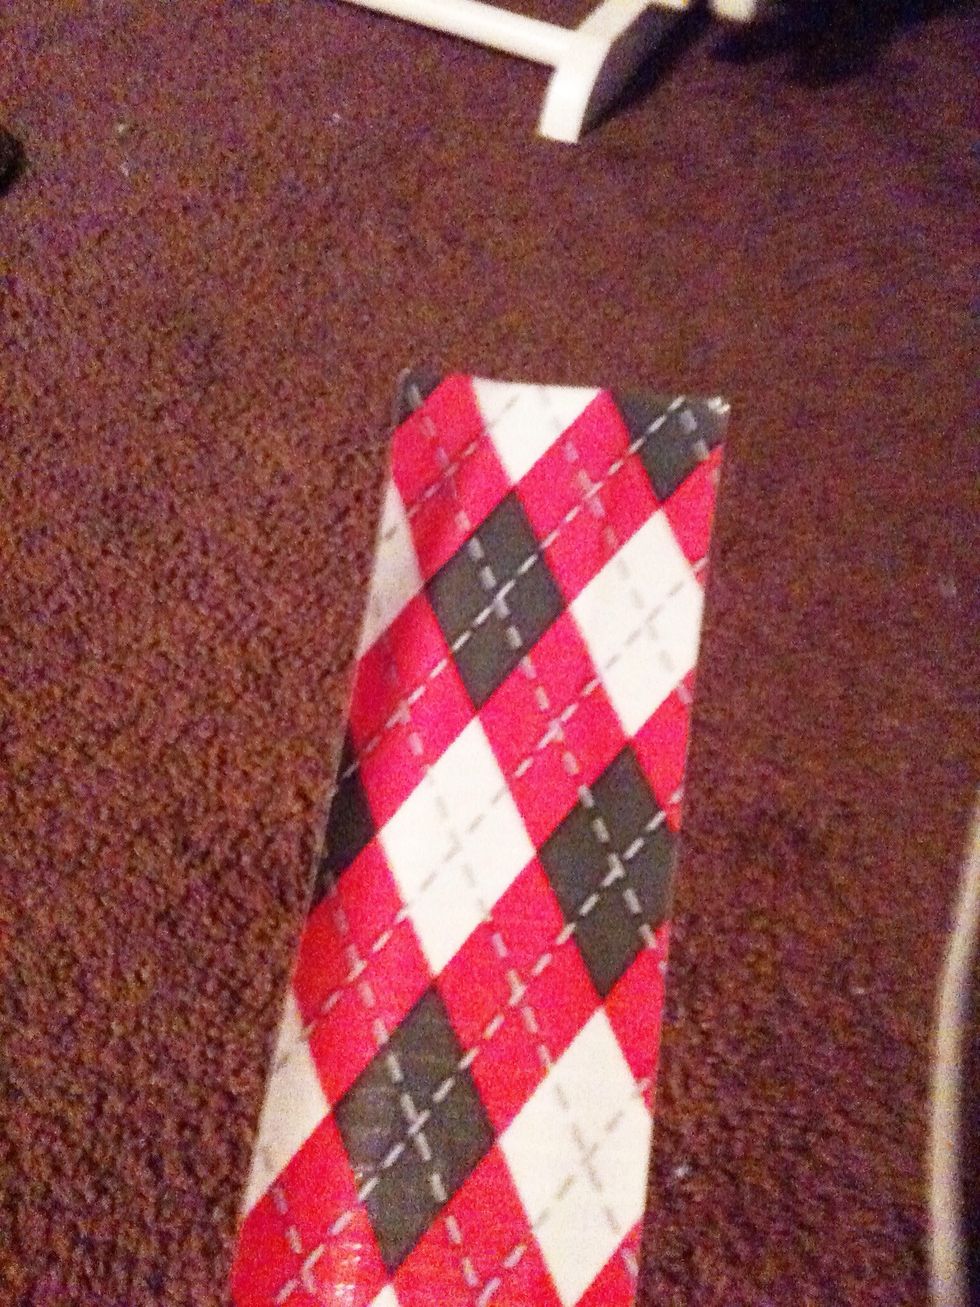
Take your duct tape and cover your strips
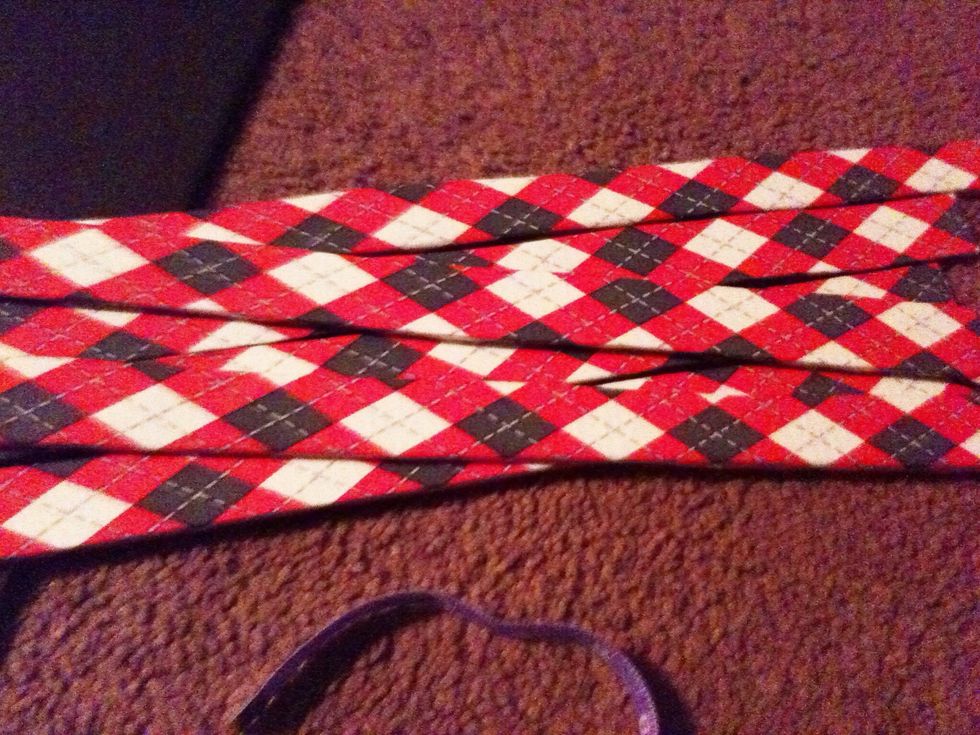
My strips covered
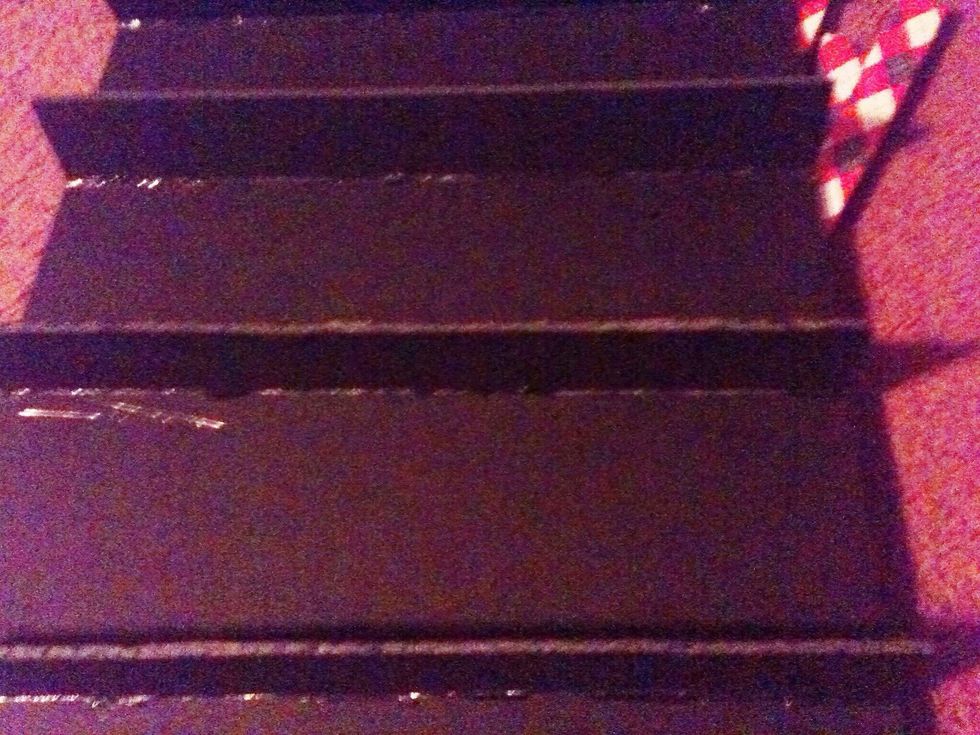
Ok, now take your shelves and hot glue them on the lines you drew on your first board earlier. I recommend putting the glue in the shelf then sticking it in the whole board.
Tip: also glue along the top and bottom of the shelf to help secure.
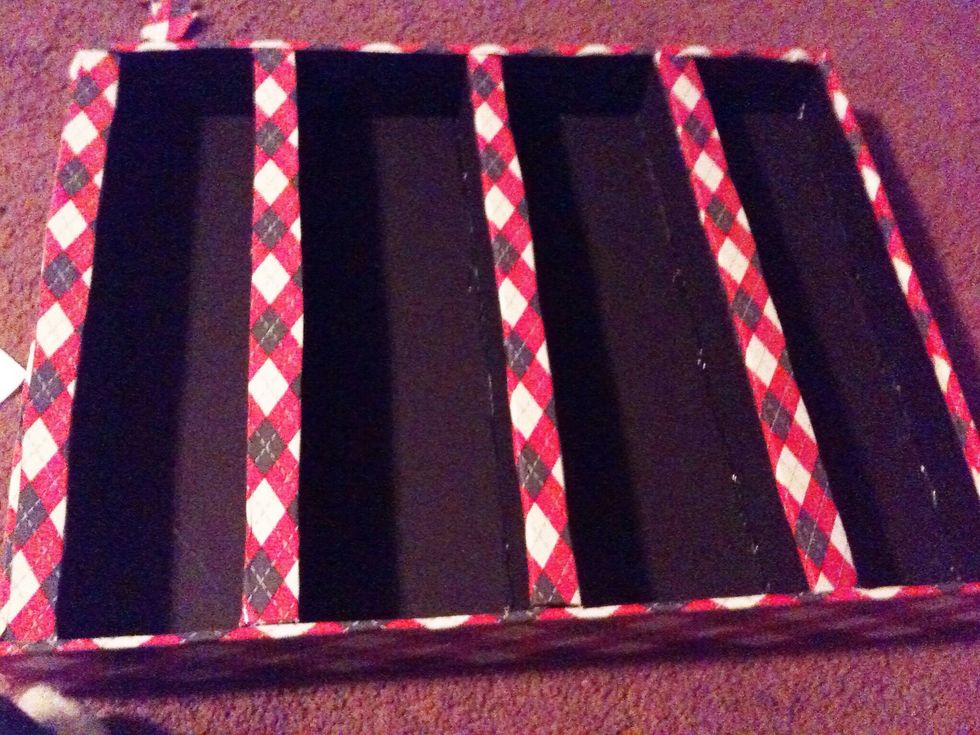
Next glue your one inch pieces on to the shelf then the sides.
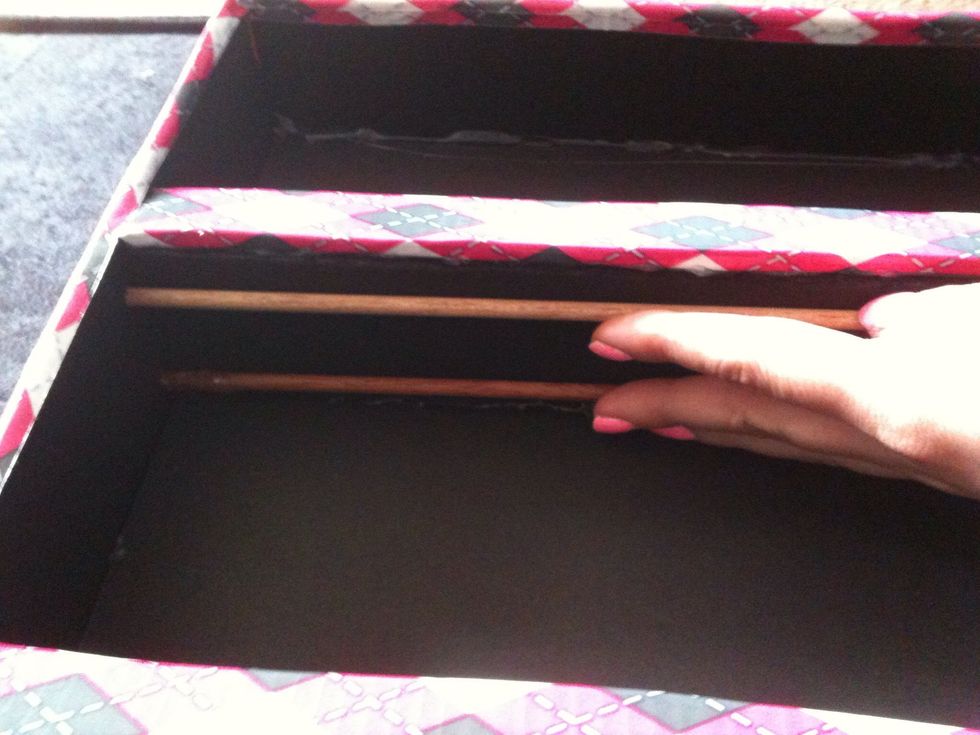
Now is when you would add your dowels but I don't have photos because like I said, I didn't think of that till after the project. However, you would take 2 dowels per shelf and insert them
Horizontally into the sides. This is going to add a little more stability to your shelves.
Here it is photos after done though.
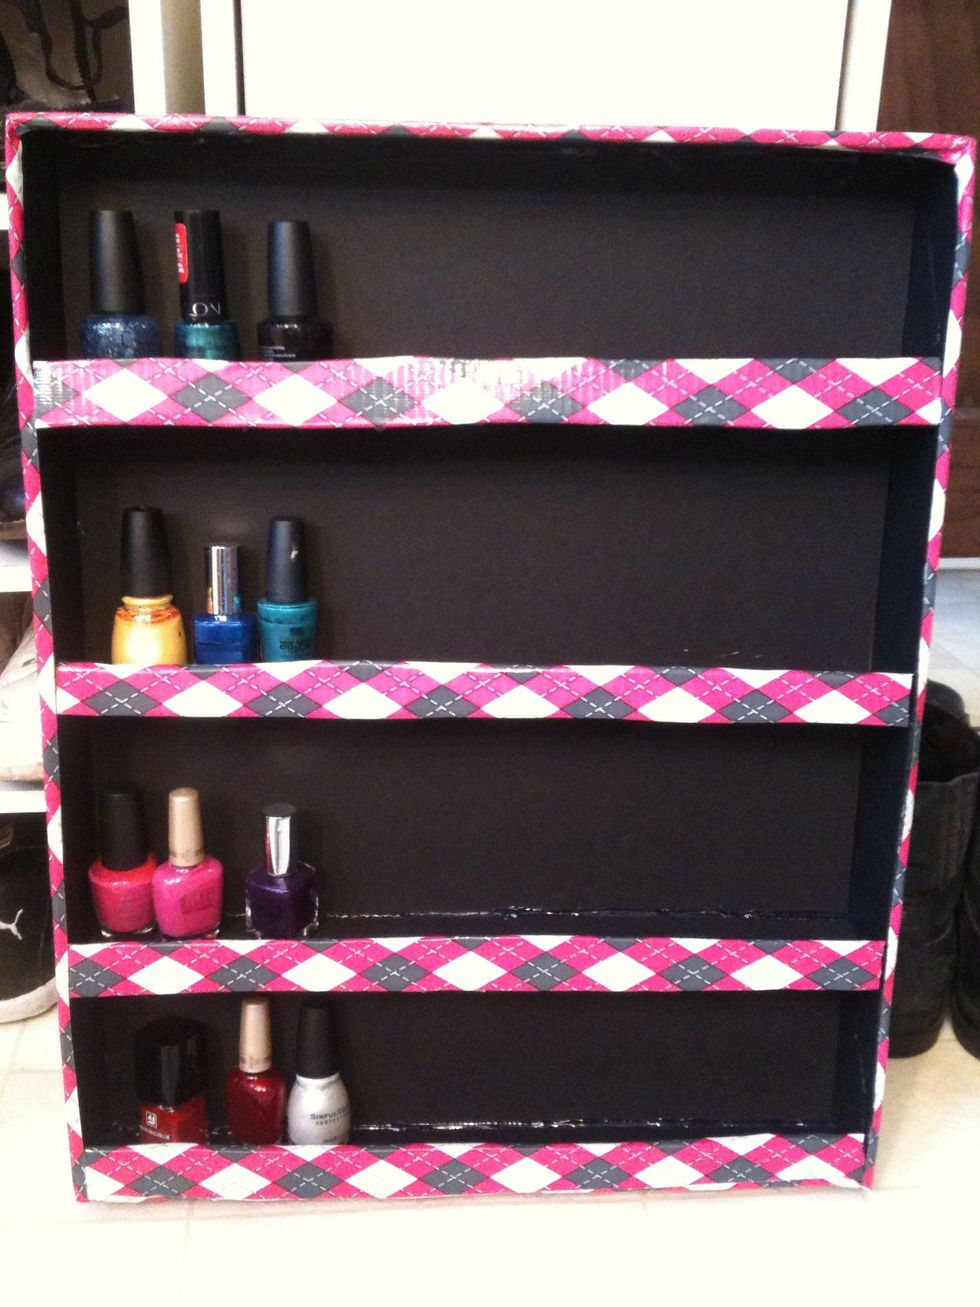
All finished. Photos was taken without full collection of polishes. I had to take them all off to put in the dowels and photograph that step.
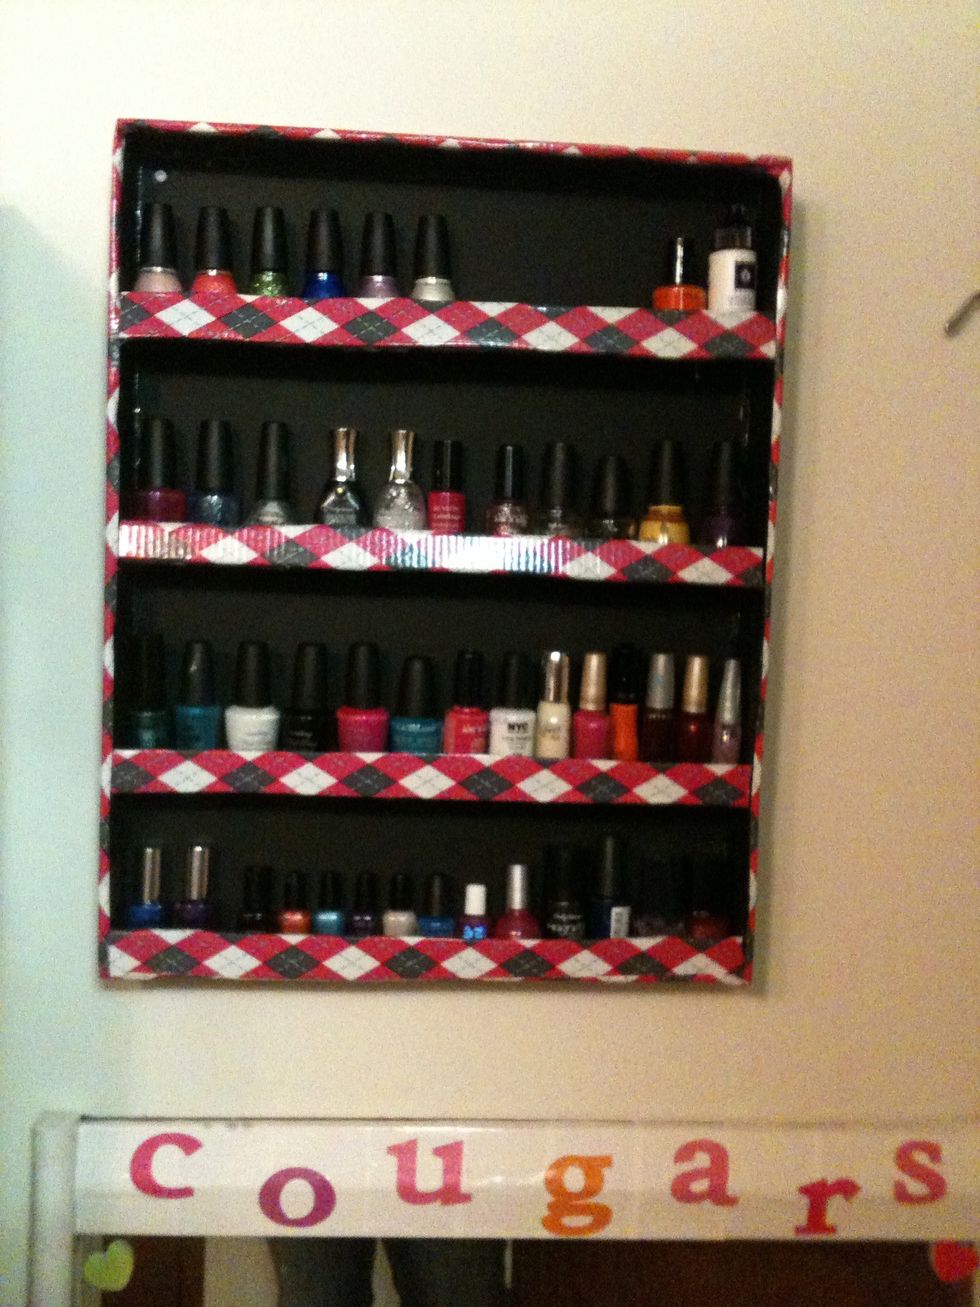
Hanging on my wall above my mirror. Go Cougars! 💛