The Conversation (0)
Sign Up

Find an old camera (I got this one 20+ years ago)
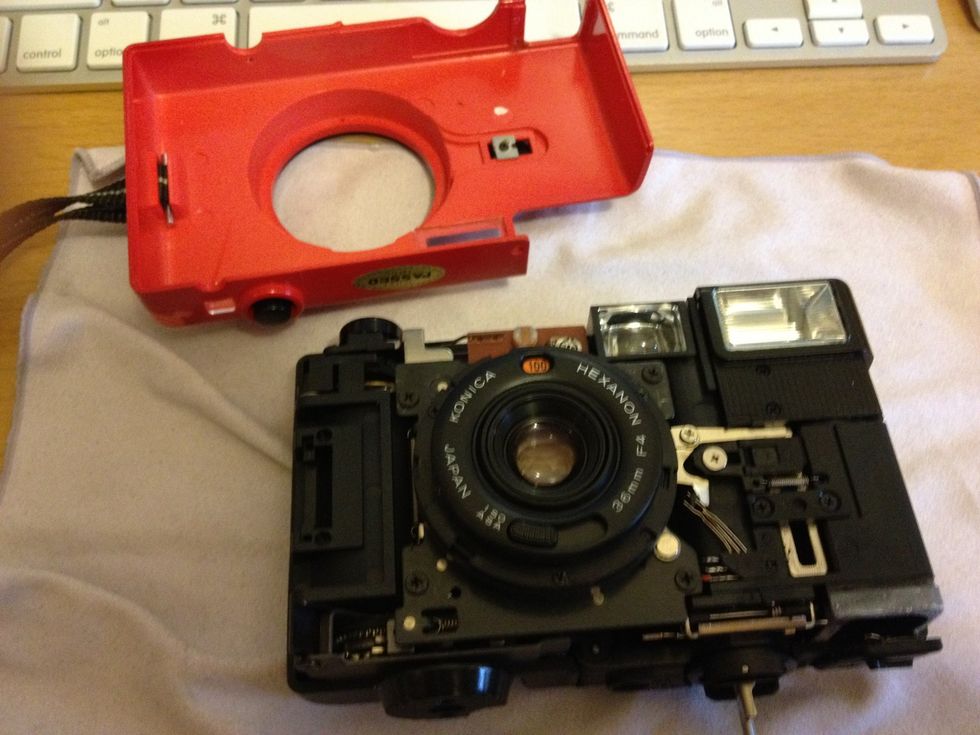
Dissemble the old camera and take the lens (with its bezel) out
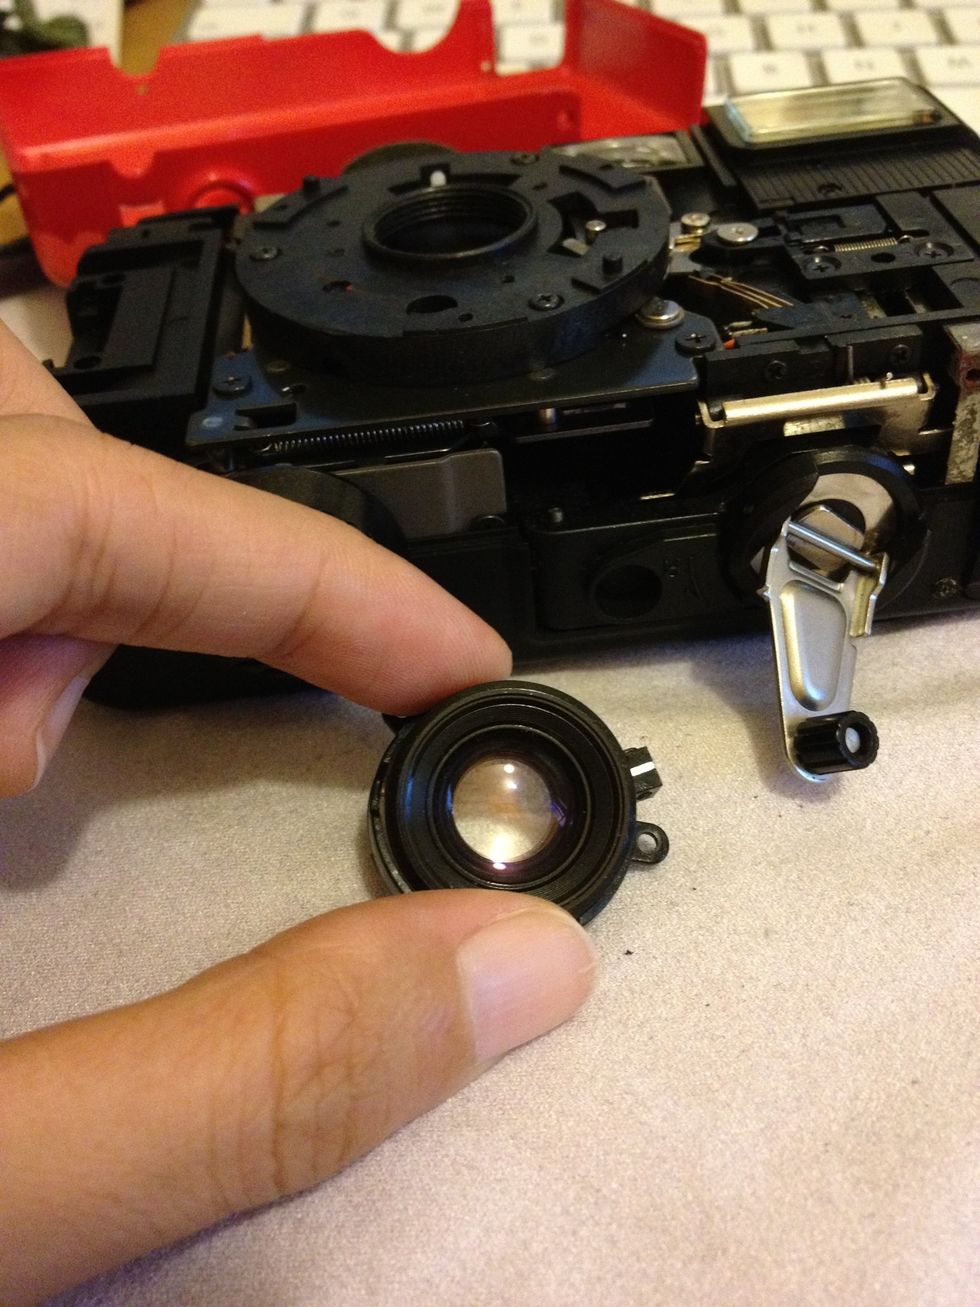
Here's the lens
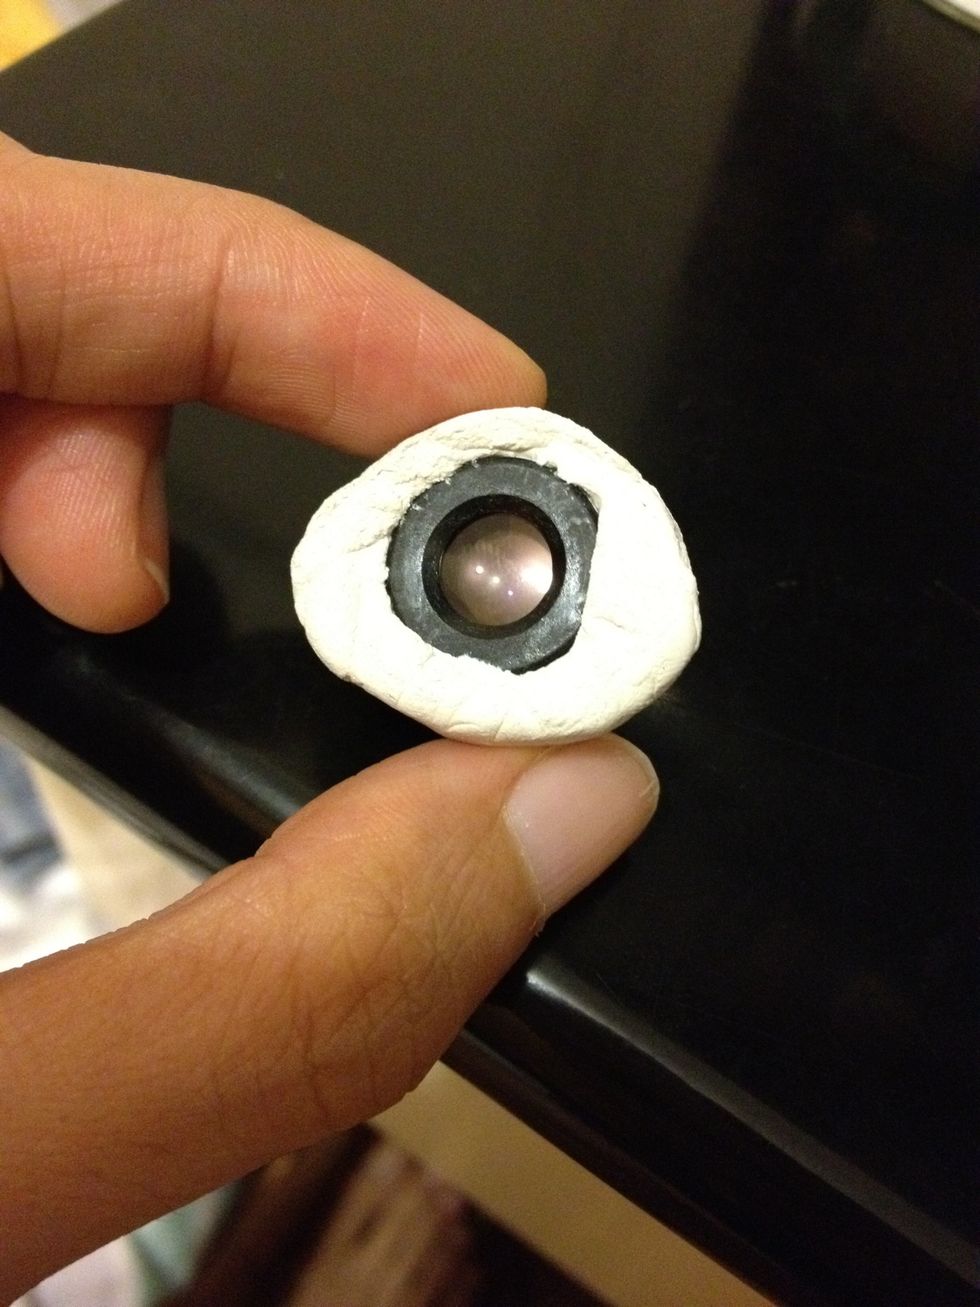
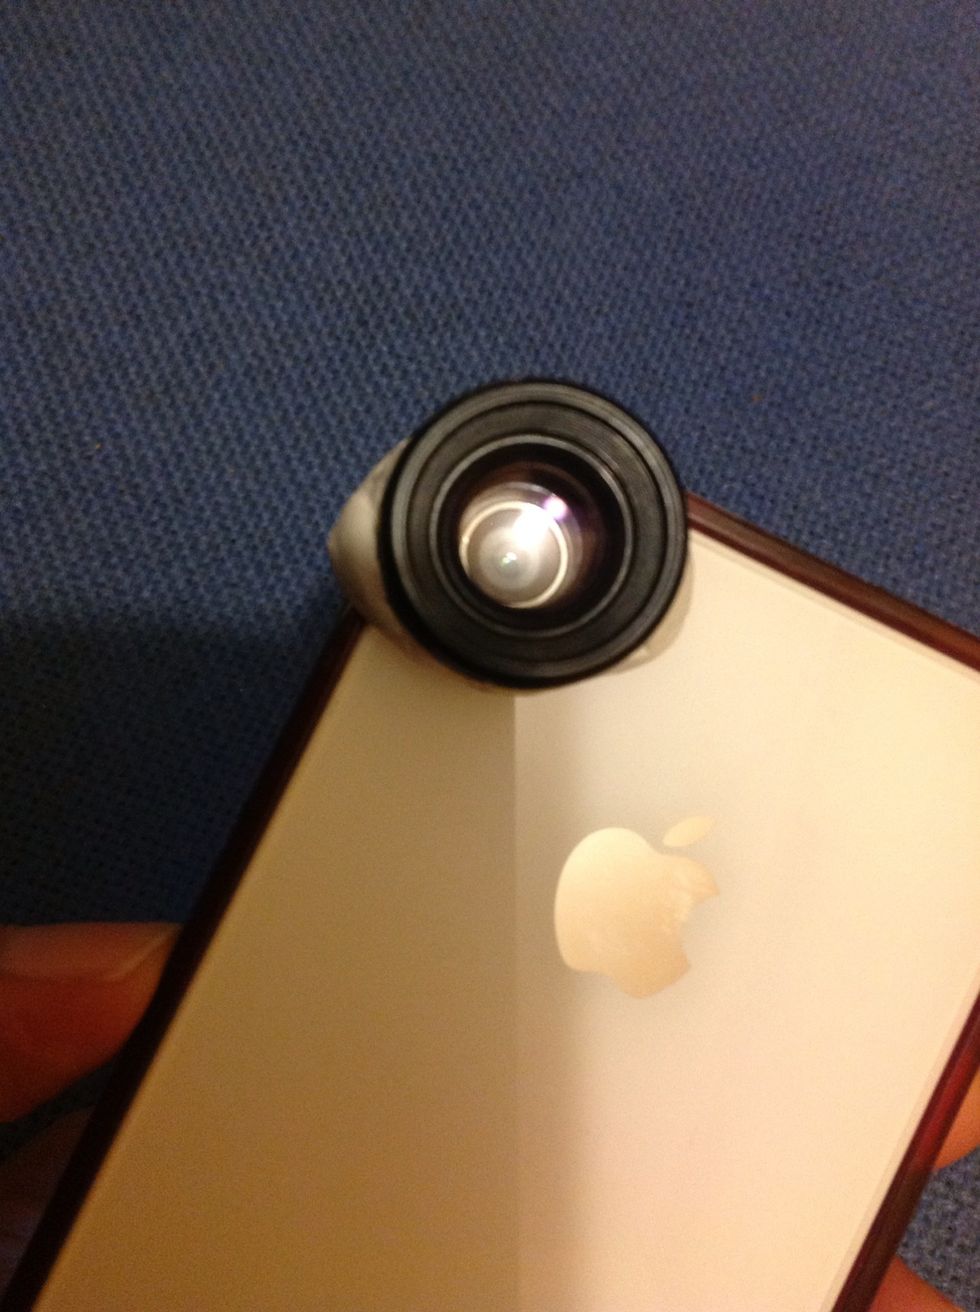
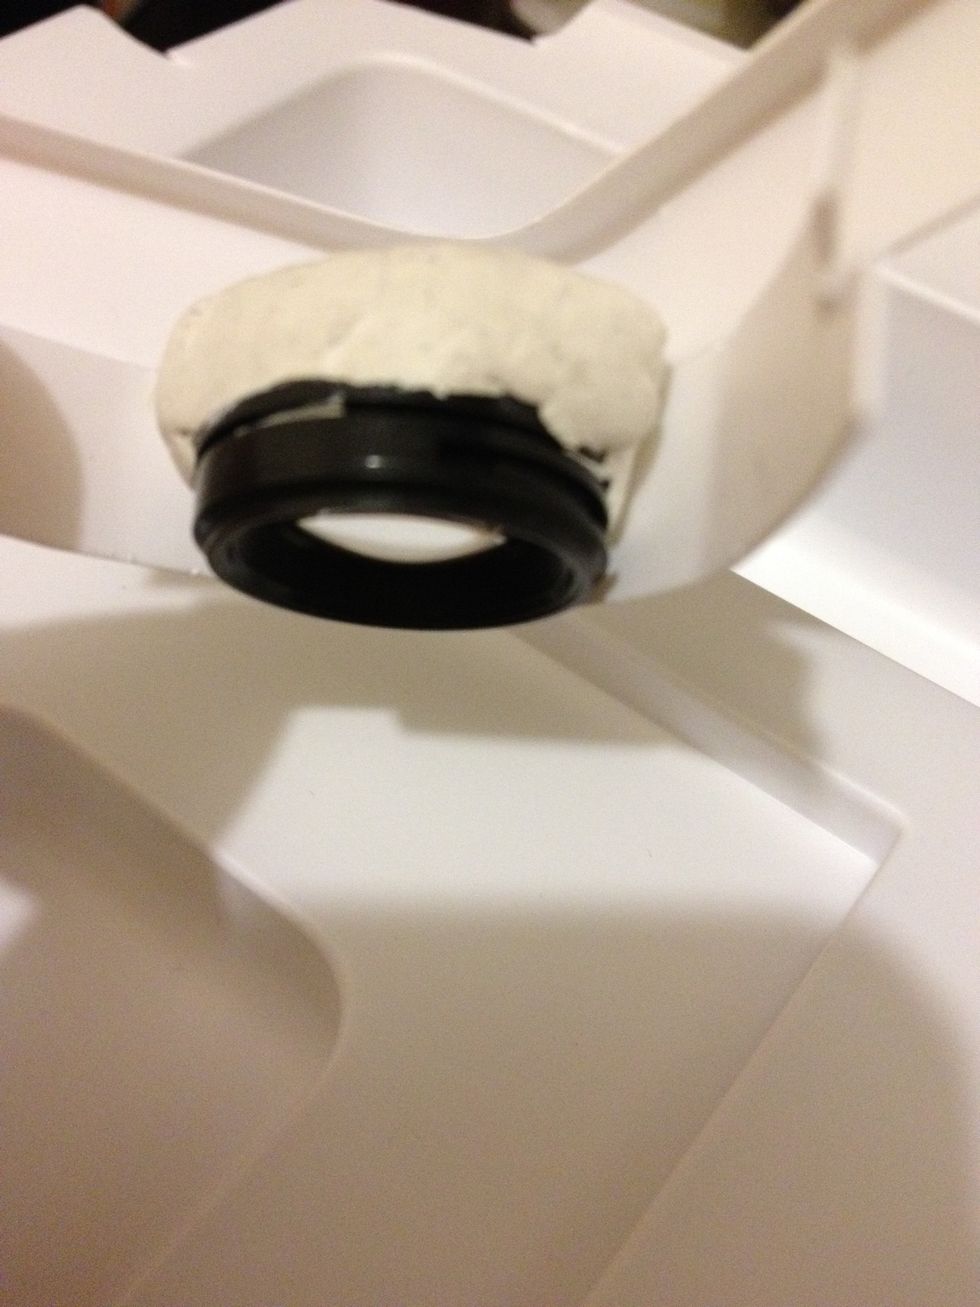
Round the lens with blu-tack (I've only got white ones at home)
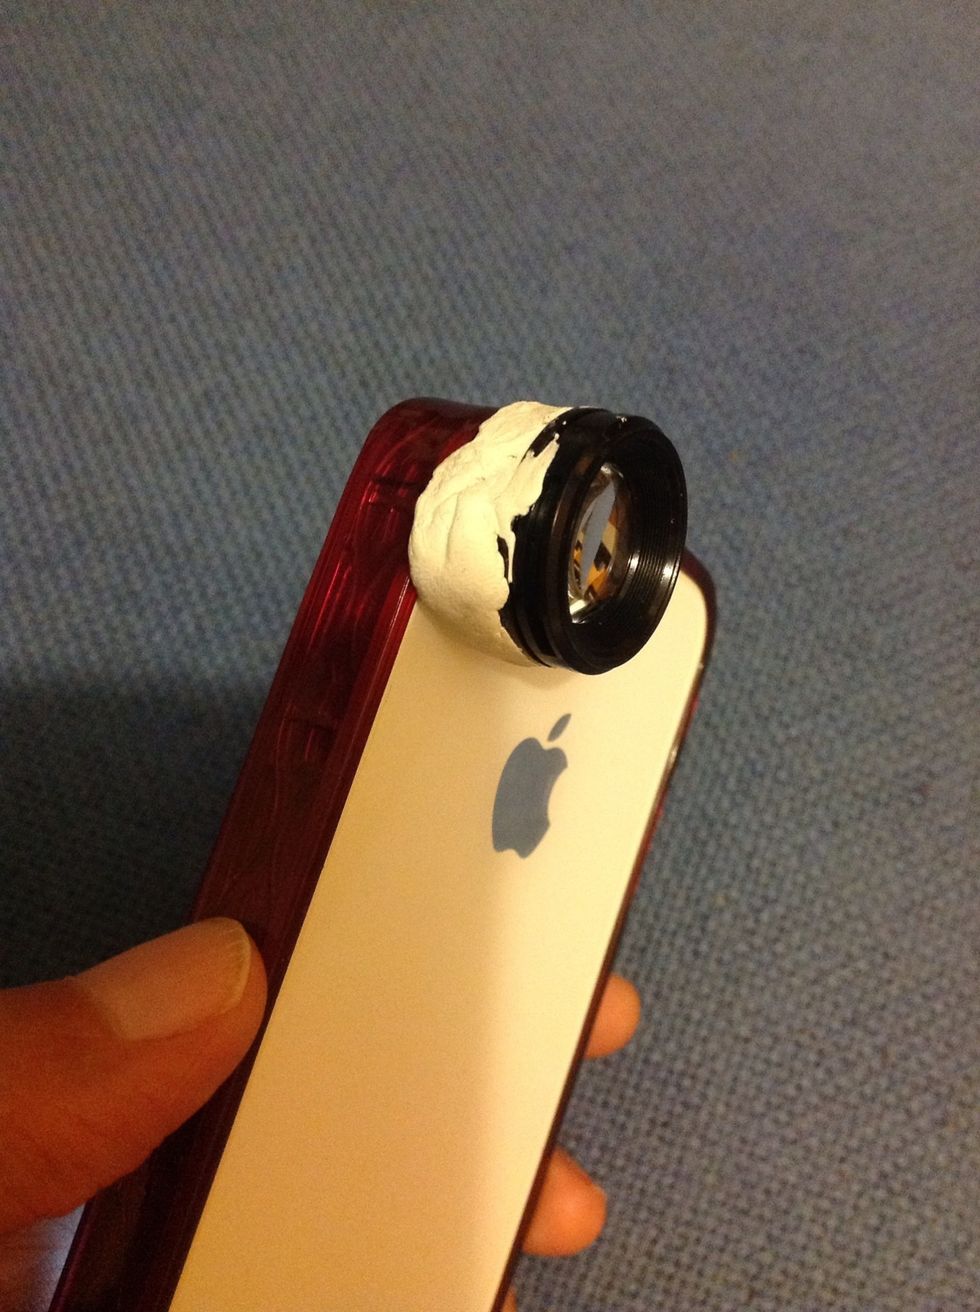
The blu-tack can already adhere the lens to the iPhone securely.
The only problem is you have to make sure it sits right on the camera every time you put it on. That leads us to the second half of this DIY guide :-)
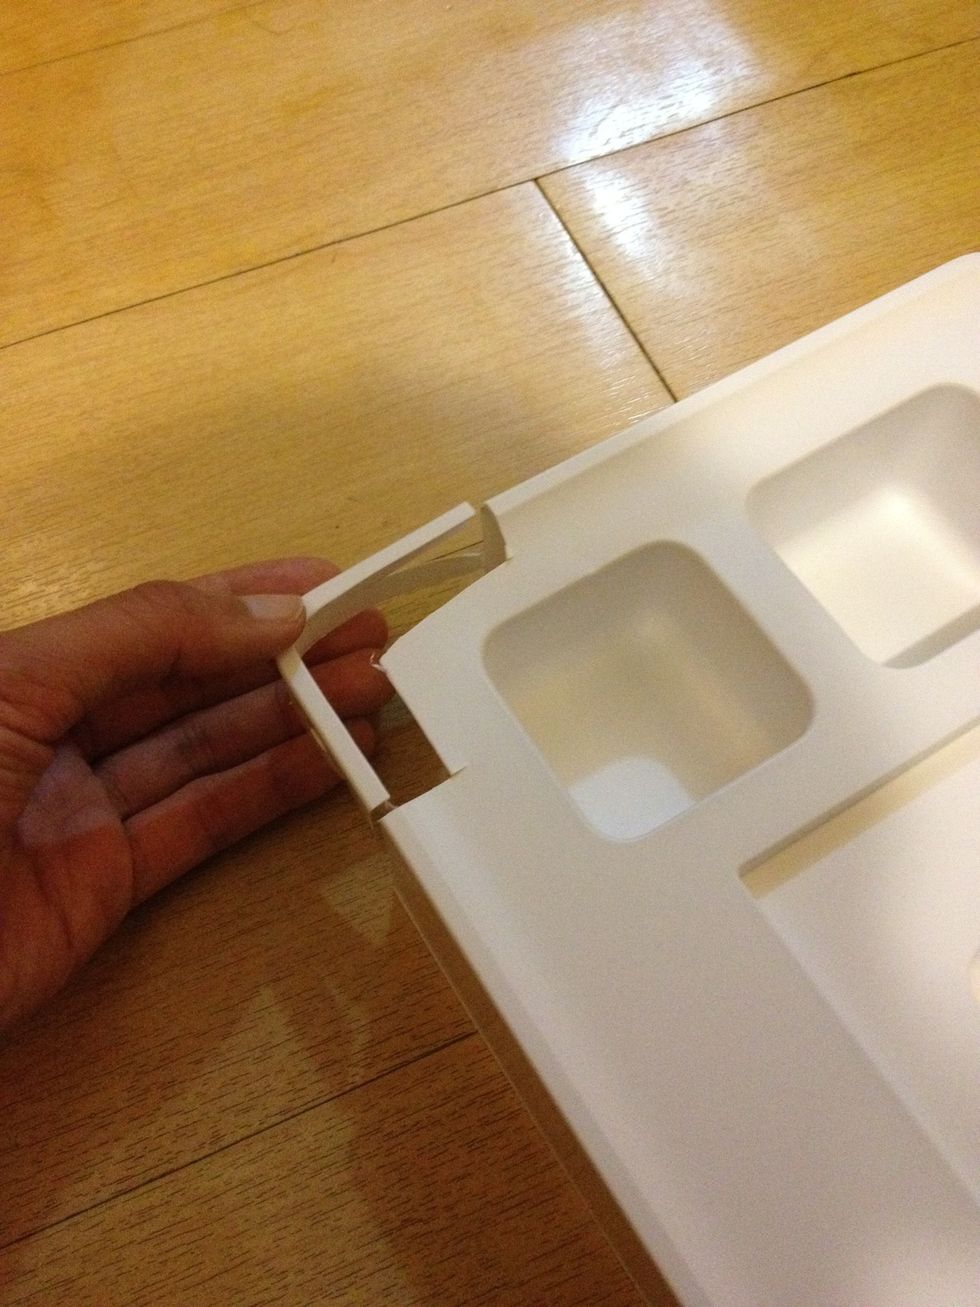
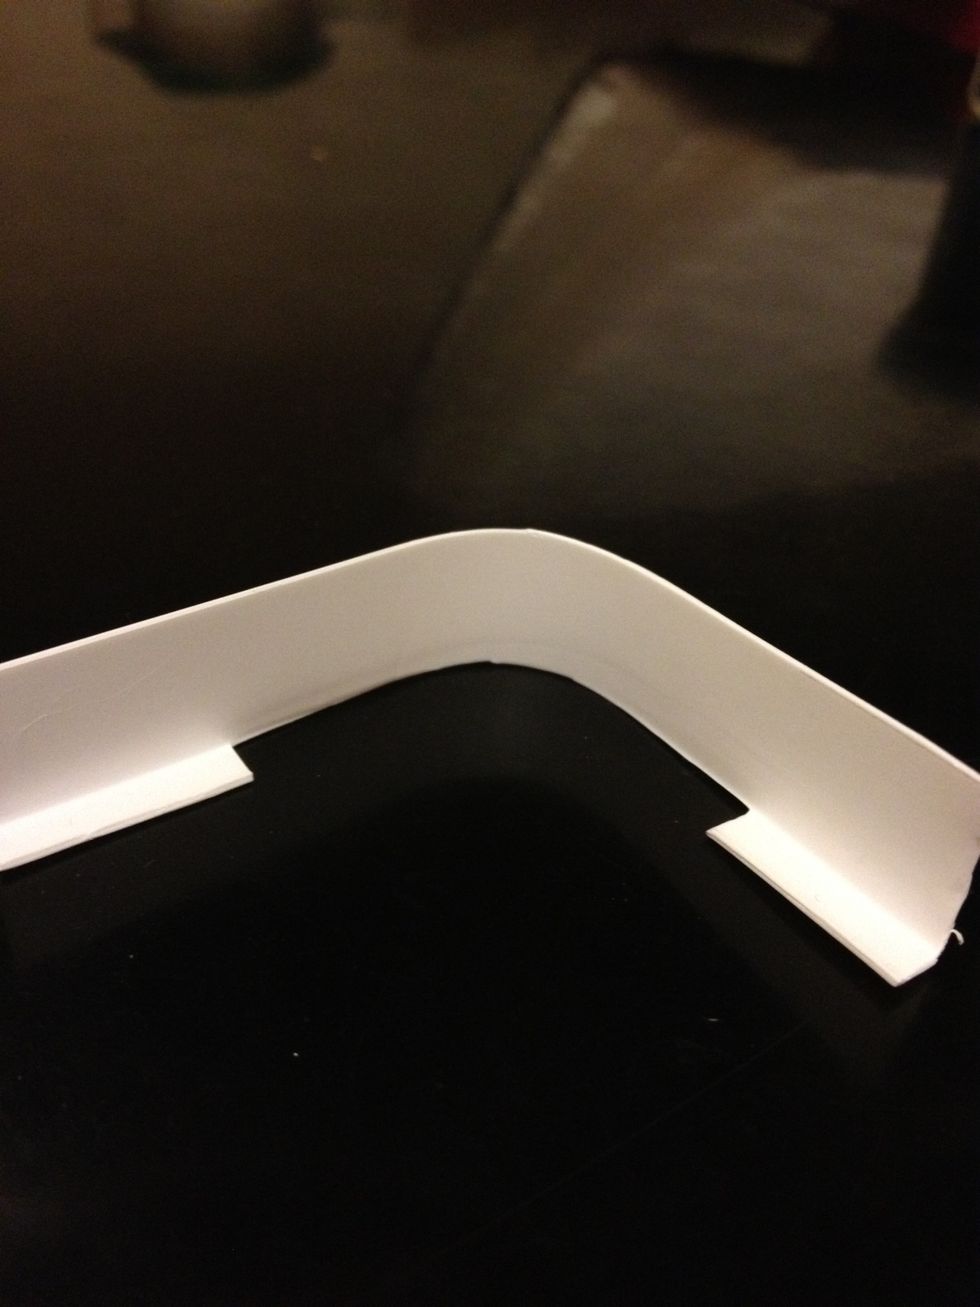
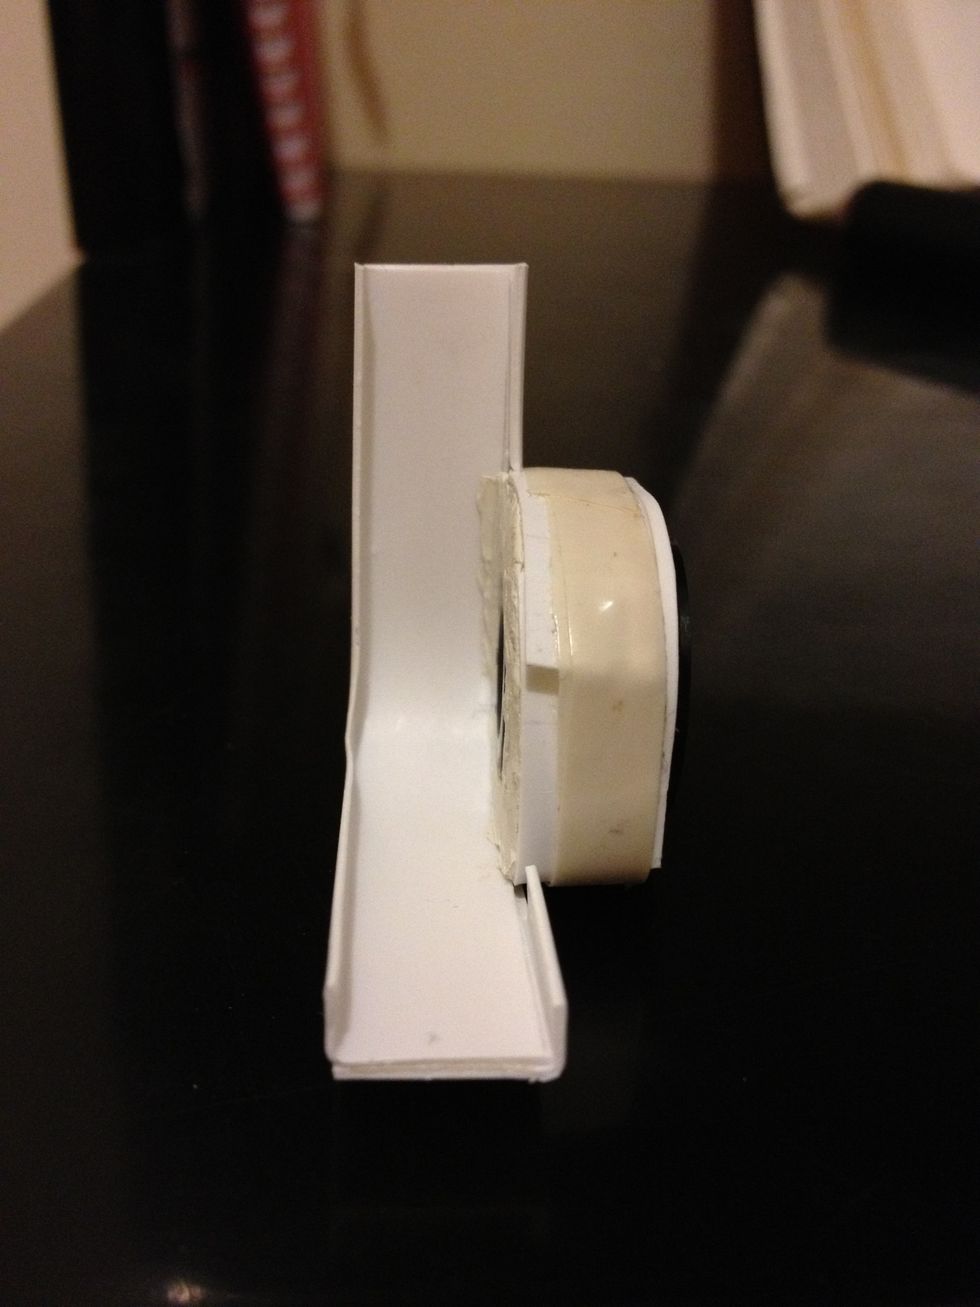
Cut a corner from an iPad box insert (the corners of the insert are of exactly the same angle as those of the iPhone!).
If you don't have an iPad box, try bendable cardboard or plastic cards. Plastic will make it more durable but basically anything that's kinda hard and can be wrapped around the corner will do.
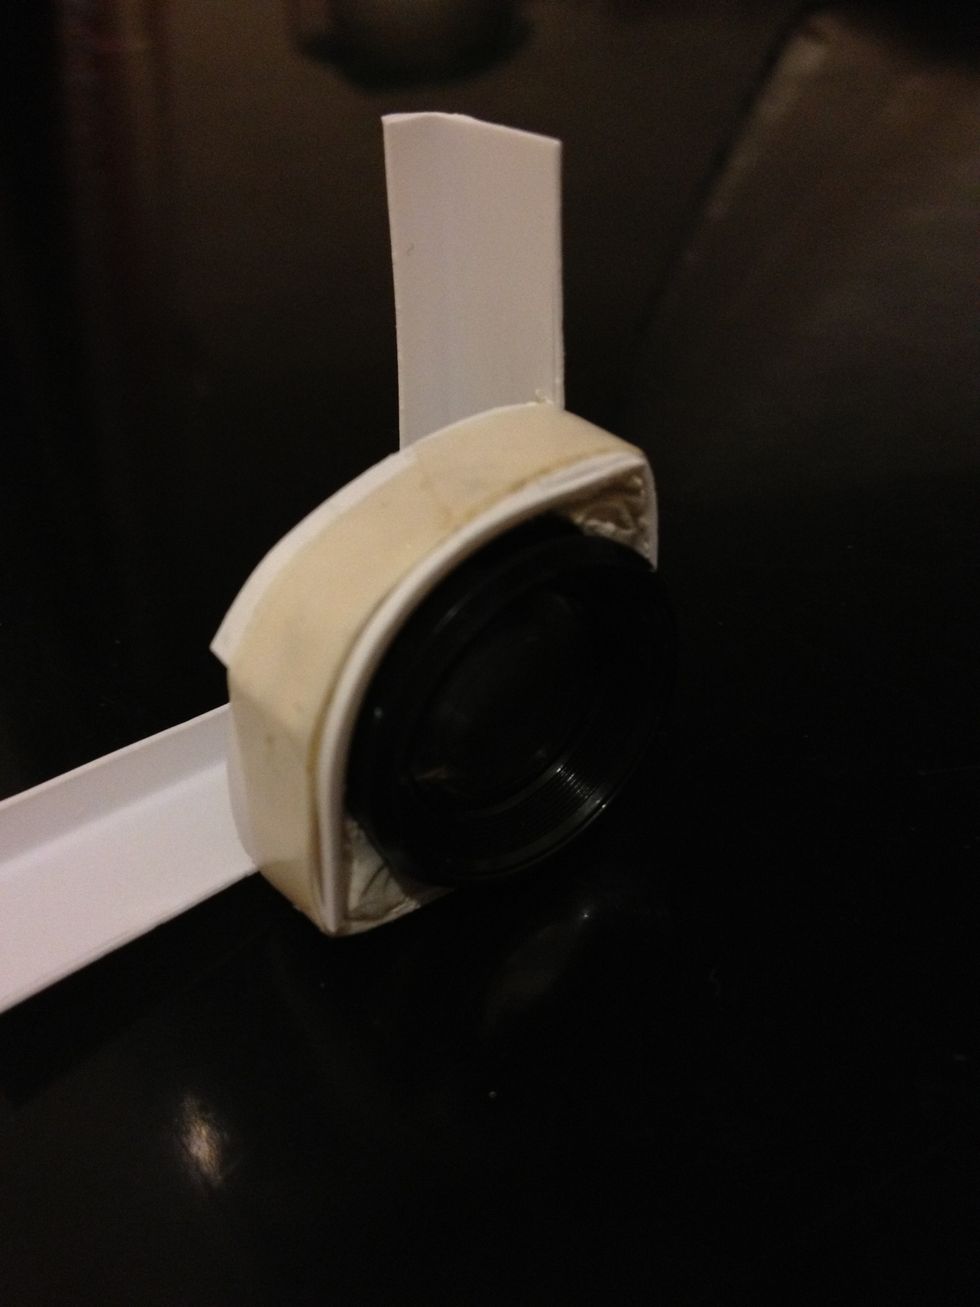
What we're trying to do is to make a holder that can sit right at the iPhone corner and naturally aligns the DIY macro lens with the iPhone camera
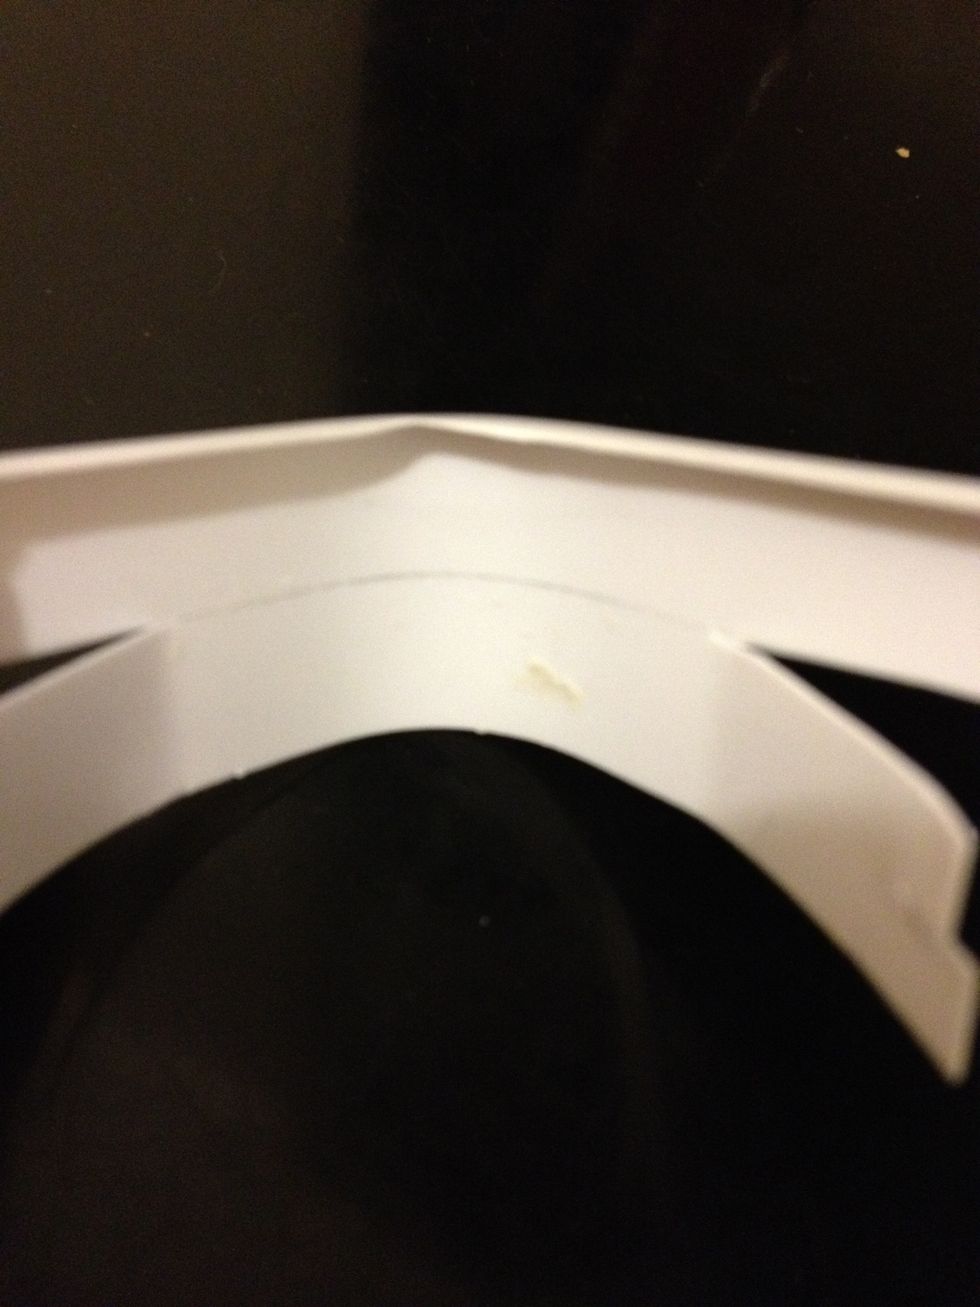
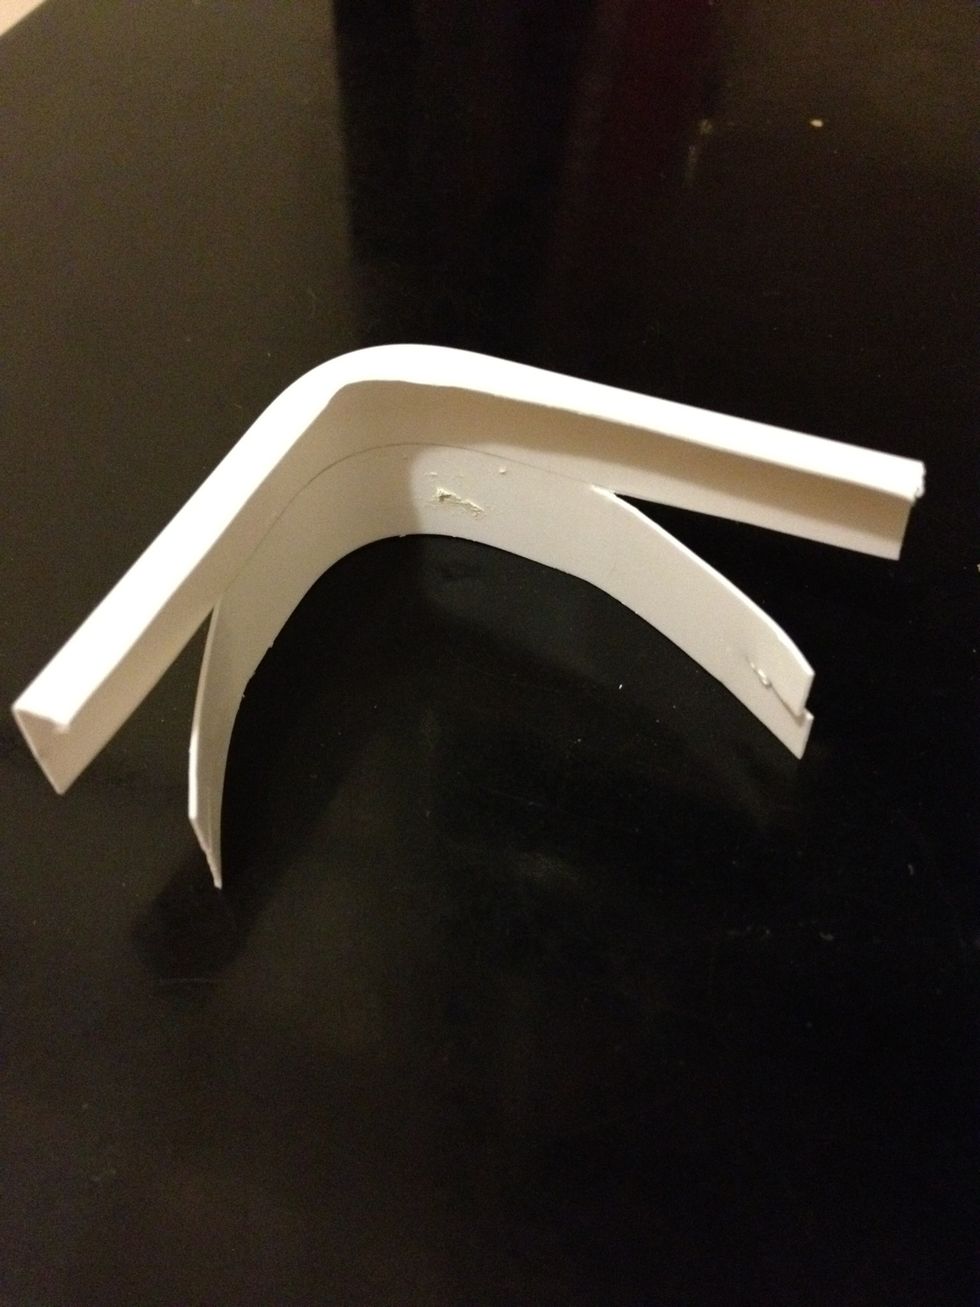
The pencil line marks the thickness of the iPhone (the upper half). The lens will sit under that line. Split the two ends of the holder but leave the corner intact.
Stick the lens to the 'holder' around the corner. Try it on your phone and make sure the lens sit right on the camera.
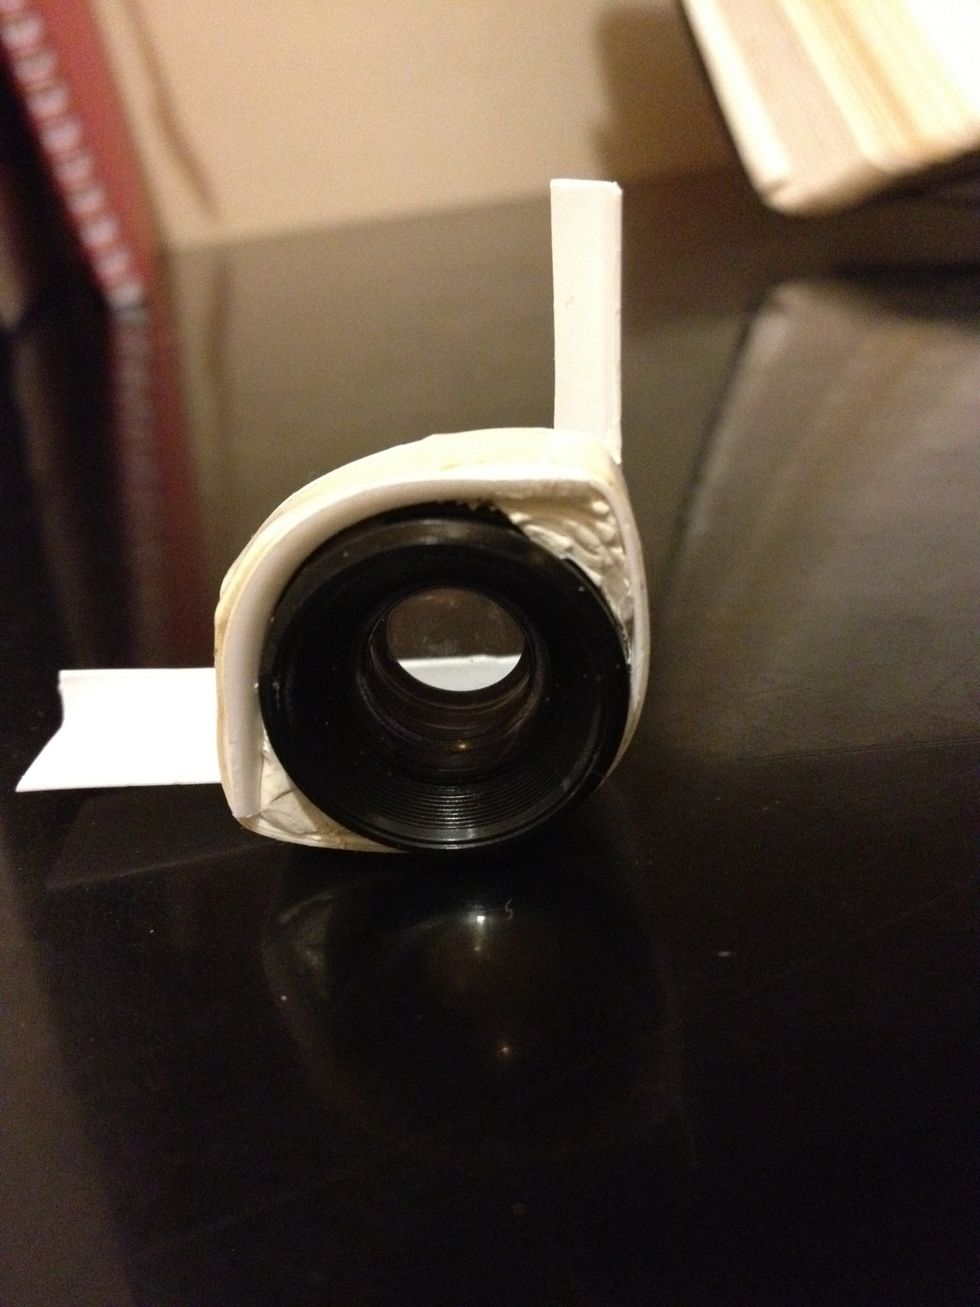
After making sure the lens are sitting at the right place, wrap the two ends around the lens with tape to secure its position. Tape type depends on holder material.
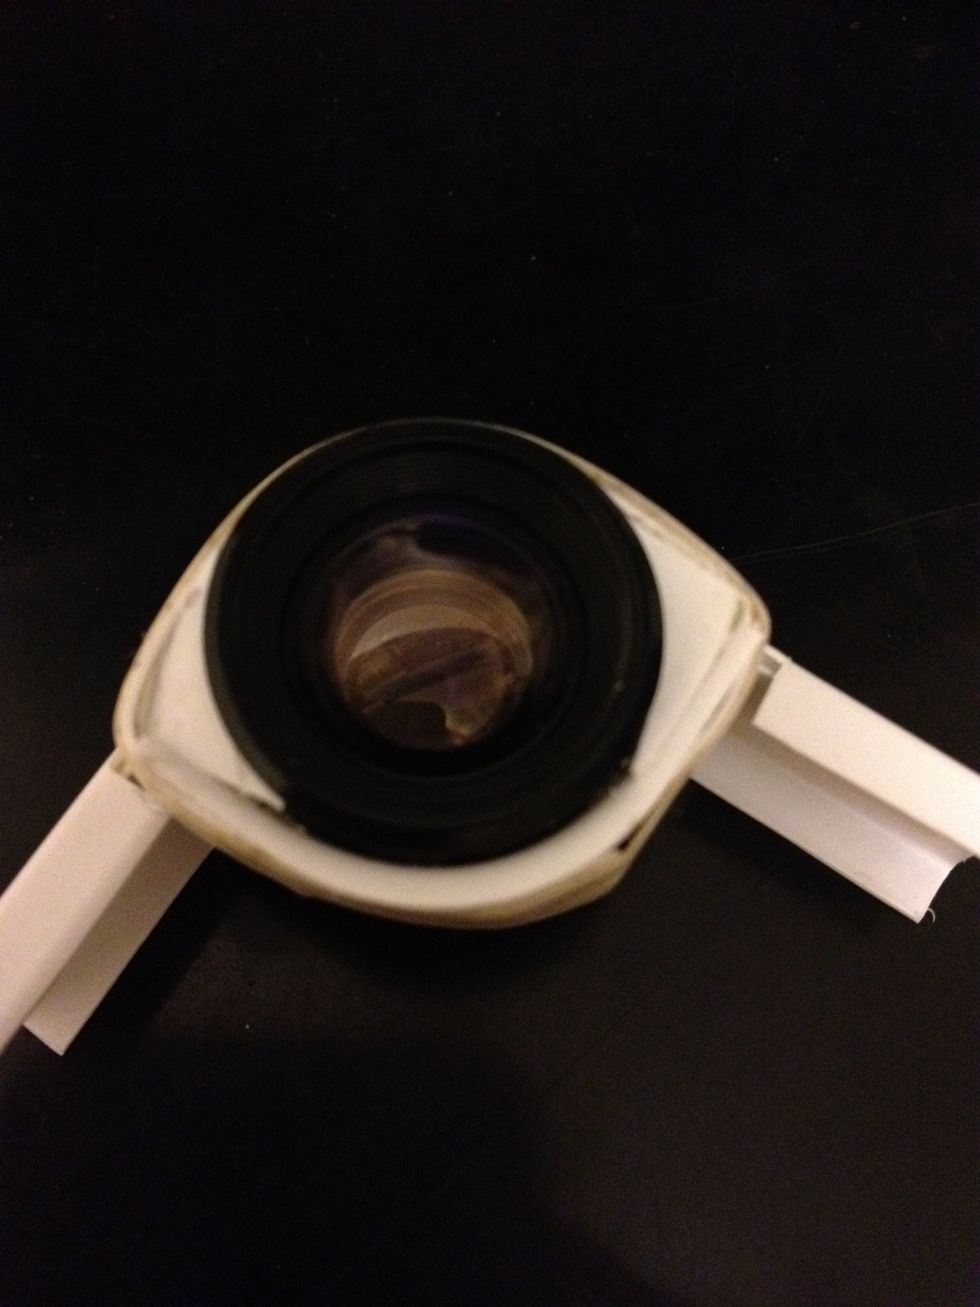
Front view: notice how the blu-tack fill up space around the lens
The following steps are not really necessary but I want it to look nice and stay on the phone corner really nicely :-P
Cut another corner strip from iPad box. Main purpose: to make a holder that will wrap around the phone corner nicely.
Stick it to the holder with double-sided tape so that both sides got a nice tap.
Another unnecessary step: cut two small pieces of plastic to cover the white-tack that fills the space between the lens and the holder.
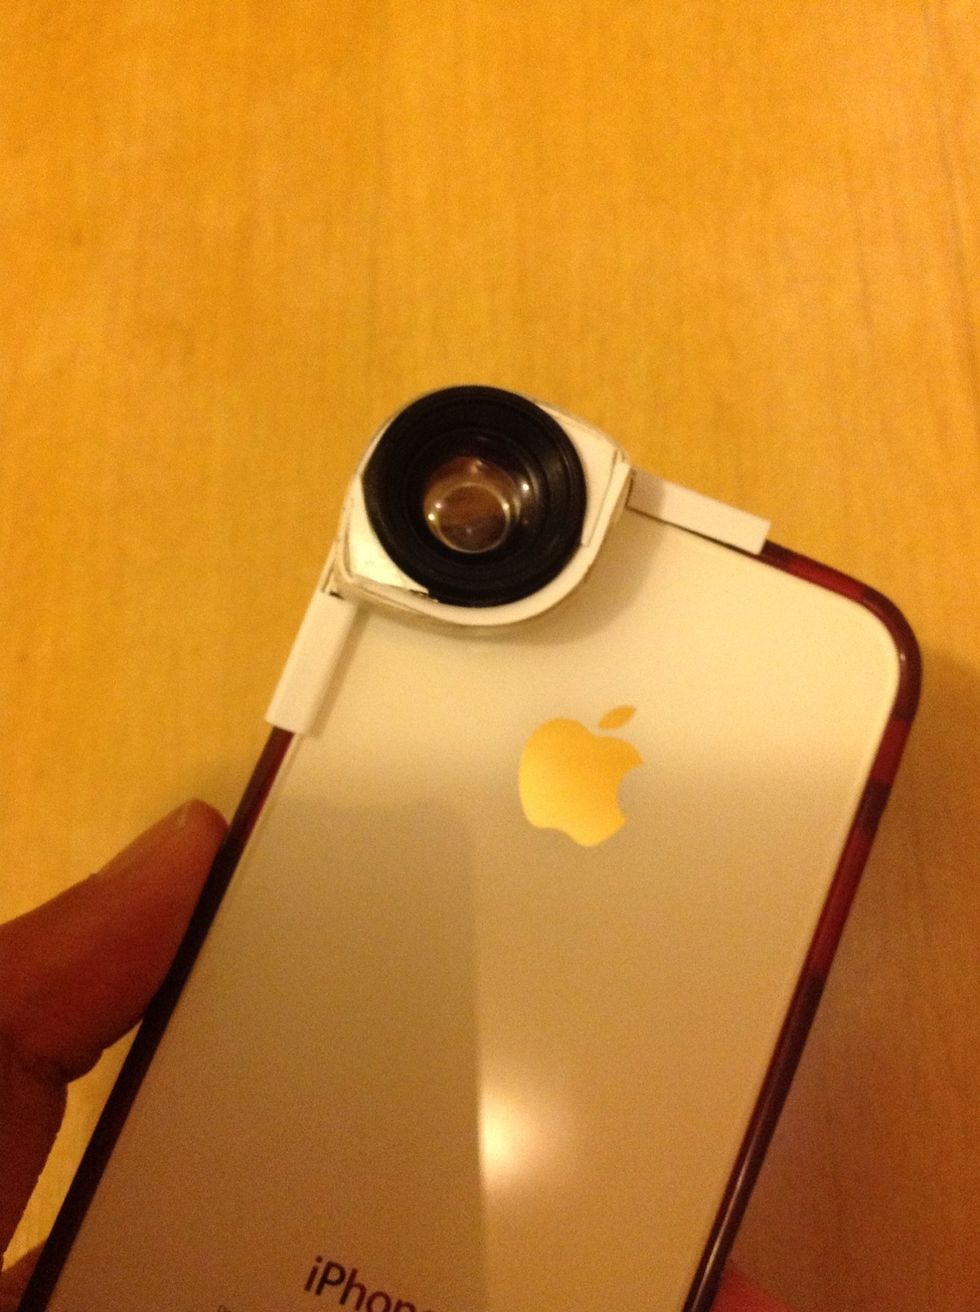
The best thing: no need to take off the bumper!

Another advantage is...when the new iPhone is out, you can reuse parts to make one that fits!

Find a nice box to keep your lens! Remember to put in padding!

P.S.: To make the lens stay on more securely, I've added a piece of foam on the bottom of the Blu-tack around the lens. It now stays on really securely. .
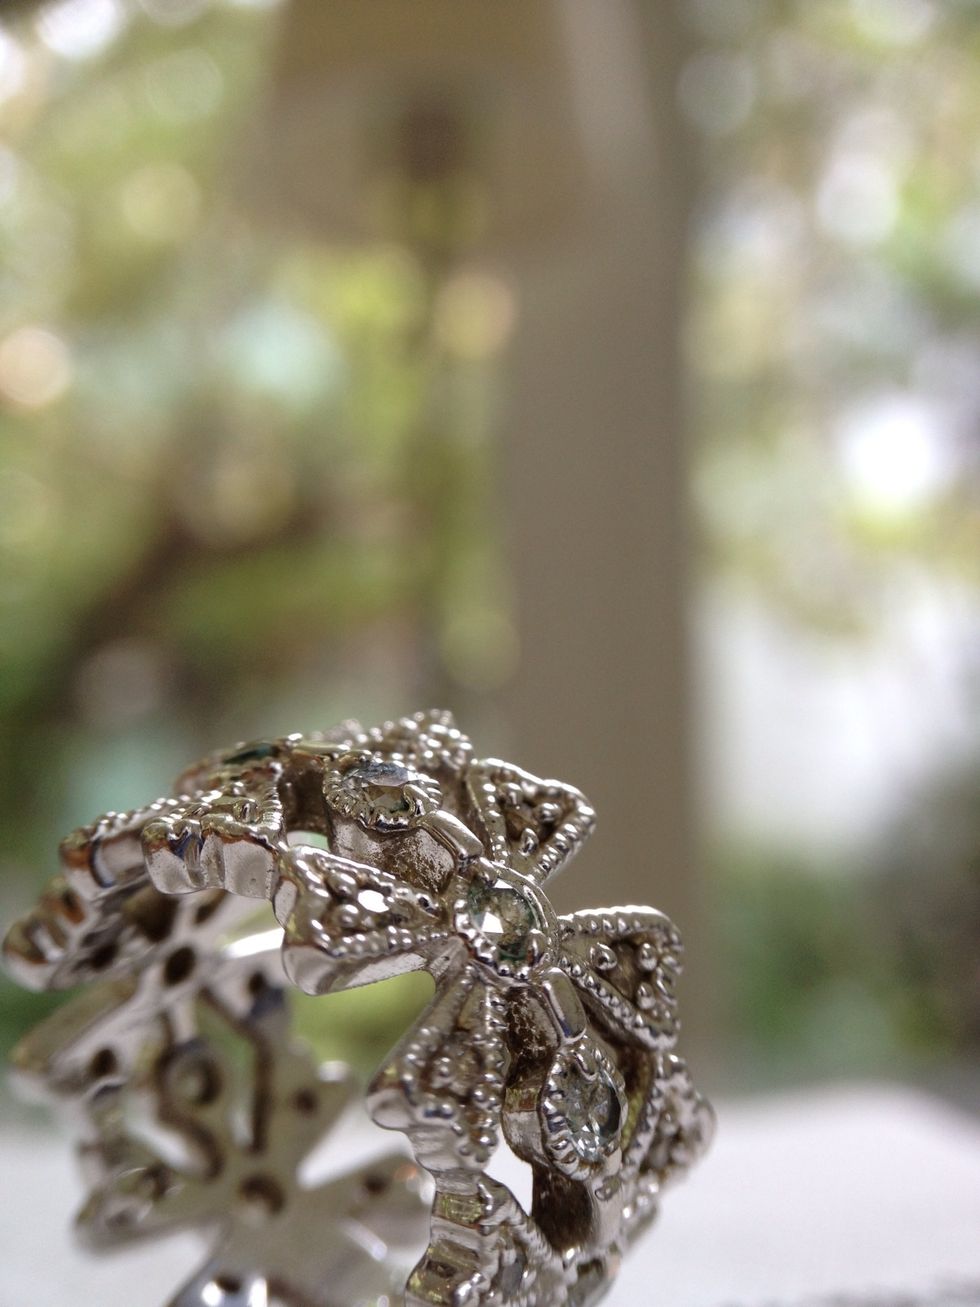
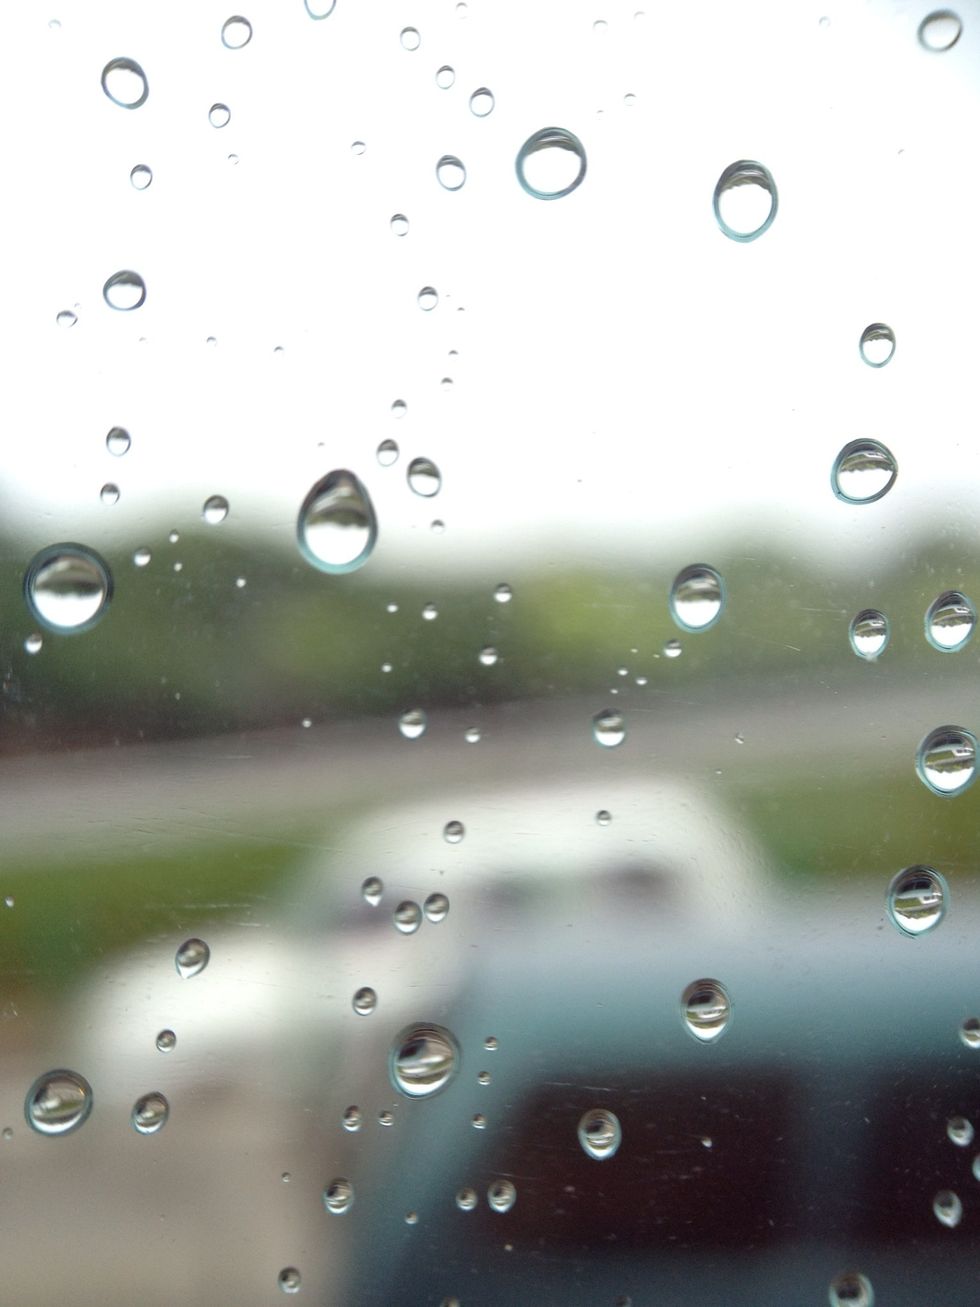
Here are some photos taken with the DIY macro lens
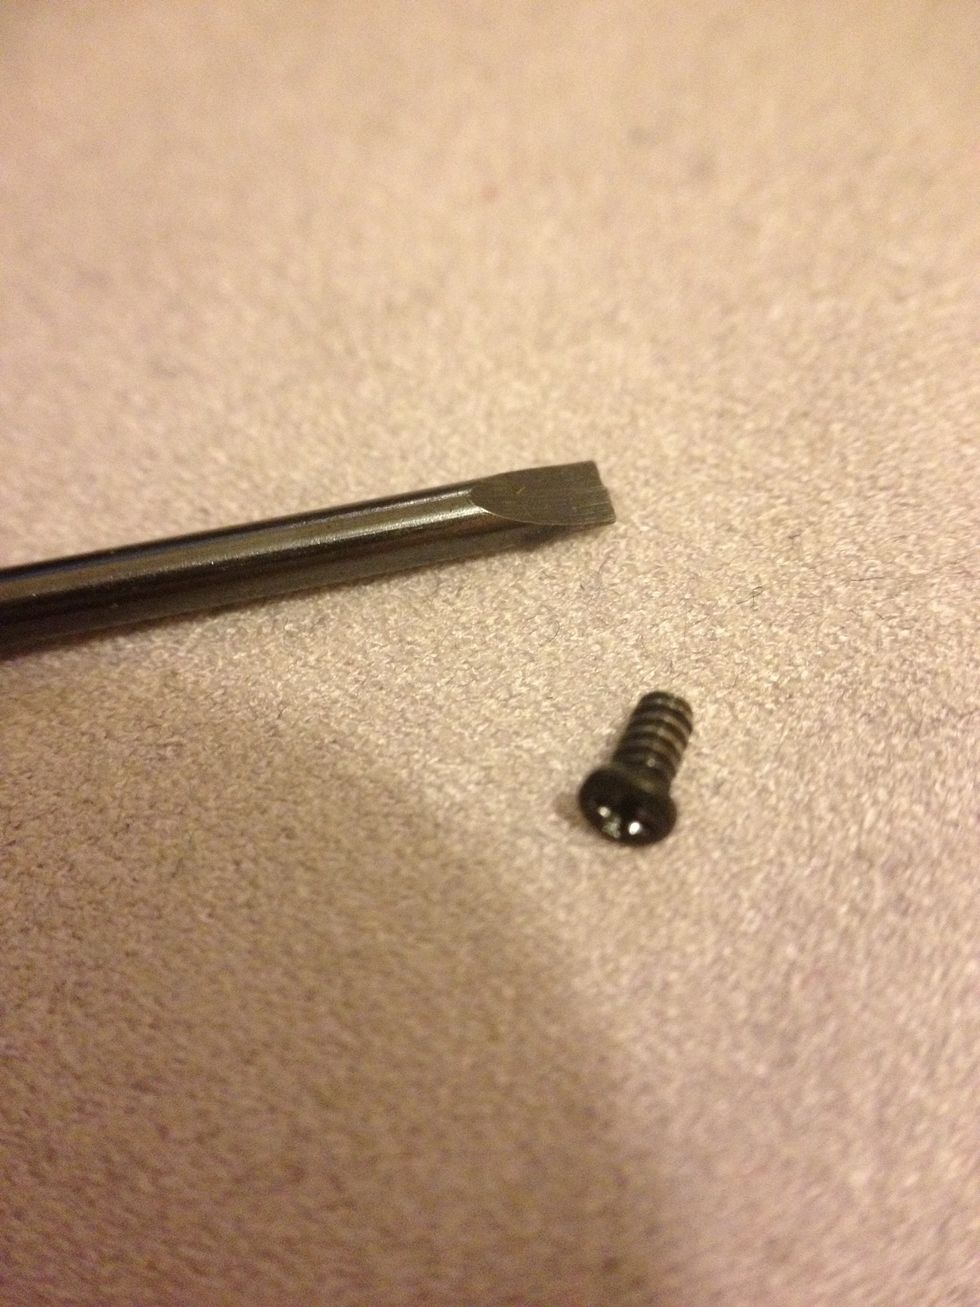
A 2.4mm screwdriver and a tiny screw
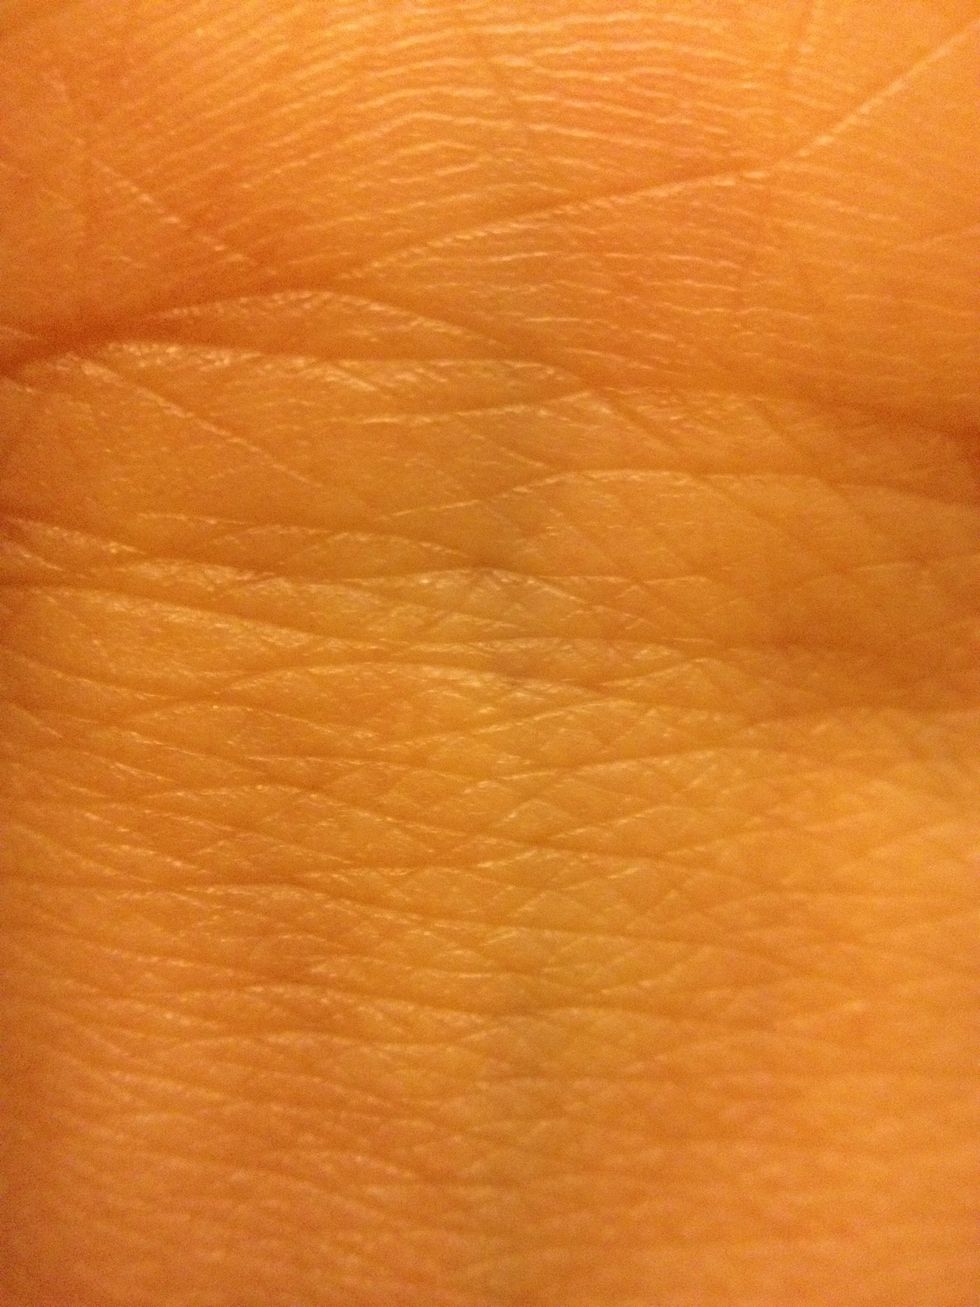
Skin of my wrist

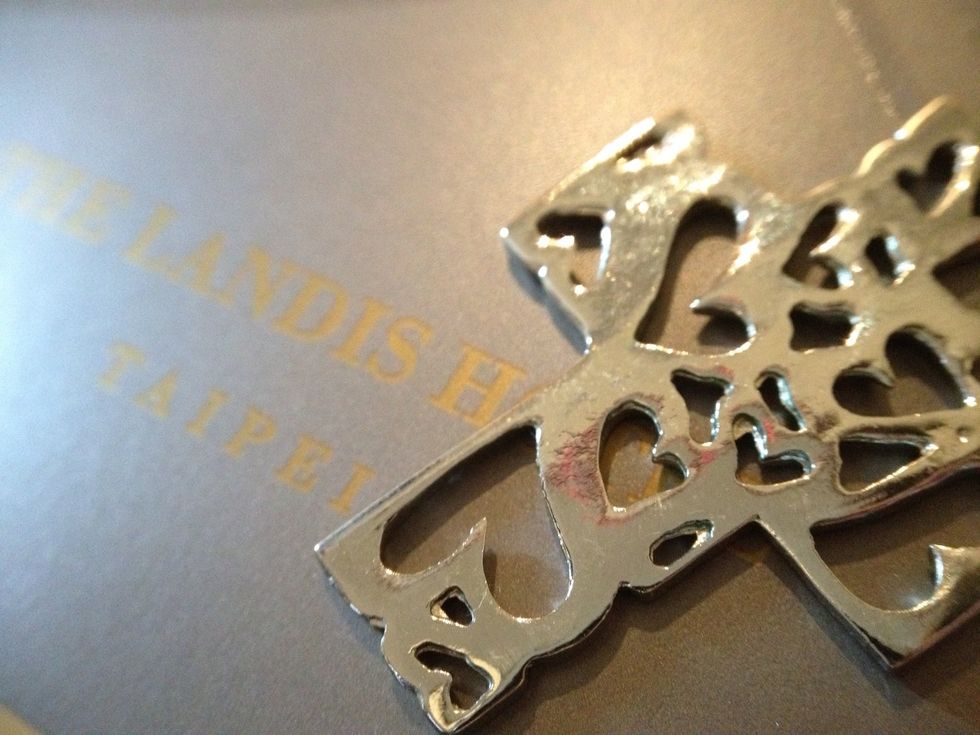
Small print on the back of iPad box (left bottom corner)
Special thanks to my mom who has done the crafty parts! :D