The Conversation (0)
Sign Up
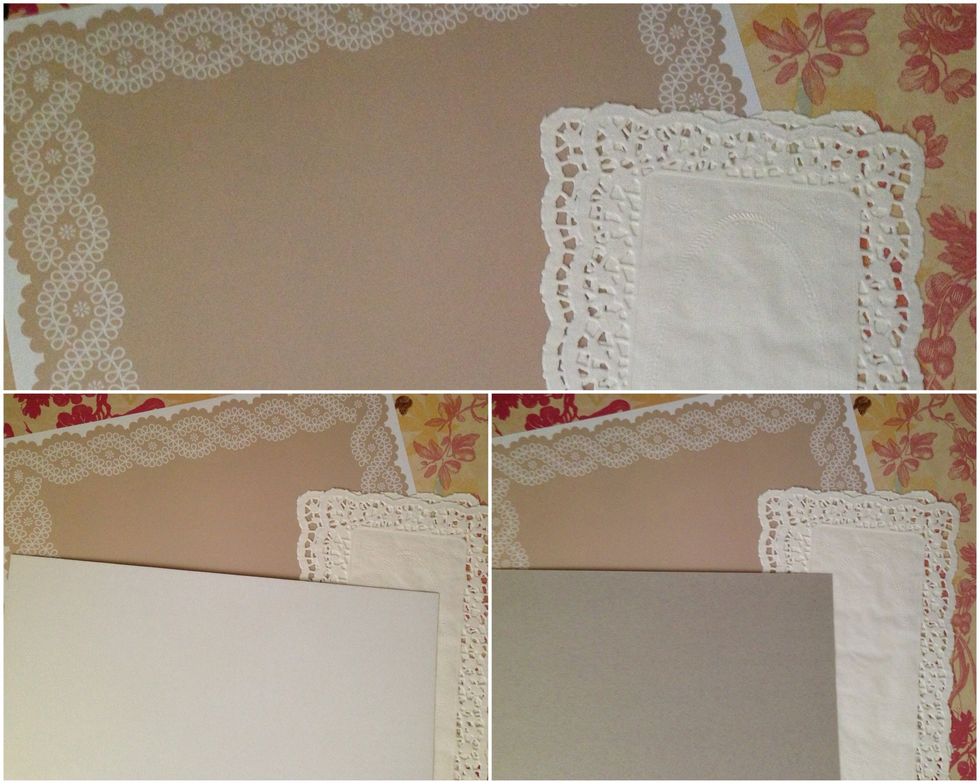
I used the 12x12 hard back piece that comes with a pack of scrabooking paper. The brown is for the cover of the card, &the dollies are for texture in the inside.
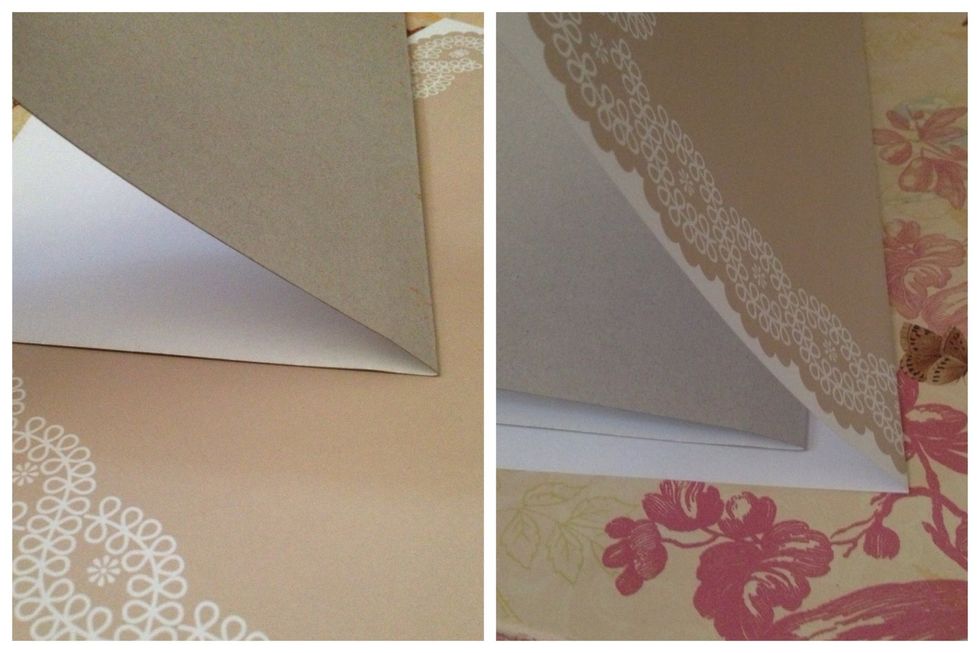
Fold in half, then the paper.

Start in the outside top/cover fold, to the edge. One half then the other.
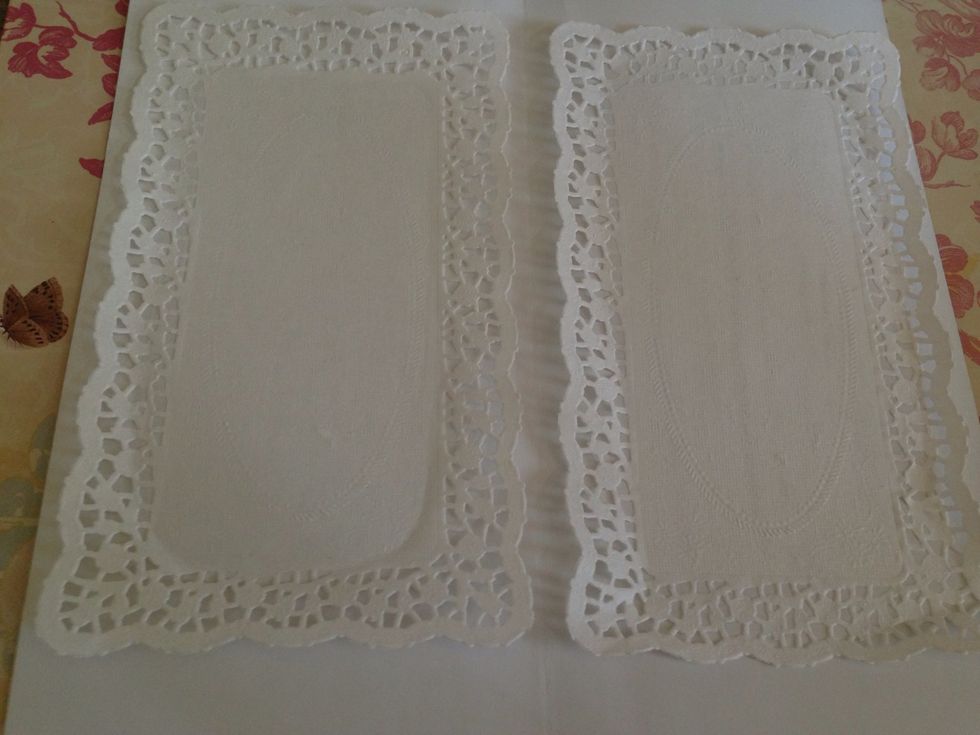
I centered the dollies on the inside, glue them down! :) I used mod podge
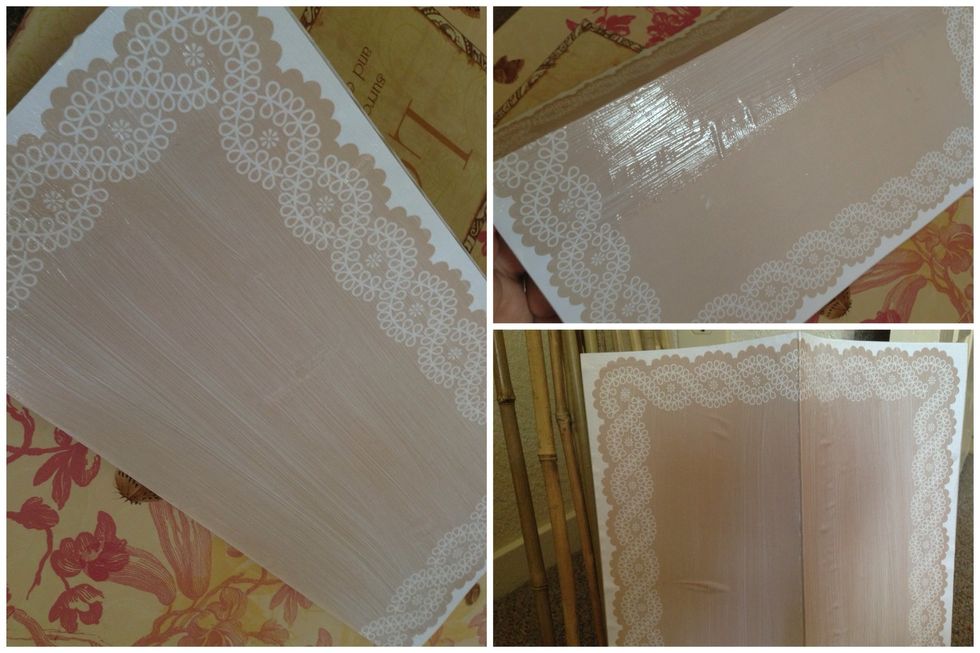
After that, cover the outside of the card with mod podge, (optional) & set aside to dry.
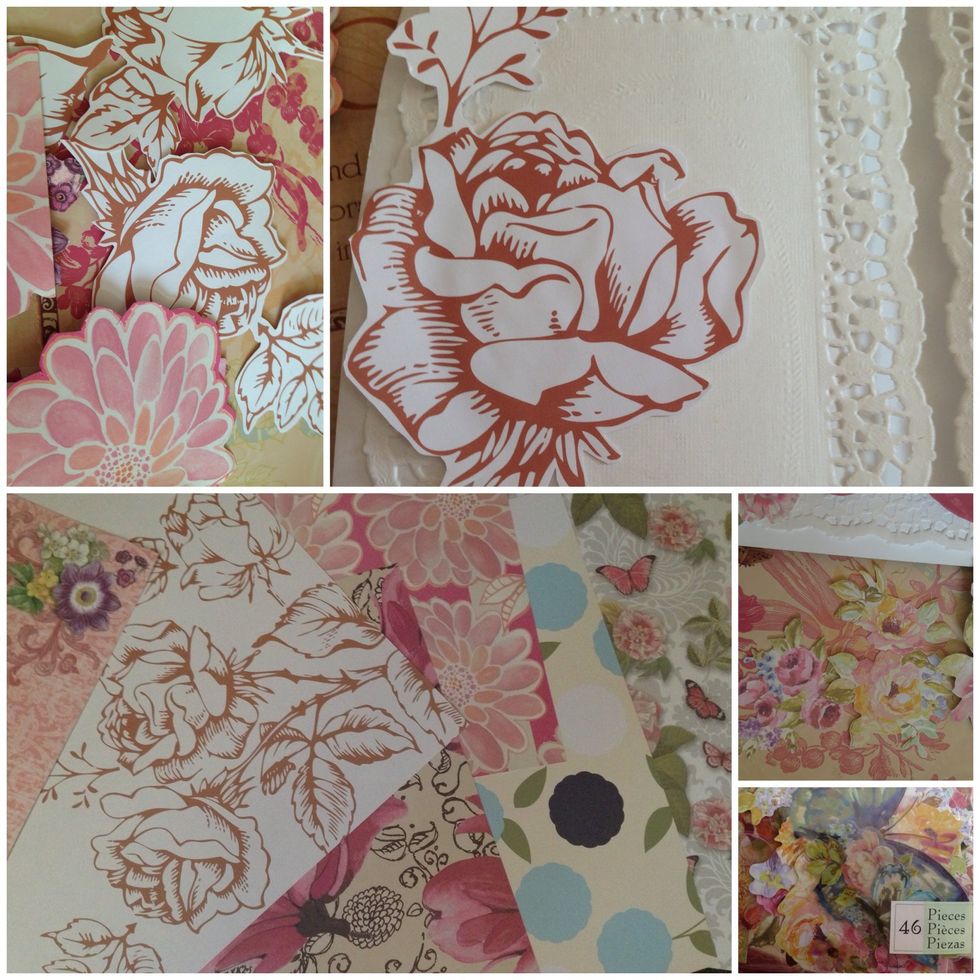
Pick your paper with flowers you like, or purchase paper flower embellishments. Cut out your flowers & arrange their placing , then glue.
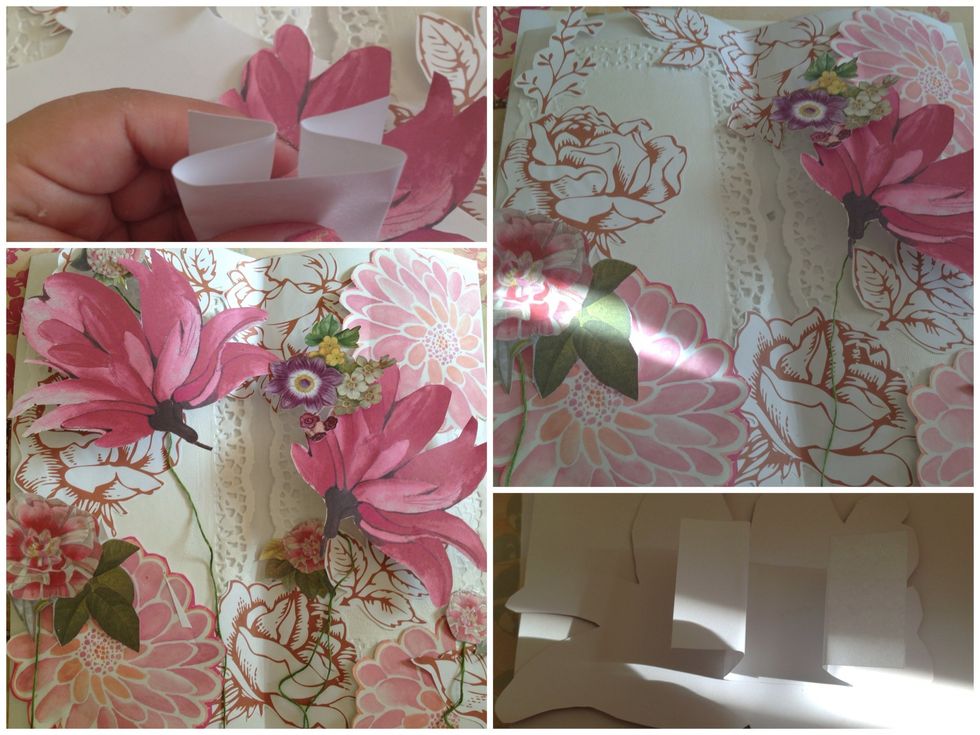
For pop out flowers cut a strip of paper (average 1/2-1inche by 3/4) fold as shown in the top left pic & glue down as shown in bottom right. Glue green string (thread) behind flowers for 'stem' look
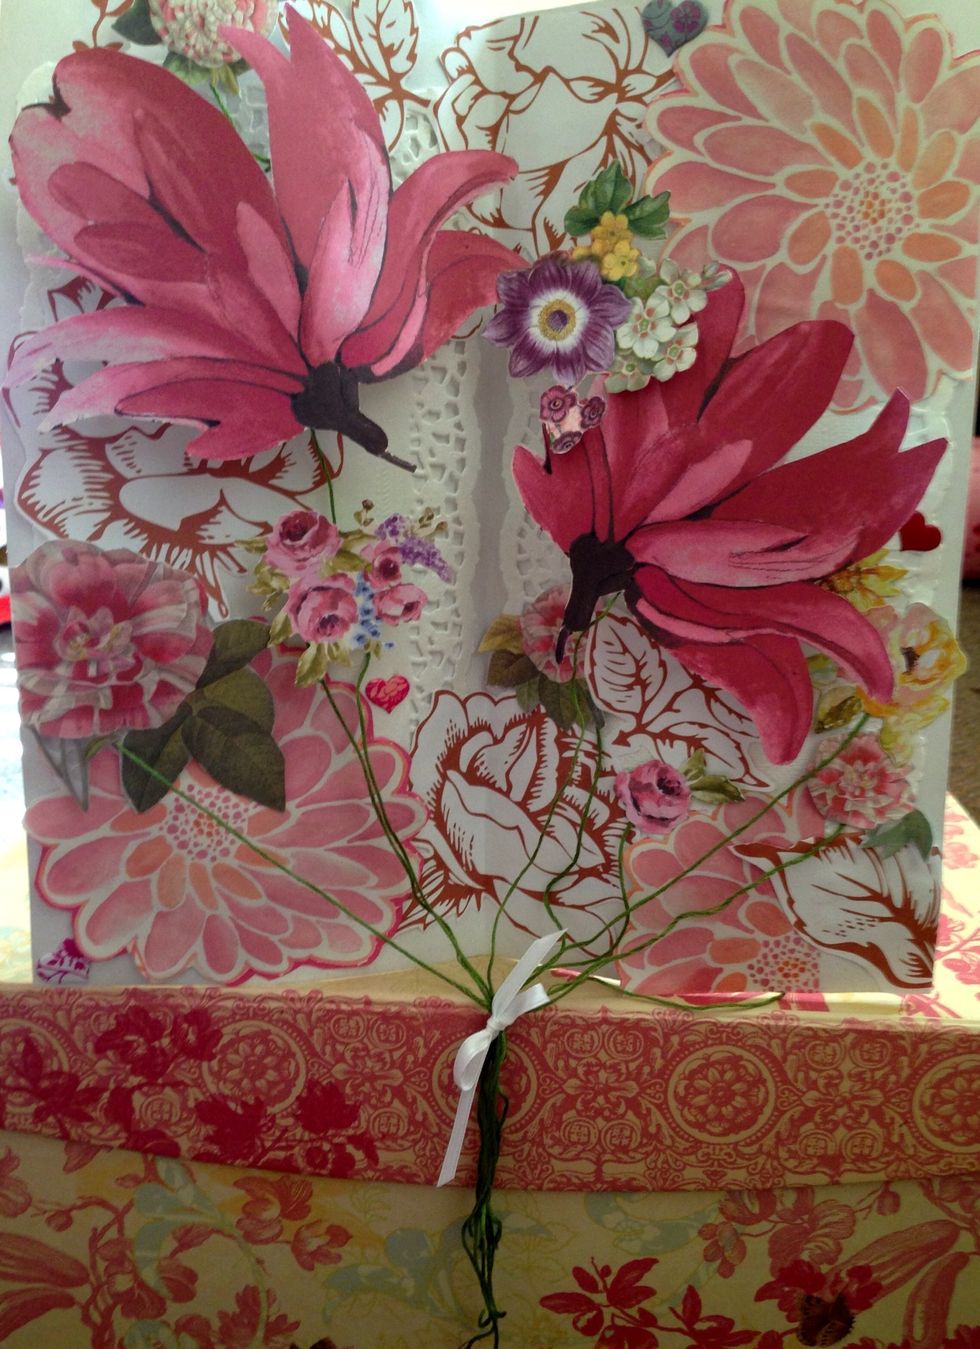
End result :) ! Enjoy