The Conversation (0)
Sign Up
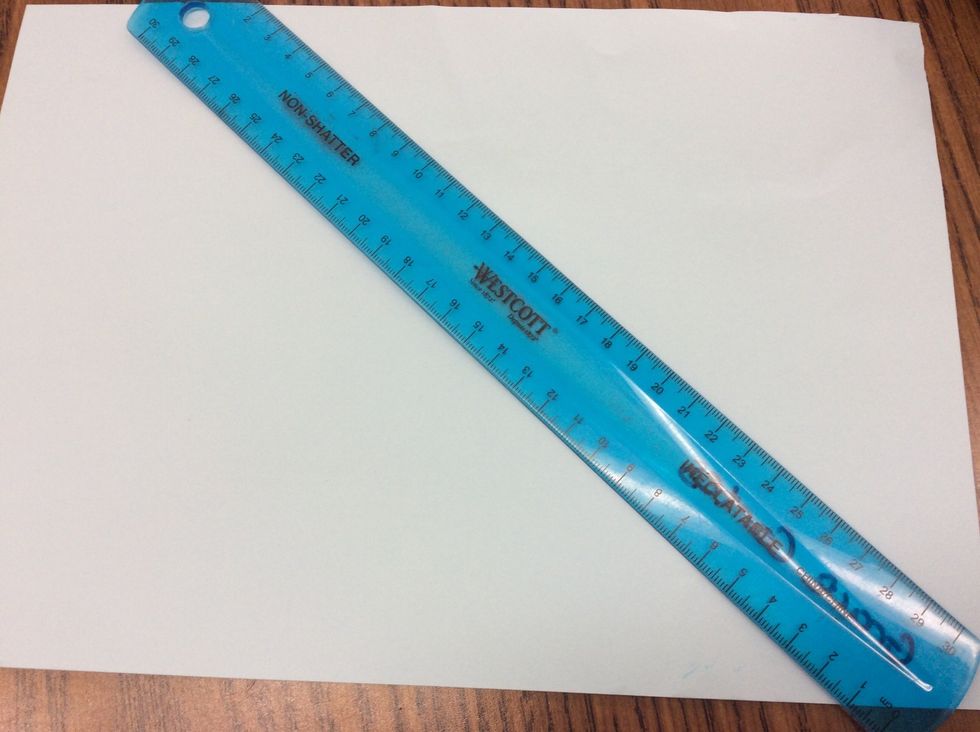
First Get You're Coloured Paper ( It Can Be Any Colour ) And A Ruler
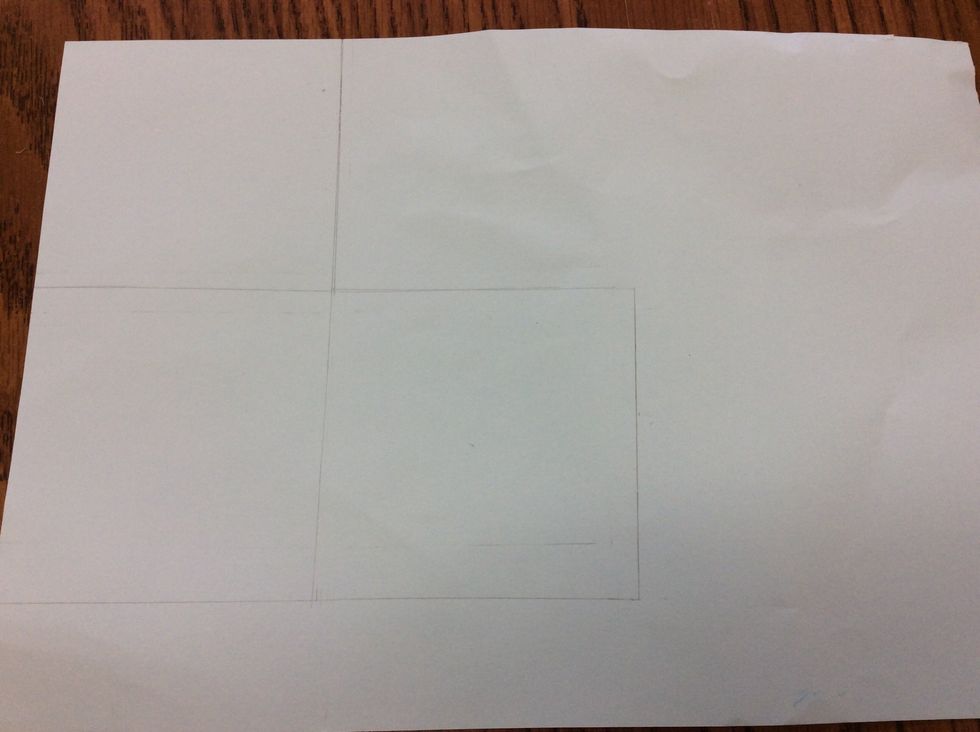
Next Draw Three Squares, Each 9cm Long
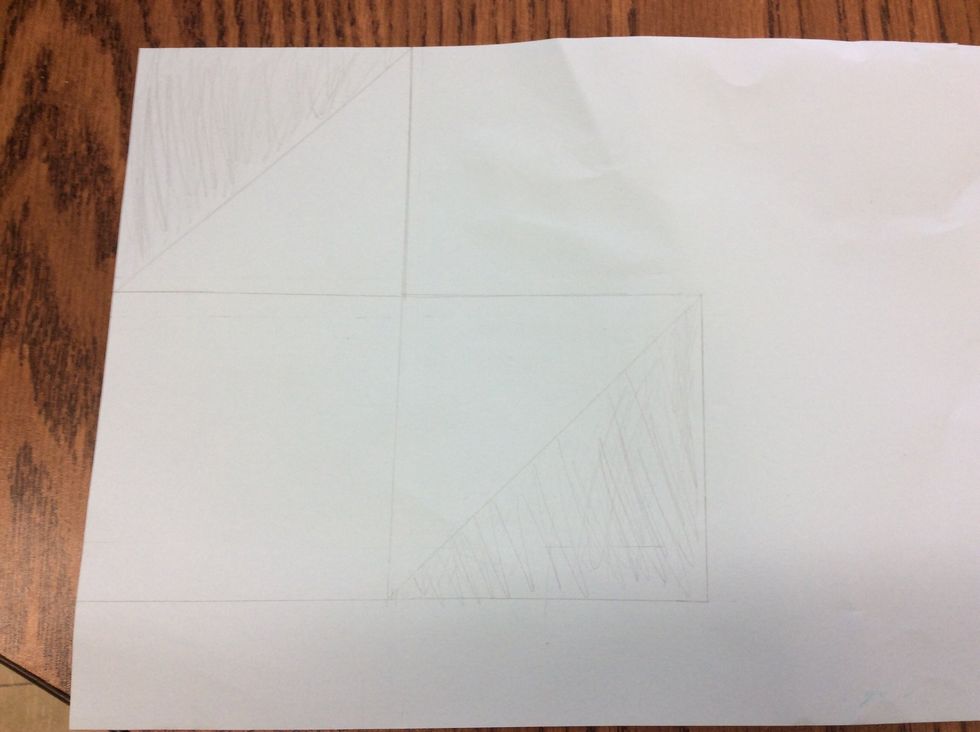
Once Your Done Drawing Your Squares, Split The Two Squares Diagonally In Half Like This And Shade The Two Triangles On The Far Side Then Cut All Around The Blank Parts
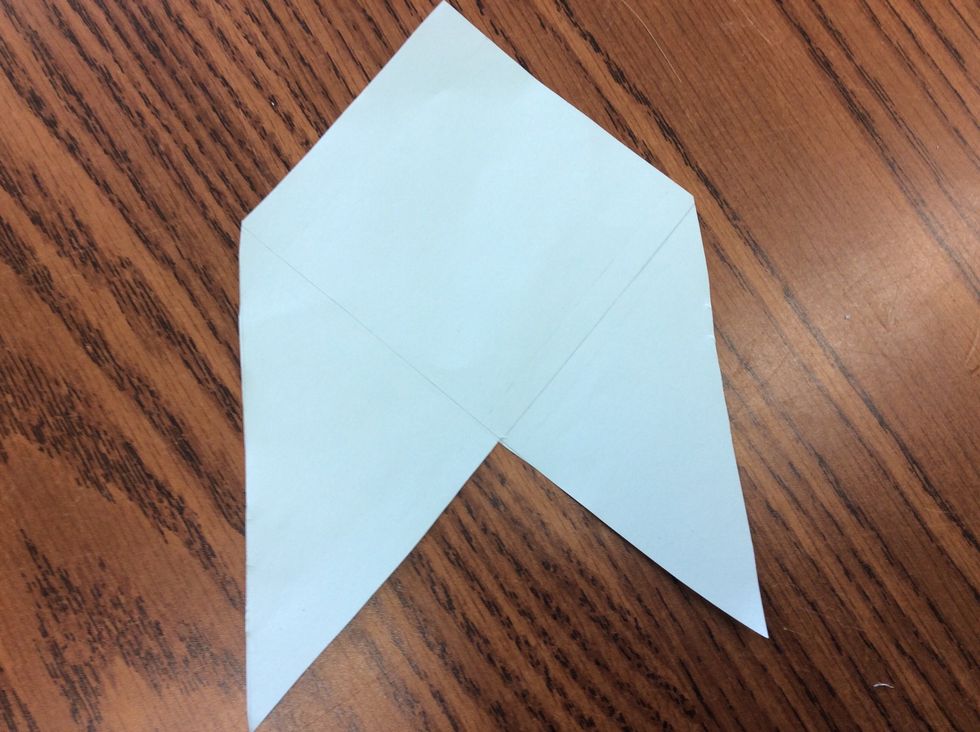
Now you just cut out the shaded parts and all around the blanks, when you're done cutting it should look like this
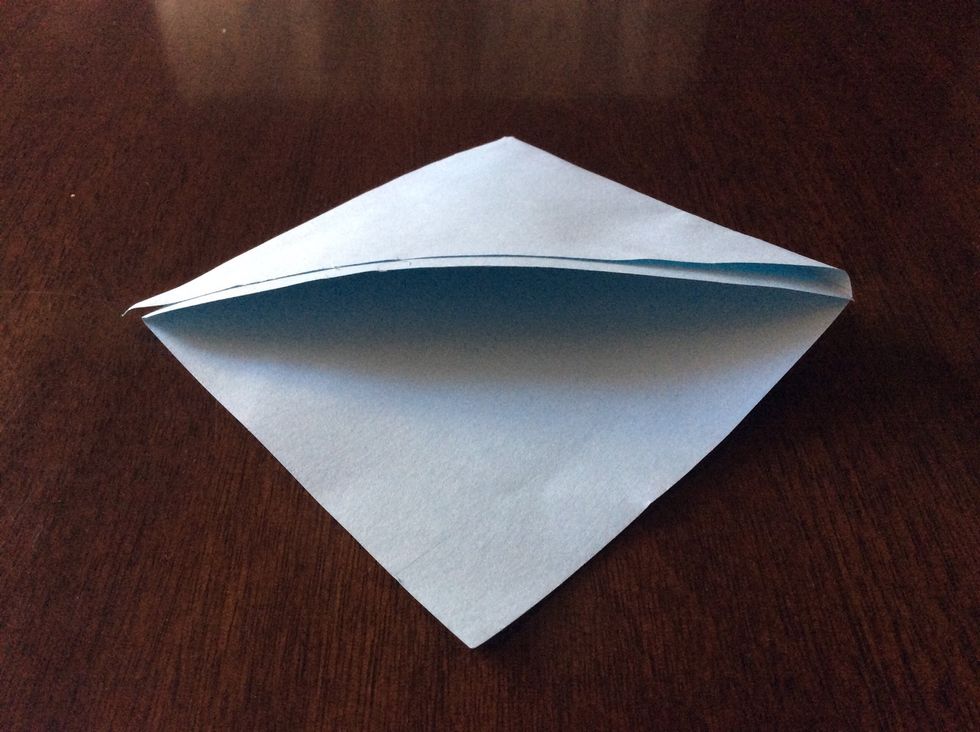
Then you fold the two triangles one on top of the other and glue the top one to the bottom one to look like this
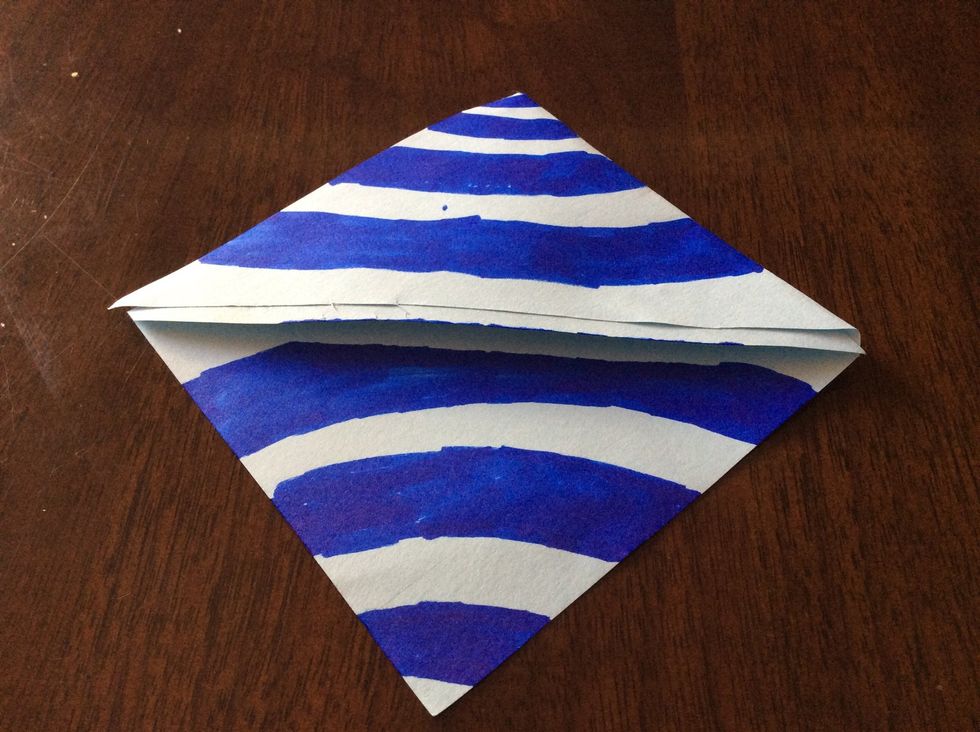
Finally, you decorate you're bookmark! Now you can use it for you're books