The Conversation (0)
Sign Up
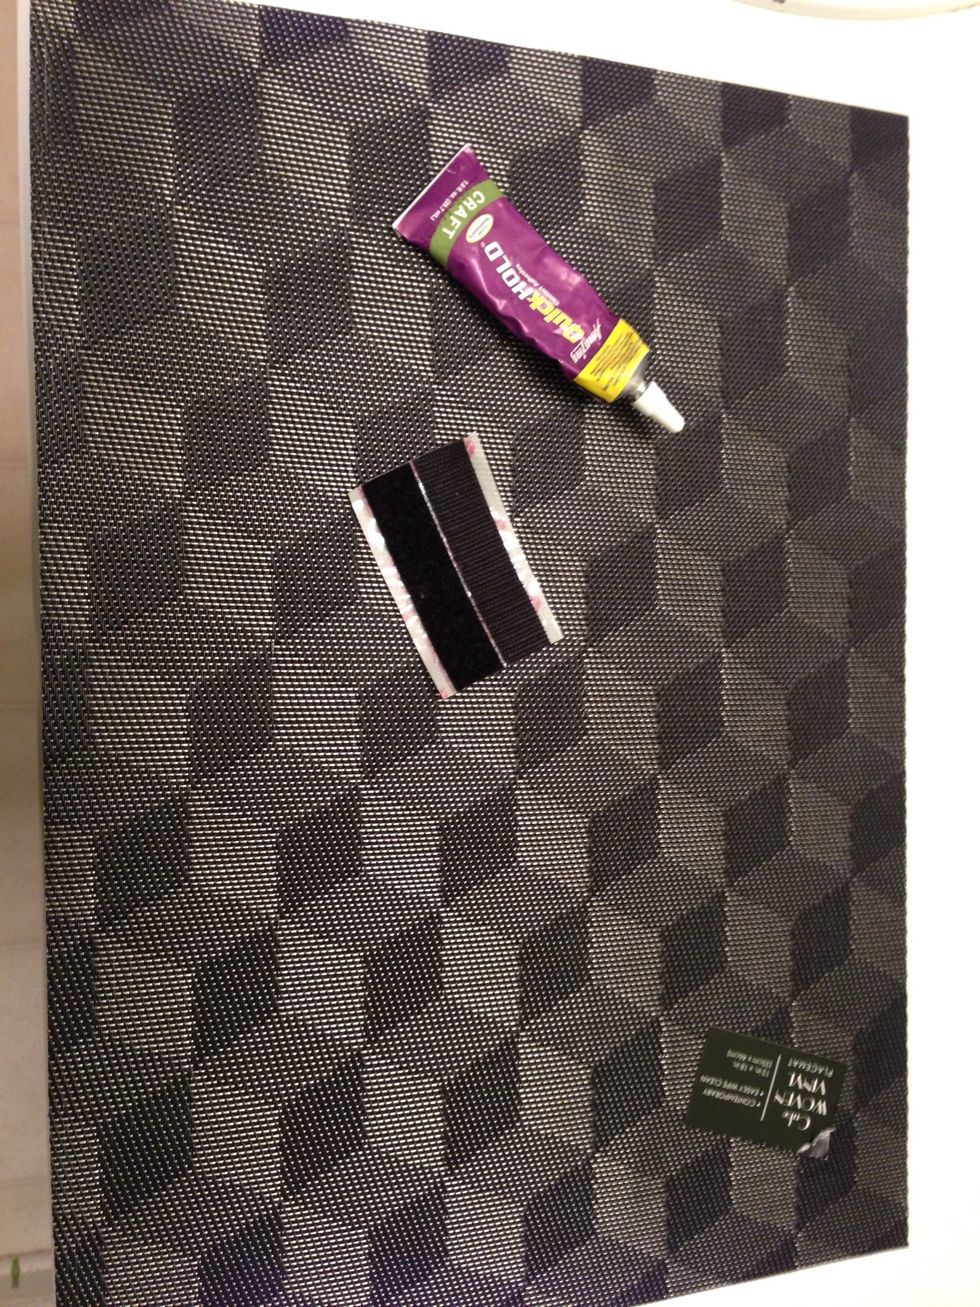
Picked up this vinyl mat from my local Dollar Tree. I thought the pattern was kinda cute :). In this photo it almost looks like some kind of 3-D graphic!!
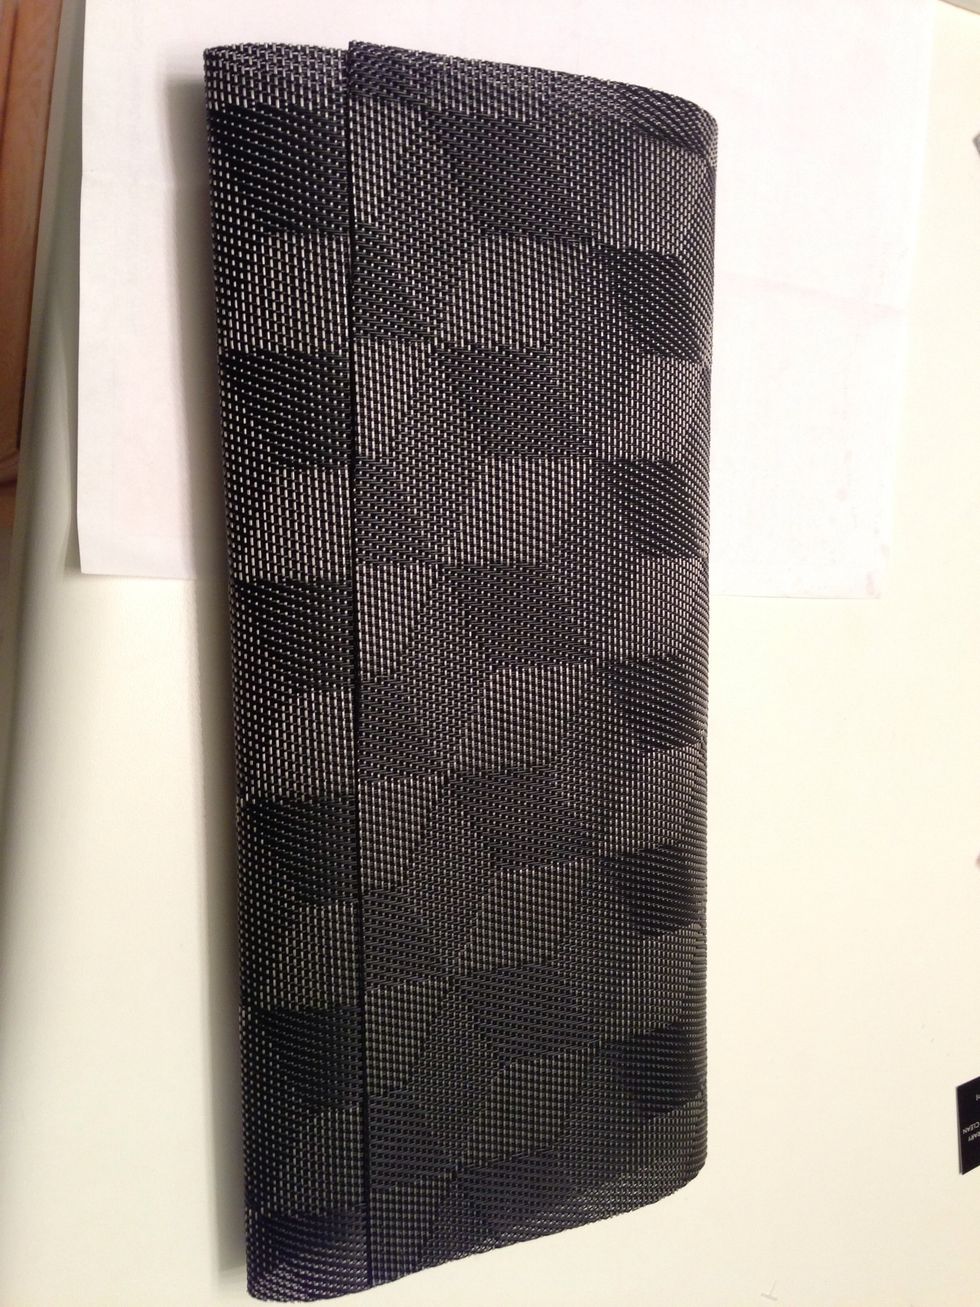
Start by folding the mat into thirds, placing the flap where you want it to fall. Press down on each fold to create a crease to know where to apply the glue.
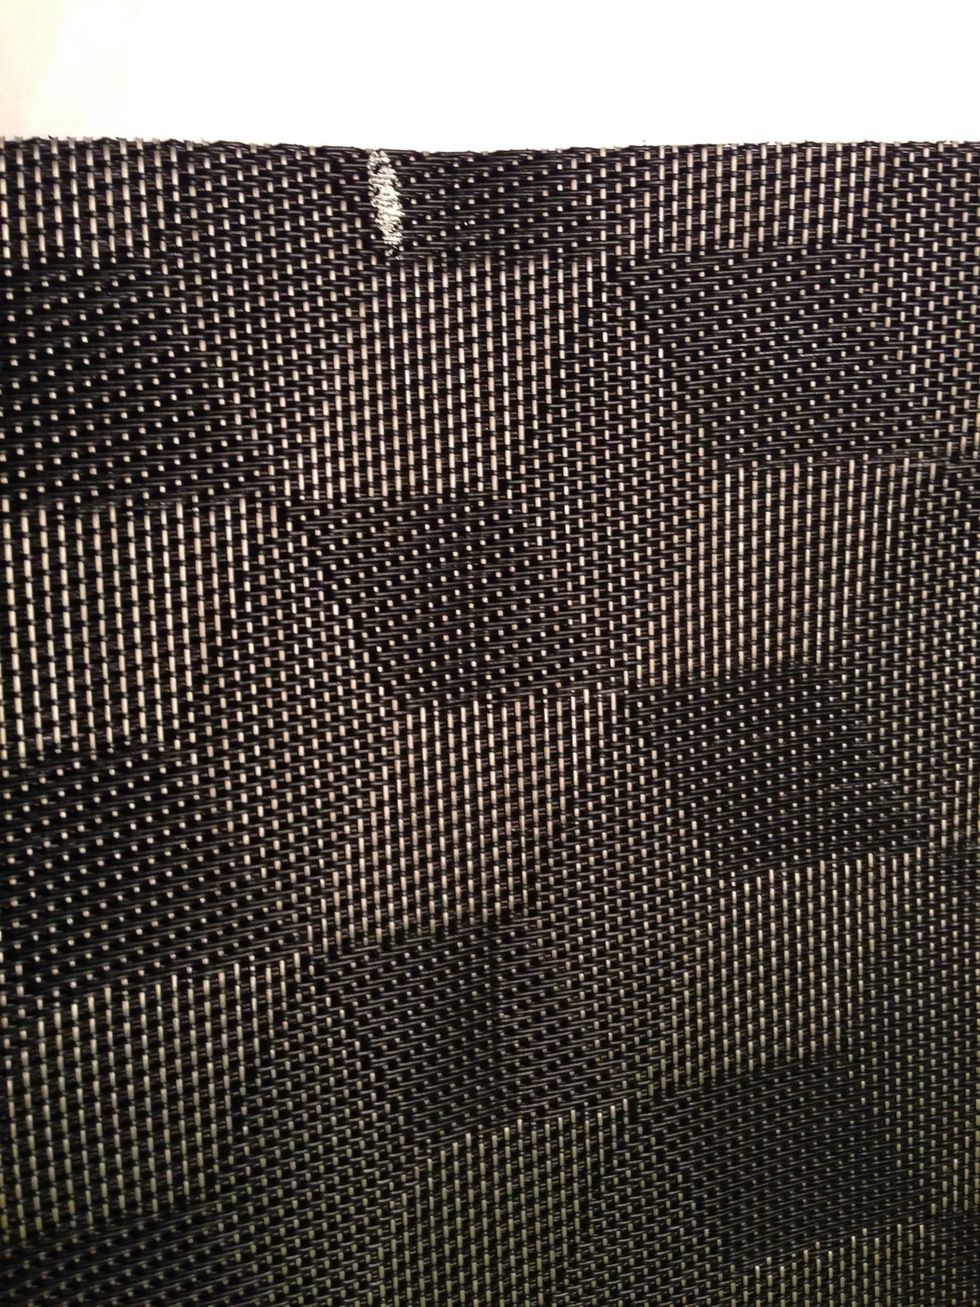
Since this mat is black it was hard to see the crease, so I marked where to start my glue line with white chalk. Leave flap up & open above the chalk line.
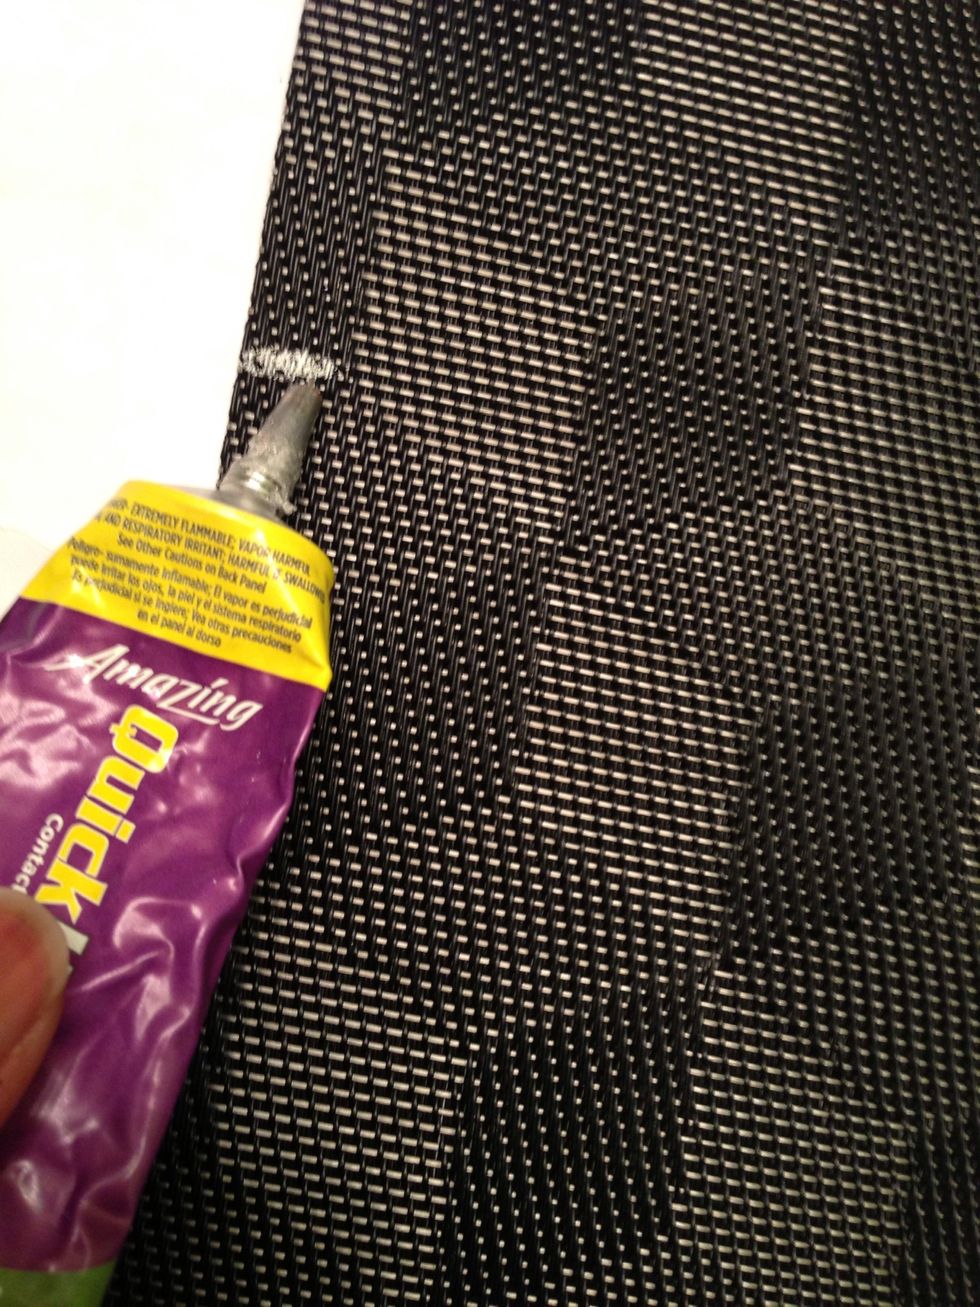
Starting to glue
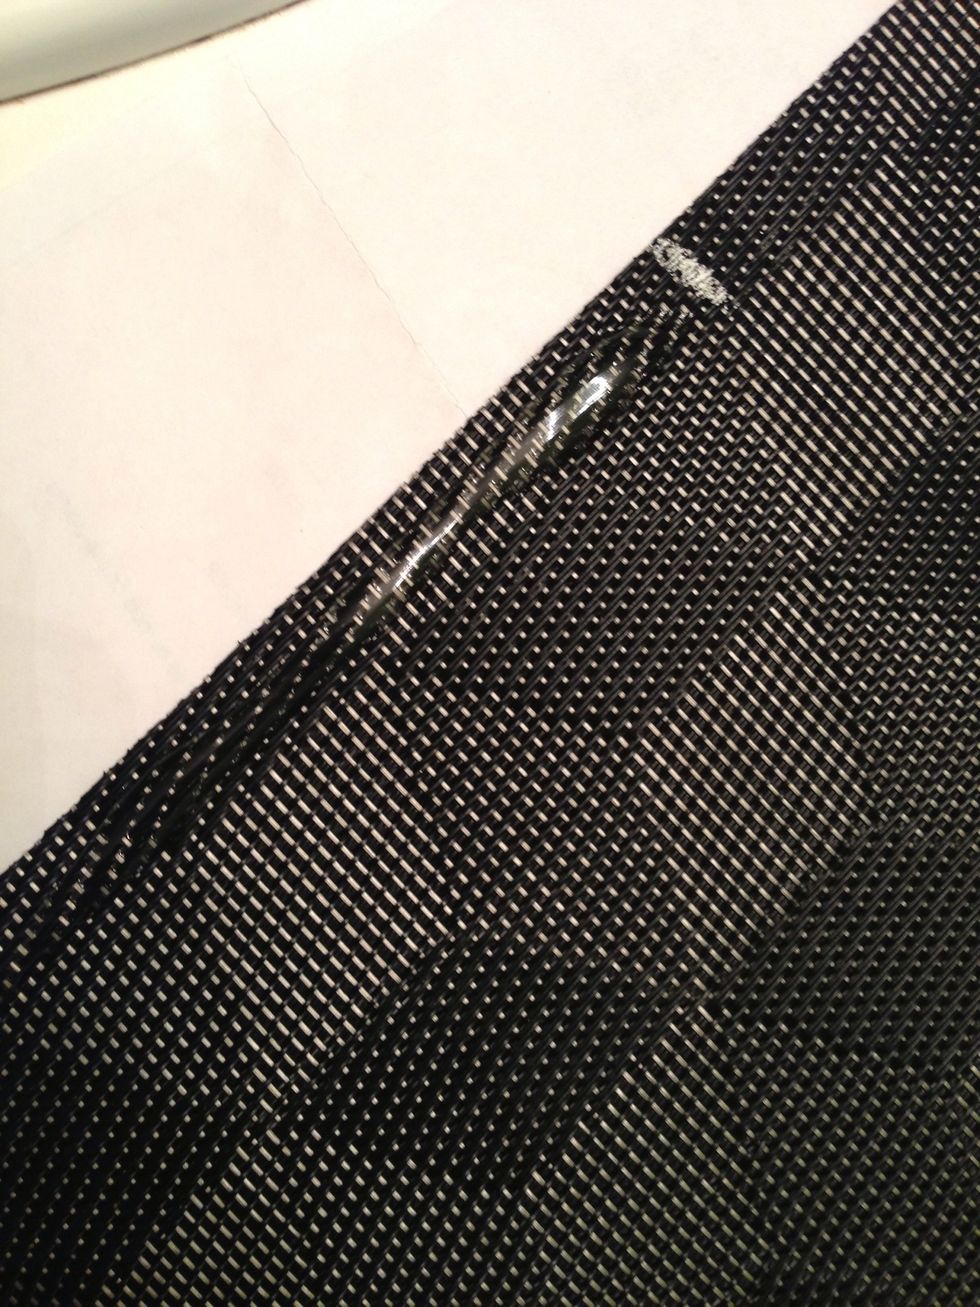
Keep gluing along the side edge of the mat (bottom 2/3) all the way down.

I folded a piece of paper along the edge to press the sides together & to keep from getting glue on my hands. Ewww, sticky icky! :0). Repeat on the other side.
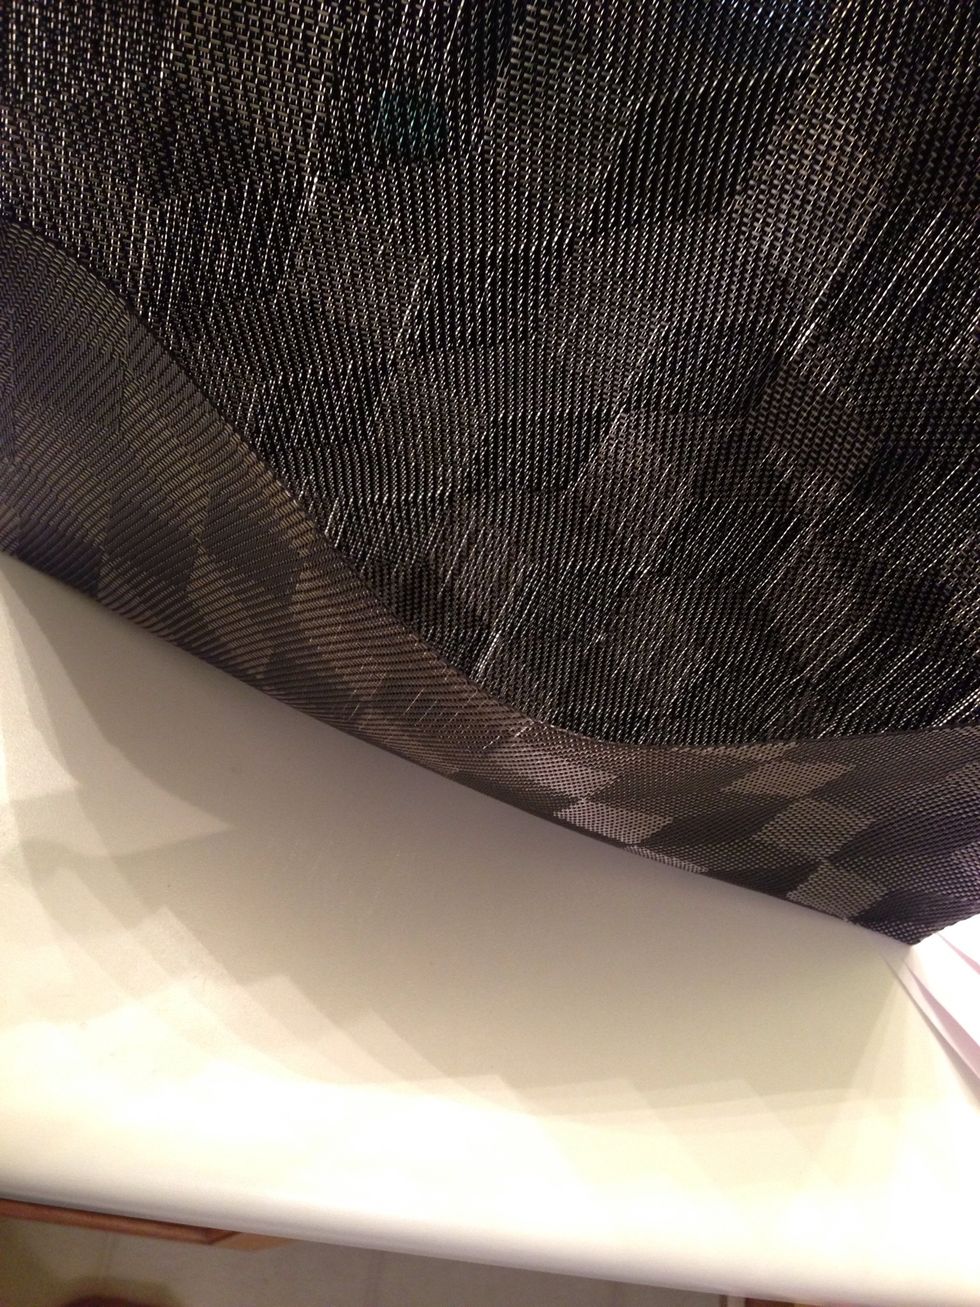
Here's the inside after both sides are glued in place. I'm being careful because the glue isn't quite dry...
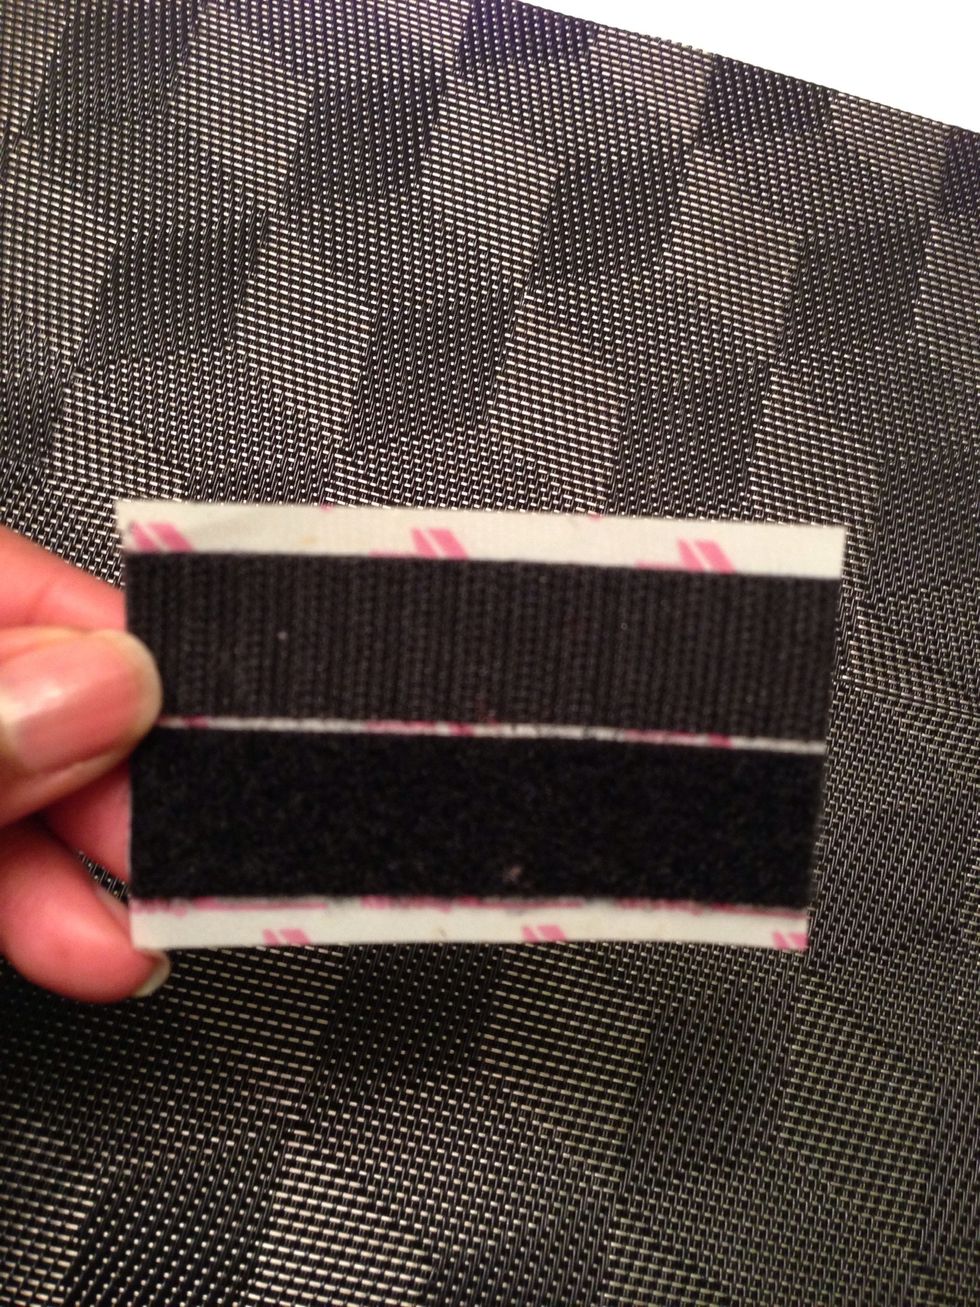
Now for closure....my handy Velcro strip!
Center first piece of the Velcro & press down to stick on the clutch.
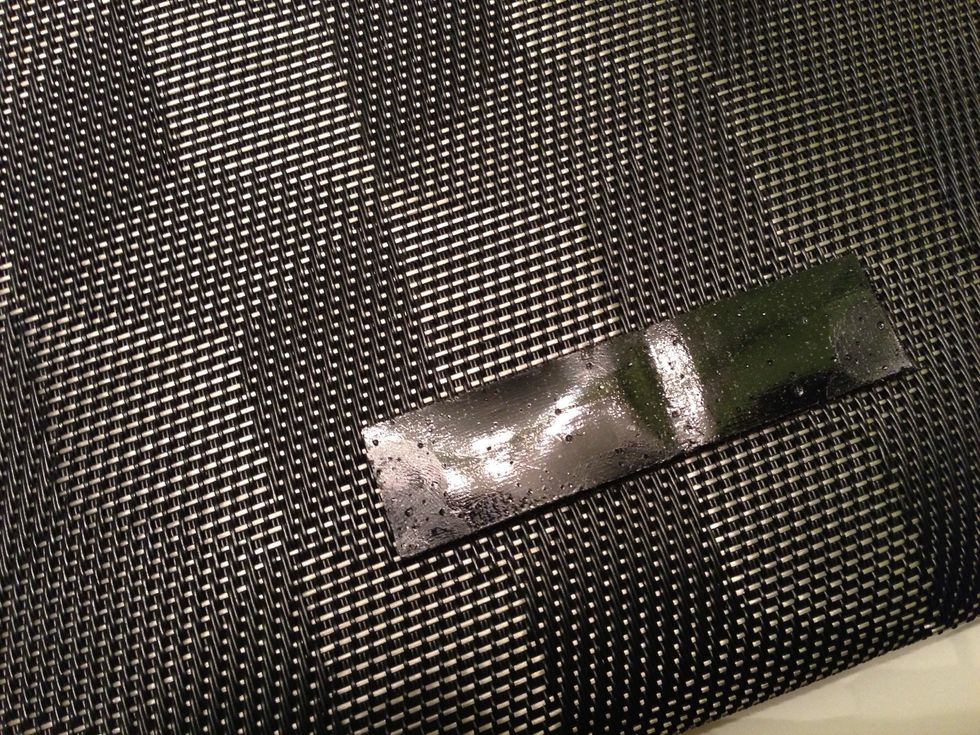
Take the other piece of Velcro & place on top of the existing Velcro, sticky side up. This way all you have to do is bring the flap down & press onto sticky side of Velcro & both pieces are centered!
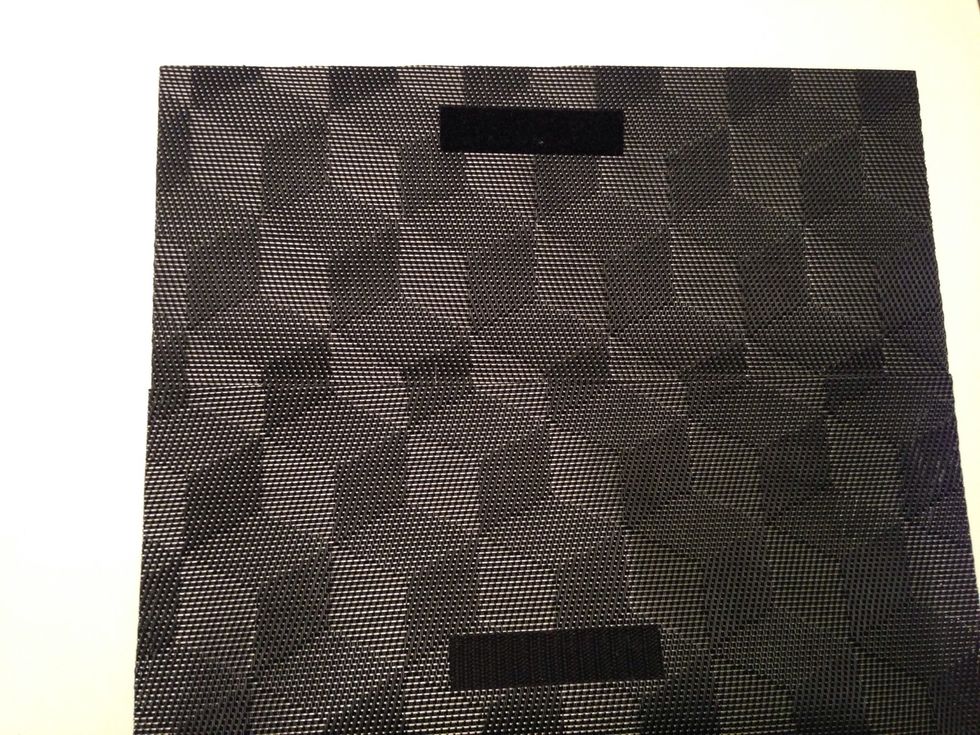
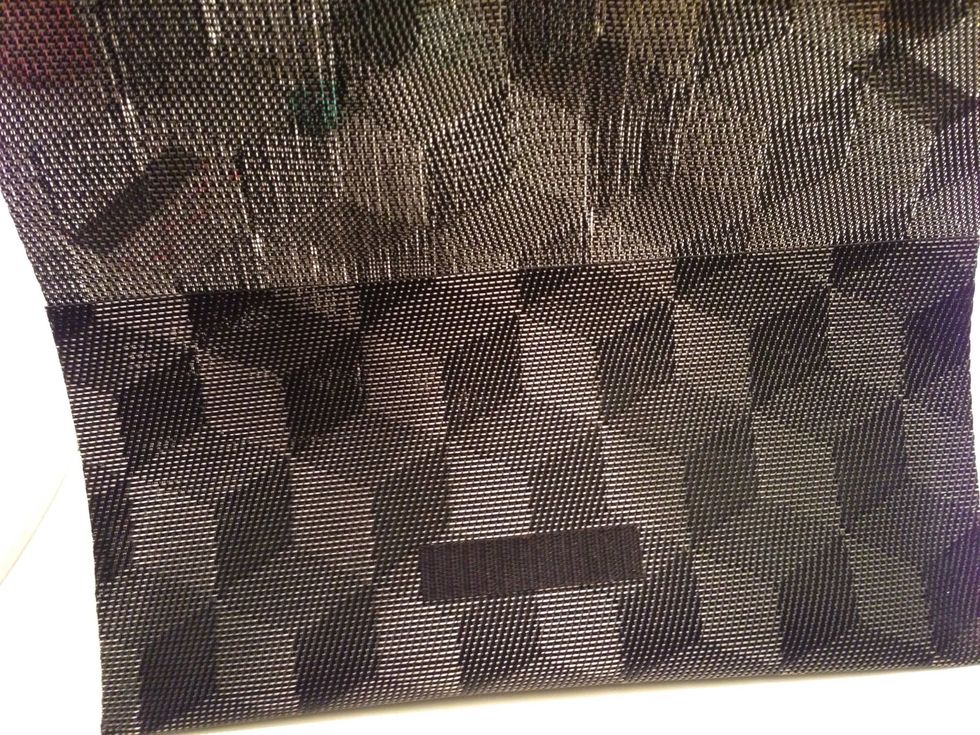
Top & bottom pieces of Velcro centered
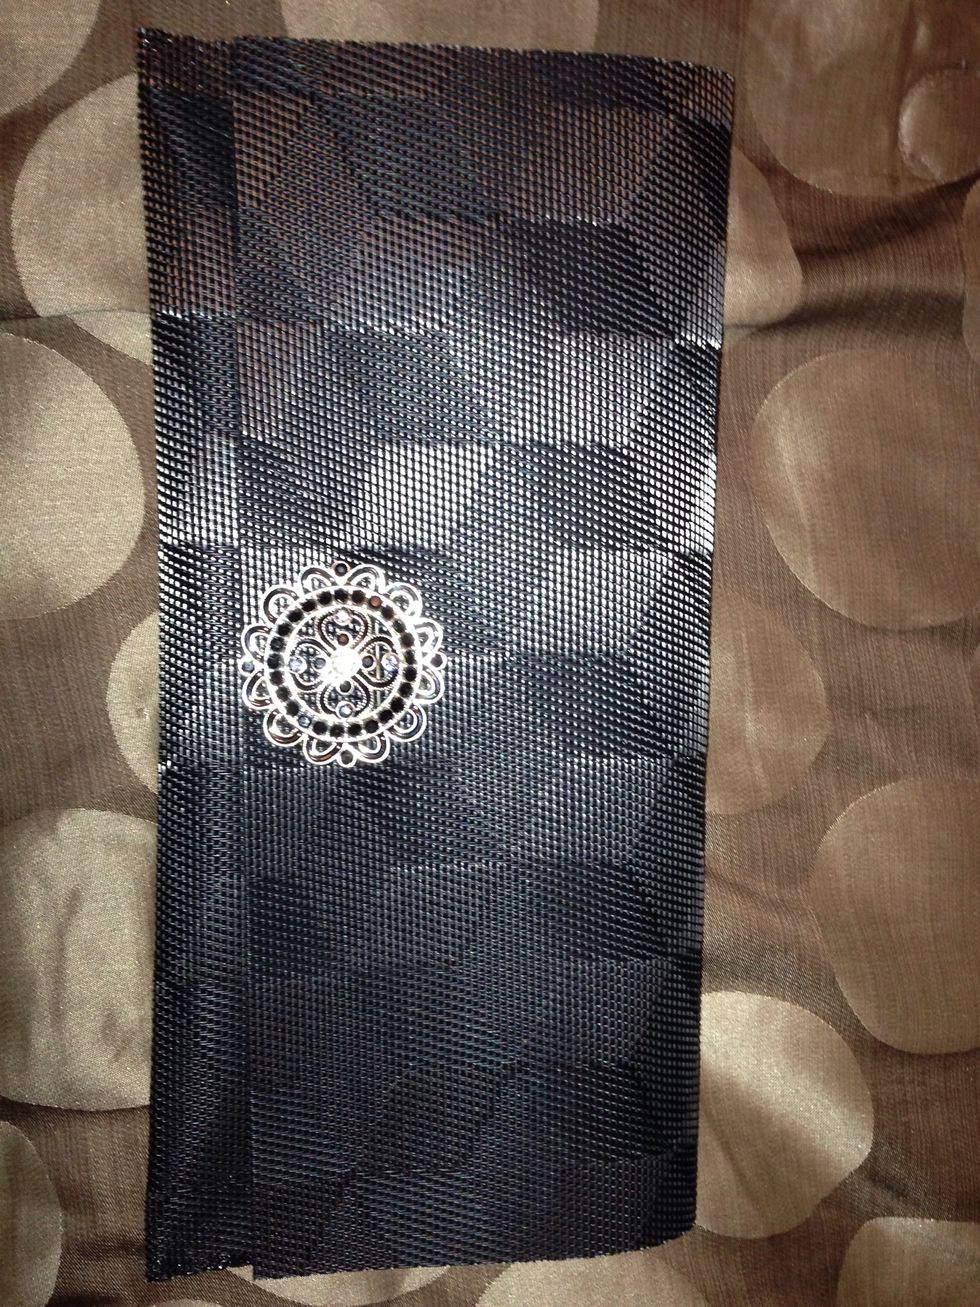
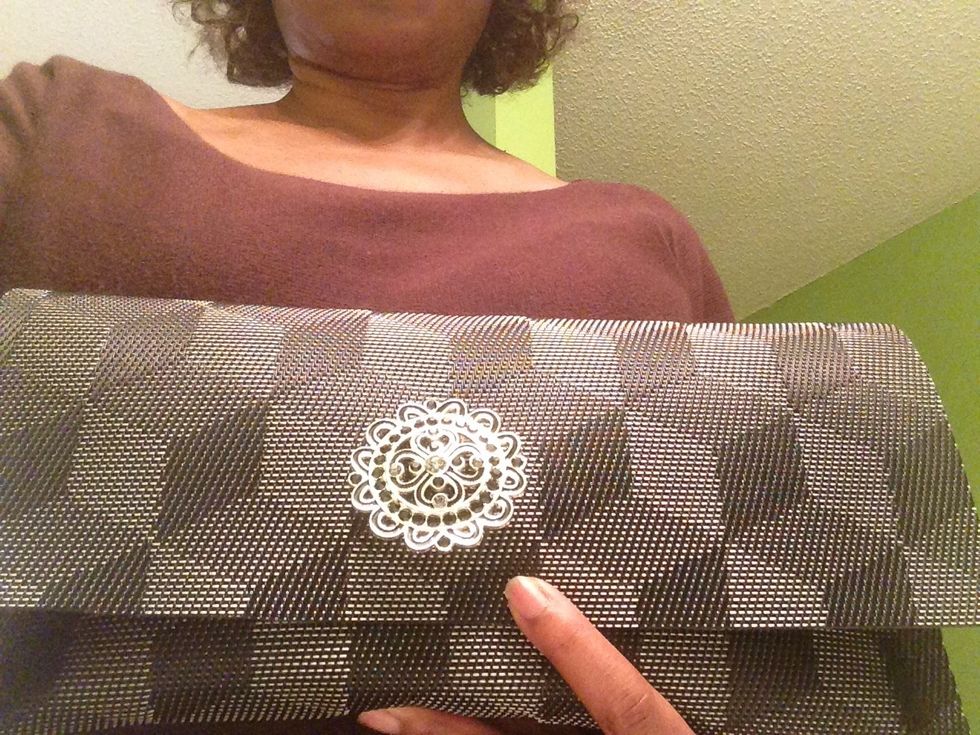
I added a brooch to make it look more trendy. And there you have it... A cute & cheap clutch!!
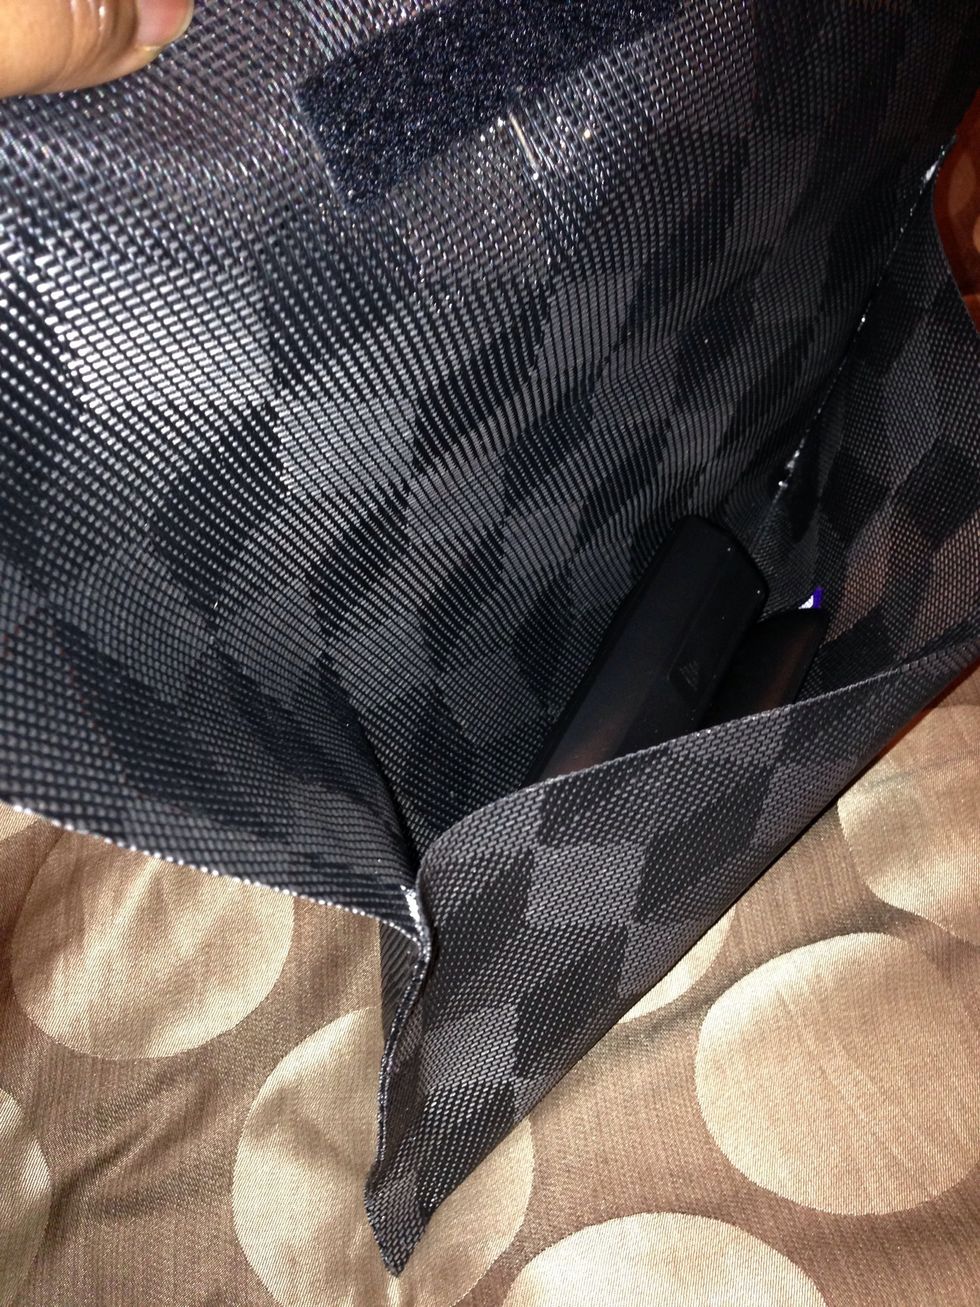
I threw my remotes in there just to see how it holds up & it did pretty well. Lots of room for all our girly necessities!! Great to carry to a party or a night out on the town!
Another view...the possibilities are endless because place mats come in so many patterns,colors, and materials!
Under the arm view! Sorry for the photo quality :(, but you get the picture (pun INTENDED)! Thanks for watching =)