The Conversation (0)
Sign Up
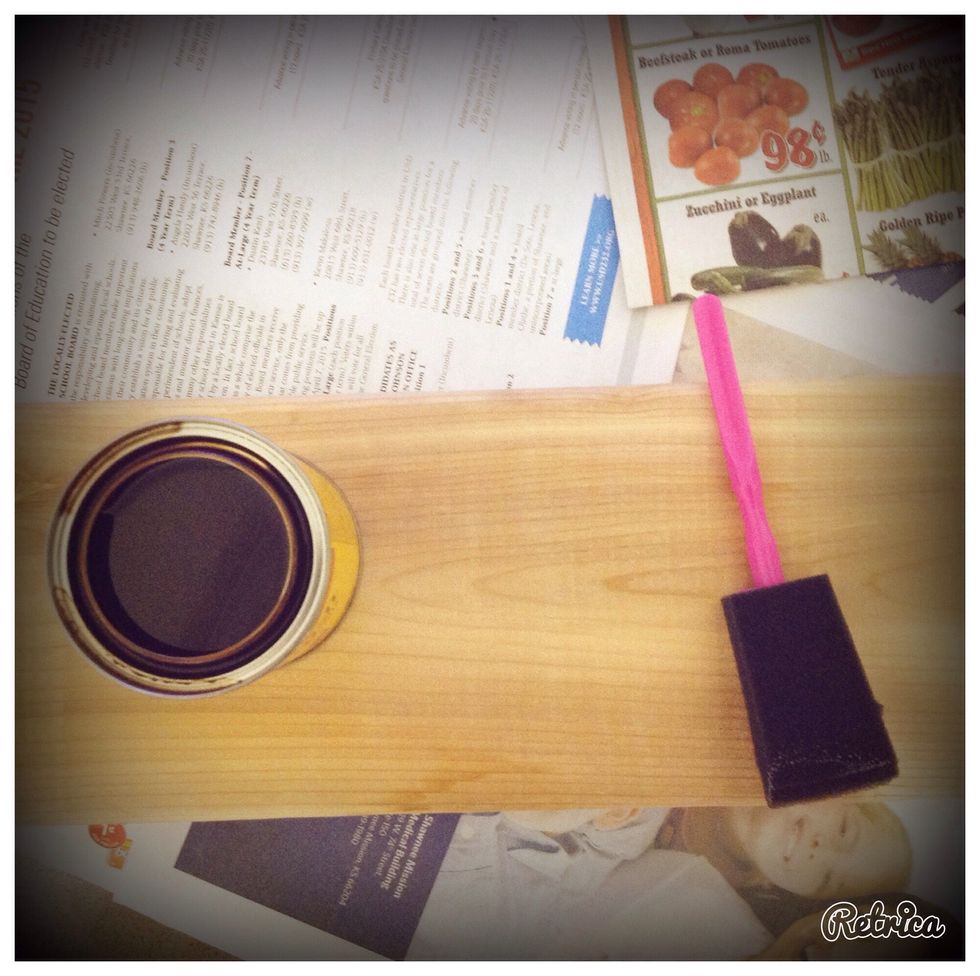
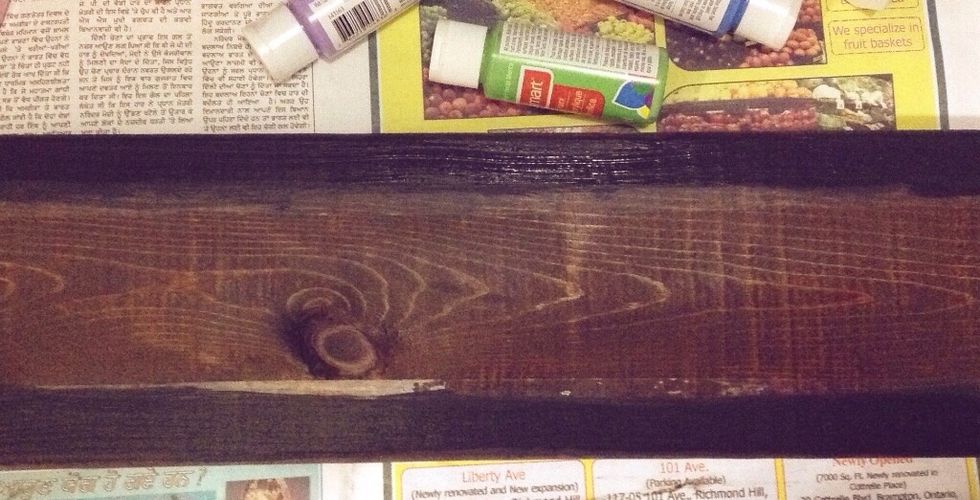
We are going to start the staining process. You want to make sure you have covered your workspace and you are working in a well ventilated area.
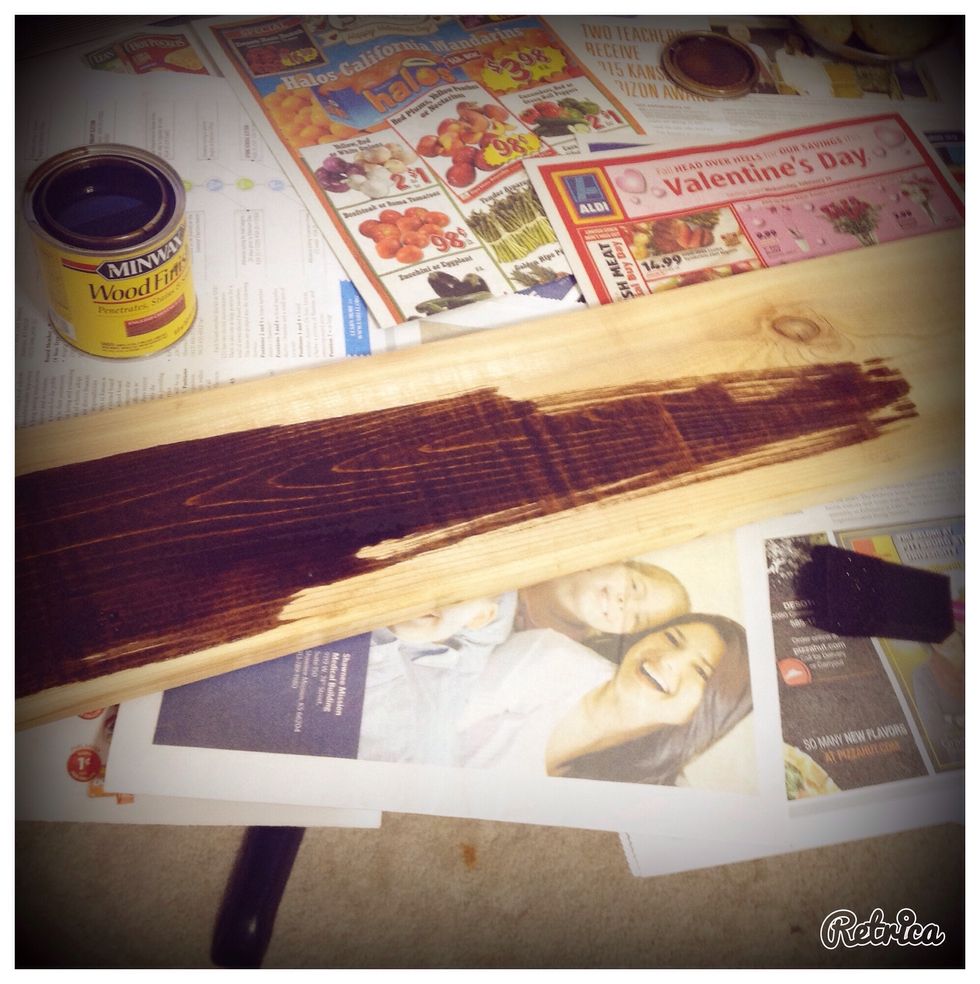
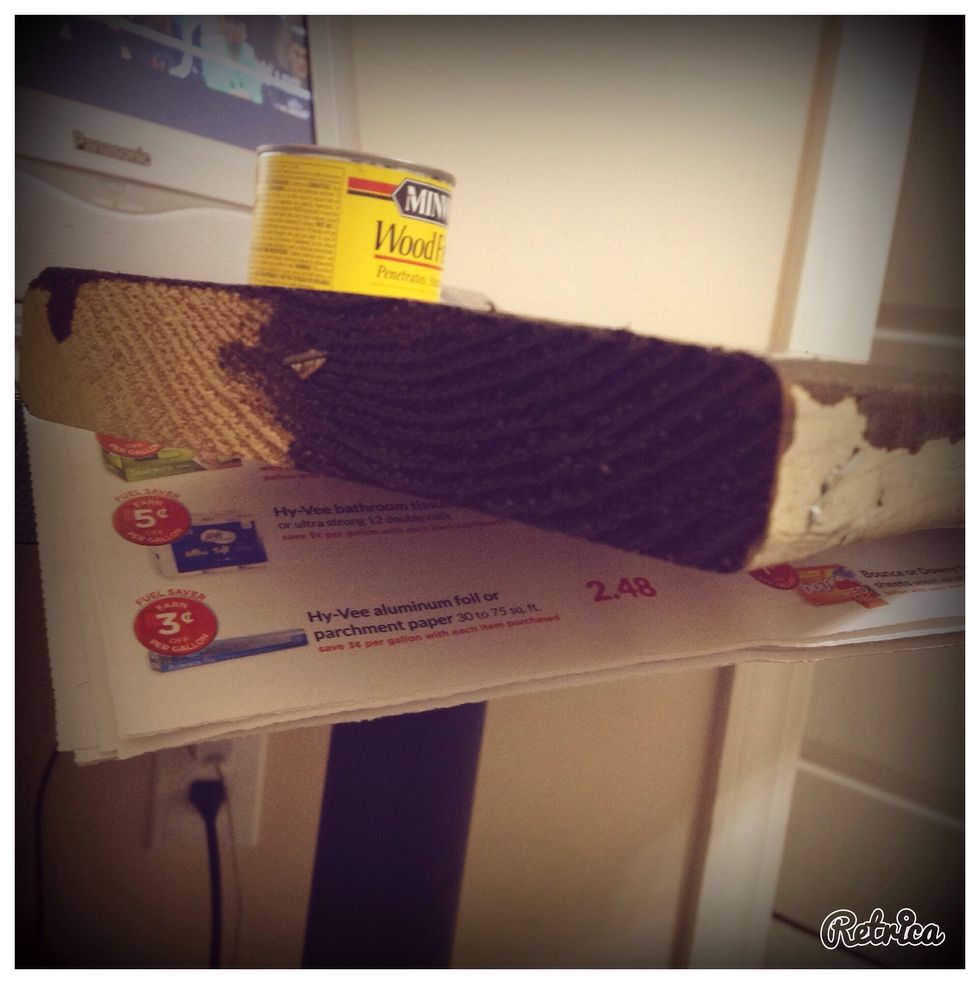
A little goes a long way with stain so just apply a thin coat to the face of the wood and all four sides.
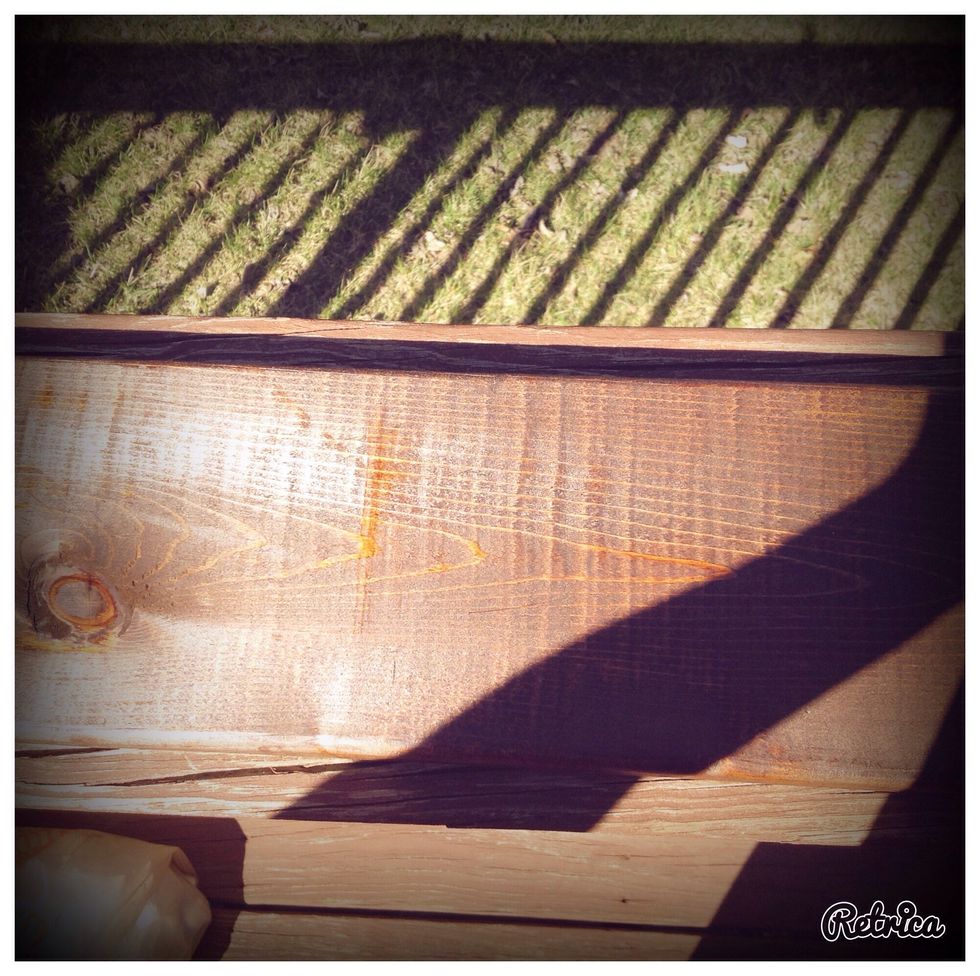
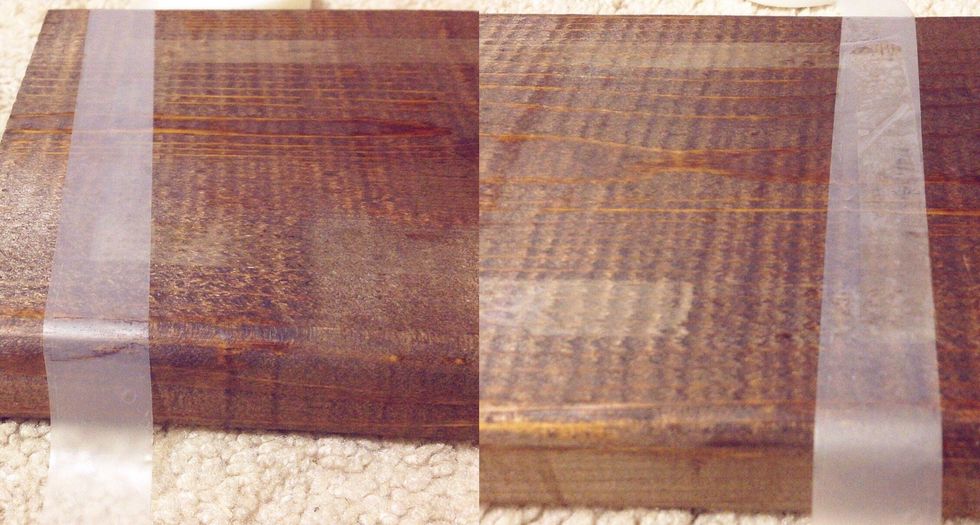
To let the wood dry, we have to let the wood hangout for at least 12 hours. After the wood has fully dried, we are going to tape off the edges, just like the Brandy Melville sign.
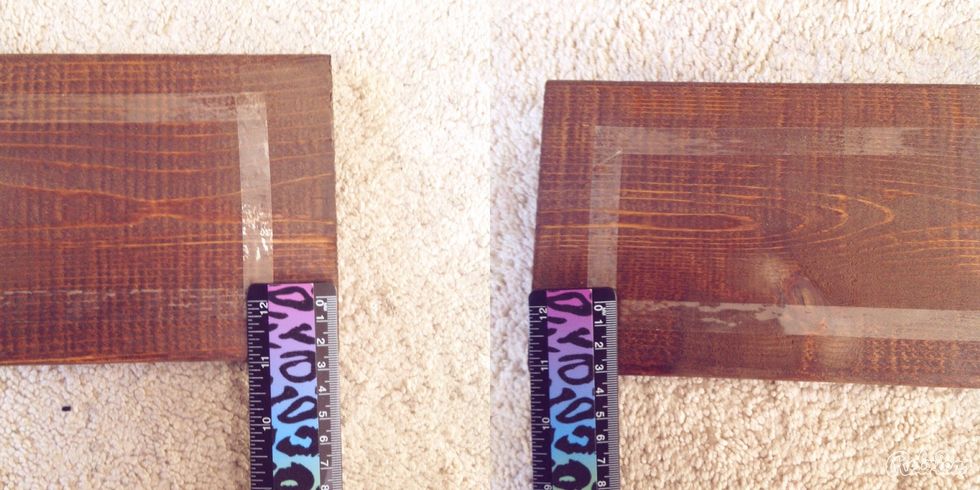
I measured 2 1/2 cm. on both sides and I used masking tape to connect them.
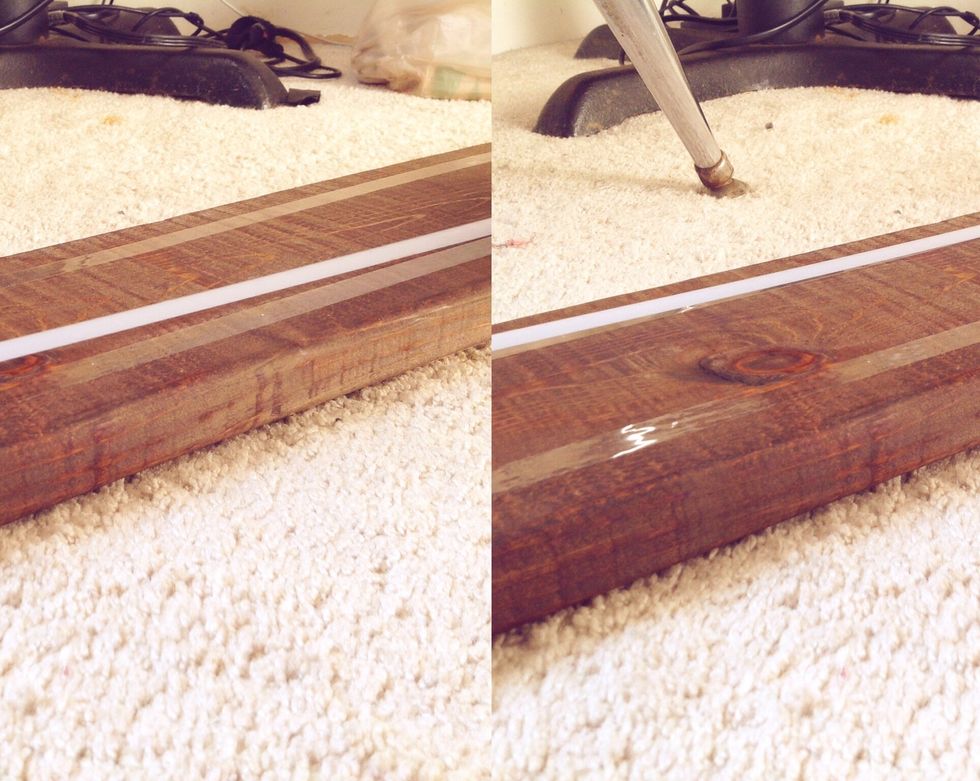
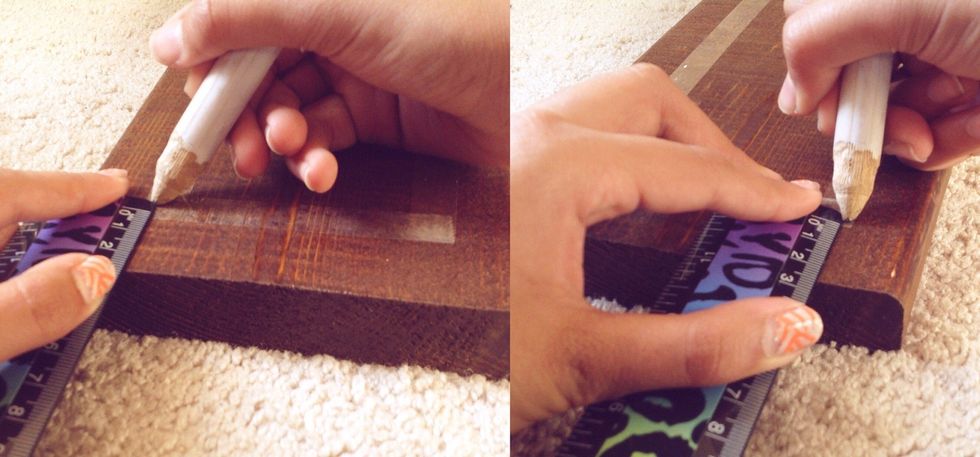
Next, I'm going to mark 2 1/2 cm. twice on each piece to measure out where the vertical pieces are going to go.
So snip those pieces off and measure a piece of masking tape to connect the horizontal strips.
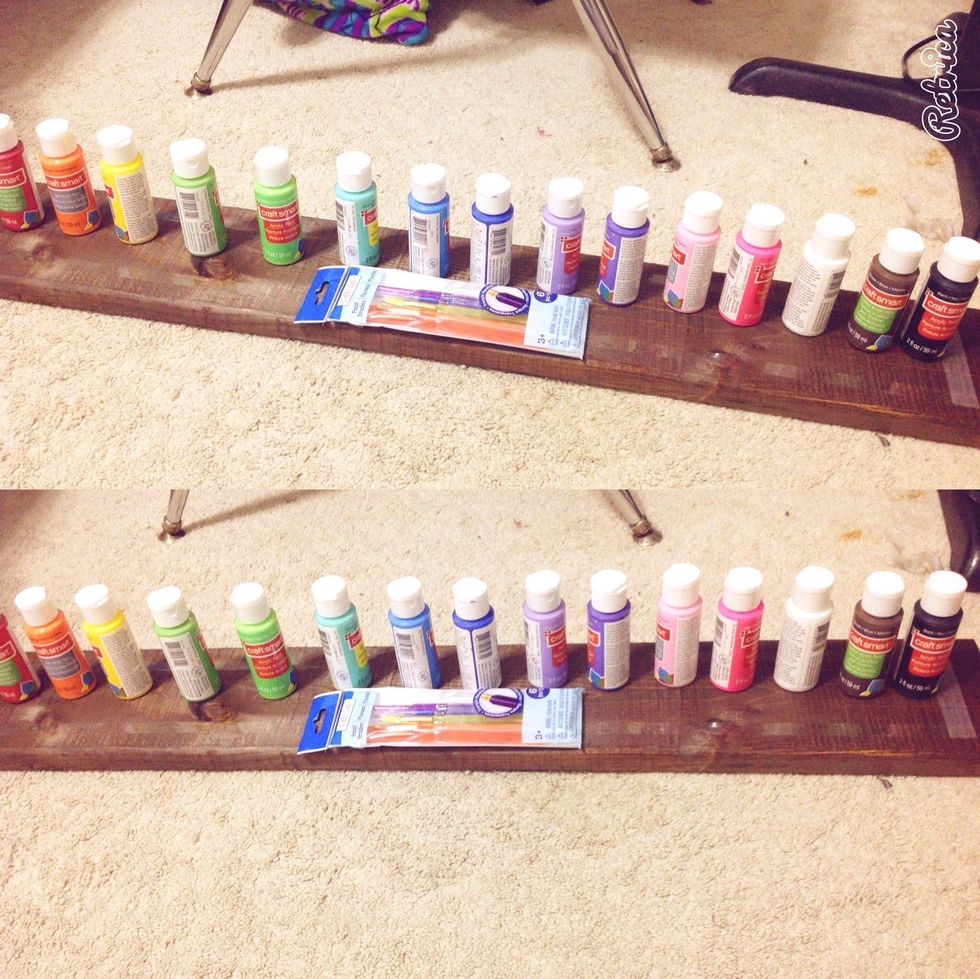
NOW WE CAN PAINT!!!!!!
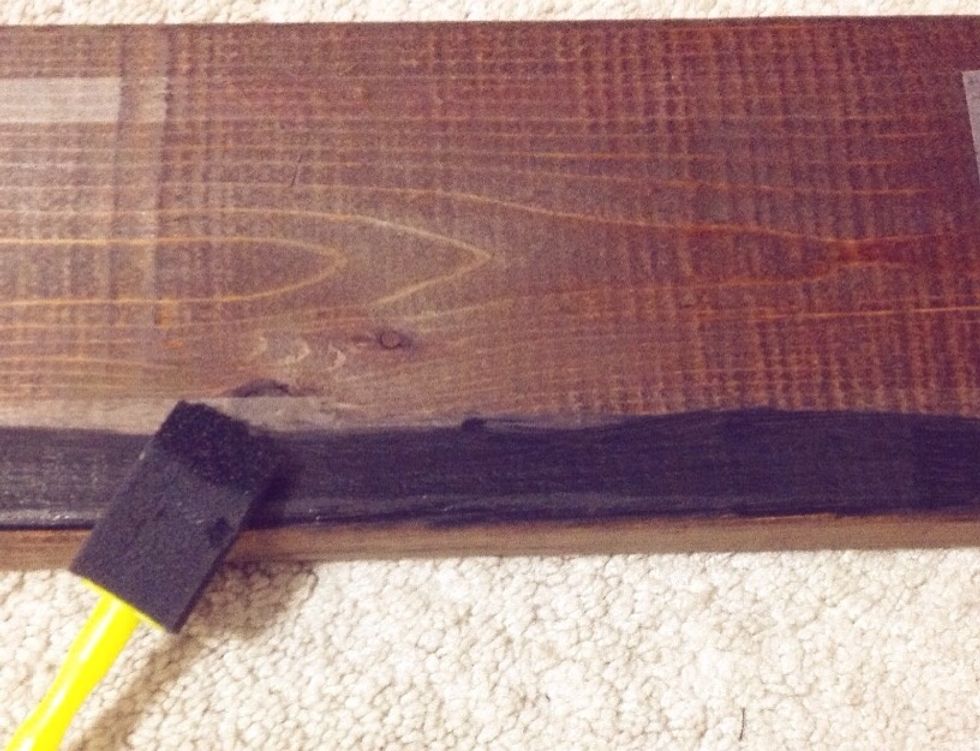
You can use special wood paint or acrylic paint if you already have that at home. I'm using a foam brush to paint 3 layers of black around the edges.

I'm just using the application Microsoft Word and the font to 275. I'm adding a heart to the end. You can resize it down by changing the percent to the right percent size.

So you can cut those out and be sure to save the middle pieces like the triangle in an A. So once your border is dry you can take off the tape. Next arrange the words. Now you can tape the words.
Now you can start filling in the word templates with your choice of color. Then take off the paper and your....

DONE!!!!!!!