How to make a diy bracelet loom, or "rainbow loom"
Make a DIY Bracelet Loom, or "Rainbow Loom"
1756
STEPS
TOOLS
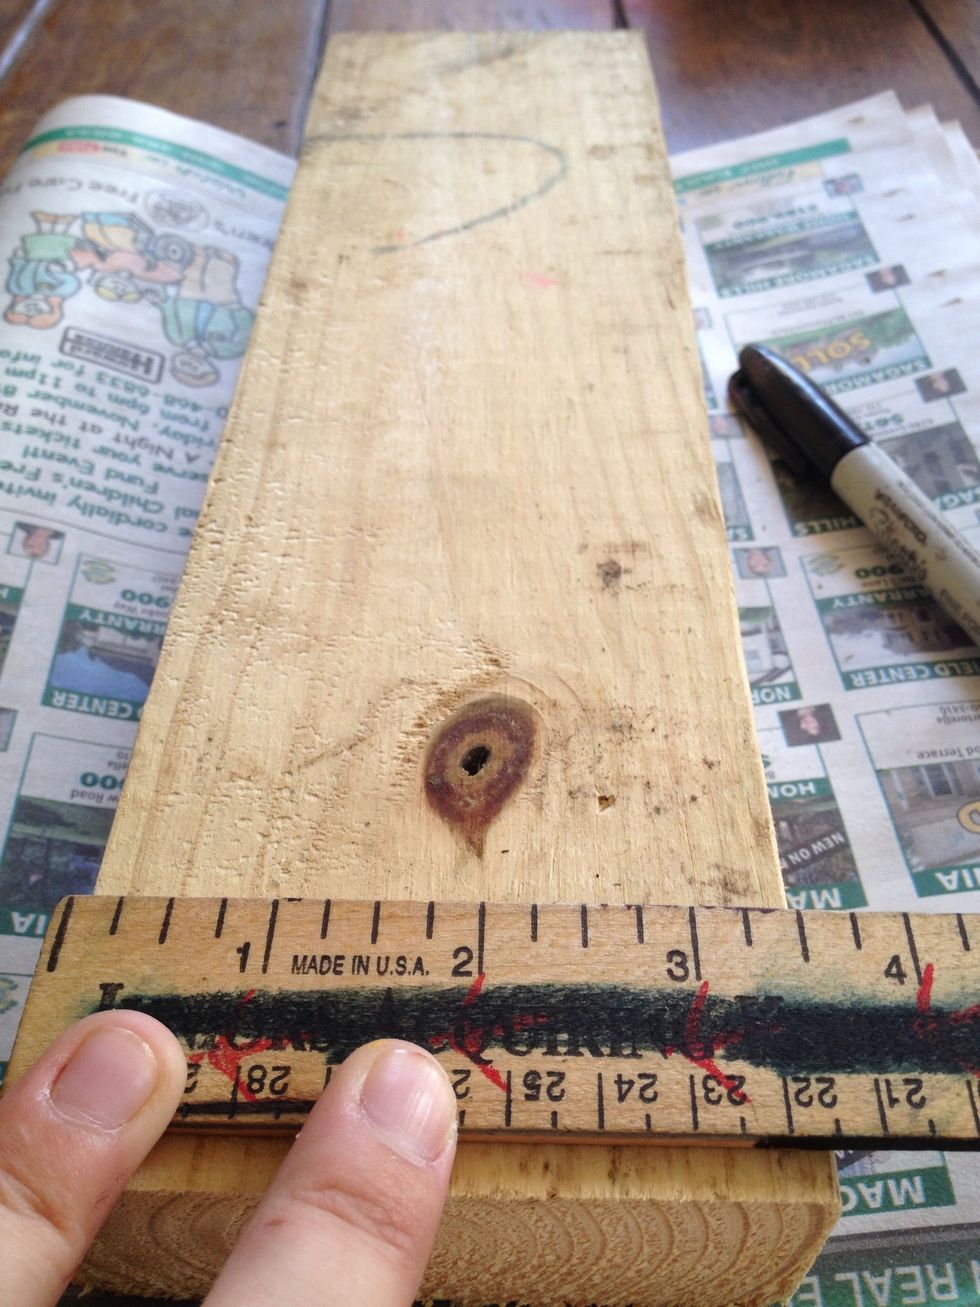
Evenly space out marks for three nails to be placed across the width of your board. Not too close to the edge.
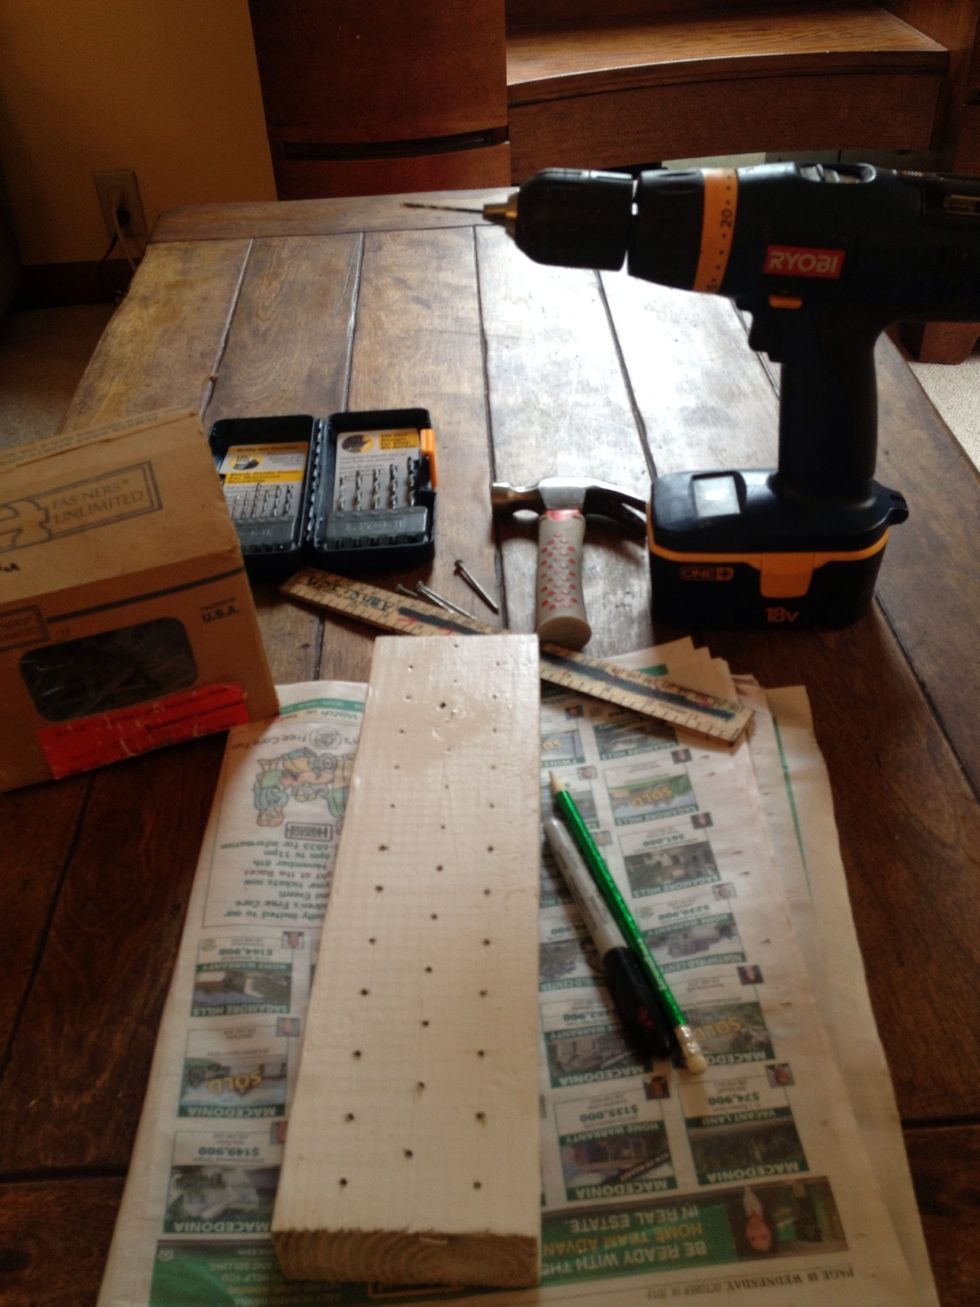
Measure & mark the length starting at the 1/2 inch mark & space them 1" apart. (1/2", 1.5", 2.5", 3.5" & so on. Repeat on both outside edges. The middle row should start 1/2" deeper down the board.
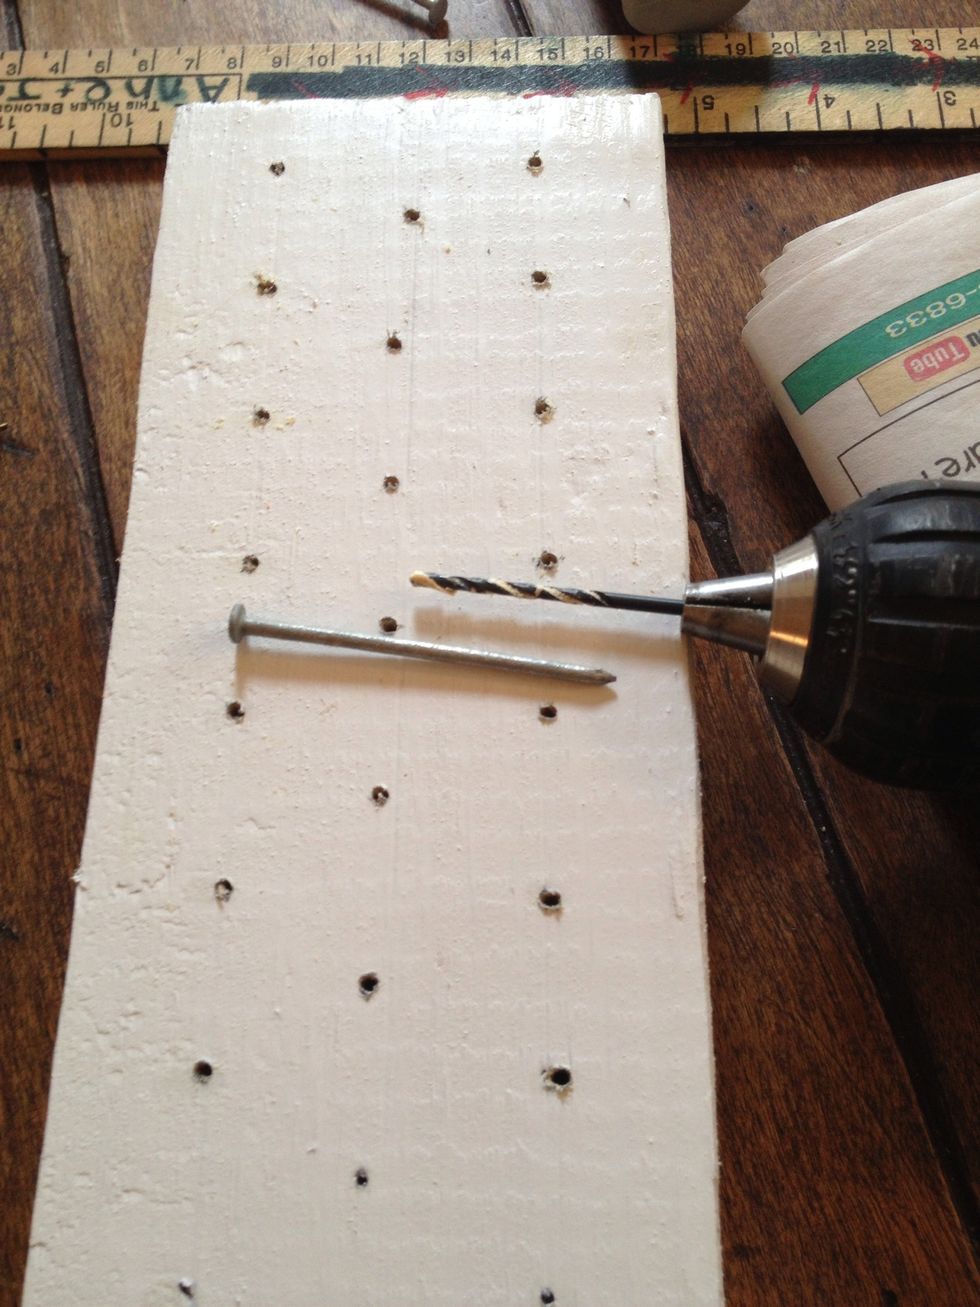
Pick a drill bit that corresponds to your nail. Pre-drill all of your holes. Do not drill all the way through your board.
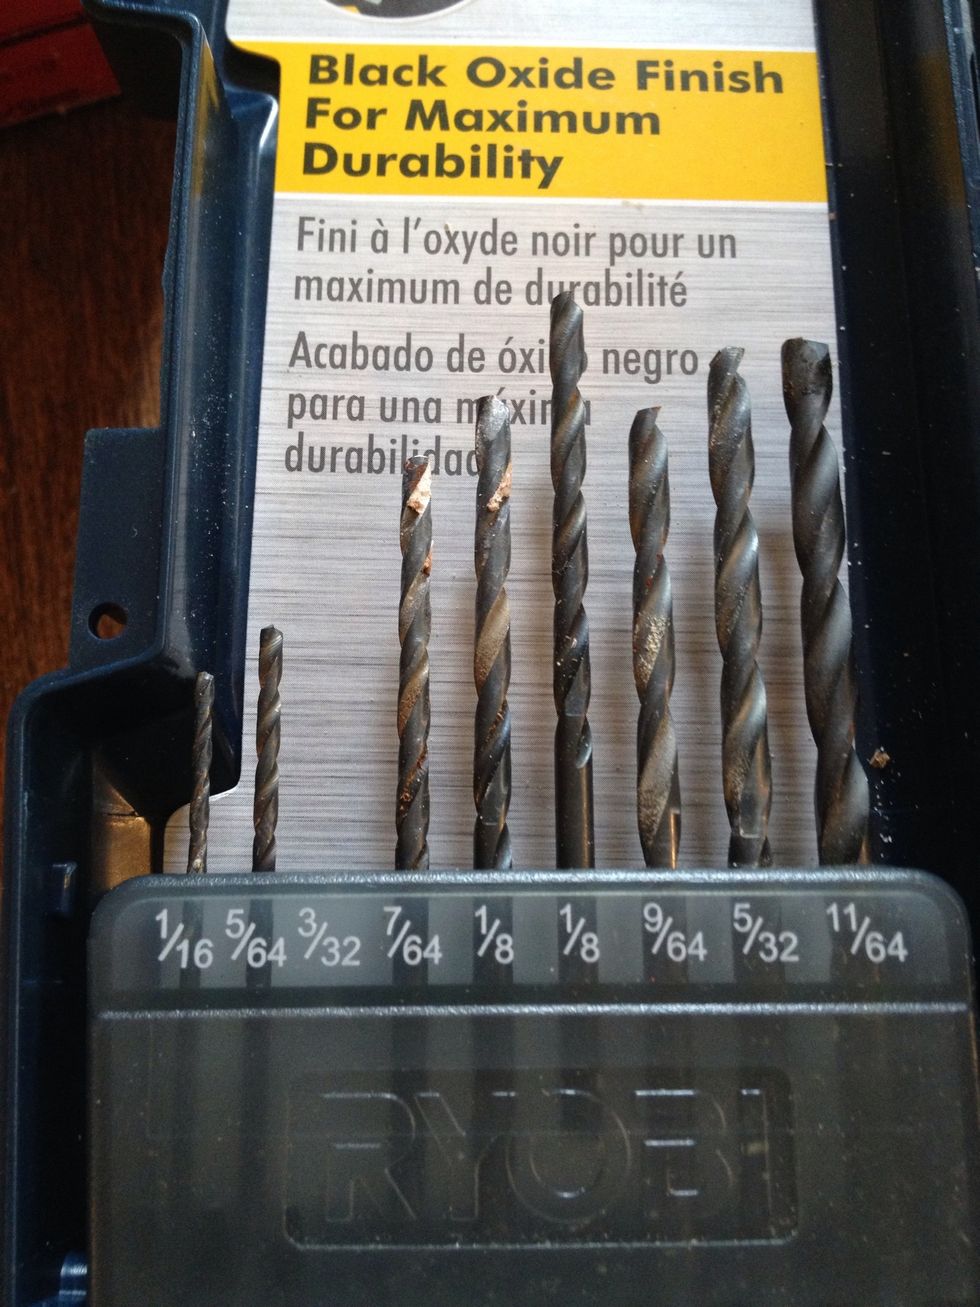
I chose the 3/32 sized bit.
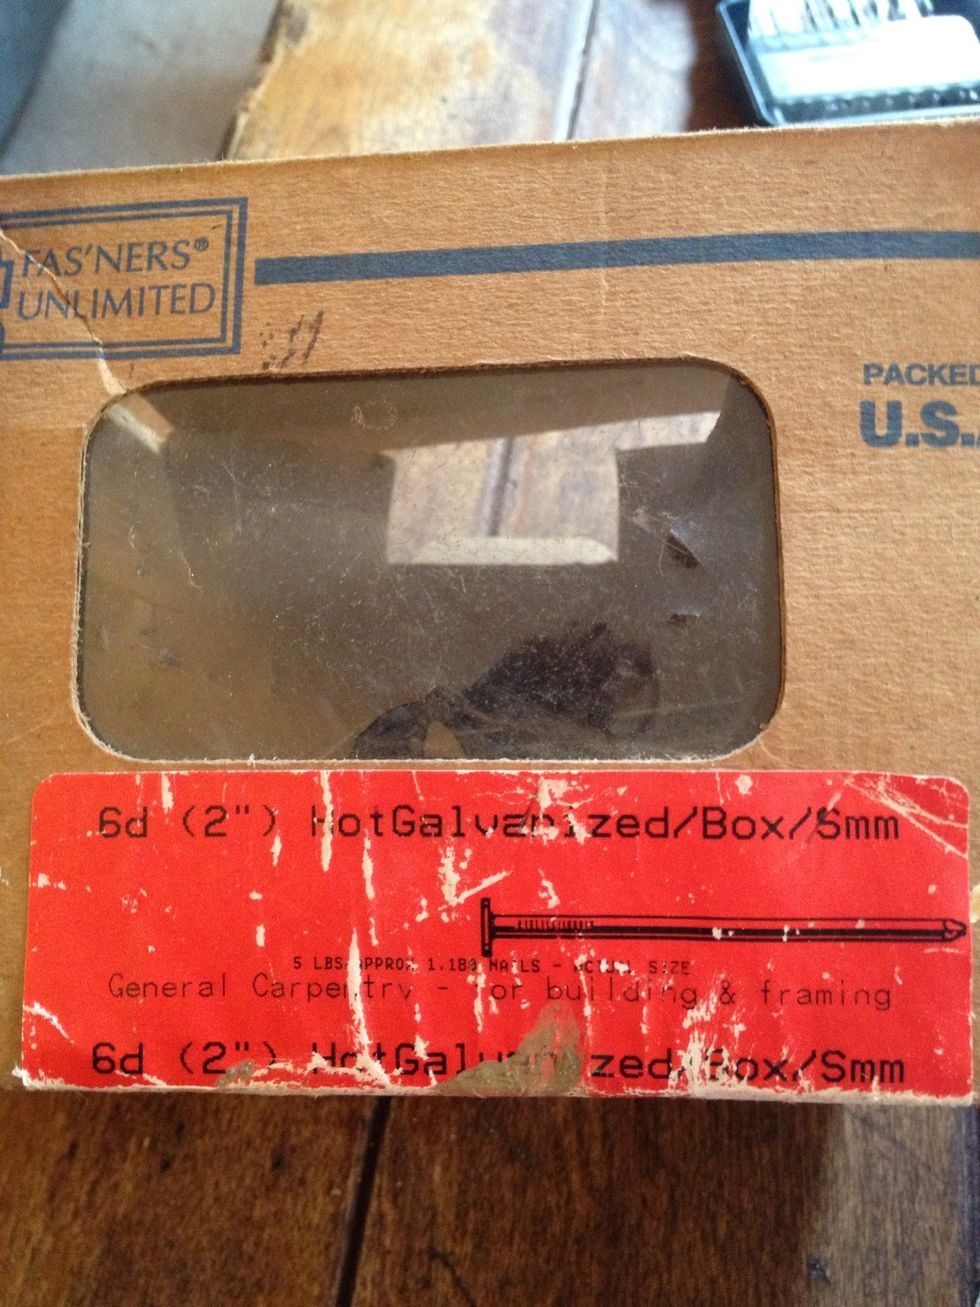
These are the nails I used.
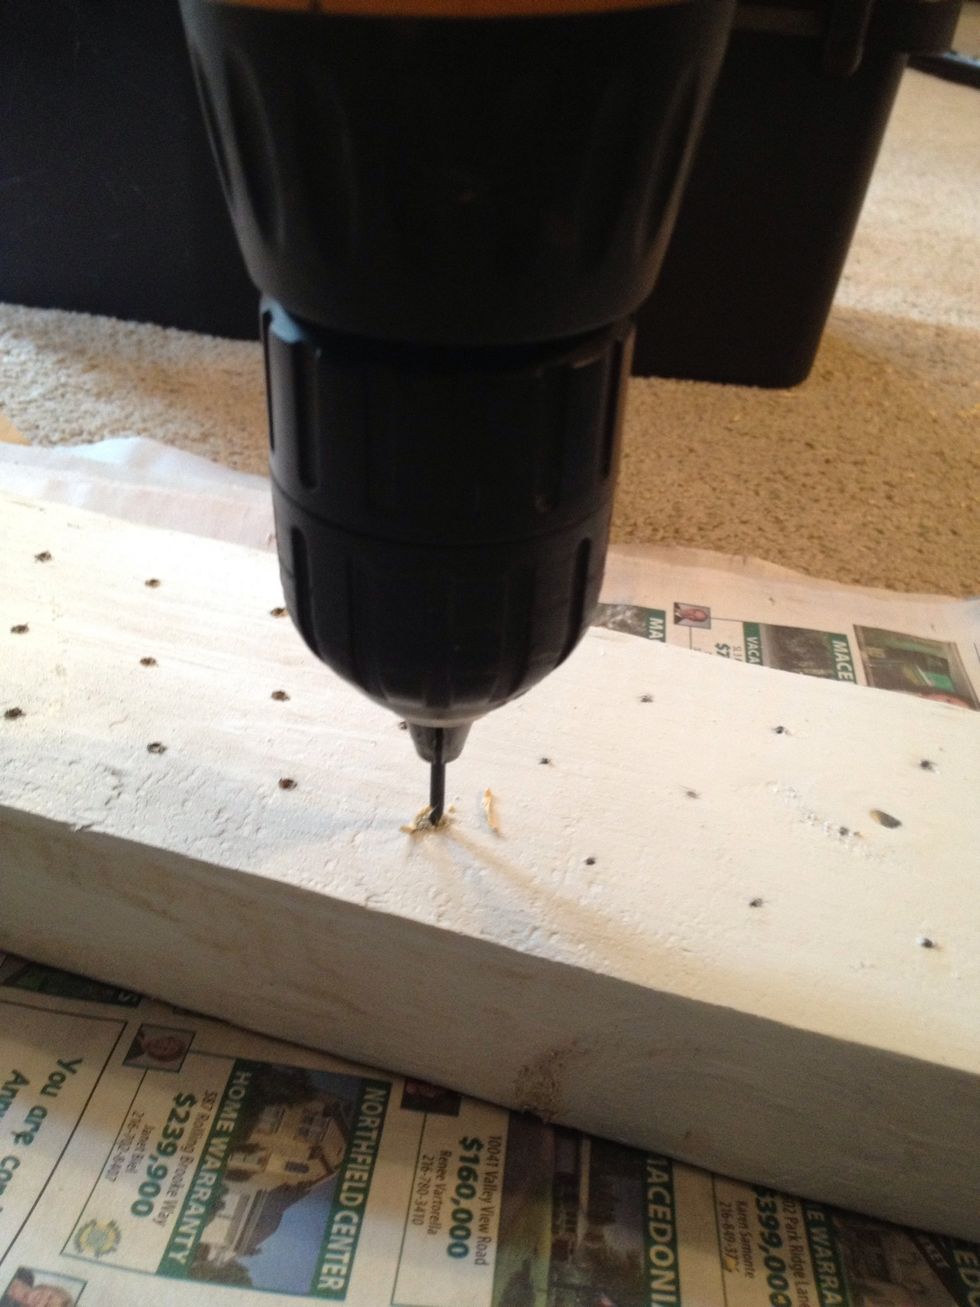
Drill only maybe to the half way point of your bit. I eyeballed it, but you can mark your bit with tape to stay consistent.
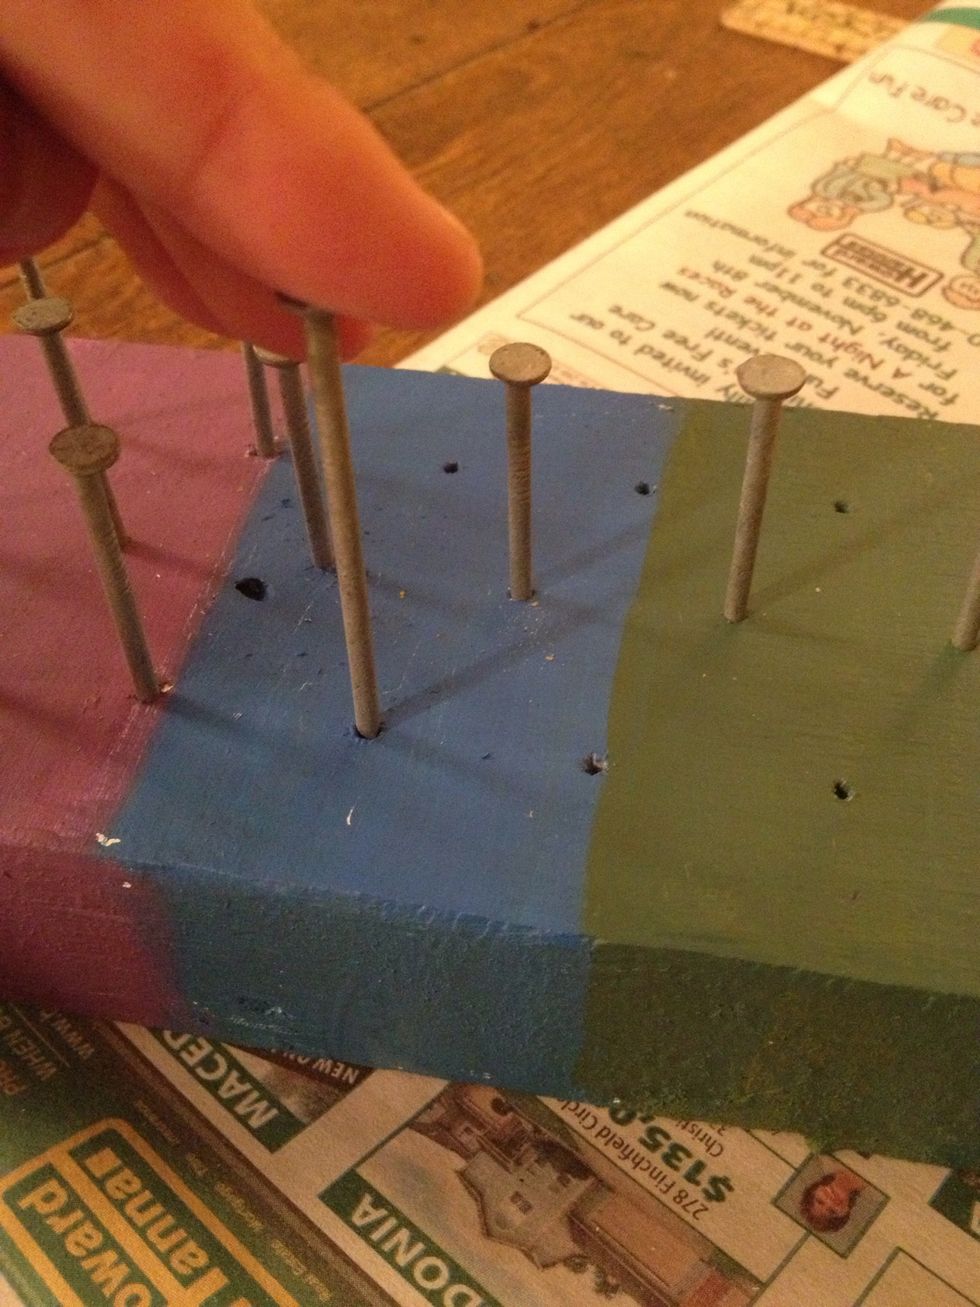
My daughter painted her loom but that is optional. Start hammering your nails into your board. Be sure to get them in straight.
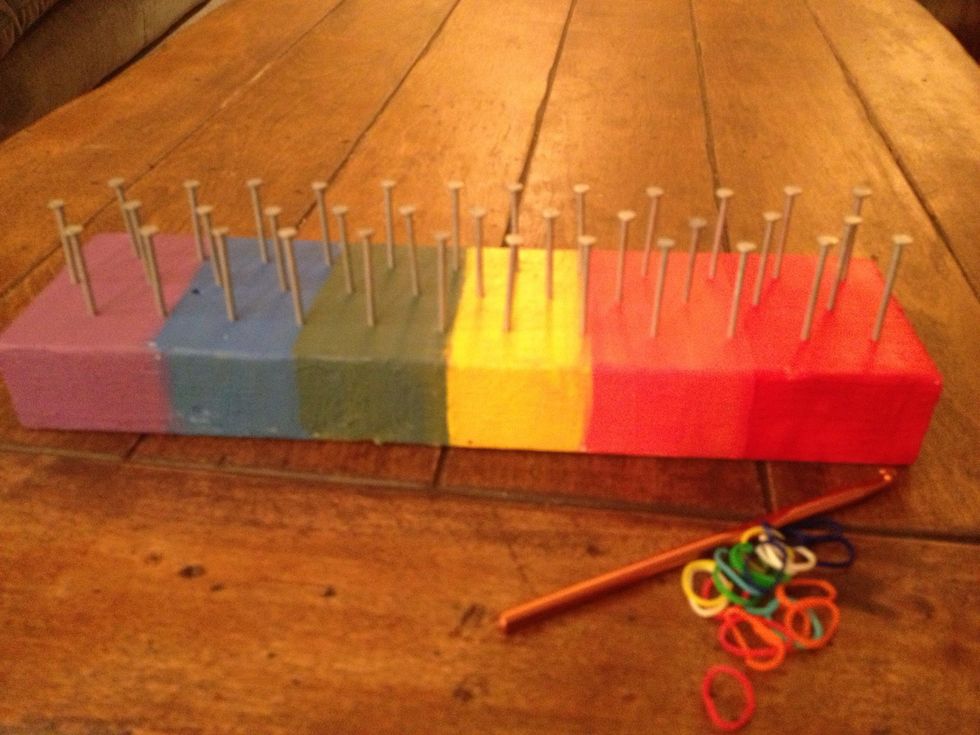
Do your best to get the nails hammered in at a consistent depth. It looks nicer that way.
Here is my daughter starting to put the silicone bands on the nails to develop her pattern. She's making http://Snapguide.com/guides/make-a-starburst-rainbow-loom-bracelet from user Alyssa Mead
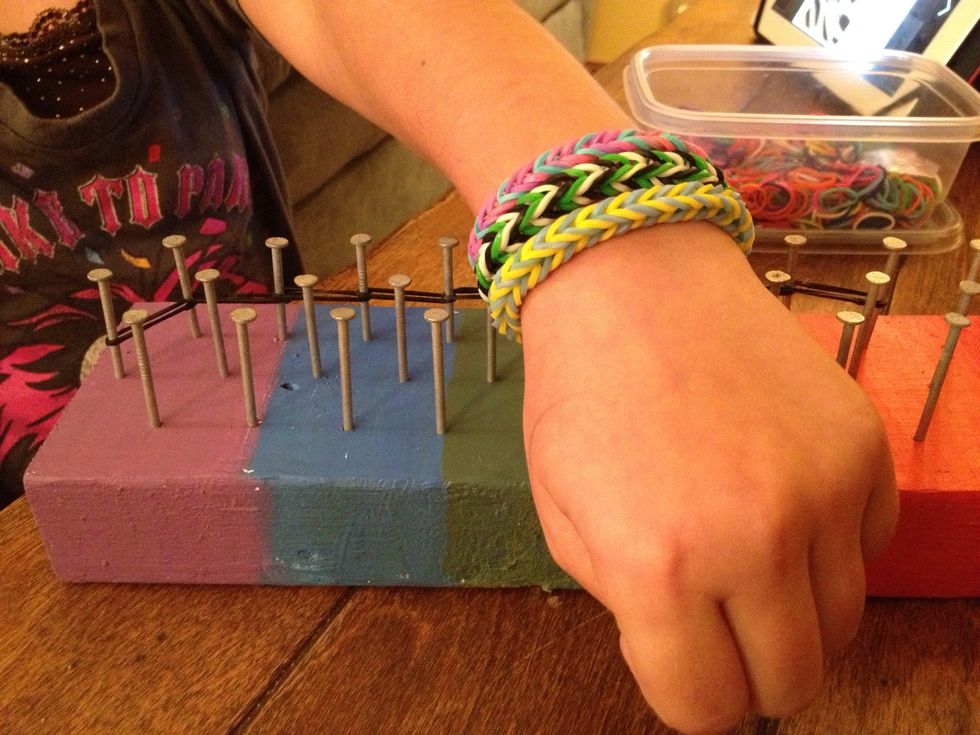
Here she is displaying some bracelets that she made using her loom. She used a crochet hook that we already had on hand to help ease the bands over the pegs, or nails.
- Scrap piece of wood (2x4)
- 2" galvanized nails
- Hammer
- Drill
- Drill bit : size 3/32
- Ruler or tape measure
- Pen, pencil or marker