The Conversation (0)
Sign Up
Gelato Colors: Margarita Mix, Watermelon, and Acqua Dolce
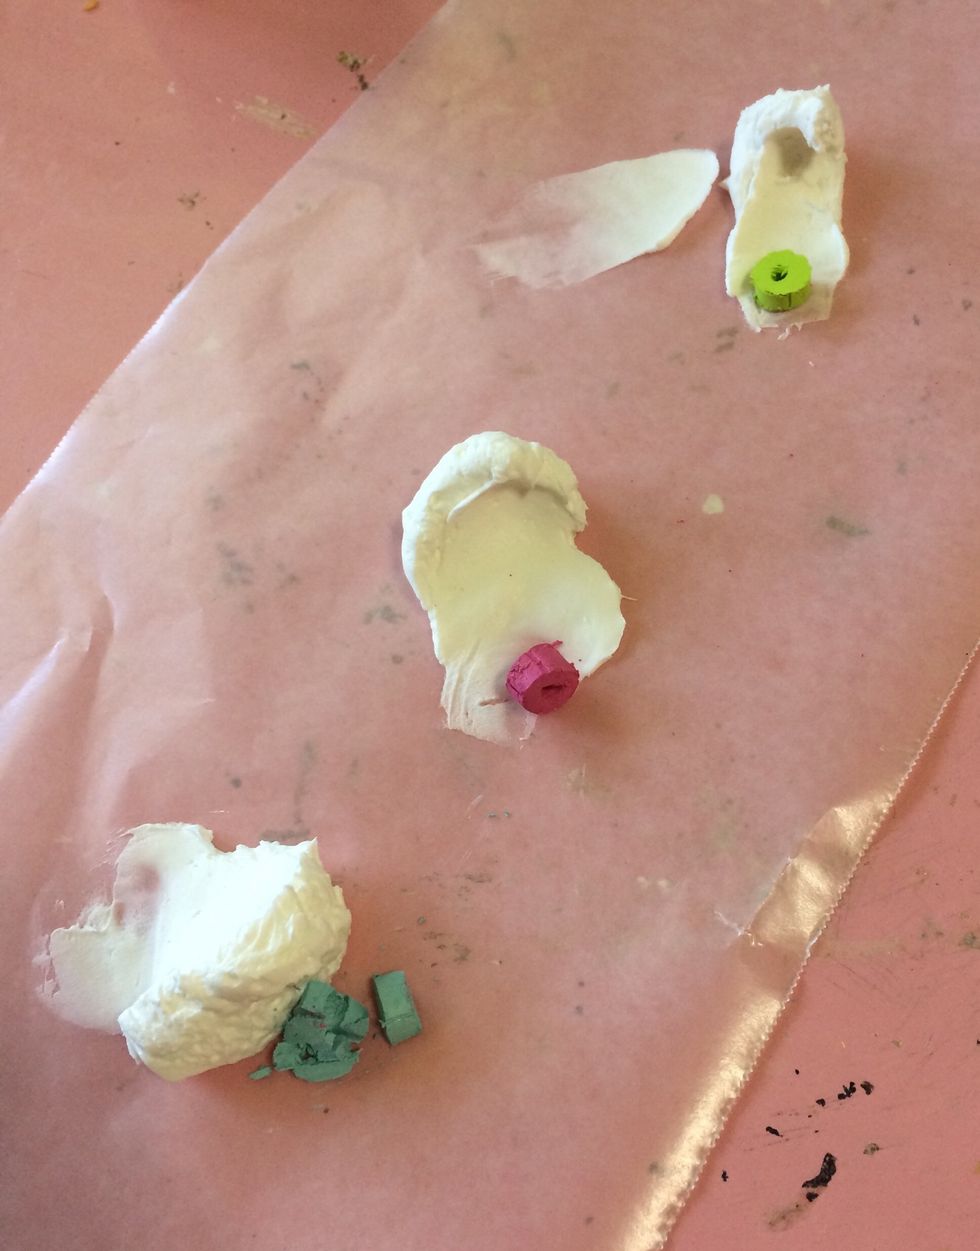
Using your spatula, scoop 3 piles of Whipped Spackle onto your craft mat (I started on wax paper and it didn't work well!) Also with your spatula, cut a small piece of 3 Gelatoes (R) as shown.
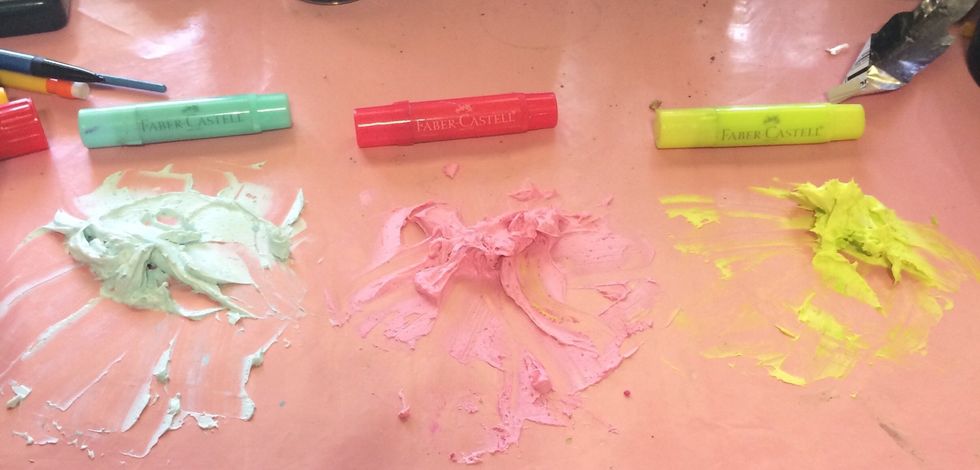
Using your spatula, mix and press your whipped Spackle and Gelatos (R) together. If your Gelatos (R) seem hard when you cut them in Step 1, you can hit them with a heat gun for a few seconds.
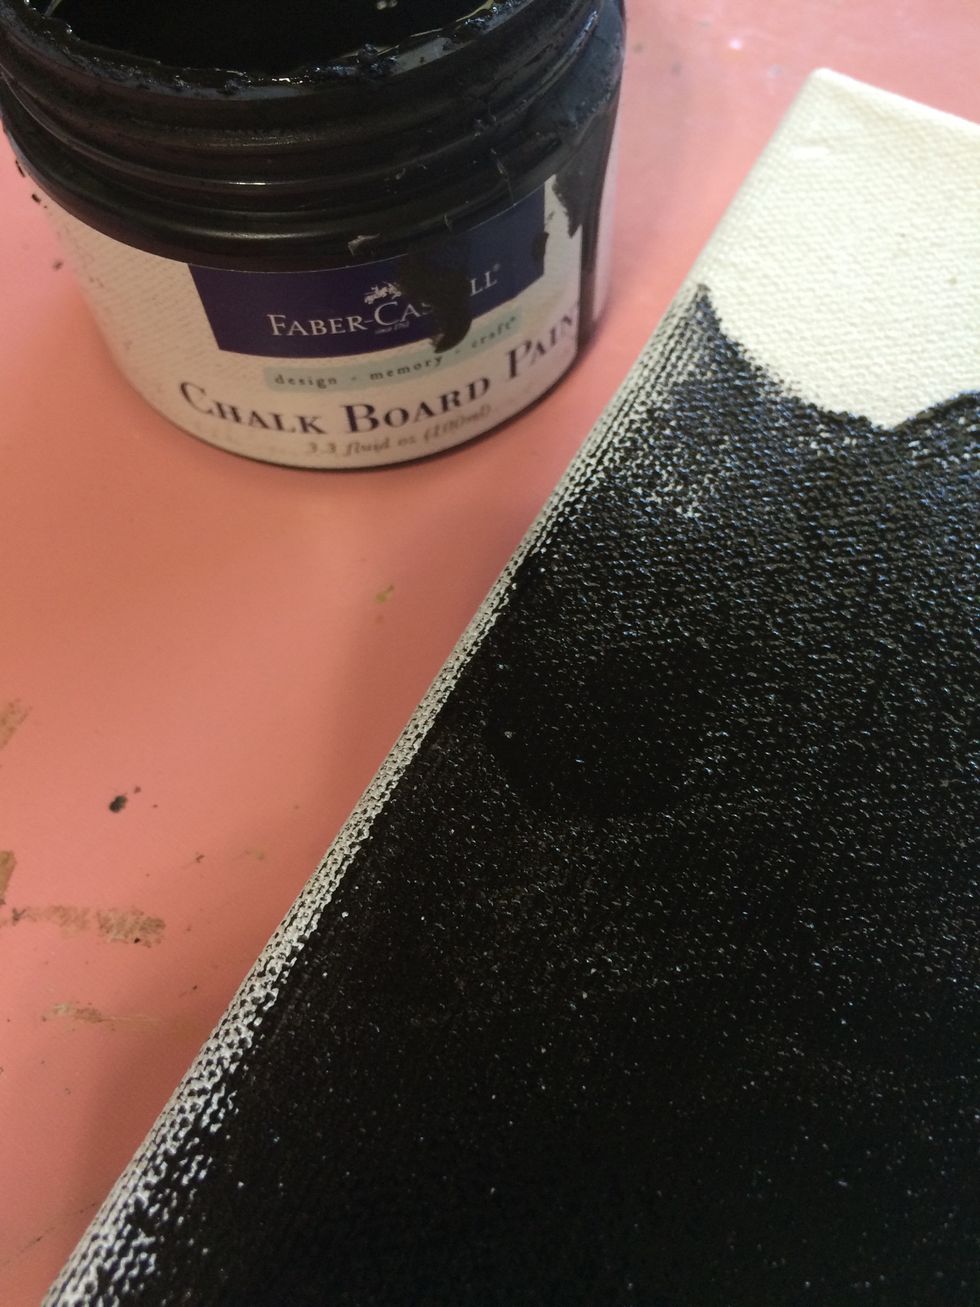
For your base, start by convering your canvas with your Faber-Castell Design Memory Craft Chalkboard Paint. Don't forget the sides.

Using an old gift card or hotel key card, take small to medium amount of your Spackle mixture and scrape it down your canvas. Alternate your colors so that they start to blend.
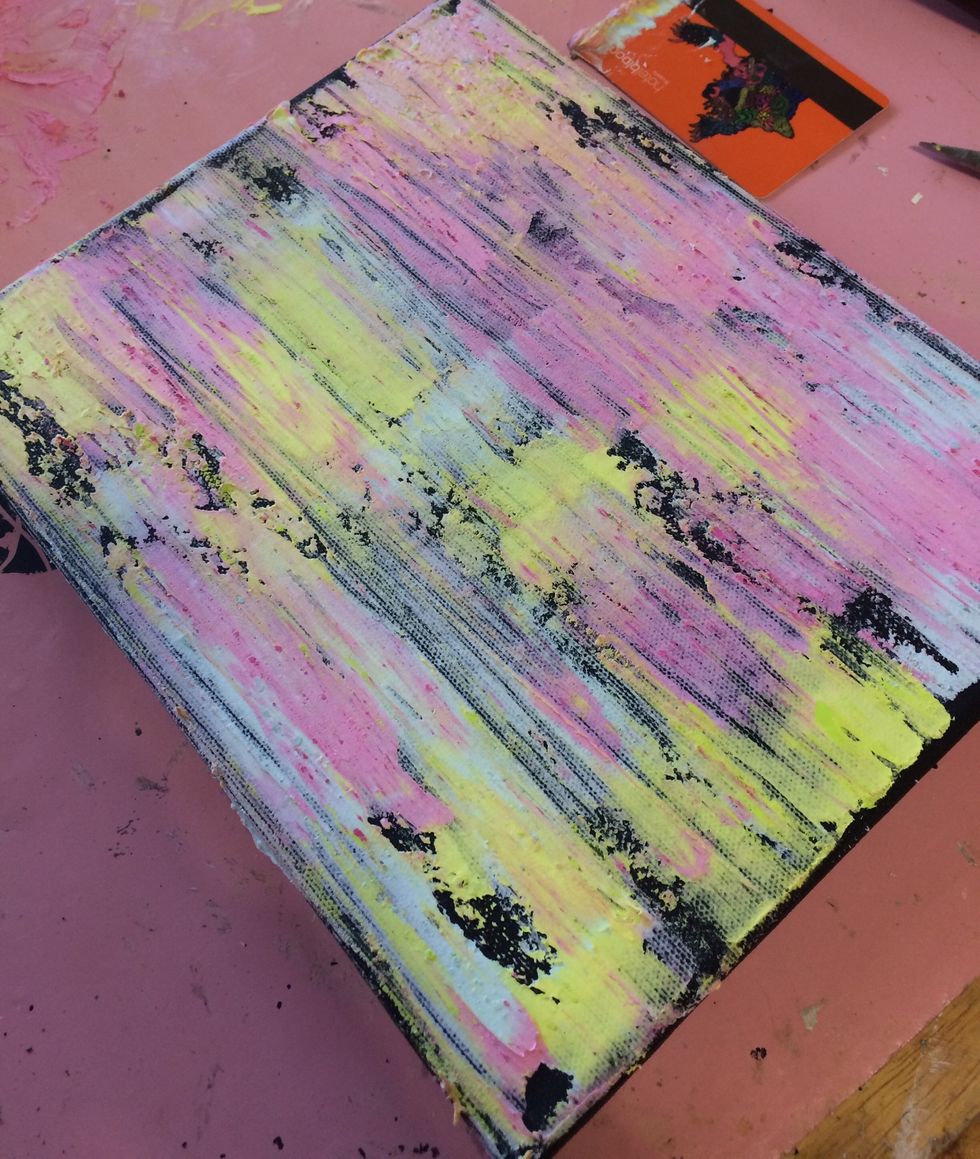
While it is still wet, you can at some light scratches to increase the distressed look. Completely dry the Spackle before the next step. A heat gun can speed this up.

To add texture, use your Black PITT Artist Pen to color a variety of stamps and add them to your background.
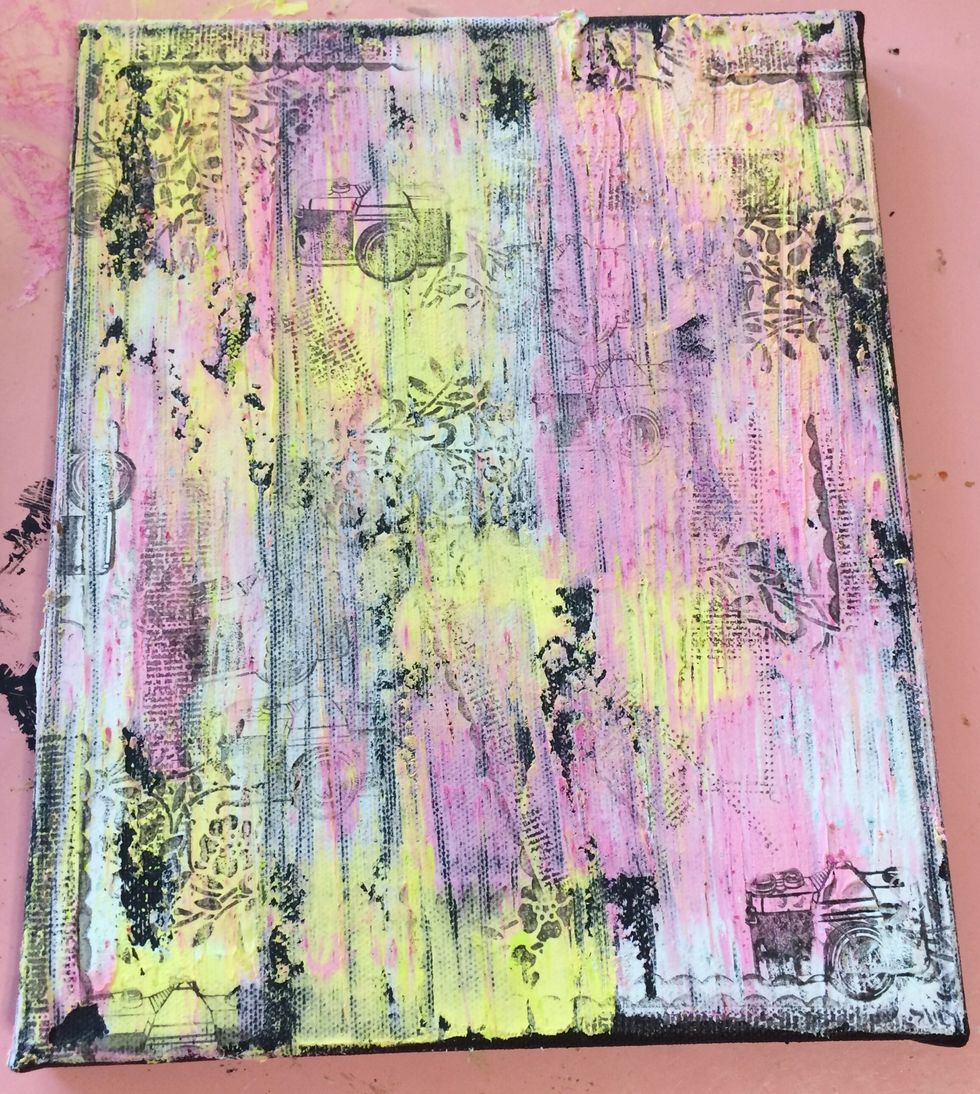
I chose a camera, flowers and a border style stamp.

To create a border, use your Faber Castell PITT Artist Pen (I used Cool Grey III.) Rub it along the edges and while it is still wet, rub it will your finger to smear it around.
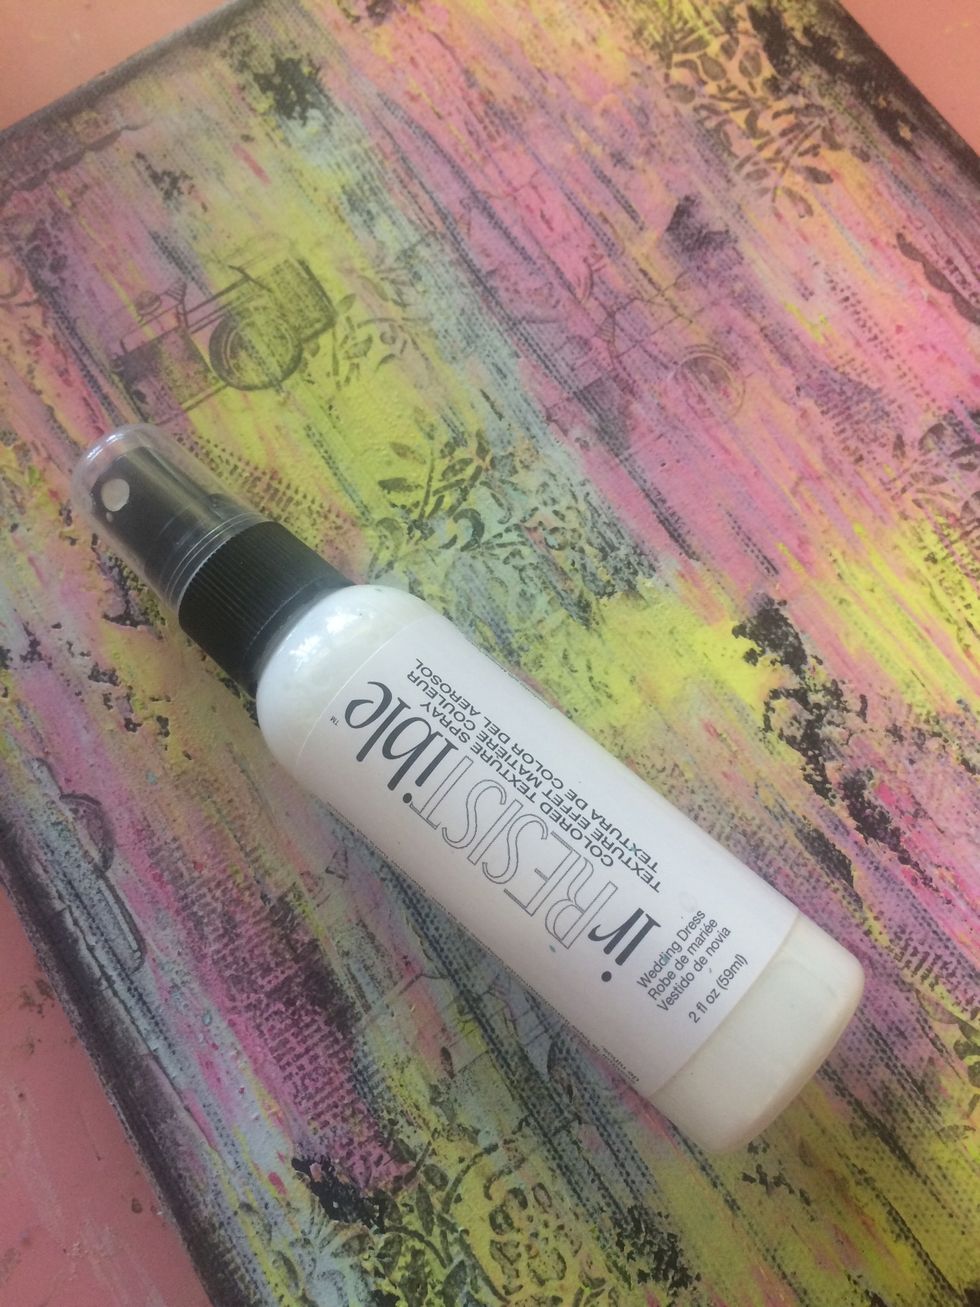
Lastly to compete my background, I flicked my IRRISISTables by Imagine Crafts in Wedding Dress across the whole thing. (Sorry...I don't have a pic of this one!)
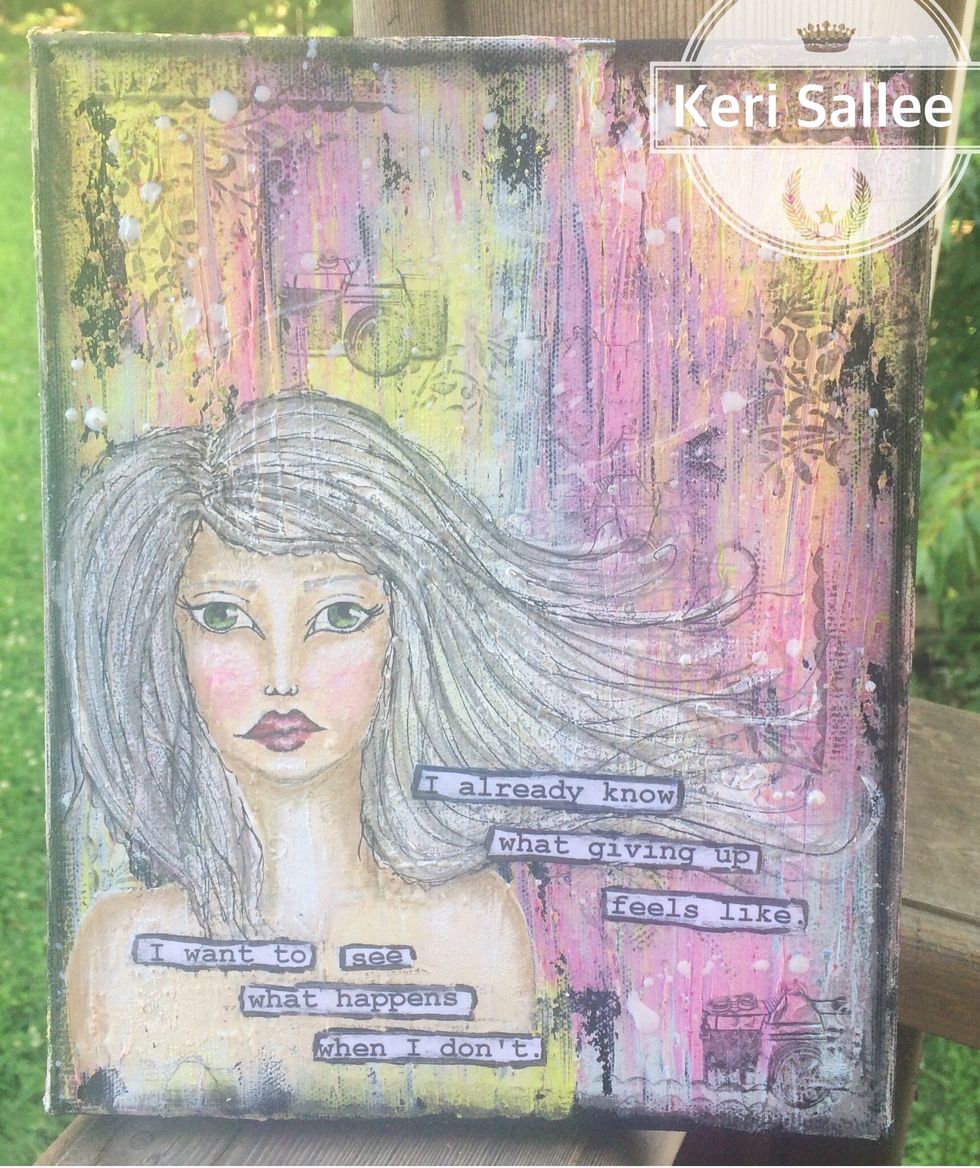
At this point your background is ready for WHATEVER you want to use it for! I chose to paint a girl and add a quote, but the sky is the limit!!