The Conversation (0)
Sign Up
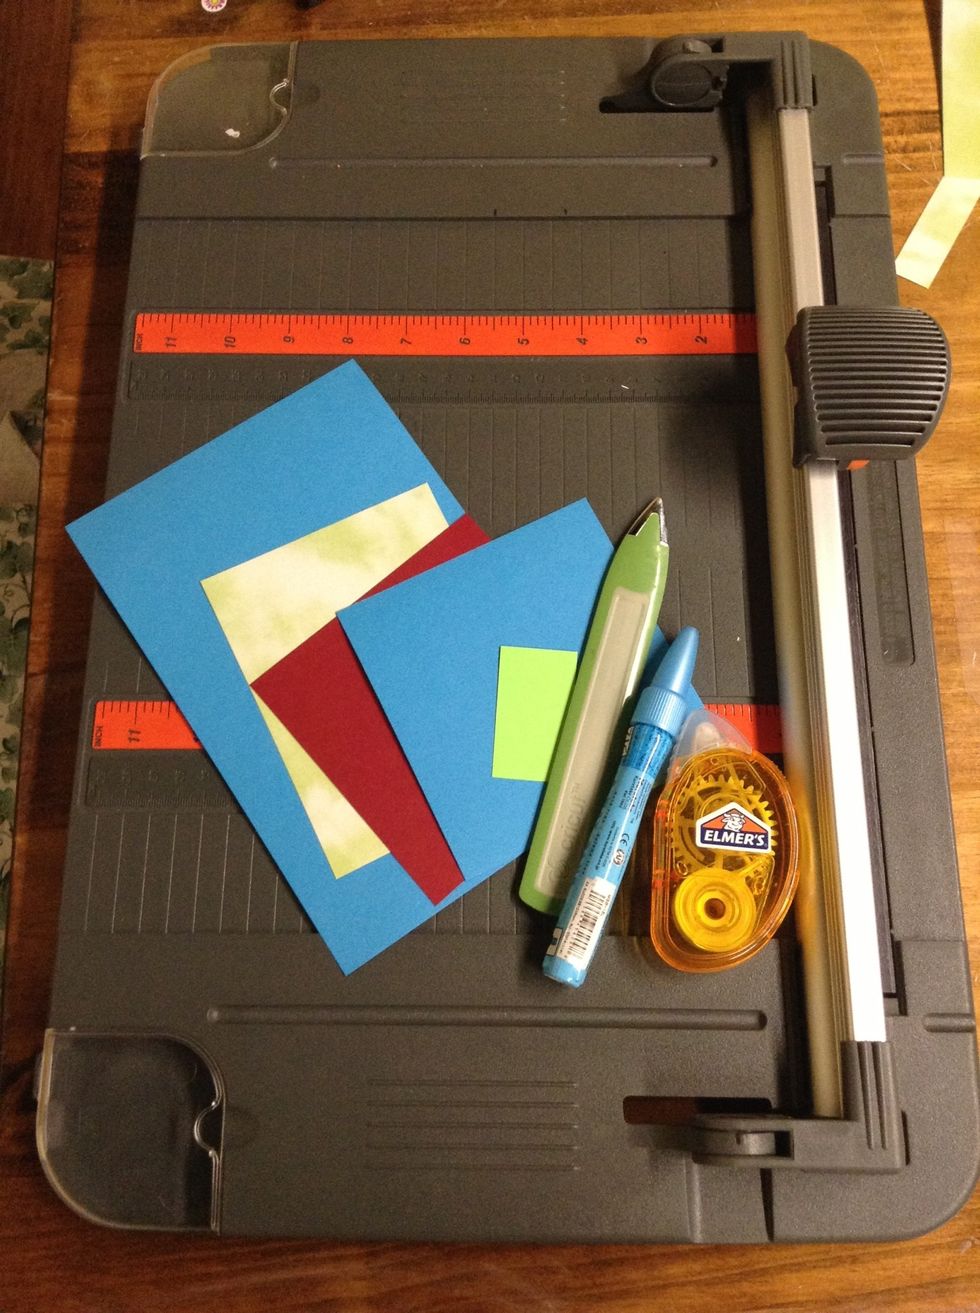
Gather your supplies
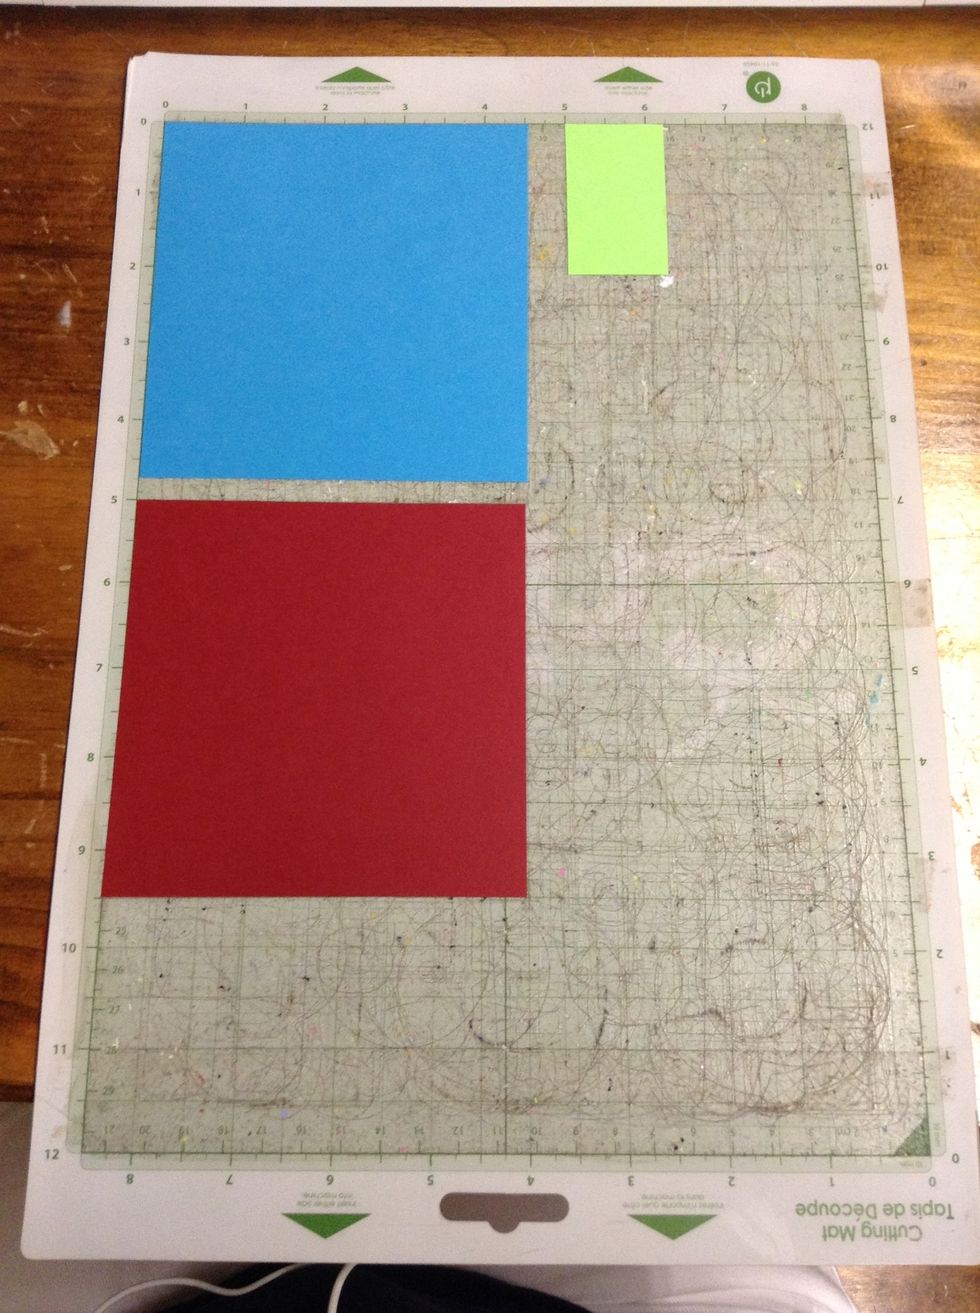
Arrange your card stock on the Cricut mat
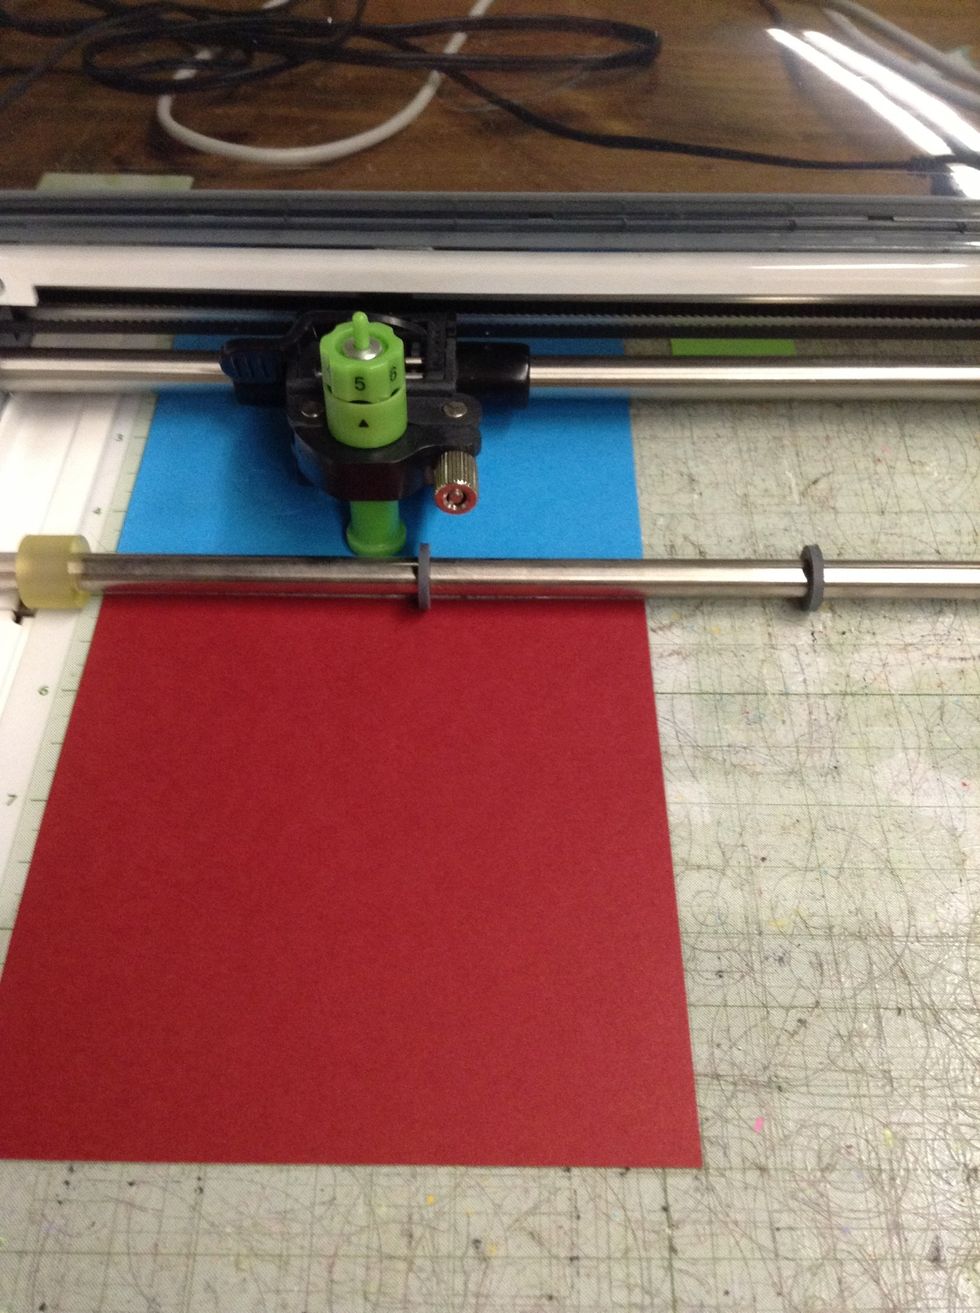
Cut out your image
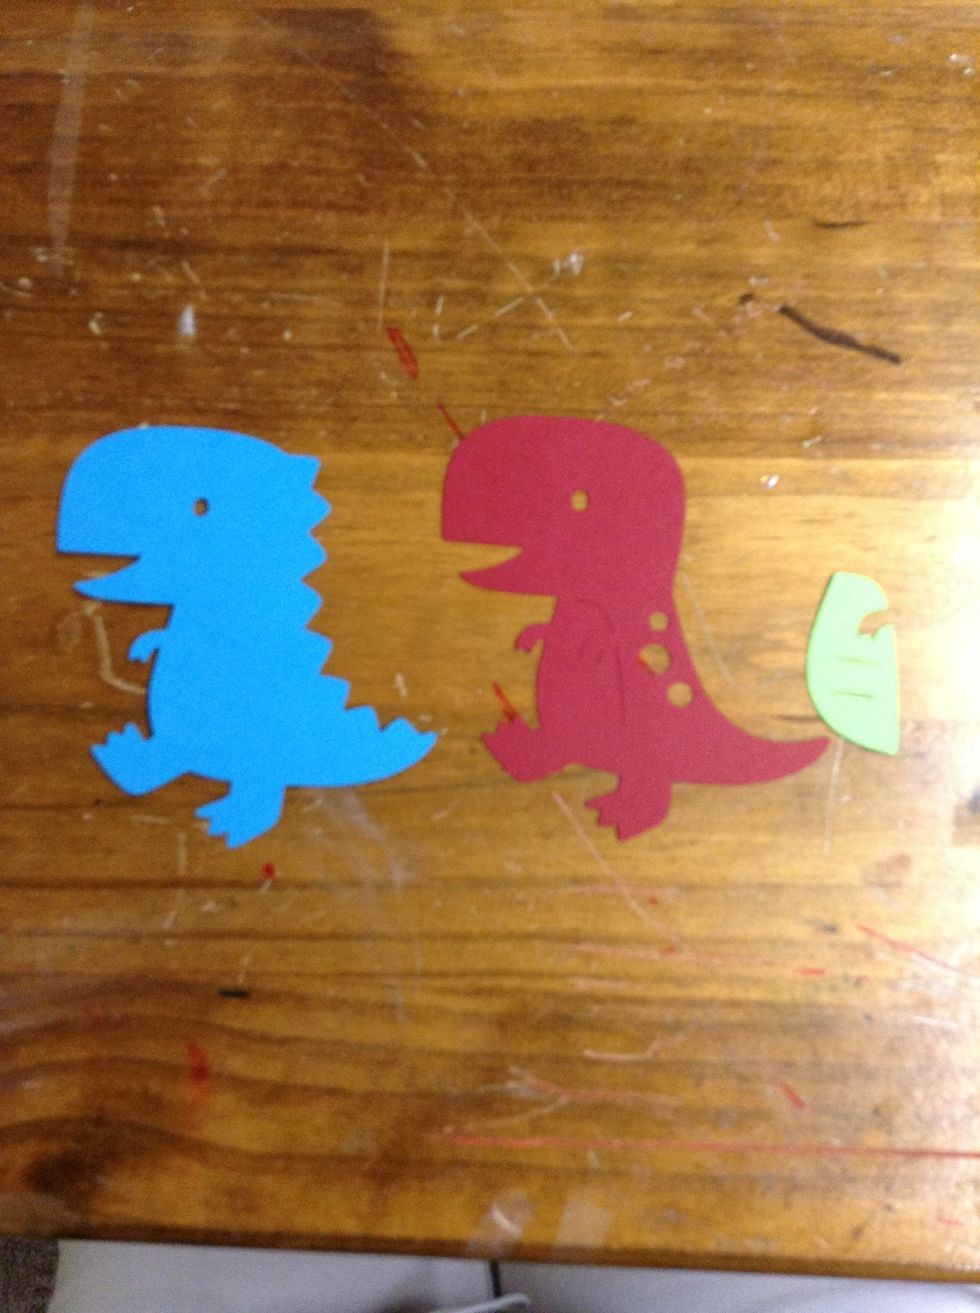
These are the layers after they are finished cutting

I used a 5 1/2" by 8 1/2" piece of card stock for my card
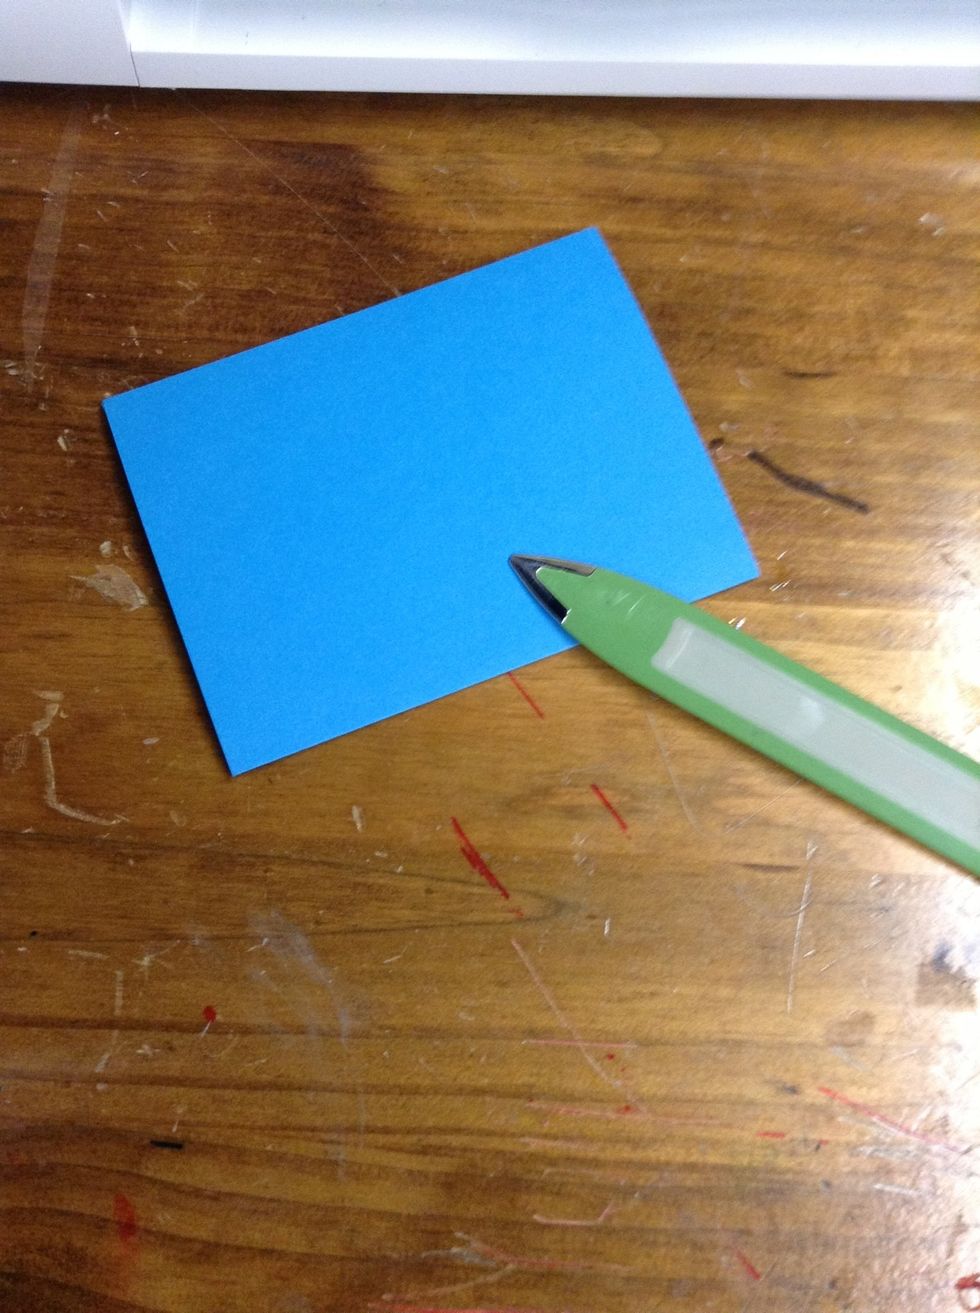
Fold it on half using a bone folder
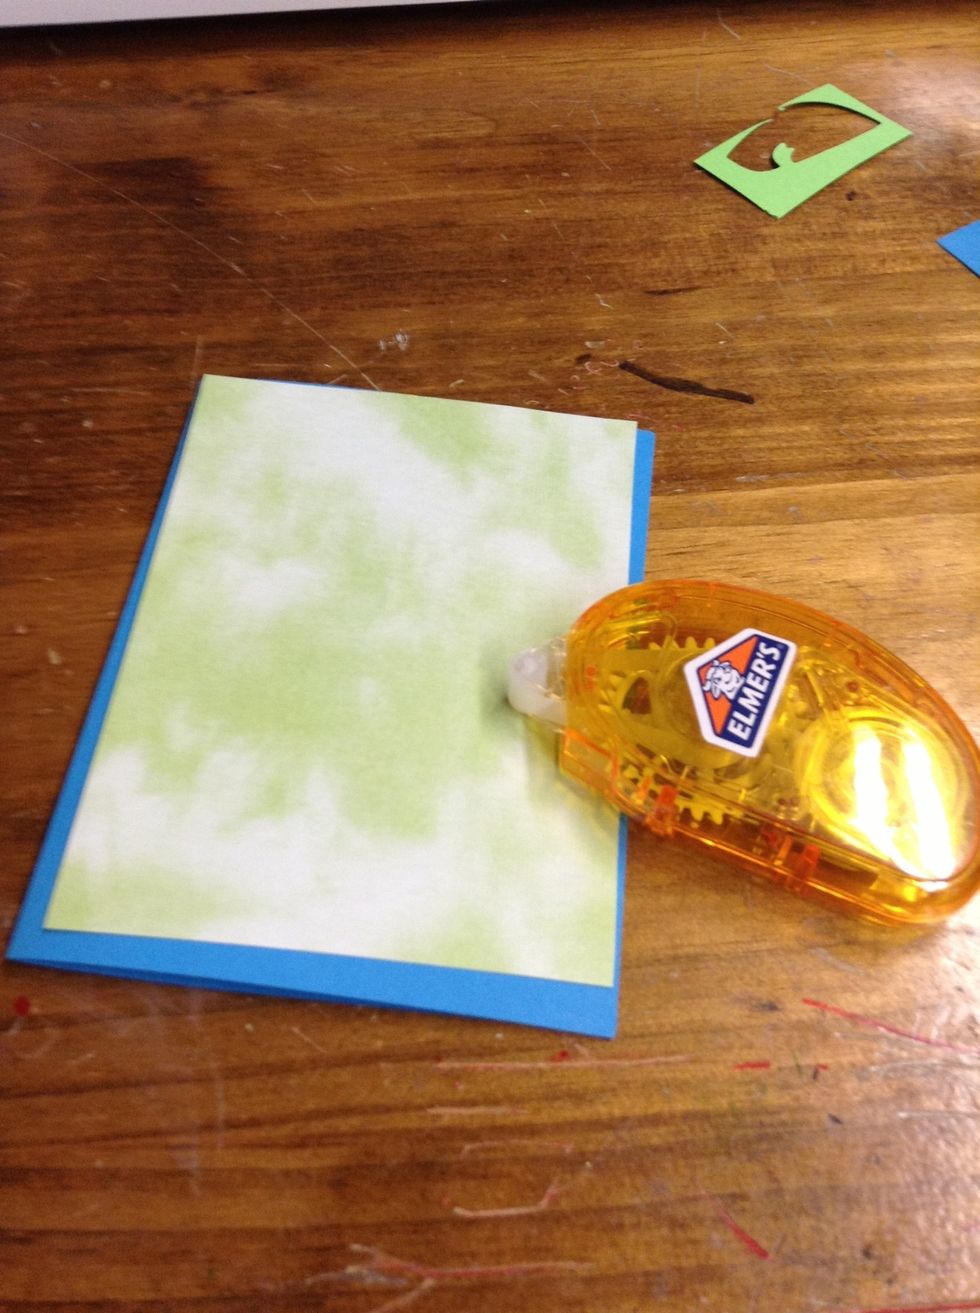
Glue the patterned paper layer (4" by 5 1/4") onto the card
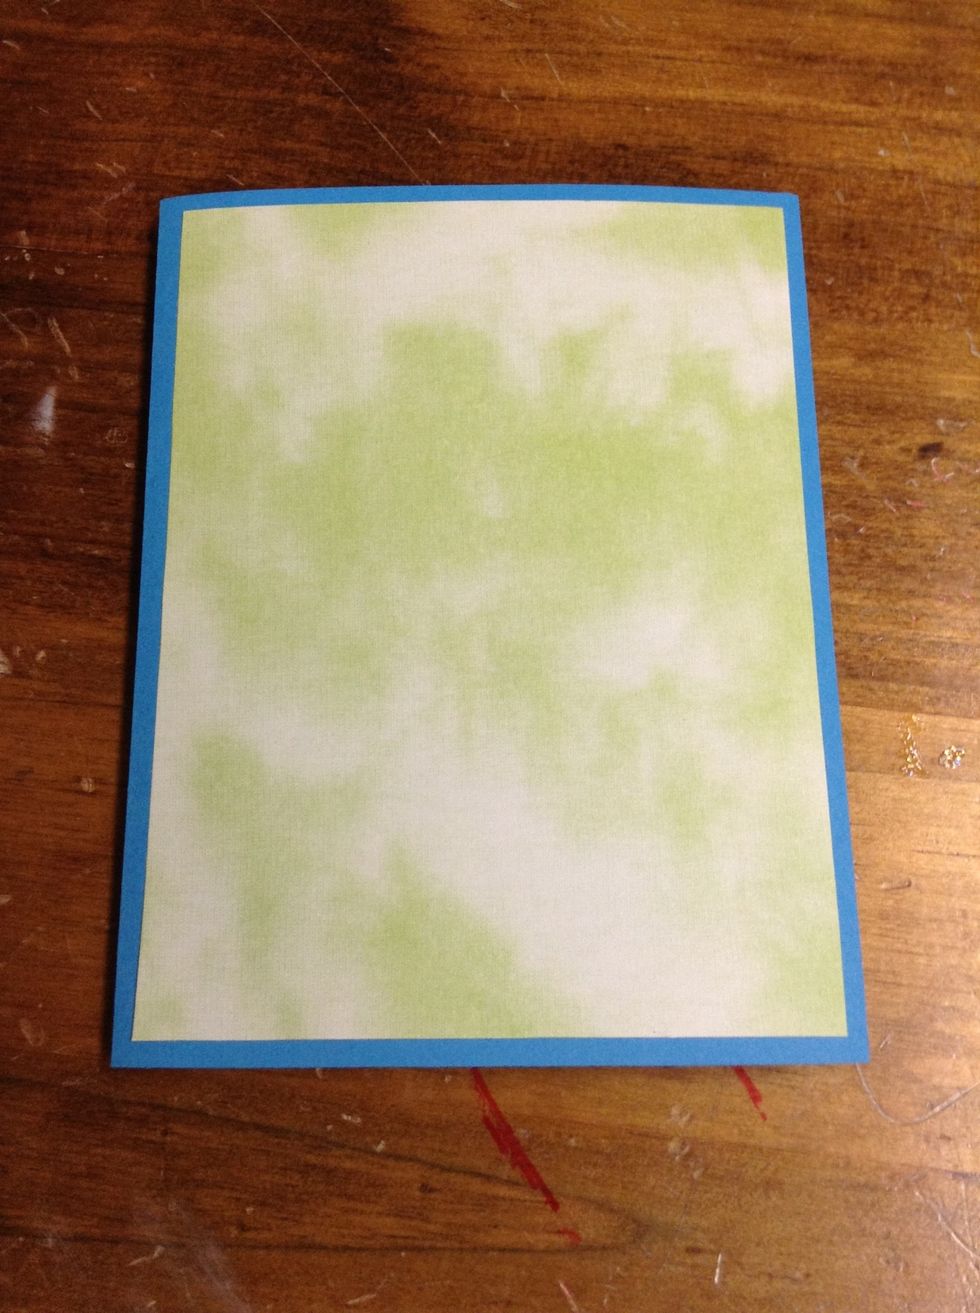
Tada!
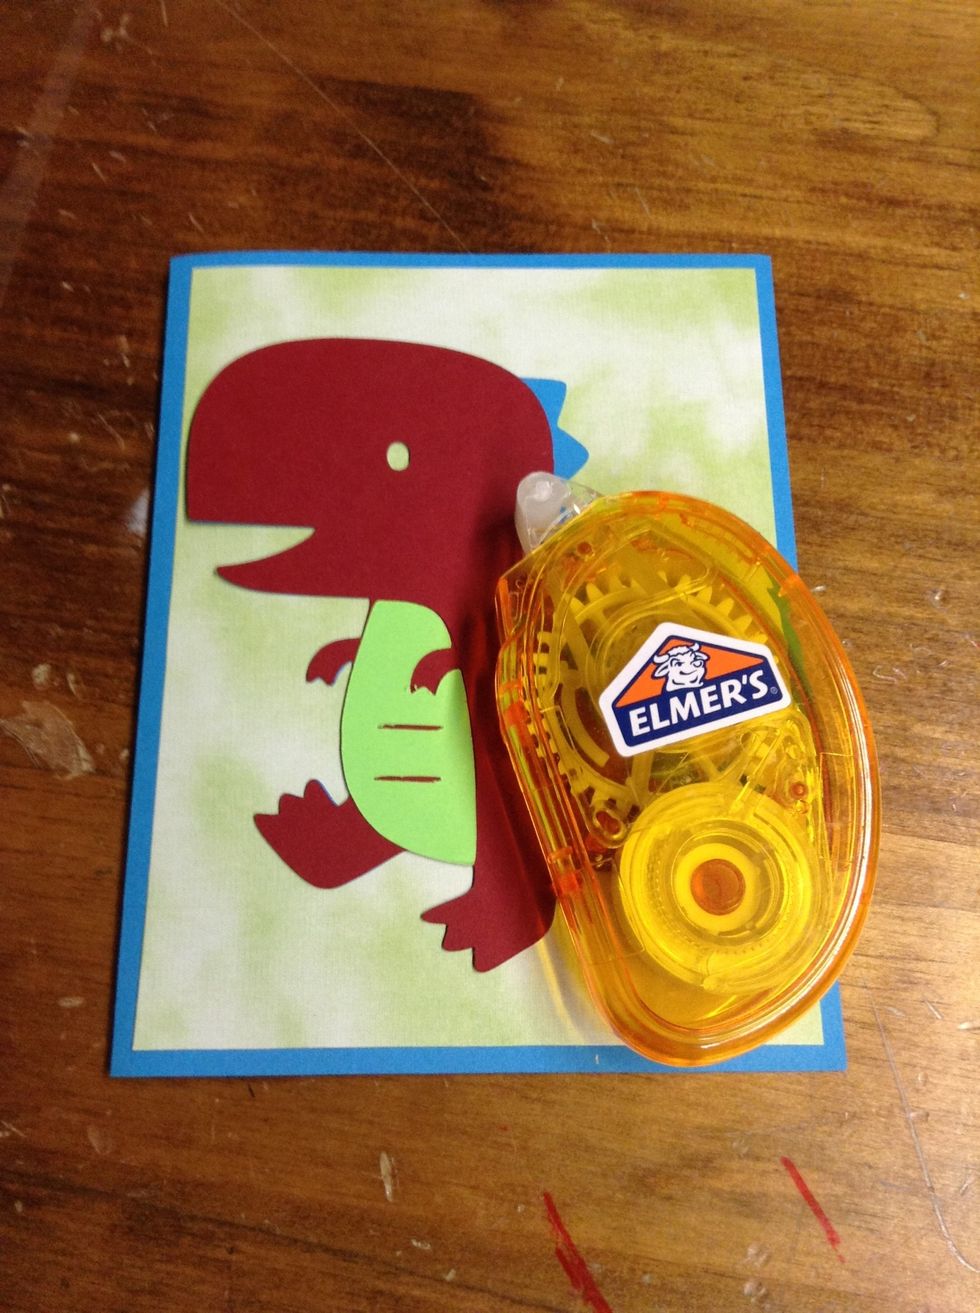
Glue on your dinosaur image
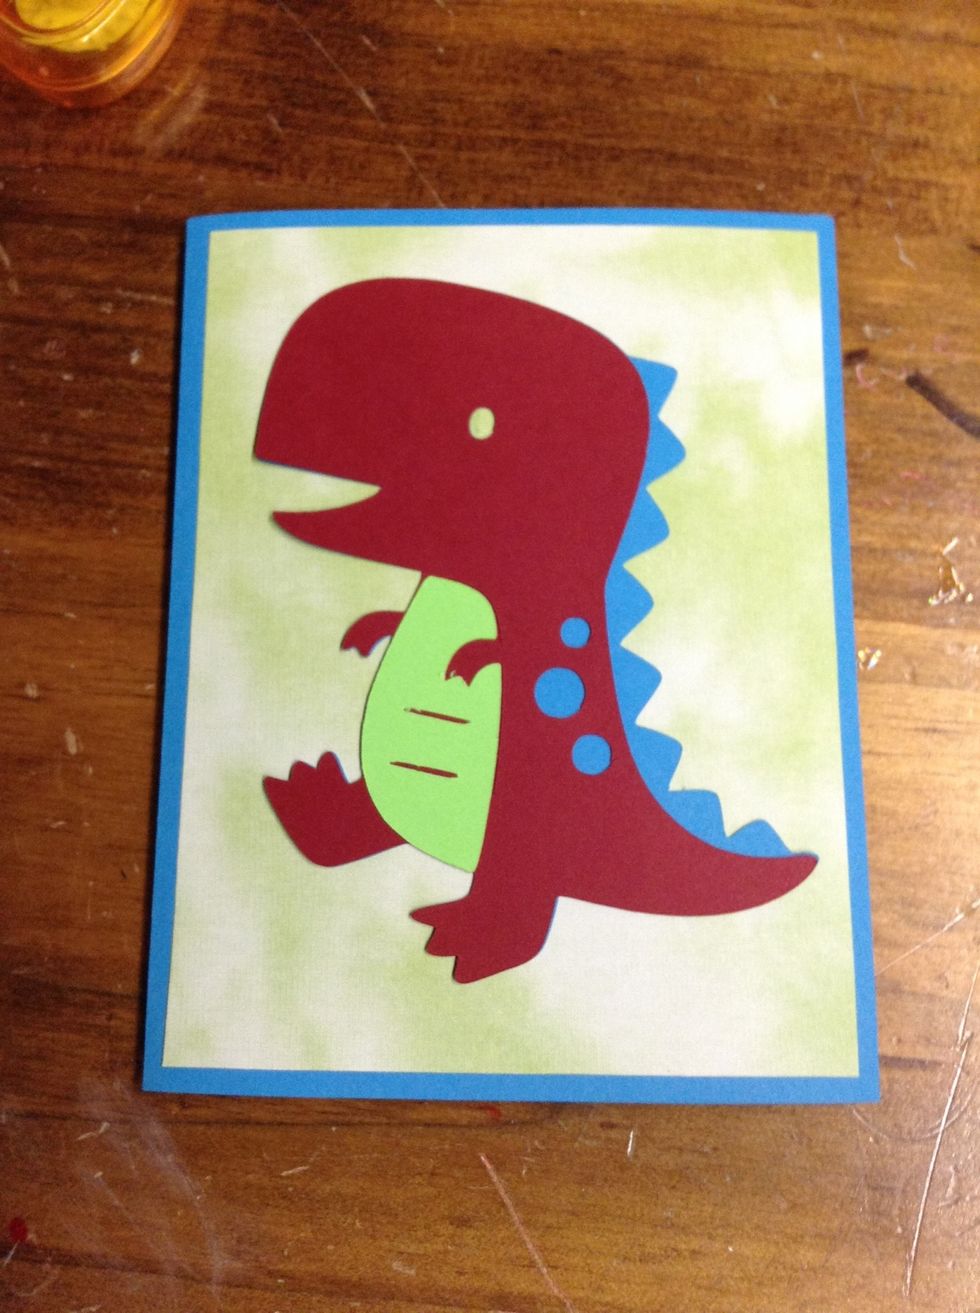
Here is the final product!
You can add additional embellishments or stamps to the card if you wish, but I decided to keep it simple.
Note: I used a Cricut machine to cut out my dinosaur image, but if you don't have one you can draw a dinosaur, print one out from the Internet, or find a friend who has a Cricut machine.