The Conversation (0)
Sign Up
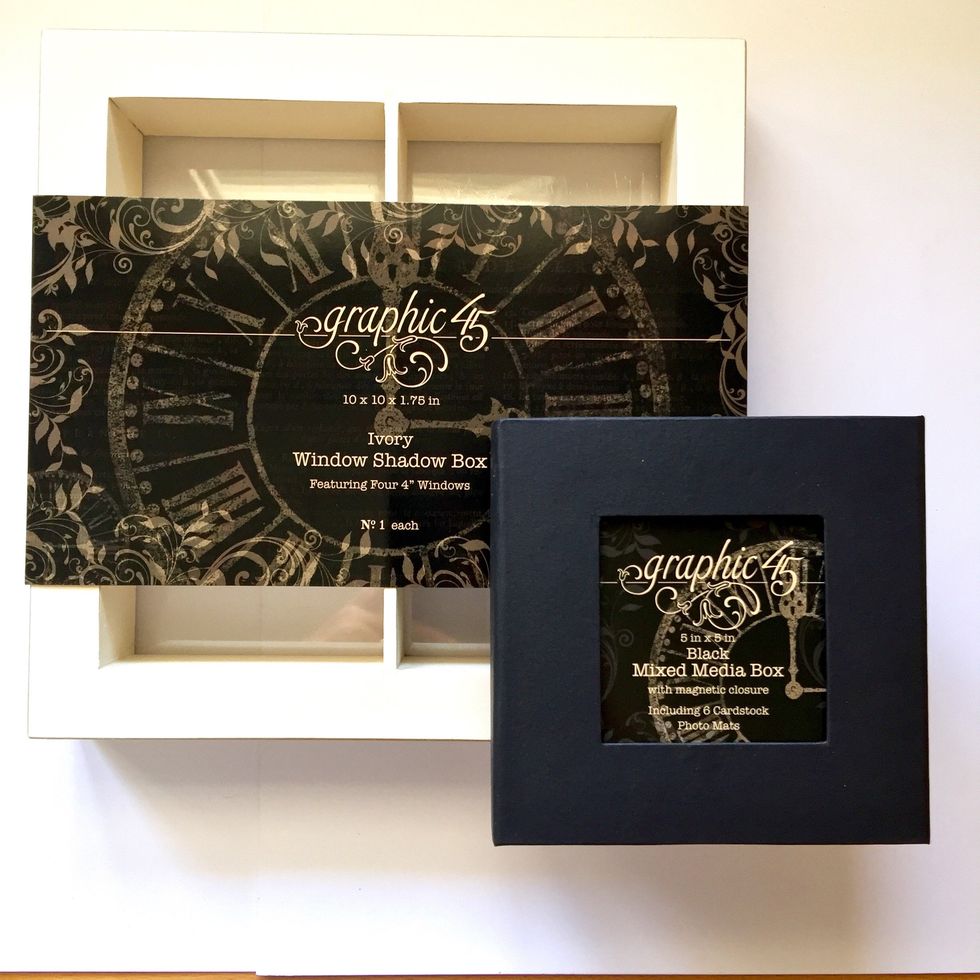
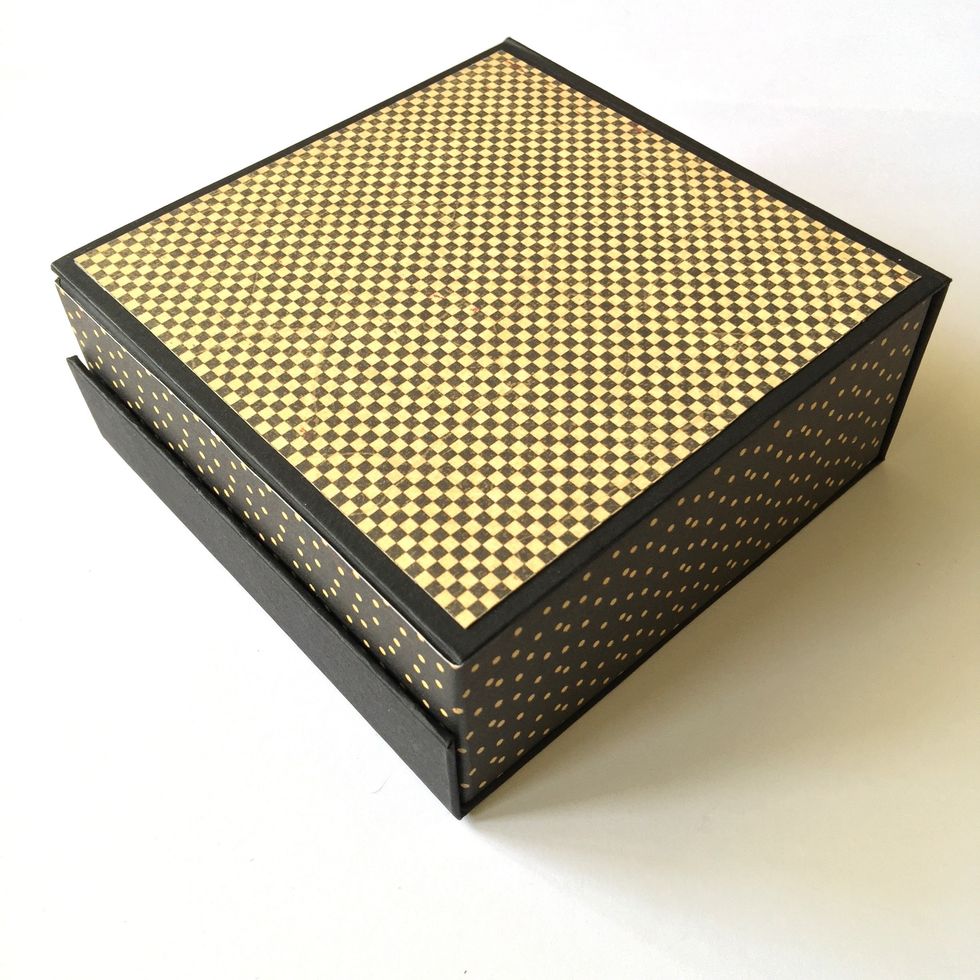
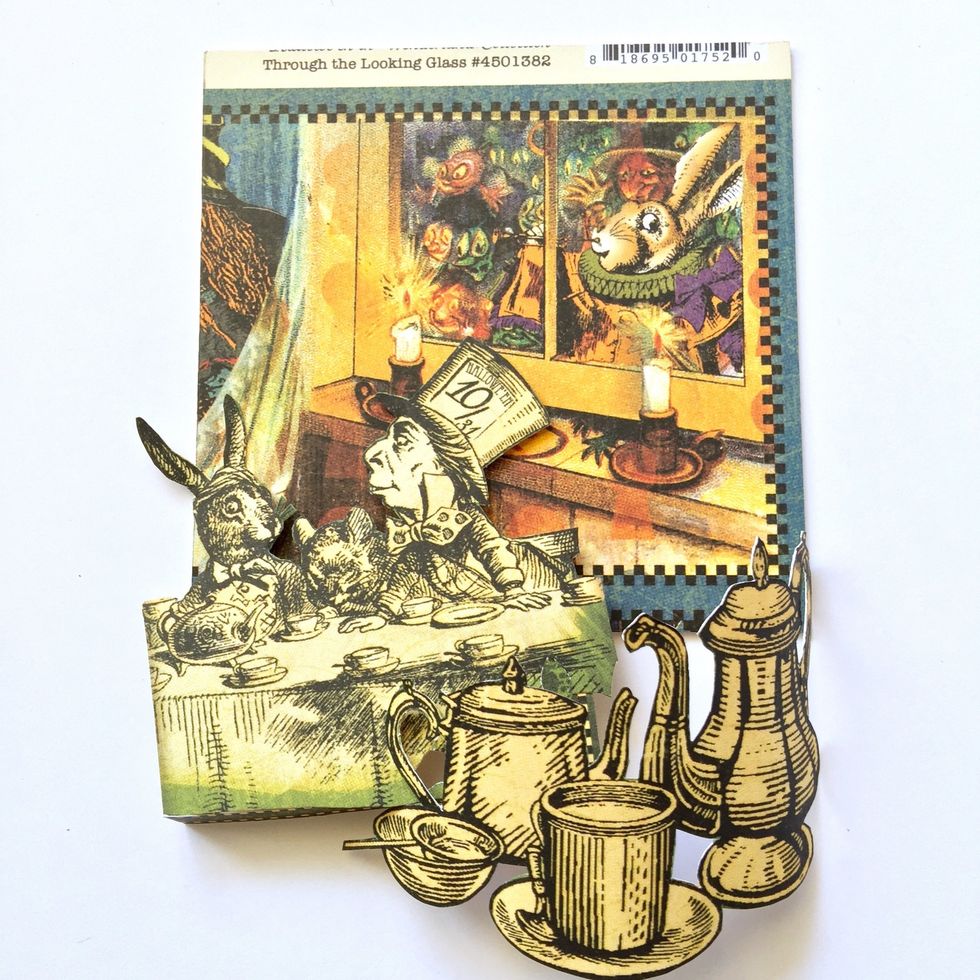
These are the two Graphic 45 Box Staples for my project.
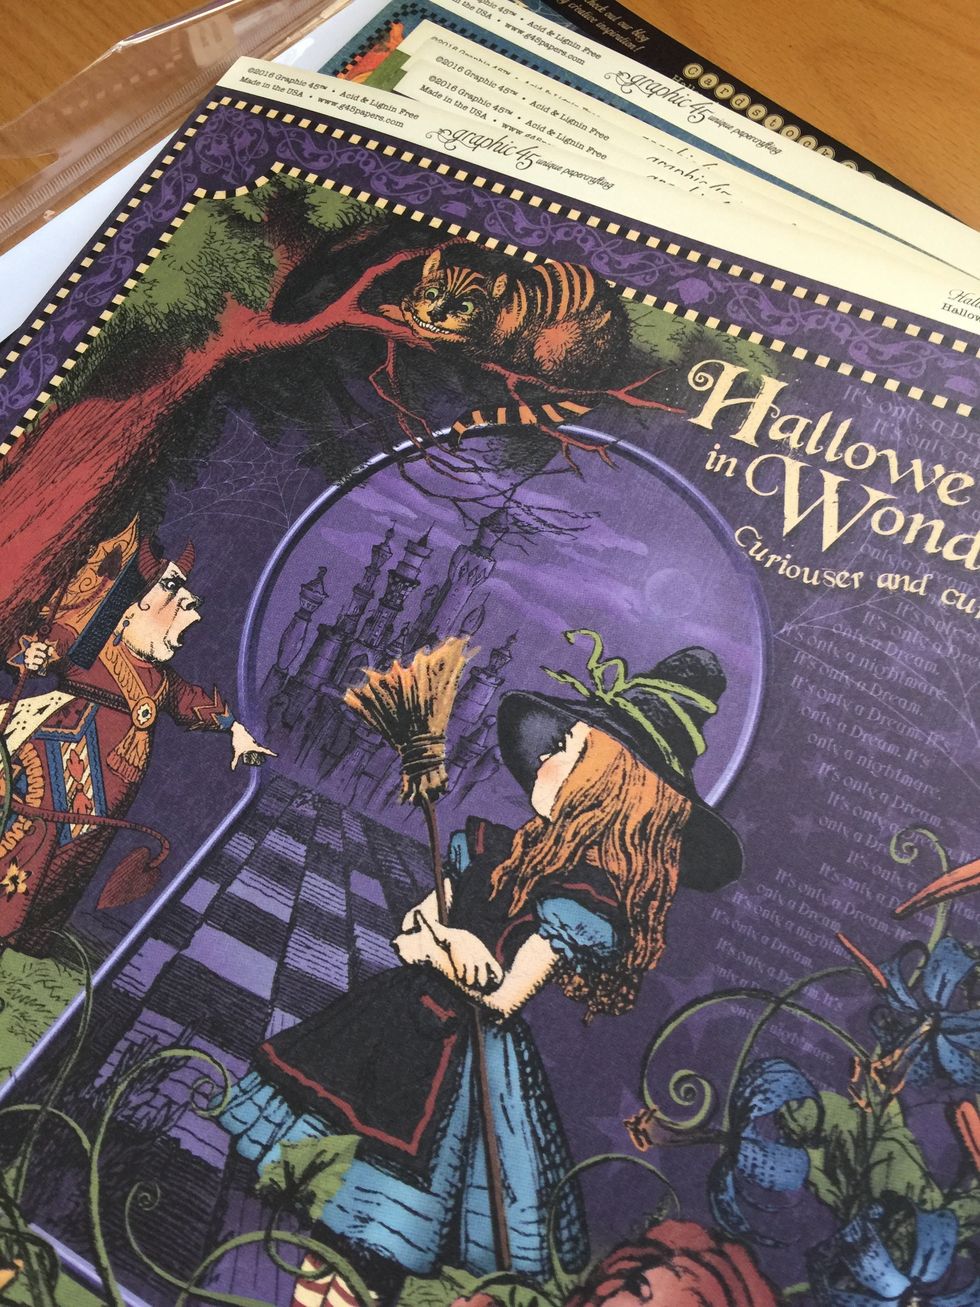
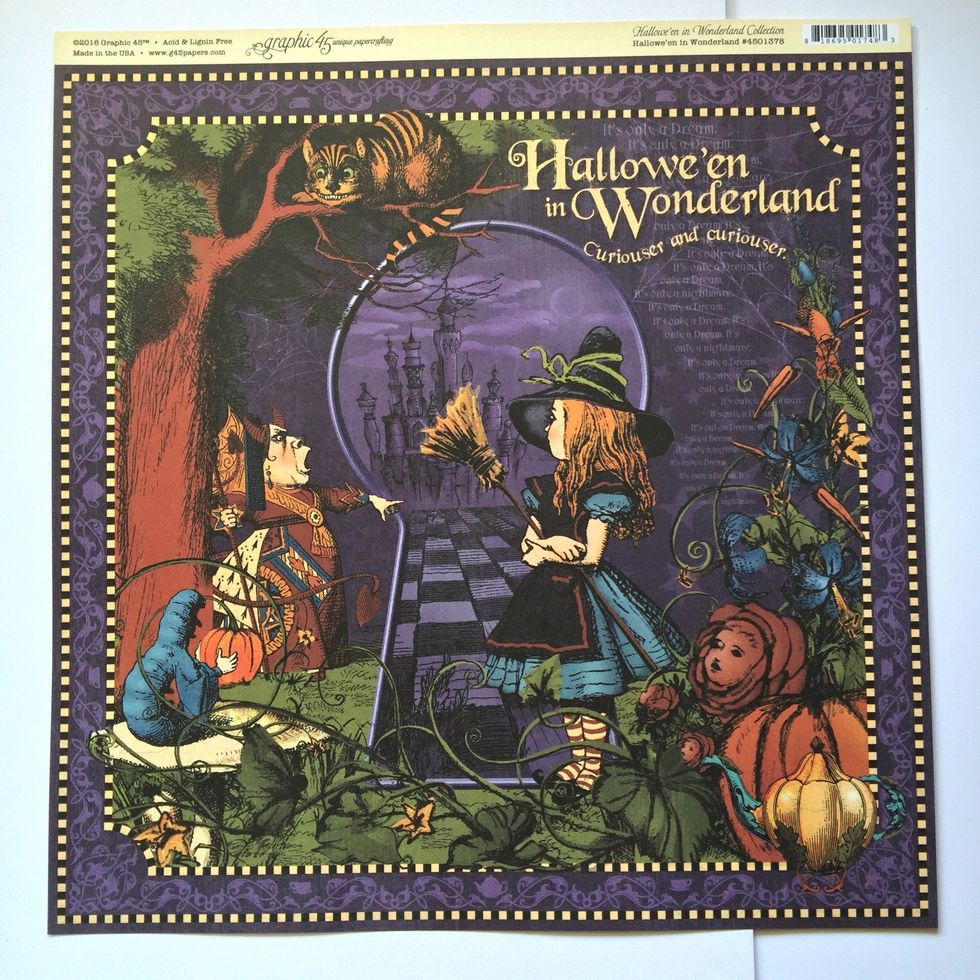
Hallowe'en in Wonderland Deluxe Collectors Edition are perfect to tell a story in a window shadow.
Mix Media Box decoration. Mini album tutorial in another separate Snapguide!
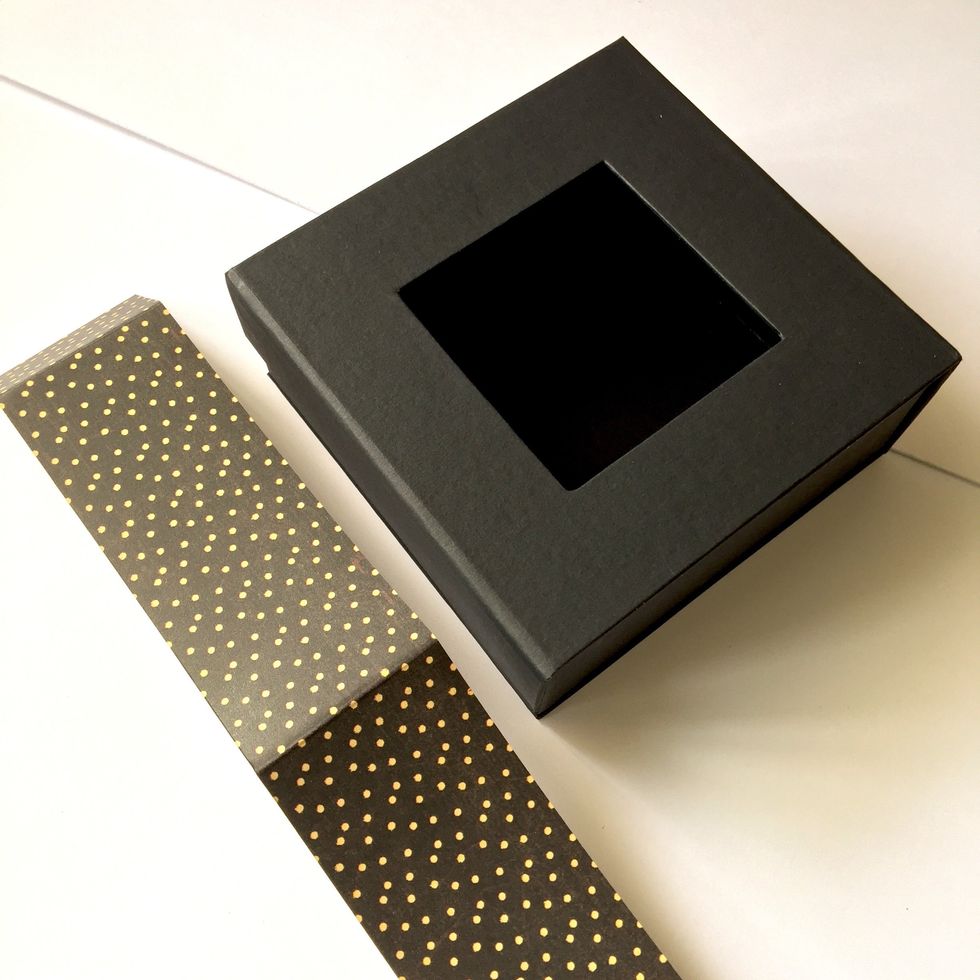
Cut a piece of paper to cover box sides.
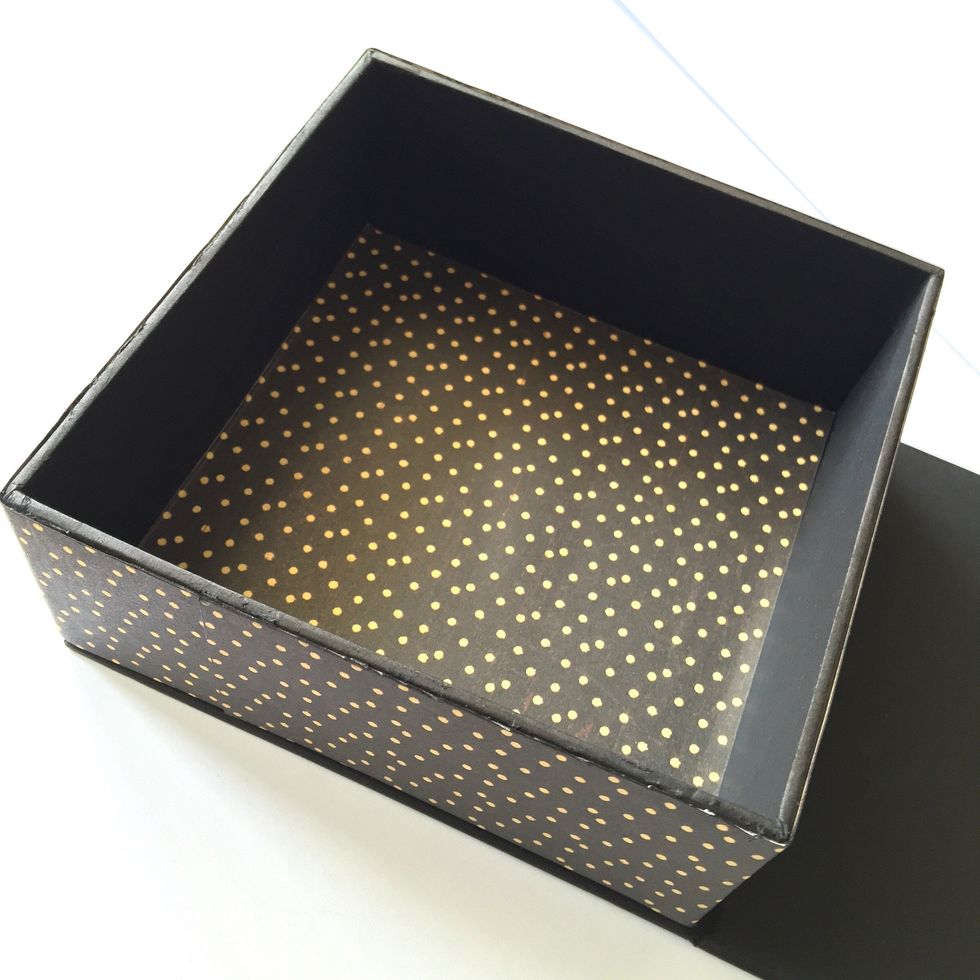
Another one for the bottom.
A square piece of paper for the back.
And this one for the cover with a window.
Then I made a mini album that fits perfectly in the square box. Tutorial in another Snapguide!
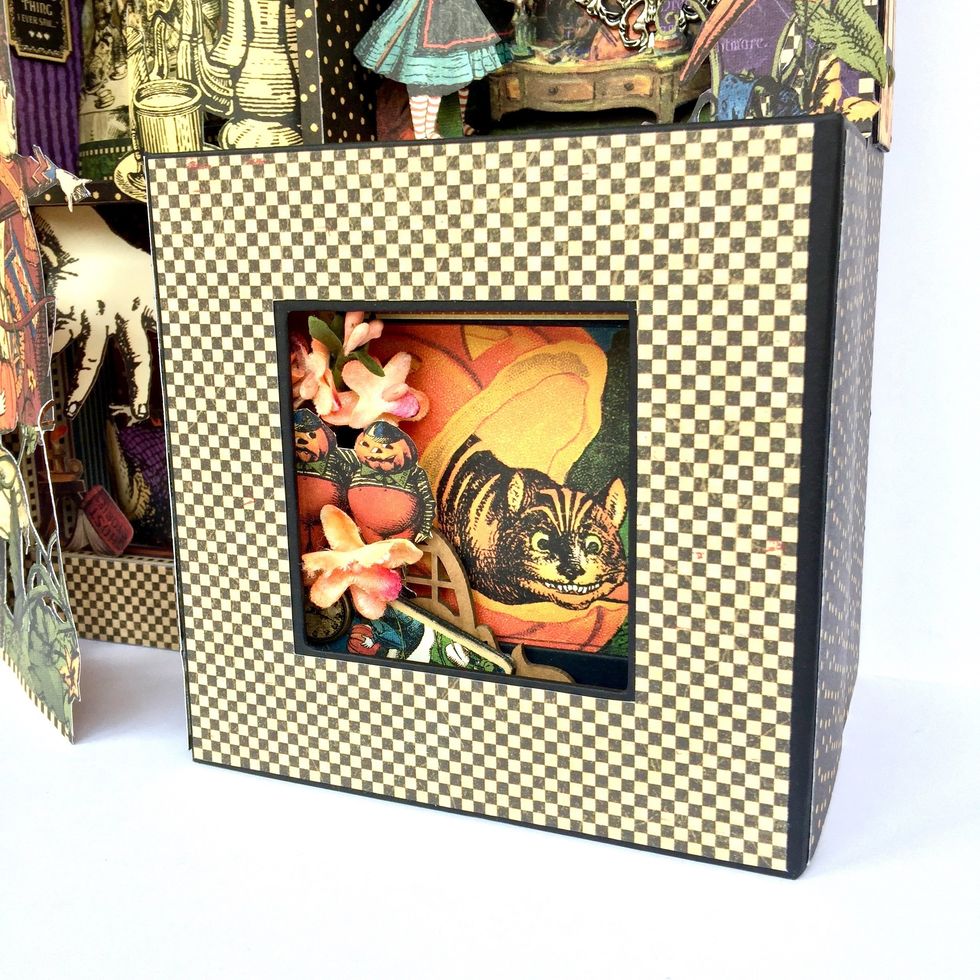
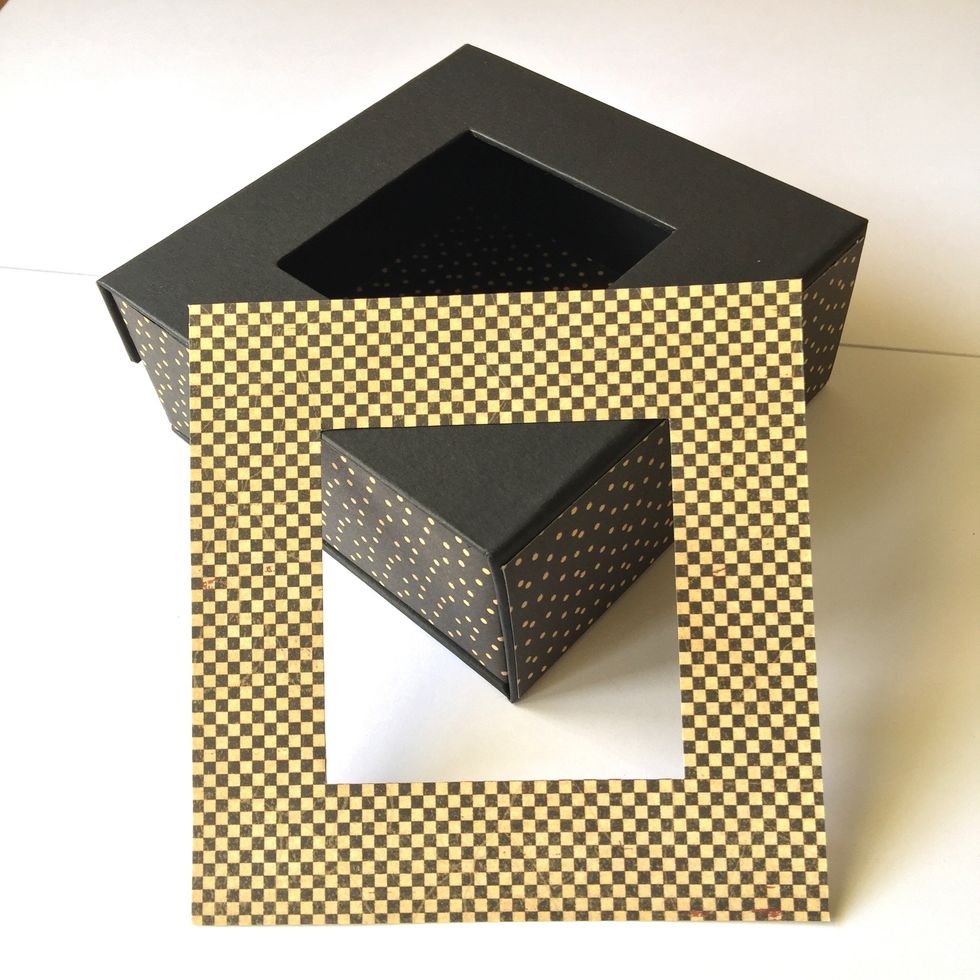
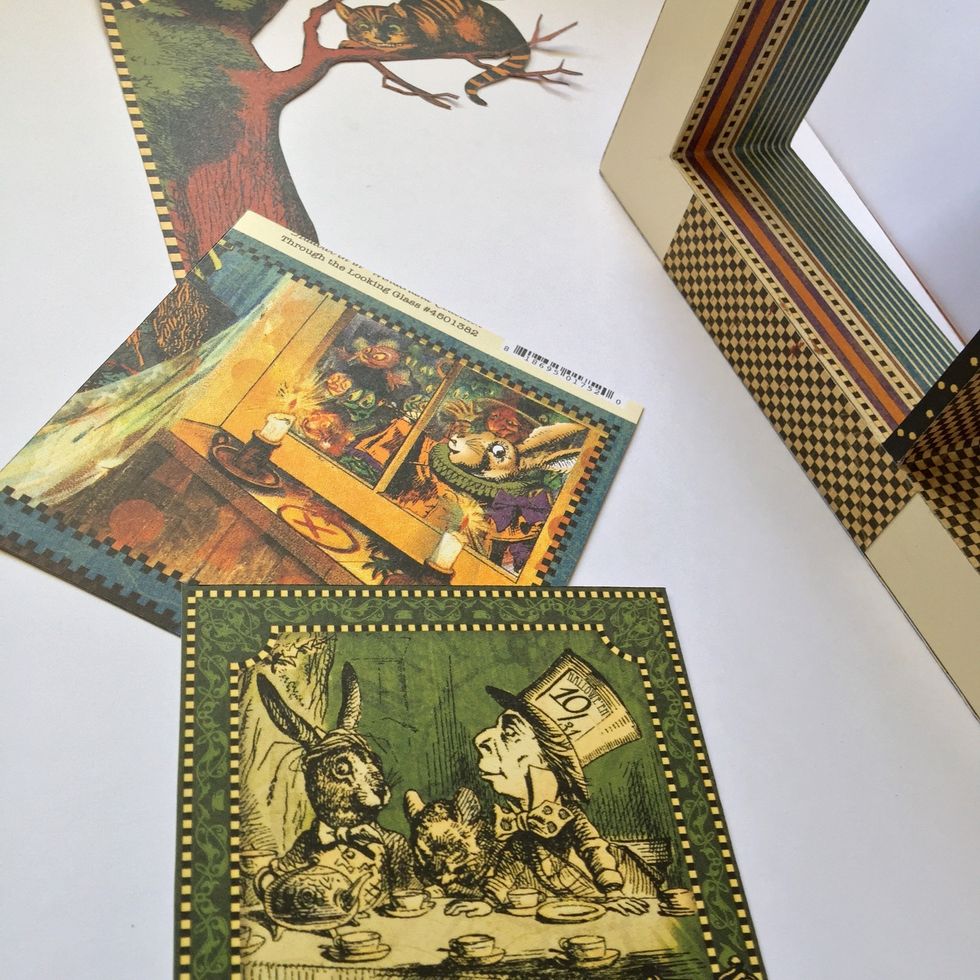
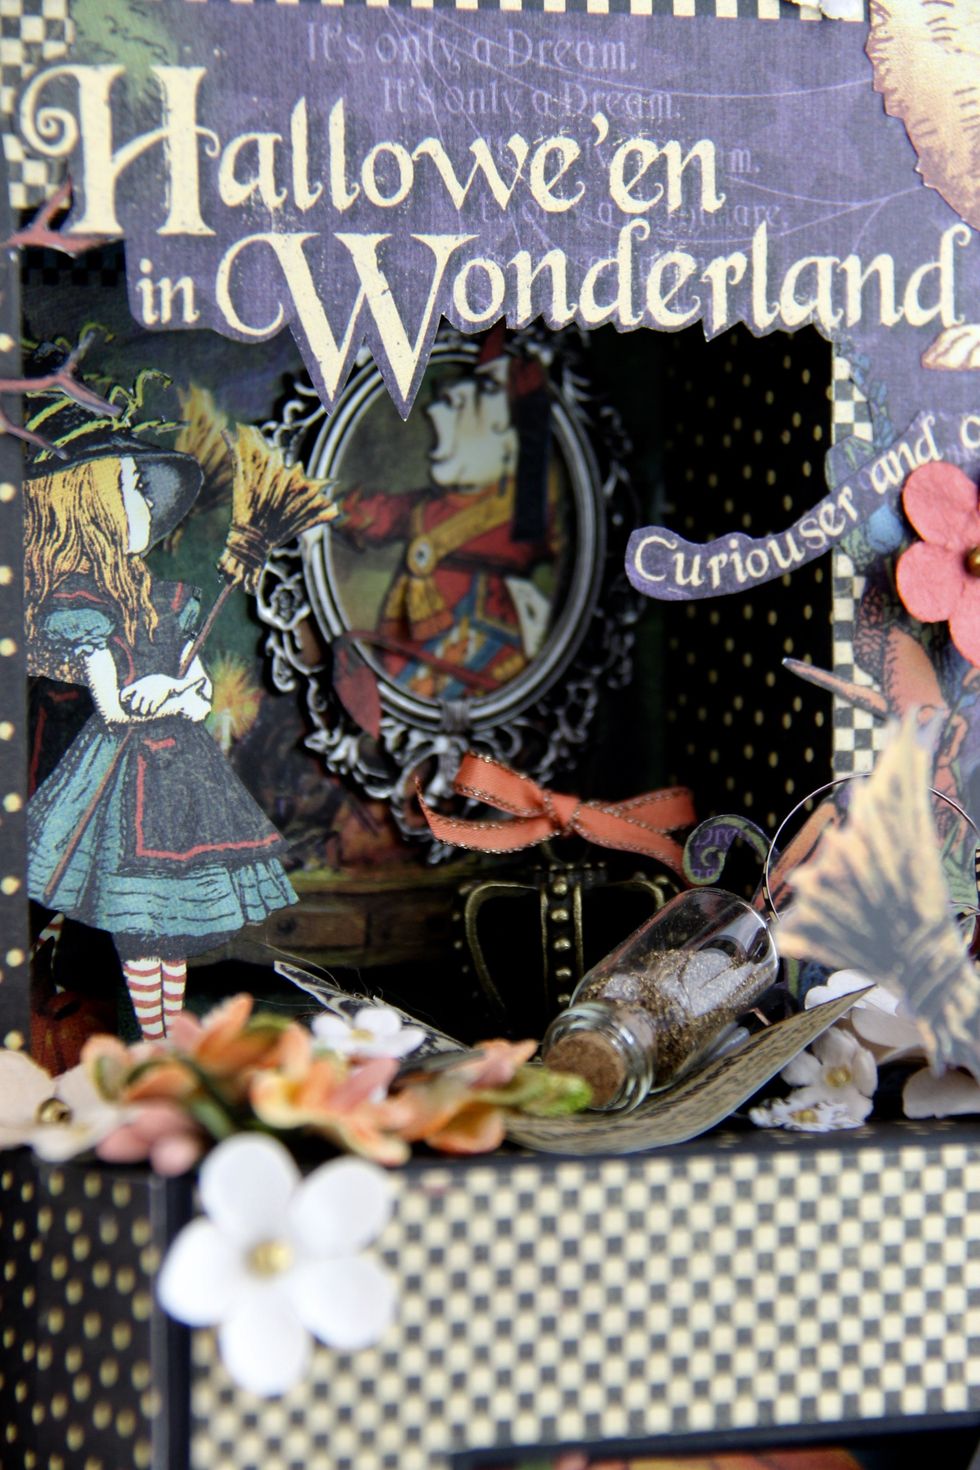
Ivory Window Shadow Box decoration.
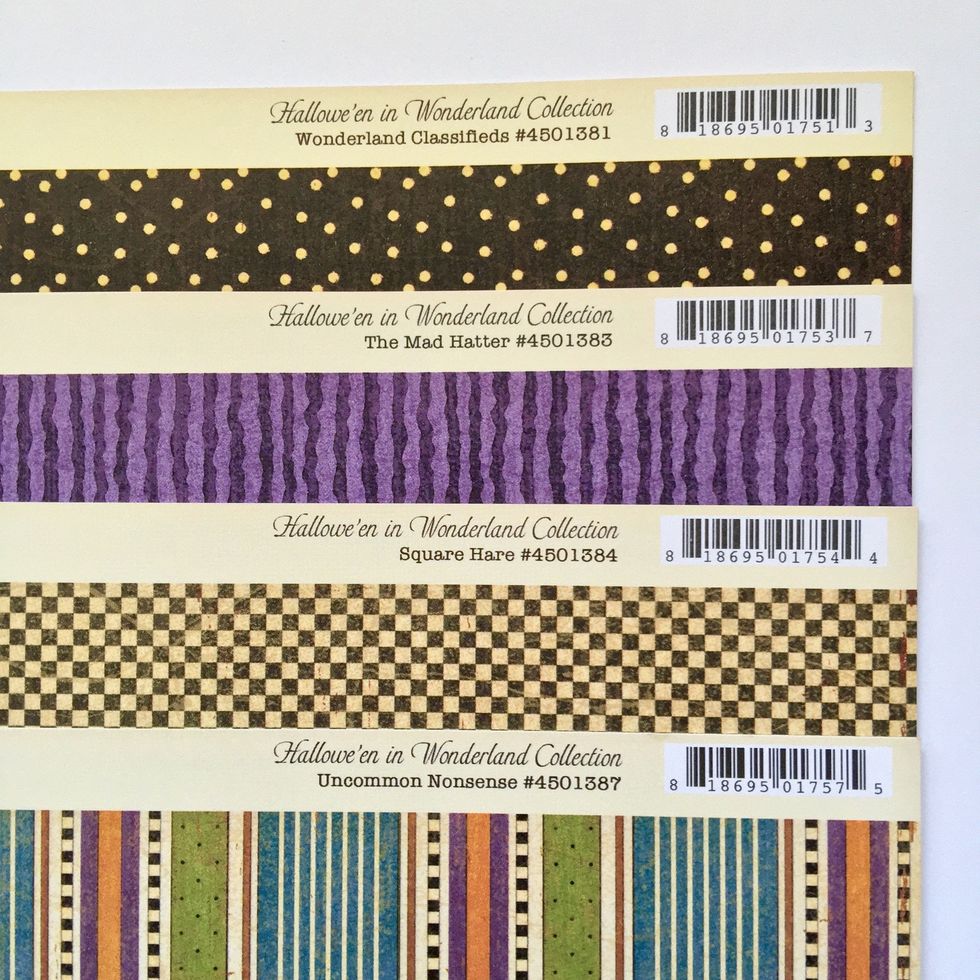
These are the papers to cover the Graphic 45 Ivory Shadow Box. All from Hallowe'en in Wonderland Deluxe Collection.
I made four pieces to cover the inside of each part of the window.
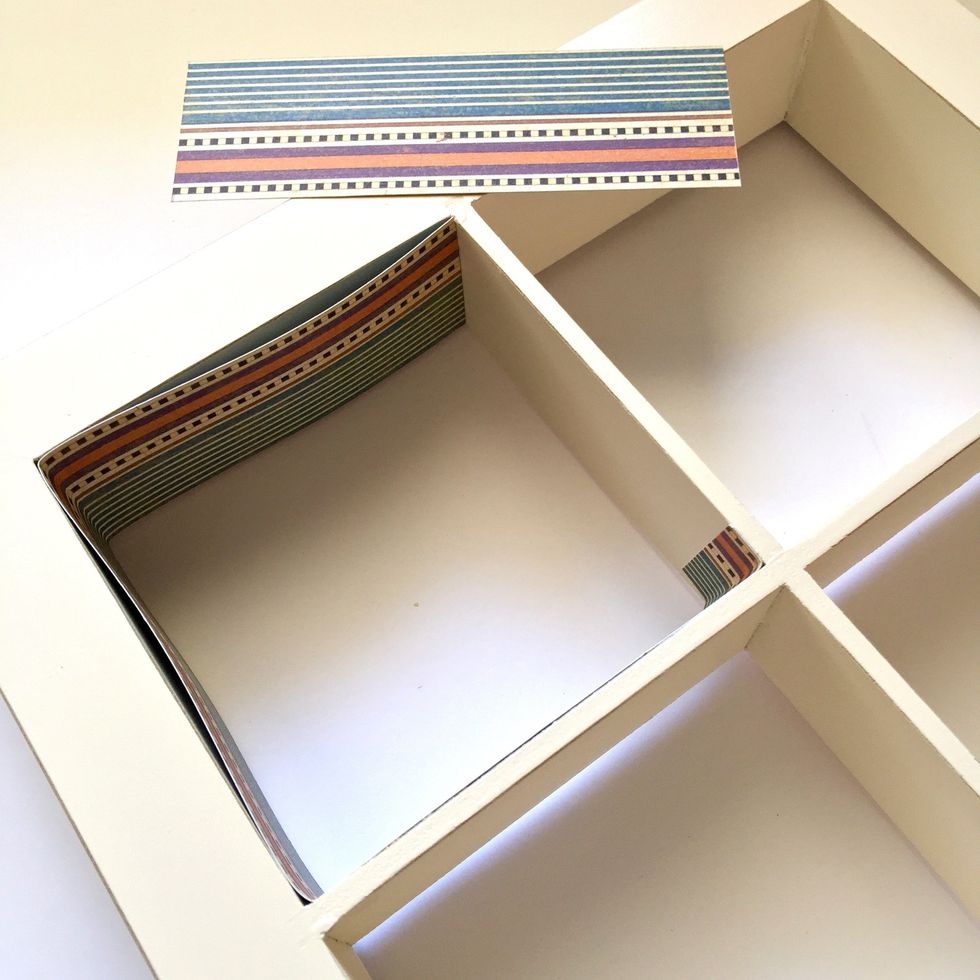
And sticked them inside.
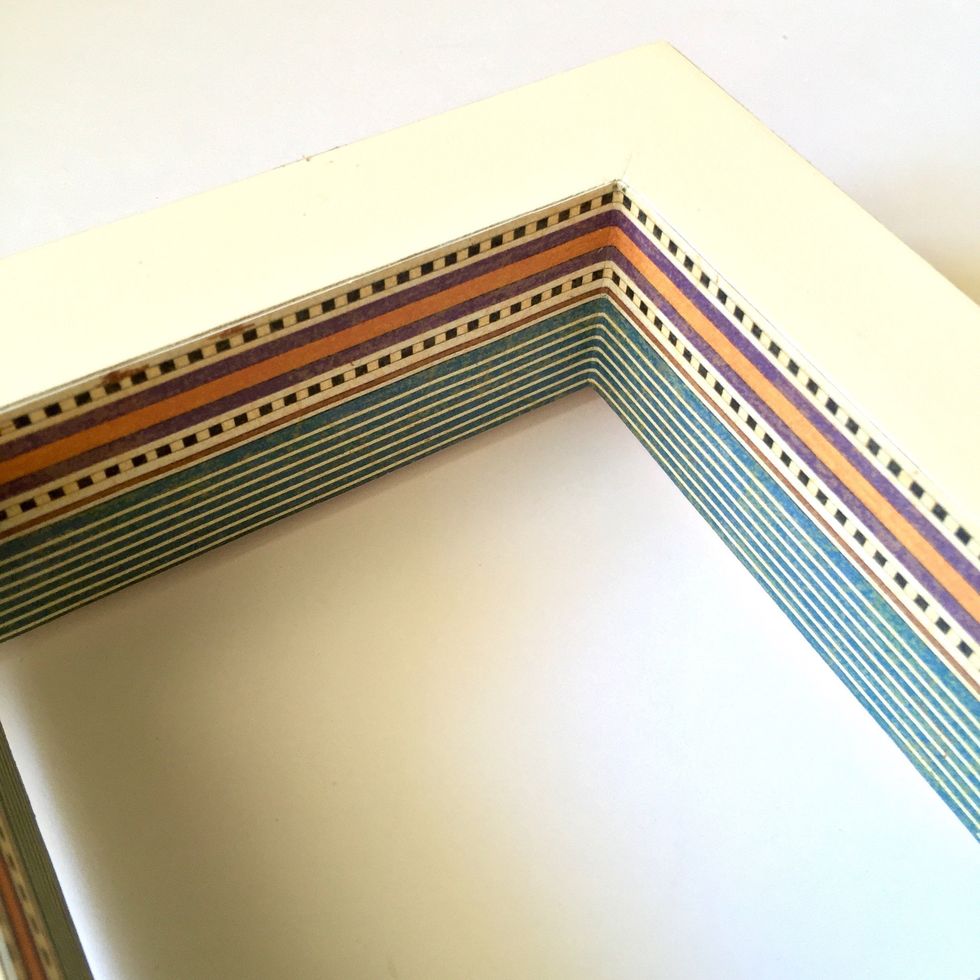
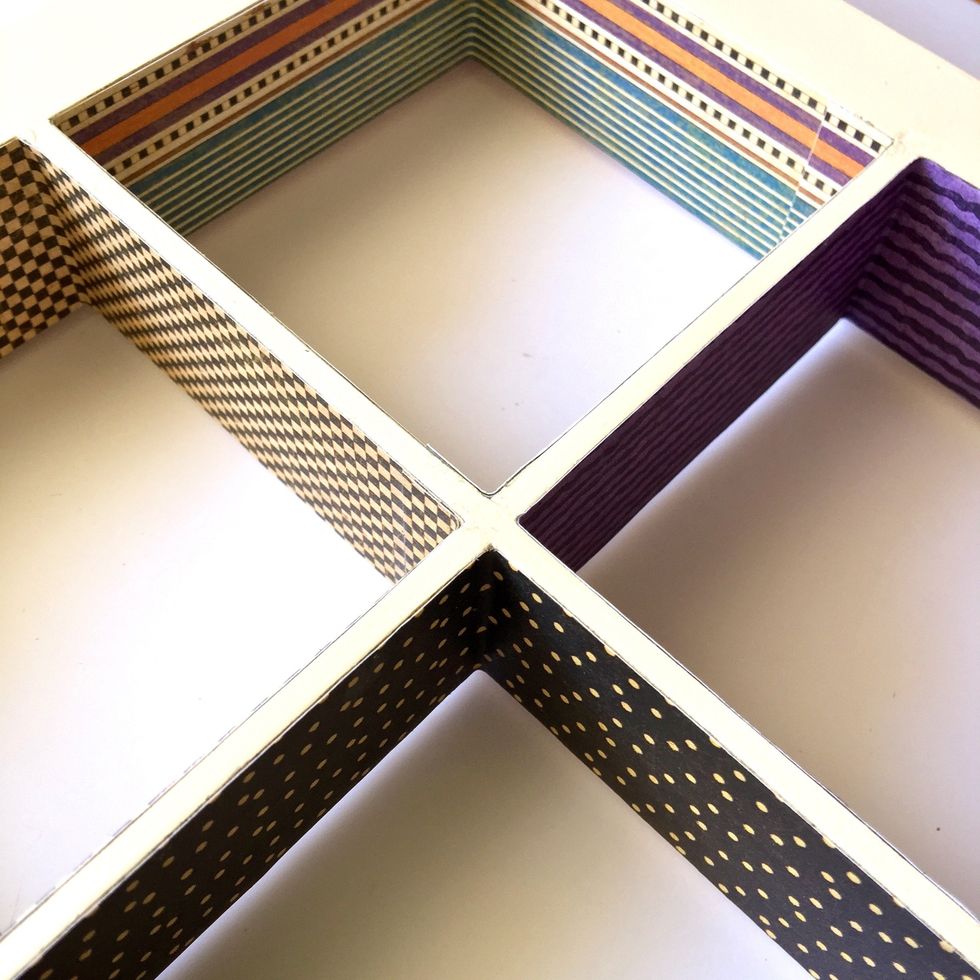
Four parts of the window covered.
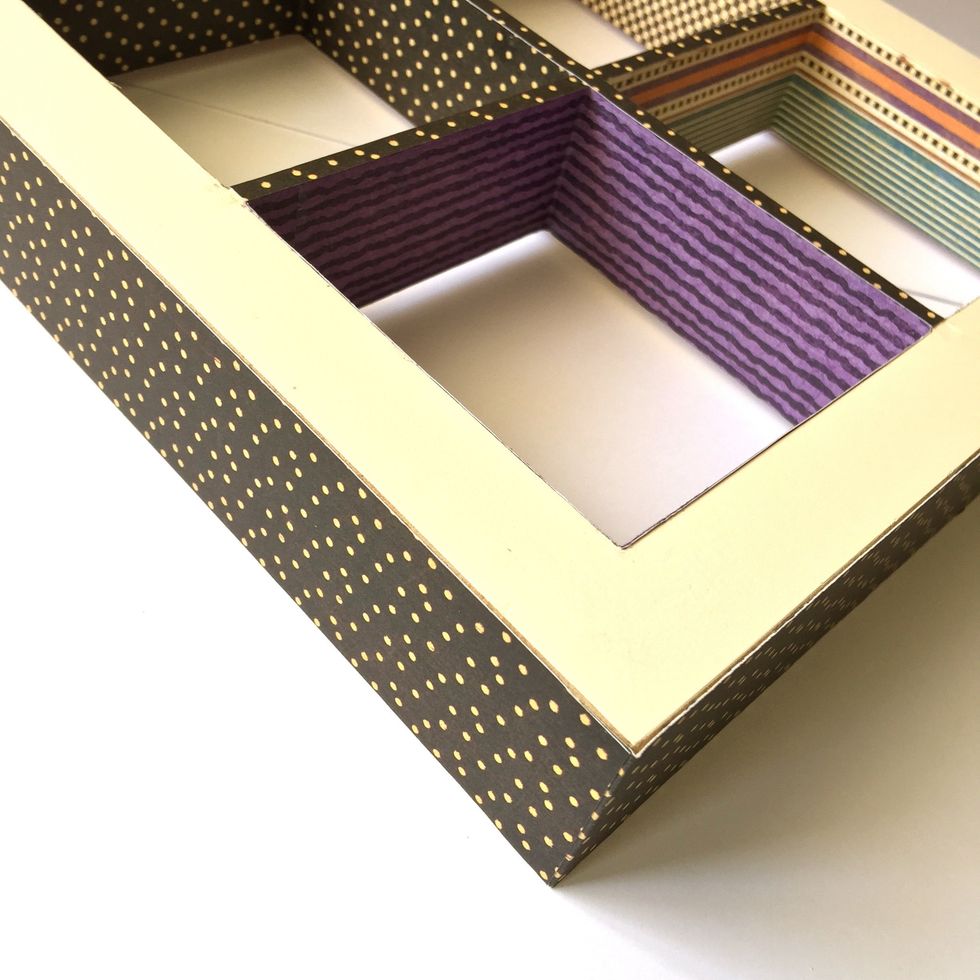
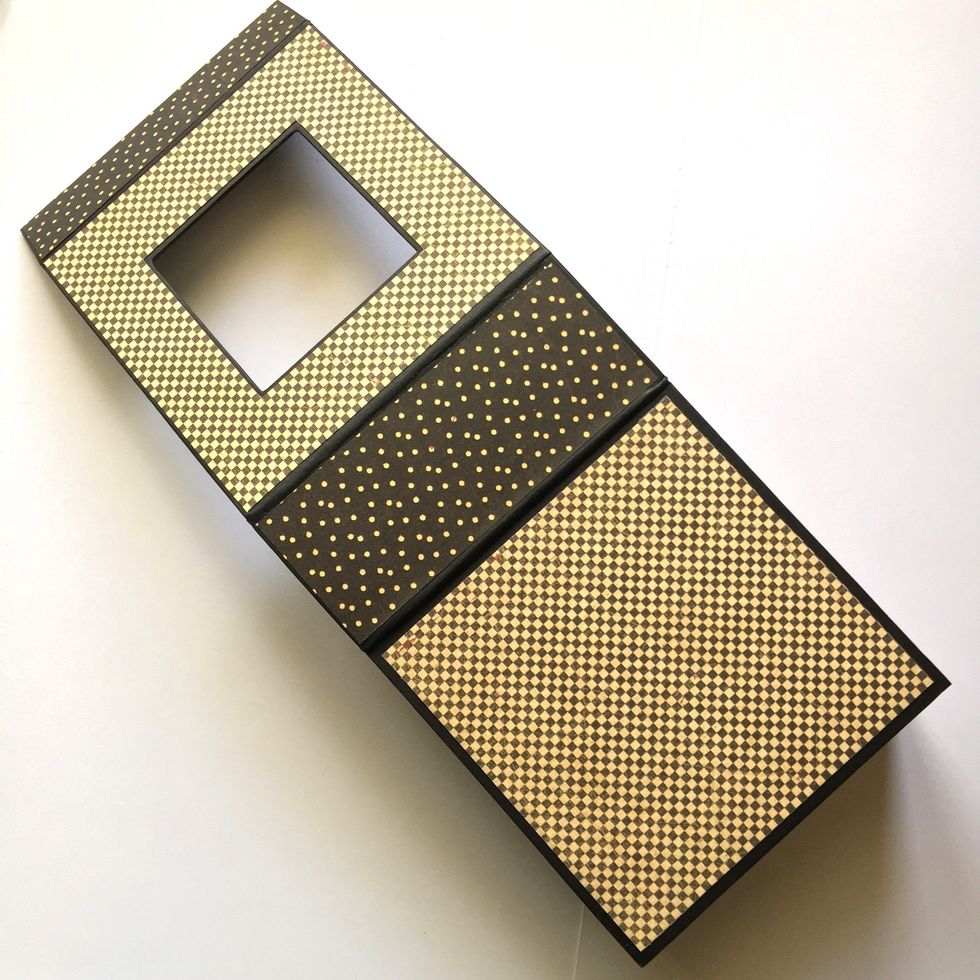
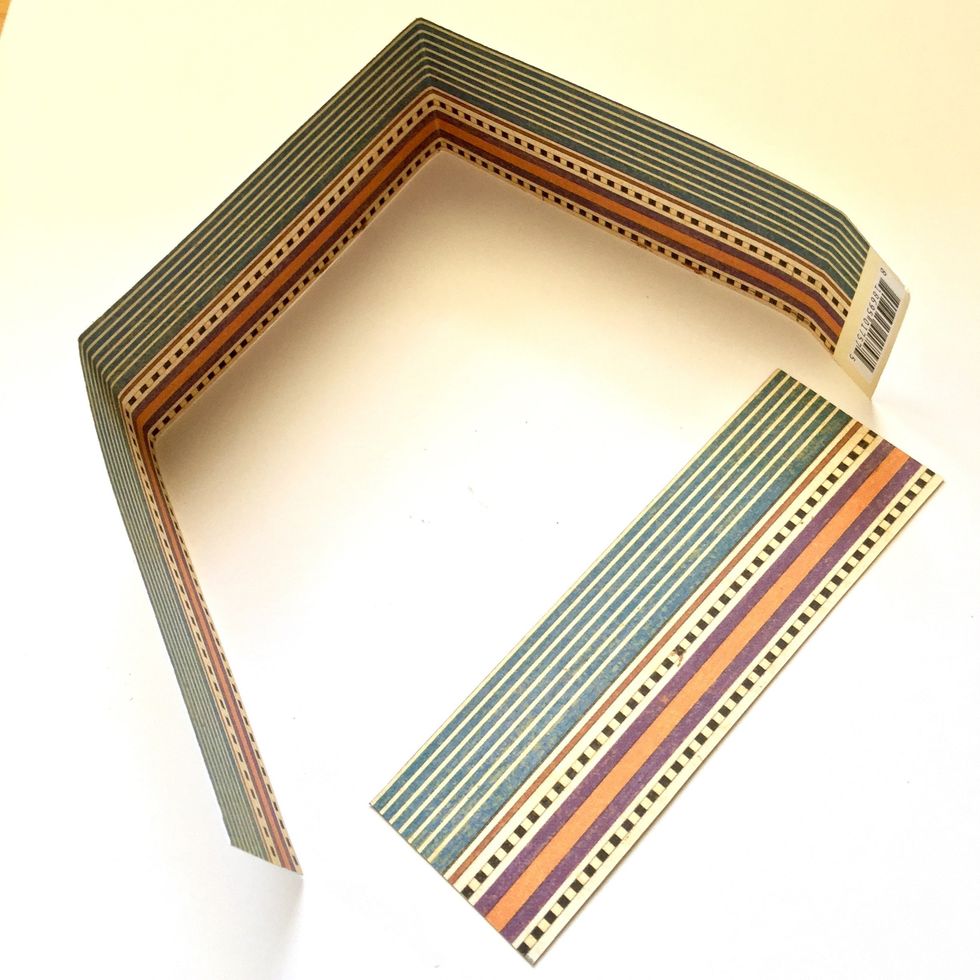
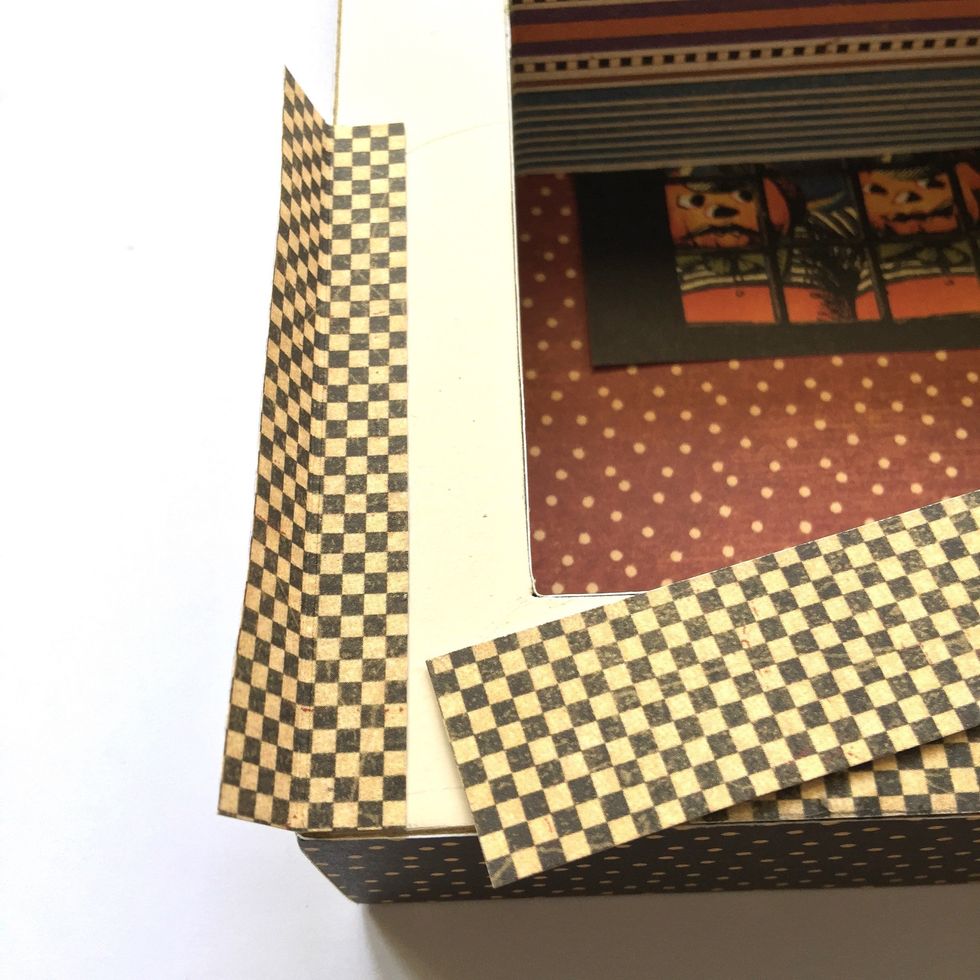
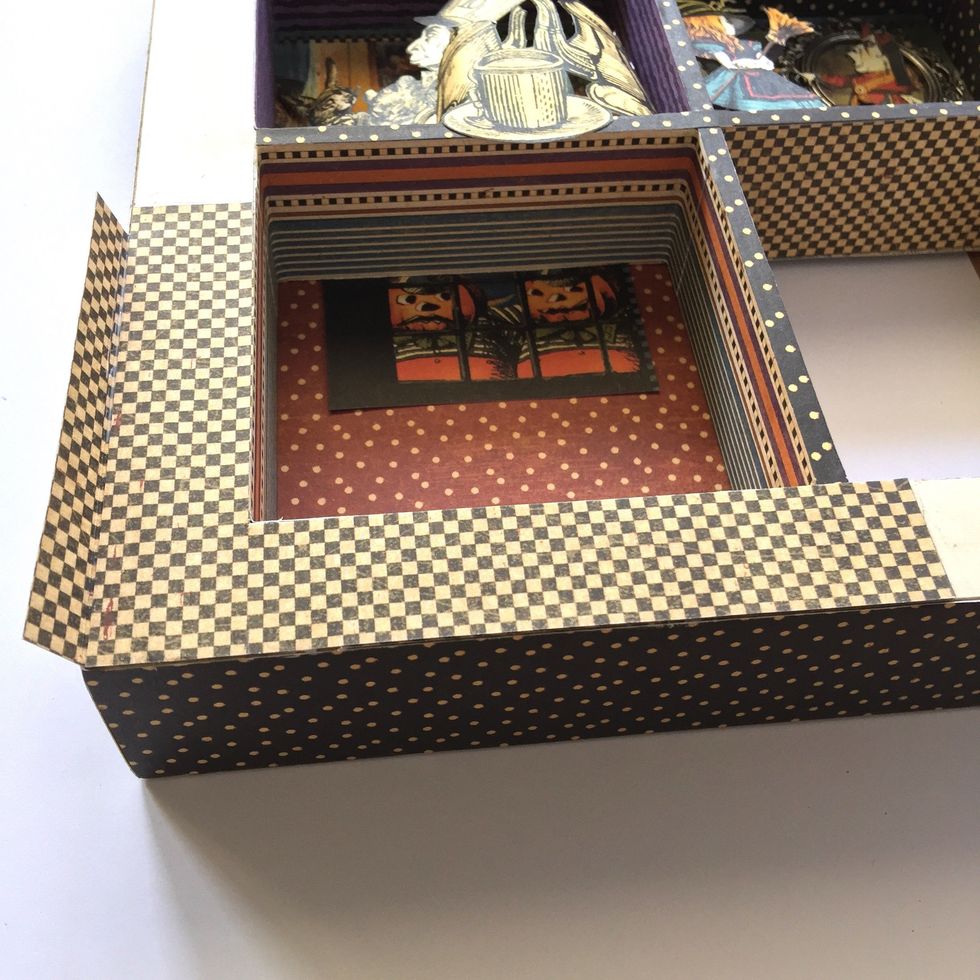
Cover the outside of the window box.
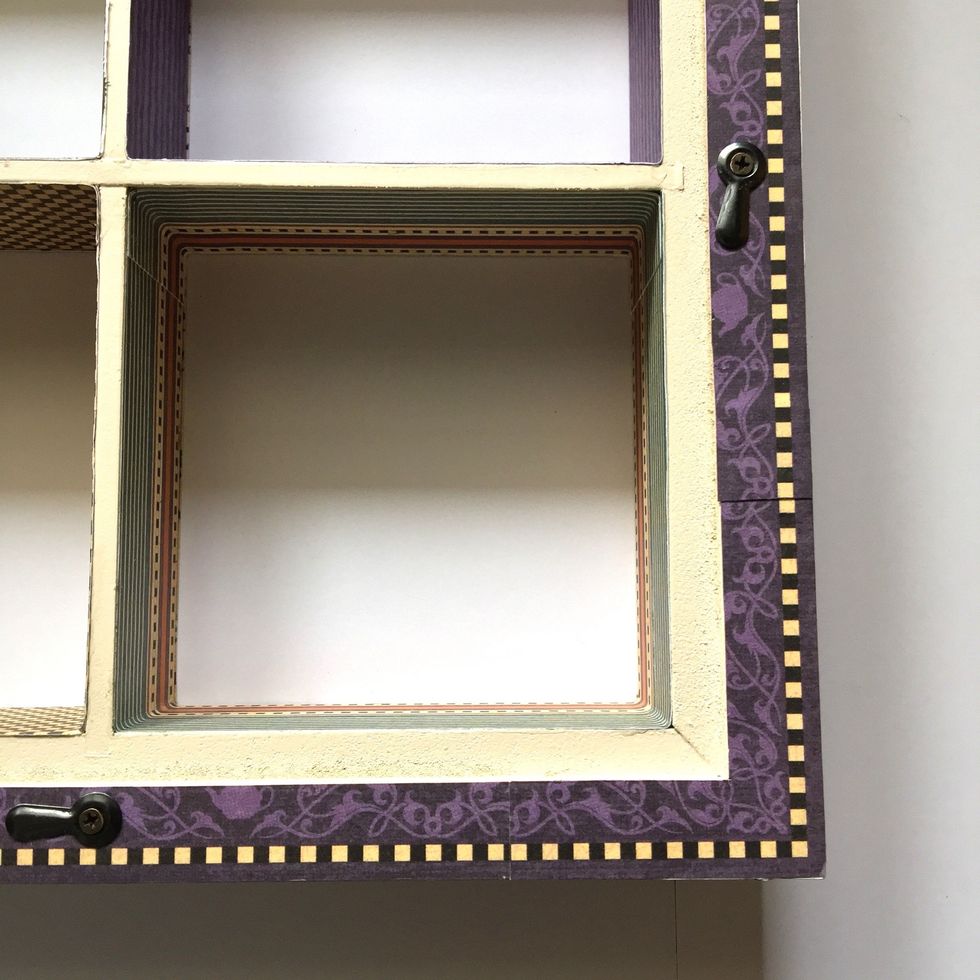
And cover back of the window.
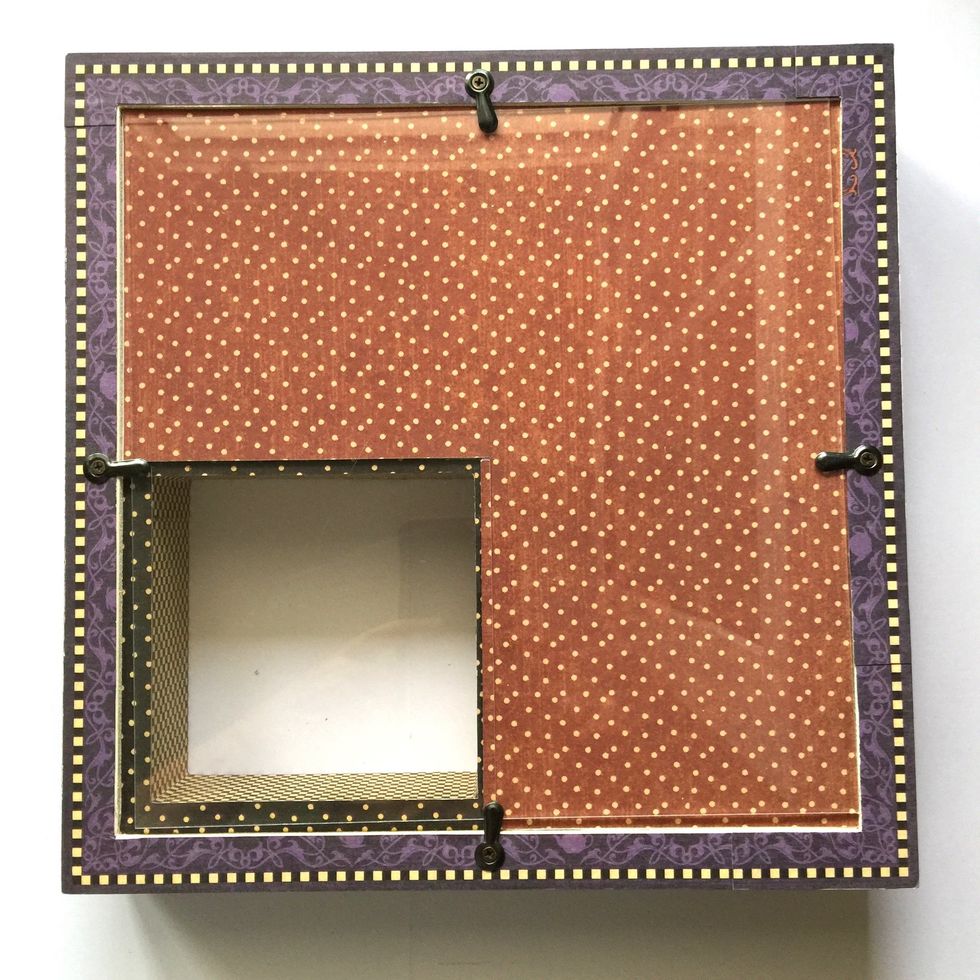
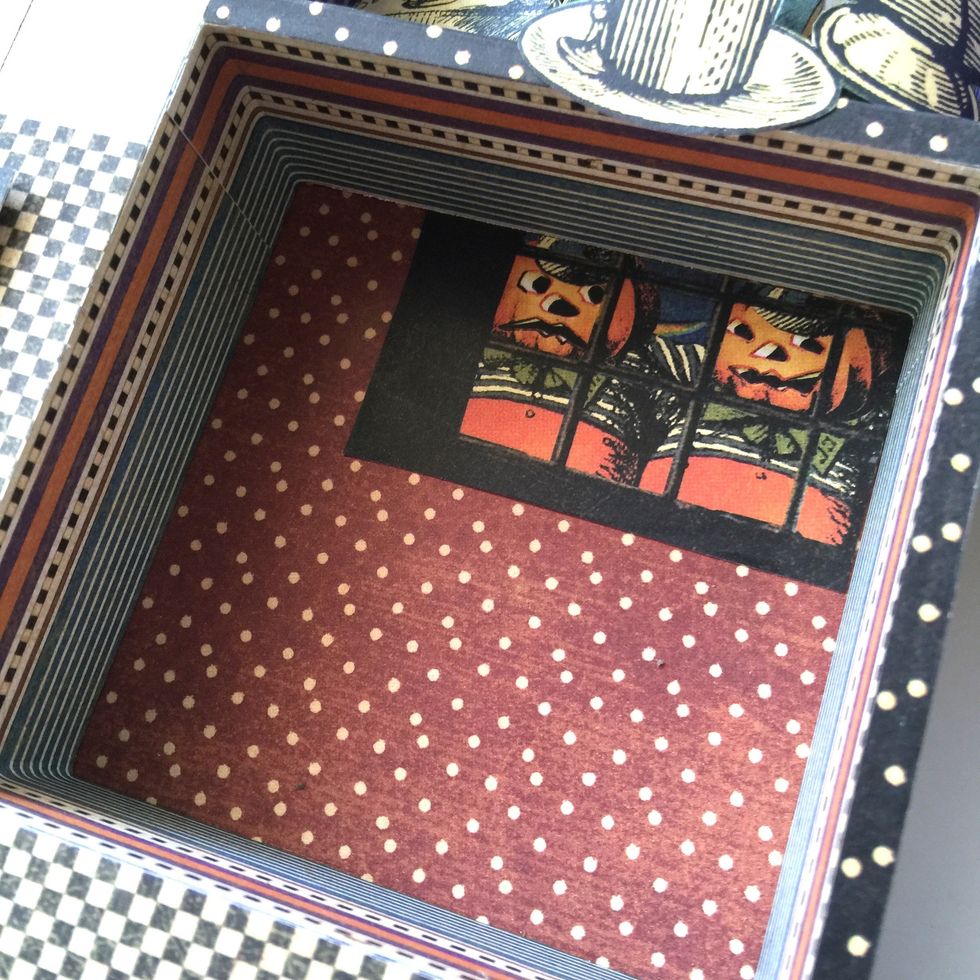
I left free of paper a square to create a secret place.
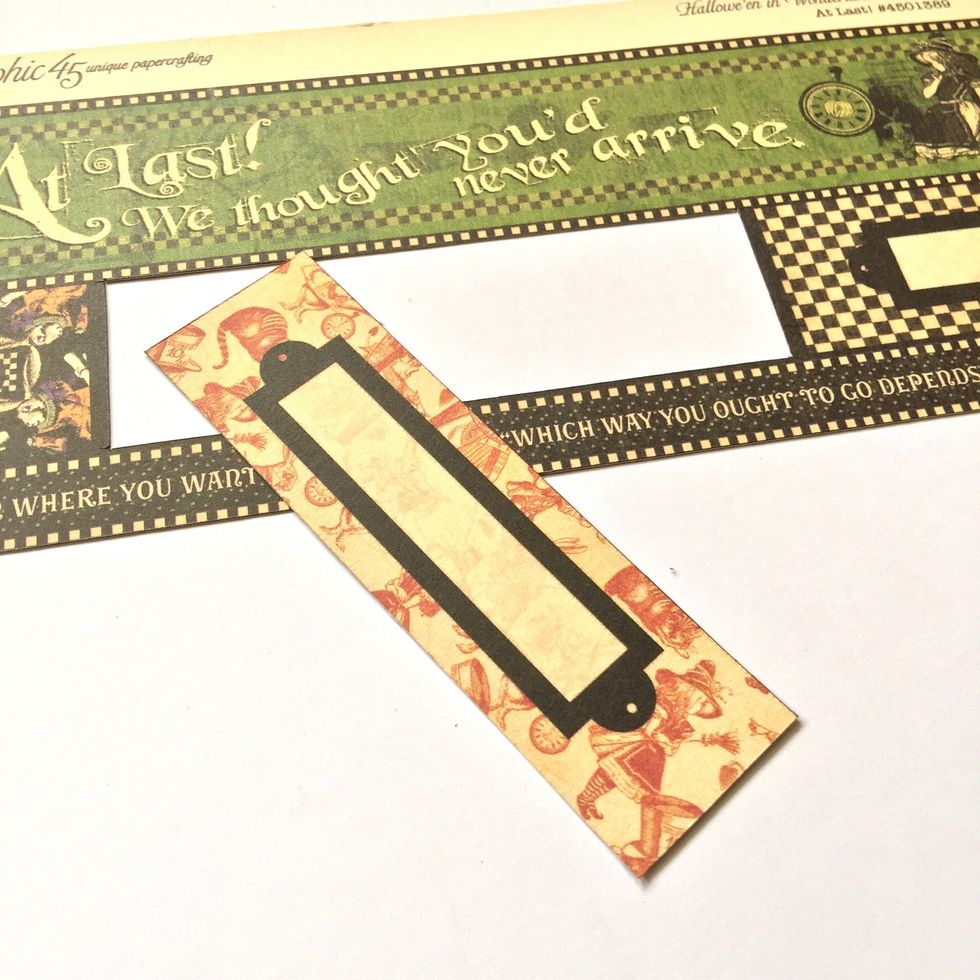
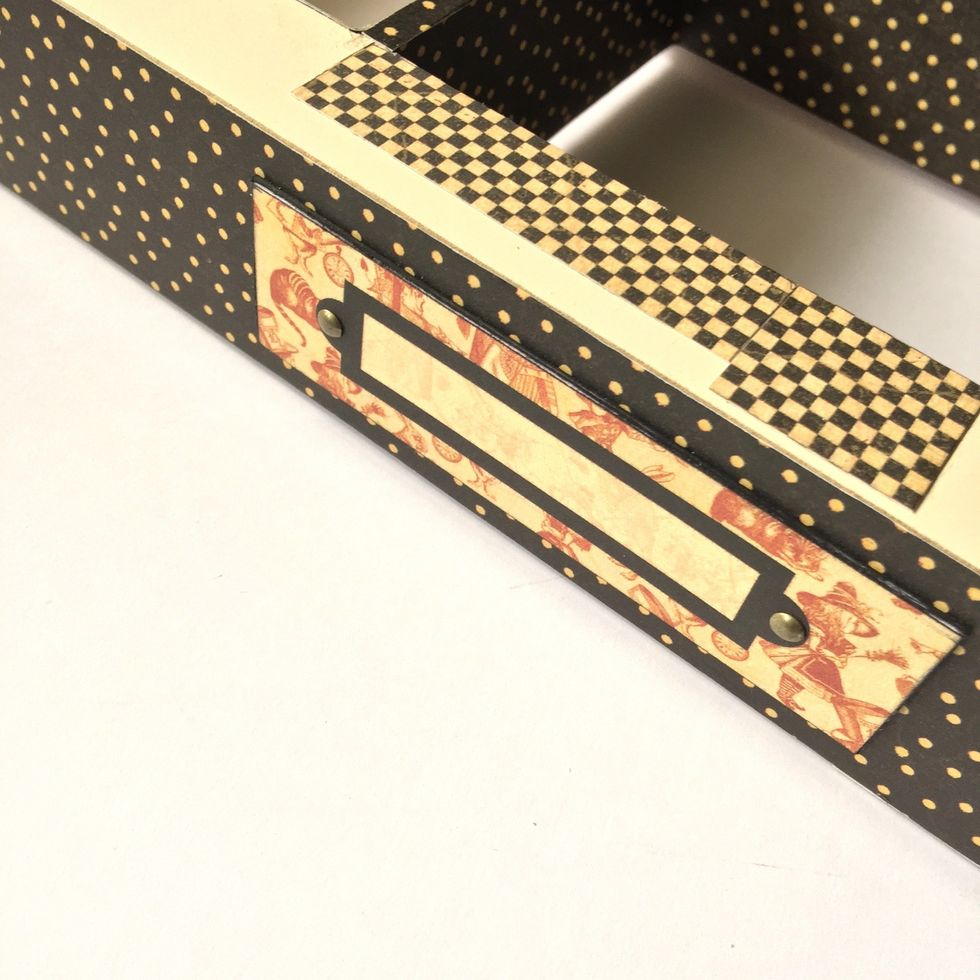
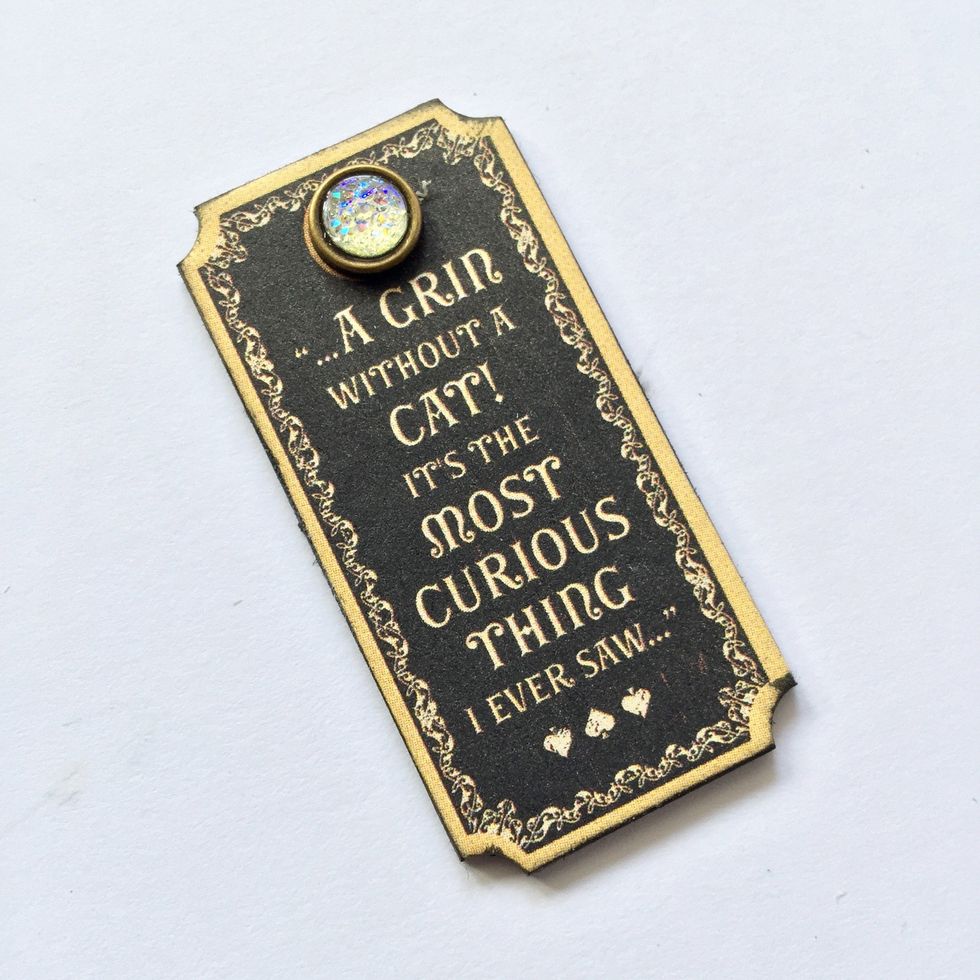
Cut this design to make a tag. Put two brads, glue it on a cardboard and ink edges.
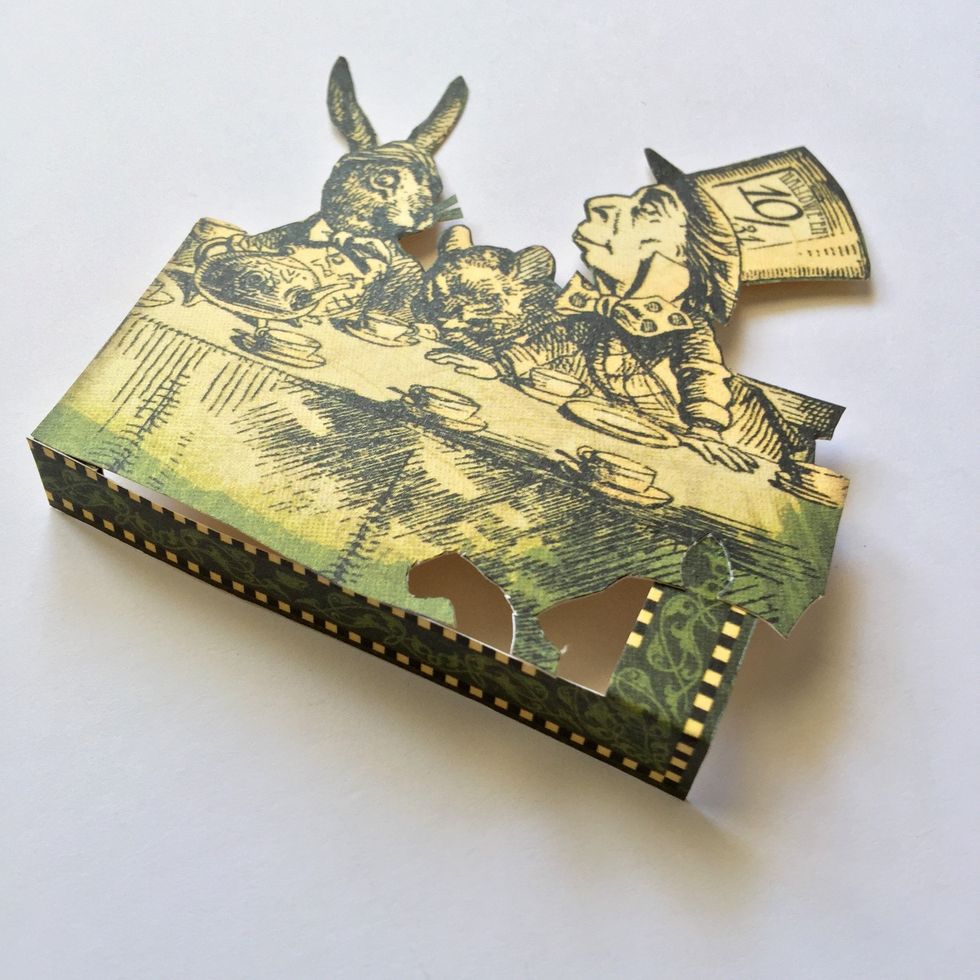
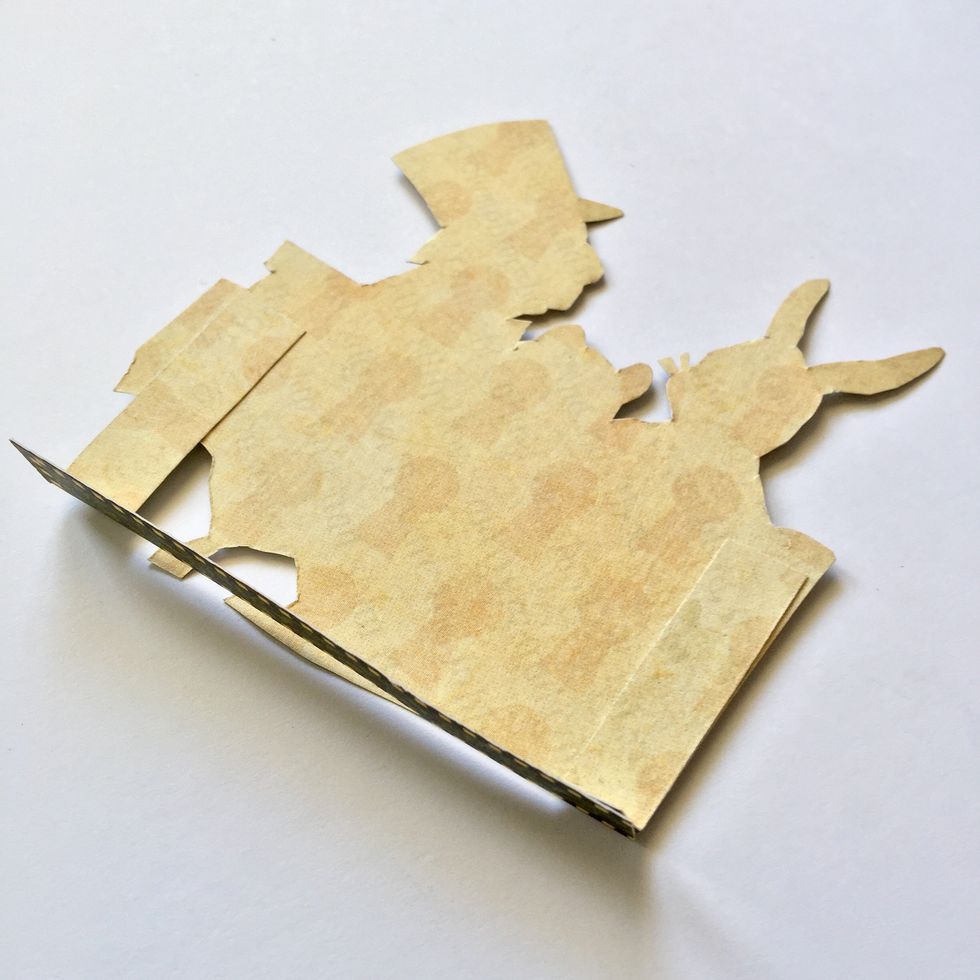
Fussy cutting for the cover.
Fussy cut the entire page.
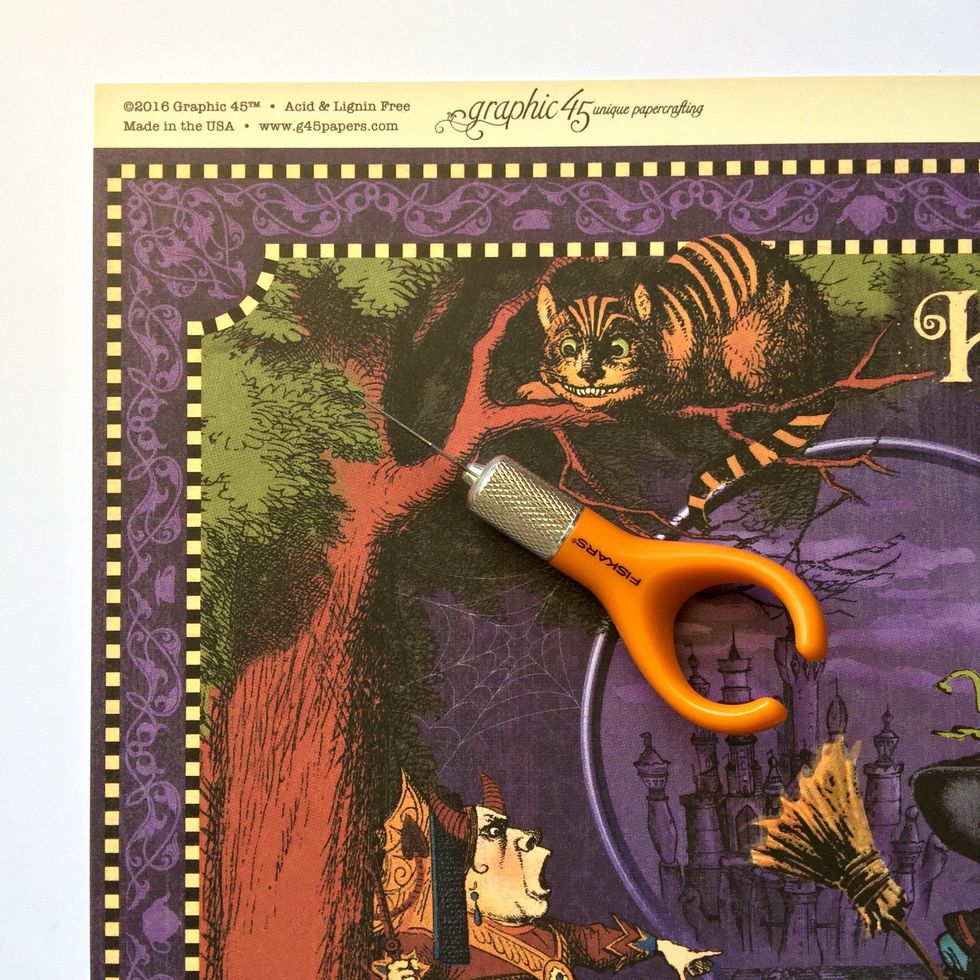
Use this tool to cut small pieces and little corners.
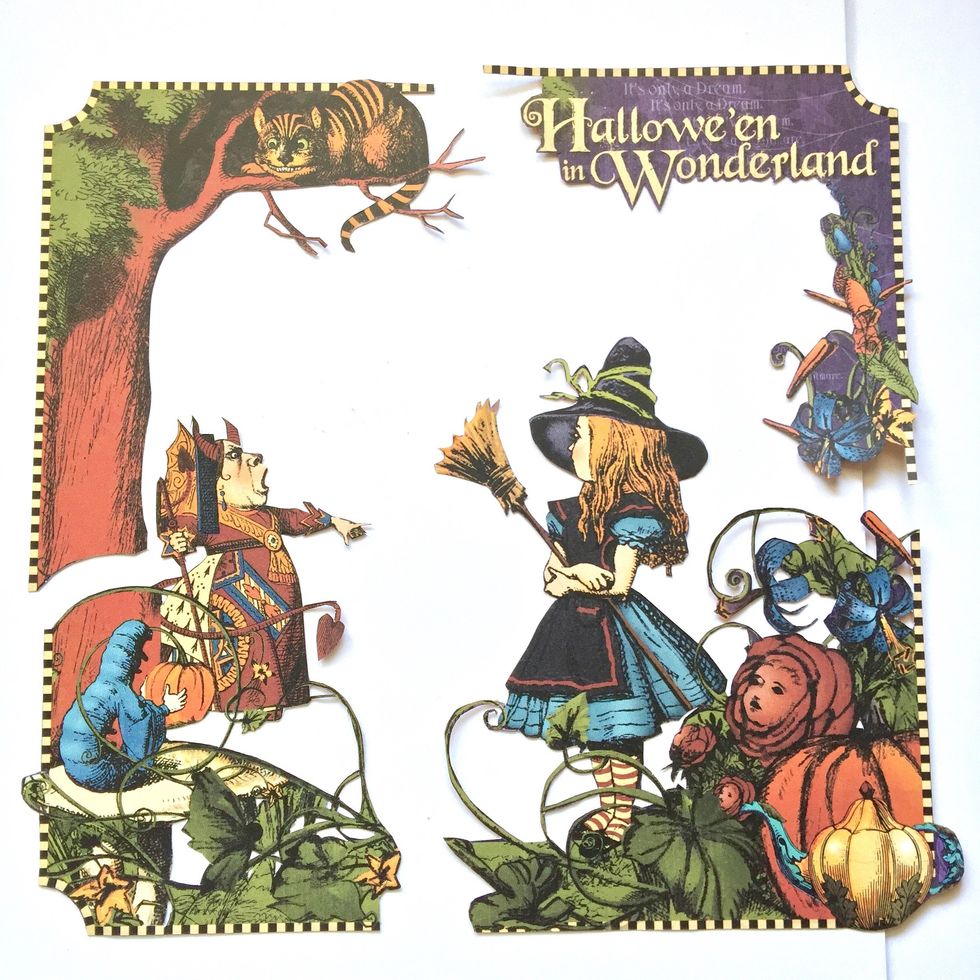
Here it is the fussy cutting.
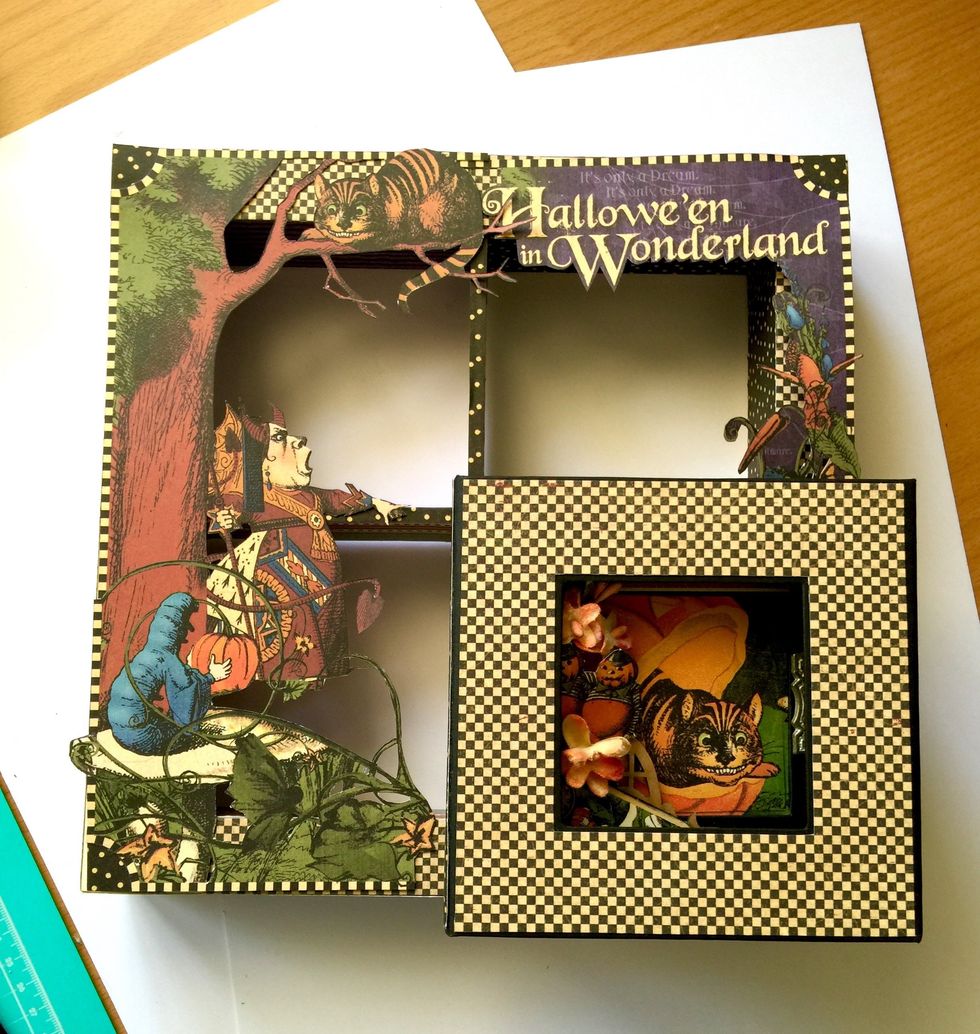
This is how it will fit, but DON'T FIX IT YET because we have to decorate three parts of the window and we will glue square box in lower right corner.
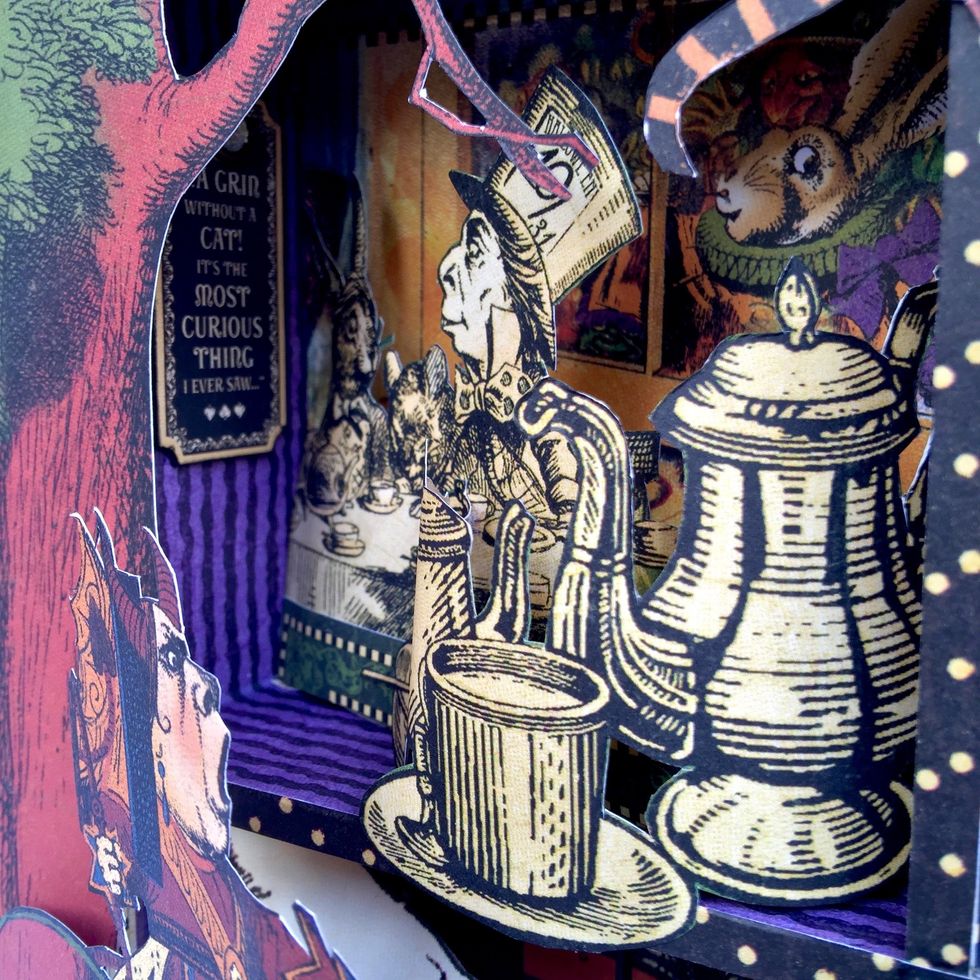
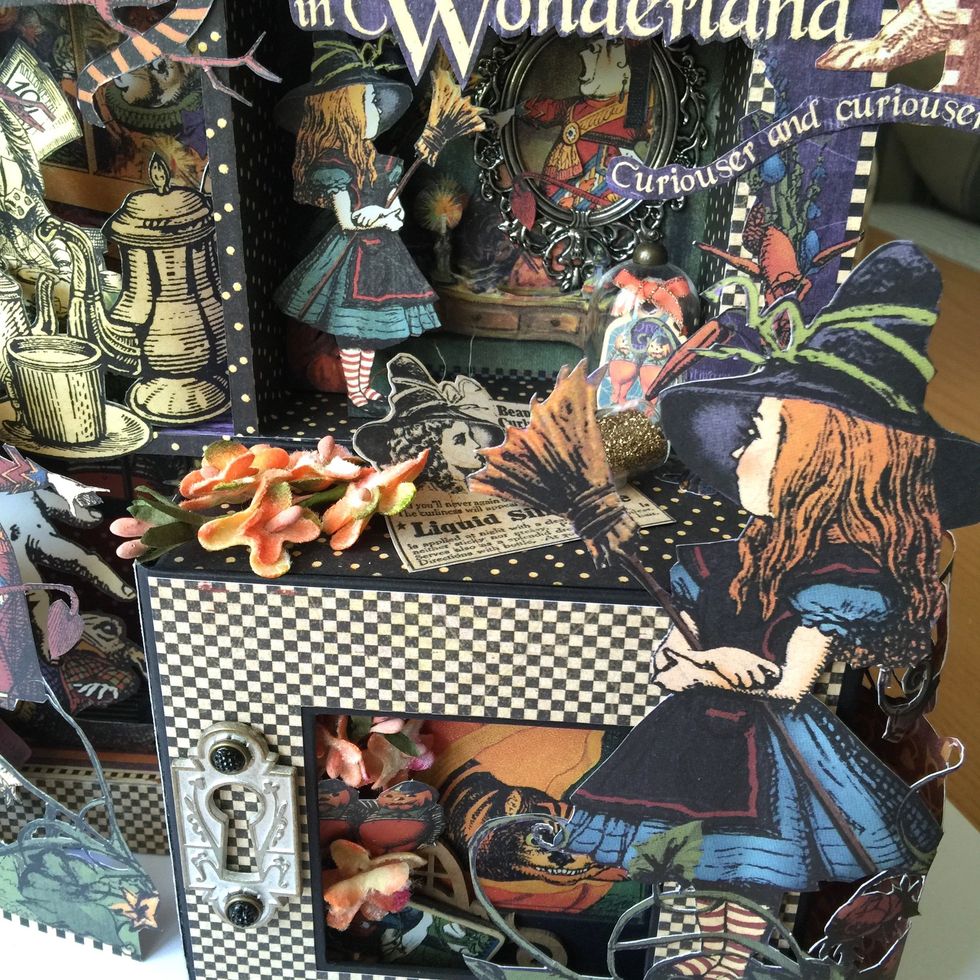
Right upper window quadrant decoration.
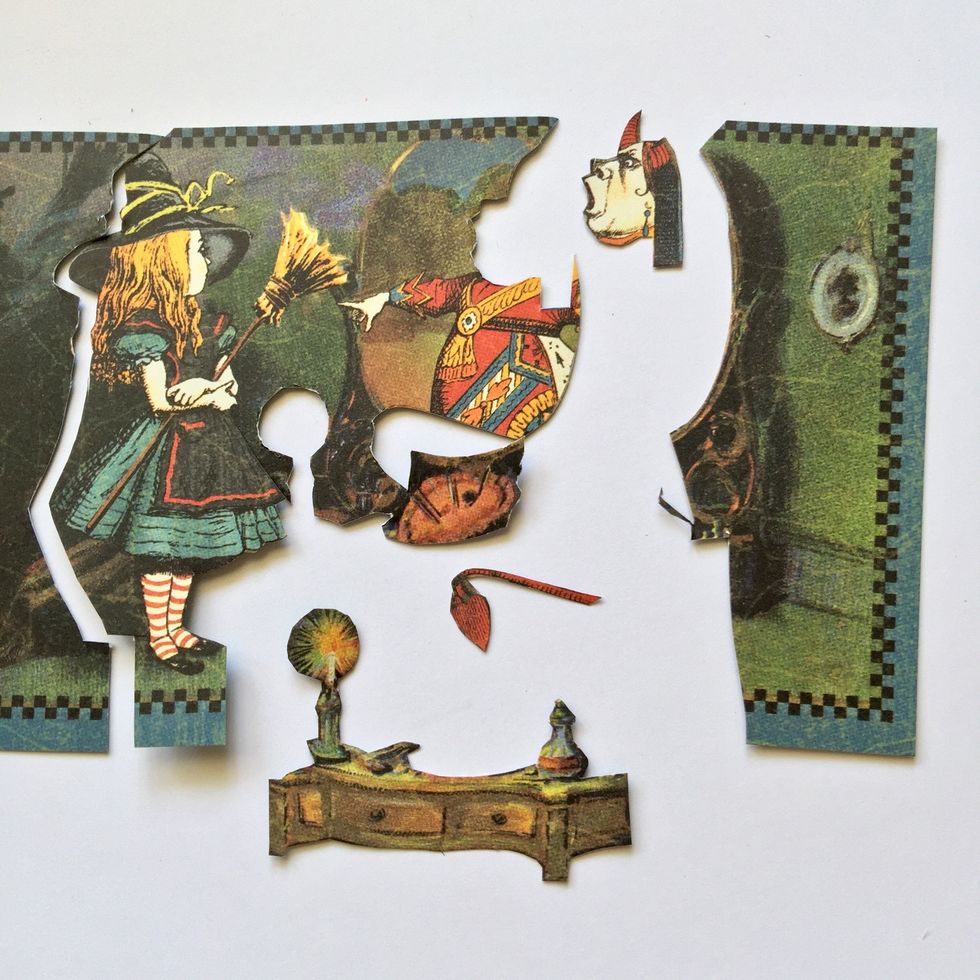
You will need two equal pieces of paper. Fussy cut one of them to get the face, the tail and the brooch of the queen, the furniture, and Alice figure.

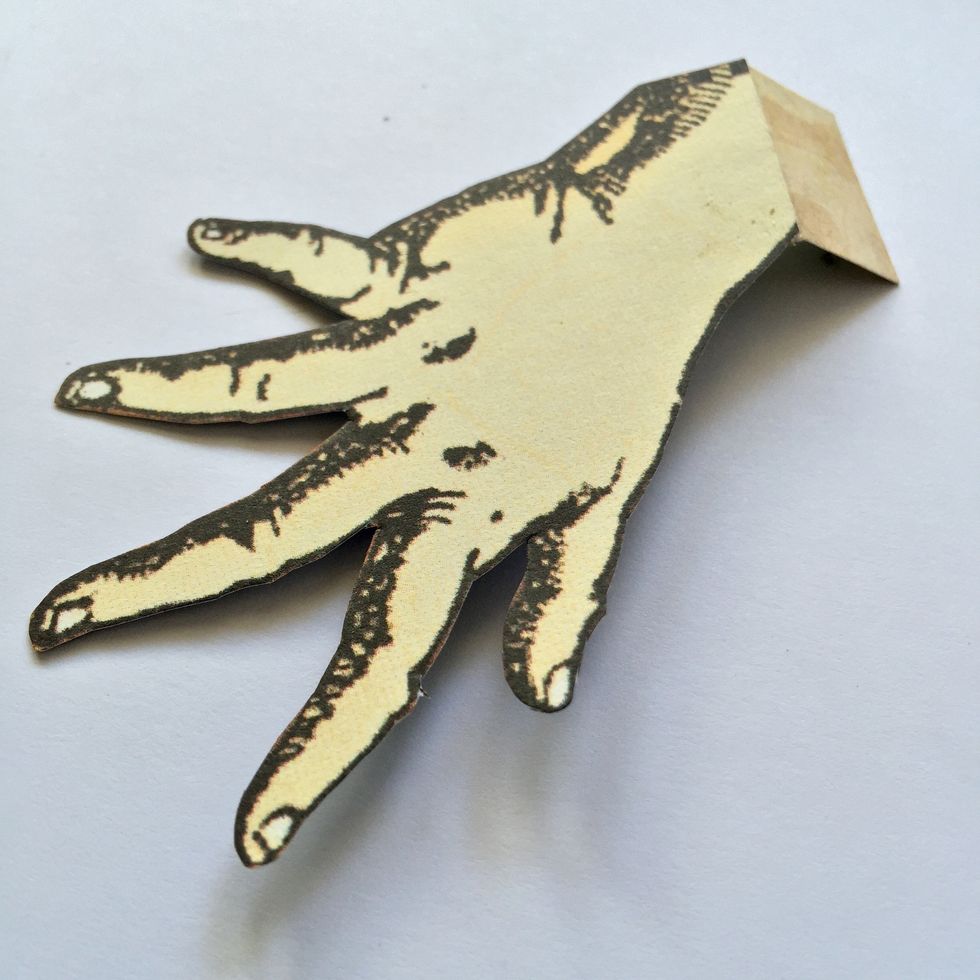
Cut the queen's hand as shown of the other equal piece of paper.
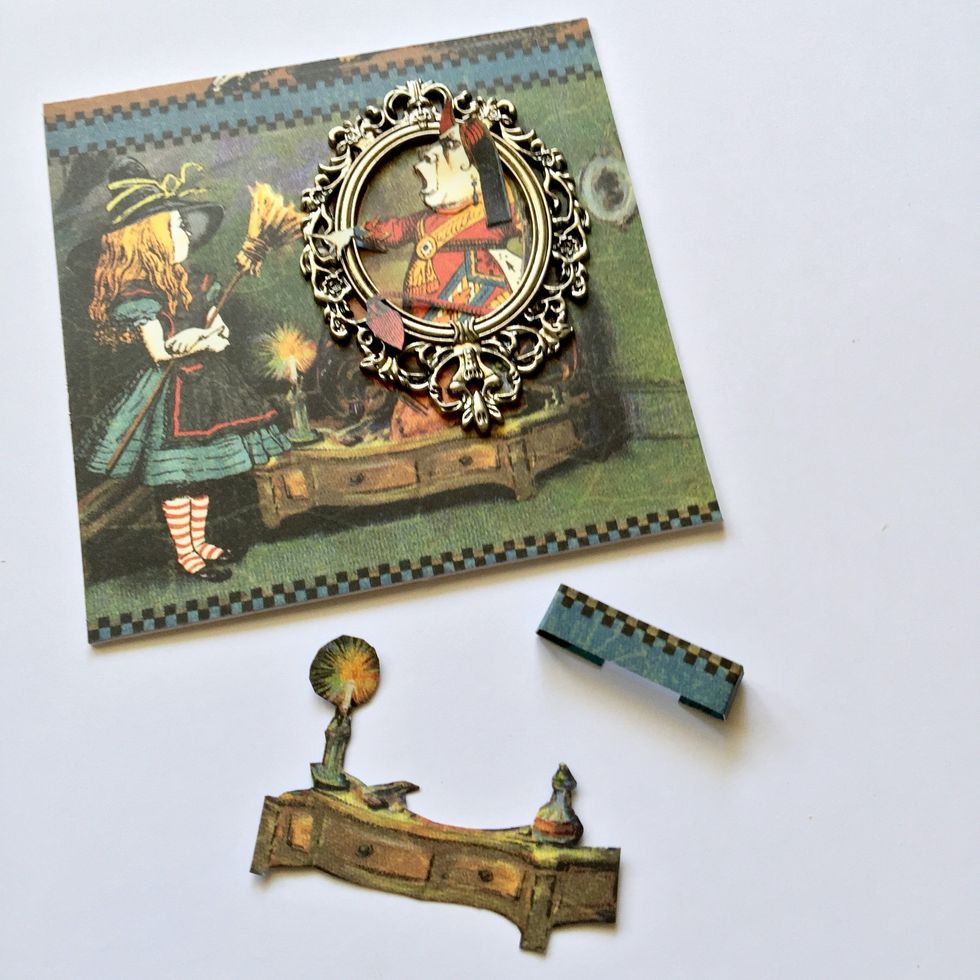
Put a metal frame and let hand's queen out of the frame. Glue the face and let upper side out of the frame too. Make a little piece of paper to glue the furniture.
Glue queen's tail and the piece for the furniture.
Glue it on.
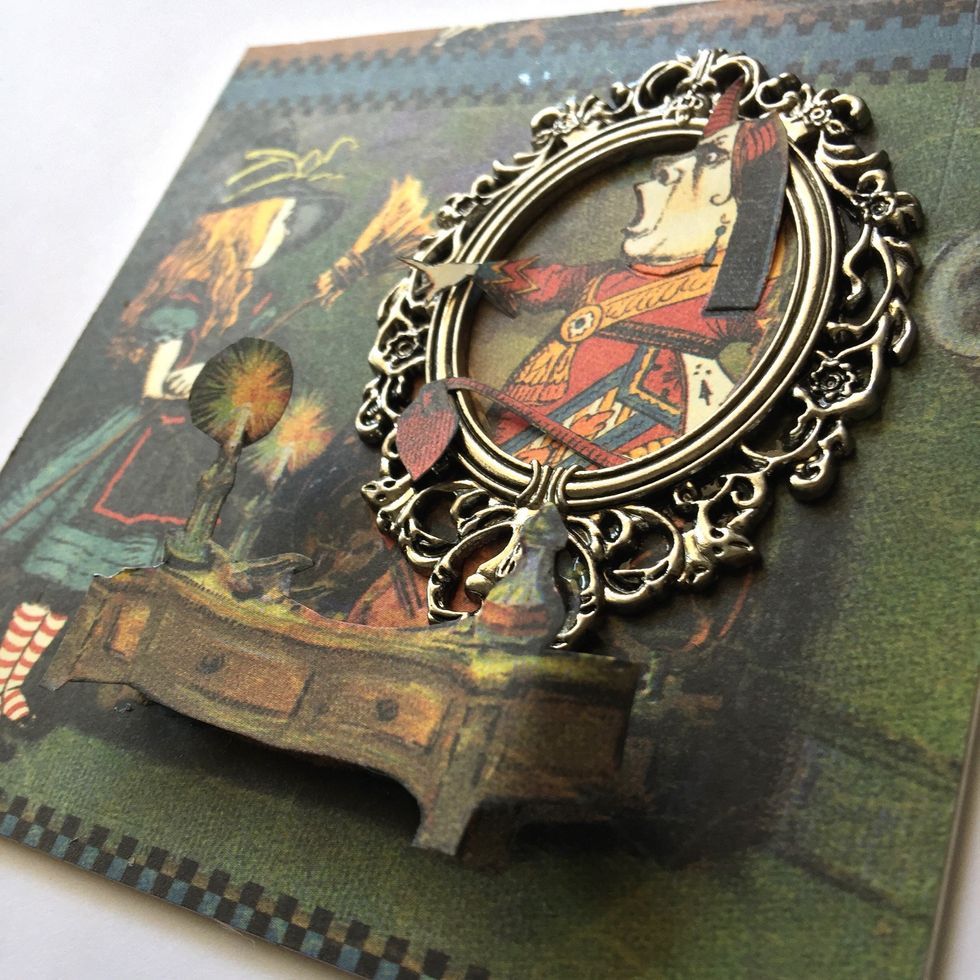
Dimensional furniture.
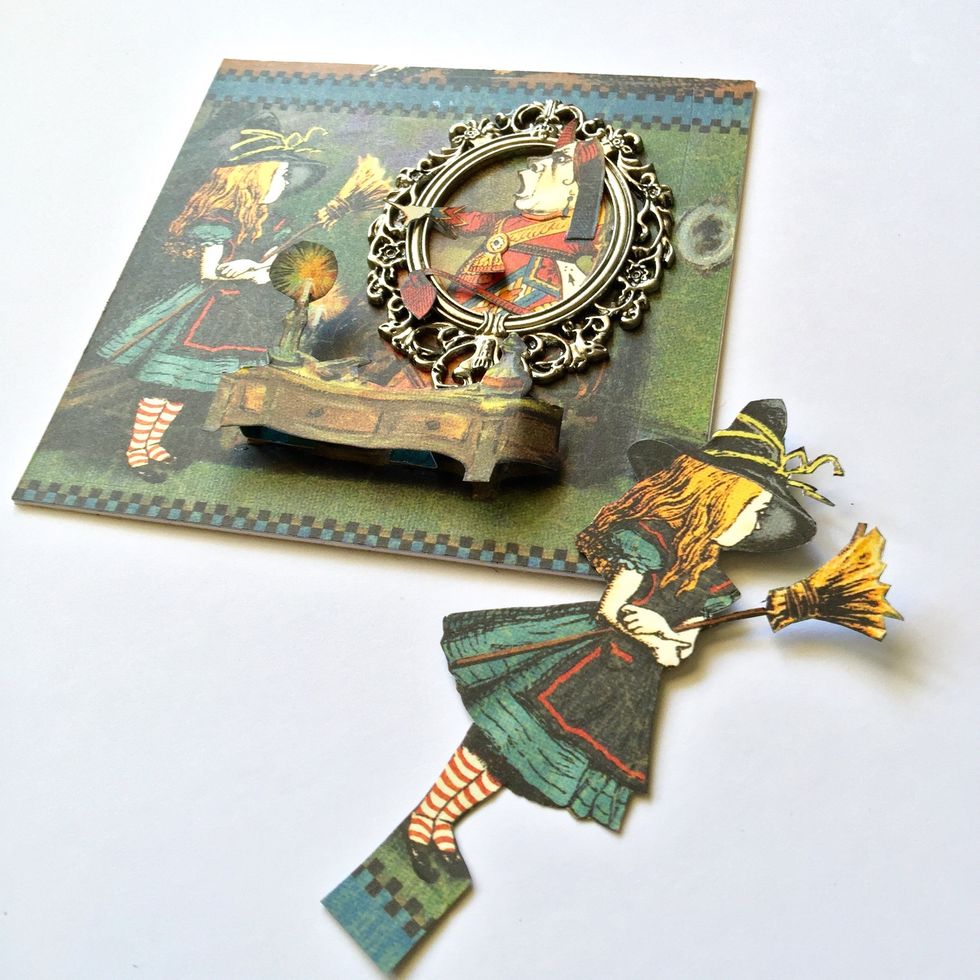
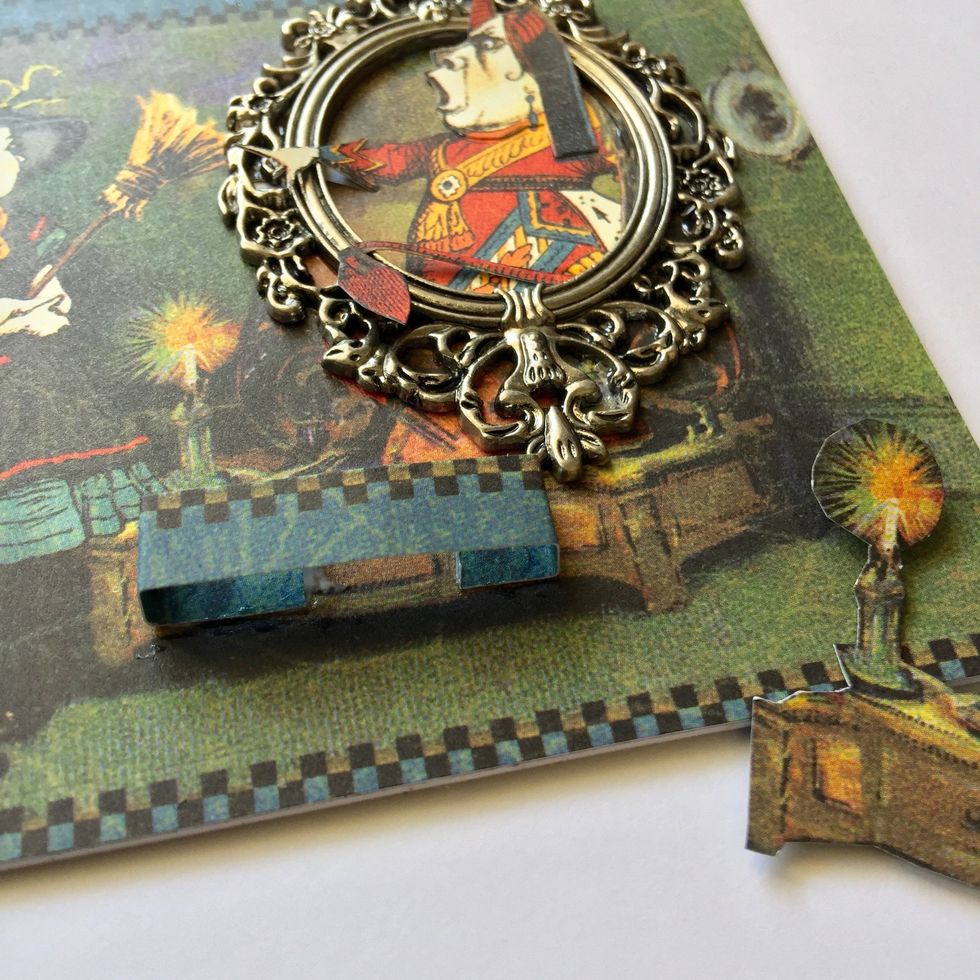
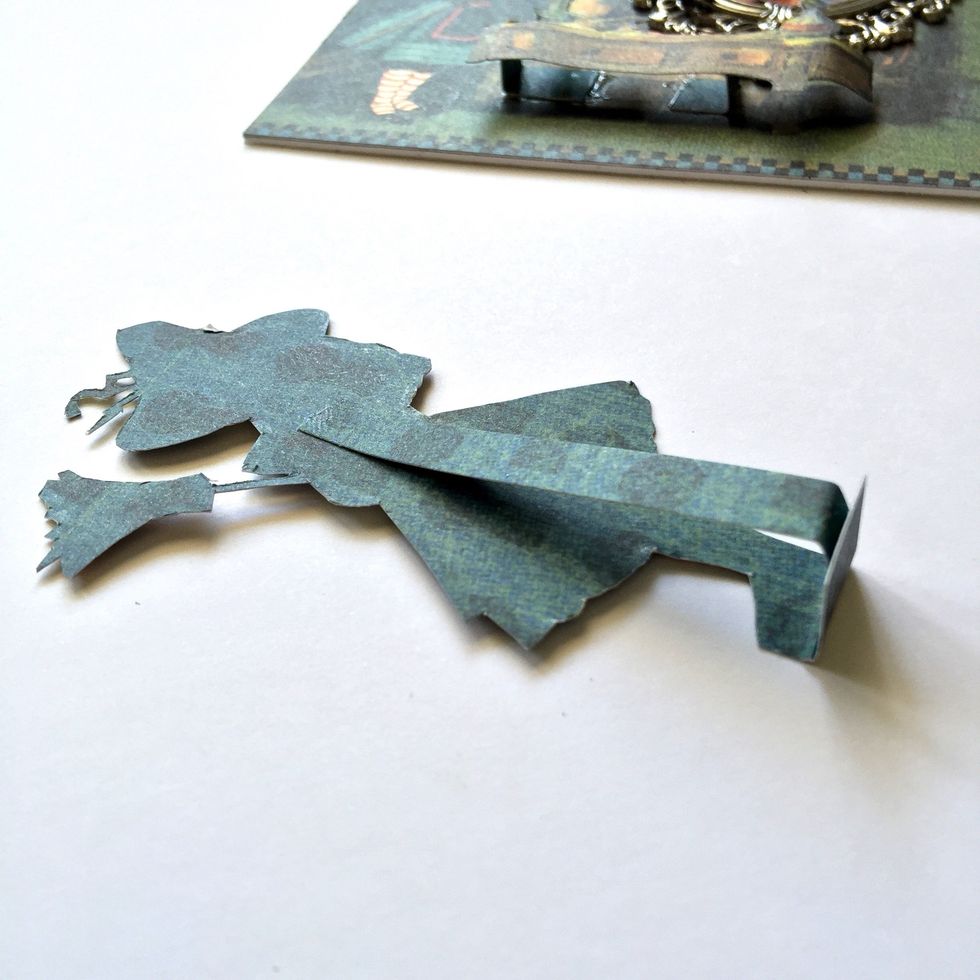
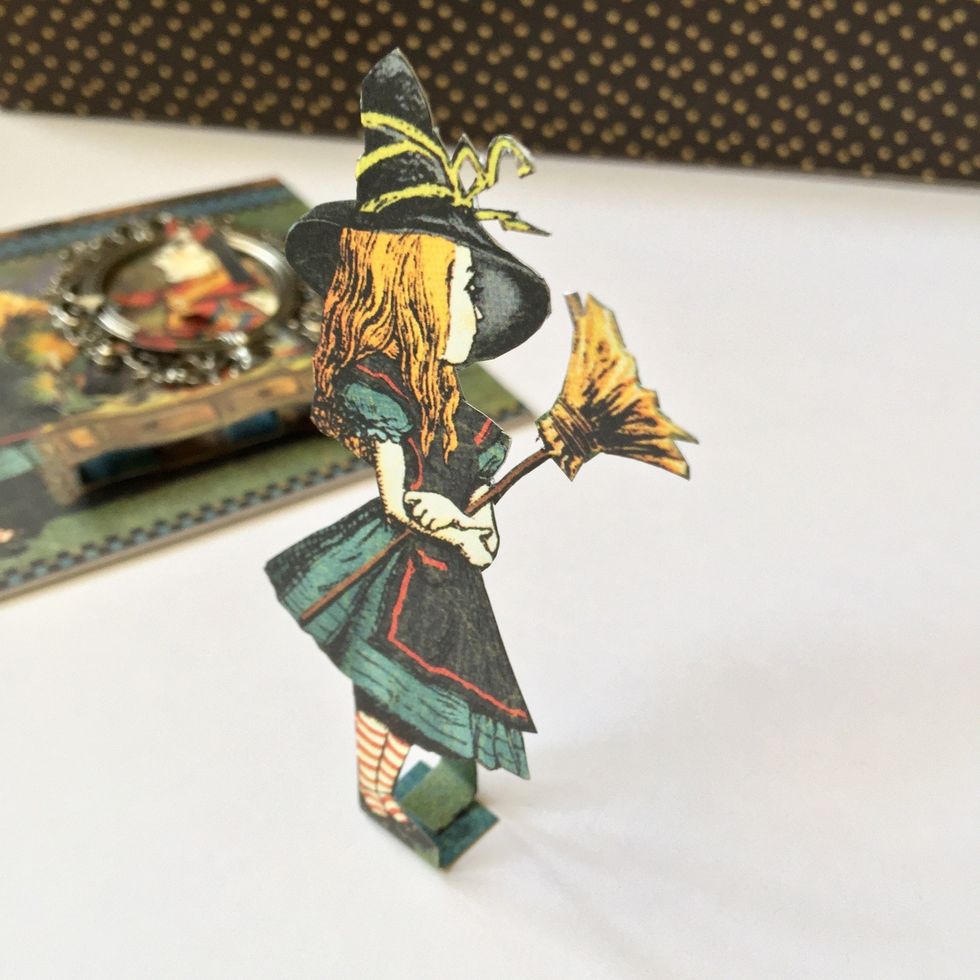
Glue the little queen's brooch. Fussy cut Alice leaving a piece to stand it.
Glue a piece as shown.
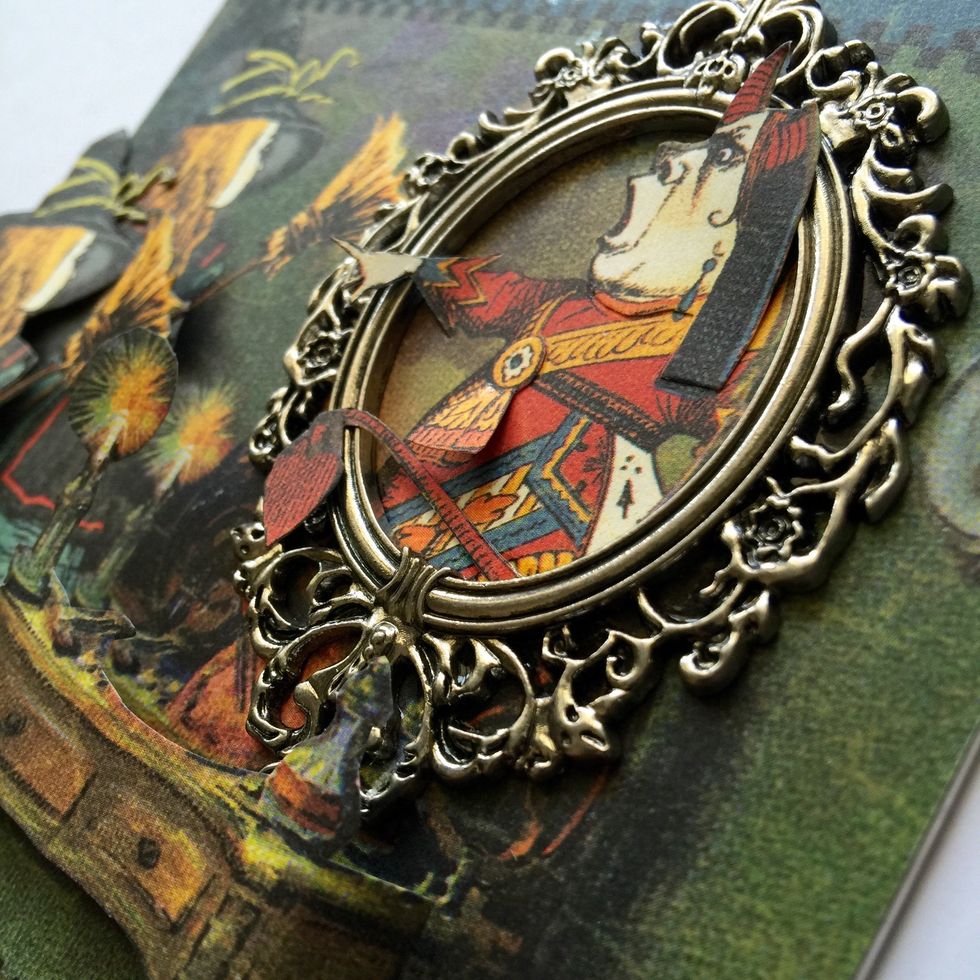
Here you can look at it closely.
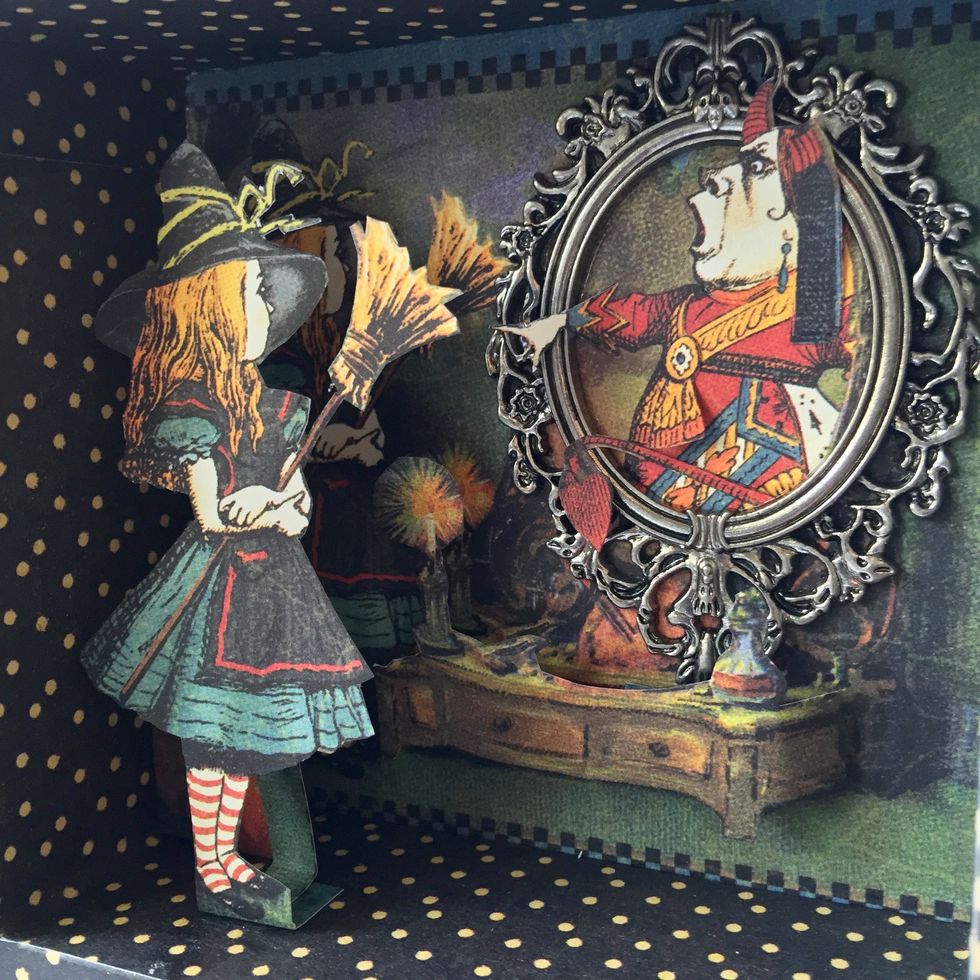
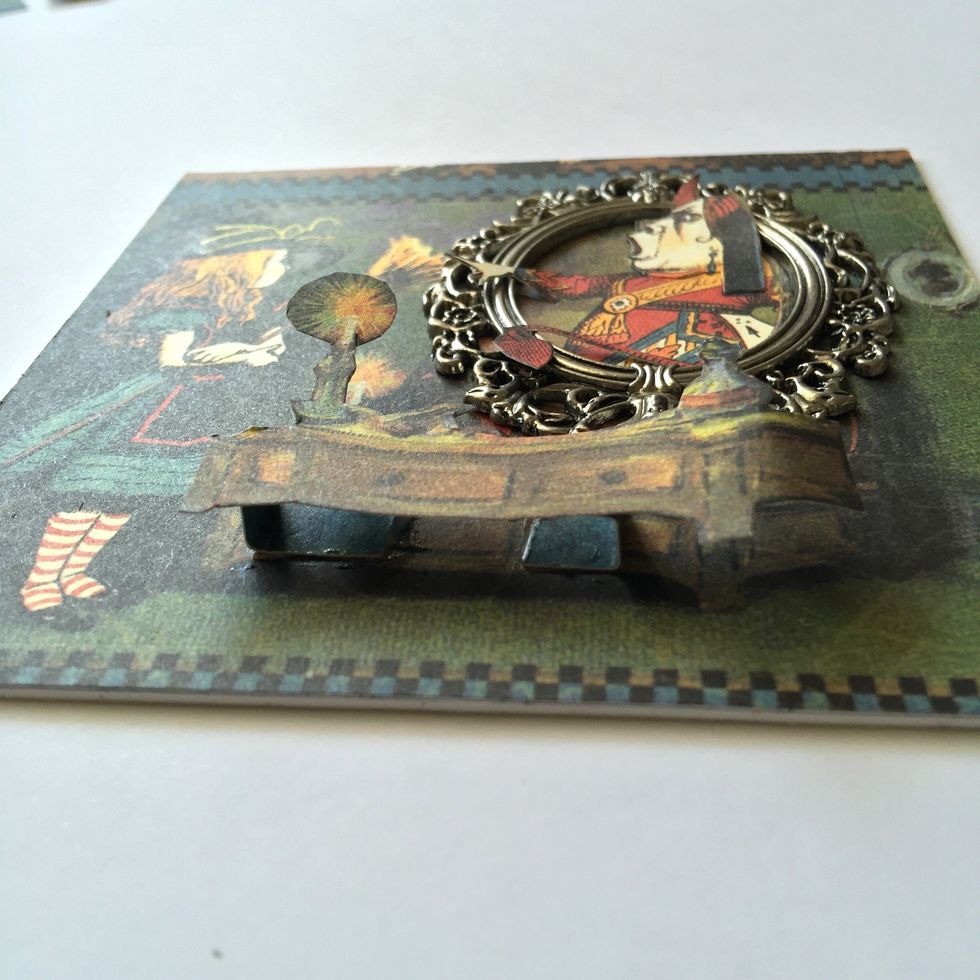
Glue all the composition on the bottom of the quadrant. And also glue Alice figure stand.
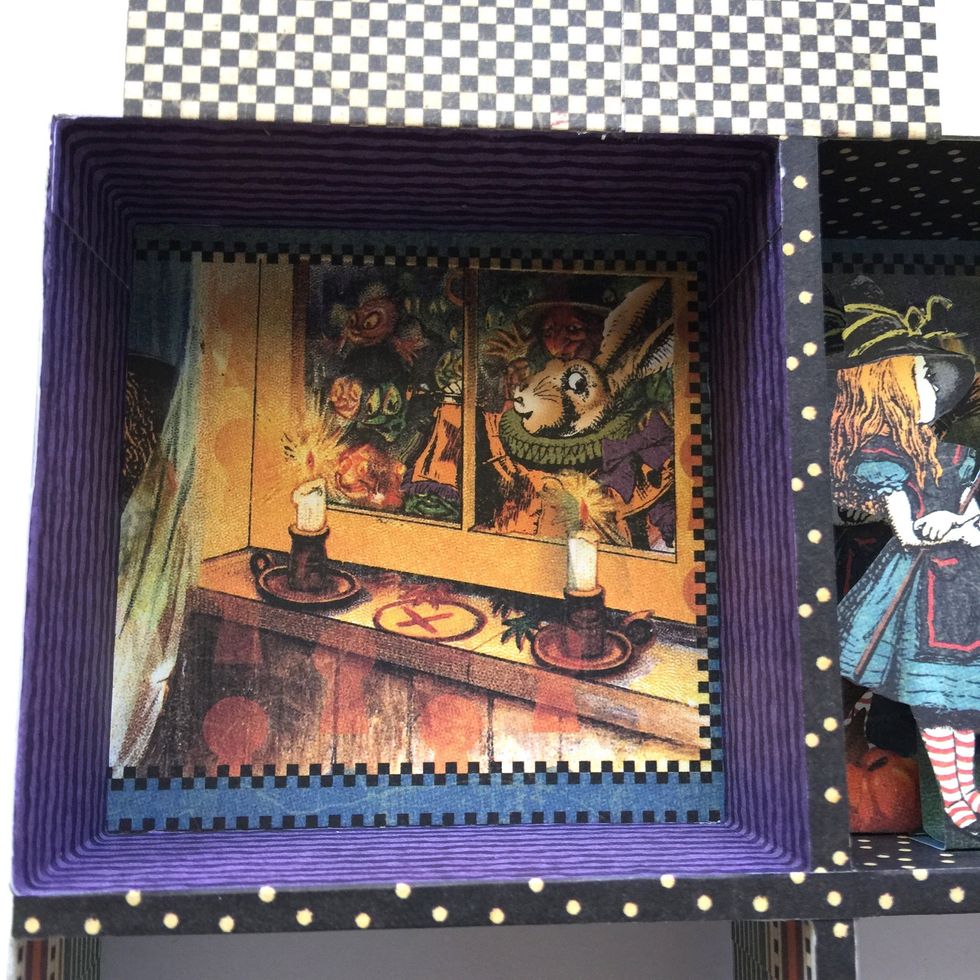
Left upper window quadrant decoration.
These are the two pieces to make the decoration. The one of the window and rabbit will be the background.

Cut this piece as shown.
Add a piece on lower side to stand it.
That's the back.
And these are all the pieces to make the composition.
Curl this figure with the help of a pencil.
Glue this piece on the back of upper left window quadrant.
Then glue fussy cut pieces as shown.
Take this beauty of chipboard from Hallowe'en in Wonderland Collection, add a brad and ink edges.
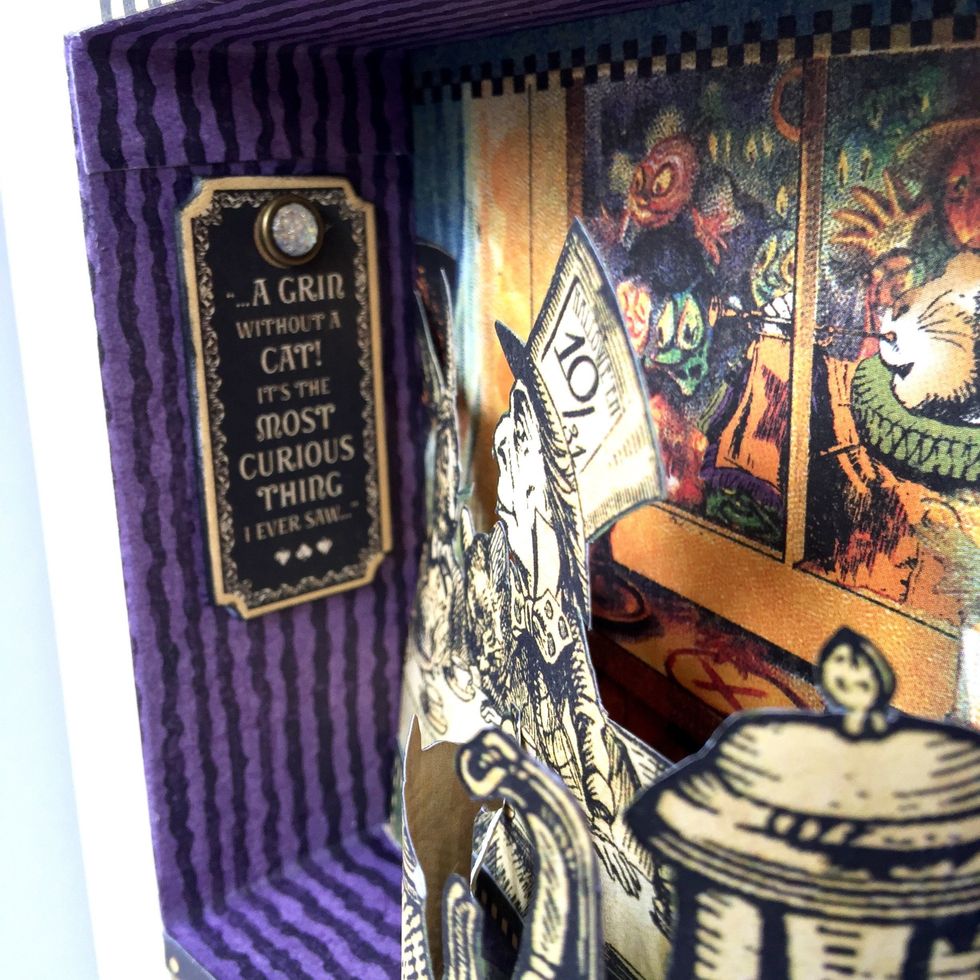
Stick it on the wall of this space, like a banner.
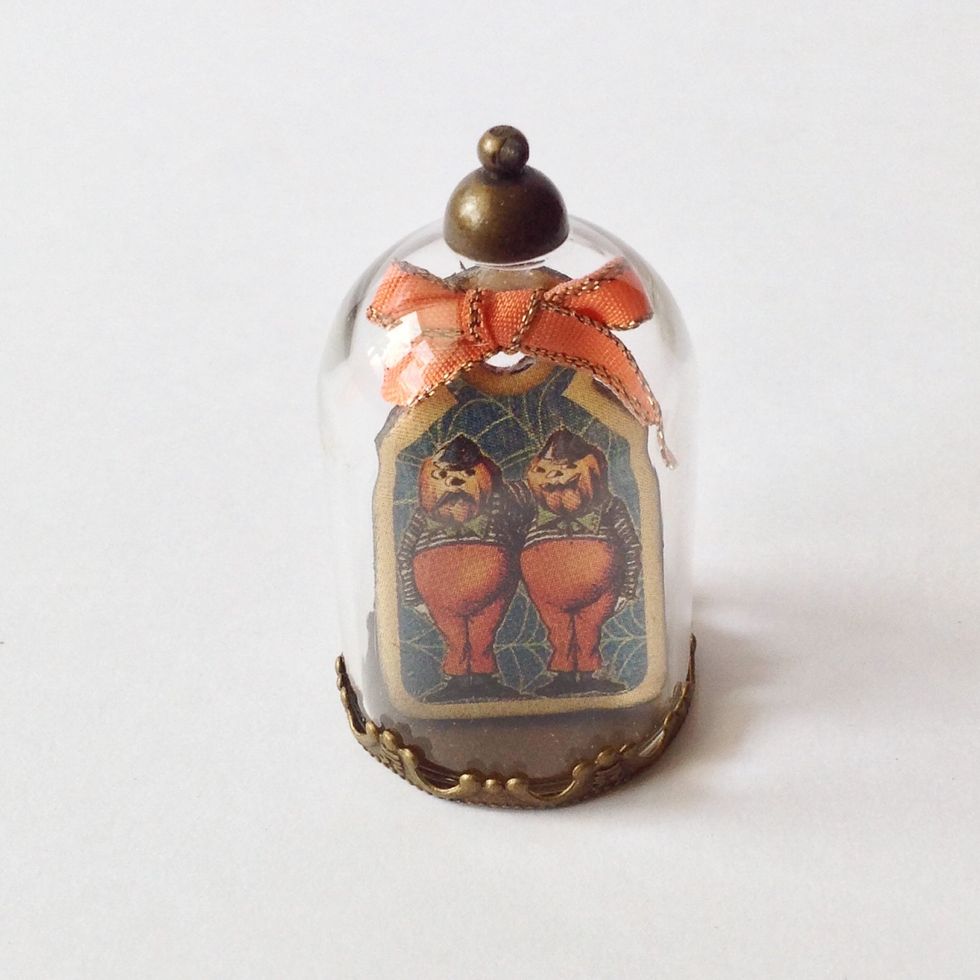
Take another chipboard, add a little bow an put into this embellishment.
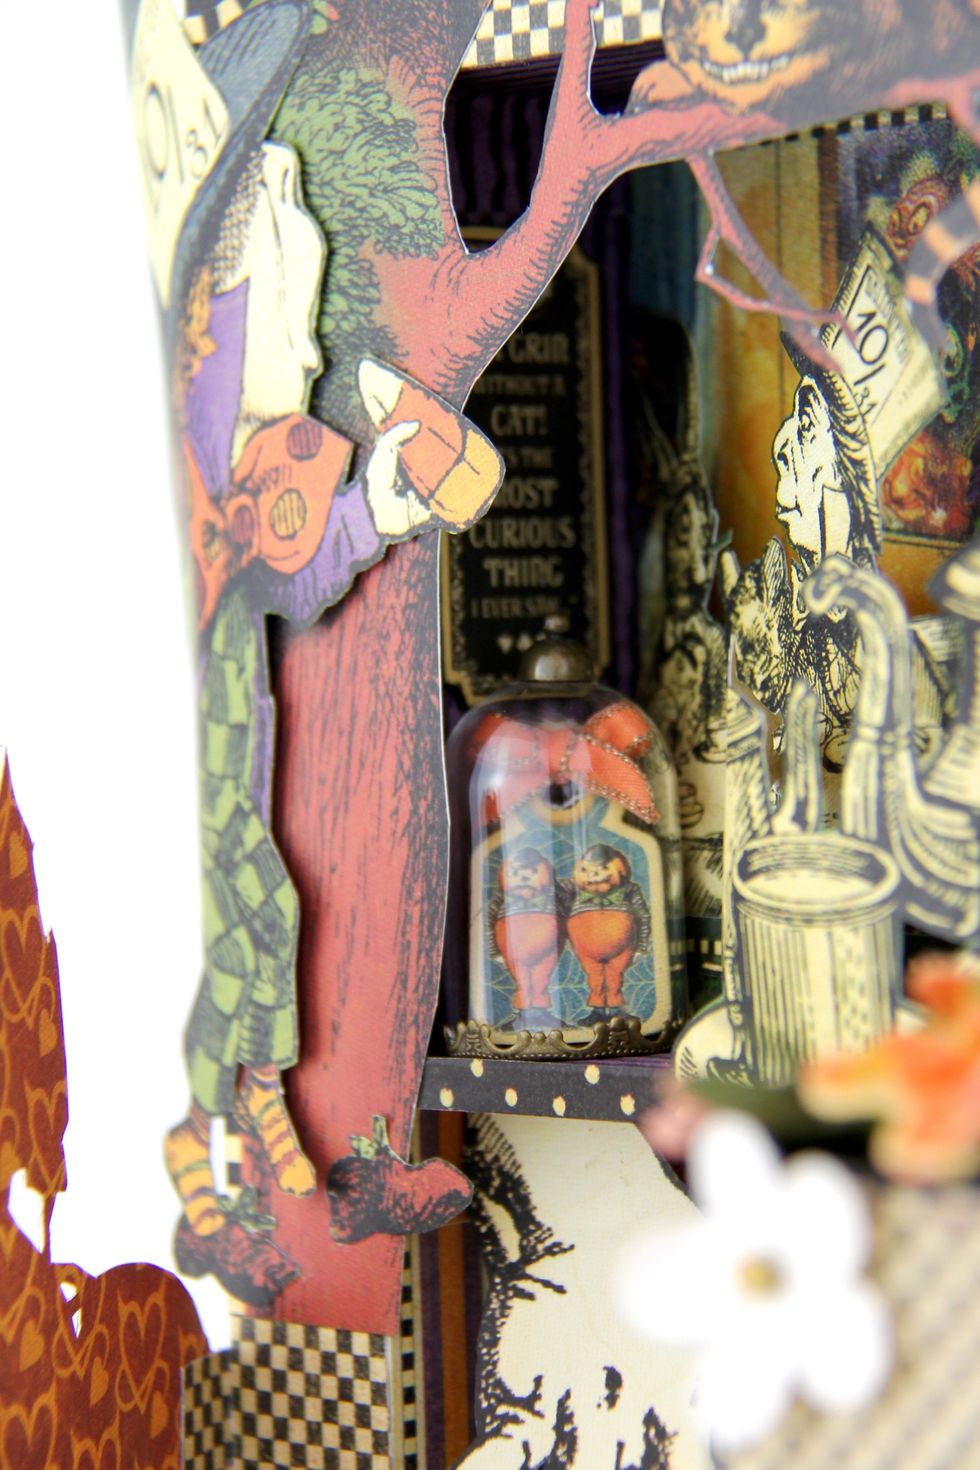
This will be the final result.
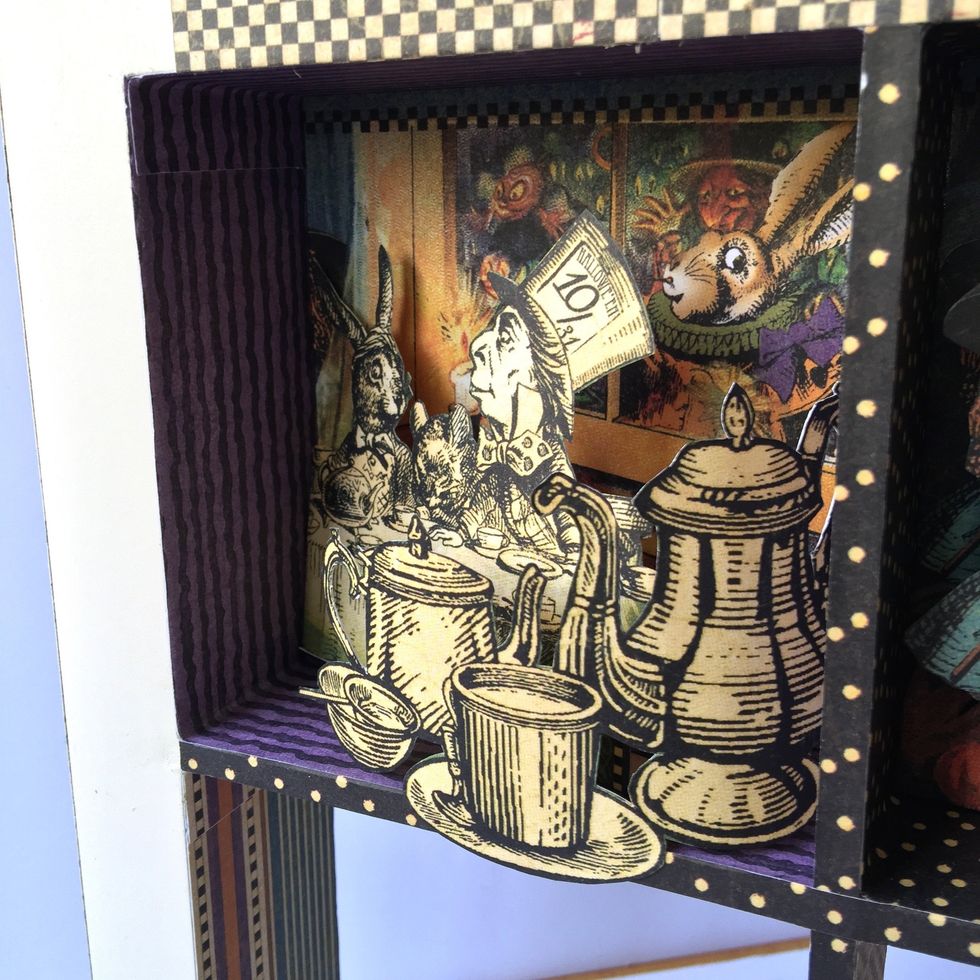
Lower left window quadrant decoration.
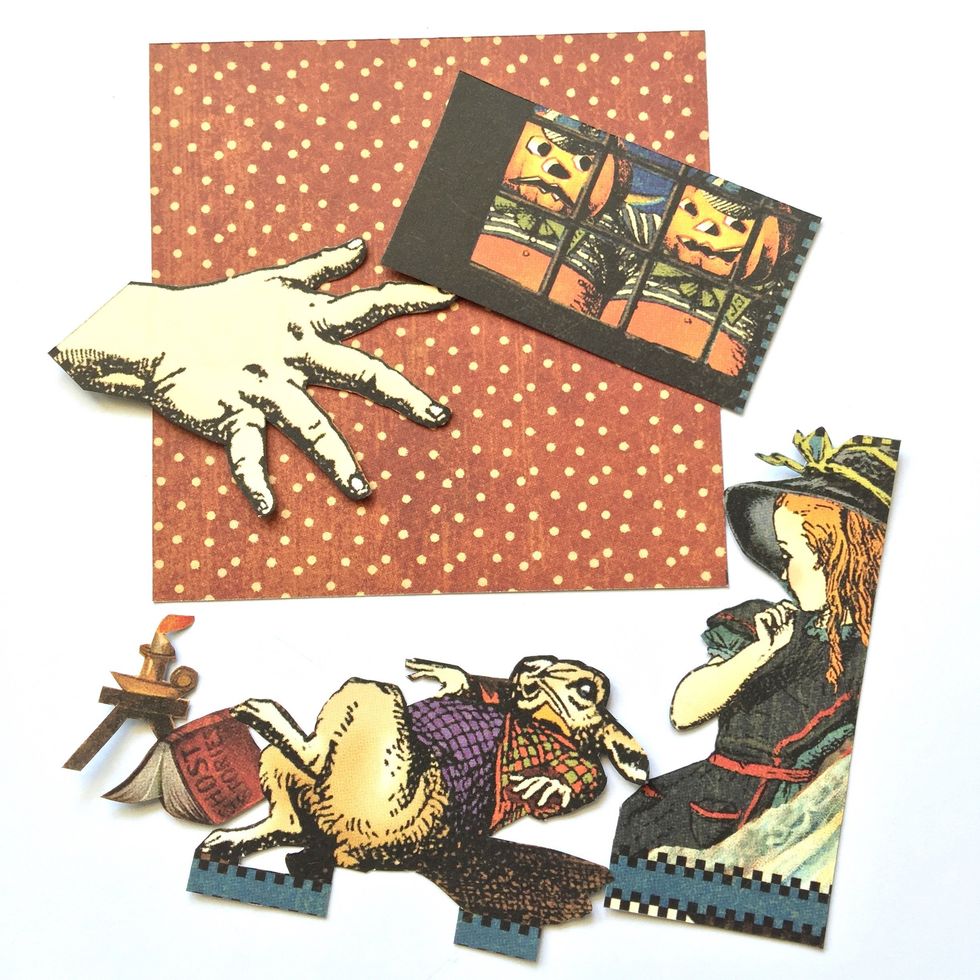
Fussy cut some pieces.
Glue a folded strip outside.
And another one in this corner.
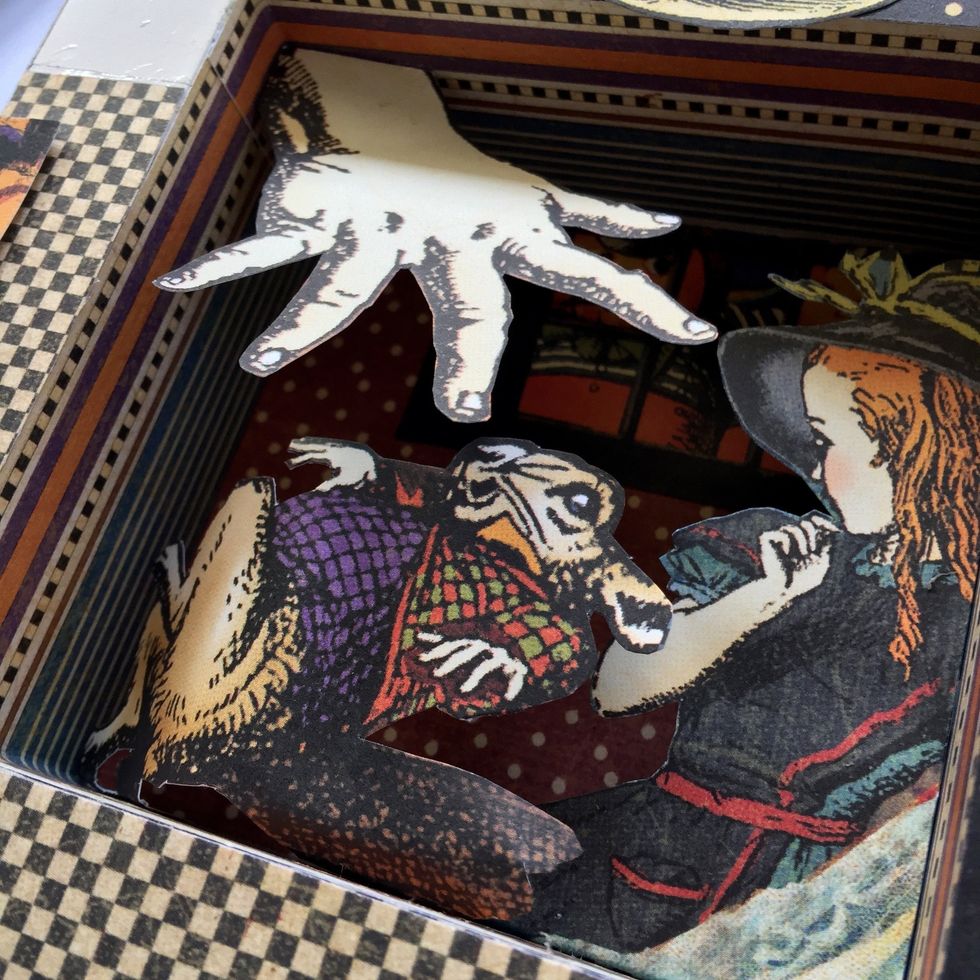
Glue Tweedledee & Tweedledum paper on the background.
Glue Alice figure.
Fold hand's wrist.

Glue it on the top of the quadrant.
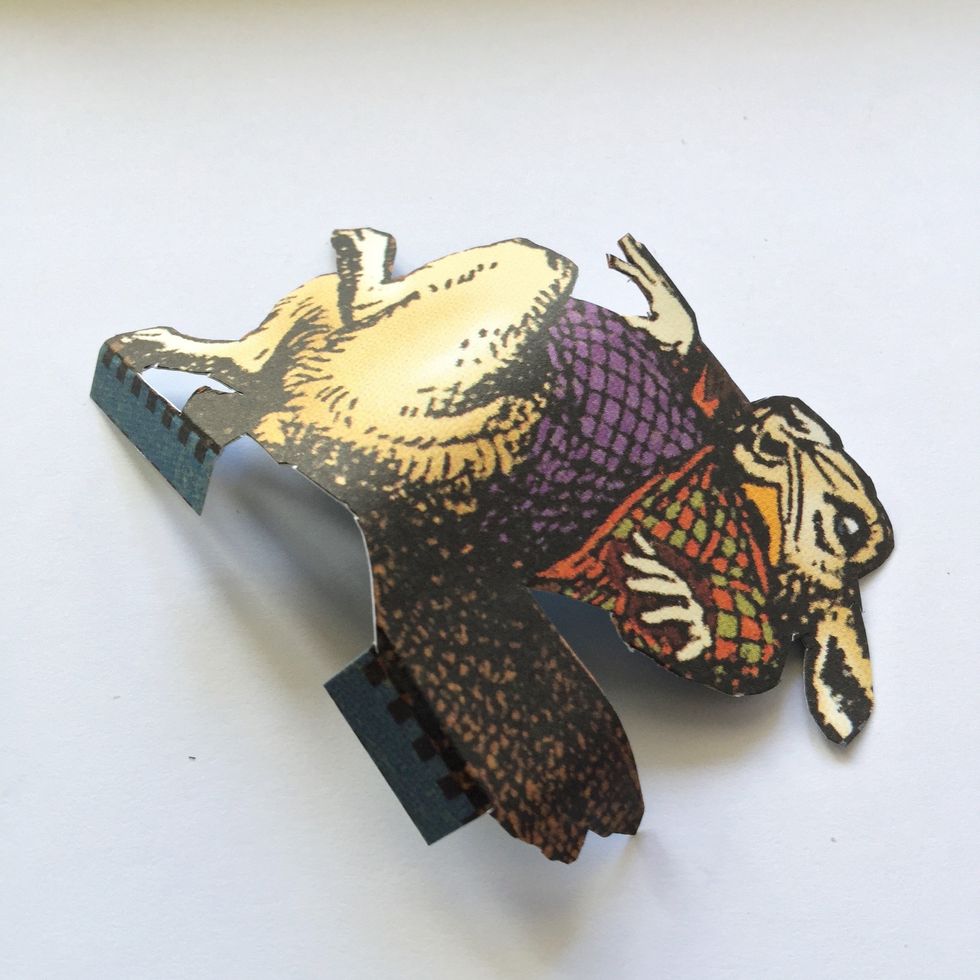
Curl figure rabbit.
Glue it.

Glue this little fussy cut piece.
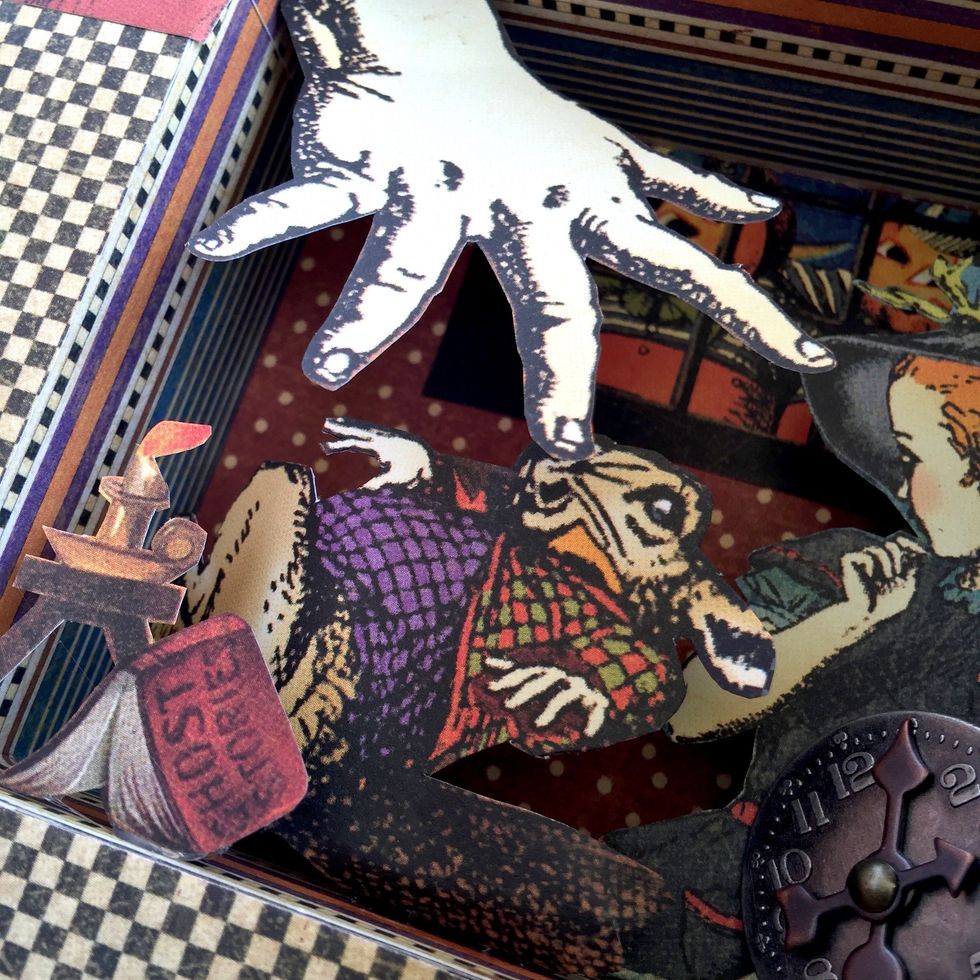
By last, glue a metal clock embellishment on the right.
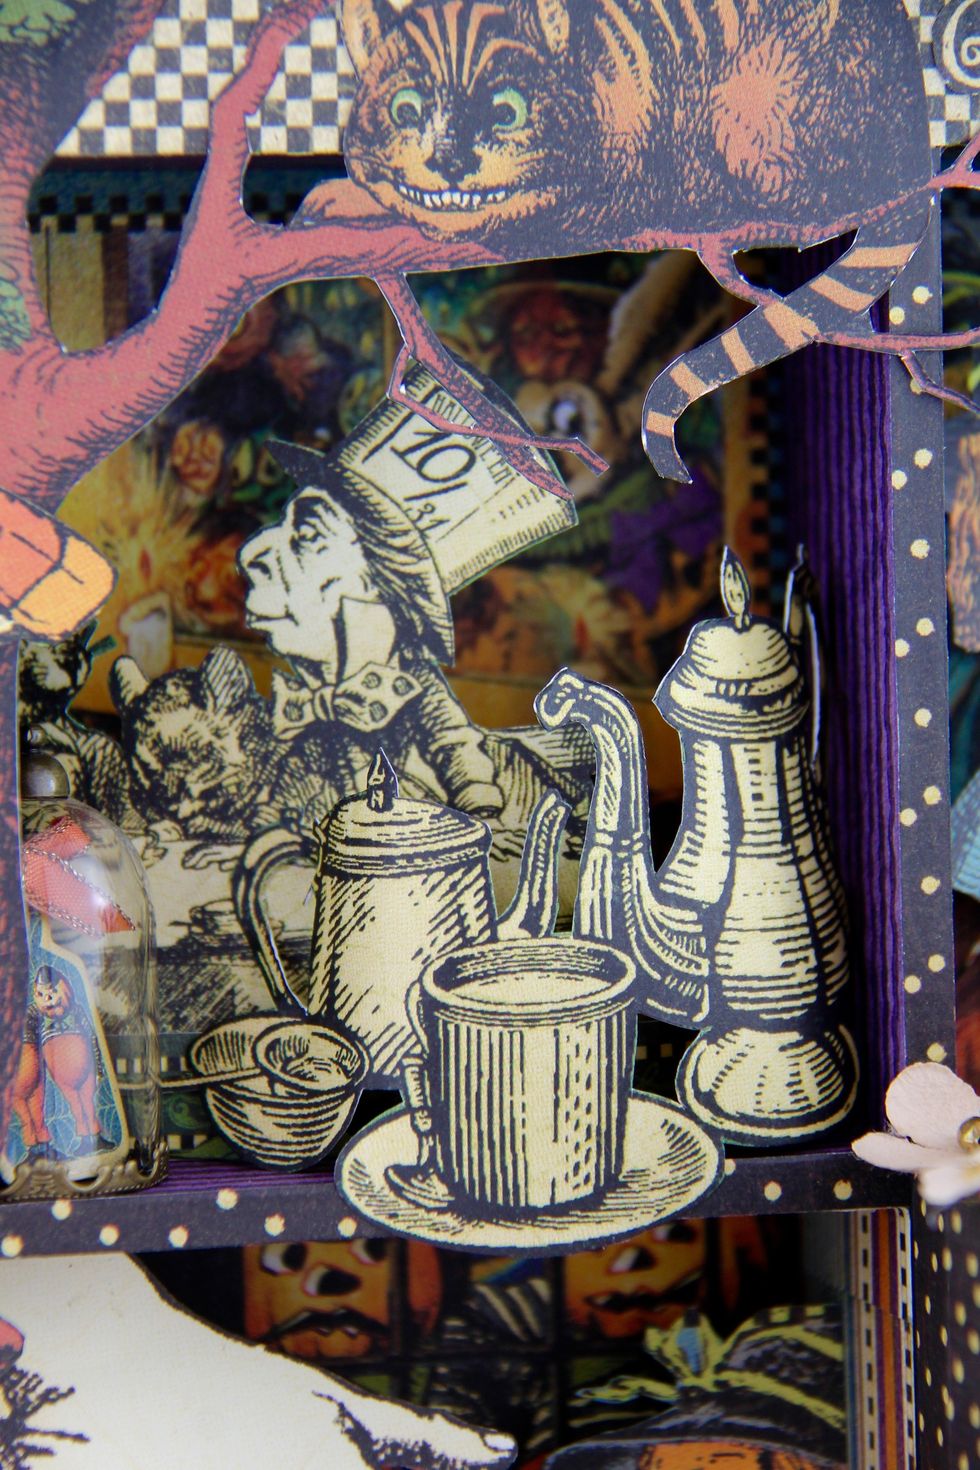
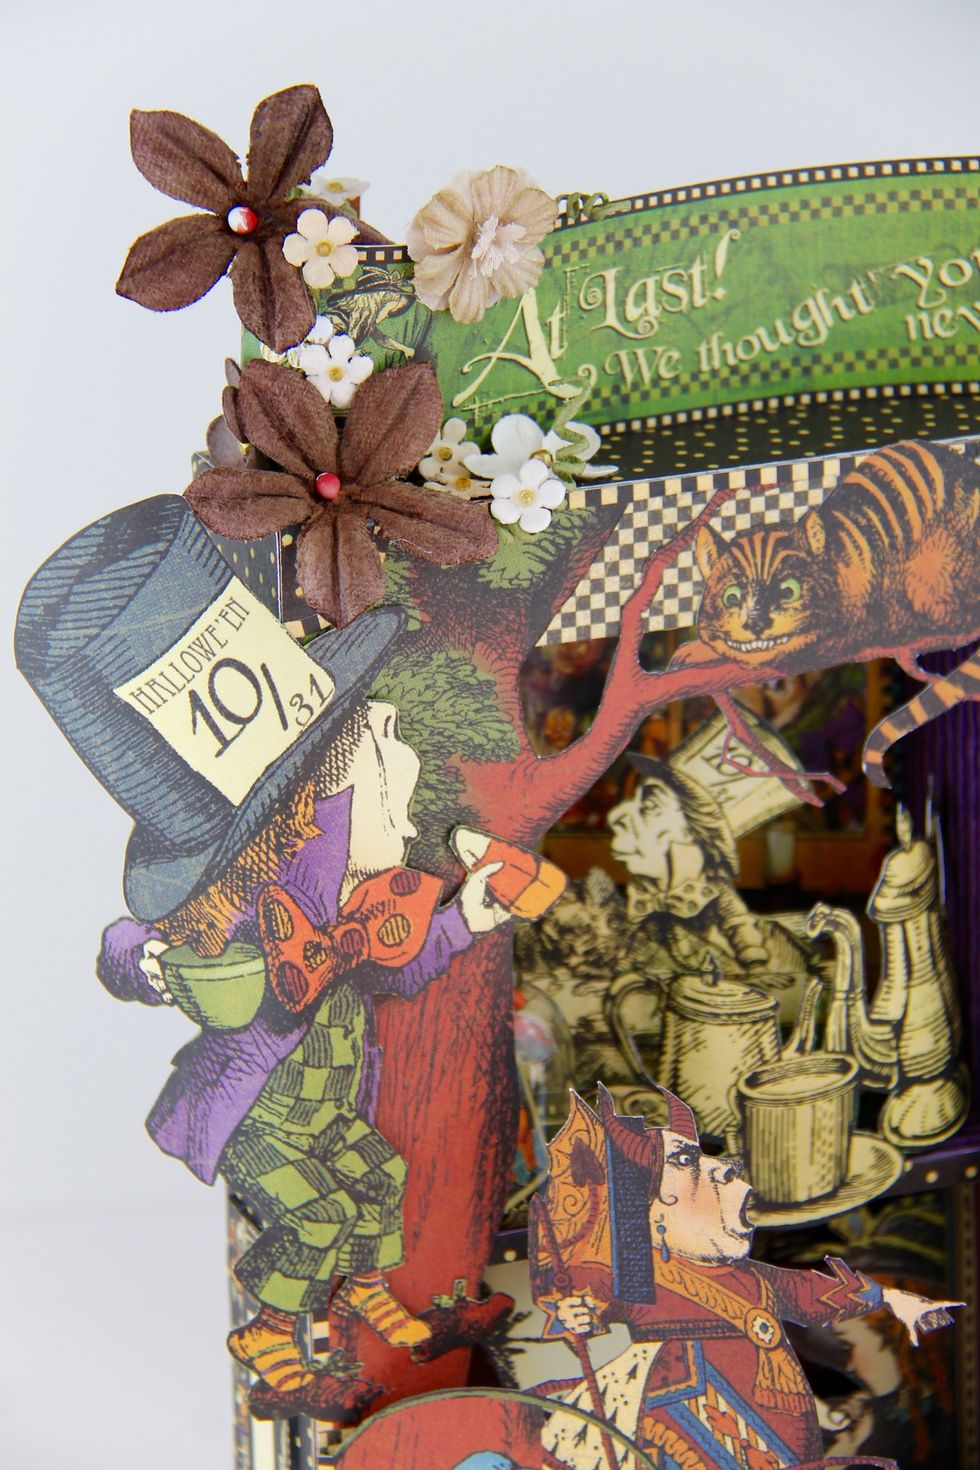
Top window decoration.
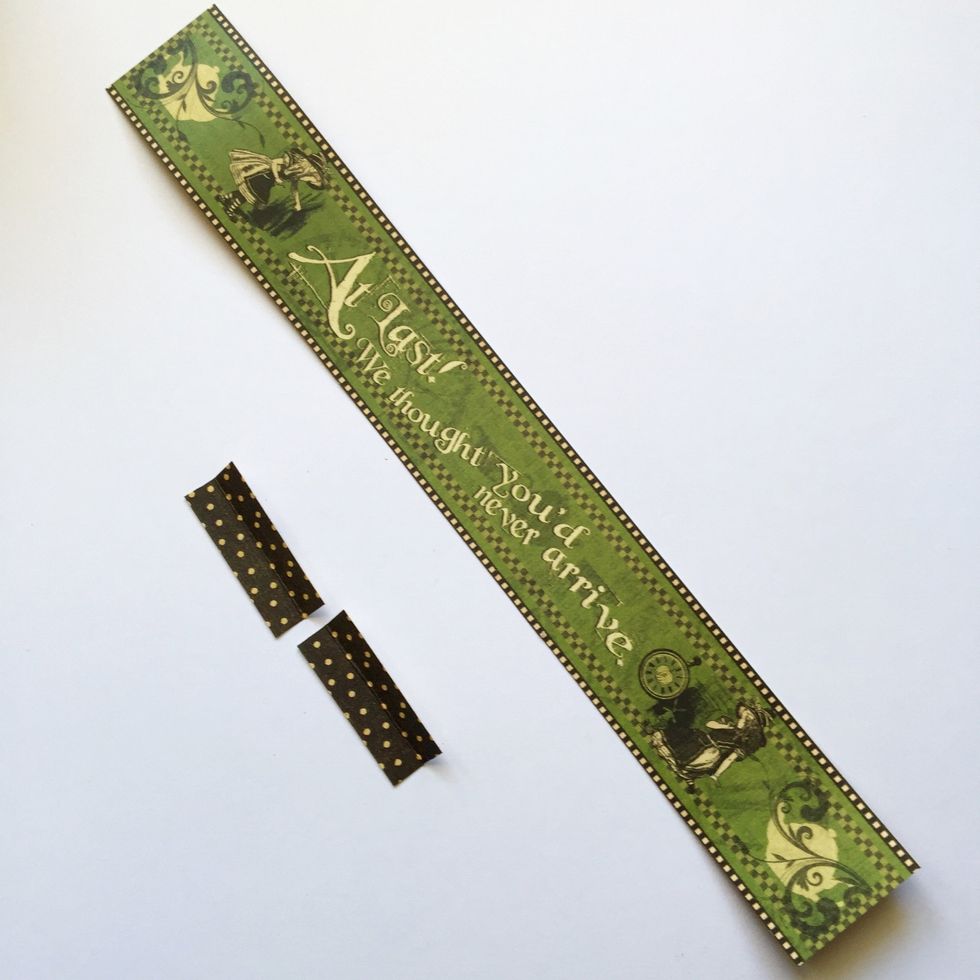
We are going to make a decoration for the window frame top. Cut this large piece and some little pieces that will serve to glue it on the top.
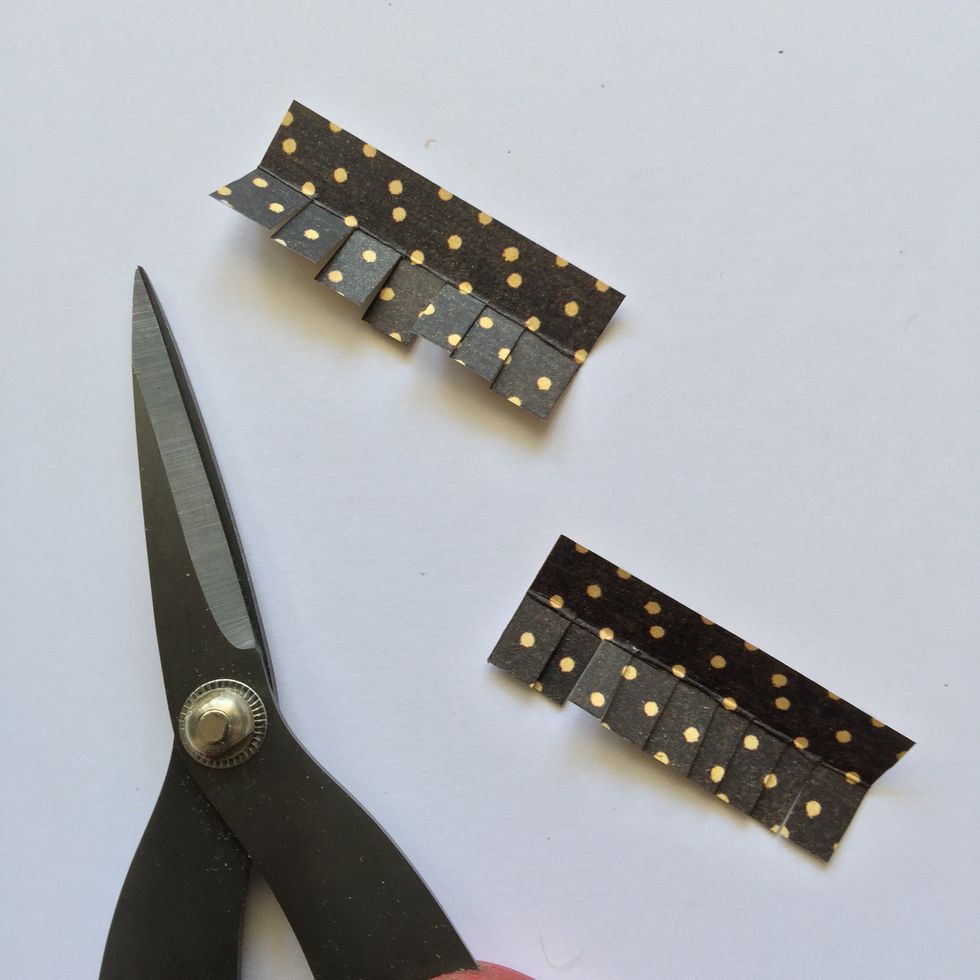
Fold and cut them as shown.
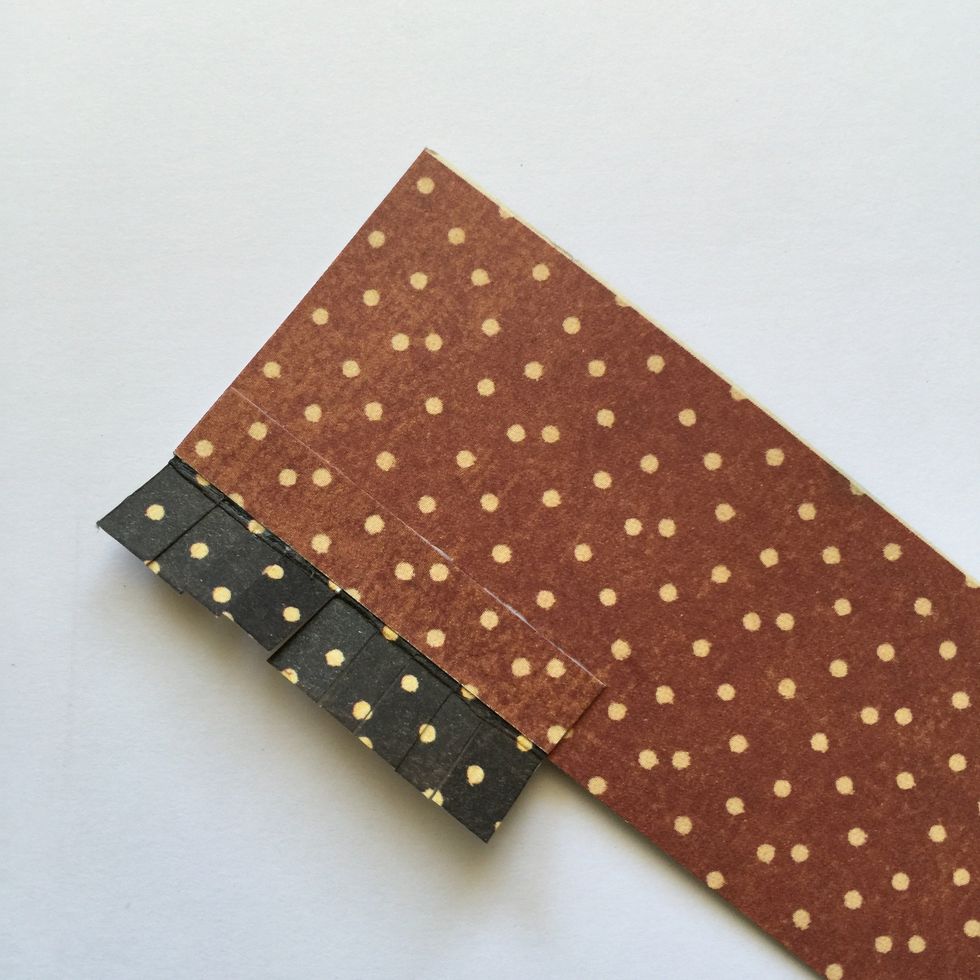
Glue them on the large piece back.
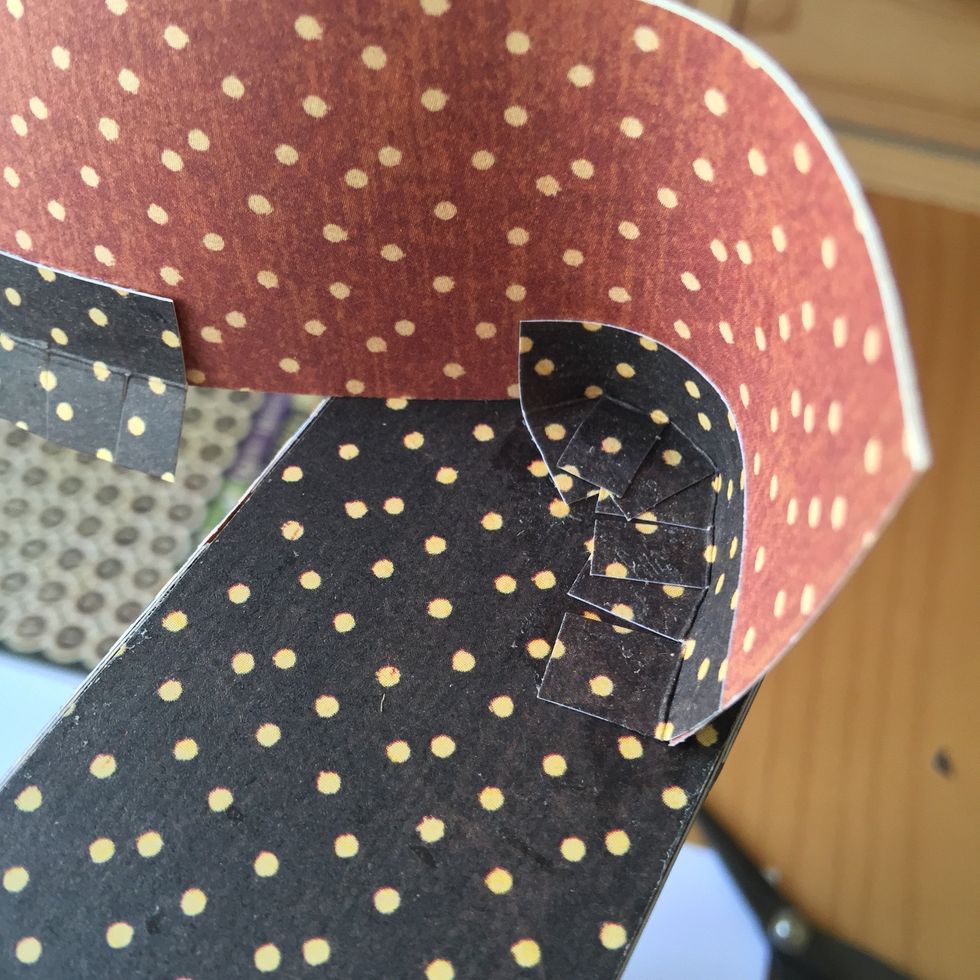
As we want to get a curved ornament we have to glue the tabs this way, trying to give a curved shape.
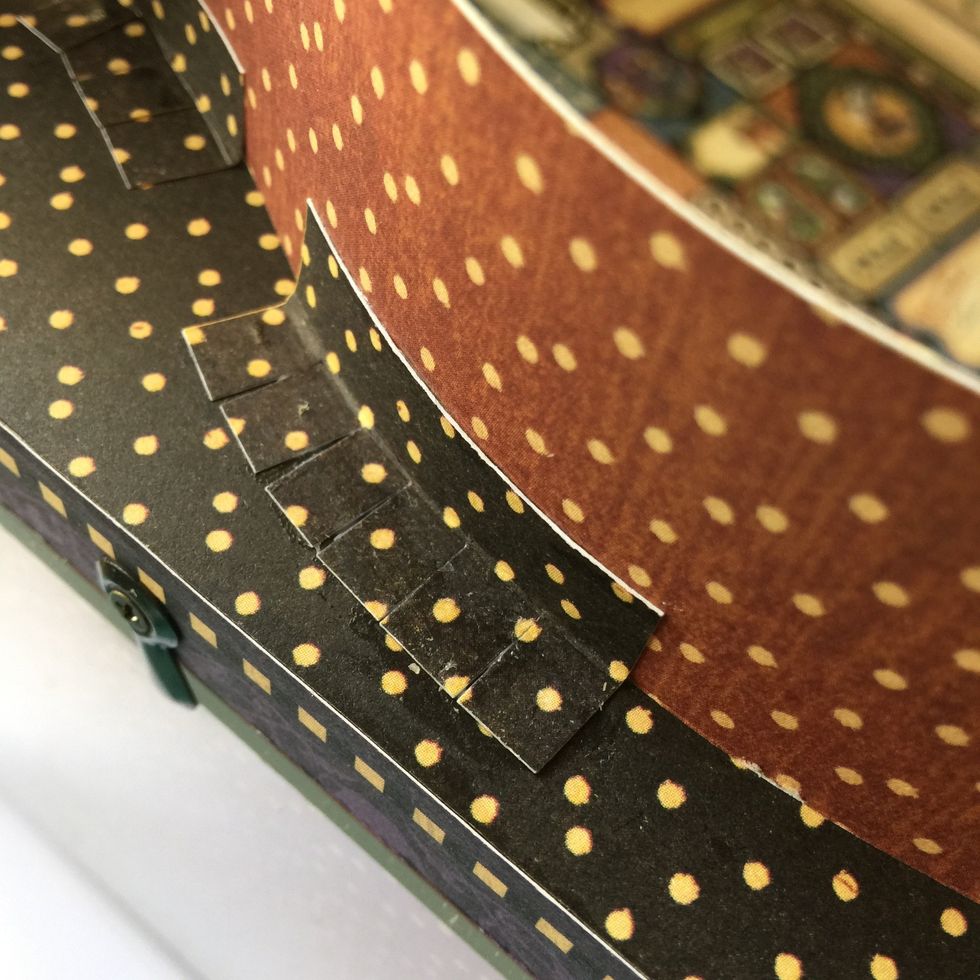

Twisty shape ornament.

Fussy cut rabbit and clock figure and glue on the upper left side.
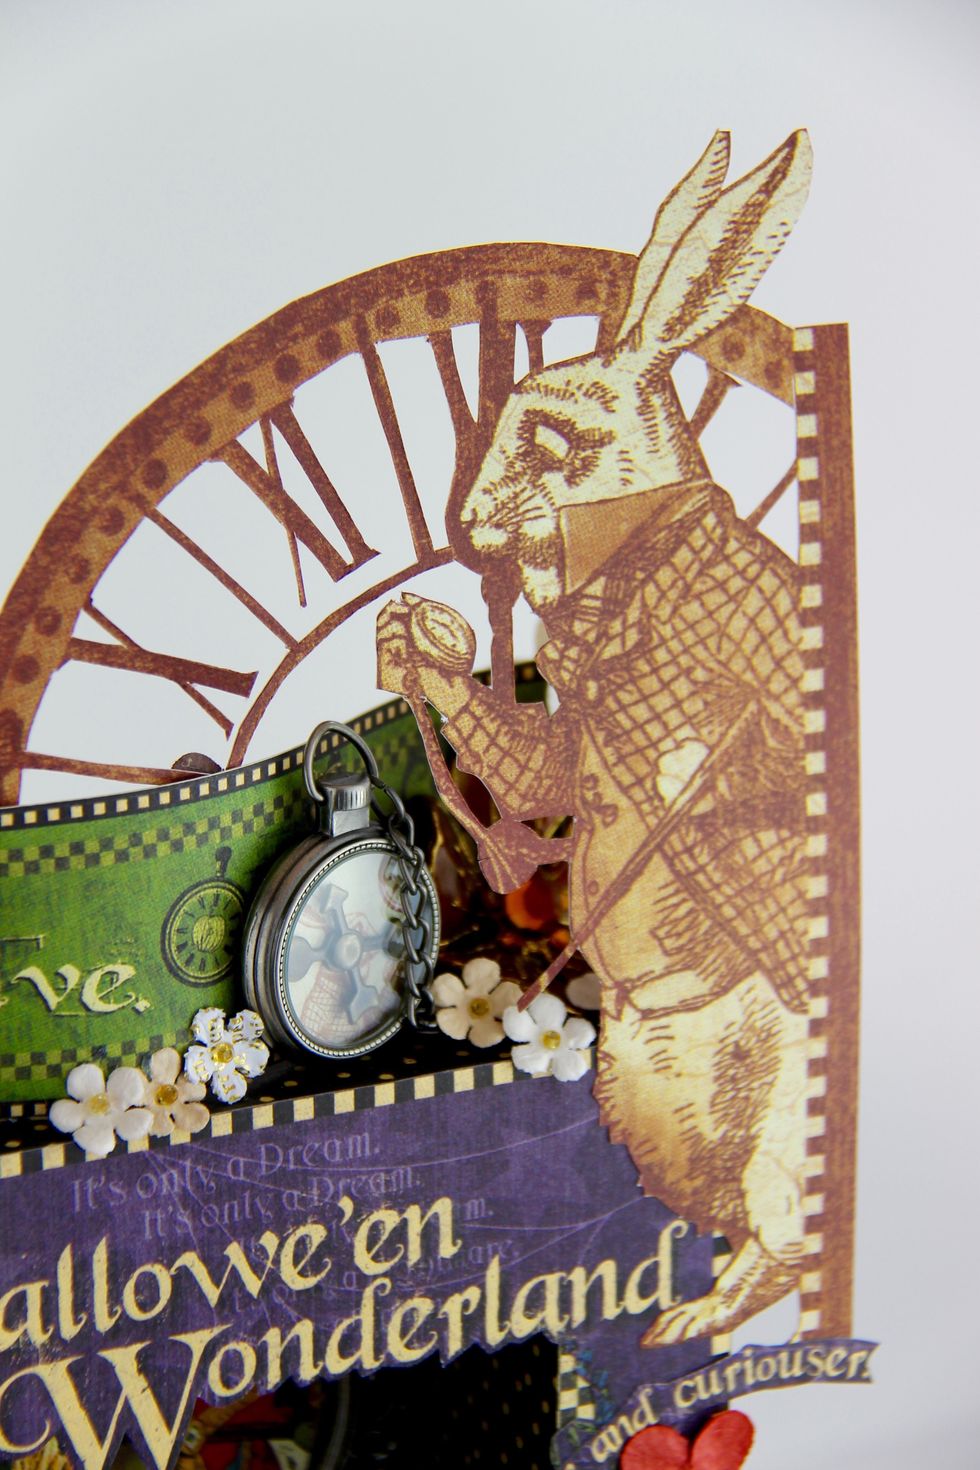
Add a clock and a little piece of chain.
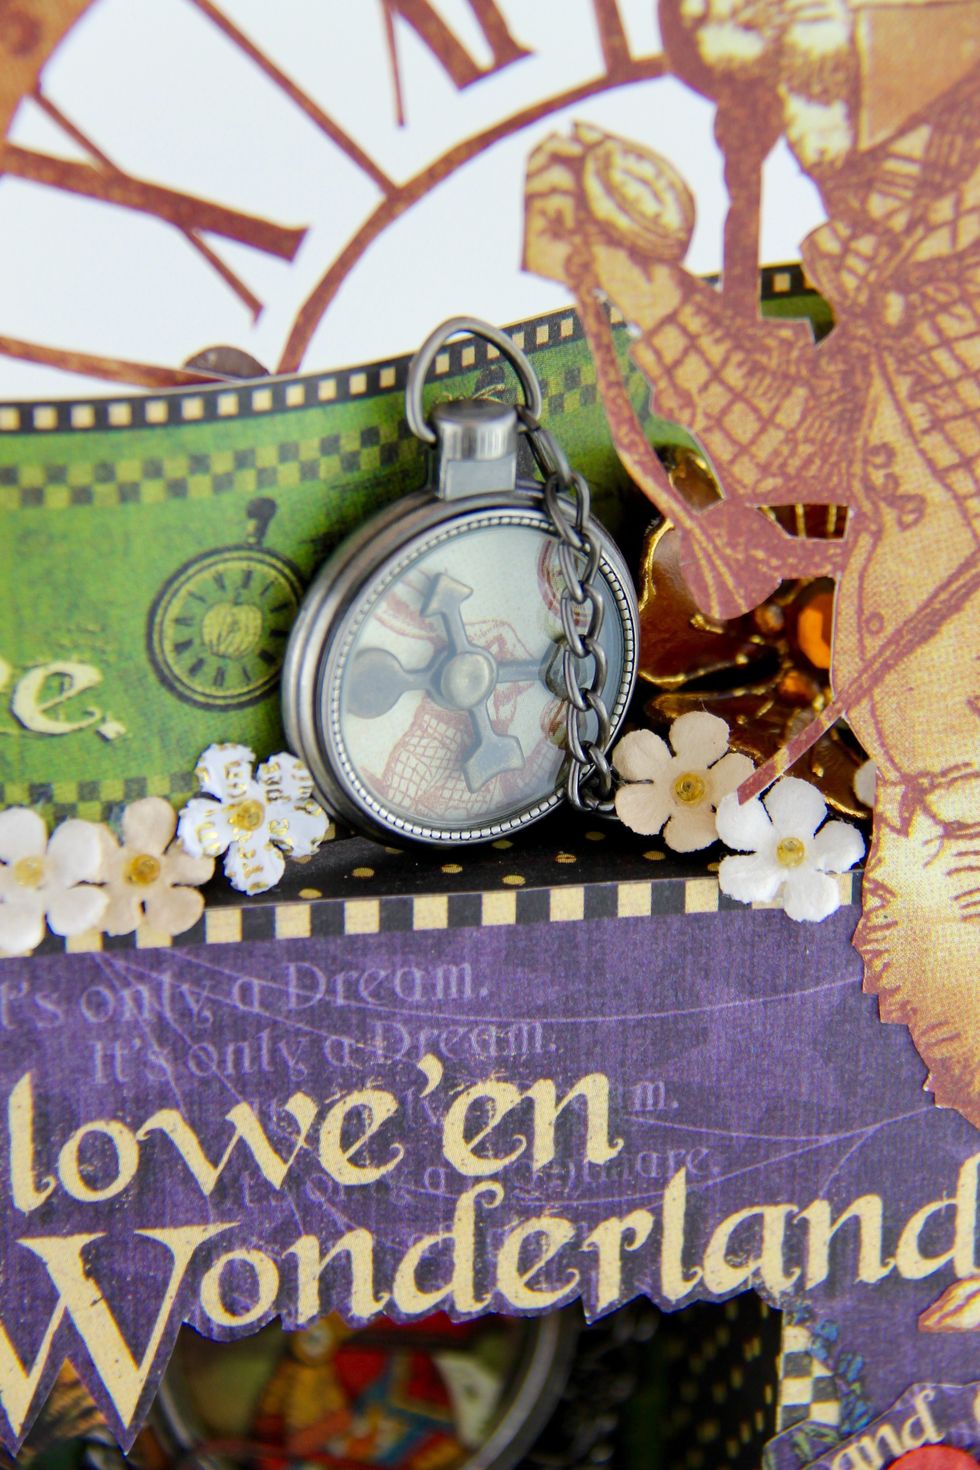
And some flowers.
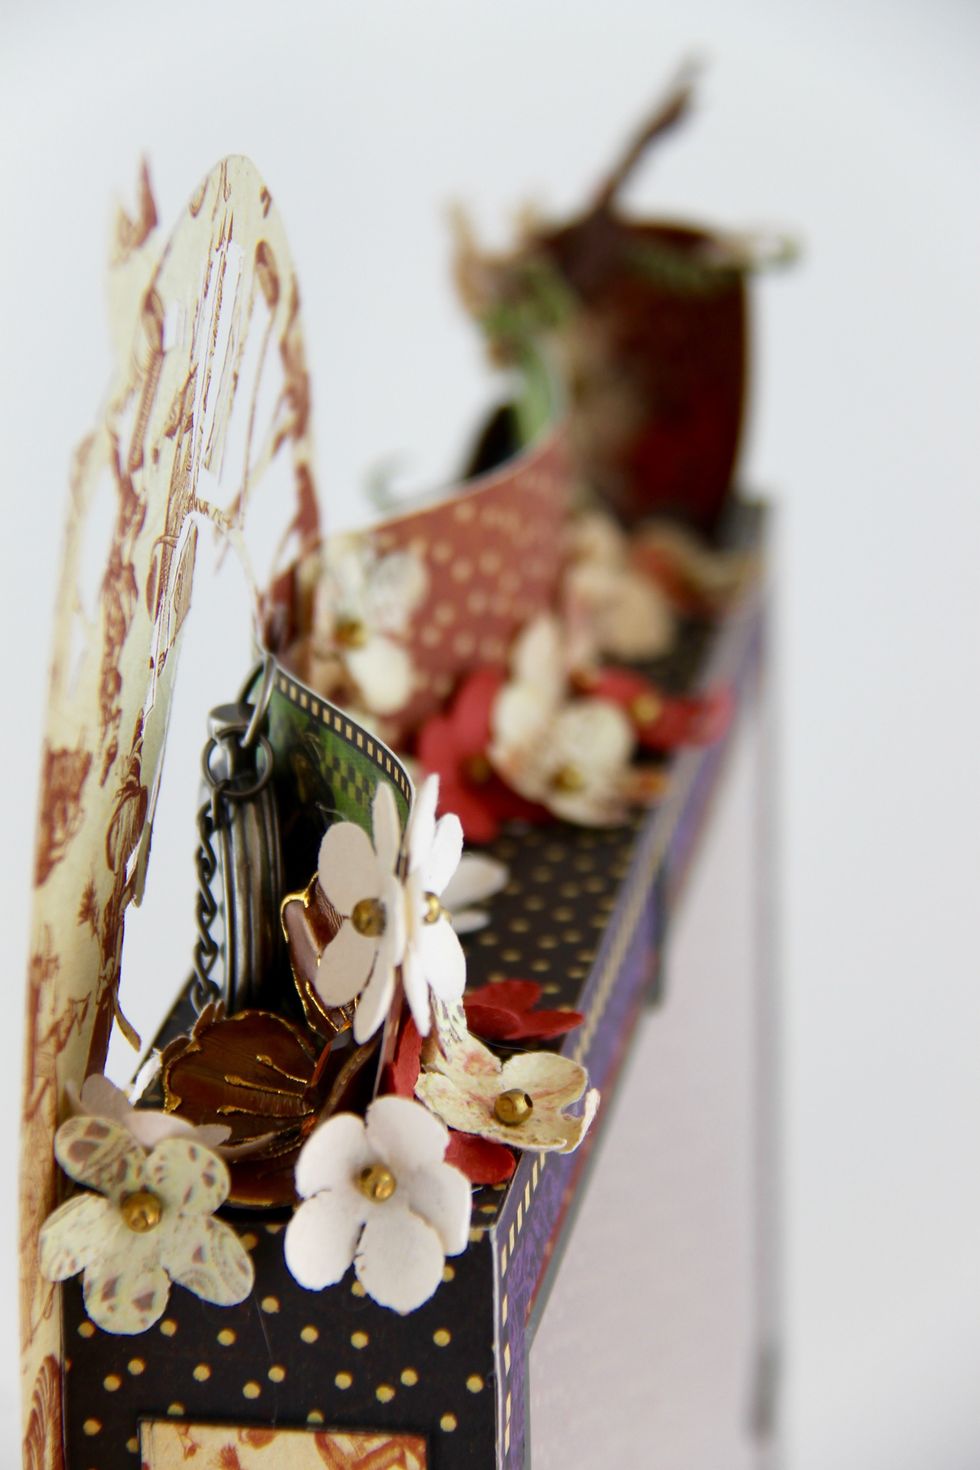
This is the final twisty shape.
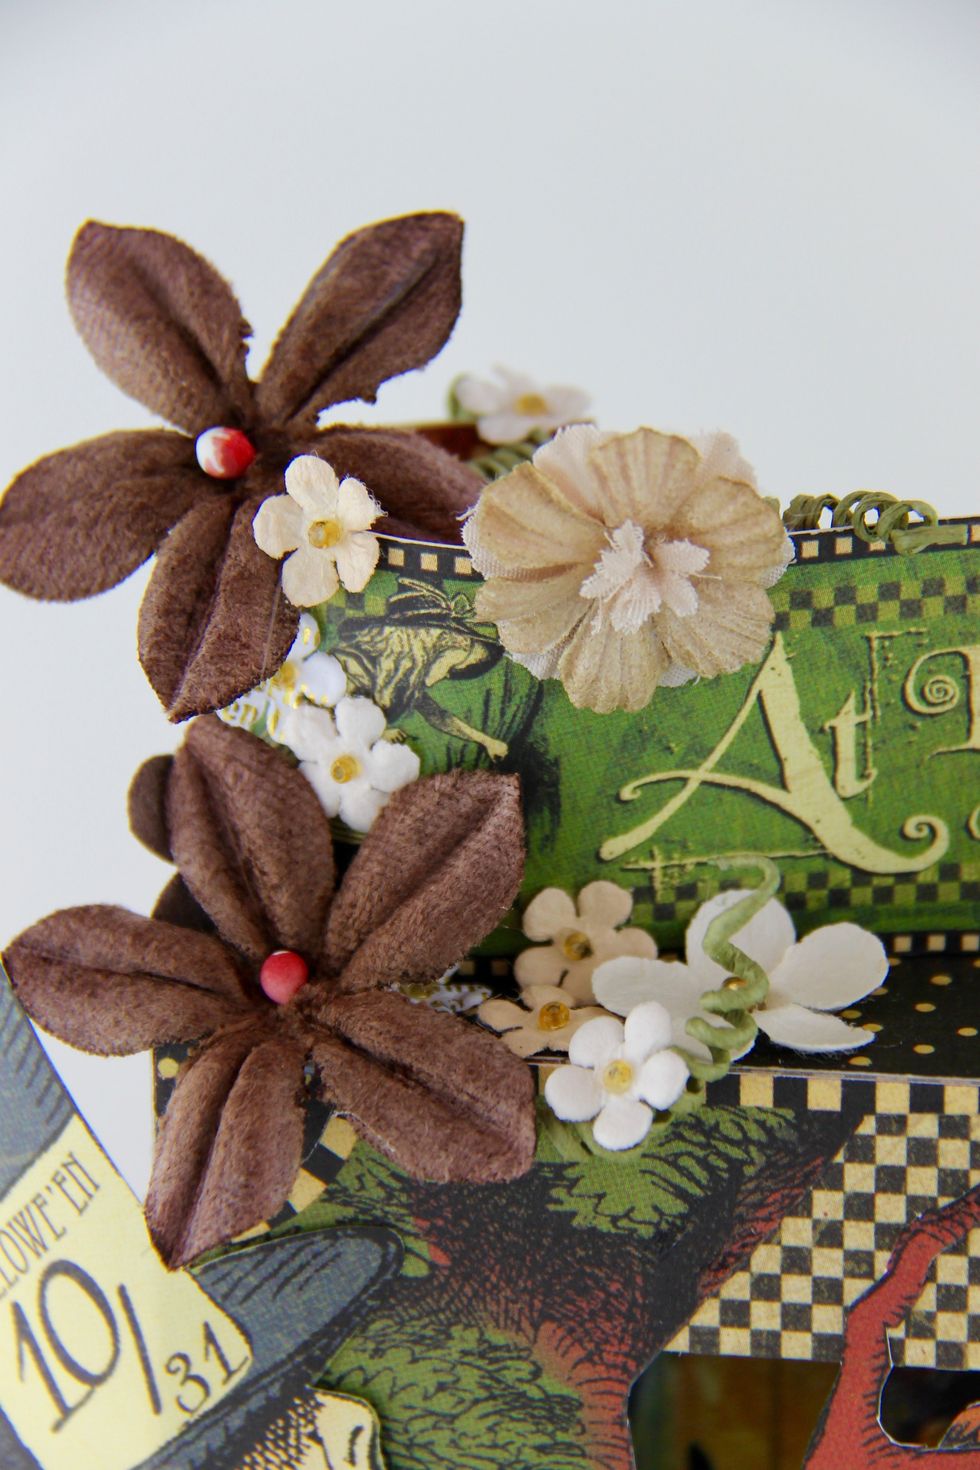
Add more flowers on the upper left side.
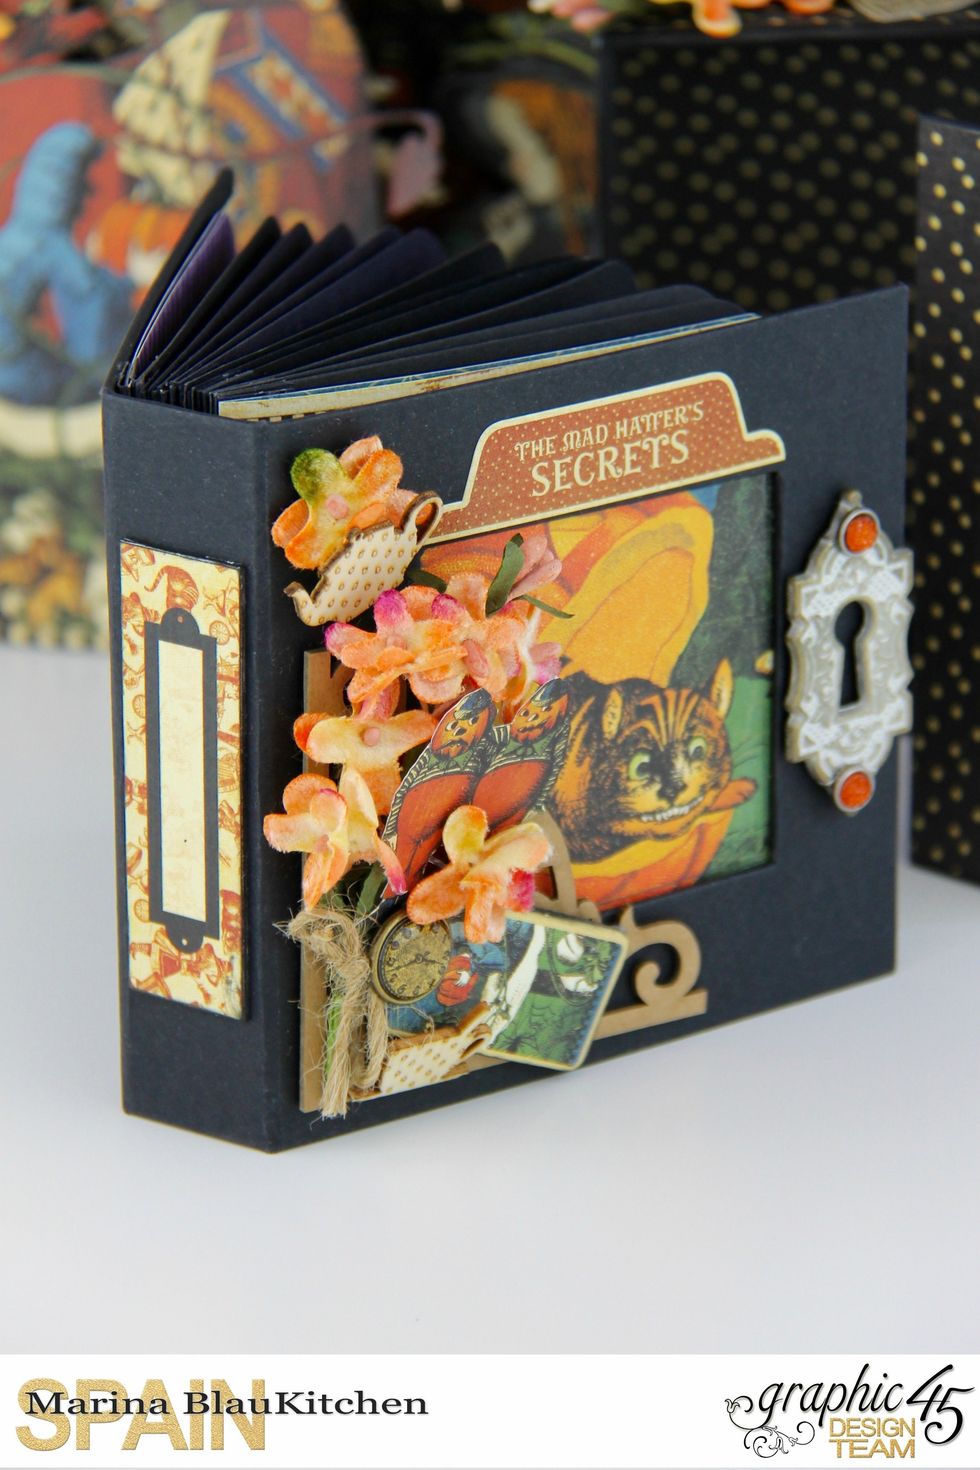
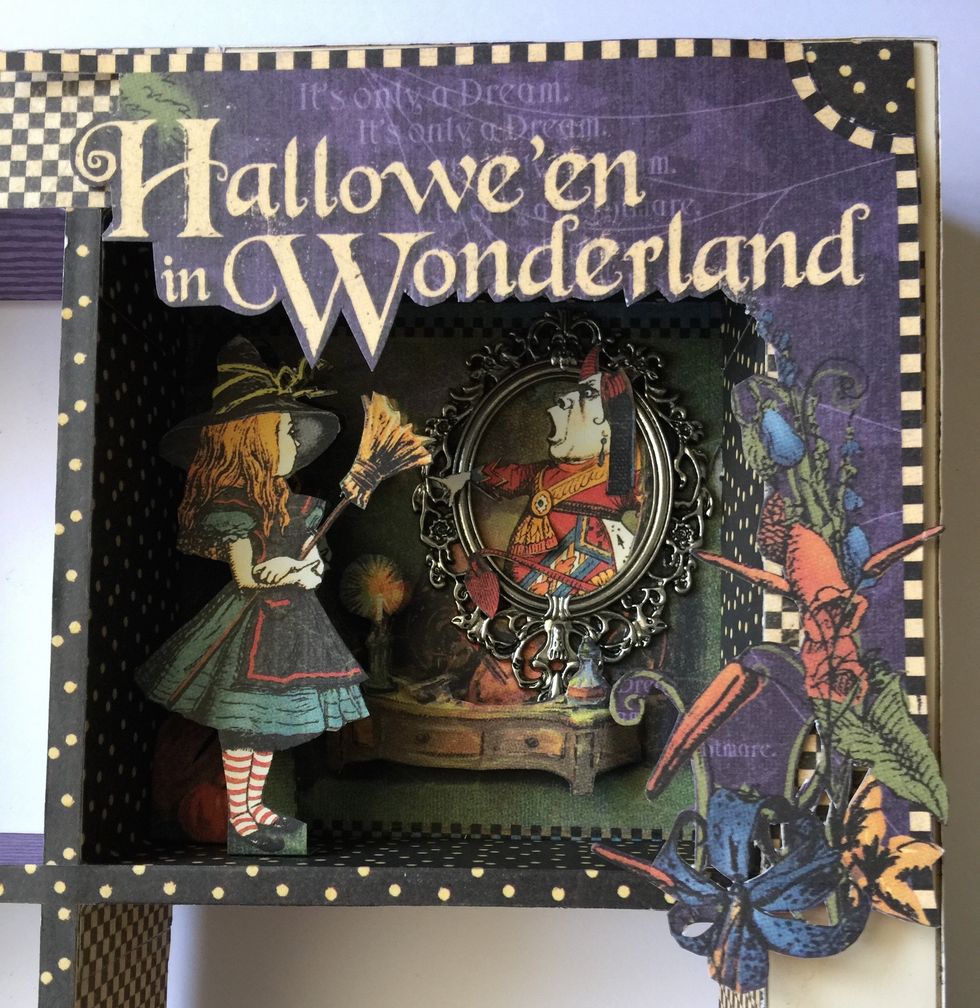
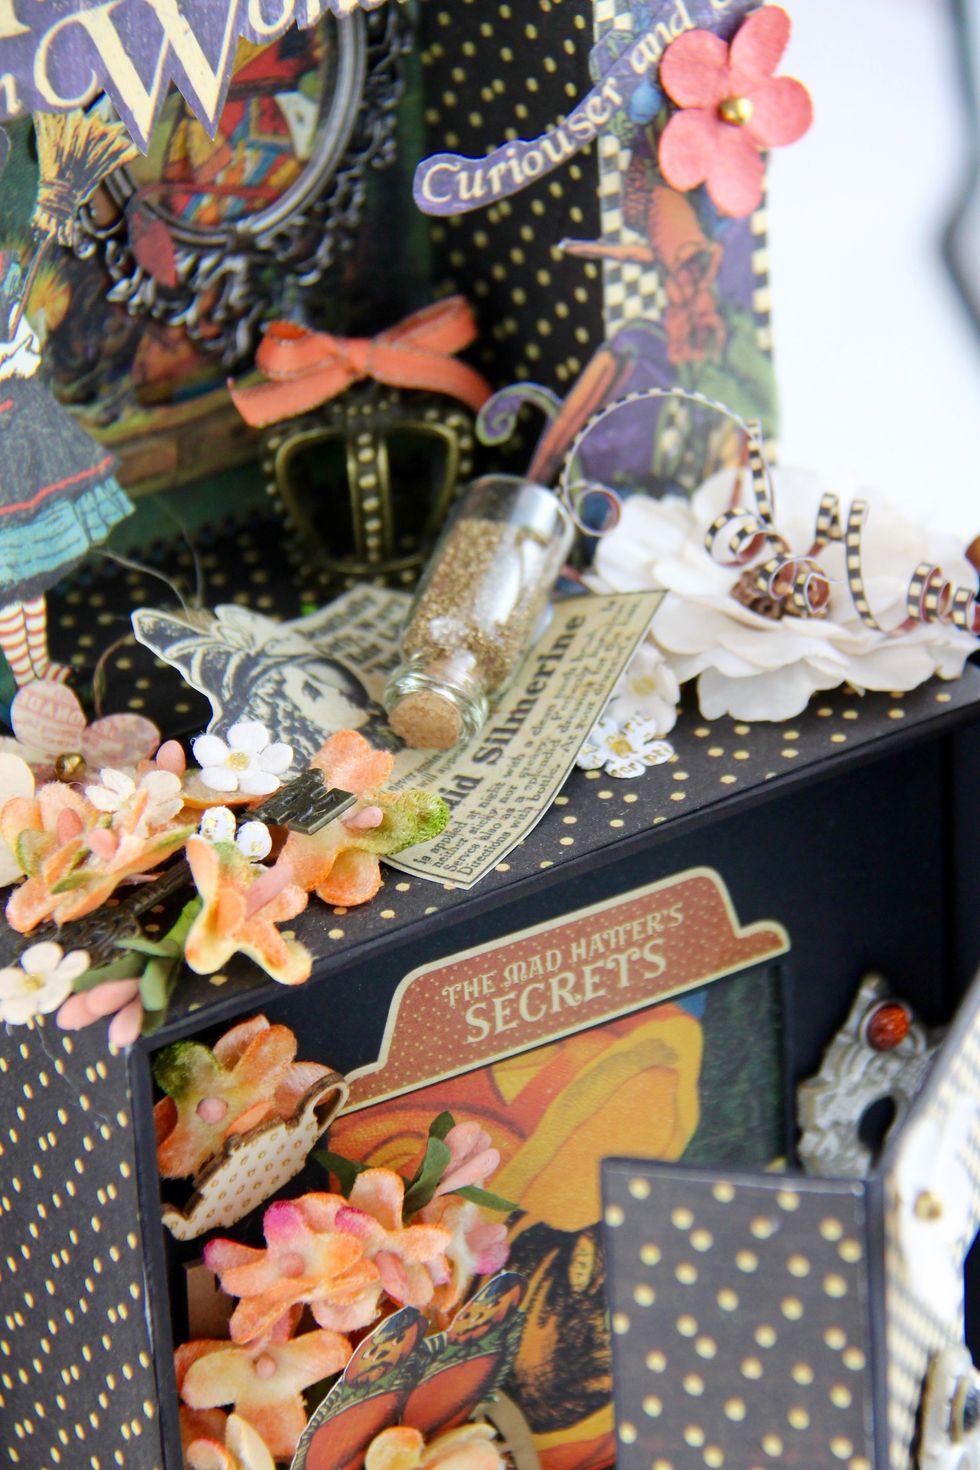
Upper mix media box decoration.
After gluing large fussy cut pieces and Black Mixed Media Box on the Window Shadow Box, we continue the decoration.
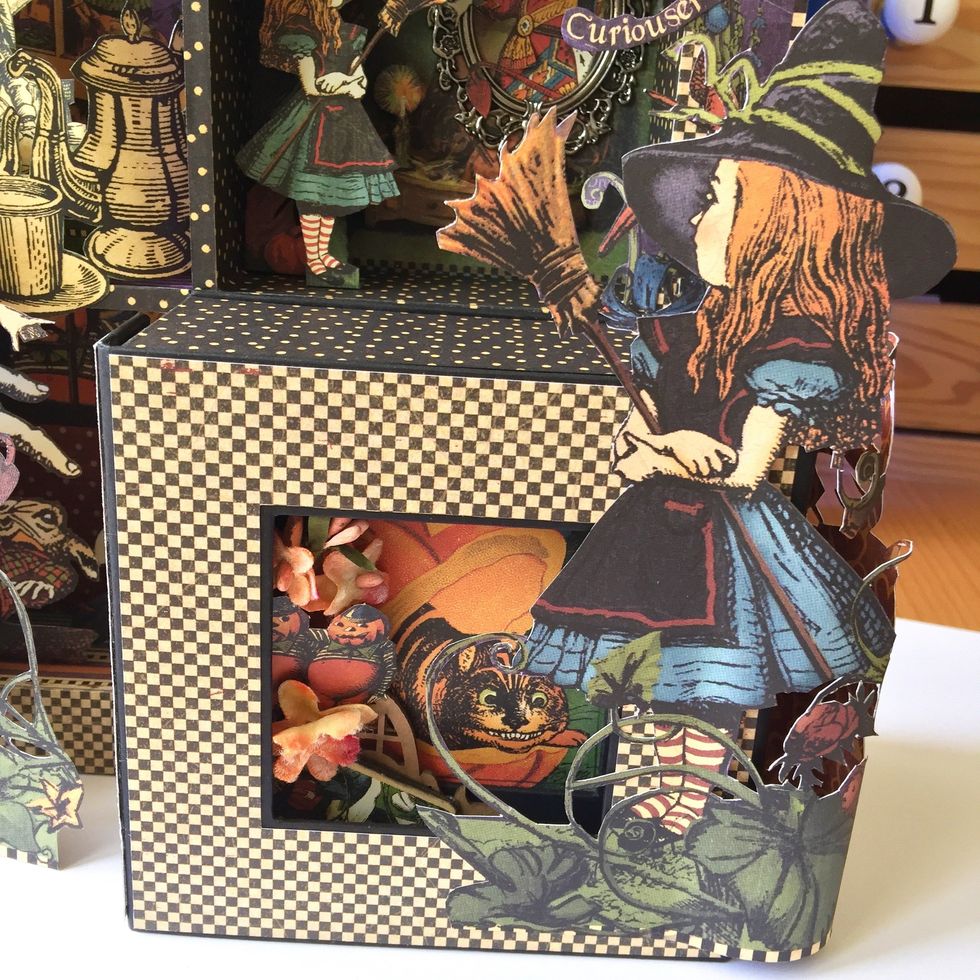
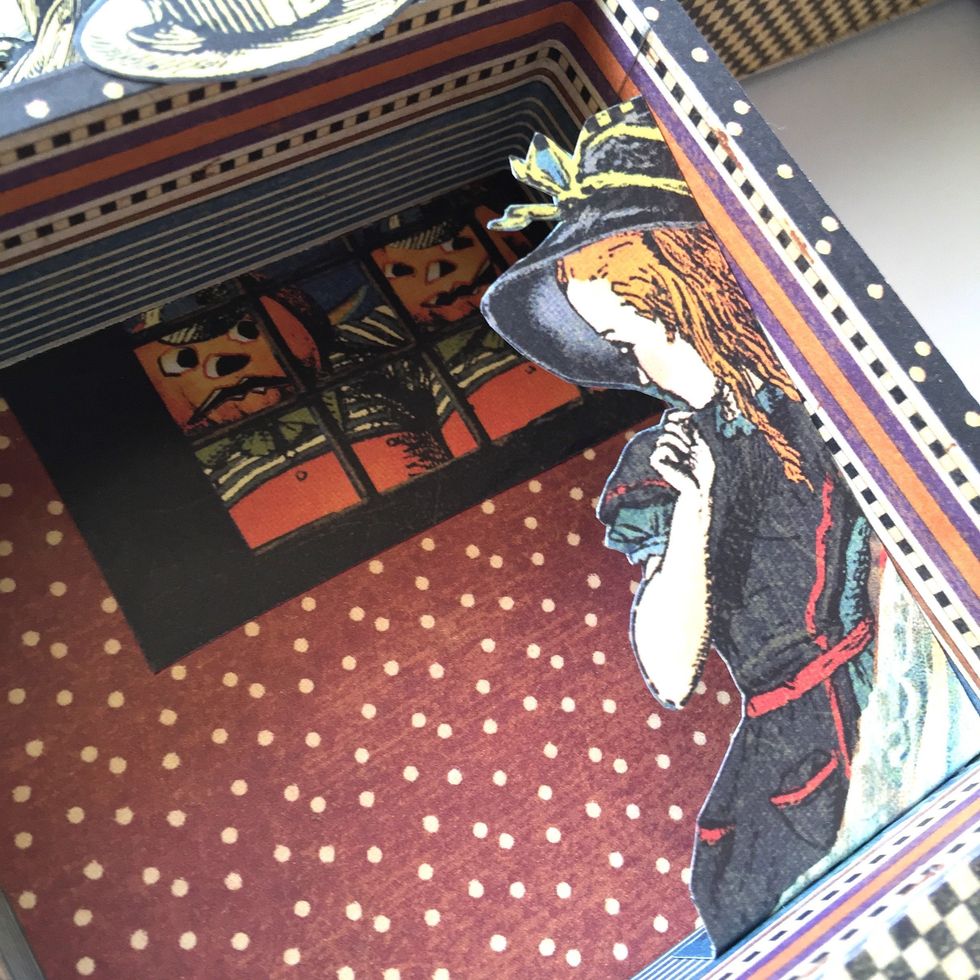
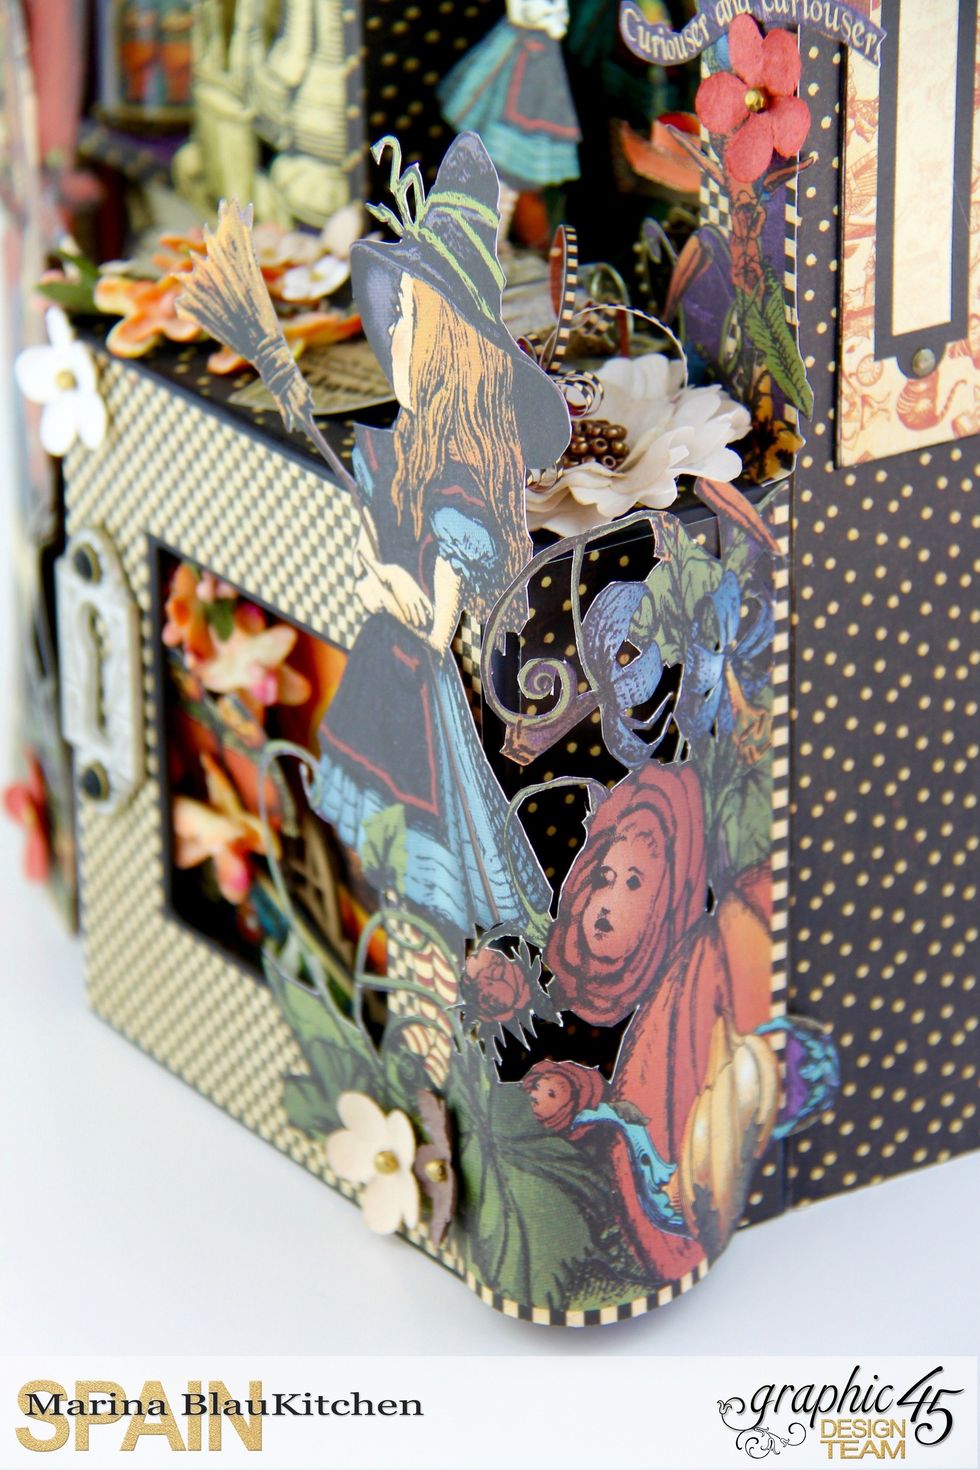
First glue the large fussy cut Alice piece.
Then add some layers and embellishments on the top of the square box that contains a mini album (tutorial in another snapguide).
Add lovely Graphic 45 Shabby Chic Ornate Metal Key Hole.
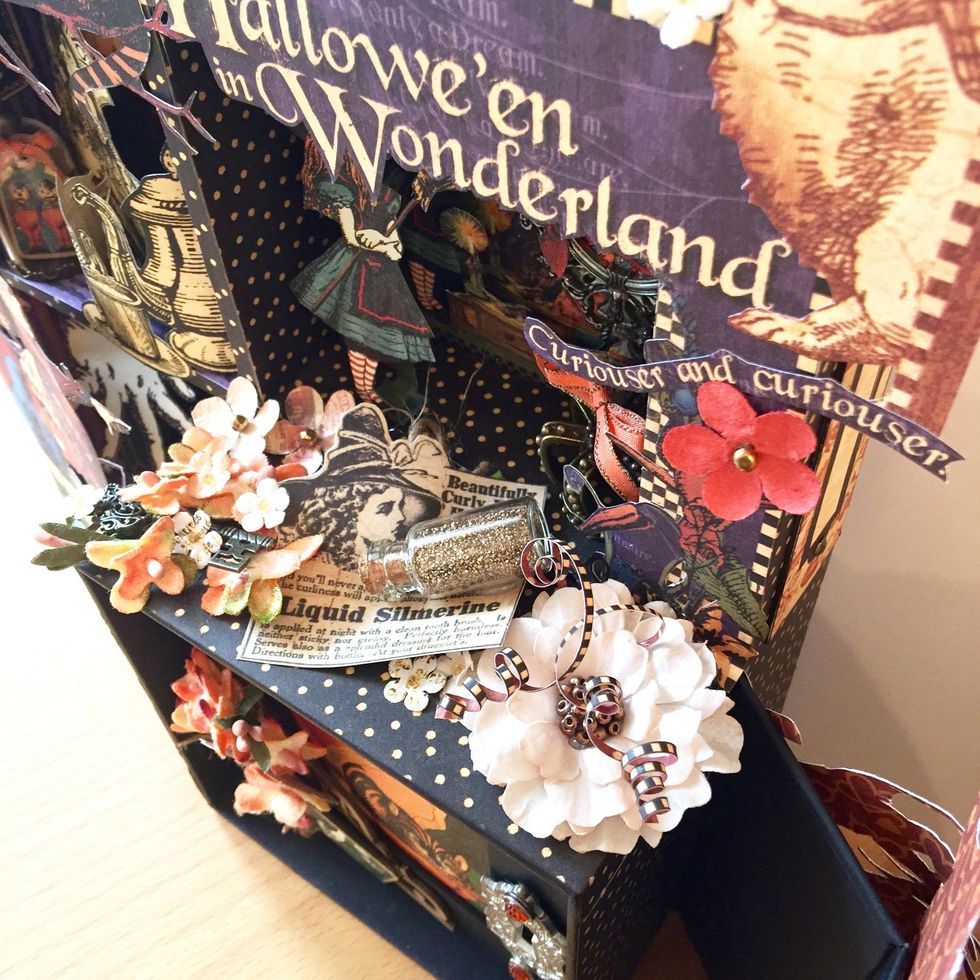
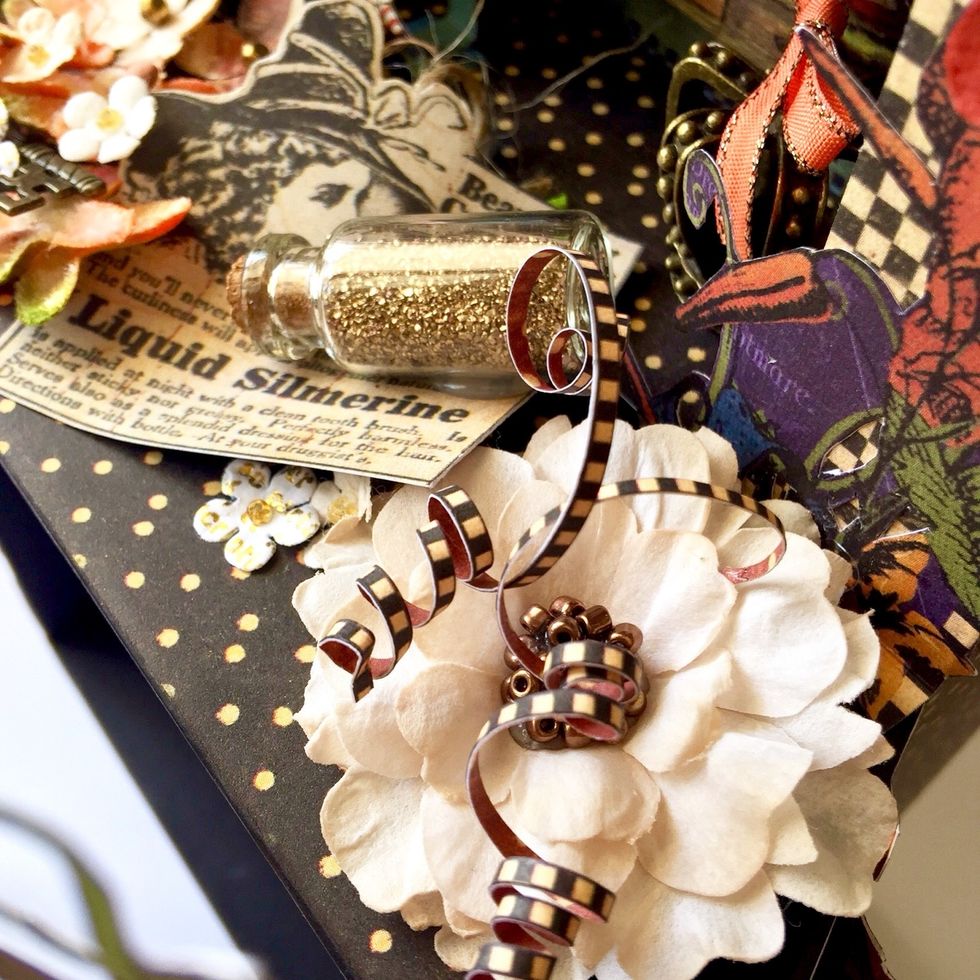
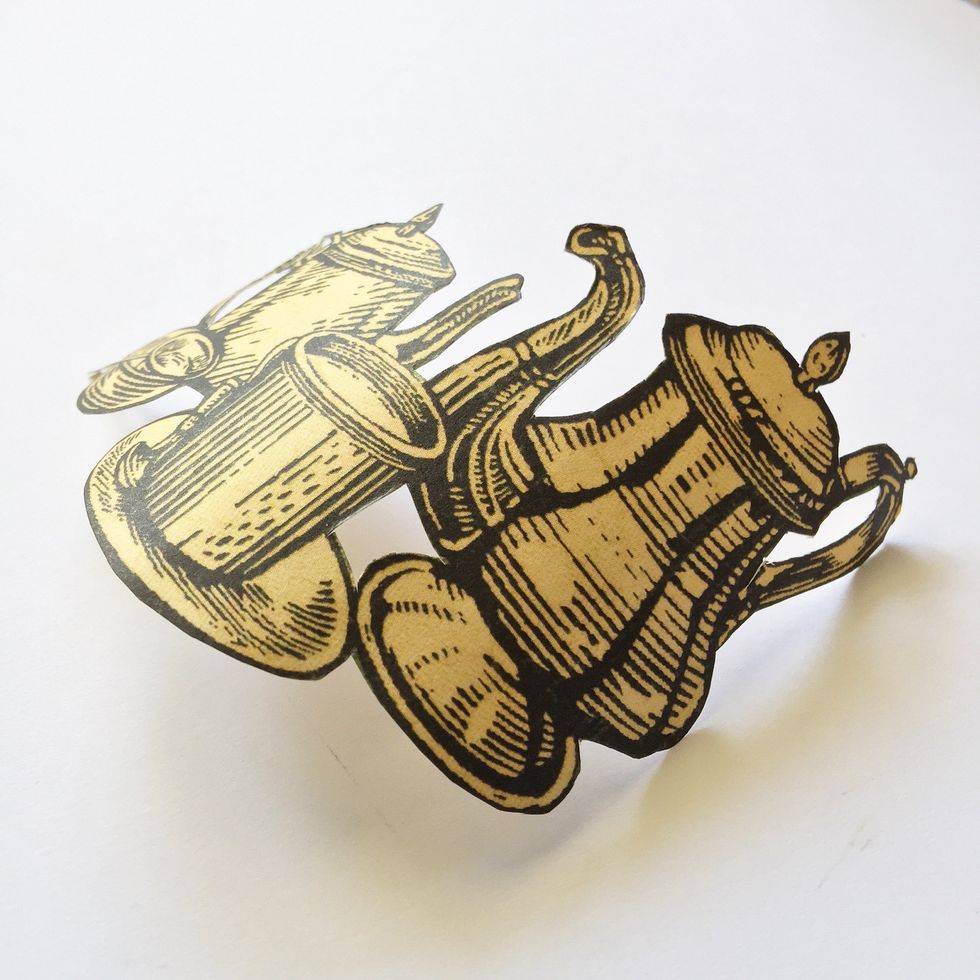
You can use even smaller pieces of these stunning Graphic 45 papers. Make little strips, curl them and add as a special embellishment.
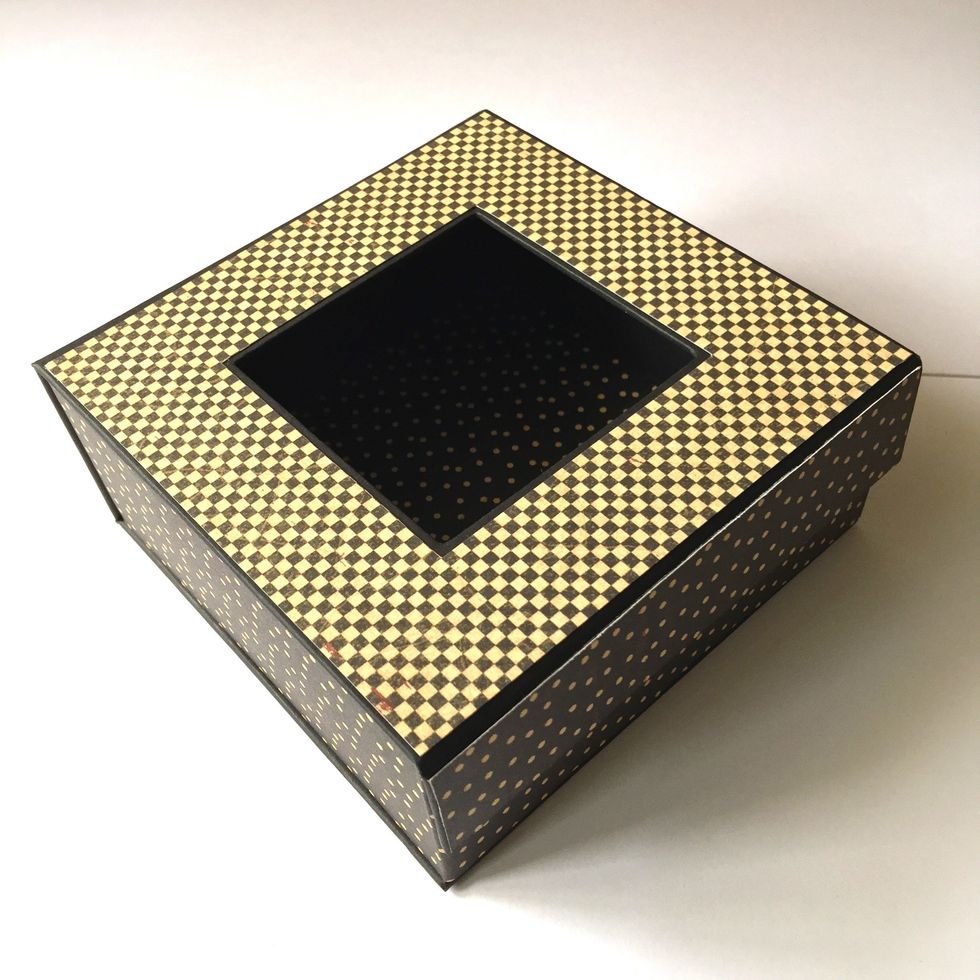
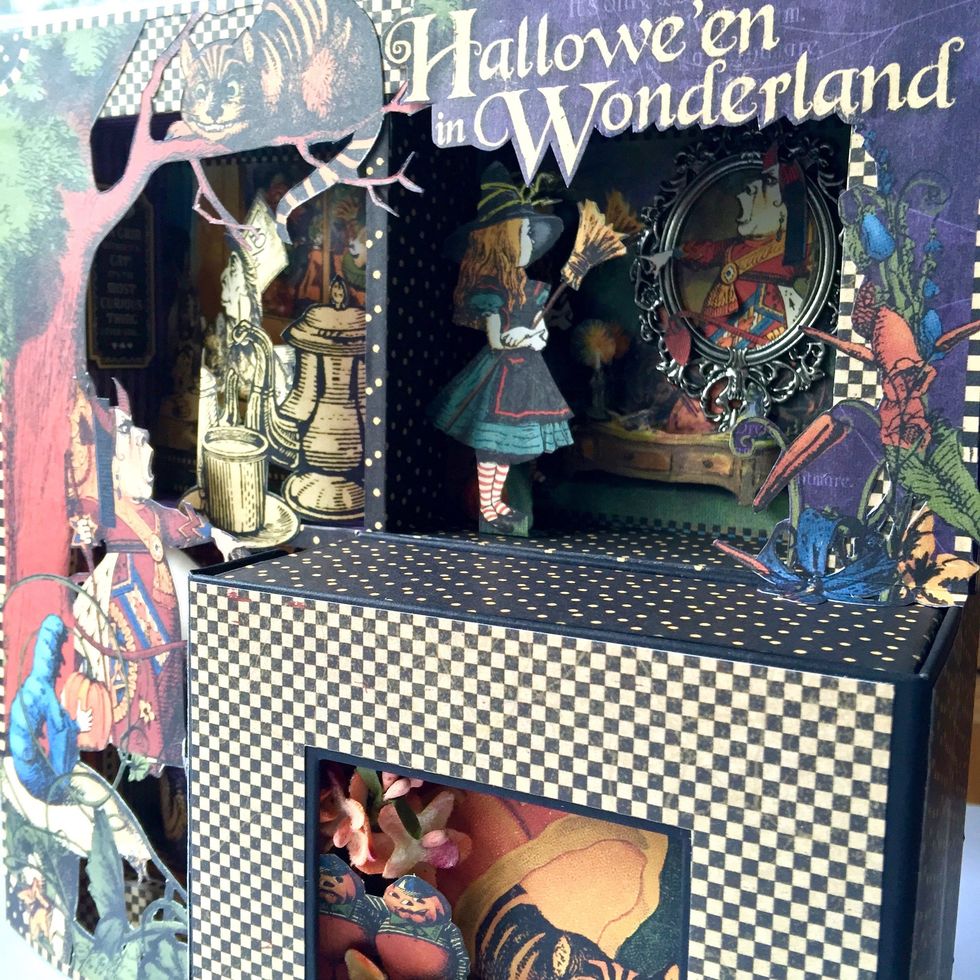
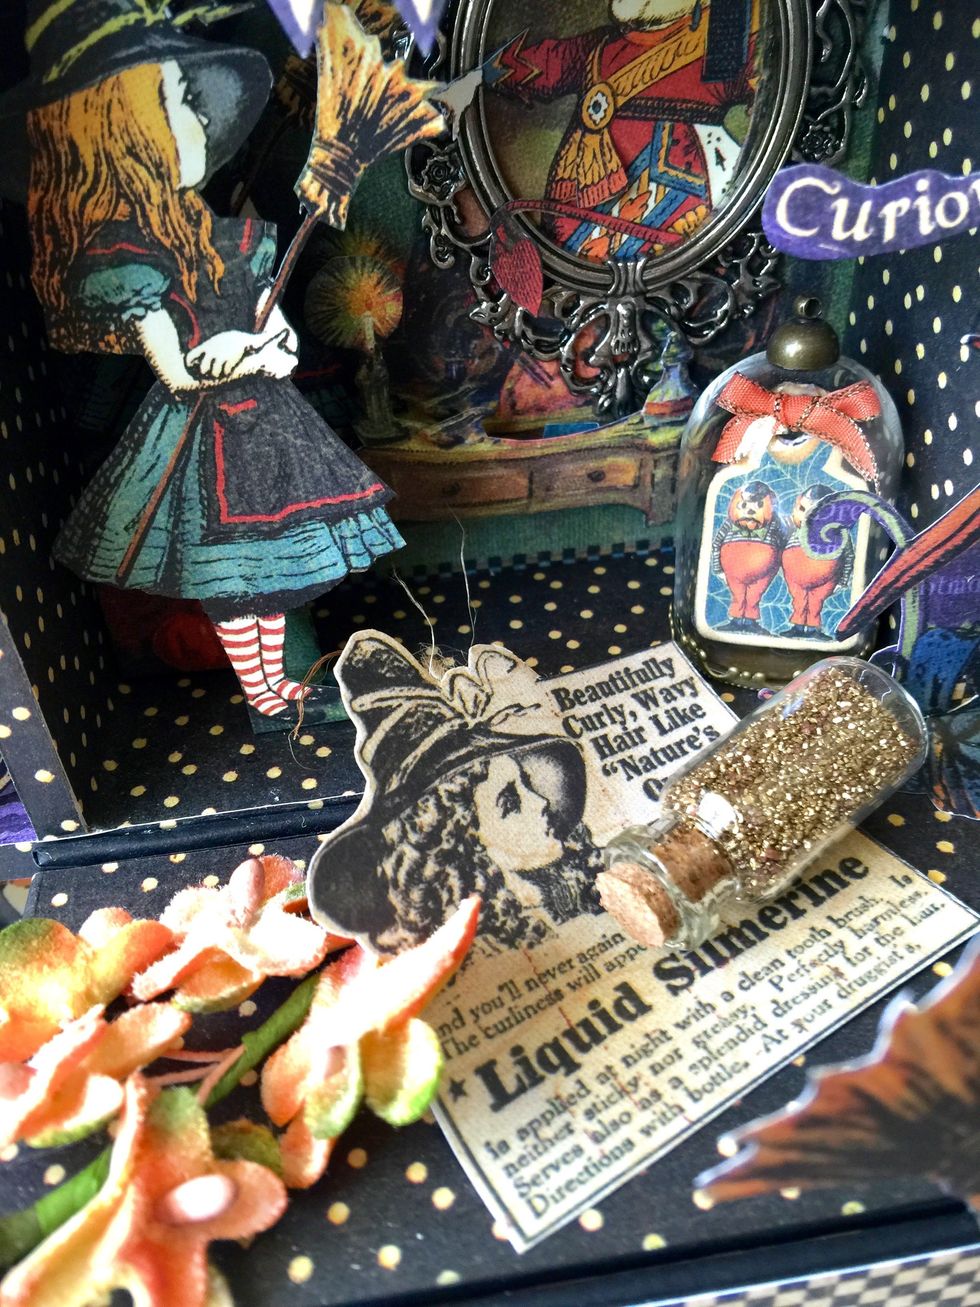
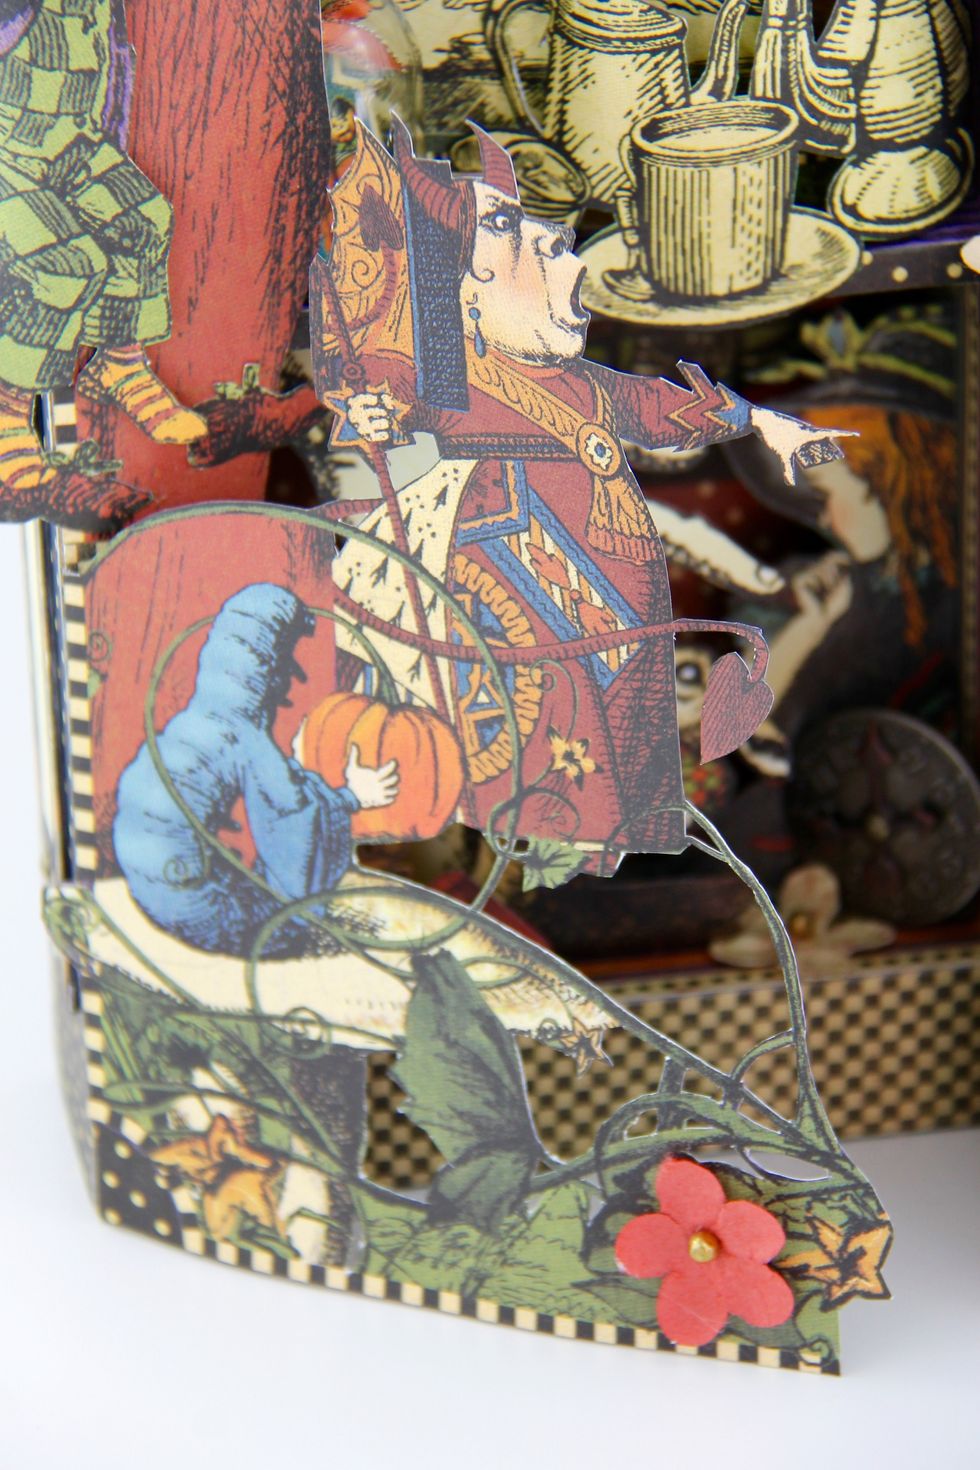
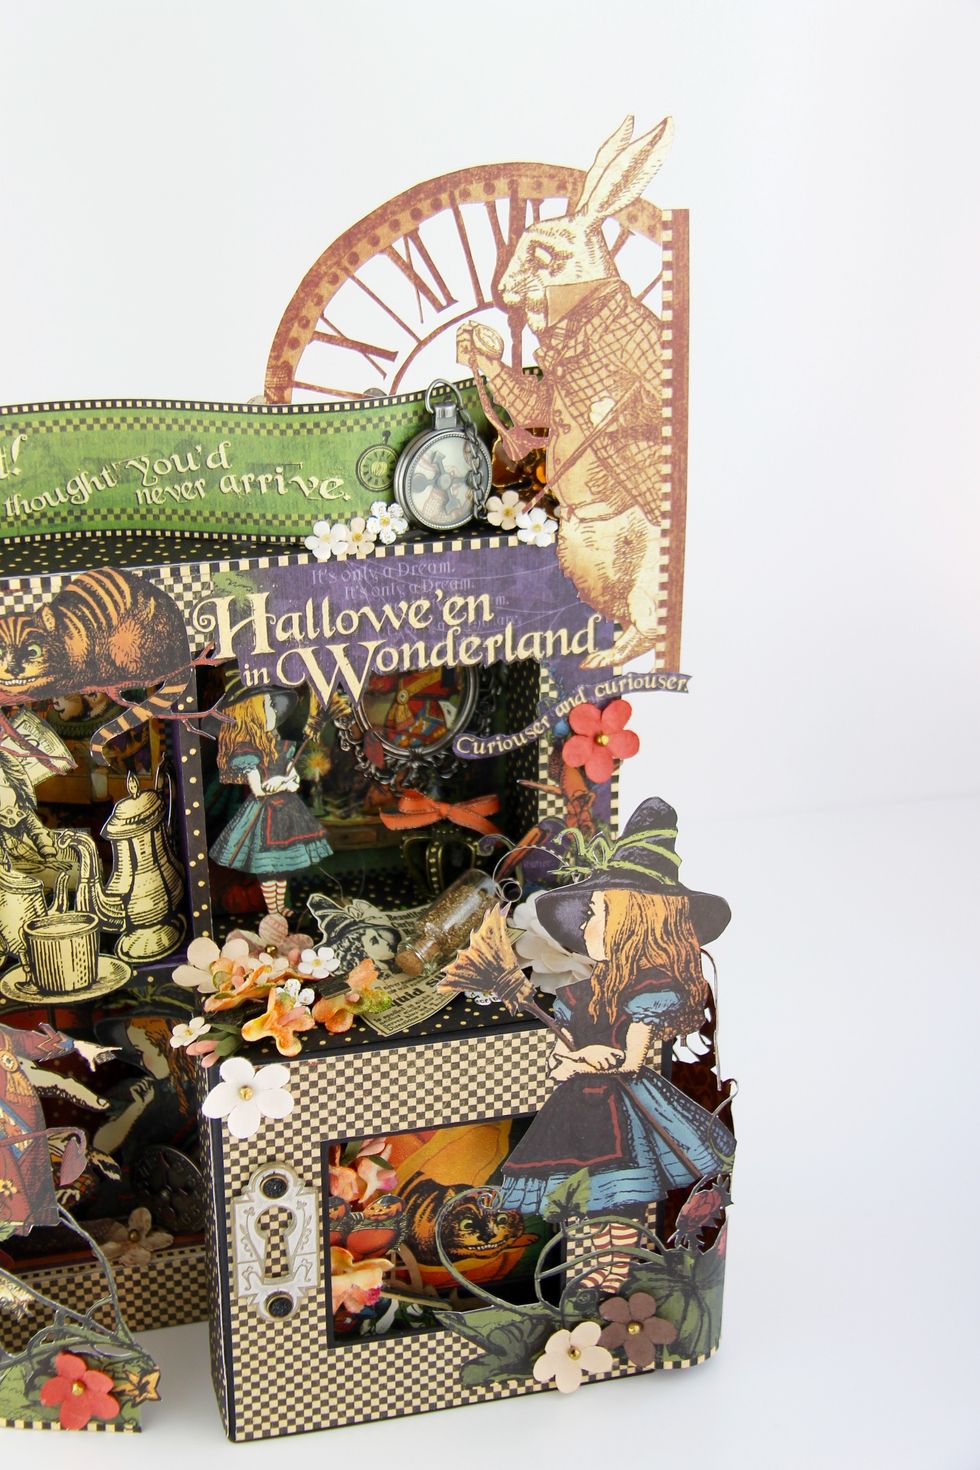
Final photos and close up.
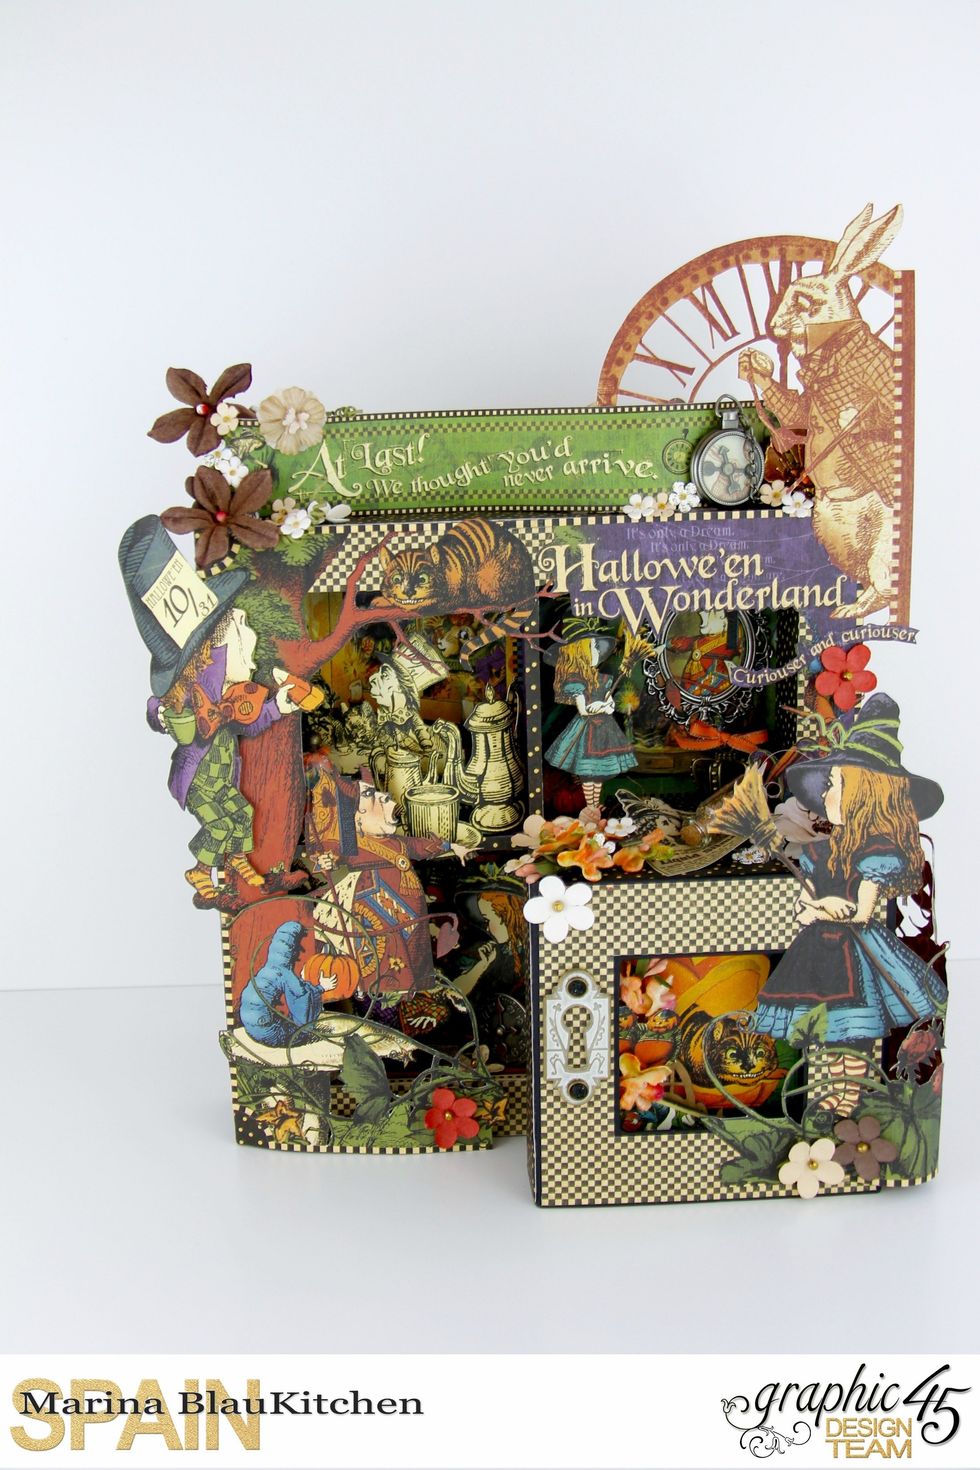
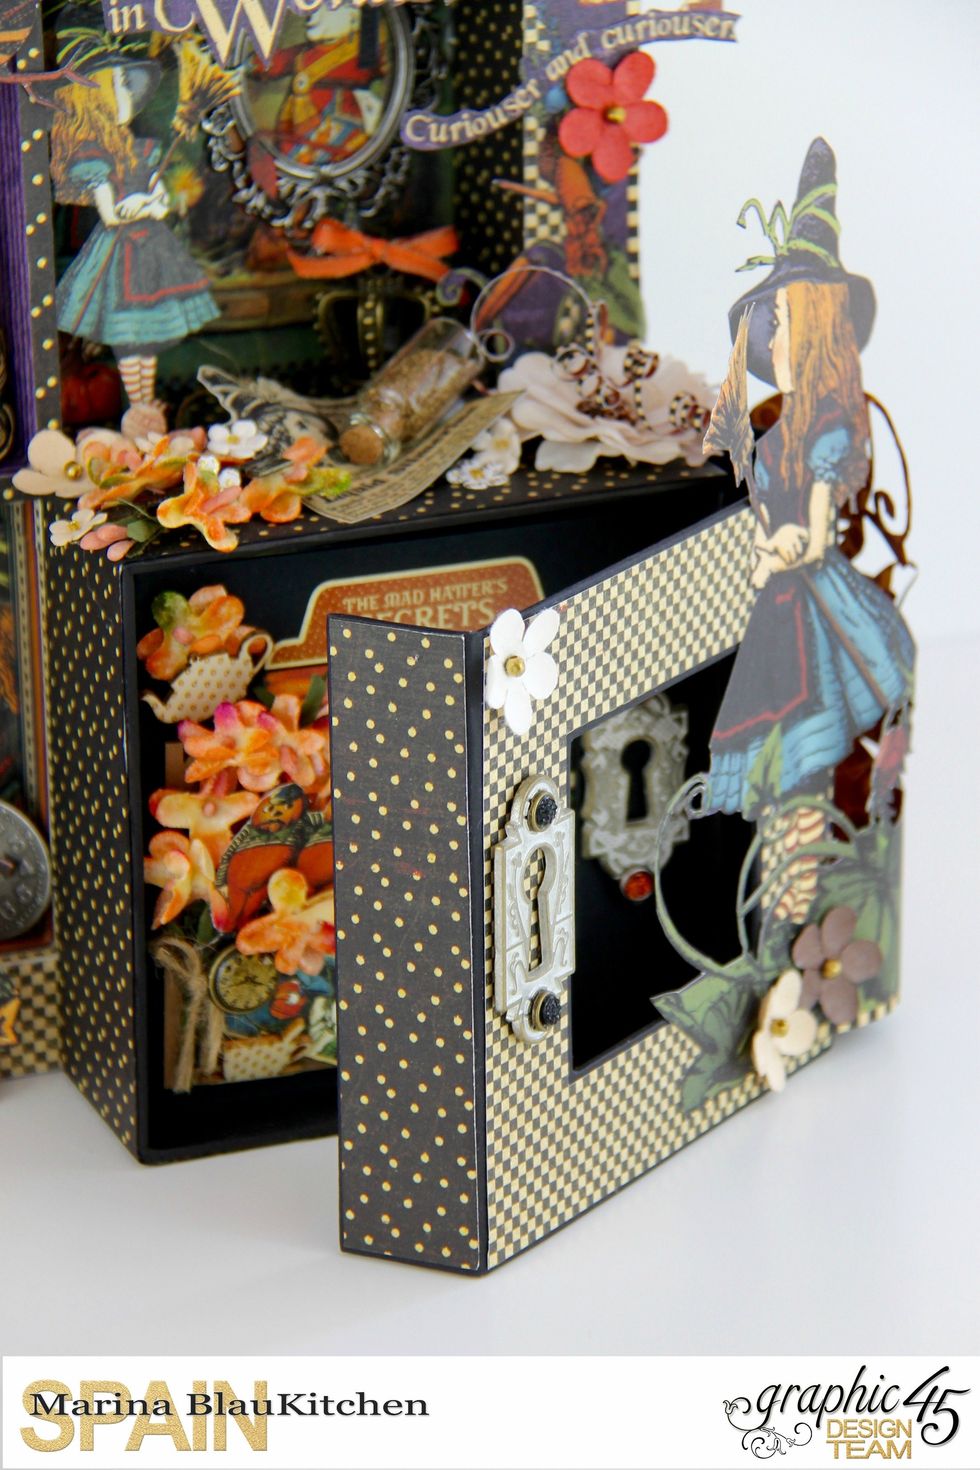
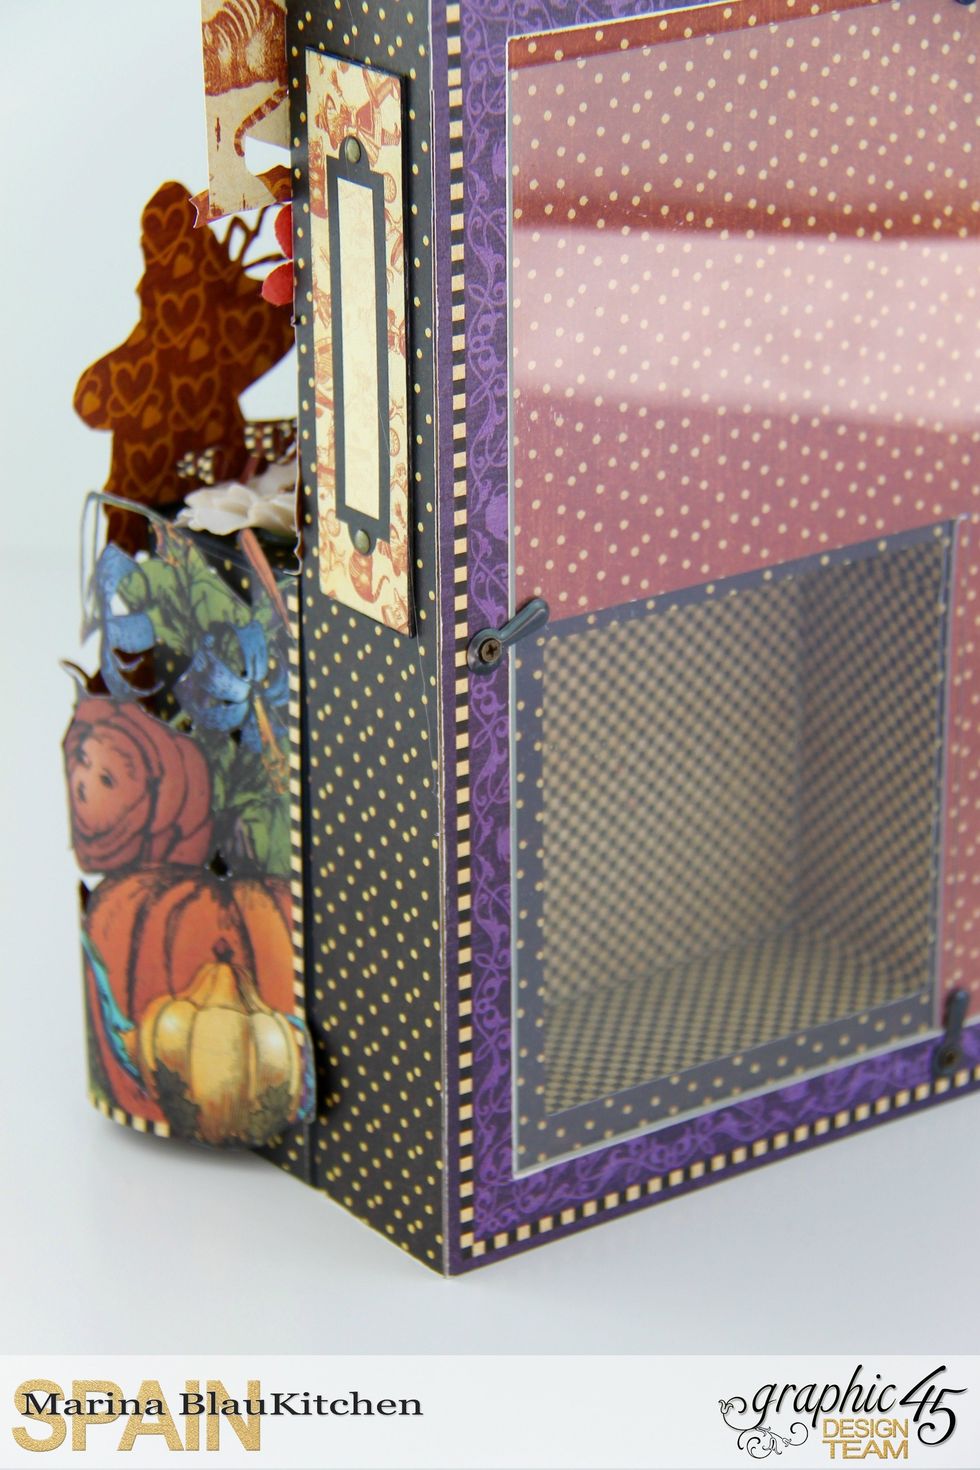
Back side with a secret department!
See you in next Snapguide!