The Conversation (0)
Sign Up
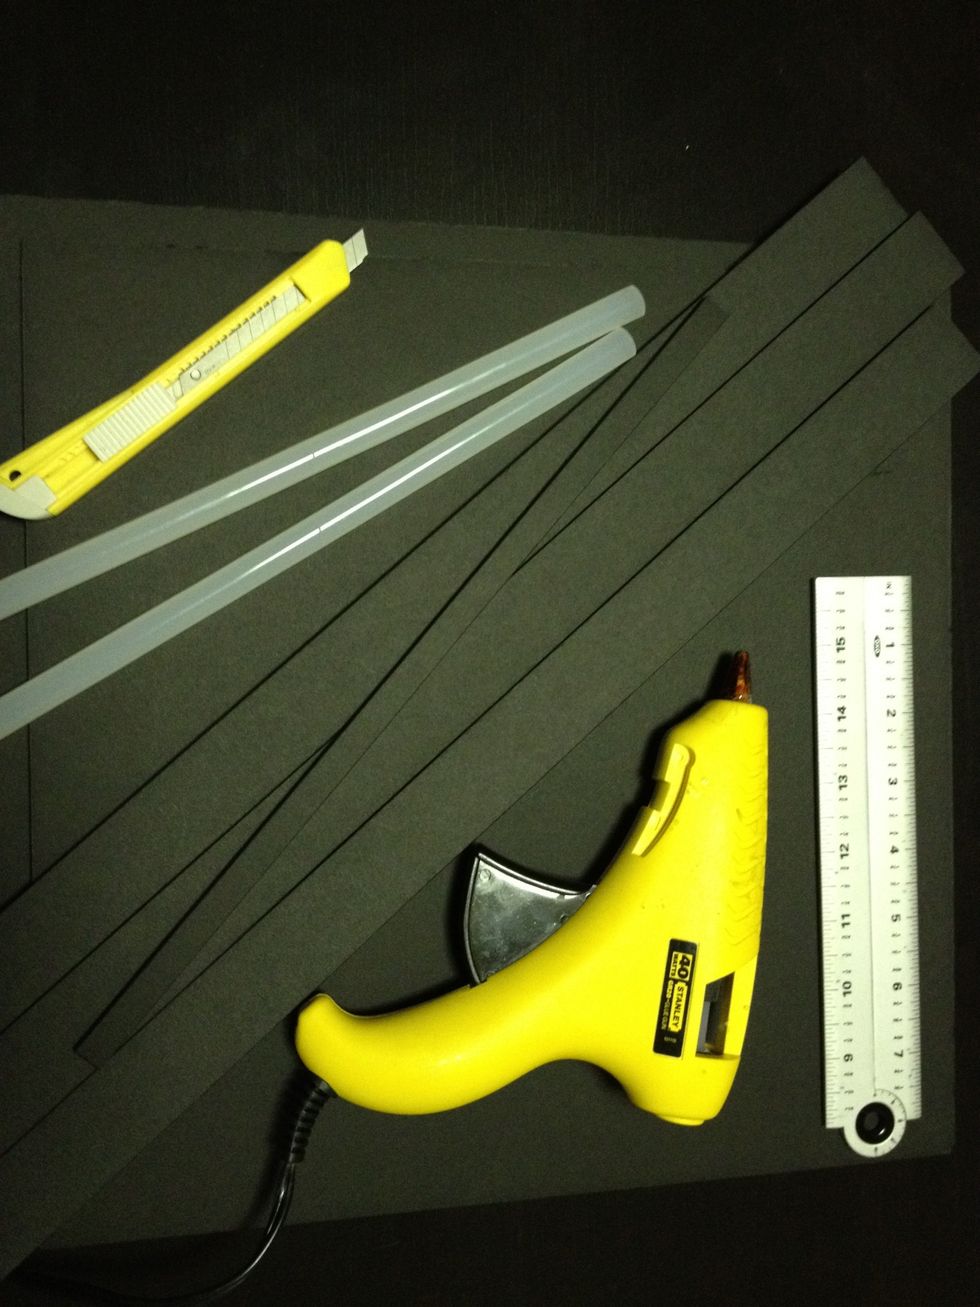
Tools you will need including screwdriver to disassemble laptop. Screwdriver not shown in this pic.
Ensure laptop is in good operating condition. I used Win 7 you can also use Win XP. Remove all unneeded software. Install Picasa, Autoshutdown Pro & Dropbox. Create a Folder shared on local network.
Configure Picasa screen saver to load photos from Dropbox photos folder and local Share folder you created. Configure Auto Shutdown Pro to shutdown at your desired time, I set mine to 10PM.
Double check power settings is set to never turn off or sleep. Enter the Bios of laptop and set an auto on timer. Check the CMOS battery in your laptop depending on the age it might be depleted.
Disassemble laptop starting with the screen. Remove it from base then separate LCD panel from plastic shell.
Cut 2 identical pieces of foam-core board 11 x 14. Place the LCD panel on foam-core center it. Trace then cut out with sharp blade. Using hot glue "evenly" attach second board to back of cutout.
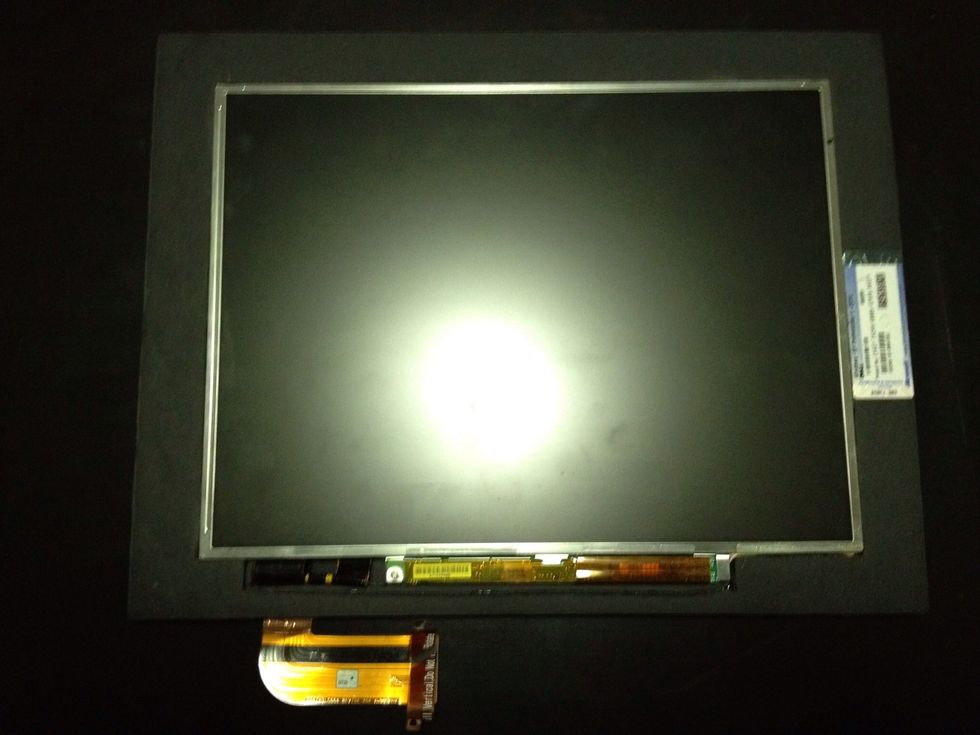
Put LCD panel in foam-core cutout, mark & cut a hole for LCD cable in back board. Glue panel to board on the sides be careful not to touch sensitive area of LCD. Time to measure for matte.
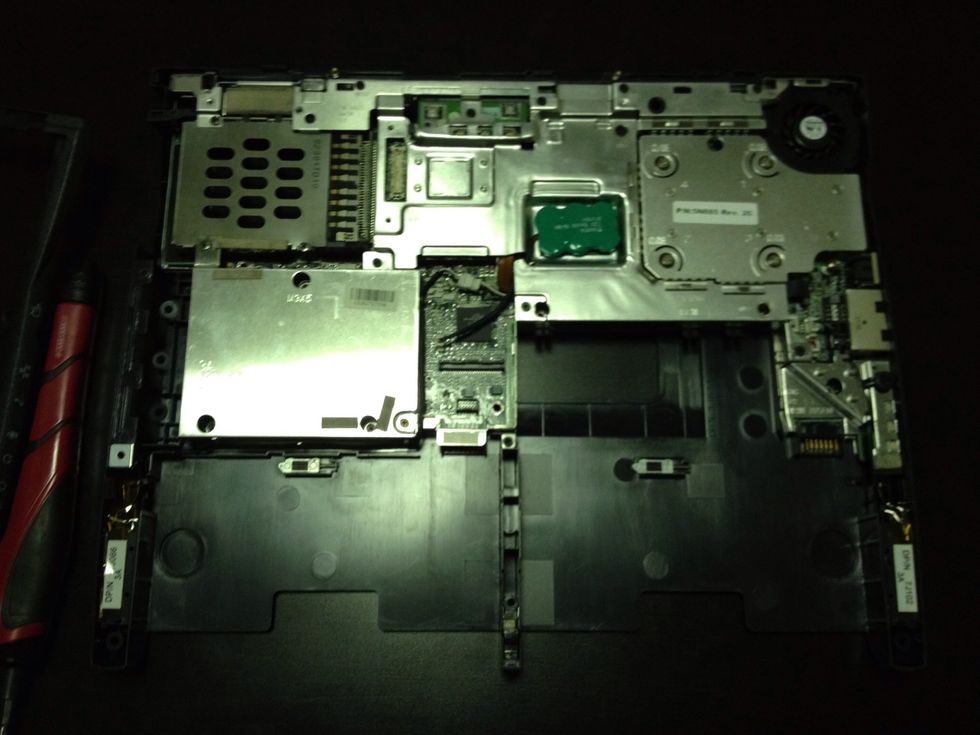
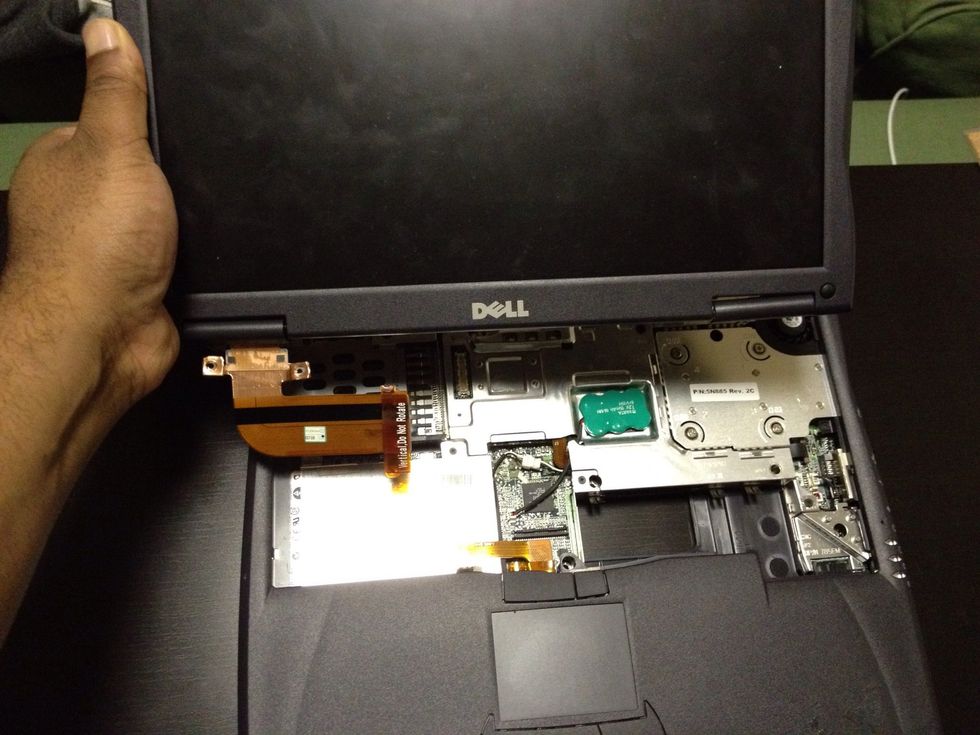
Continue removing plastic shell. Remember to recycle your old battery safetly.
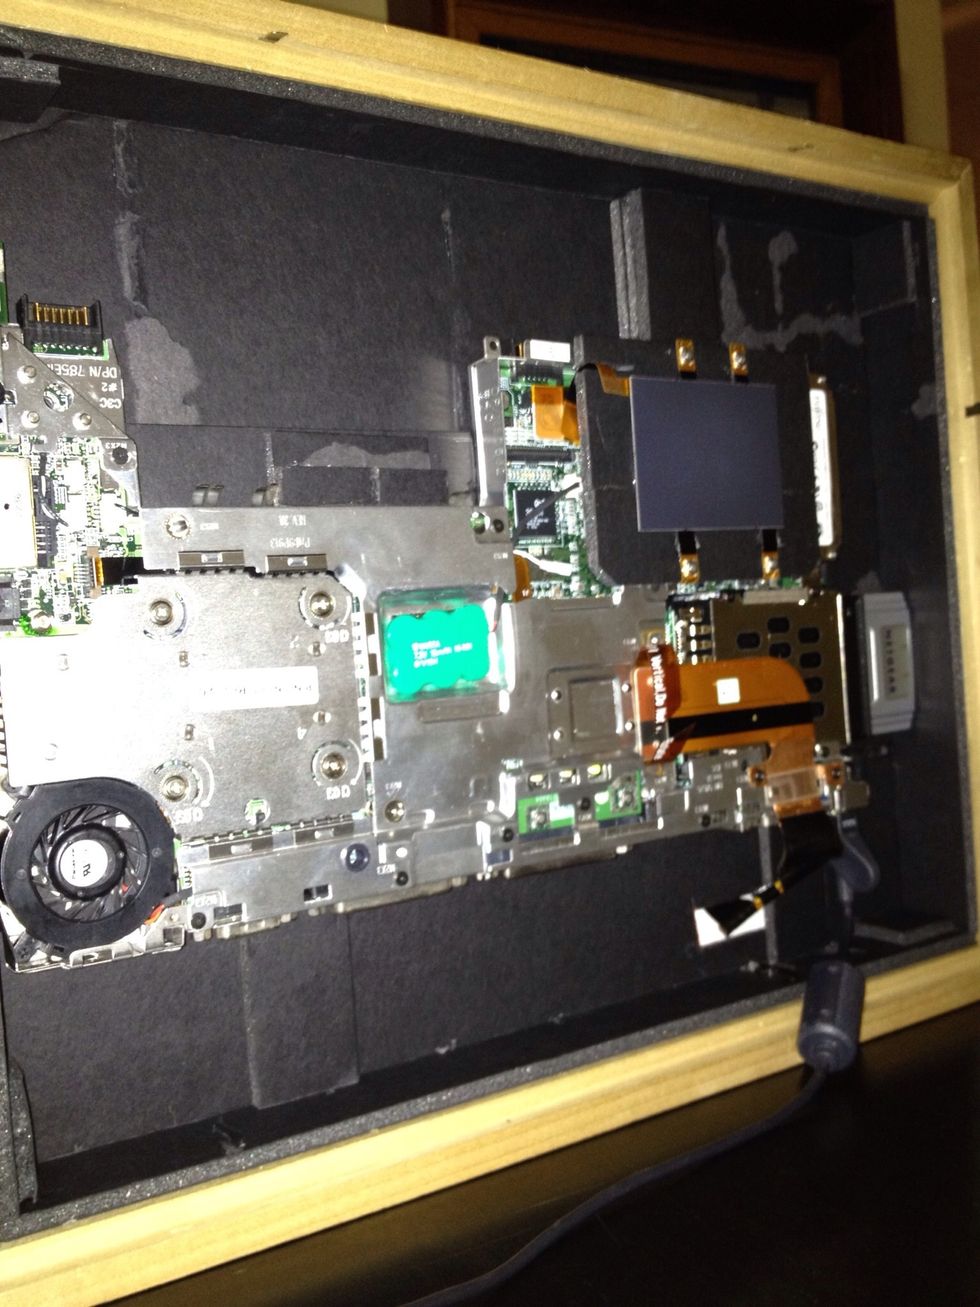
System with all plastics and unneeded pieces are removed including speakers we want a quiet Frame.
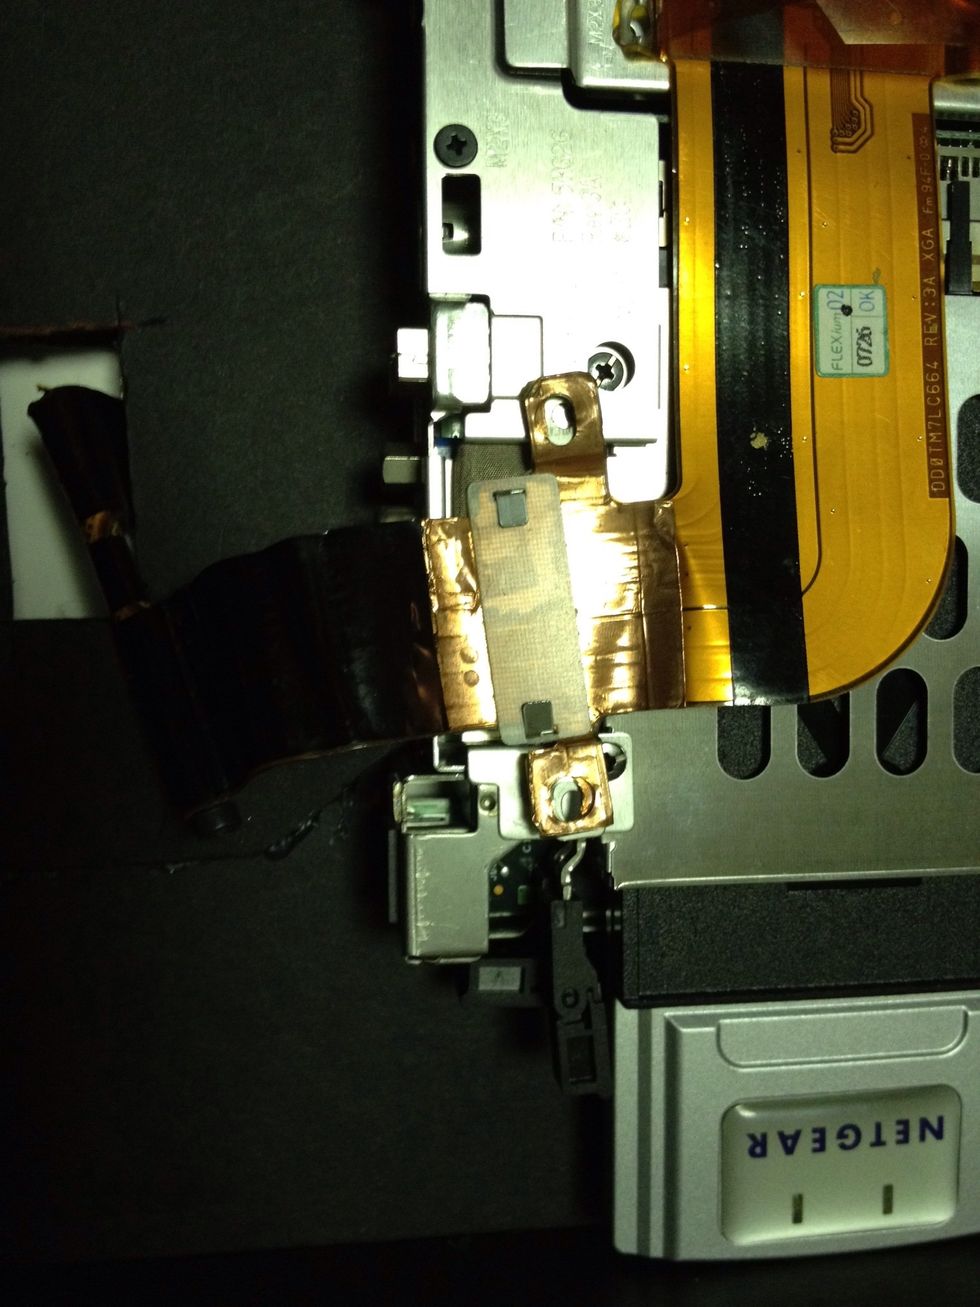
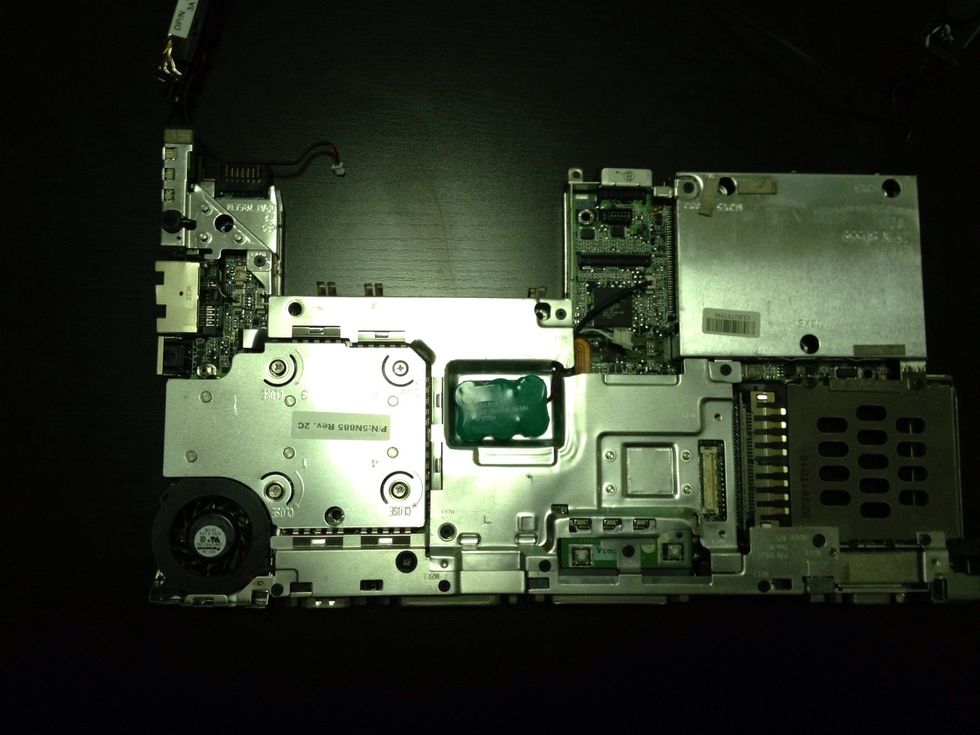
A close up of LCD connected to system board. Also note the added wireless card since this unit didn't have built in WiFi.
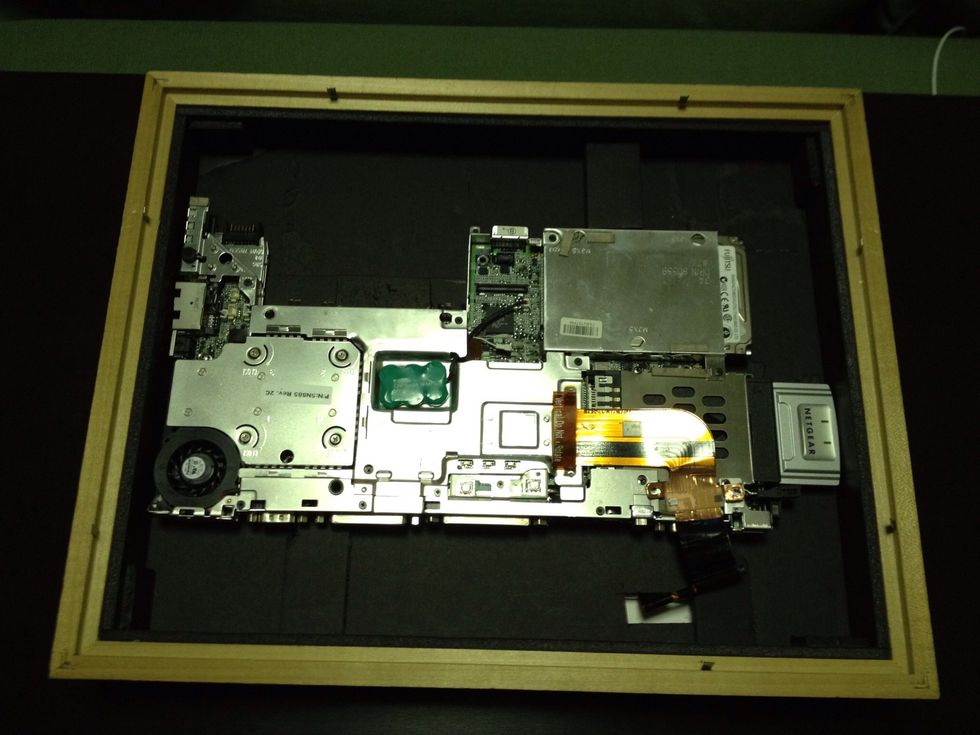
Place system board in frame. Using strips of foam-core to hold system board in place. Strips are glued to the LCD backer board.
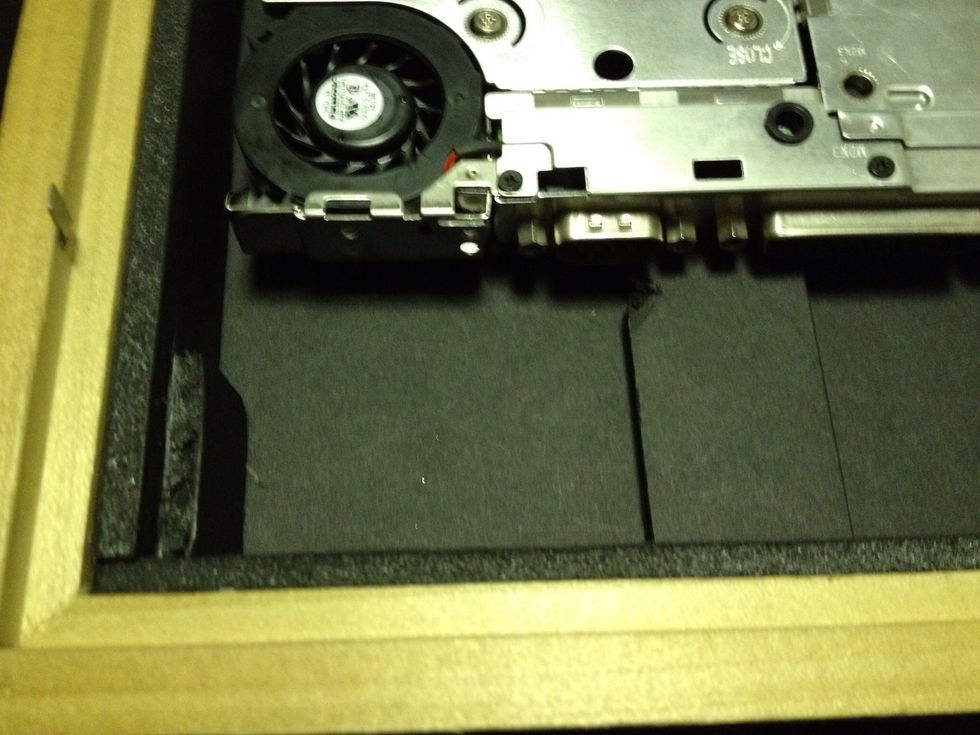
The LCD is kept in place with foam-core strips. Do not glue to frame as you may need to service later.
After placing strips and securing system board with locking strips. Place power cord in place to test fit.
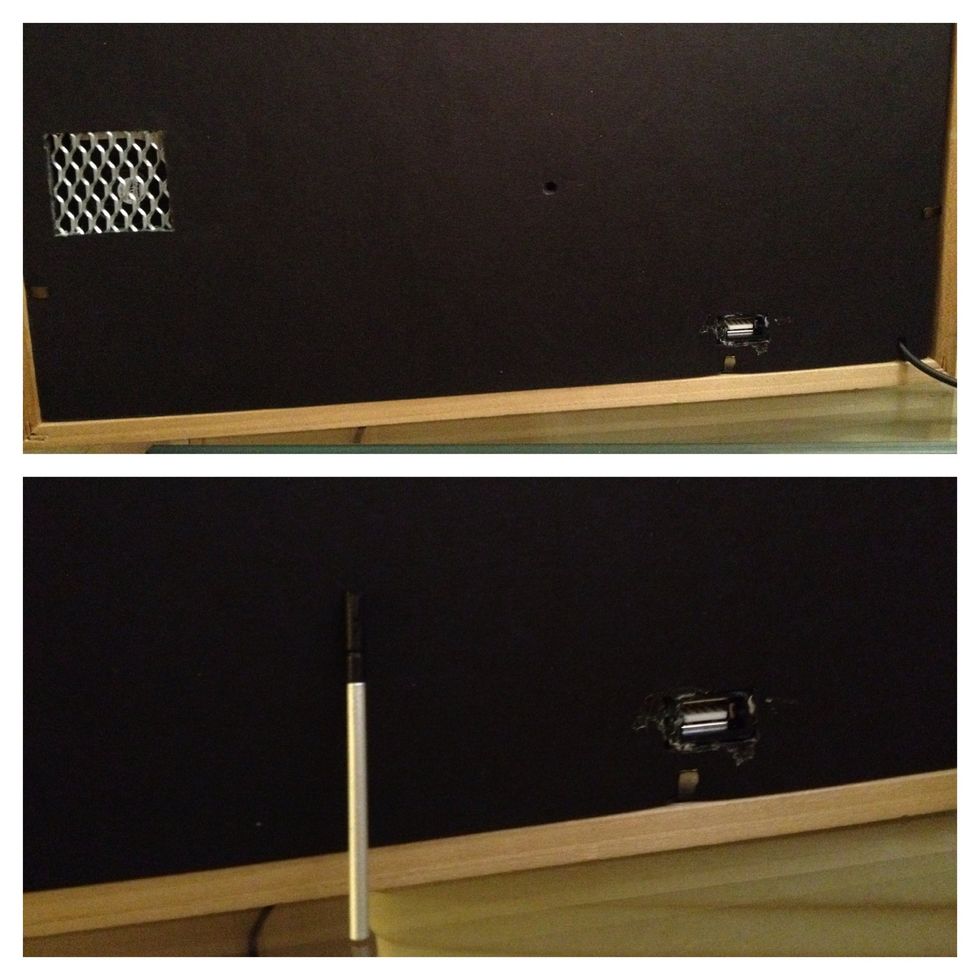
Note power button in this case is positioned bottom center. I used a stylus tip to turn on after measuring and placing tiny hole to frame cover. Decided to add USB extender to back for easy access.
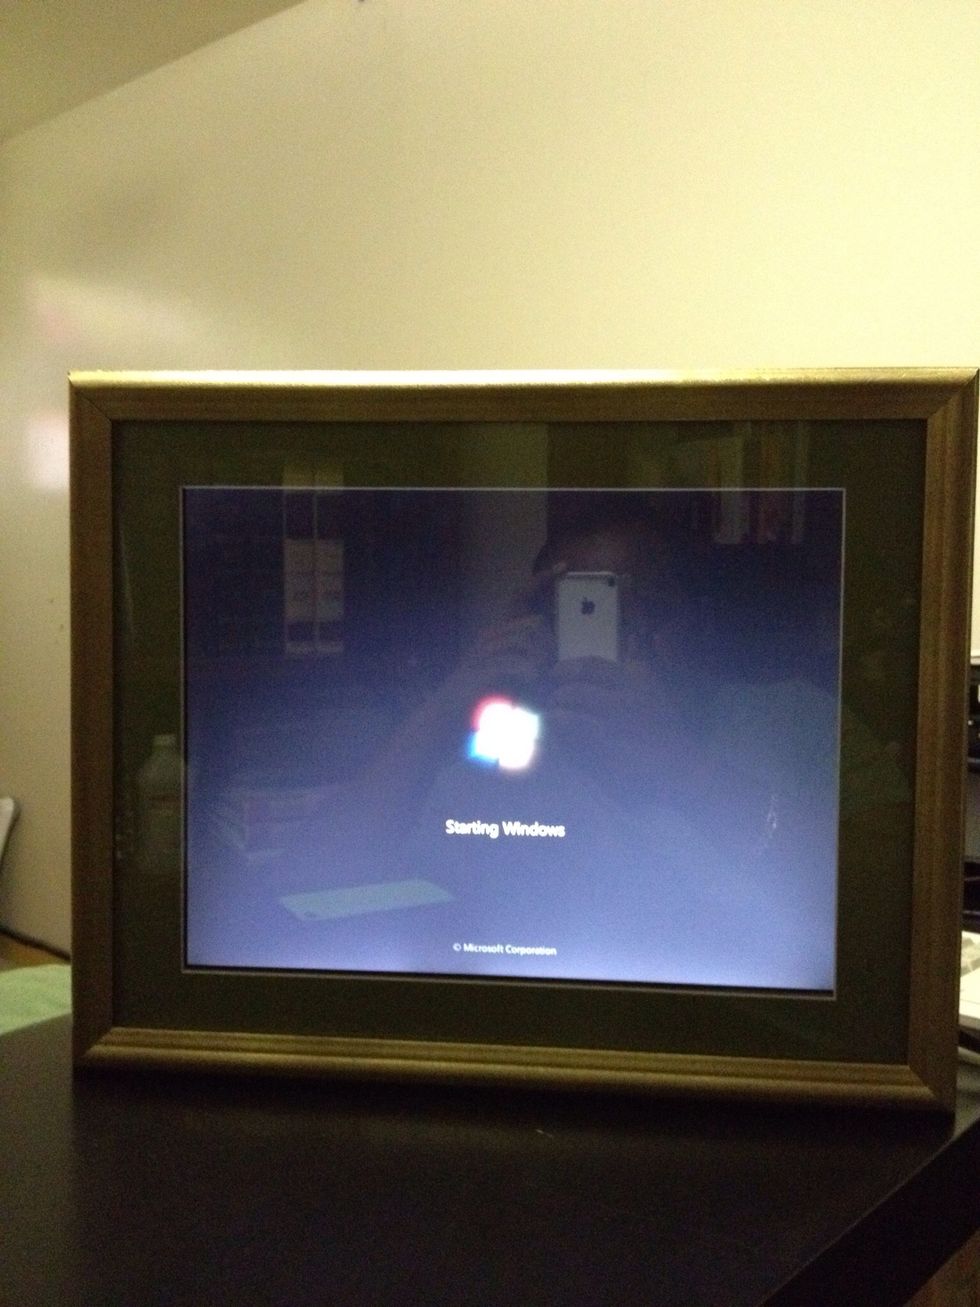
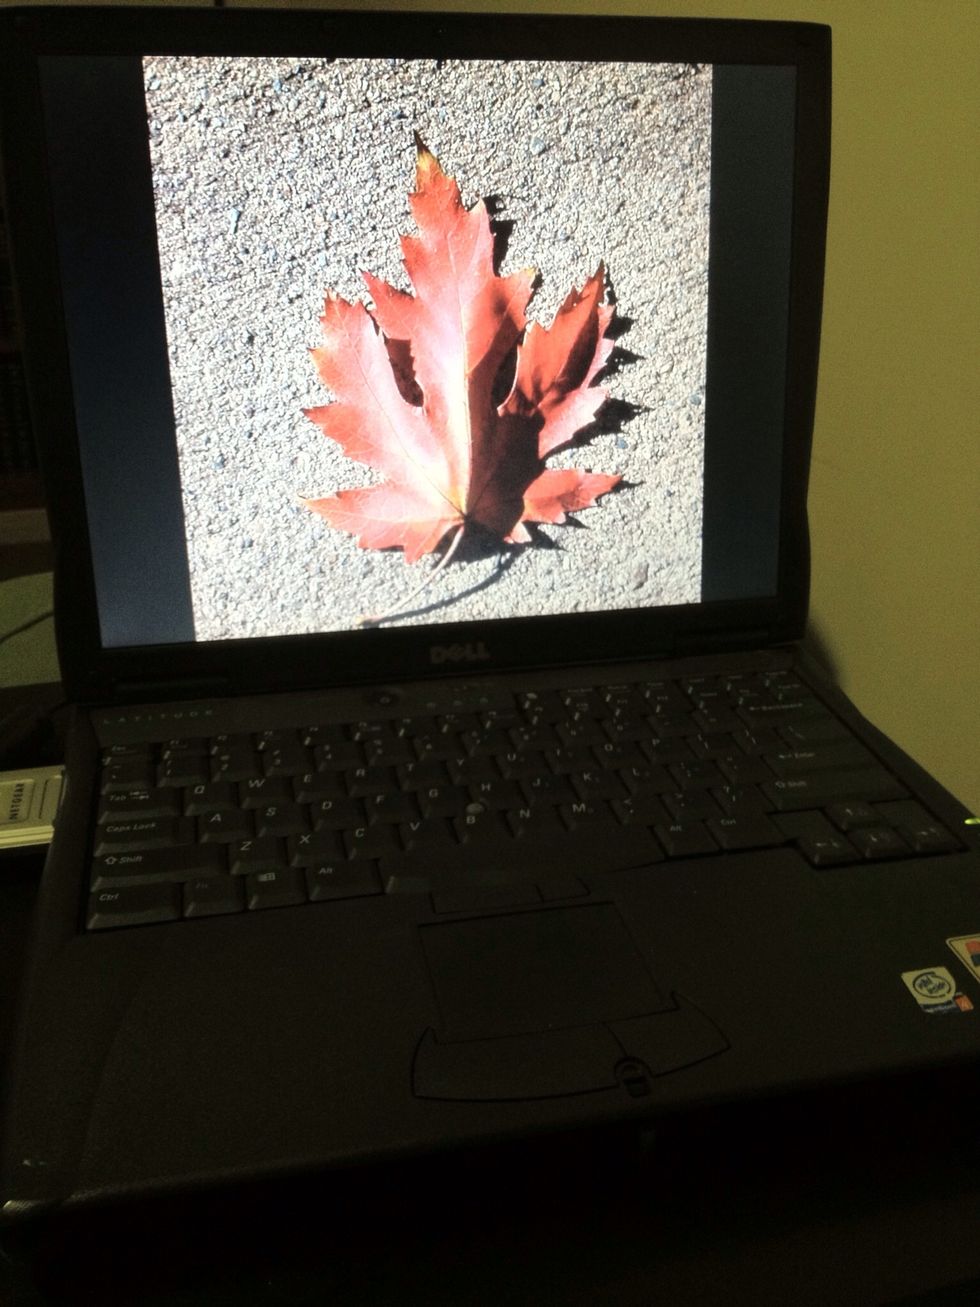
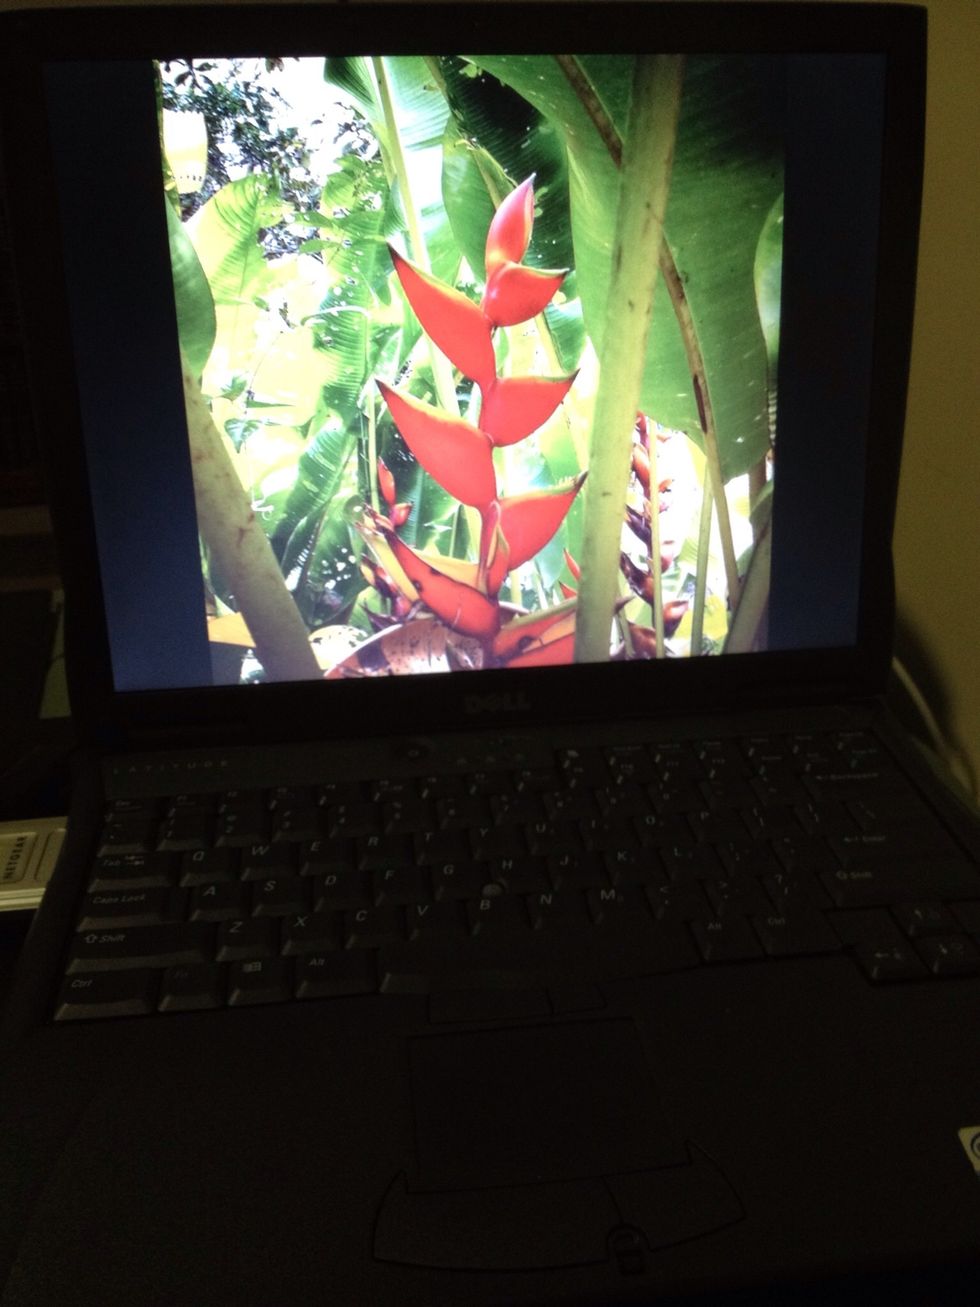
Turned on an boots up great!!!
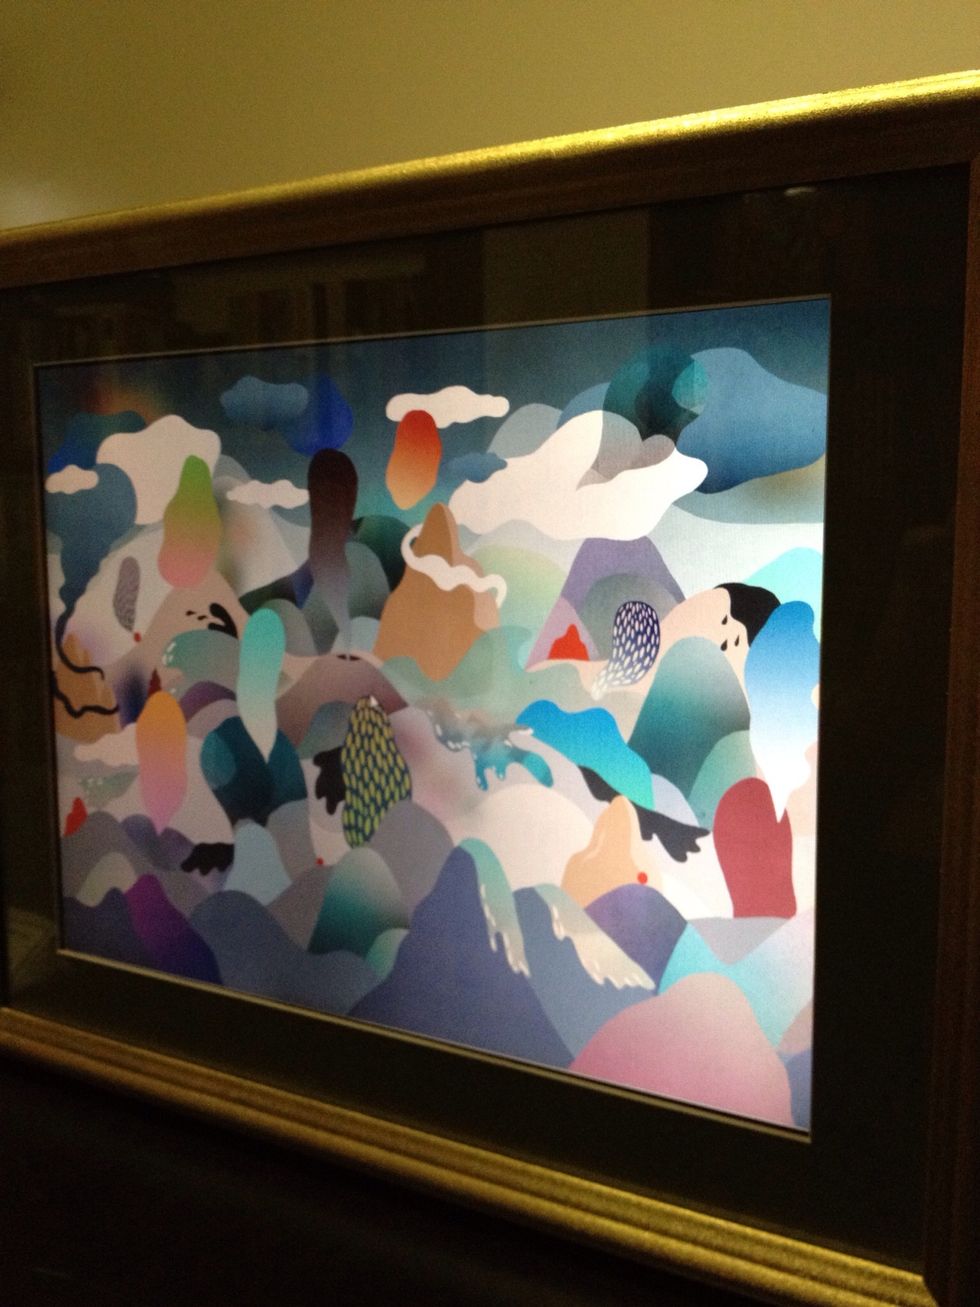
After a minute the screen saver starts. Looks great. Now to show my mom how to add photos to Dropbox from her 📱 😁❕