The Conversation (0)
Sign Up
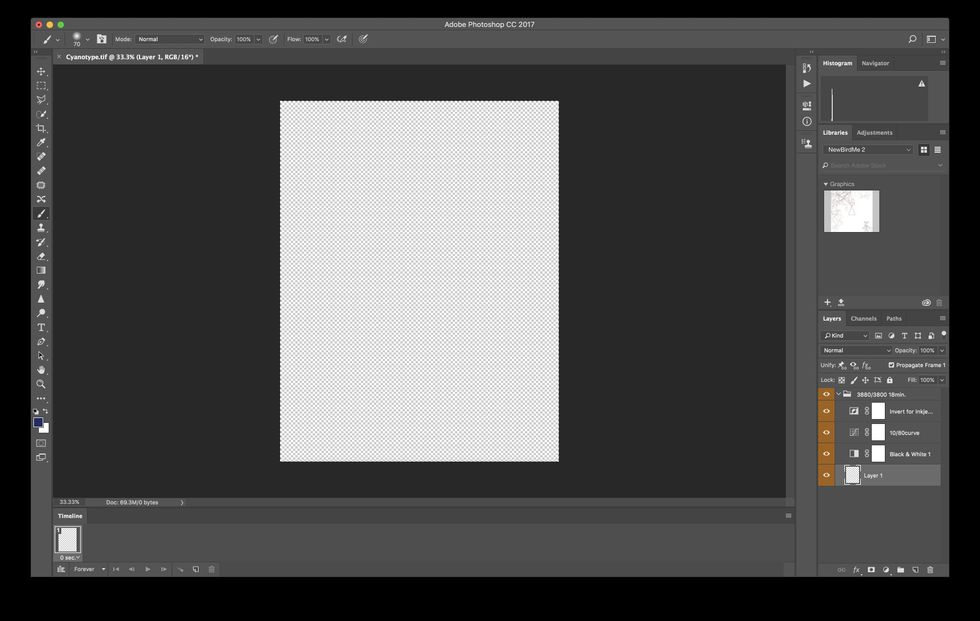
Open digital negative template from the Photoserver or Google Drive.
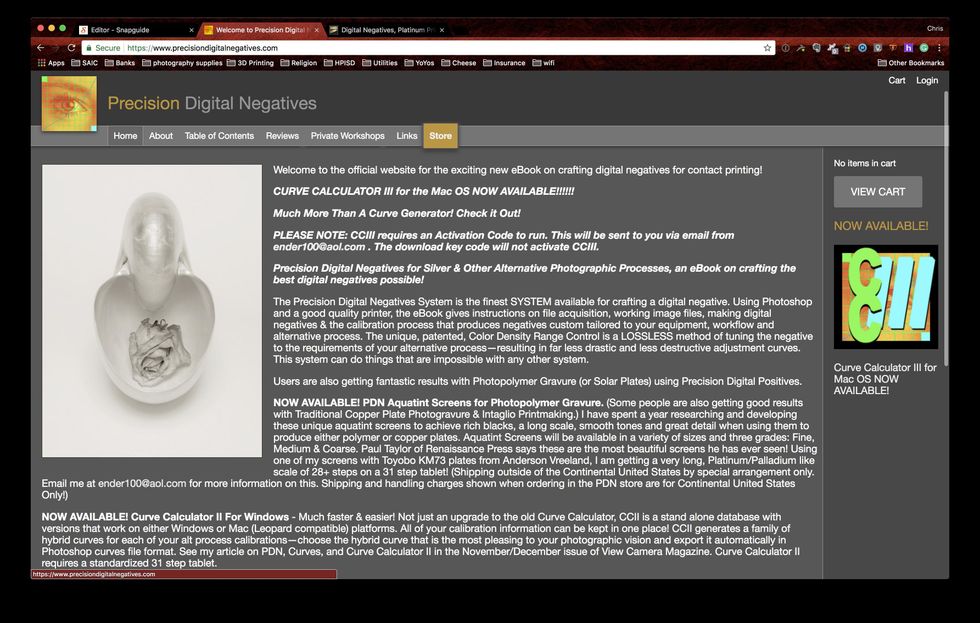
Don't have access to my Negative Template(s)? You can create your own by visiting Dan Burkholder's, Mark Nelson's or Ron Reeder's website. All three have different methods, find what works for you.

Open and color correct/edit your digital image. Go to the Image/Image Size menu and make sure and make the longest side of your image 8 and your resolution 360.
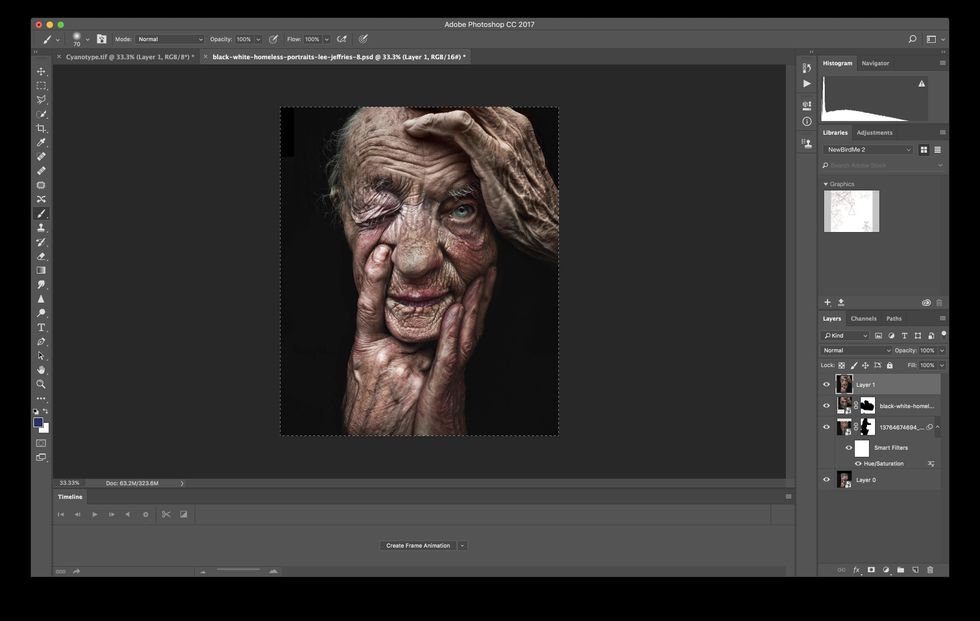
After editing/correcting click on the top layer in your layers window and hit command + option + shift +E. This will create a flattened version of your image on a new layer.

Select the new layer and hit command + A to select all.
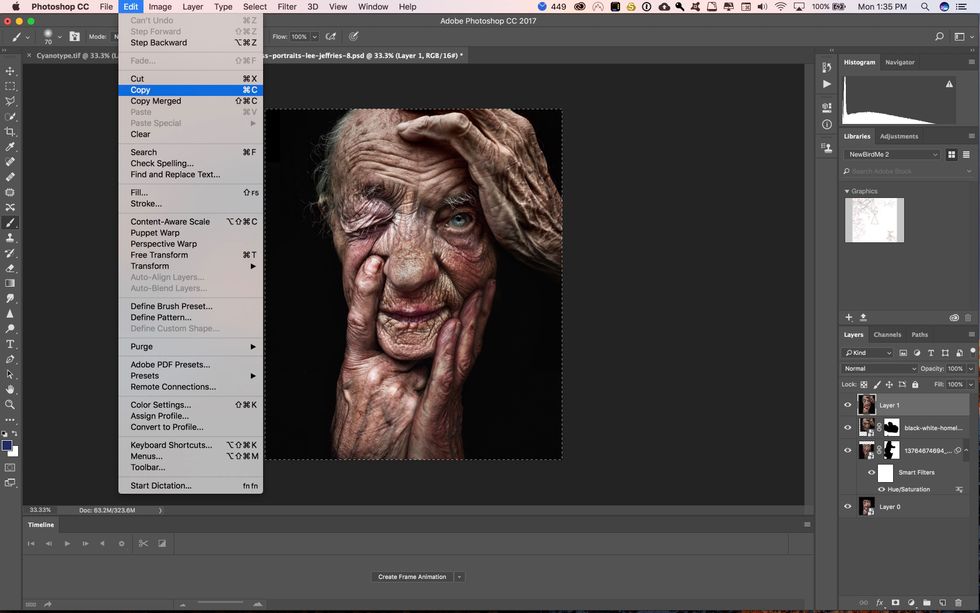
Now Go to the file menu and click on copy or hit command + C on the keyboard.
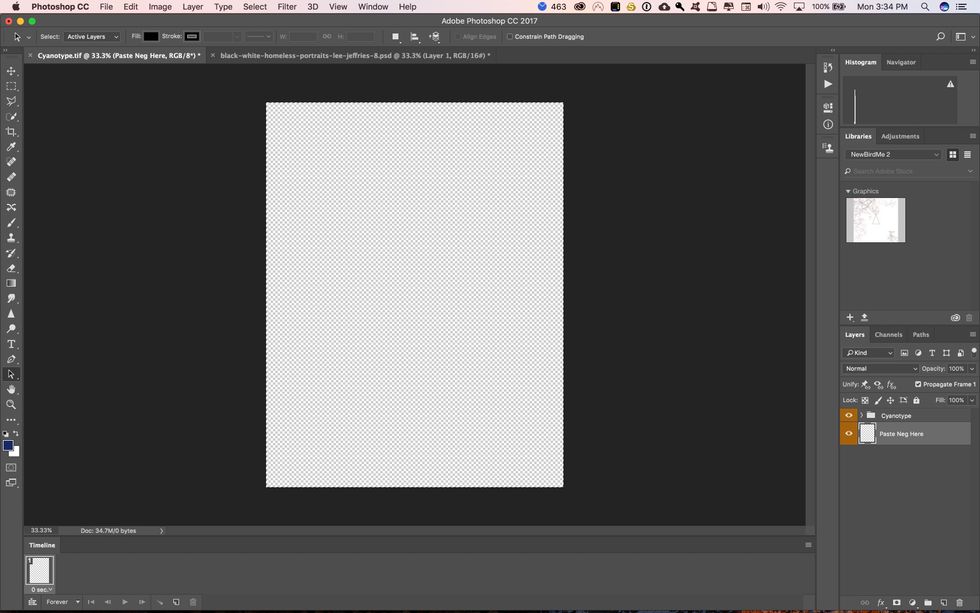
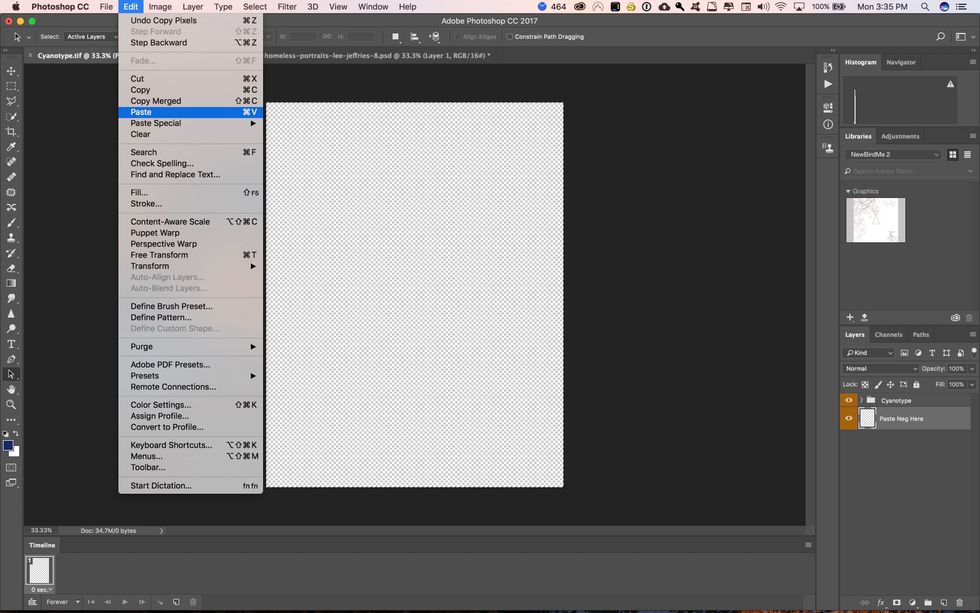
Go to the Edit menu and click on paste or hit command + V on the keyboard.
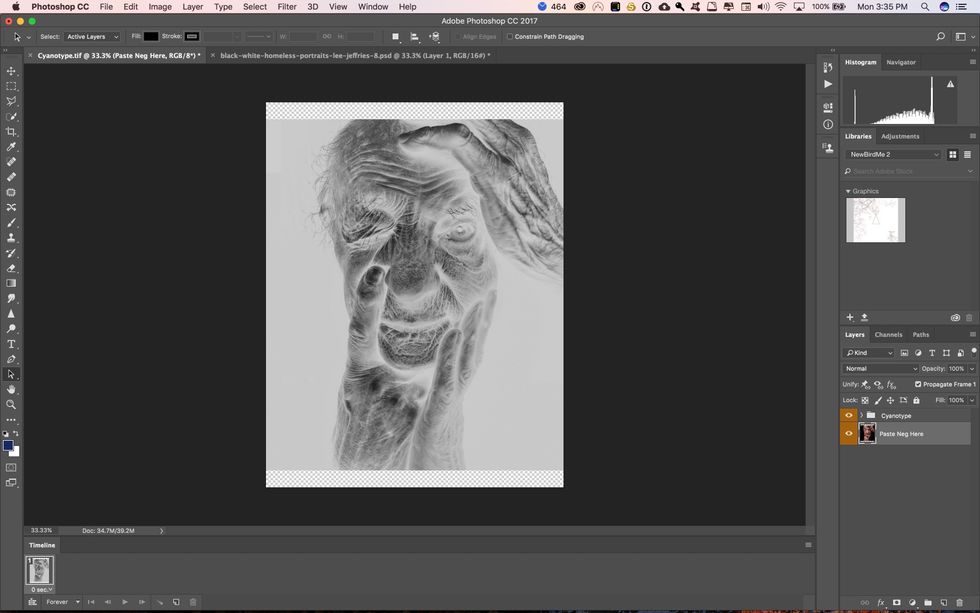
At this point you should see your image as a negative. Make sure you have the appropriate eyeball turned on next to the folder with the name of the process you are doing.