The Conversation (0)
Sign Up
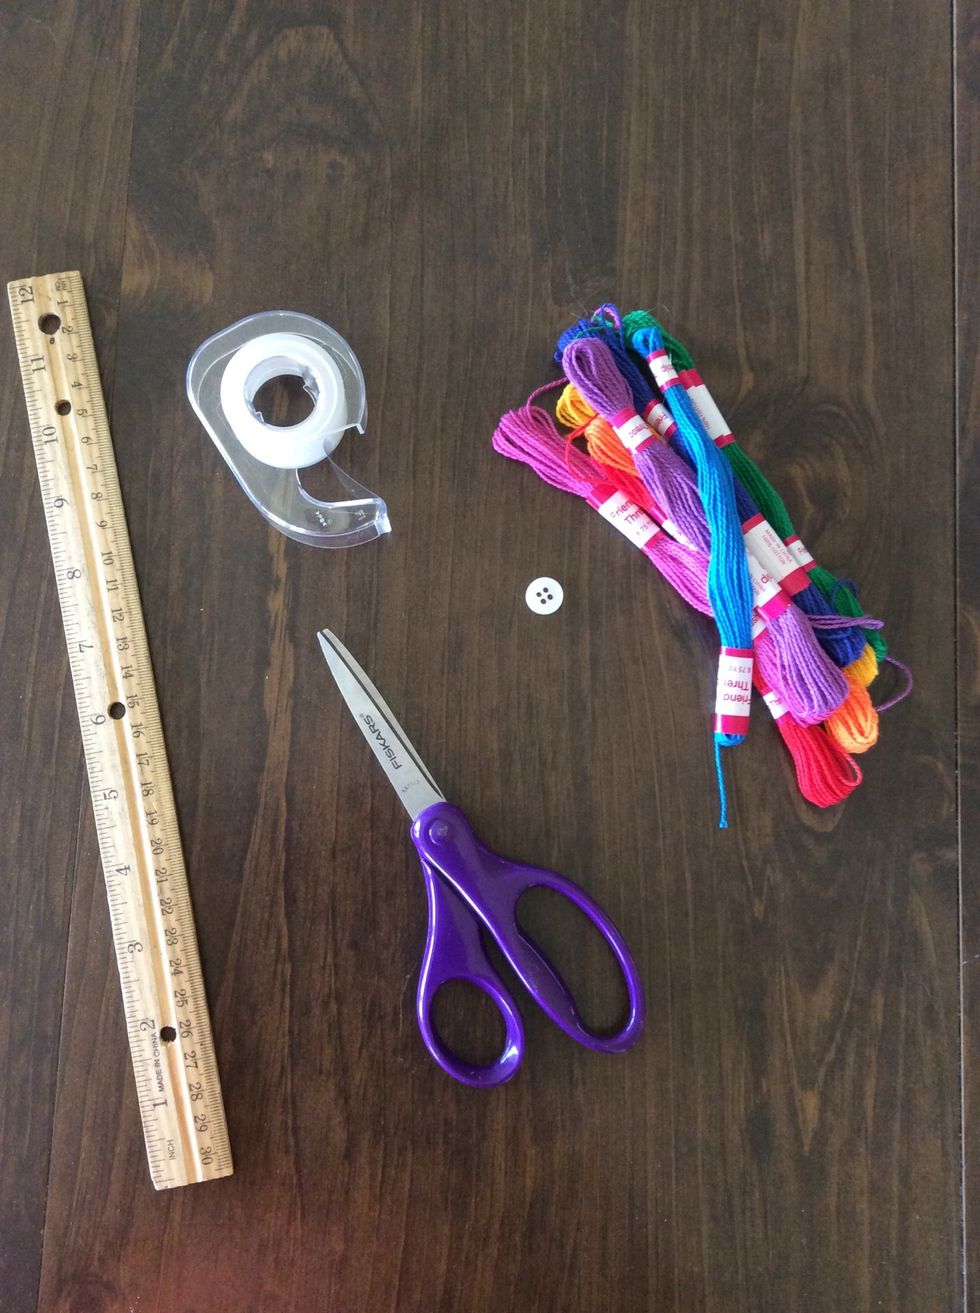
Here's what you'll need.
DISCLAIMER: This craft WILL take at LEAST an hour. Mine was about THREE WHOLE HOURS of making knots.
I do not recommend using as many colors as I did, especially if you've never made one before. Start with two or three colors, and then you can use more.
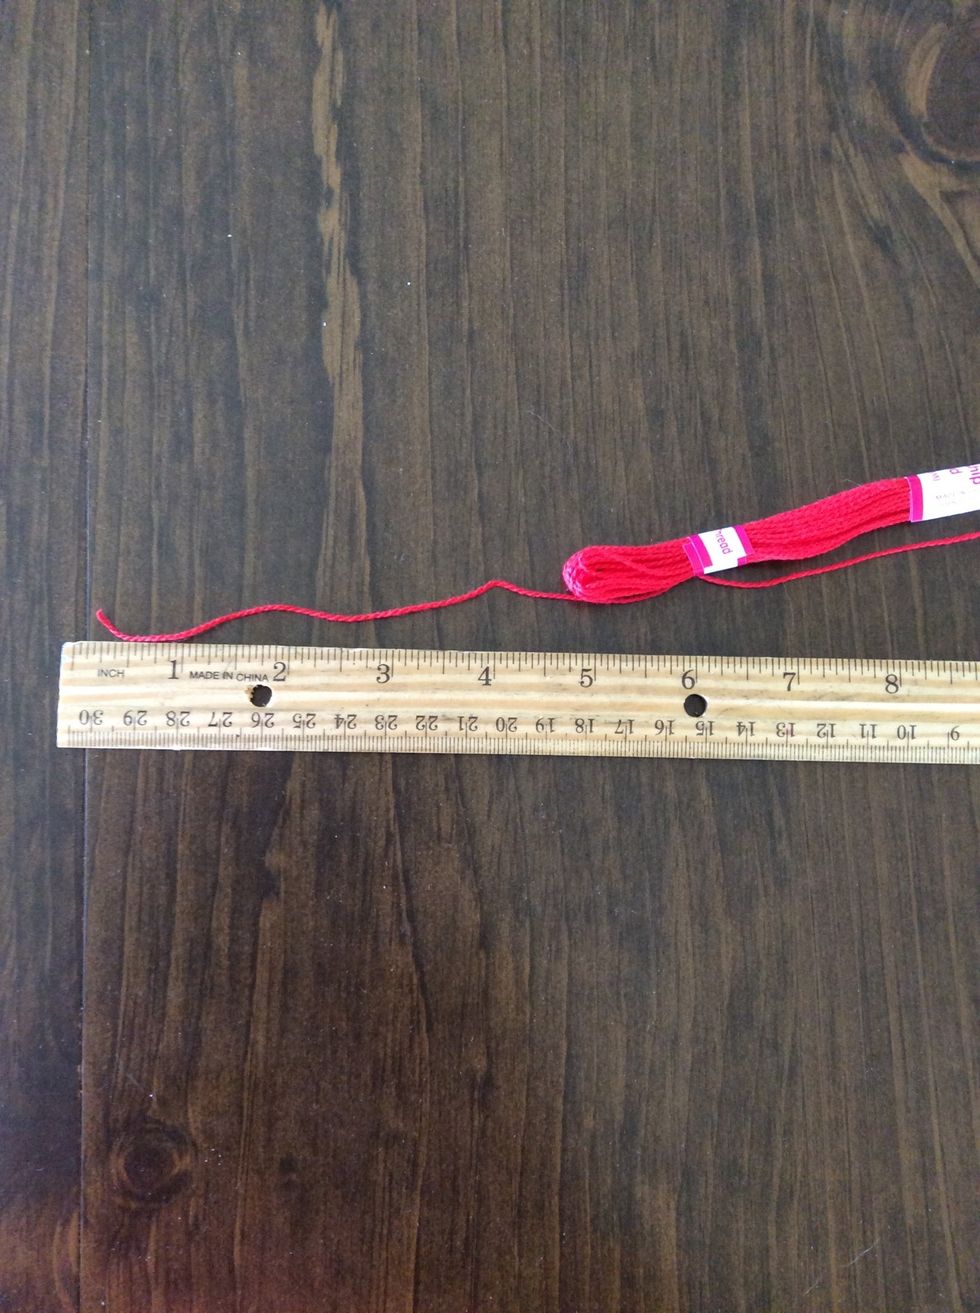
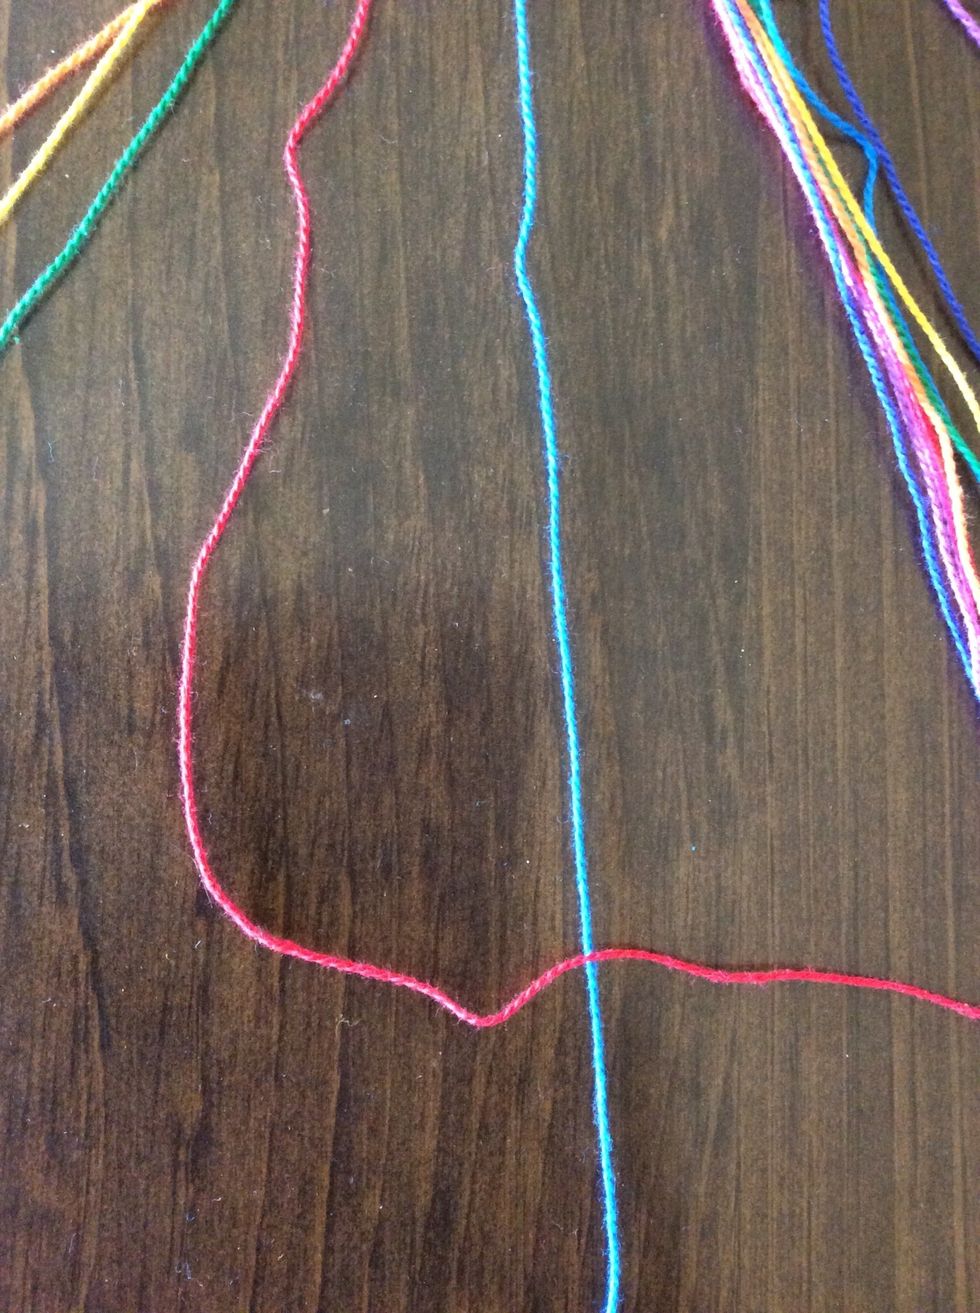
Measure five feet (sixty inches) of each color of embroidery thread.
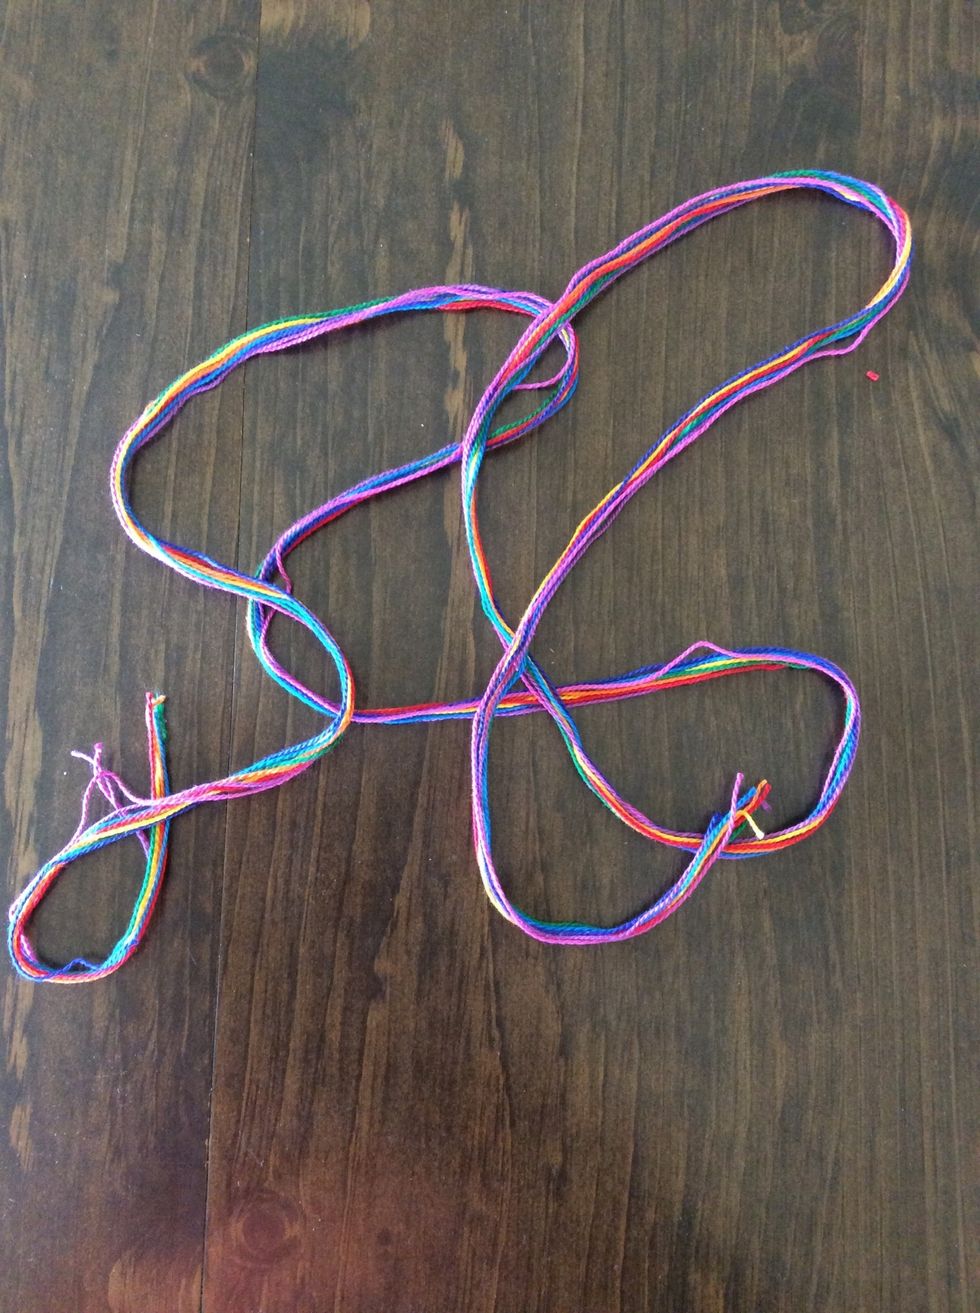
Here are mine. I used the first one as a guide for the rest of the colors.
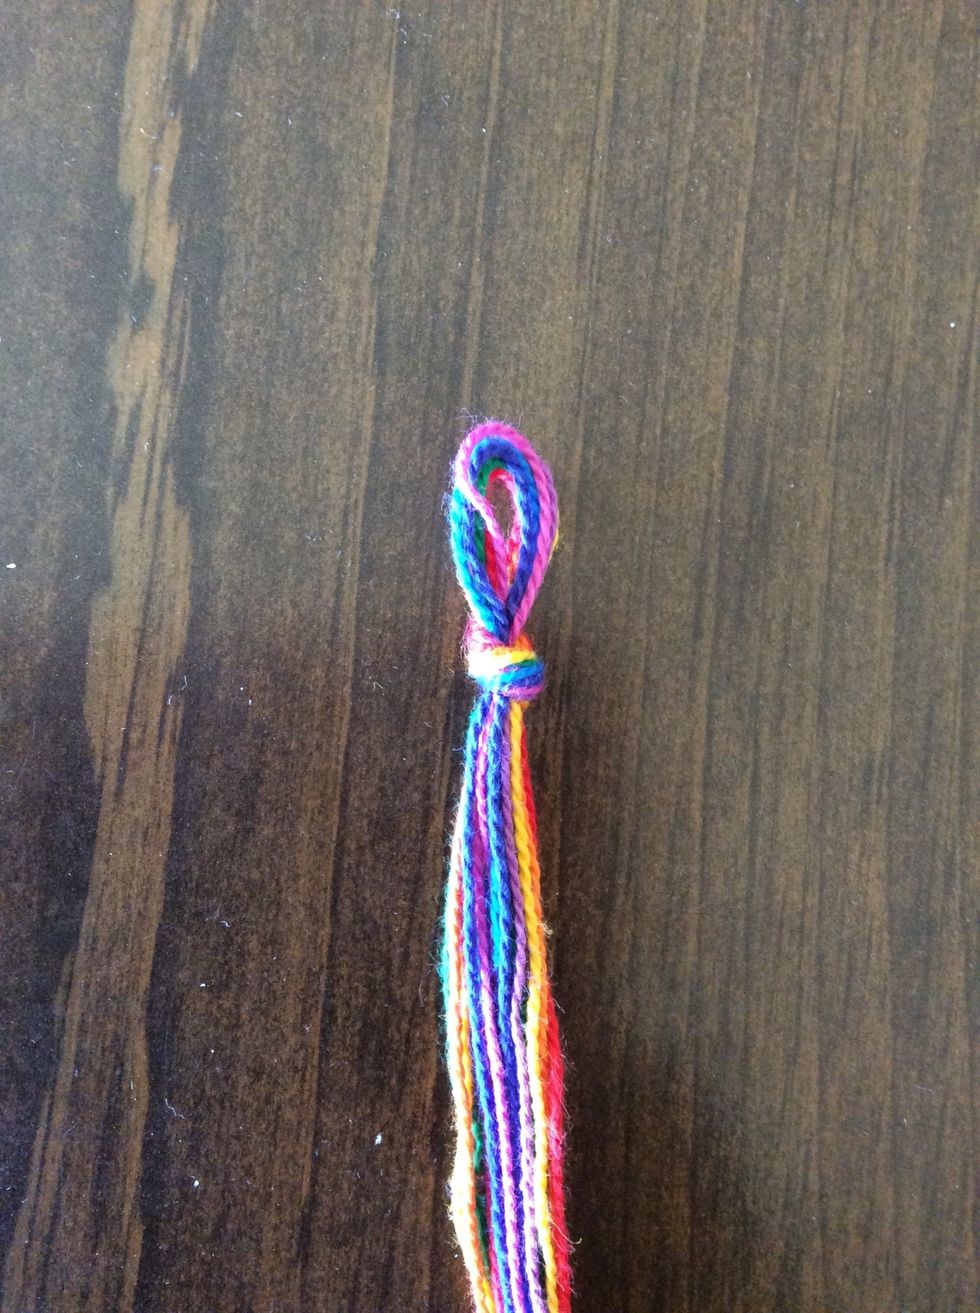
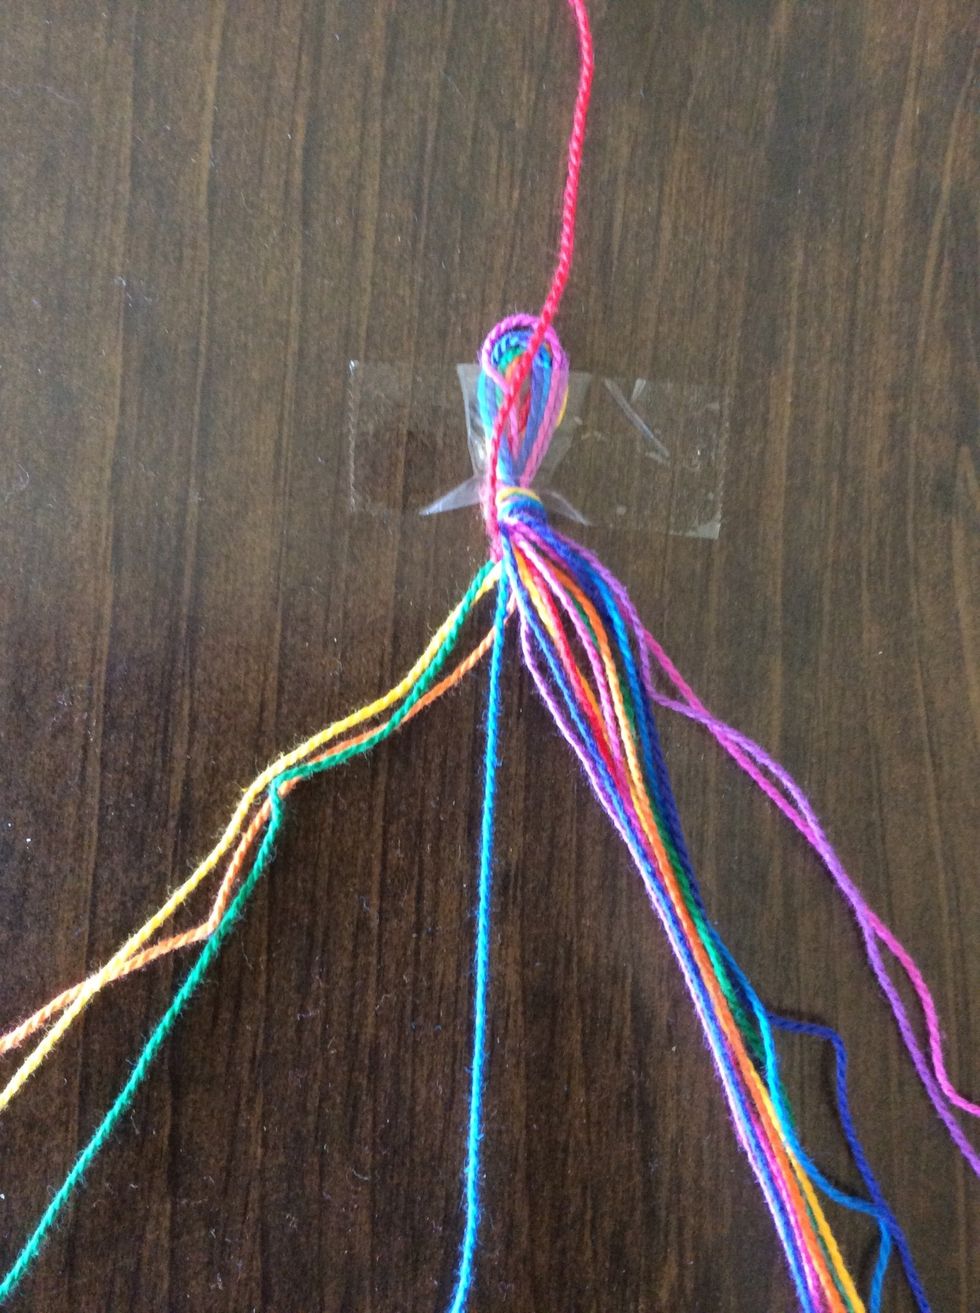
Fold the rope in half and tie a knot with about a one inch loop.

Tape the knot down, or pin it to a pillow.
I personally prefer to use the pillow and safety pin, but I couldn't find a safety pin.

Arrange the thread as you like.

Create a forward knot with the first two colors. Be sure to knot each thread twice.
Take the working thread and move onto the next color, and repeat until you've run out of more colors. Then go back to the end and repeat.
If you were confused about making knots, make a "4" shape with the working thread...

...loop the end through...
...and pull the working thread.
You can kind of see the pattern...

...but the second row is much more obvious.

It is VERY important that you ONLY pull the working thread, or this will happen.
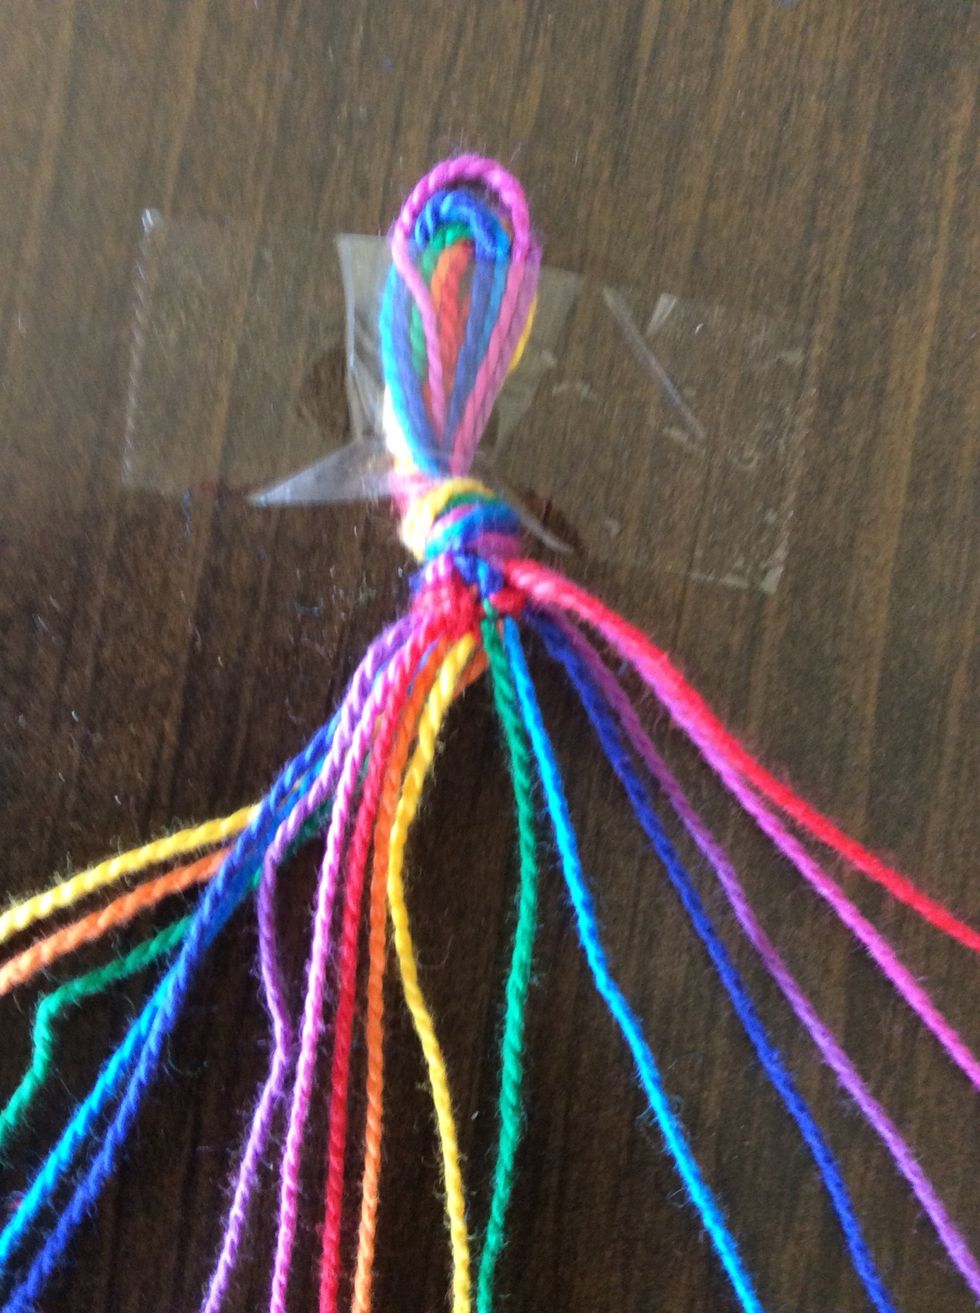
Here is my bracelet after going through all of the strings once.

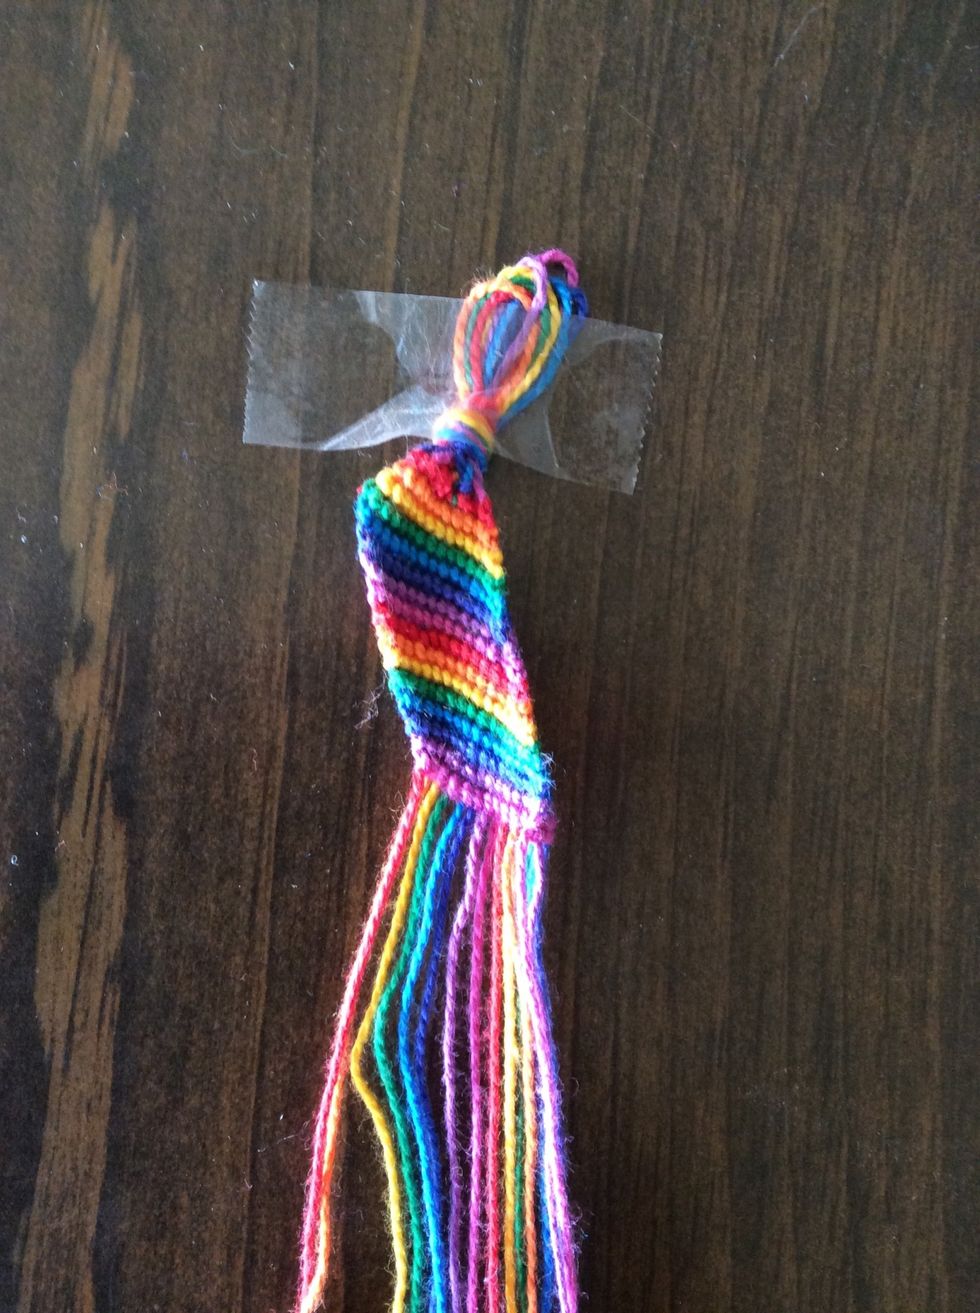
Mine is finally long enough for my wrist!
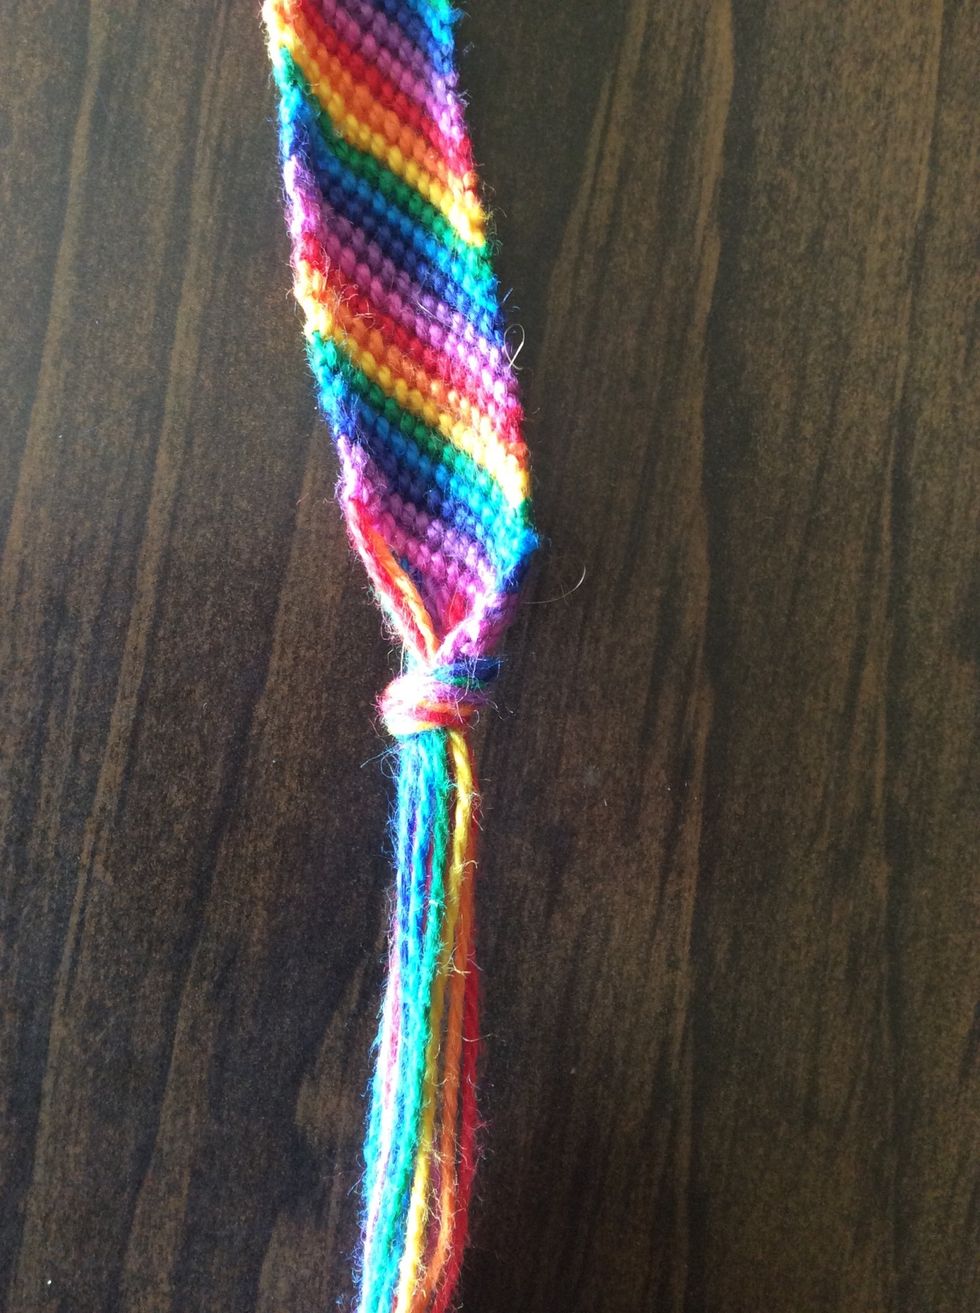
Make a knot at the end.

Separate two strings, the colors don't matter.

Loop the strings through the button like so.
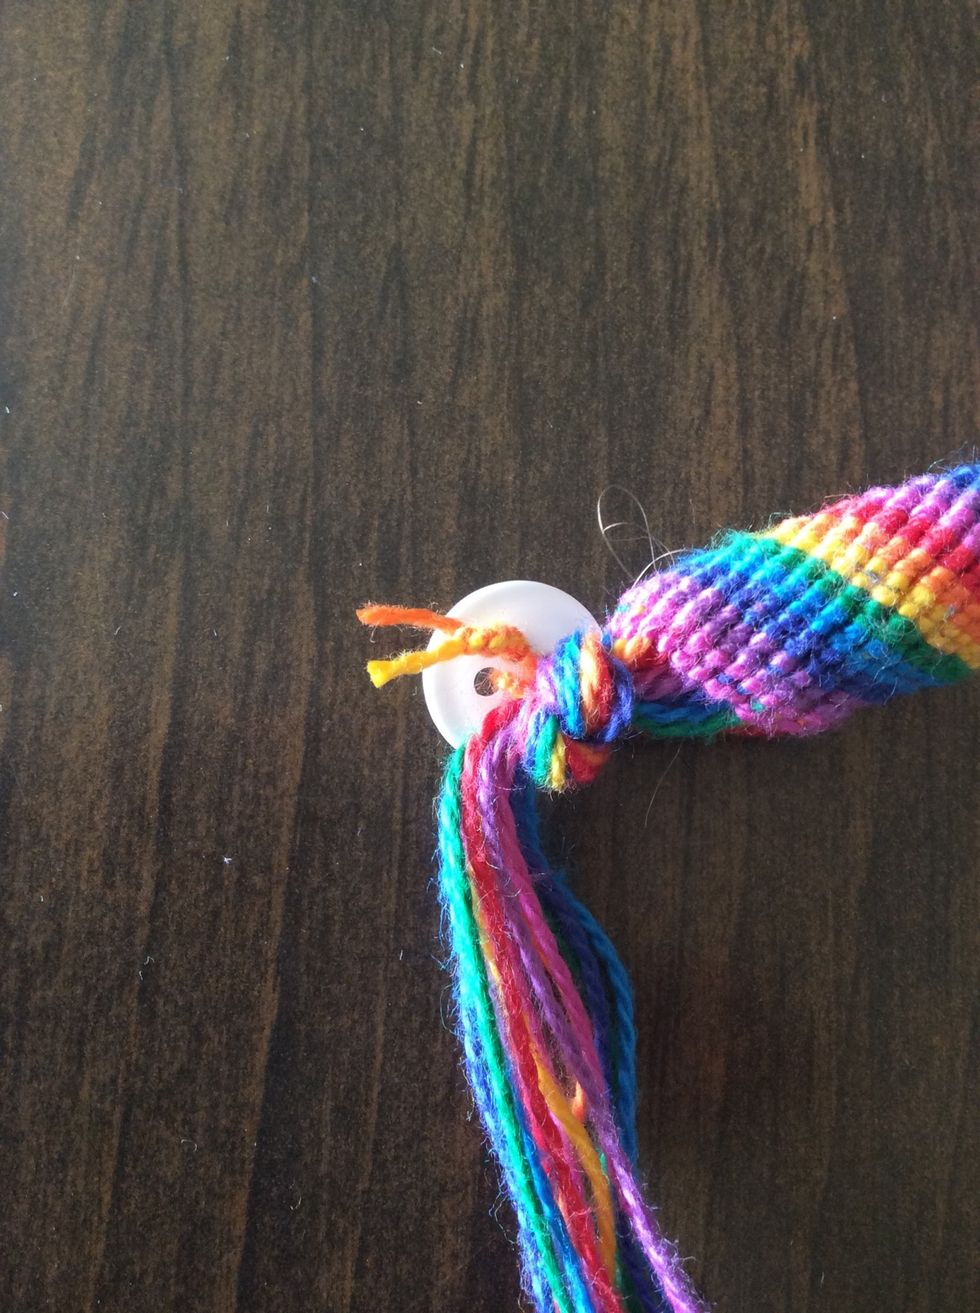
Tie the string several times and cut off the excess.
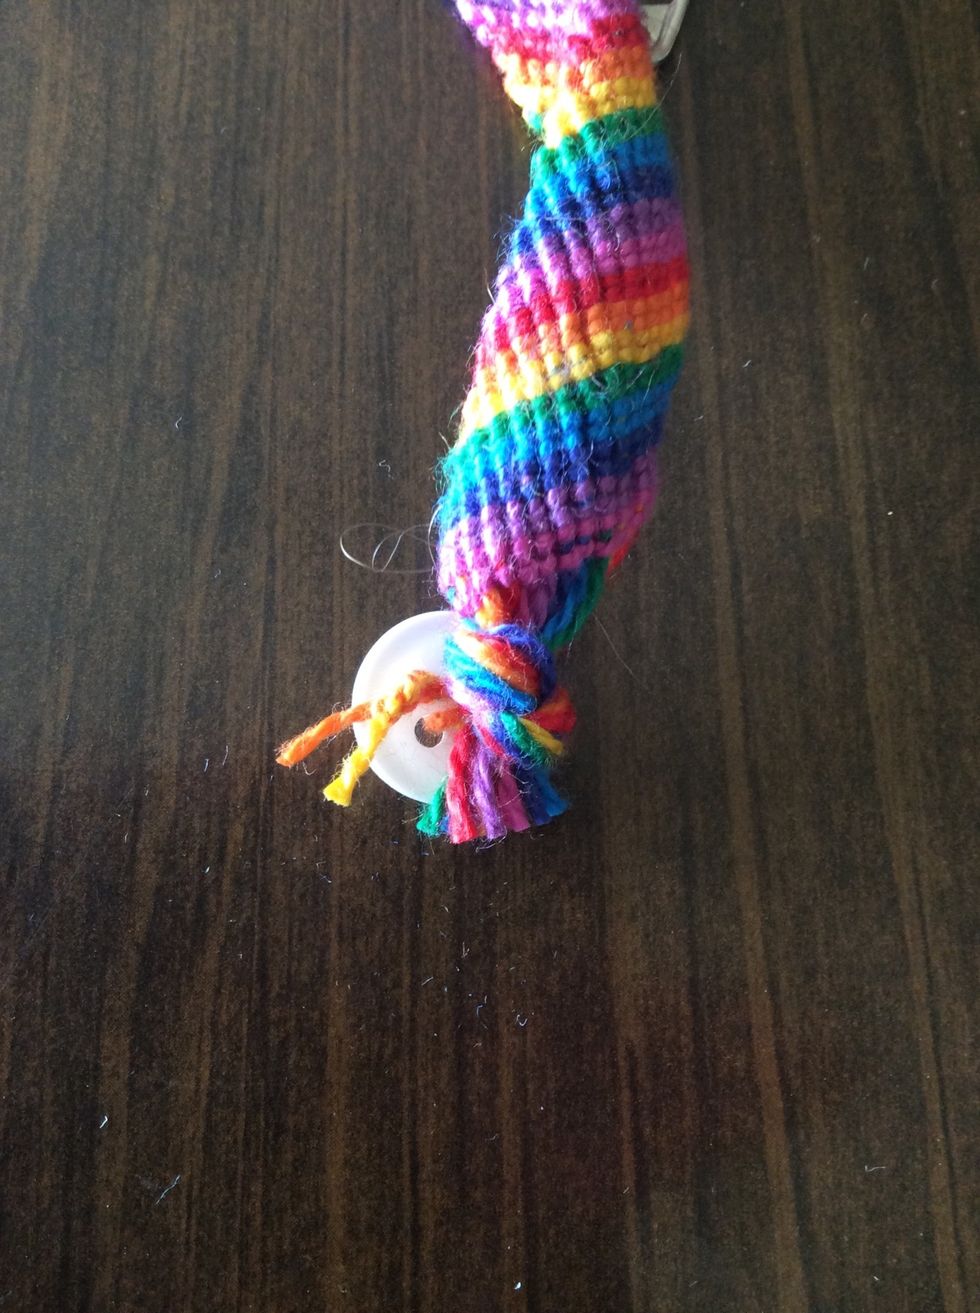
Cut off the rest of the strings.
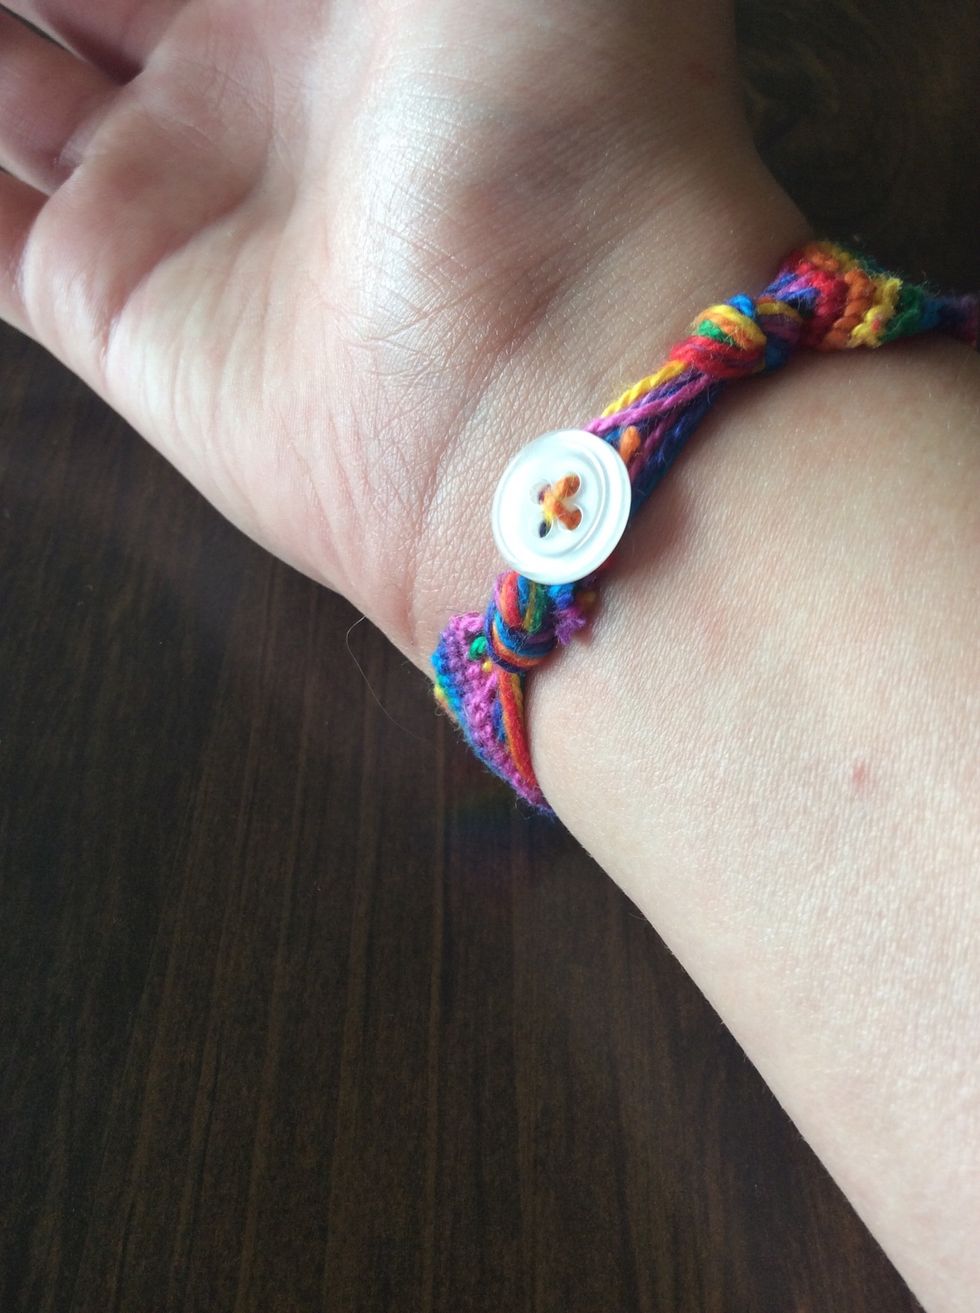
To put it on, put the button through the loop made earlier.
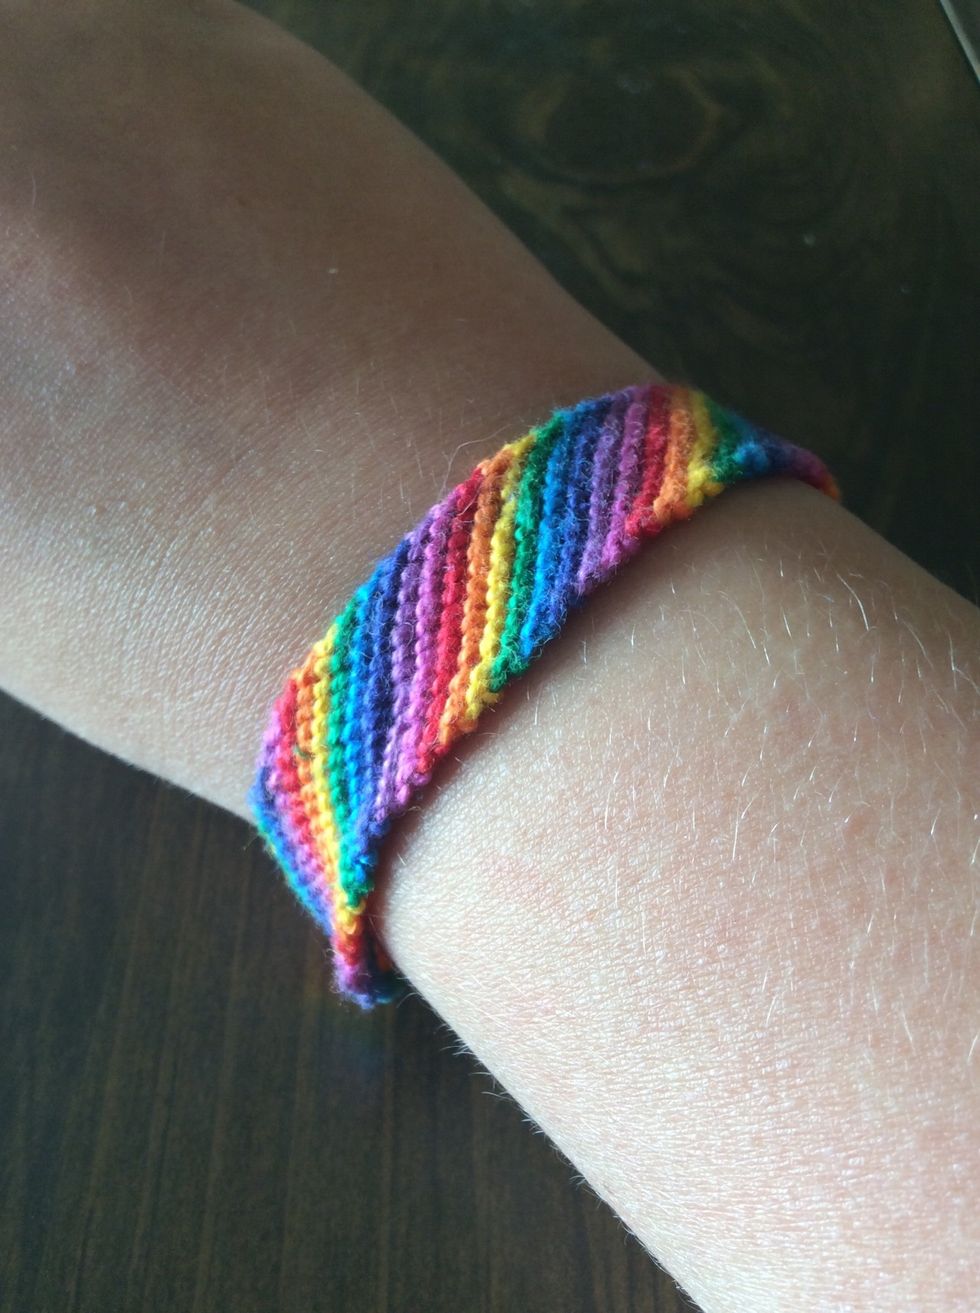
You're finished! It should stretch out a little, so don't worry if it's snug.