The Conversation (0)
Sign Up
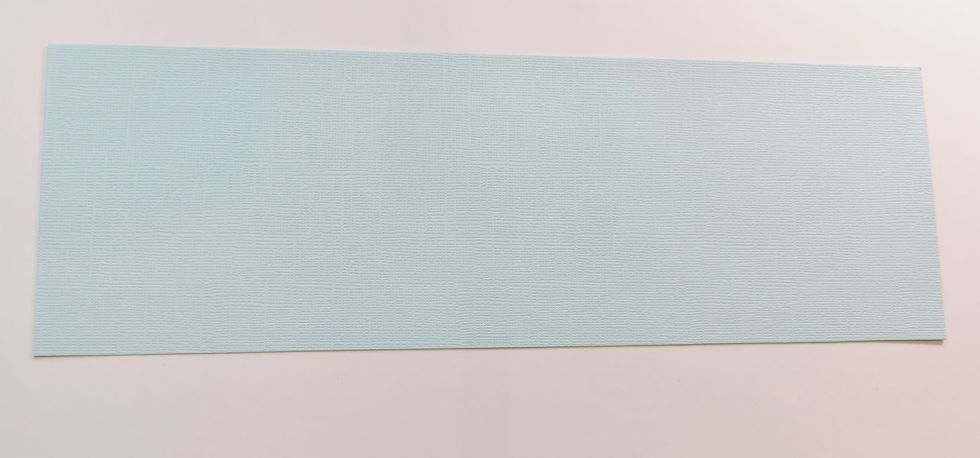
Start with a 4" X 12" rectangle for the base of your card.
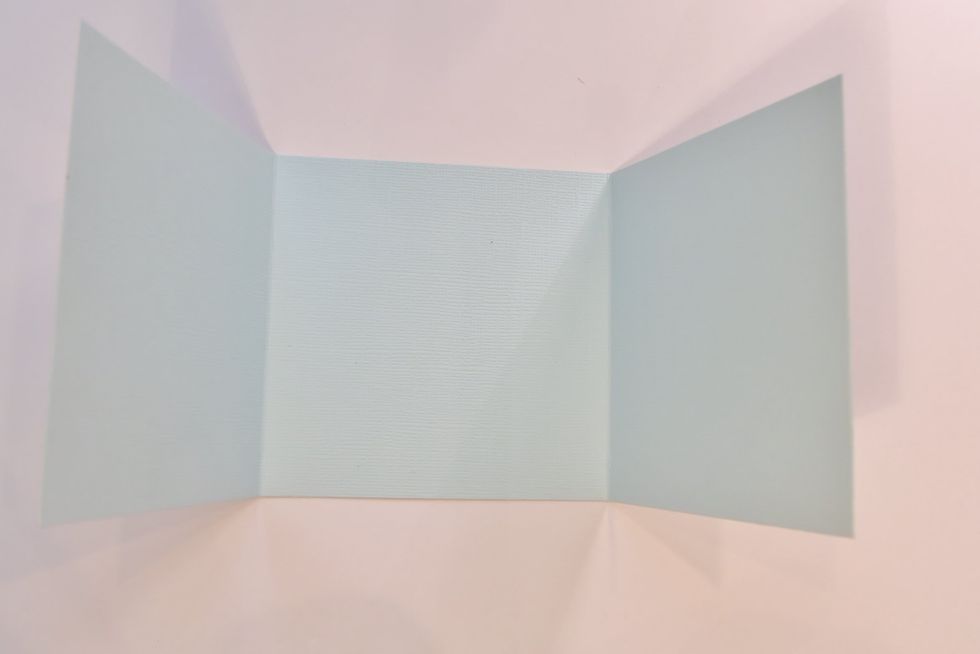
Divide the rectangle into thirds by scoring the 12" side of the paper at 4" and at 8" -these will be valley folds.

Score diagonally in the direction shown with the red lines - these will be mountain folds.
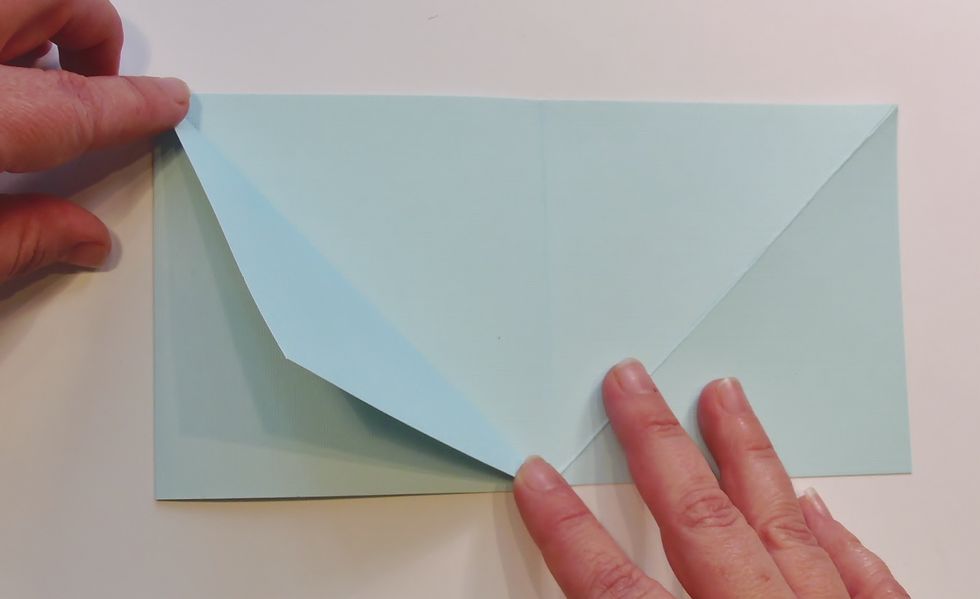
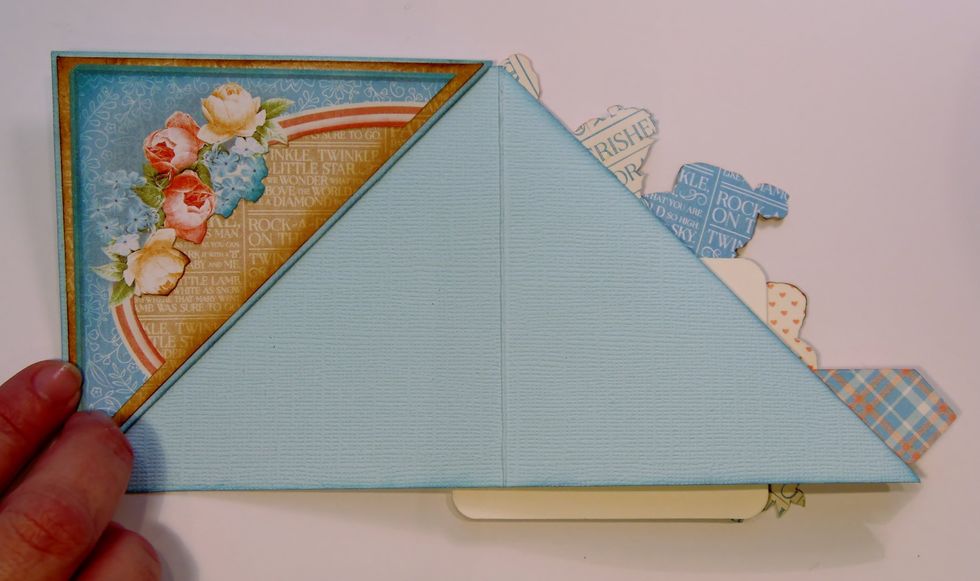
Fold the first third of the rectangle in and then fold out one of the triangles -that you got from making the diagonal score mark.
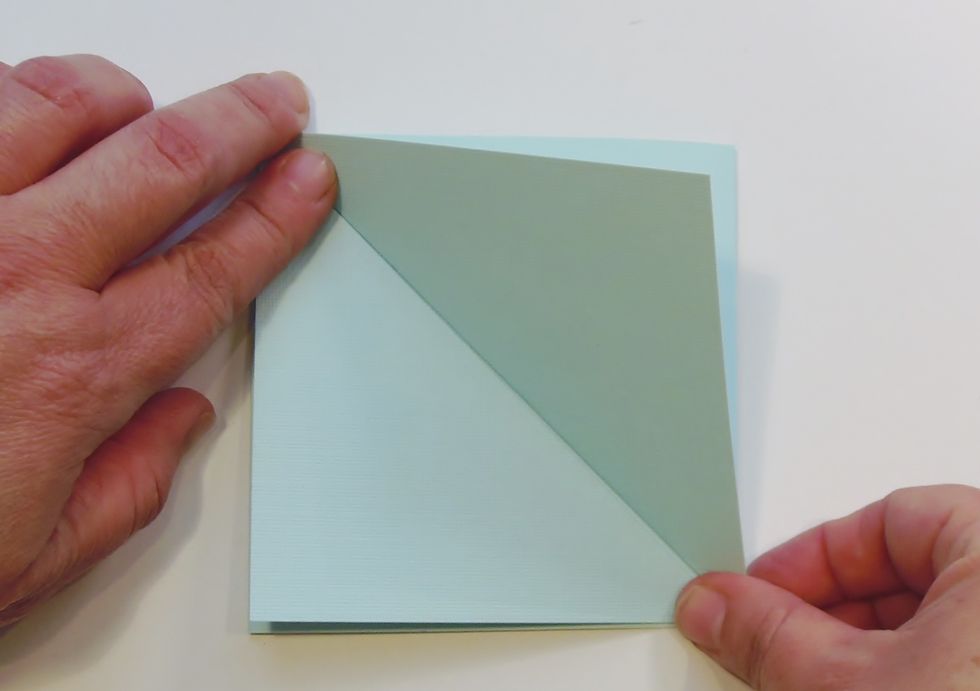
Repeat step 4 with the opposite end of the rectangle.

Make sure all folds of the card are as flat as possible.

Gather tags, fussy cut images, etc. that will be used to decorate the front of the card.
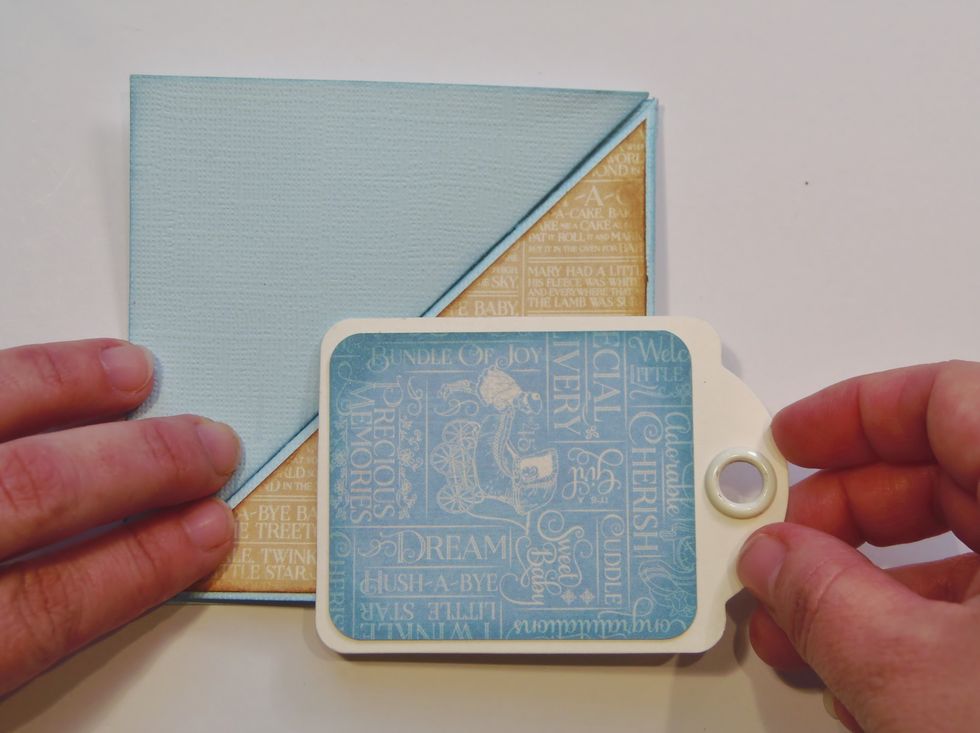
Before you begin to embellish the card plan how you want to layer your images. You'll only be gluing them to ONE of the triangles. You can overlap them, but don't glue them to the opposite triangle.

Use 3D foam squares to give more dimension to the layers.
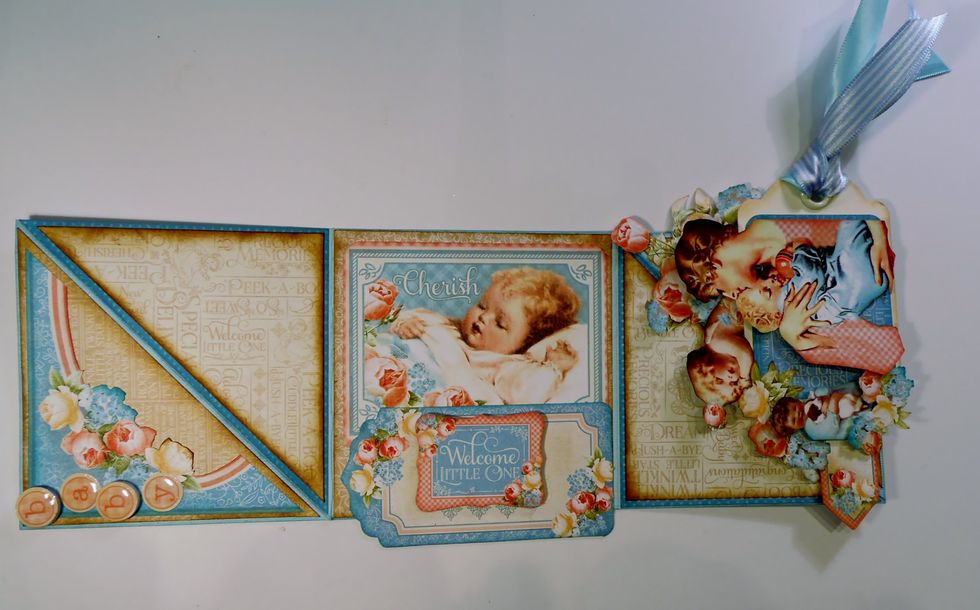
Now you can decorate the left side of the card.
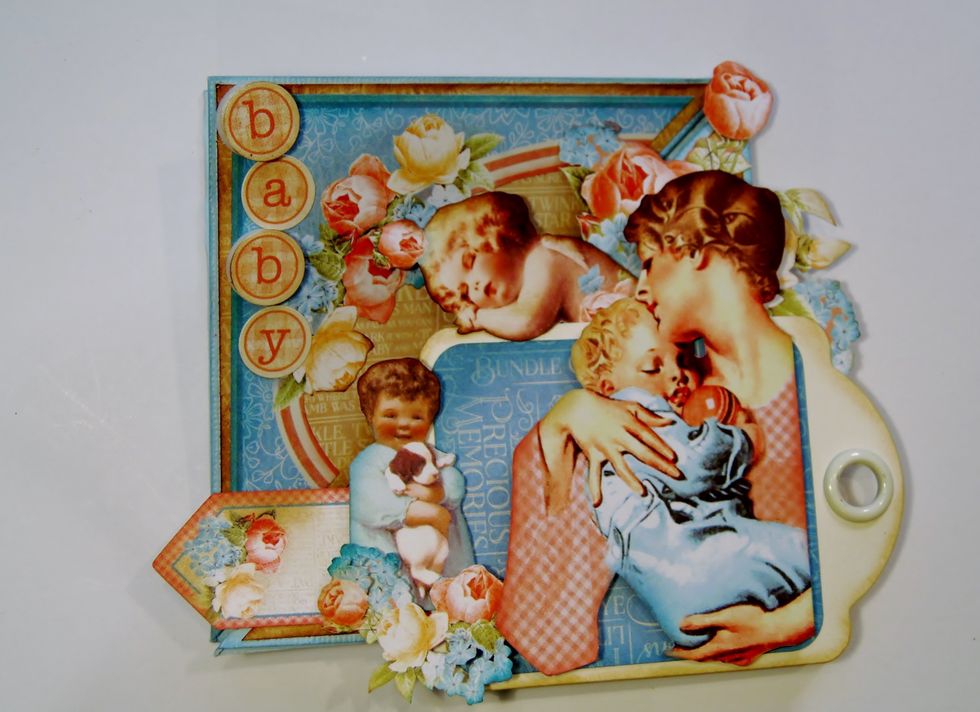
Front view of the card. Just needs a couple more details to look completely finished.
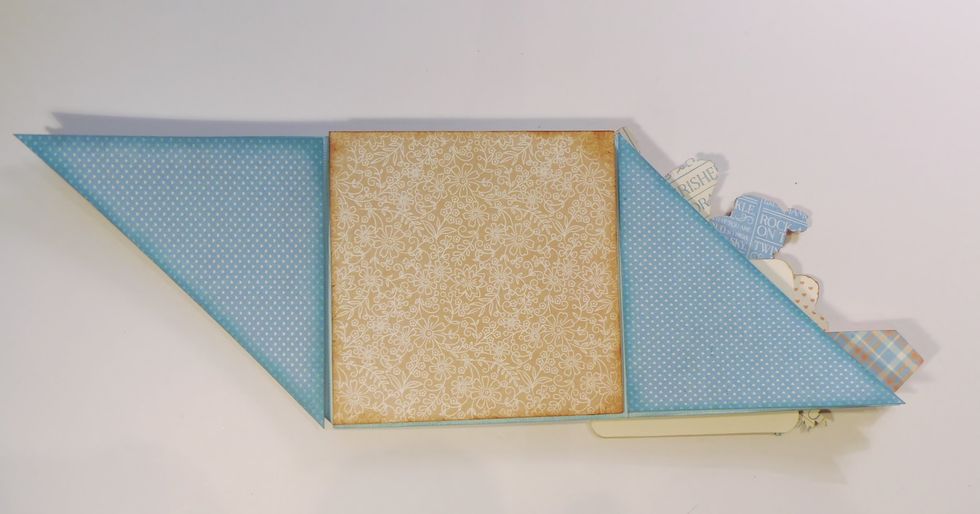
Add some nice colored paper to the inside of the card (center and sides)
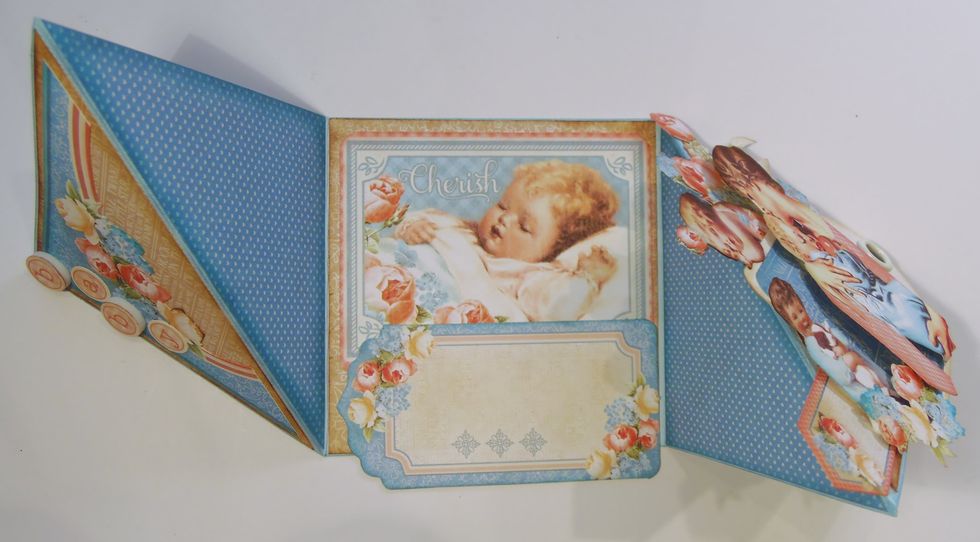
Use tags and fussy cuttings to decorate the inside. I do not recommend using foam dots to give dimension because it will prevent the card from closing flat.
Use light colored paper that can be used for journaling.
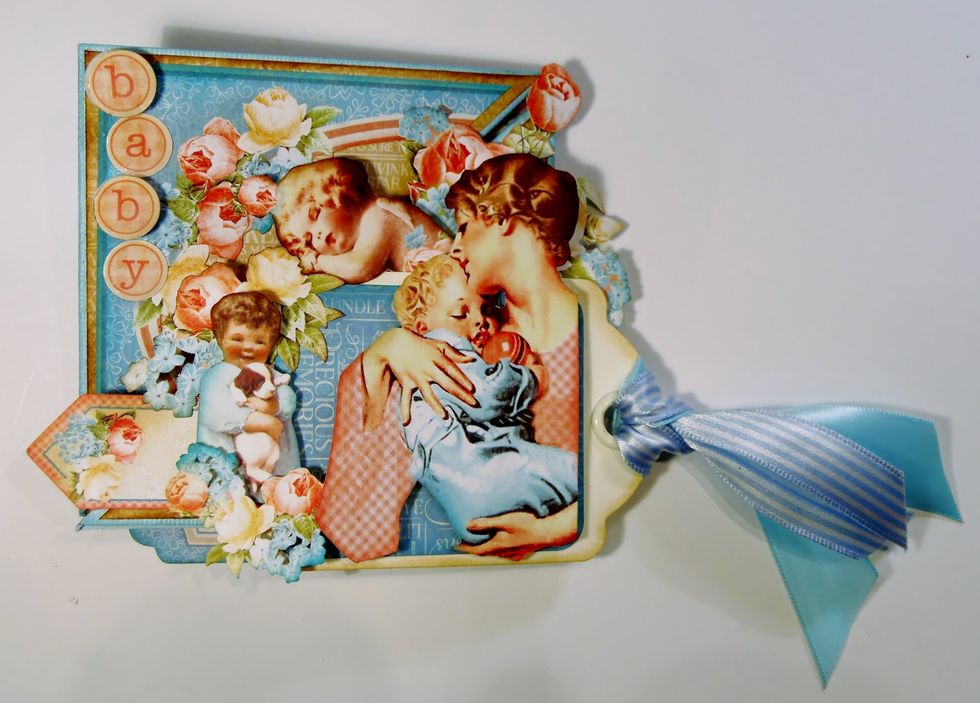
Add some ribbon and the card is finished.