The Conversation (0)
Sign Up
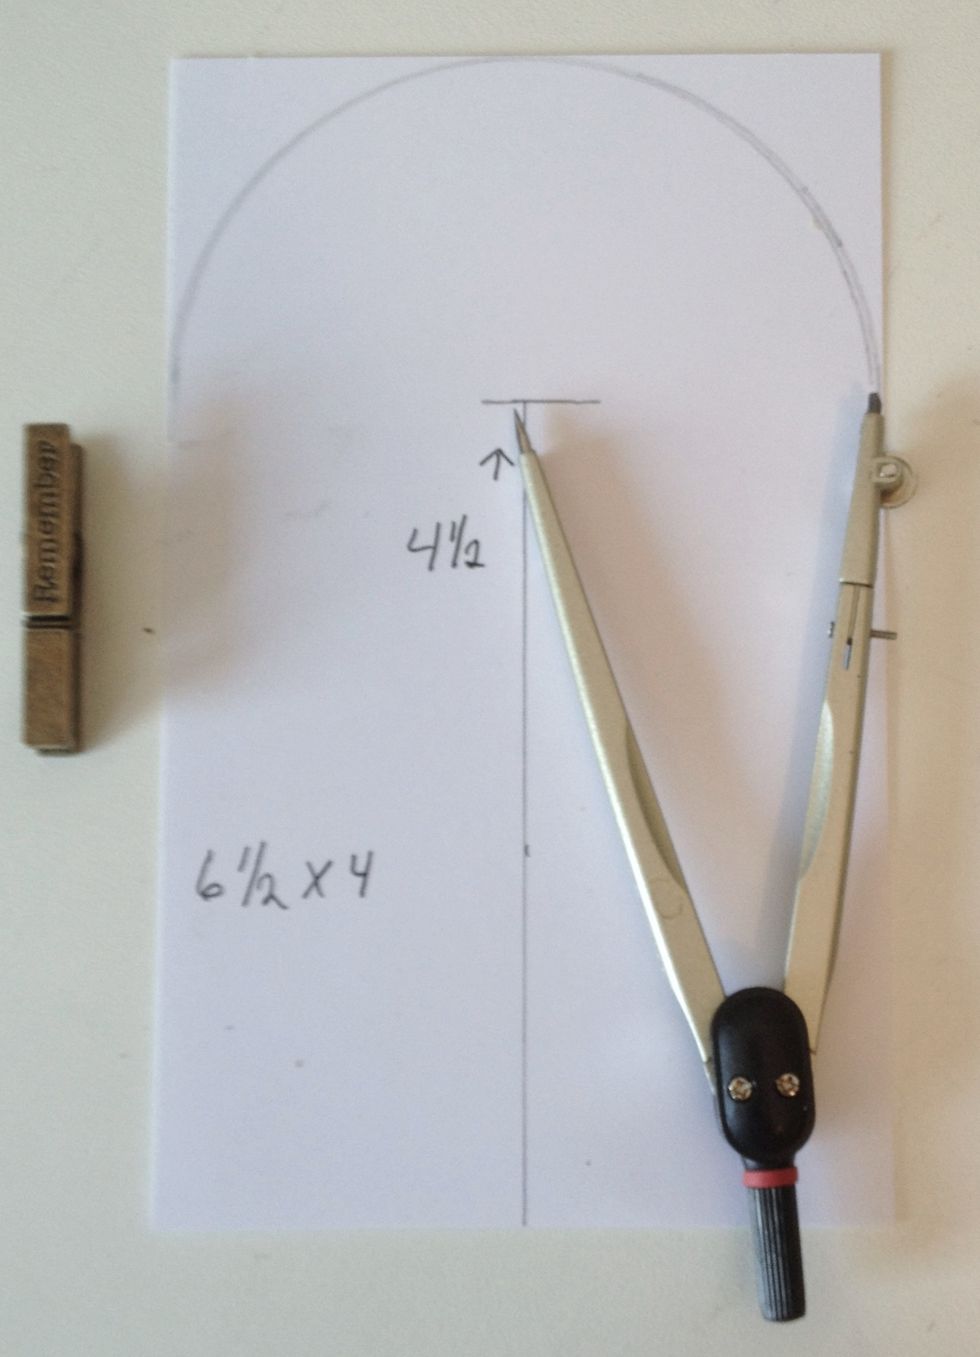
Make a template as show on the picture
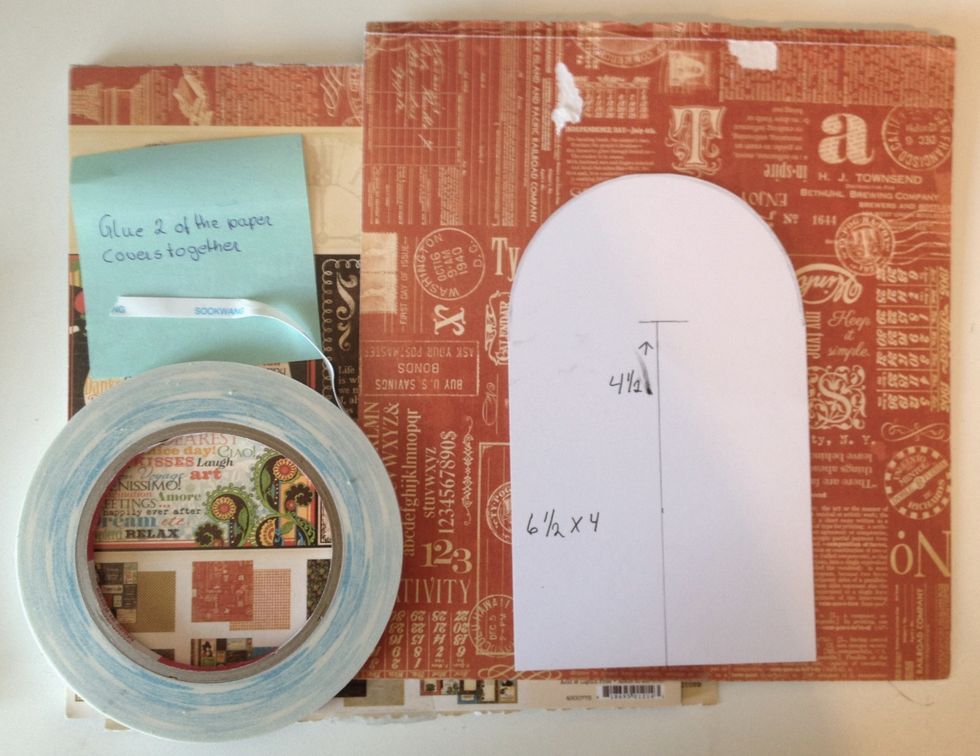
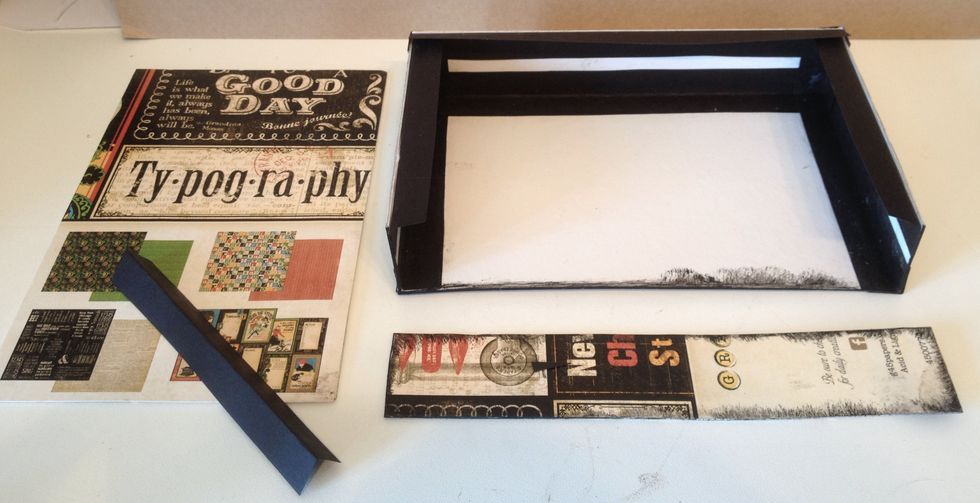
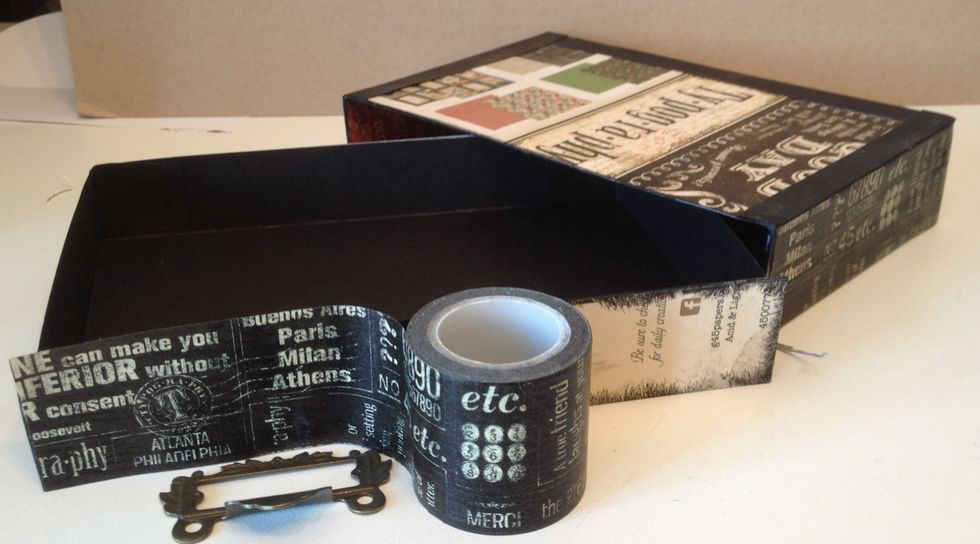
Used the paper pad cover for the stand and drawer chest. Best with 3 or 4 layers. I used 3 and one inside under the drawer
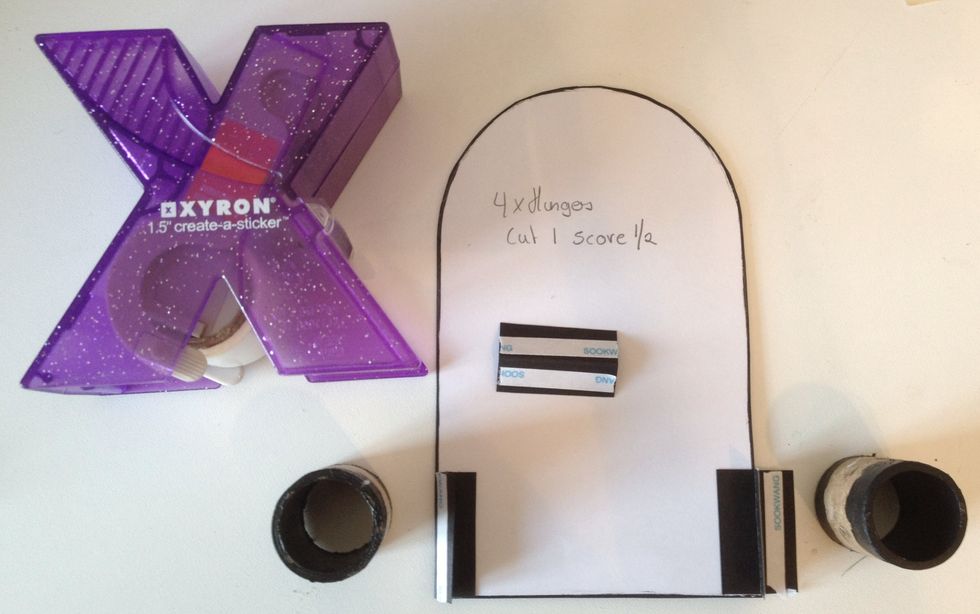
When my roll of Xyron is empty i save the rolls. Used 2 of the large on this set and painted the inside black.Glue hinges on both sides of the stand.

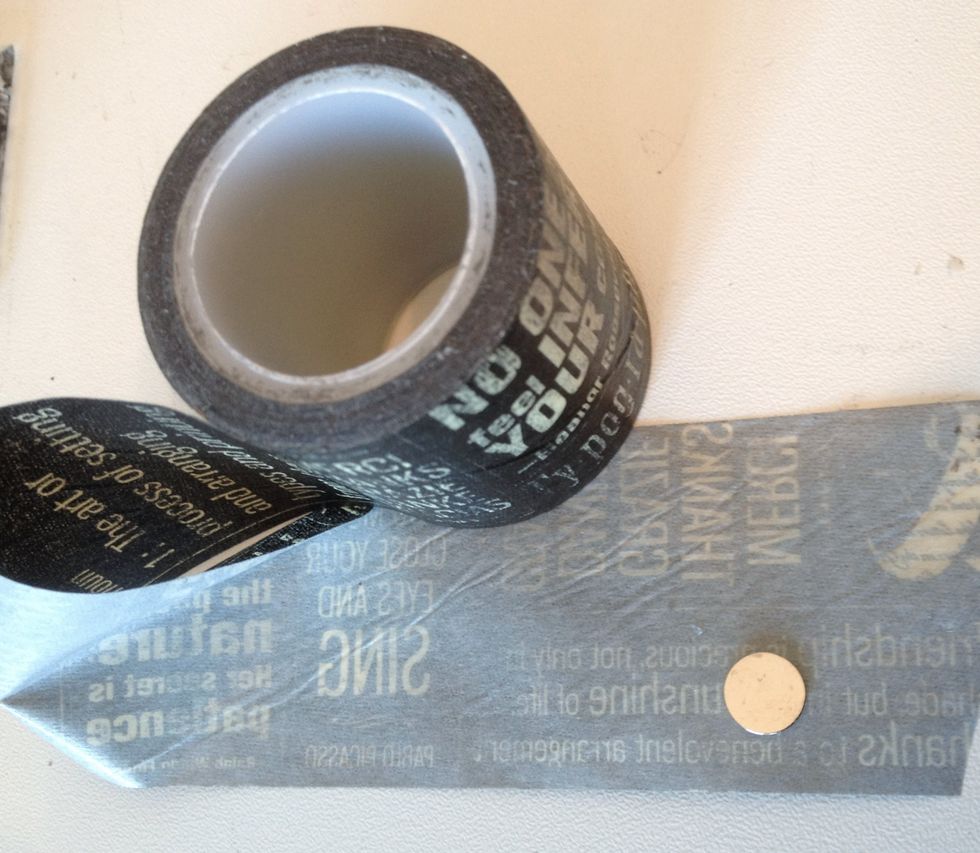
Cover theoutside of the rolls with washi tape.
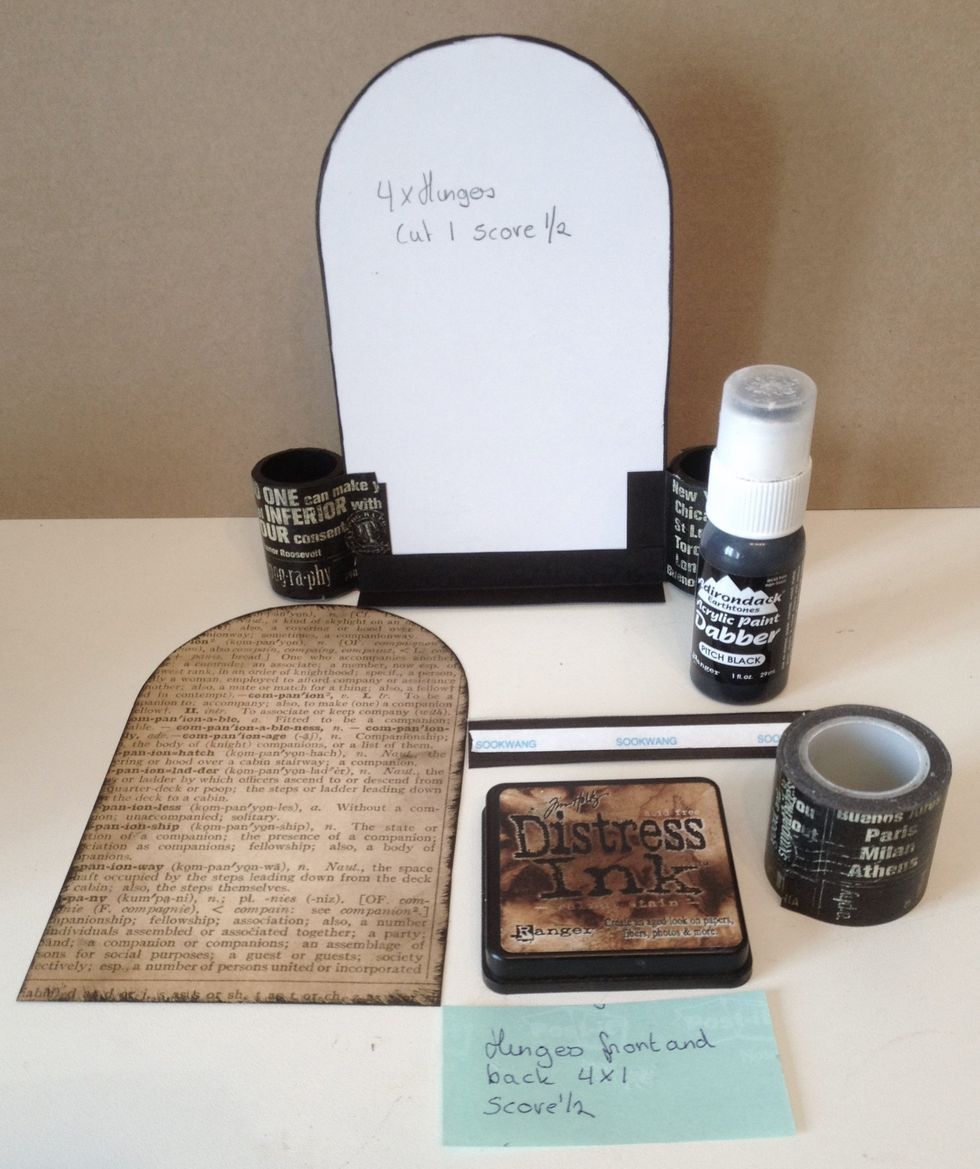
Use the template for the Typography paper.Glue hinges on both sides on the stand bottom.
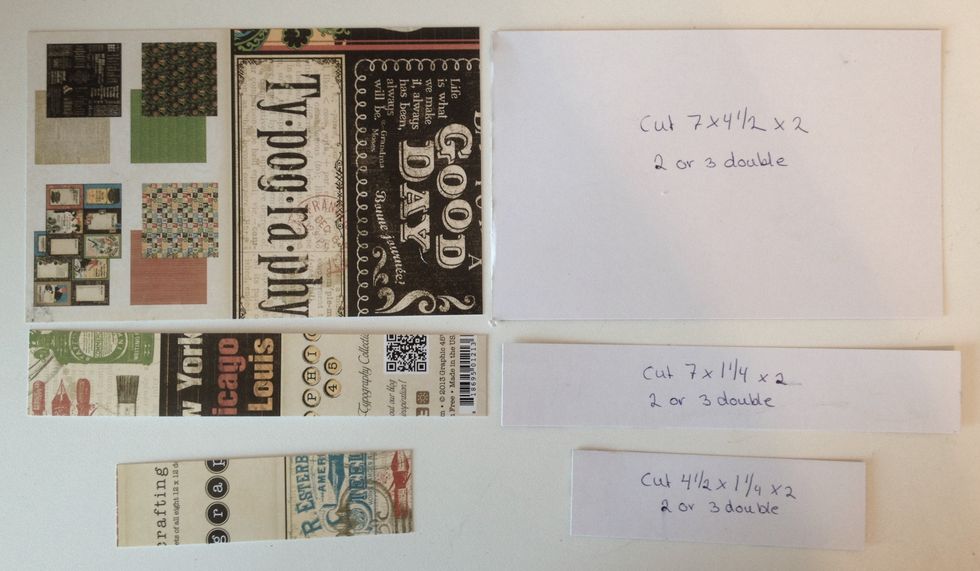
Measurements for the chest.
Glue together with hinges
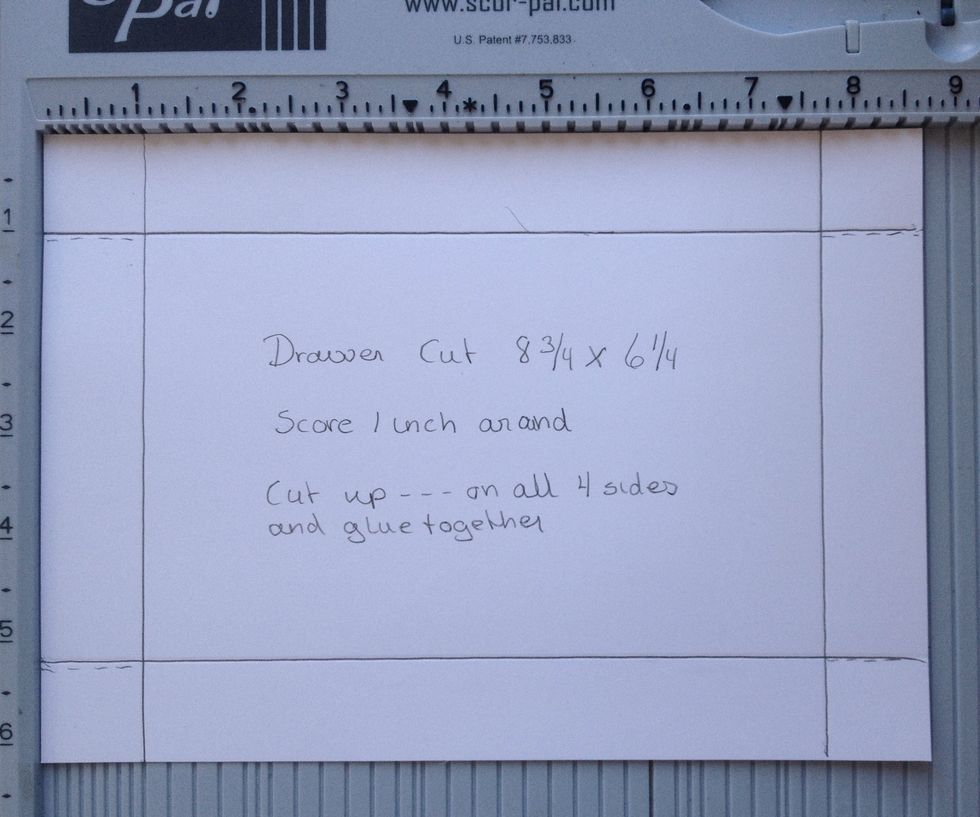
Measurements for the drawer.
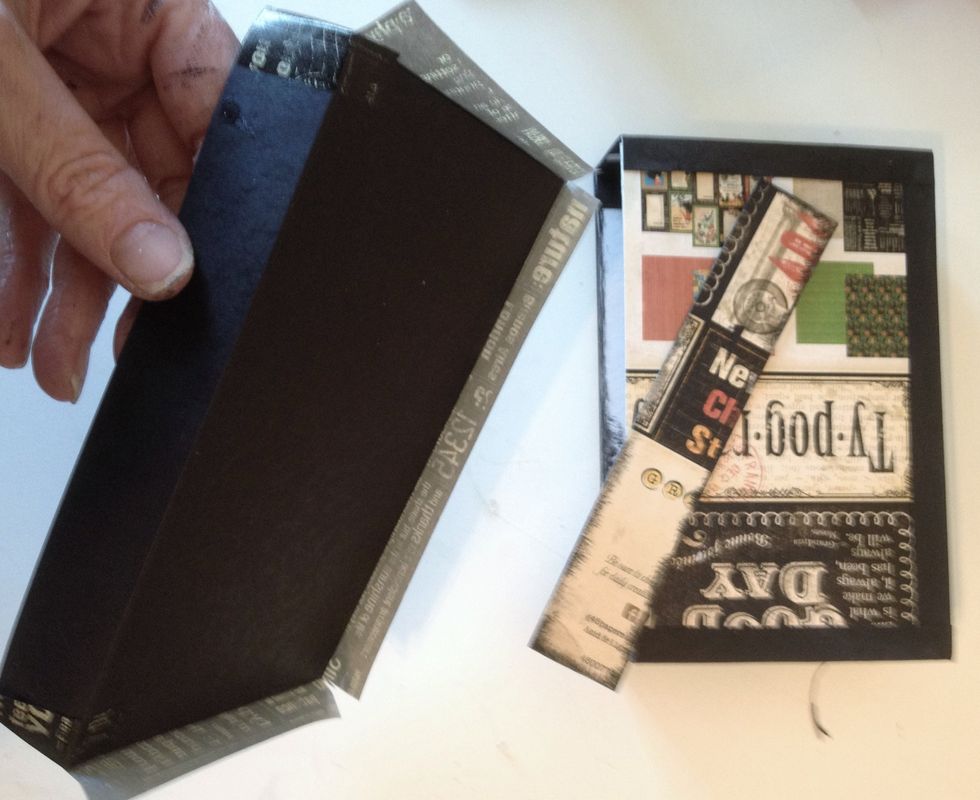
Glue together and here I used washi tape around. Easy and fast :-)
Used washi tape around the chest box and front drawer.
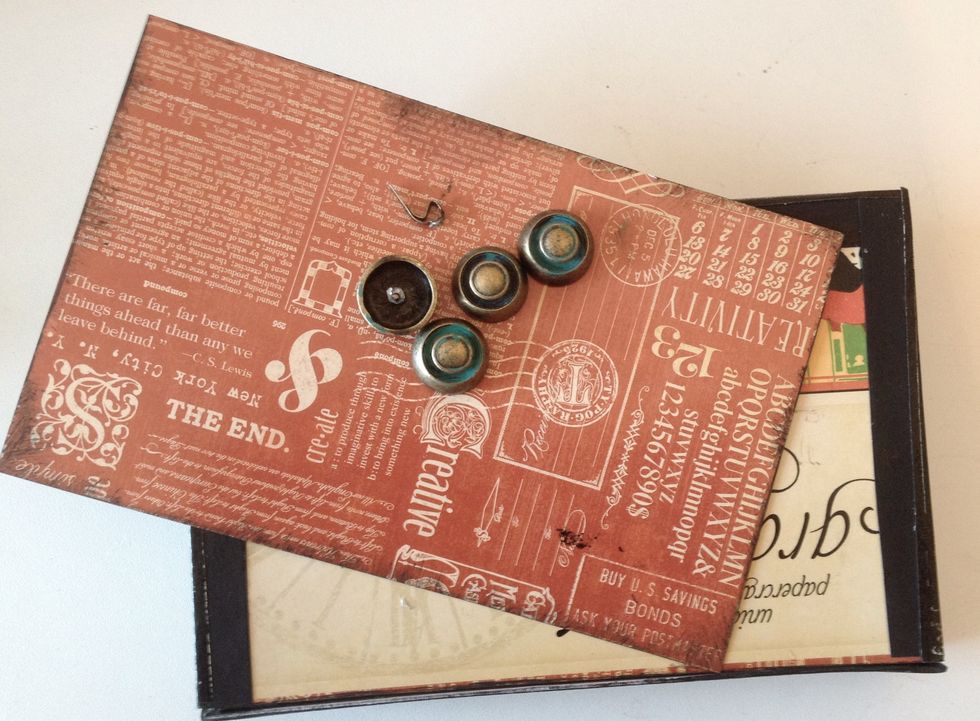
Also took some cover paper from the paper pad under the bottom and glued on metal button feet.

Cut a slot 3 inch into the paper for the top and slide in the hinges.
I also glued on magnetic sheet on the front side to hold magnetic things.

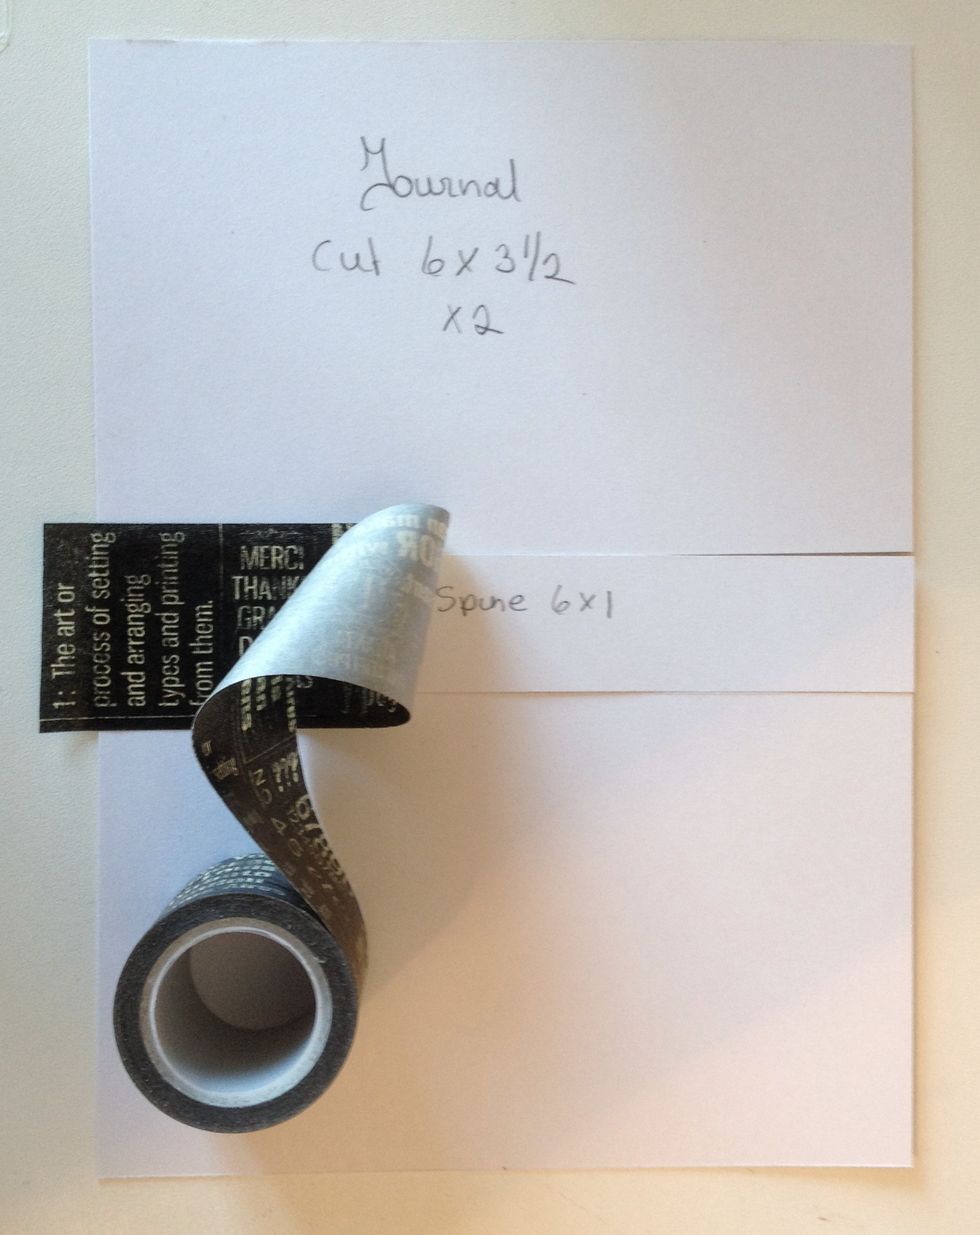
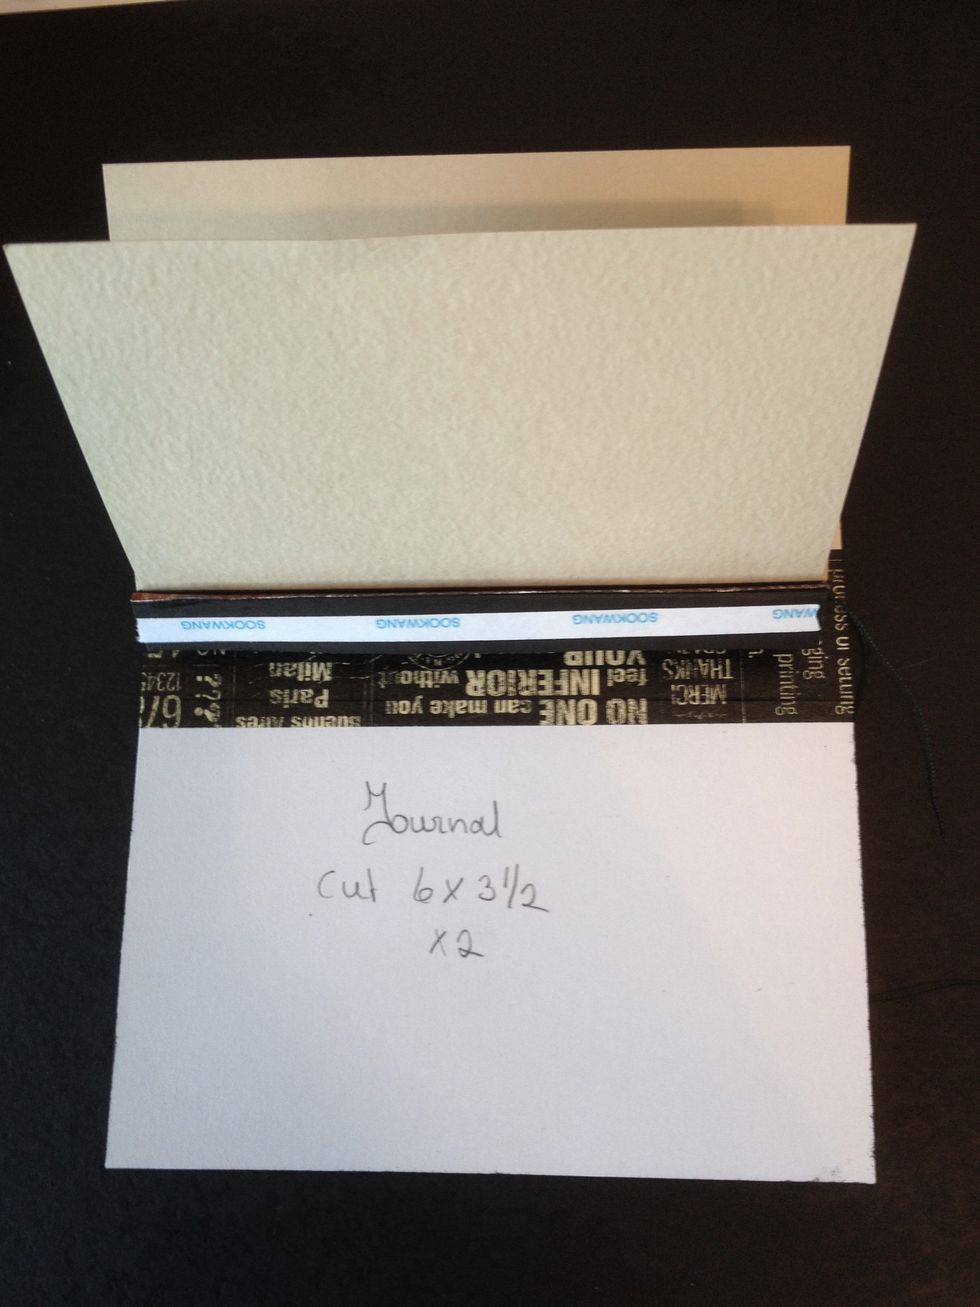
Measurements for the journal Recycle cardboard from the paper line.
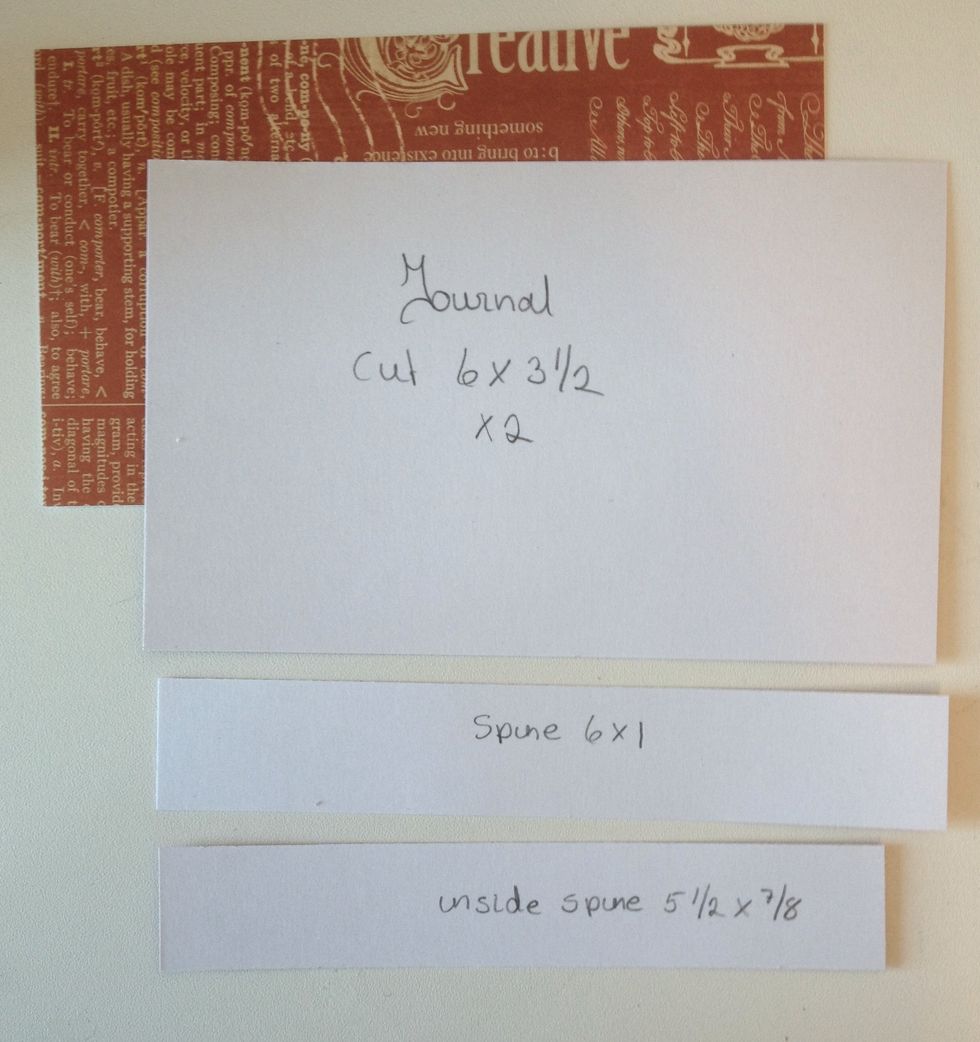
Measurements for the journal Recycle cardboard from the paper line.
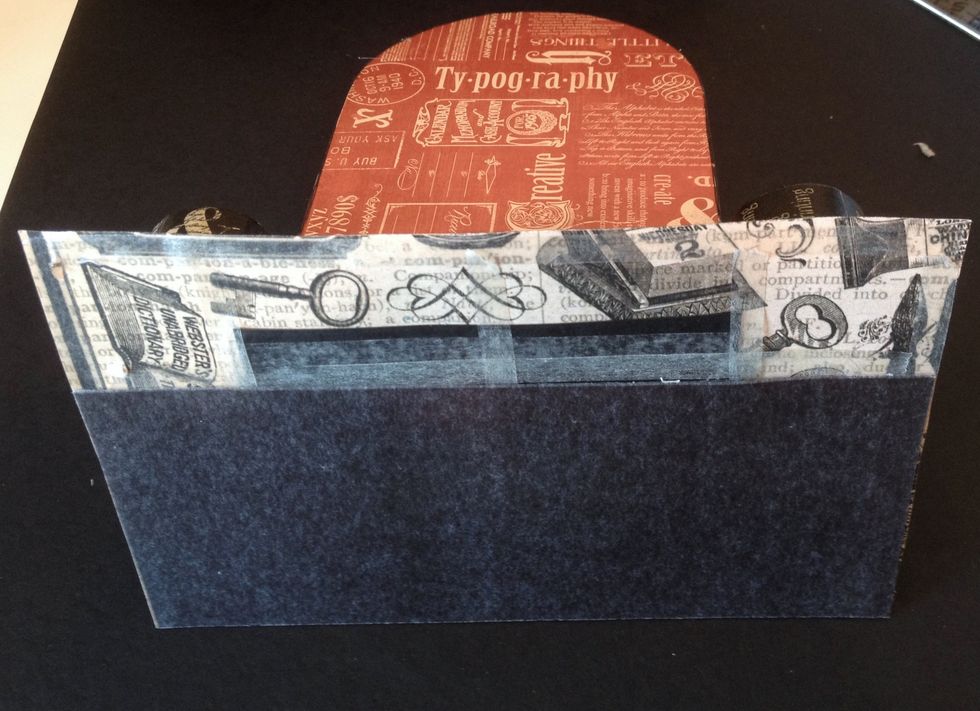
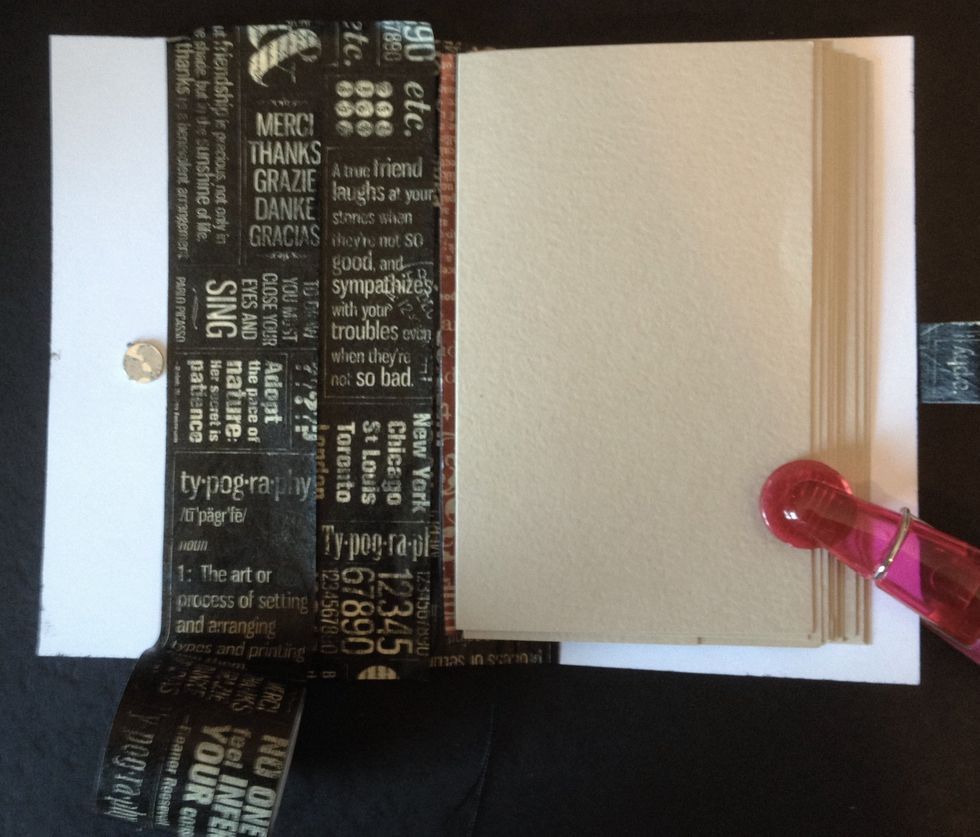
Here I used washi tape to glue the cover together. Sometimes need some extra glue to hold. Glue inside flat first
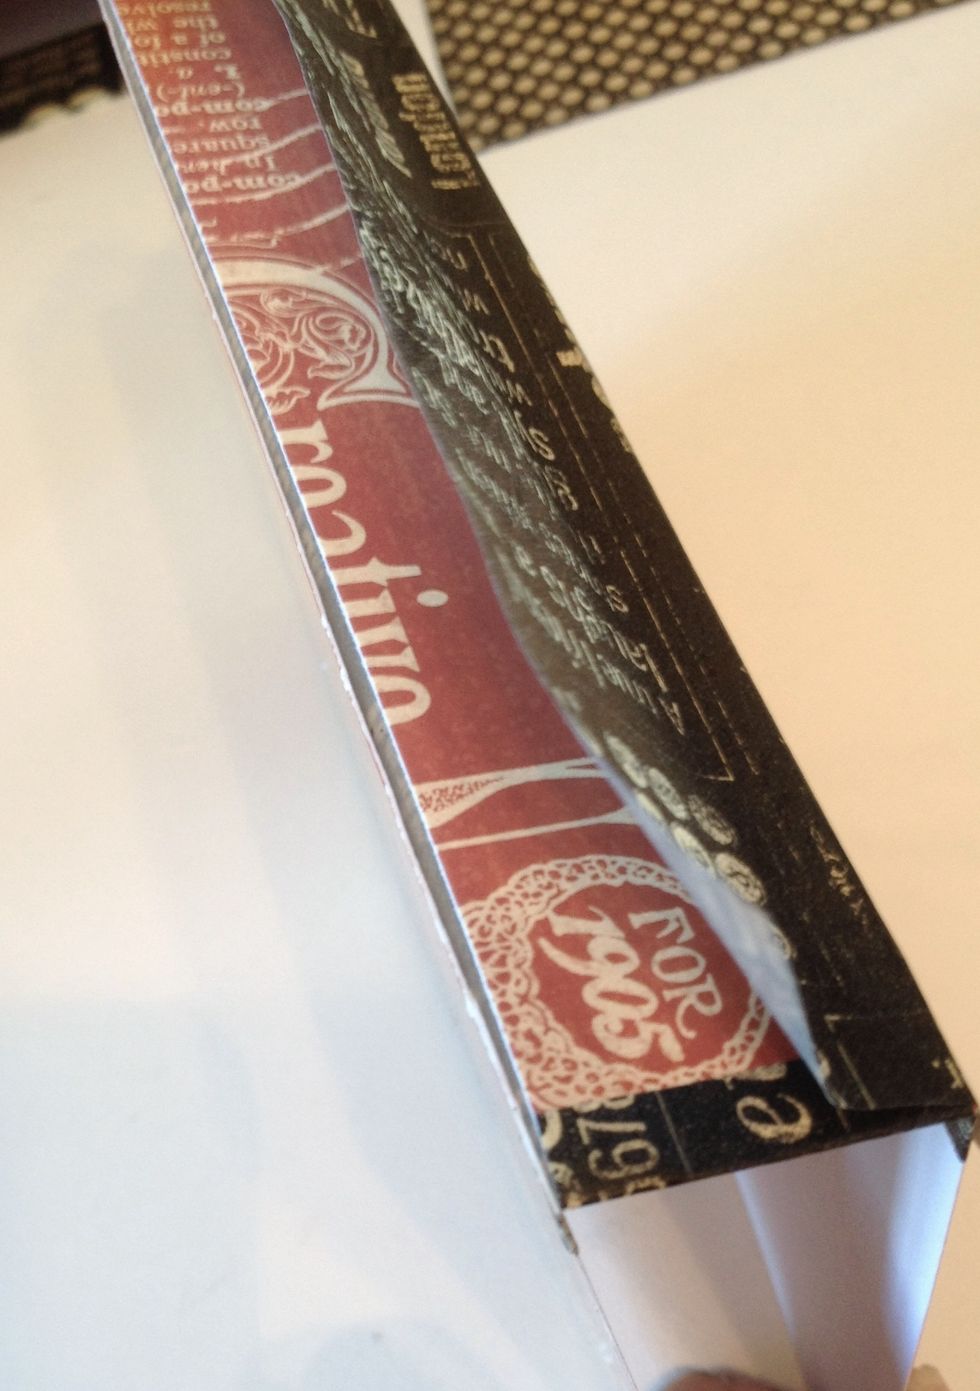
Fold the cover and glue washi tape on the outside.
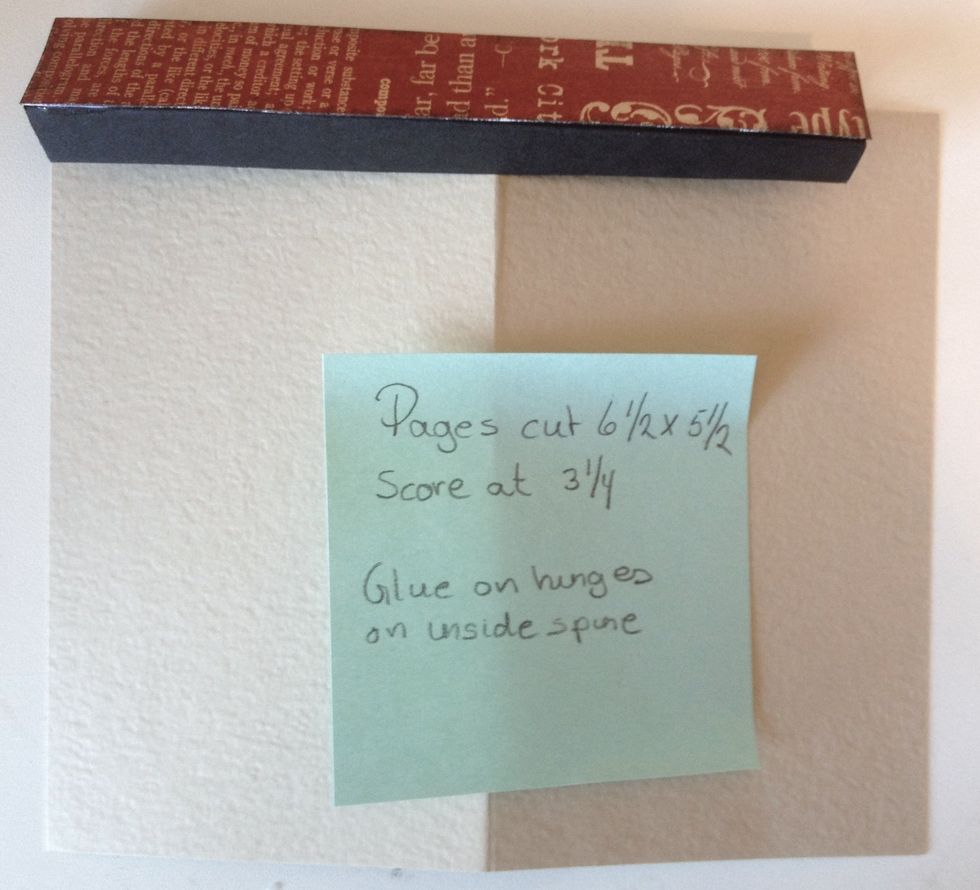
Measurements for the pages. Use as many as you like. Glue hinges on the inside spine.
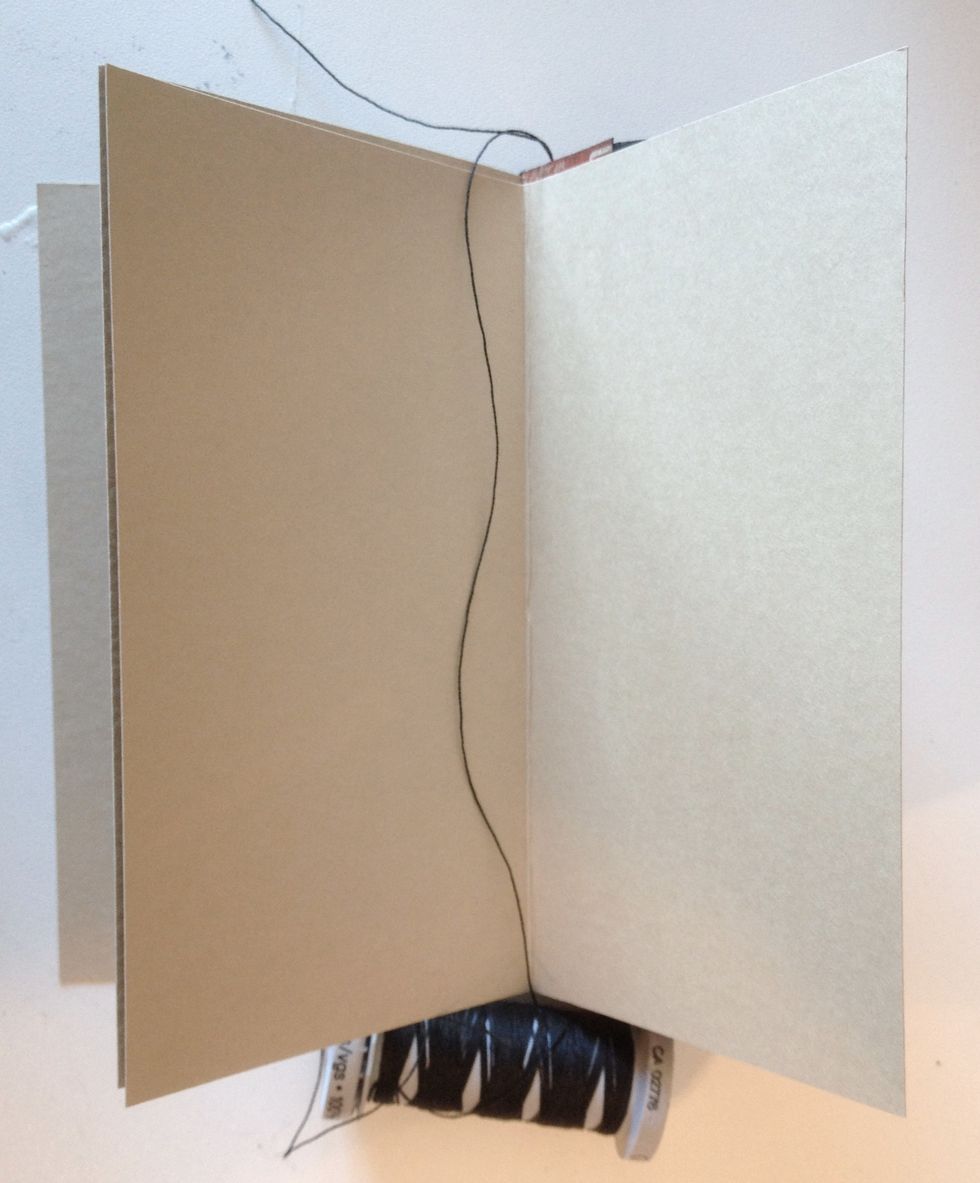
Used strong sewing thread around the spine and pages.
Glue the inside spine with the pages on the cover.
Also used washi tape for the closure. 4 Layers and cut the width to about 5/8.
Also used washi tape to cover up the inside and hide the other magnet.
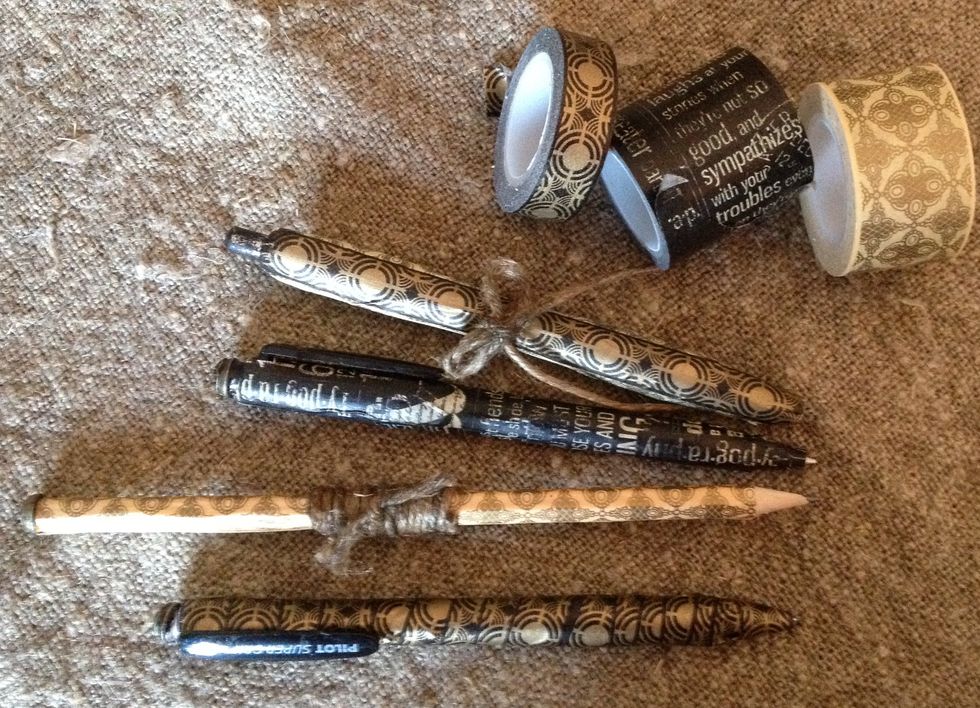
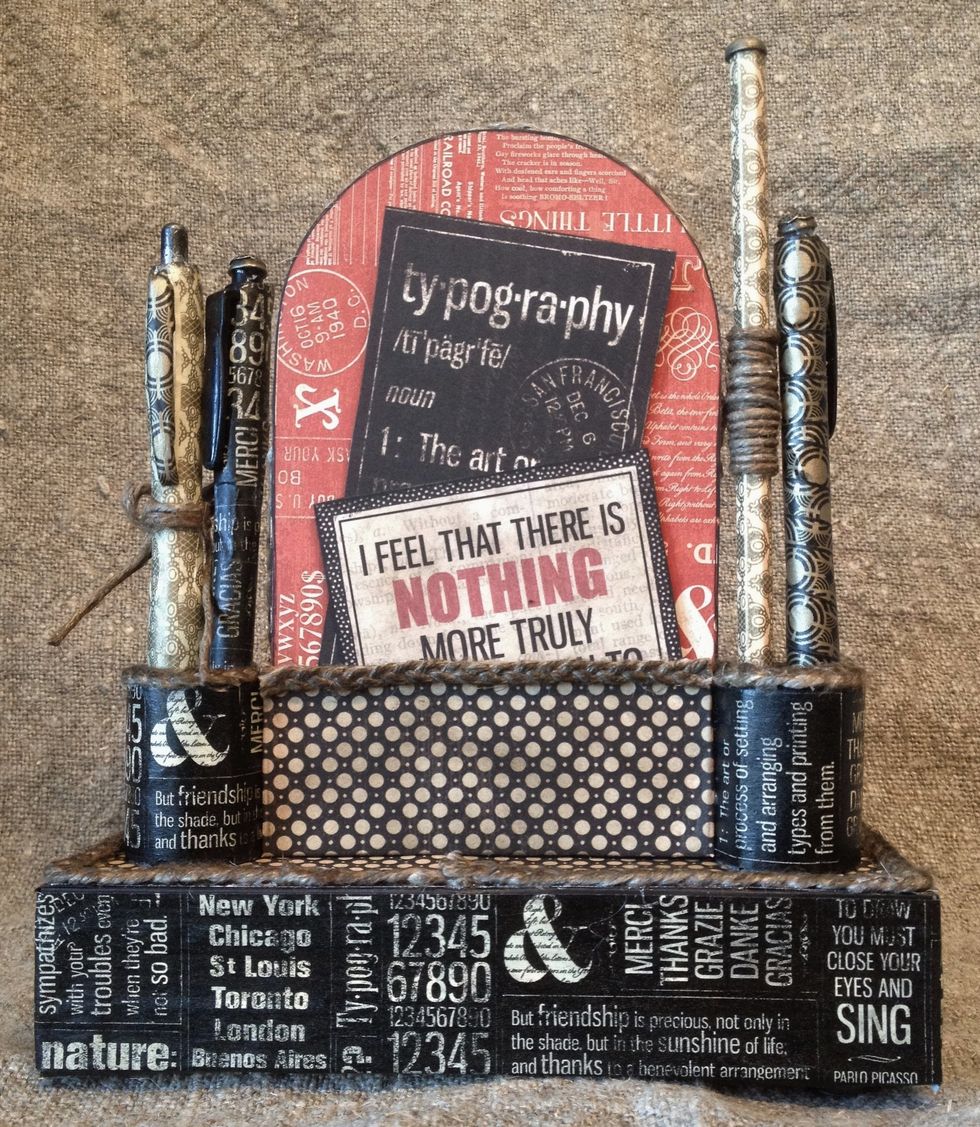
Altered pens with washi tape.
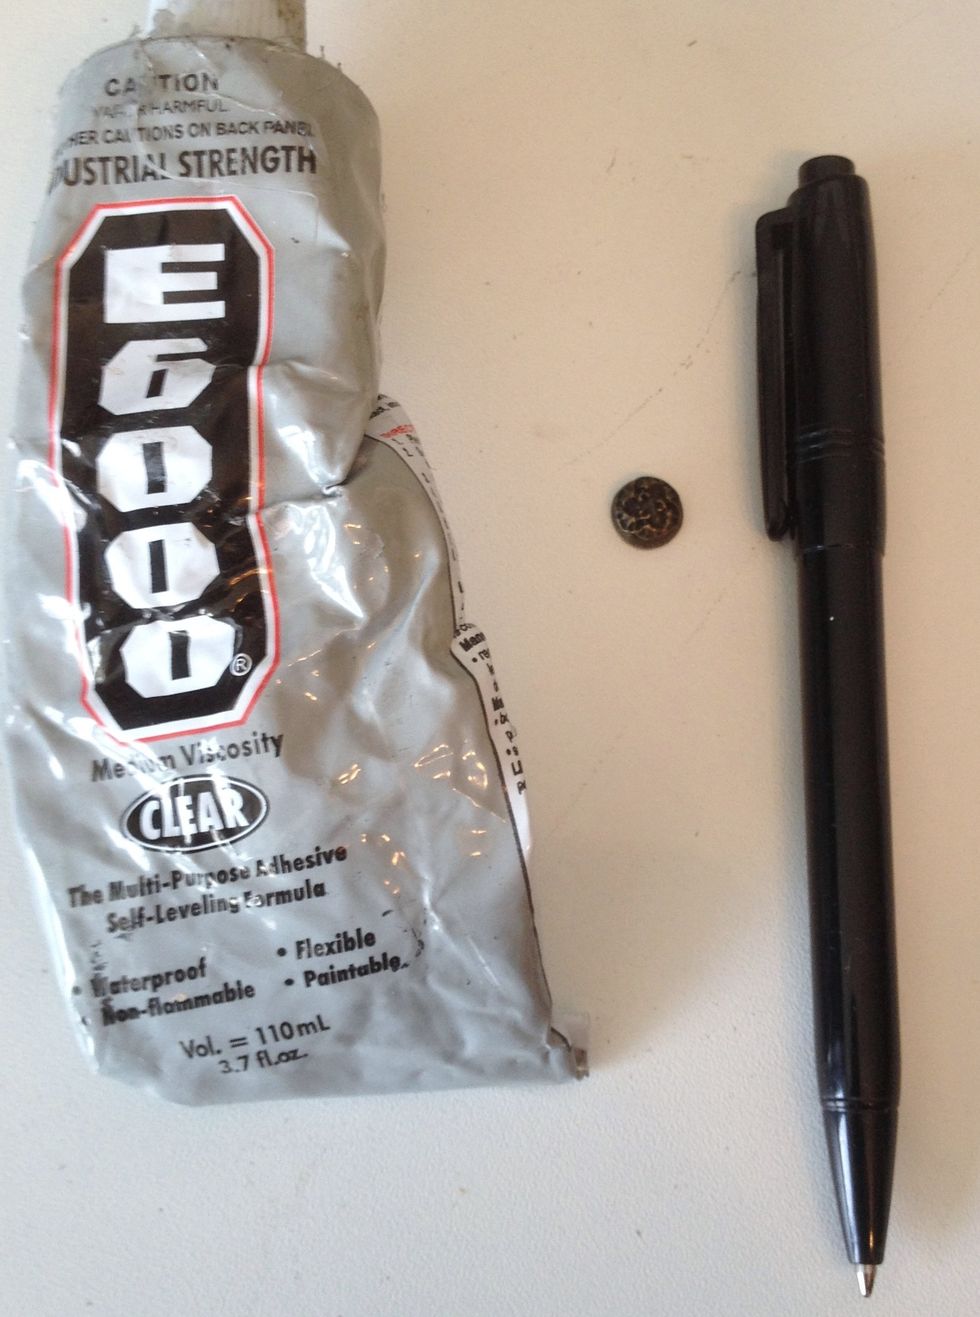
Glued on metal brads on the top Used E 6000 strong glue
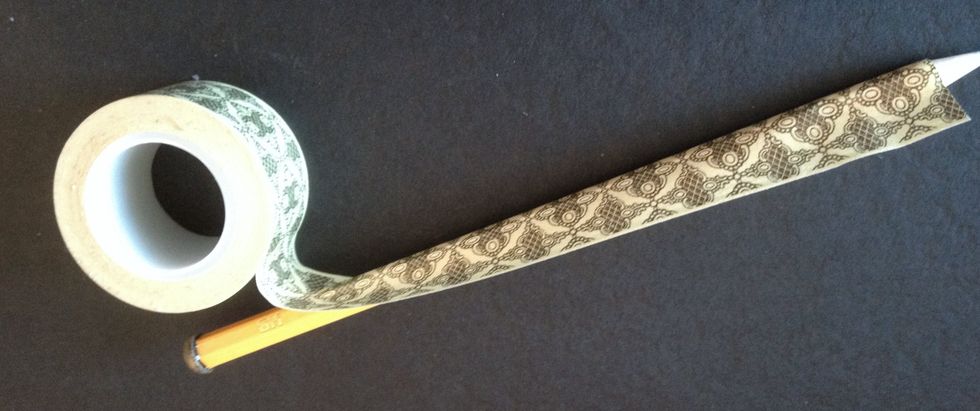
Fun to alter pensils:-)
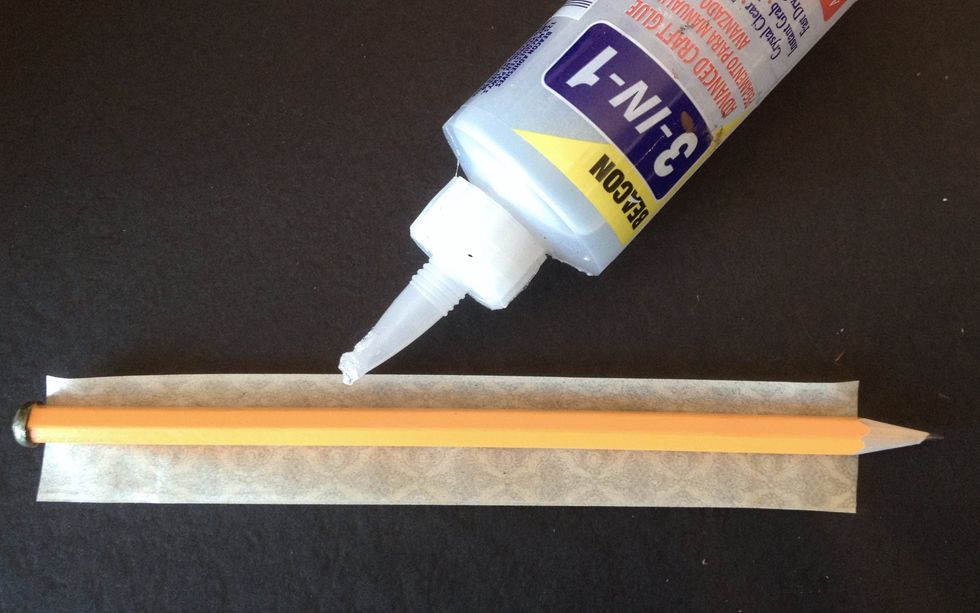
Used extra glue to ensure it will hold.
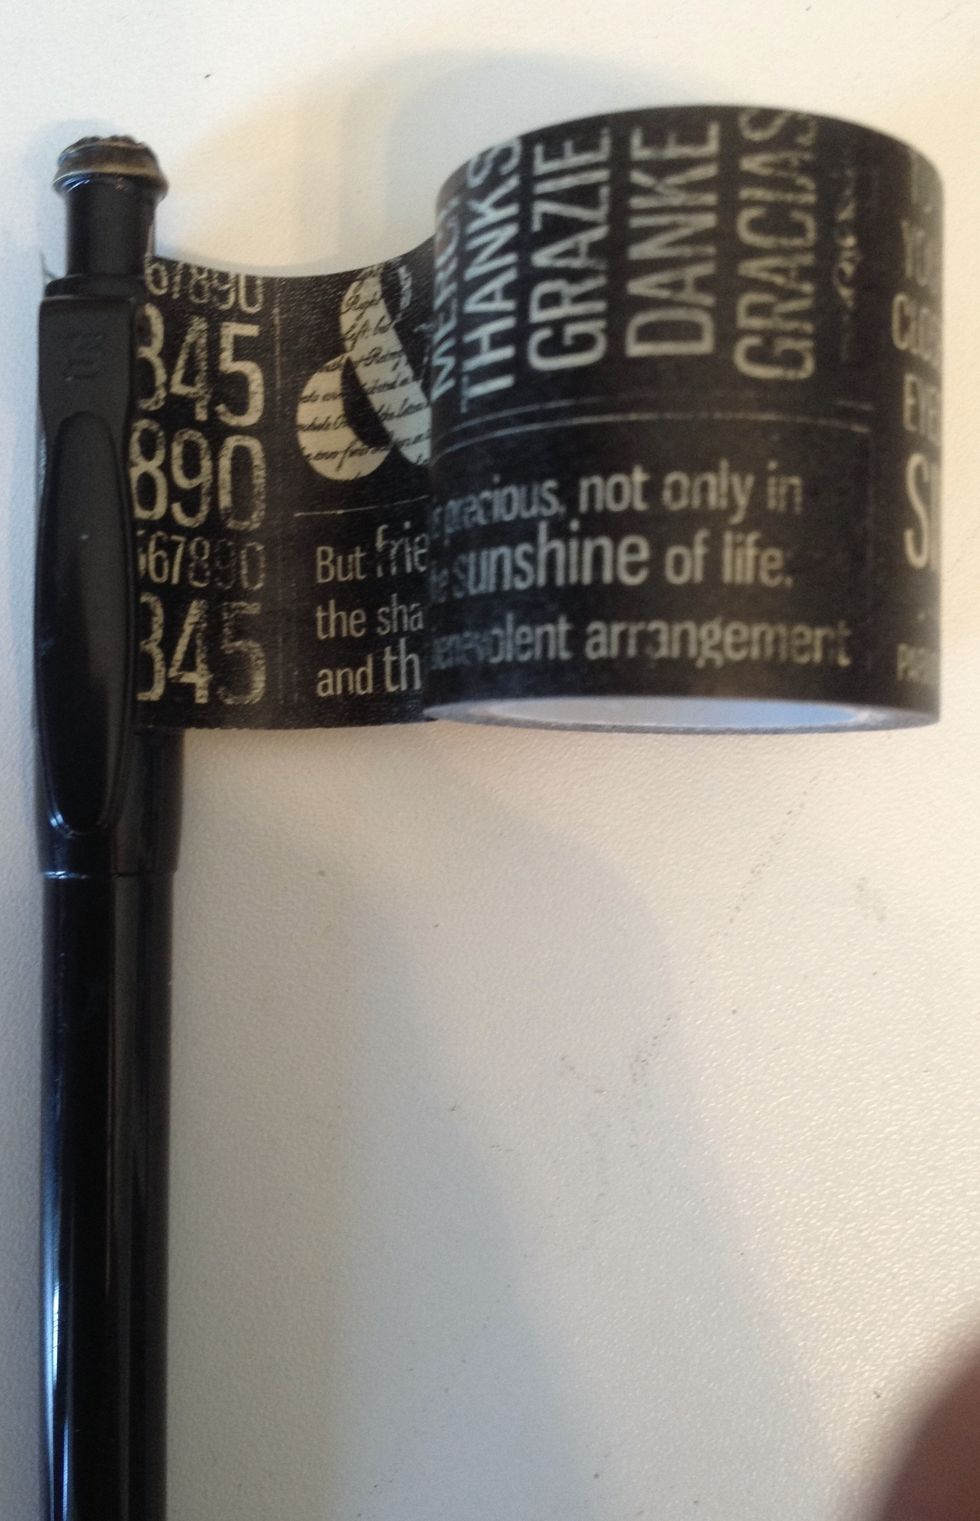
You can take the washi tape on both ways.
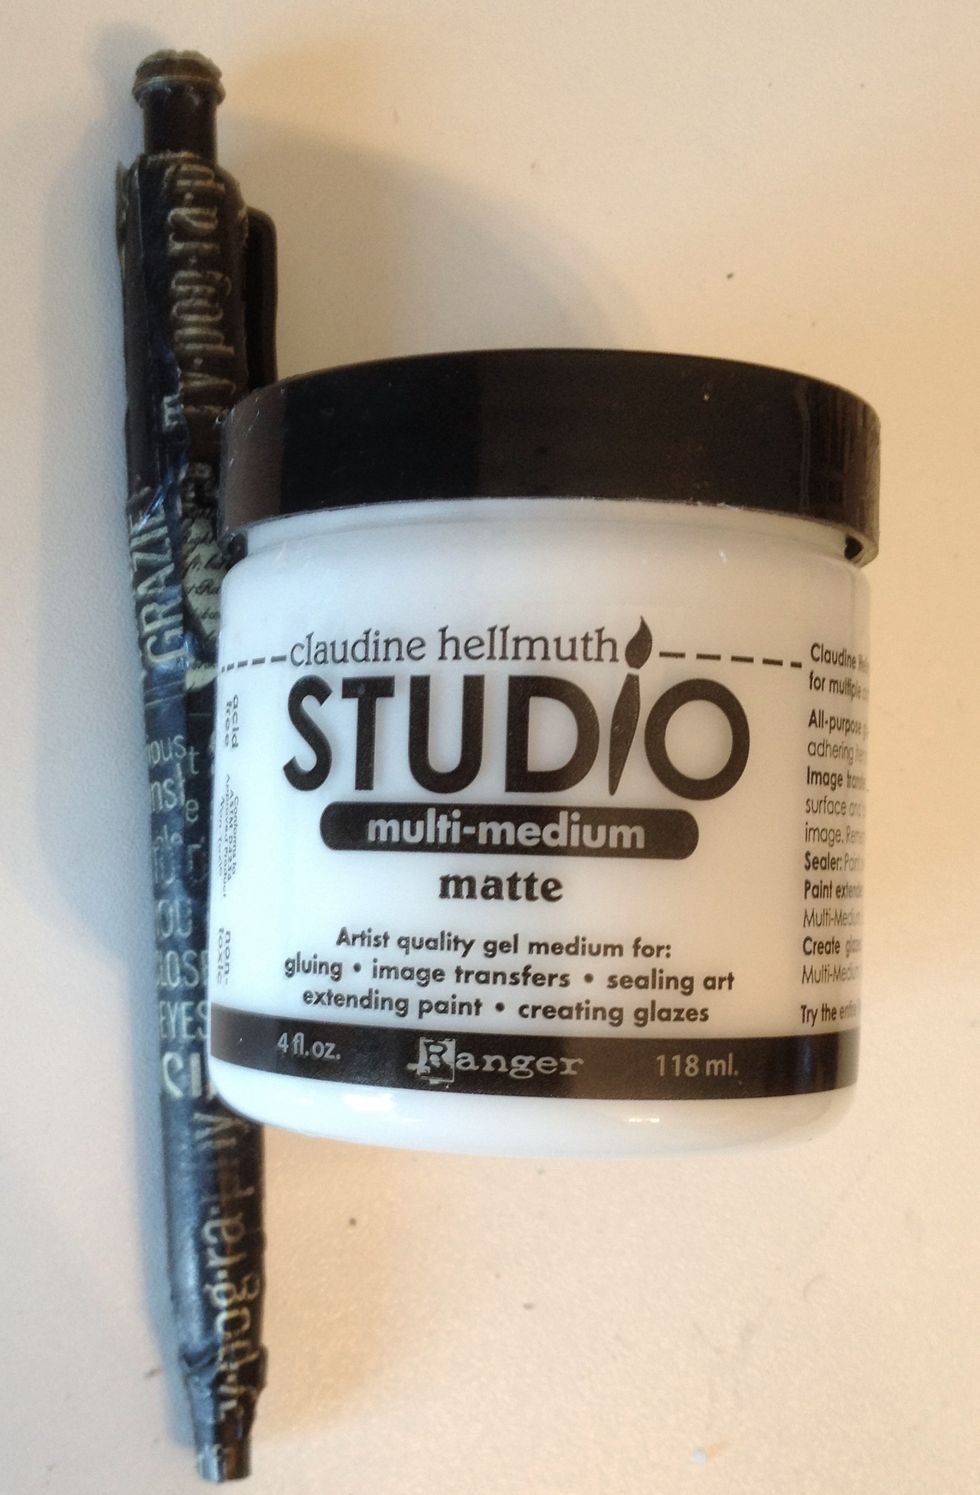
Secured it with Claudine Hellmuth multi matte.
Supply list: Typography papers, cardboard and stickers, washi tape, brads all from Graphic 45 glue, twine, paintblack cardstock, pencils, magnets and a good cup of coffee,
Made a Pocket on the backside and used some braided twine around the Pocket and box
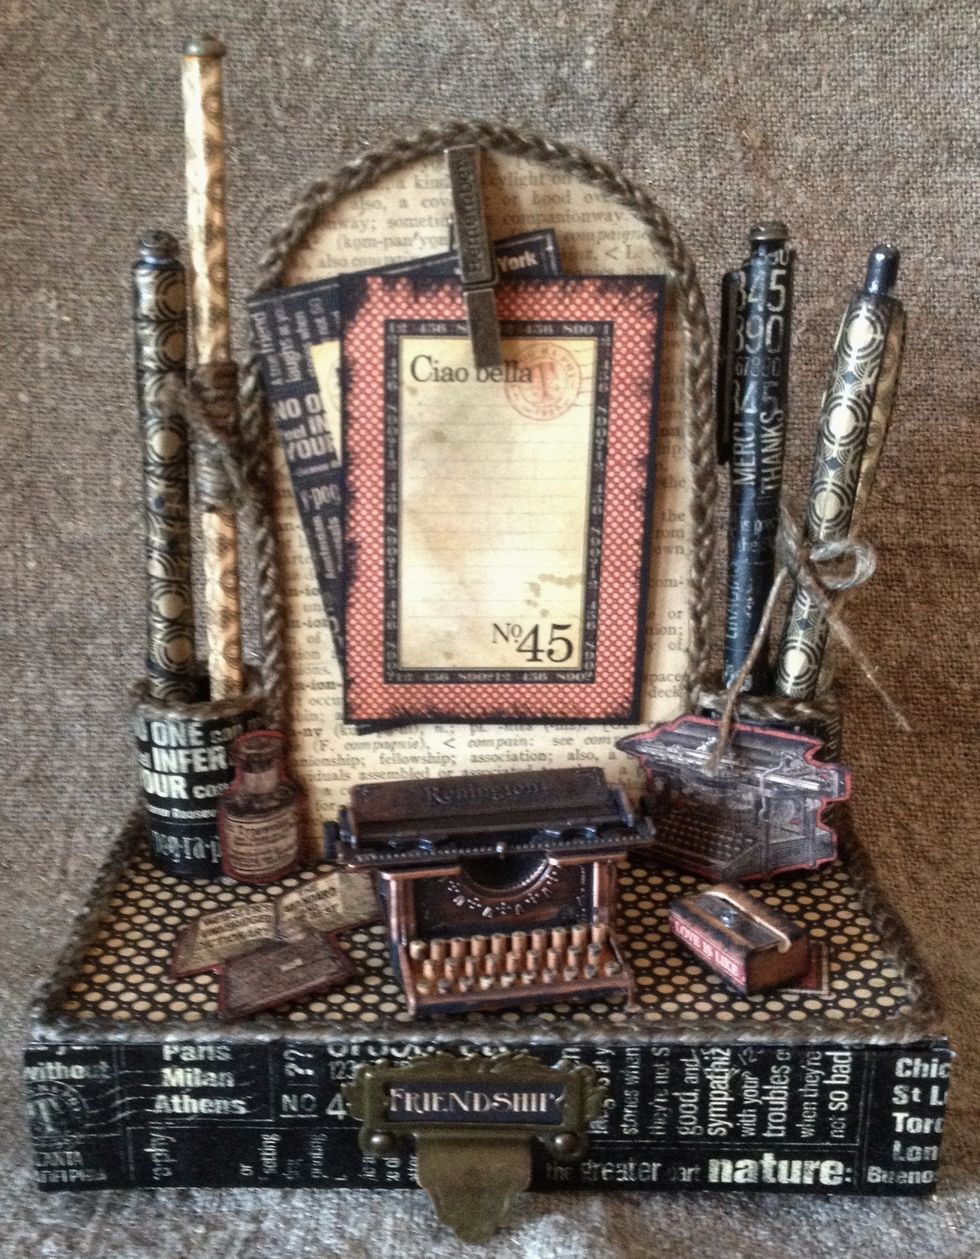
Finish decorated.