The Conversation (0)
Sign Up
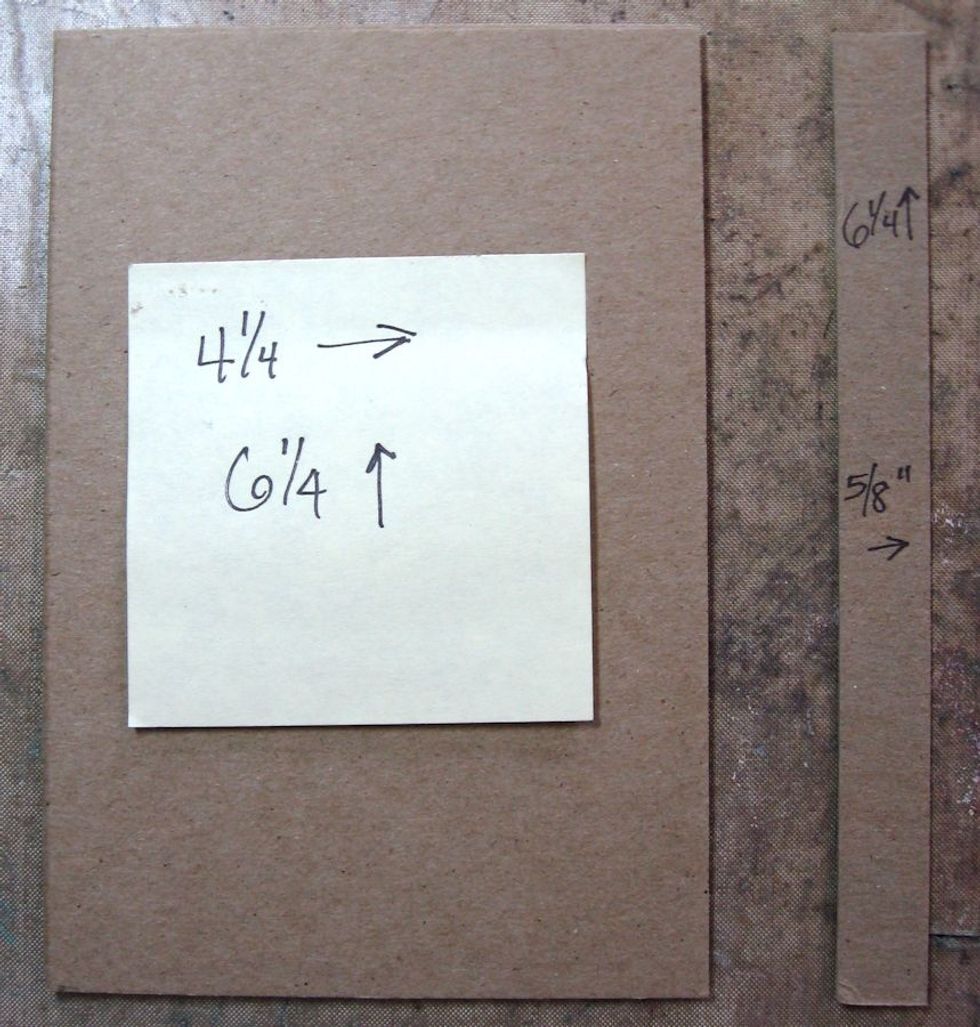
Cut 2 pieces of medium weight chipboard to measure 4.25" x 6.25". Cut spine to measure .75" x 6.25". (You can cover any size memo pad by adding .25" to the width and height of the pad.)
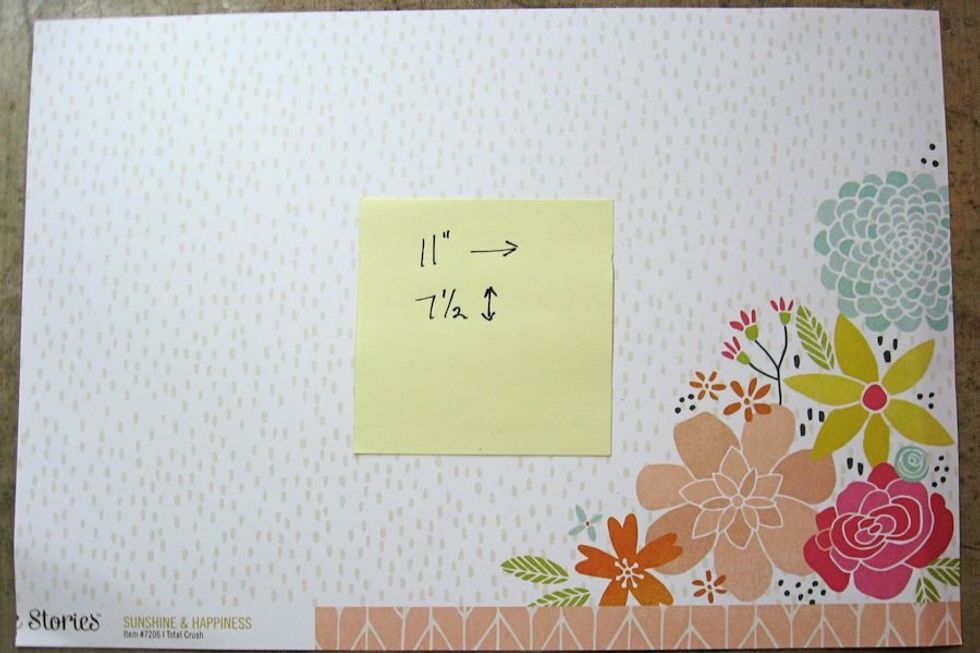
Cut designer paper of your choice to measure 11" wide x 7.5" tall.
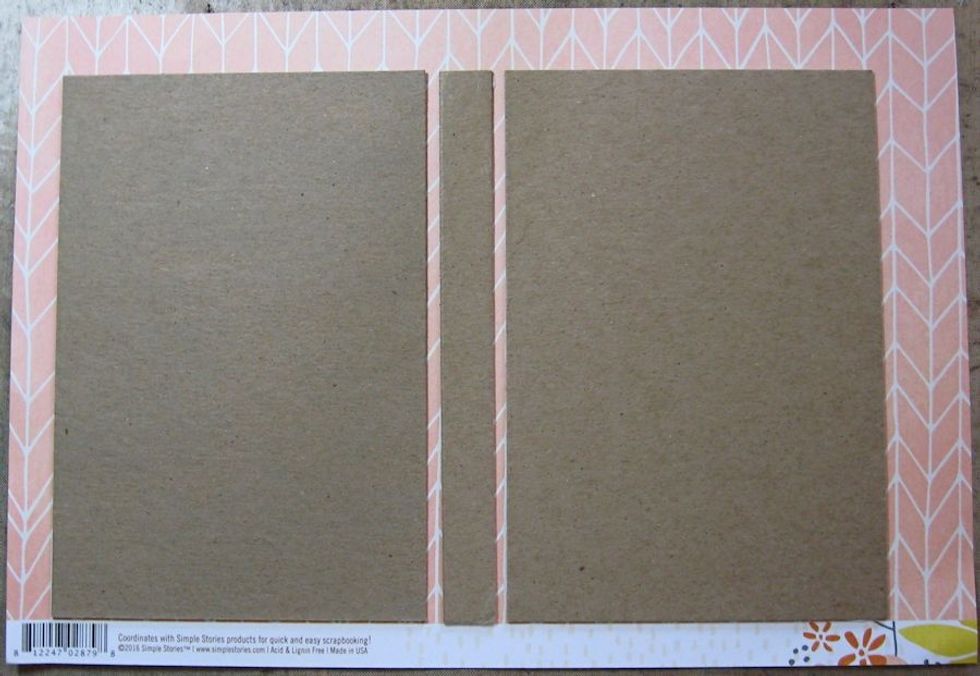
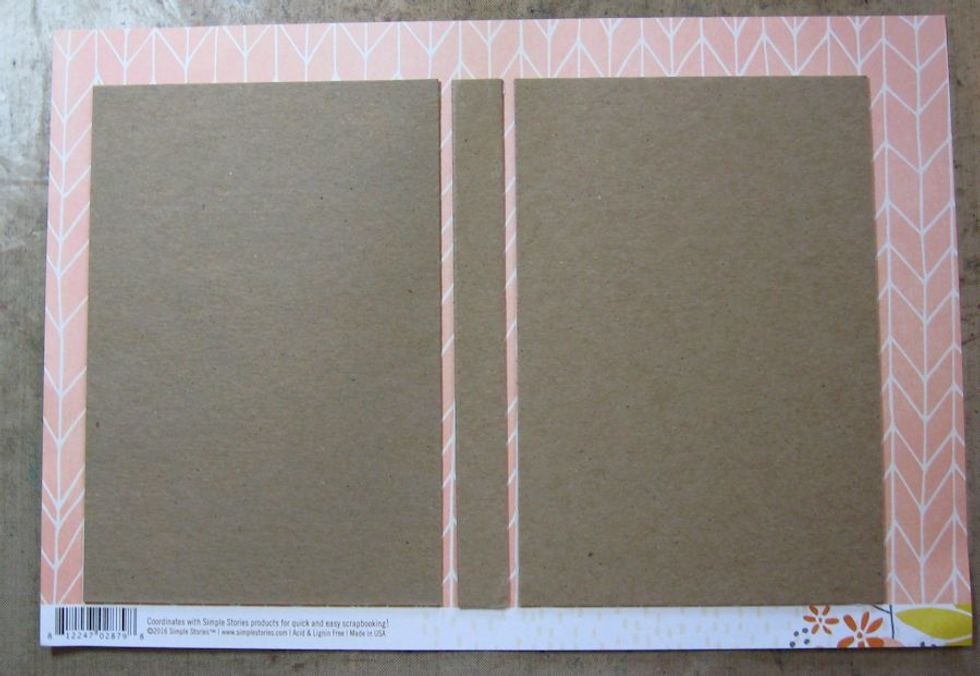
Flip paper to reverse side and glue down the chipboard as seen here. You want approx. 1/2" on all sides and approx 1/8" on either side of the spine so that you can close the cover.
Use bone folder to crease the top, bottom & sides. You can wet the edges of the paper with a barely damp paper towel to prevent the paper from cracking. Go ahead and fold along either side of spine.

Use scissors to bevel the corners as seen in this photo. (Click to enlarge.)

Glue the top and bottom edge and crease with bone folder.

Now glue and fold in both sides, making sure the corners are neat and square. Fold along either side of the spine once more.

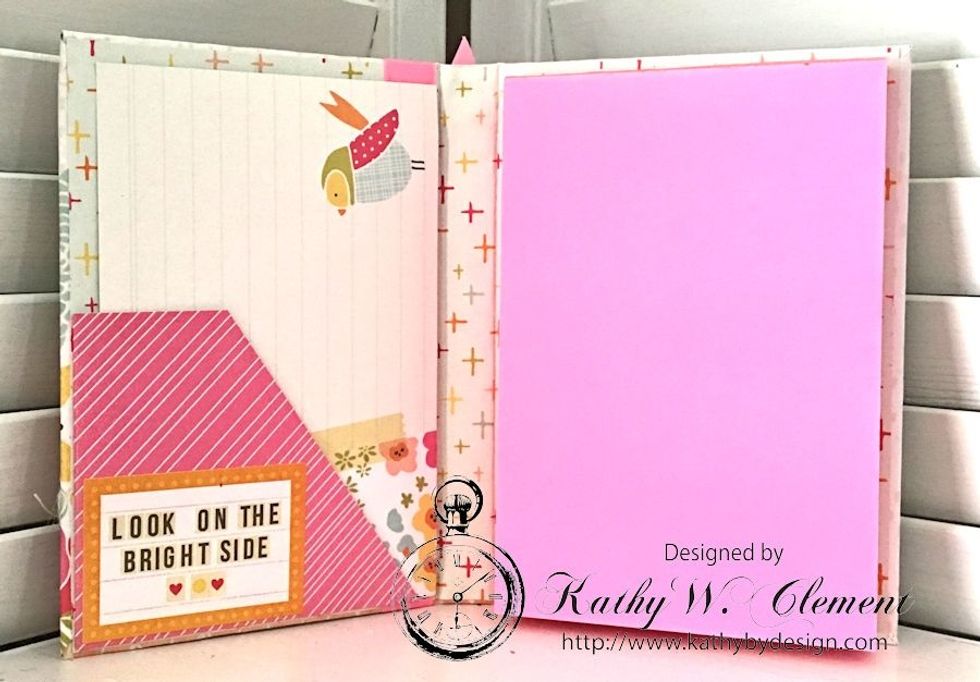
Cut a slightly smaller rectangle of complementary paper and glue to the inside cover. Reinforce the lines along the spine with bone folder. Burnish paper to get rid of air bubbles.
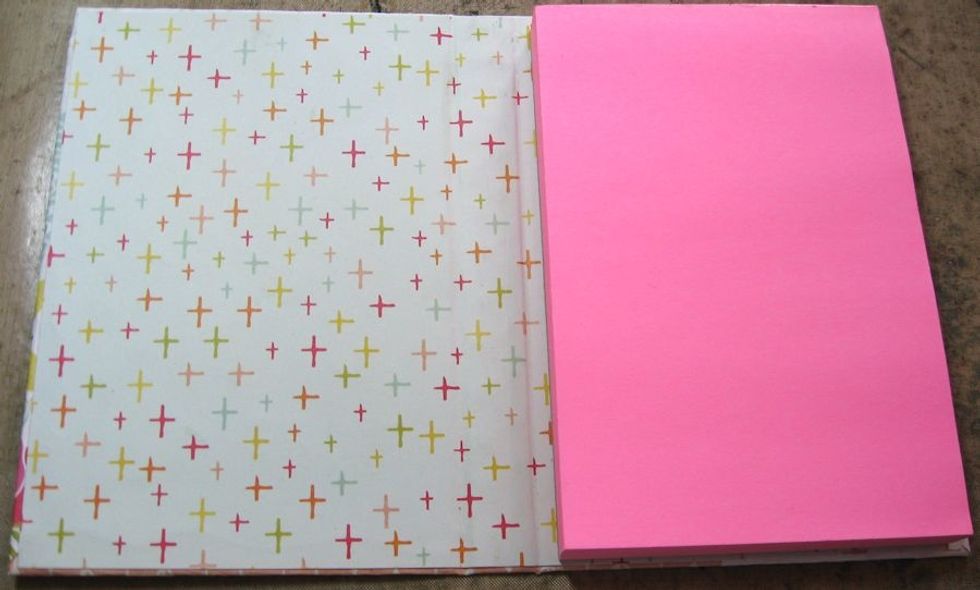
Glue a 4" x 6" memo pad on the right hand side, being sure to leave a gap between the left edge and the spine. Keep things centered & straight. Close notebook to reinforce folds along spine.
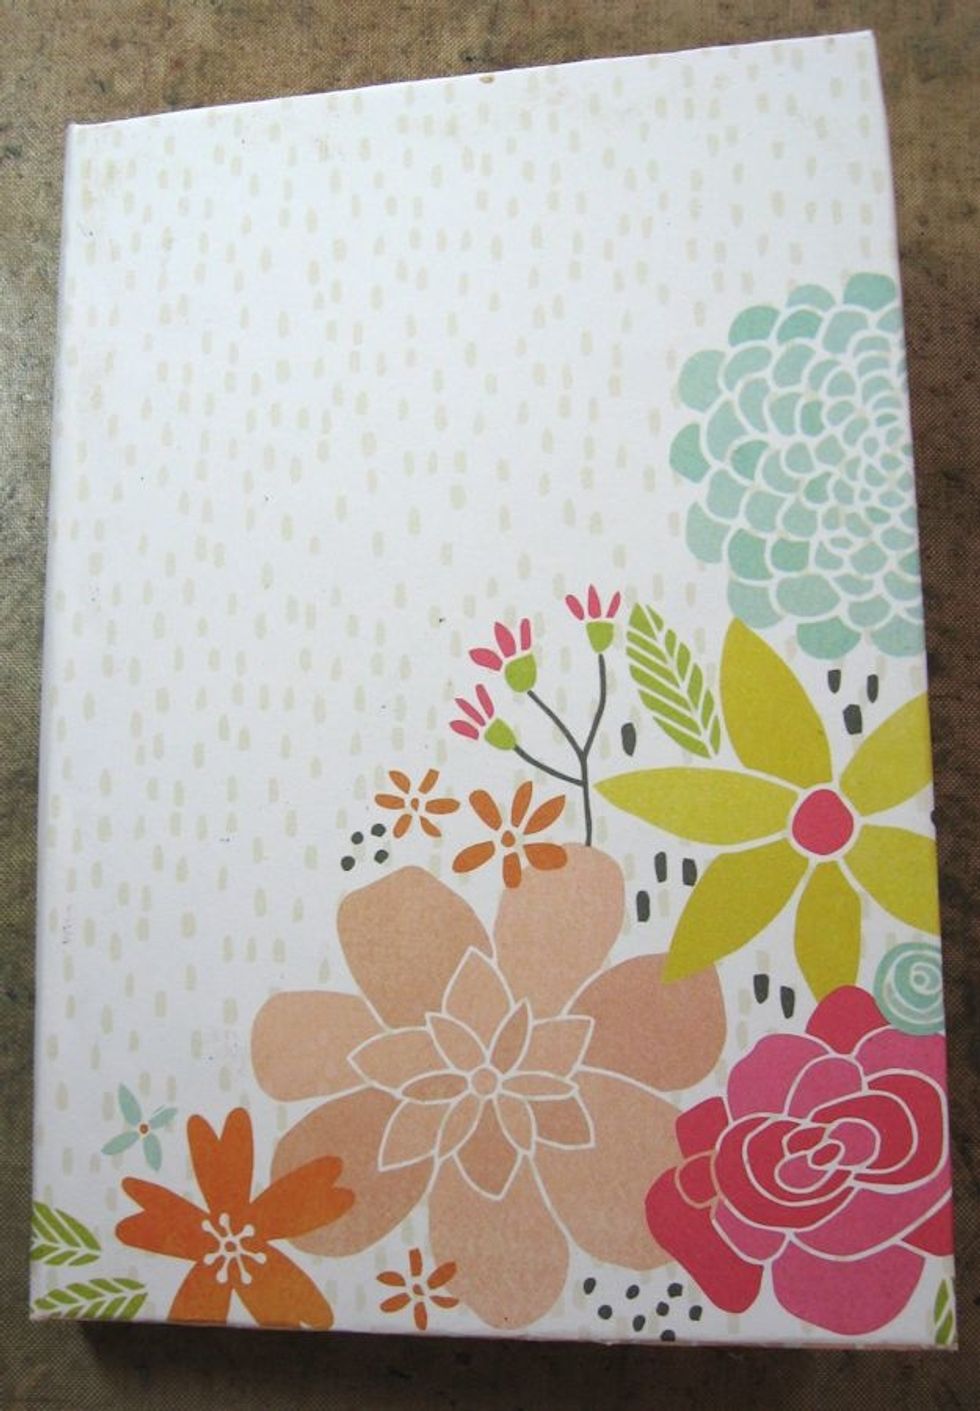
This is the front of the notebook. Spine is on the left, opening on the right. Neat and square, just the way we want it.
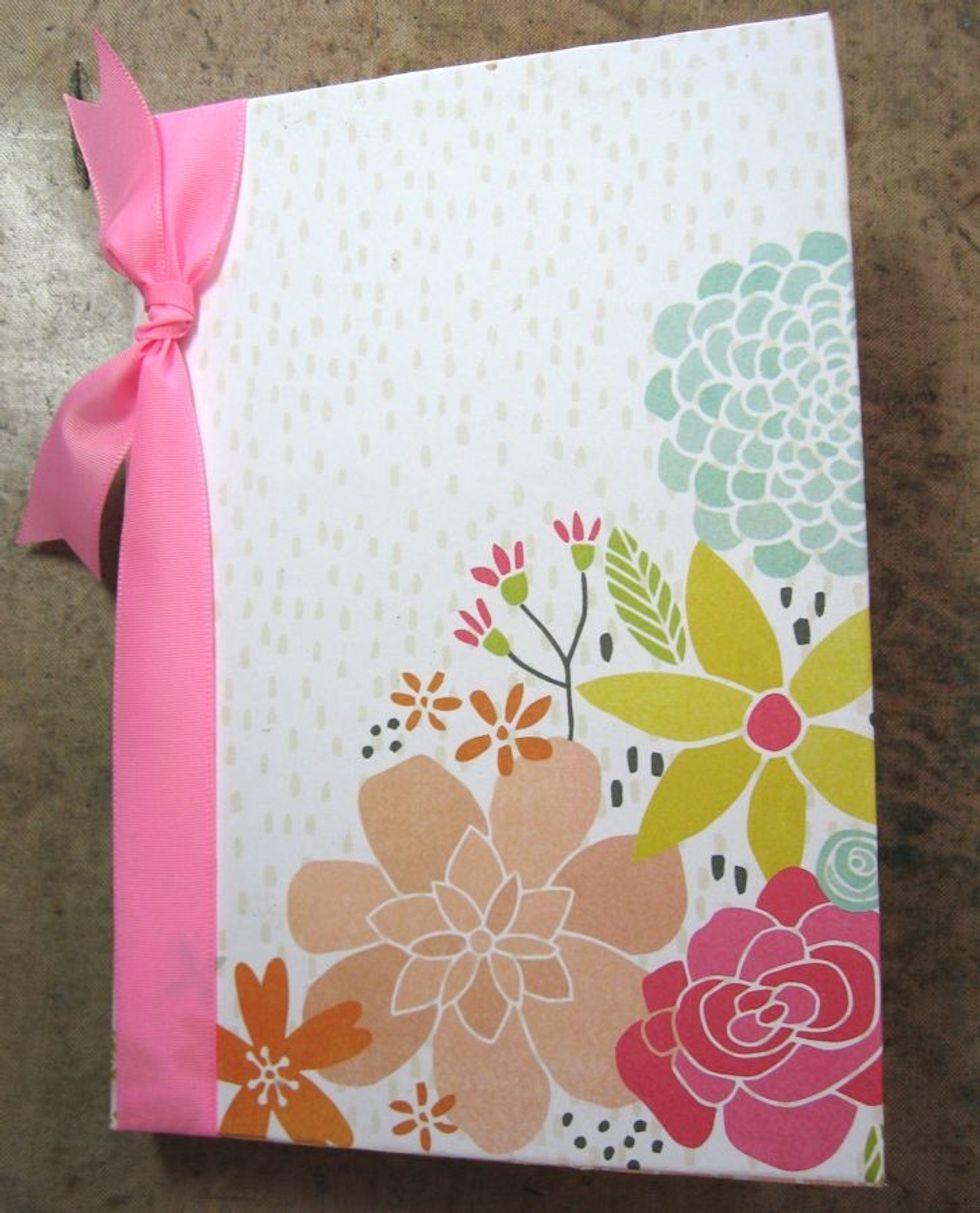
Wrap ribbon around the left hand side of the notebook and tie with a simple square knot. Now we are ready to decorate the inside of the notebook.

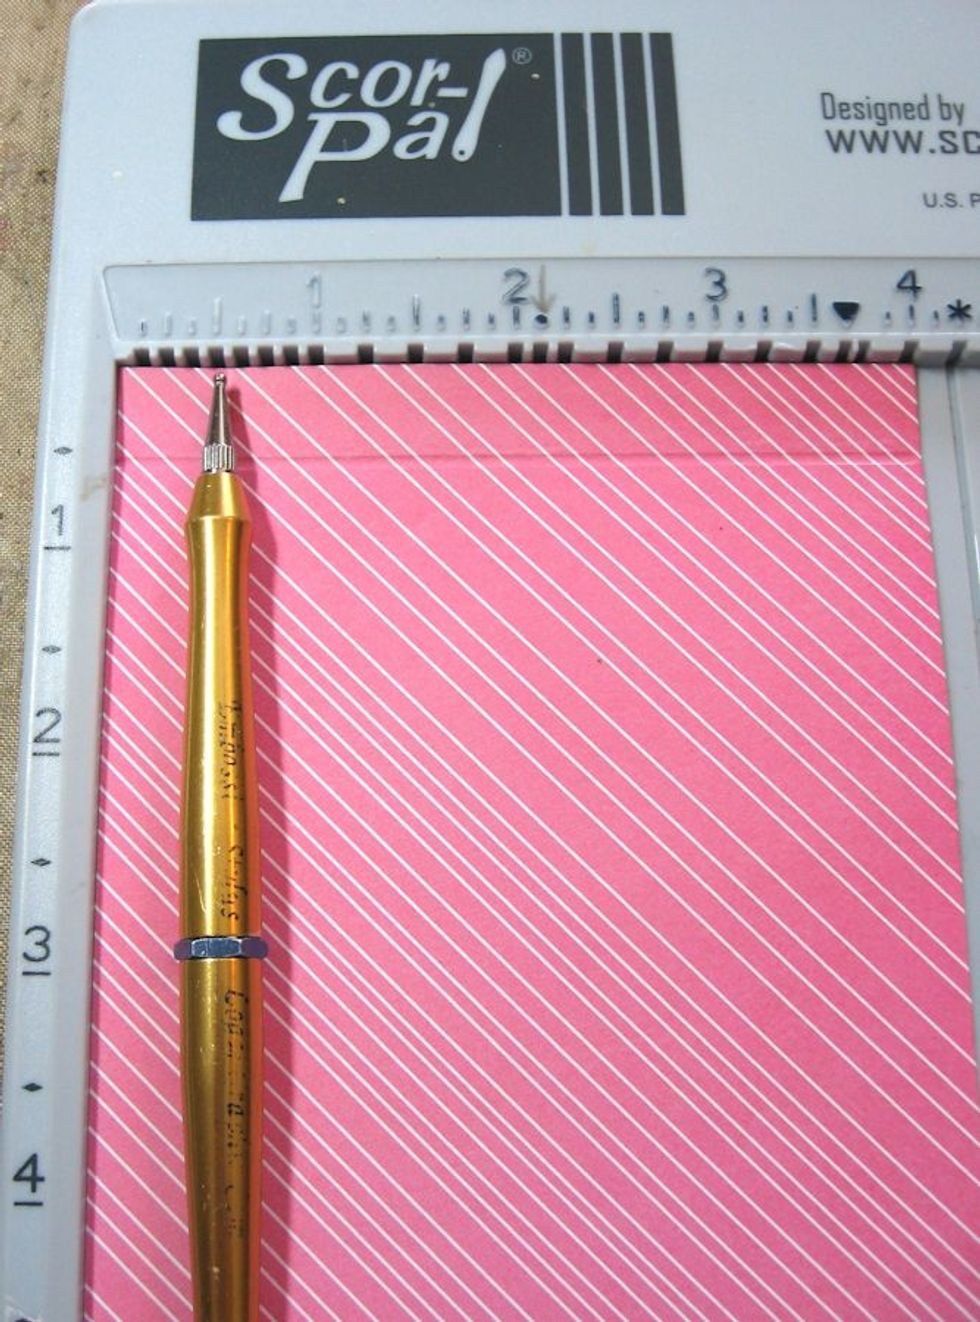
Cut another piece of designer paper to measure 5.25" wide x 4" tall.

Place the long side on a scoring tool and score 1/2" from the left hand edge.
Turn 90 degrees and score again at 1/2". Use bone folder to crease along score lines.
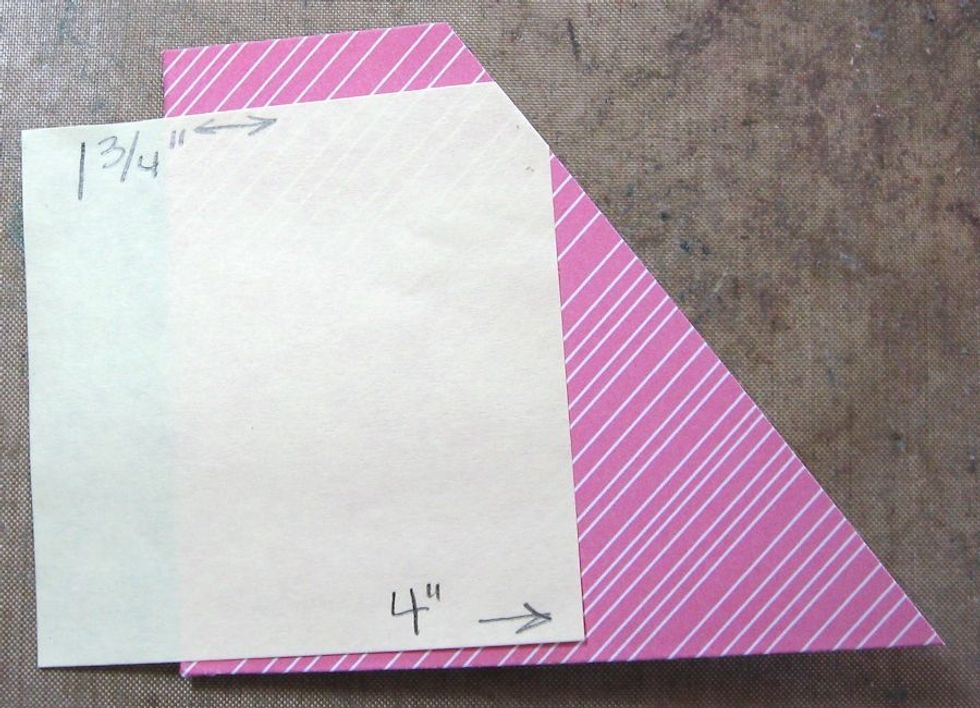
From the left hand edge, measure over 1.75" inches on the top and make a pencil mark. Then measure over 4" on the bottom and make another pencil mark. Mark a line from top to bottom & cut.
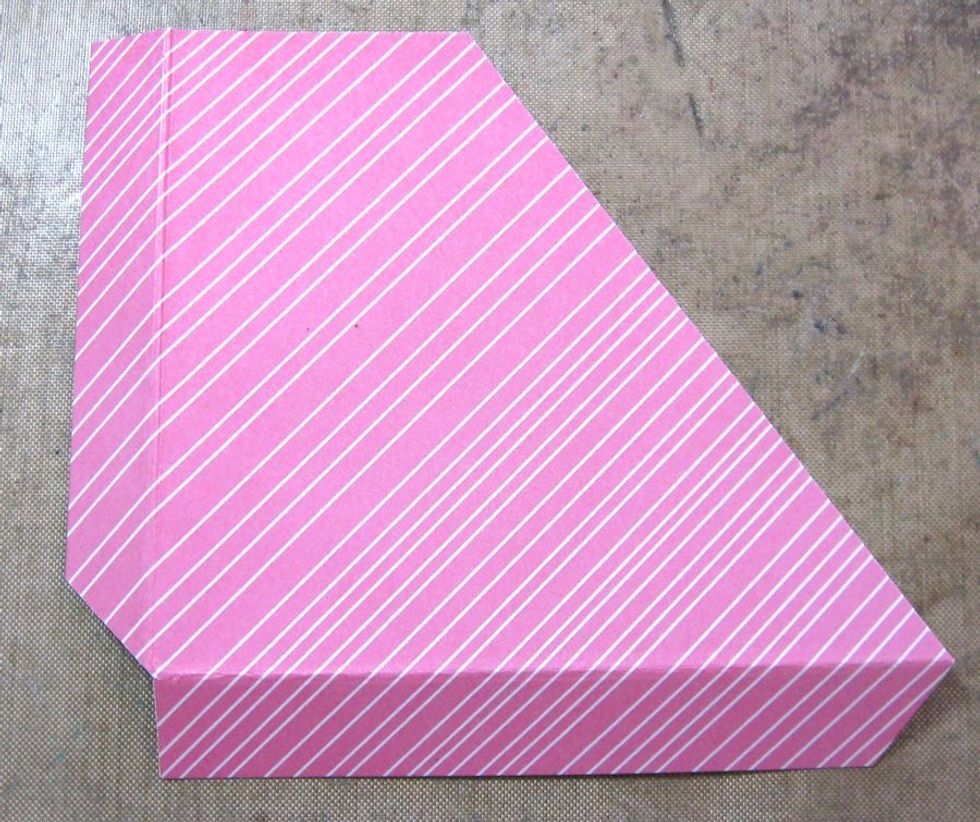
This is the slash pocket. Bevel the lower left hand corner as seen here.
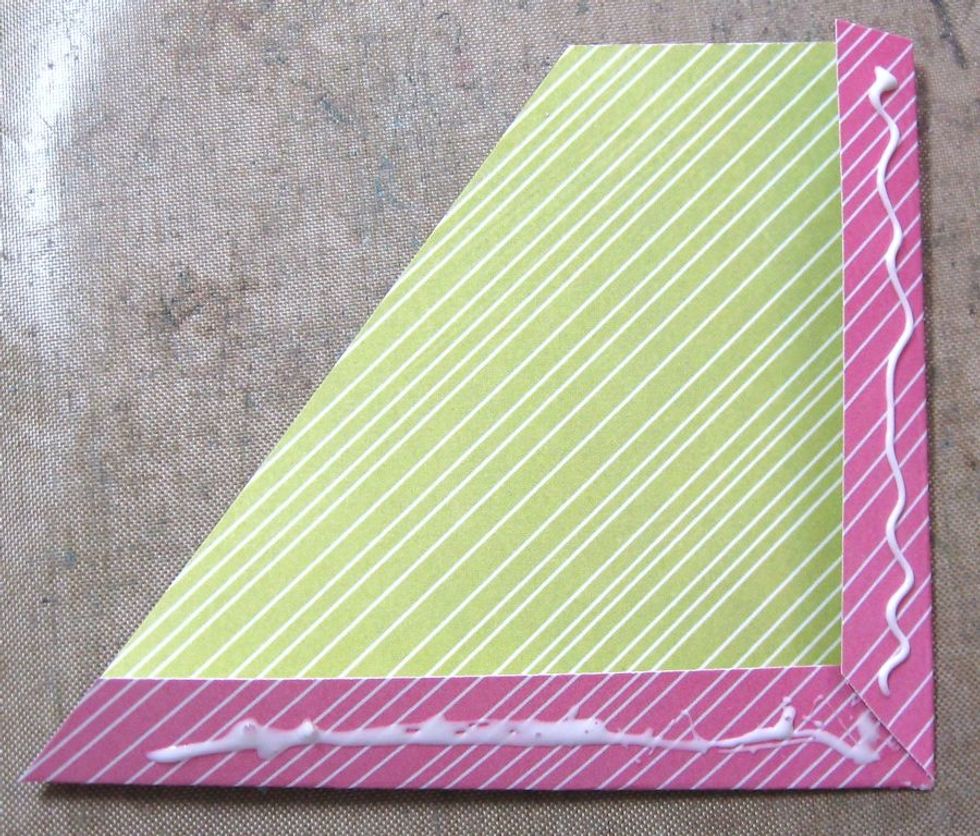
Flip to the reverse side and add glue to the folds.
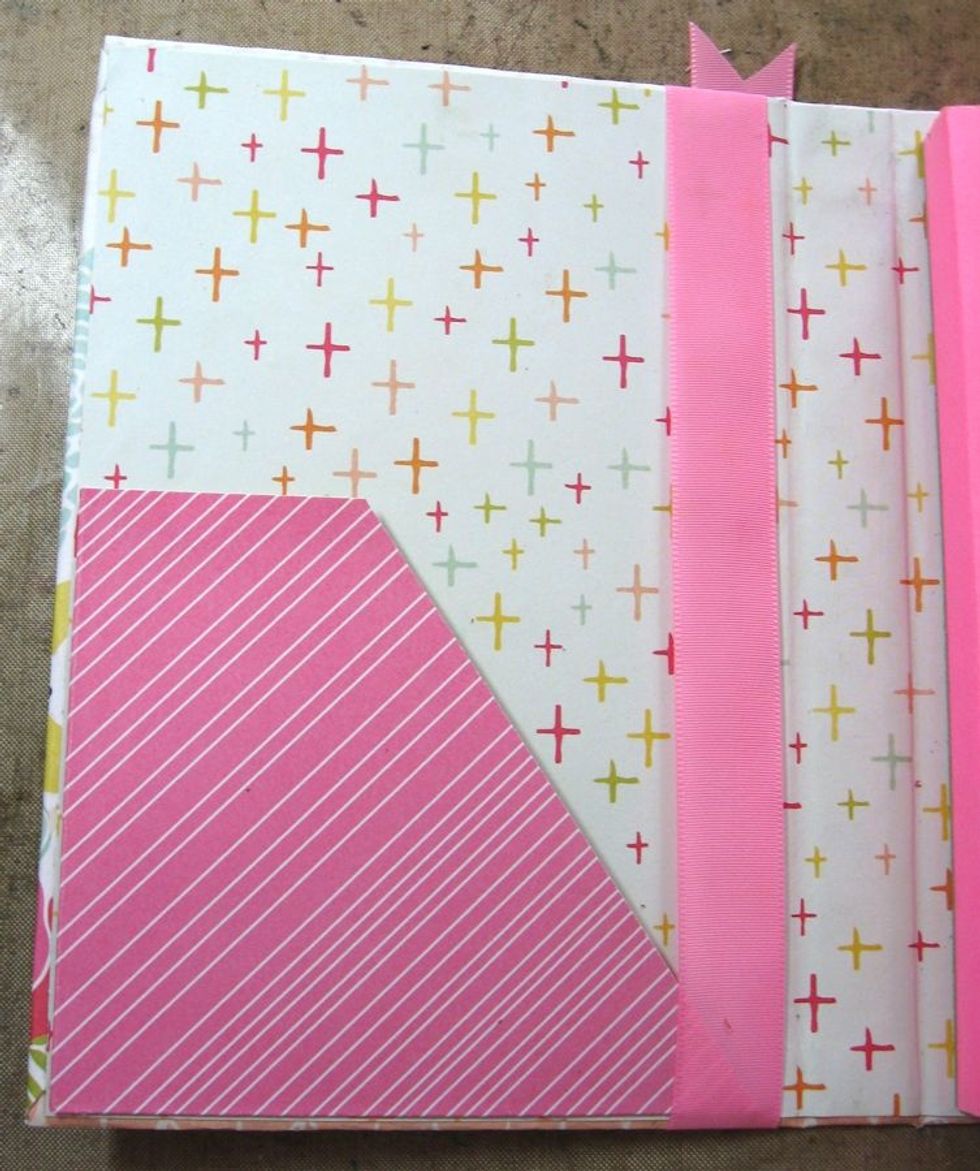
Glue in place as seen here.
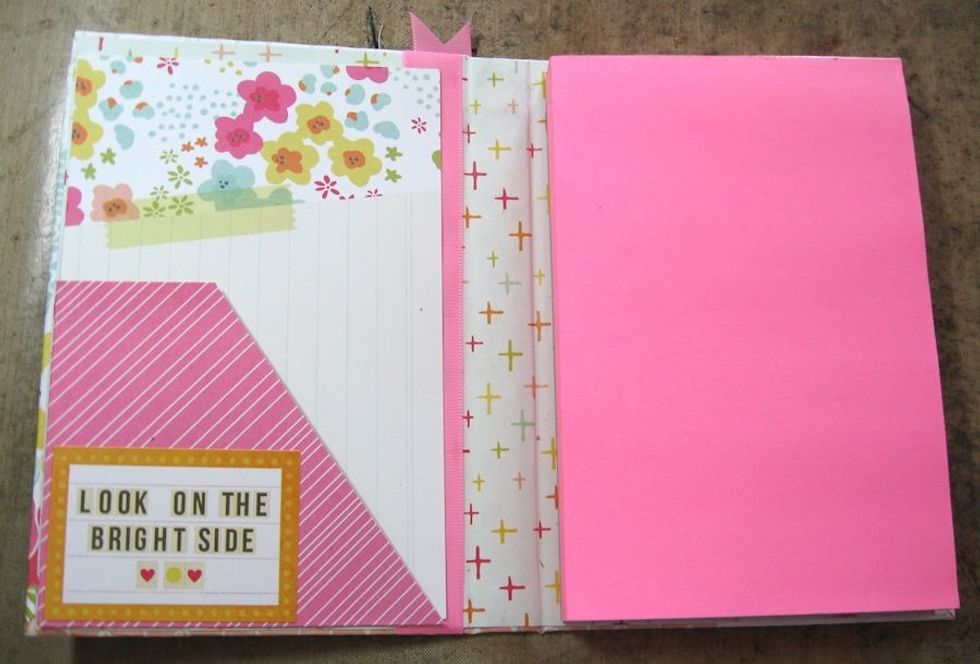
Add a sticker to the pocket and slip in some 4" x 6" life cards. Now we will decorate the front of the notebook.
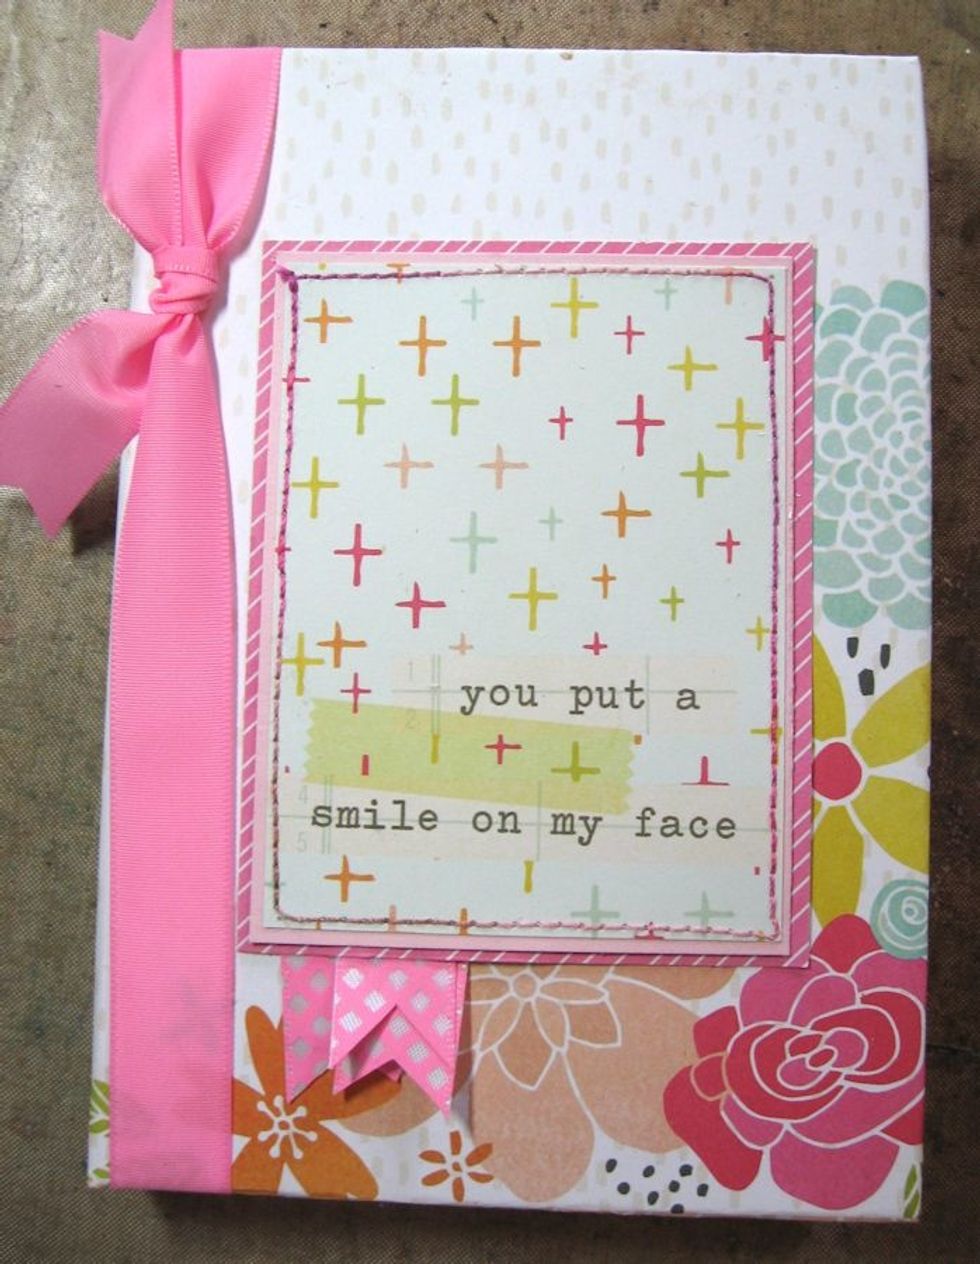
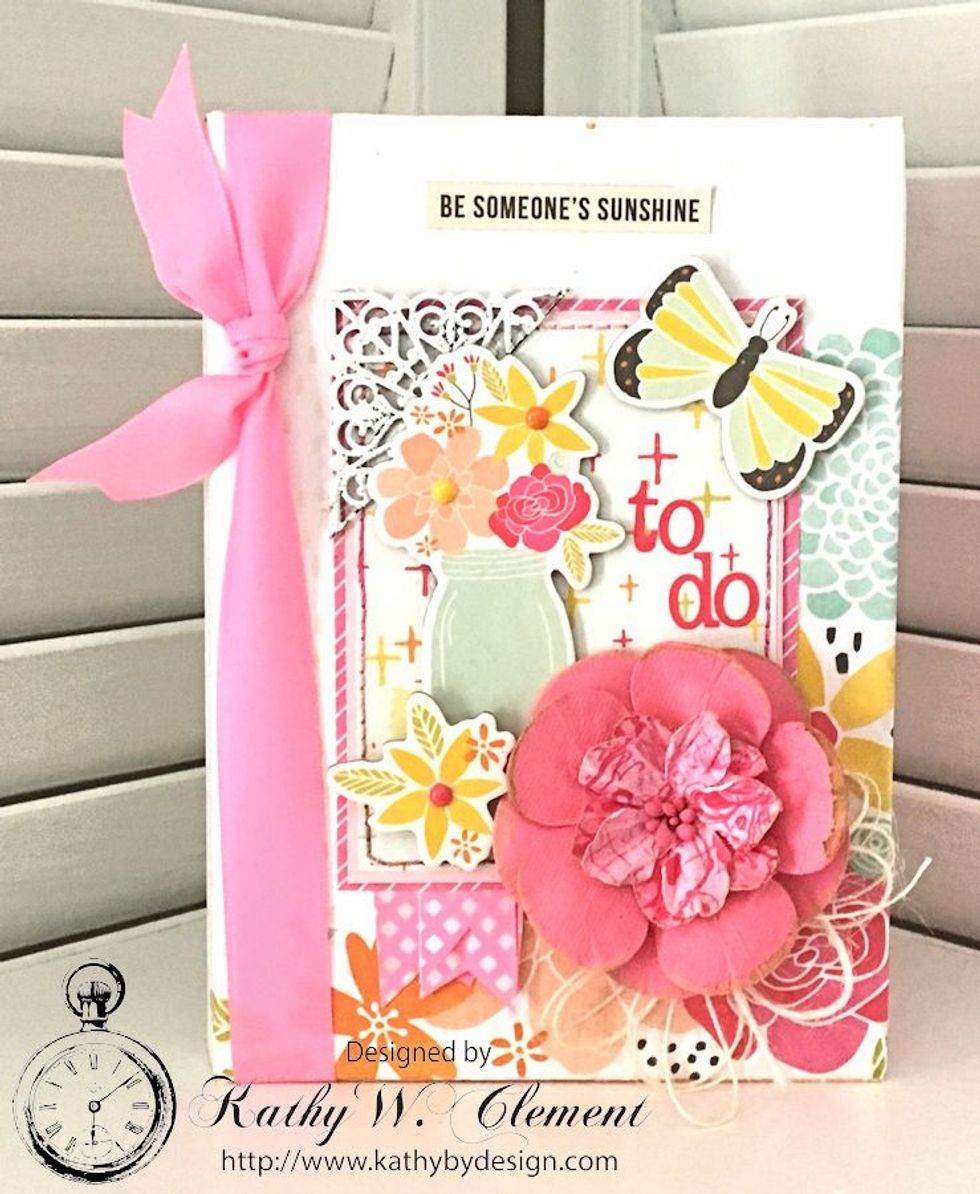
Stitch a small journal note card to pink cardstock and designer paper. Cut banner flags from ribbon. Glue to back. Glue in place on notebook cover.
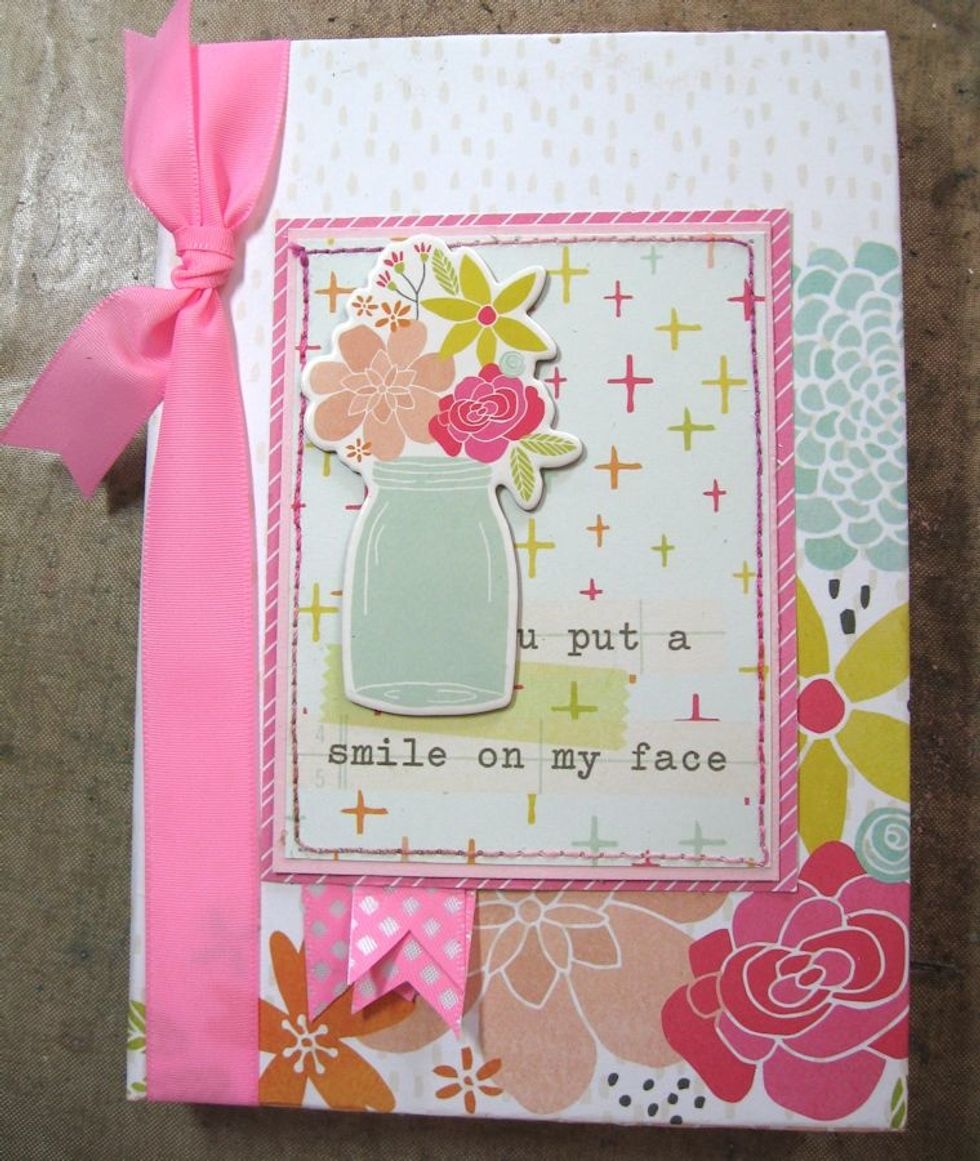
Add chipboard element, but be sure to add a little glue to the back to make it really secure.
Use a foam spacer to add chipboard flower as shown.

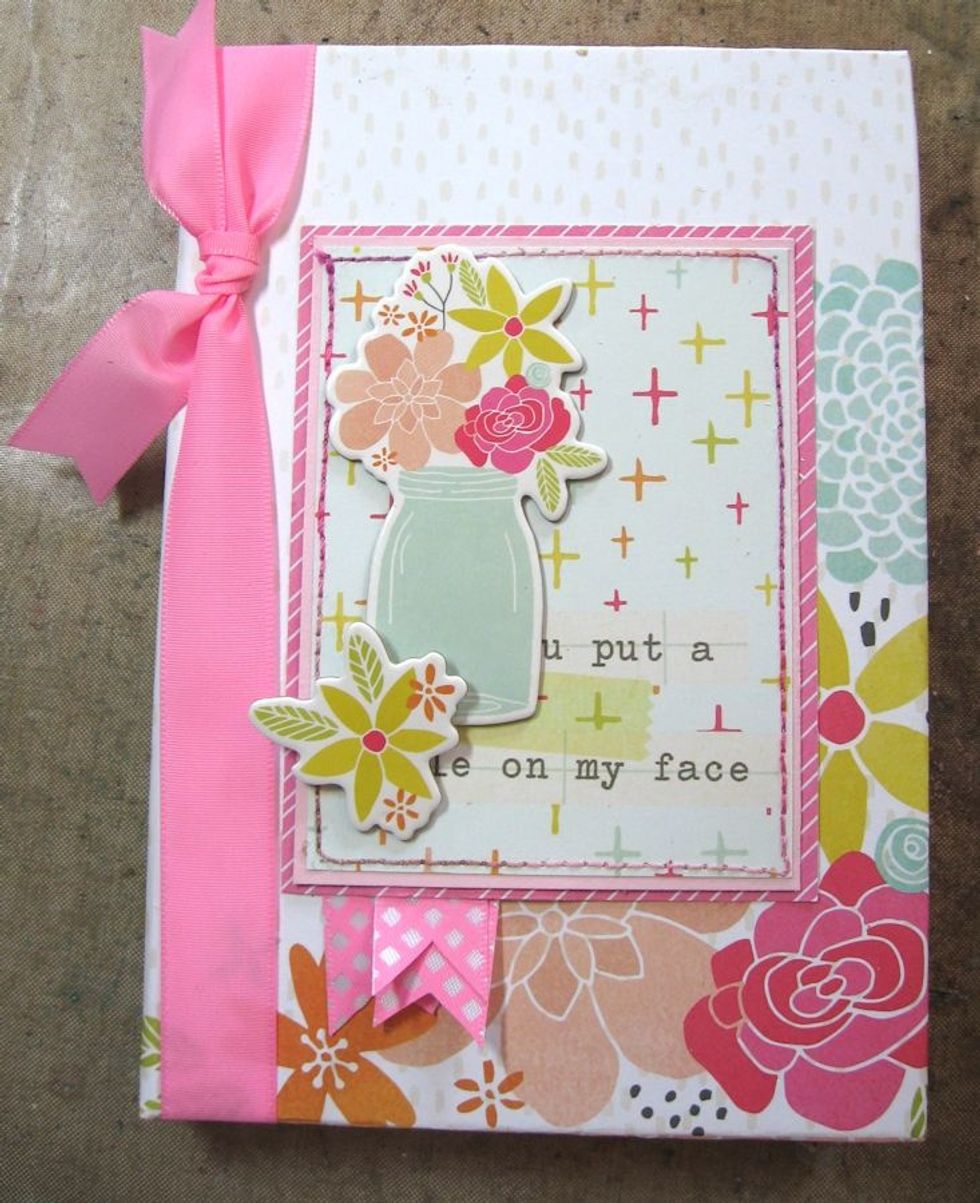
Glue chipboard butterfly in upper right hand corner.
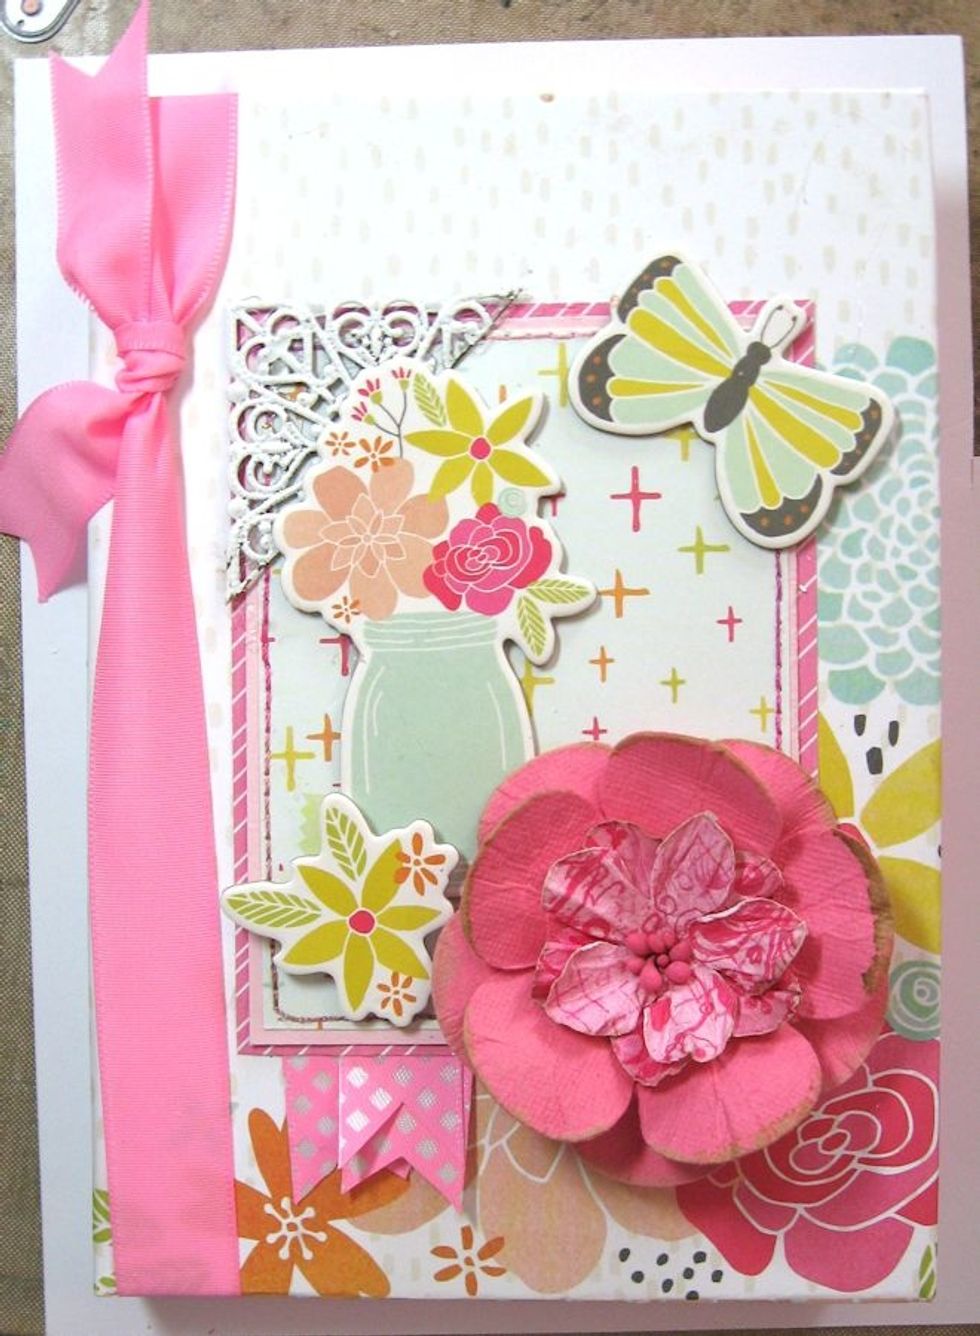
Glue metal corner and Petaloo flower as shown. (Don't do what I did...add the metal corner before you glue down the vase. It's easier!)
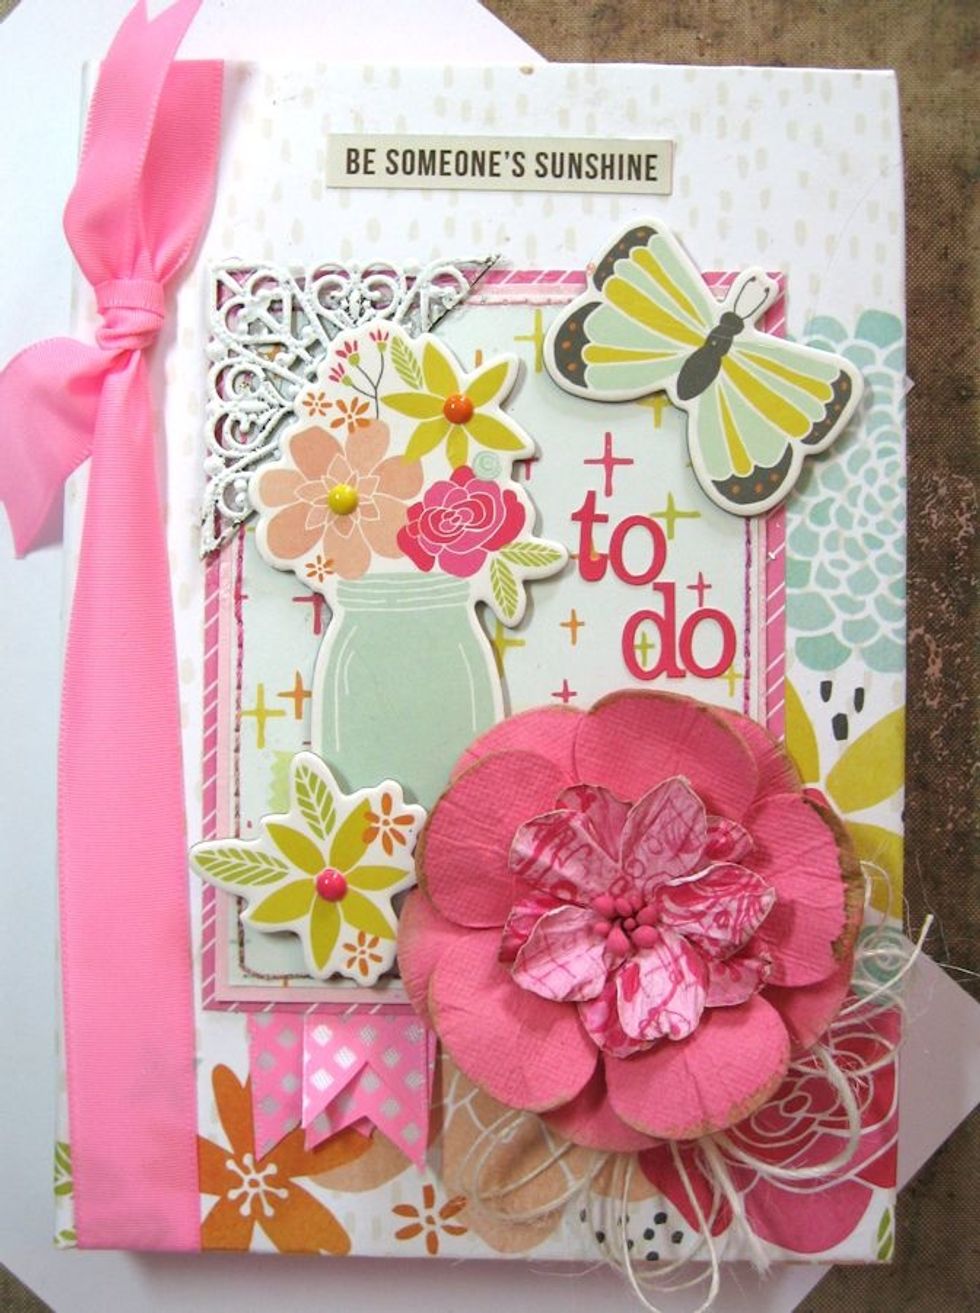
Add sticker sentiment and letters to cover. Create string bow with burlap and tuck beneath Petaloo flower. Your notebook is now complete!
These little notebooks make great gifts and are very durable. You can even refill them! Just glue a new pad in place when the current pad is used up. Vary sizes and themes for even more fun!
Thanks for joining me today! For more inspiration and free tutorials visit me at kathybydesign.com Now go get your craft on!