The Conversation (0)
Sign Up

Start with making a large cake ball. I used some leftover cupcakes and frosting. Crumble the cake and mix in a spoonful of frosting to enable you to roll a large cake ball.
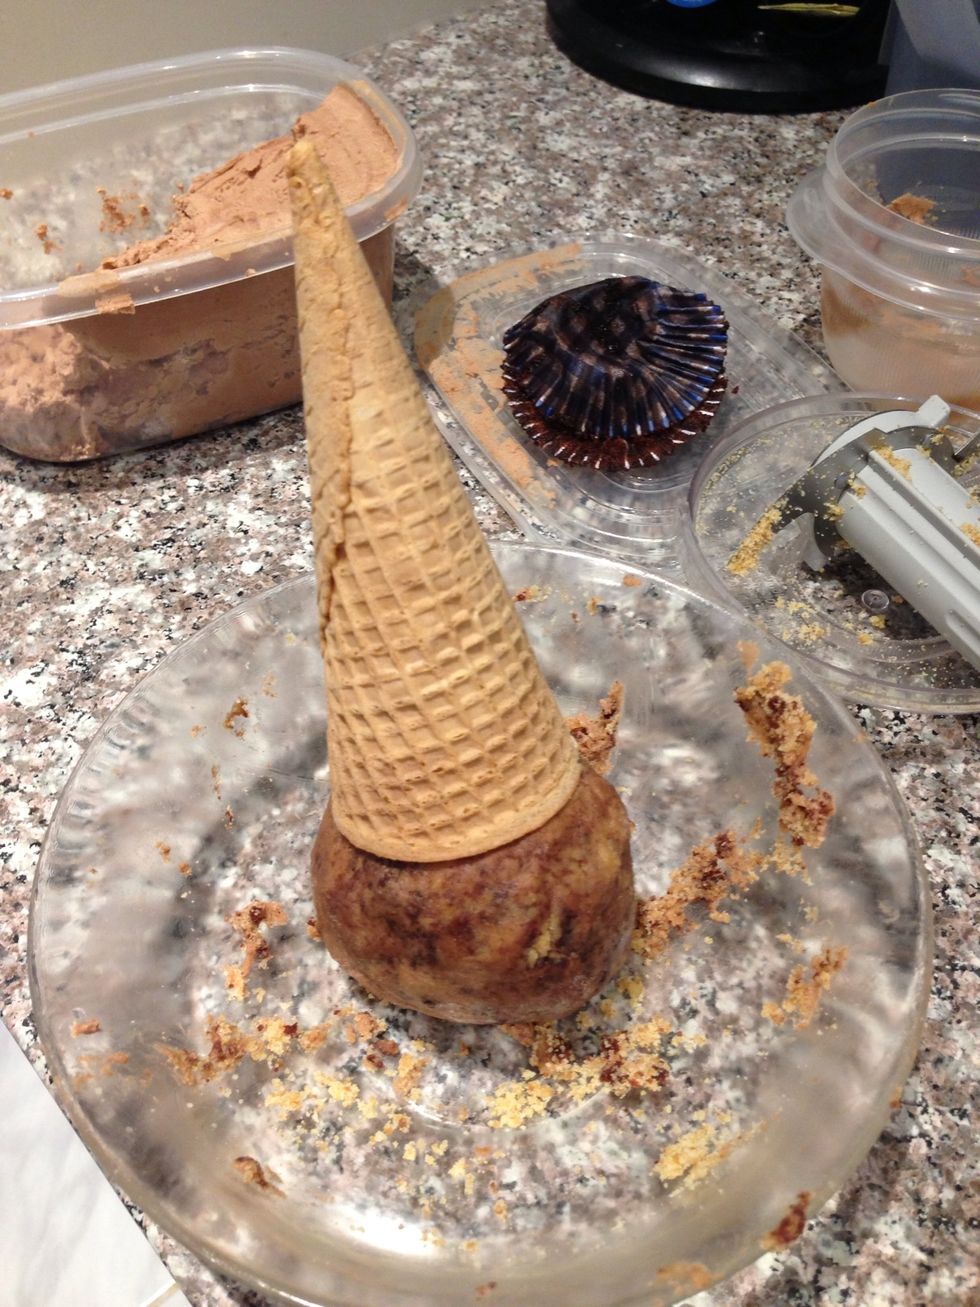
Check the size of the cake ball against the cone, to ensure the right look. Should be the size of a scoop of ice cream.
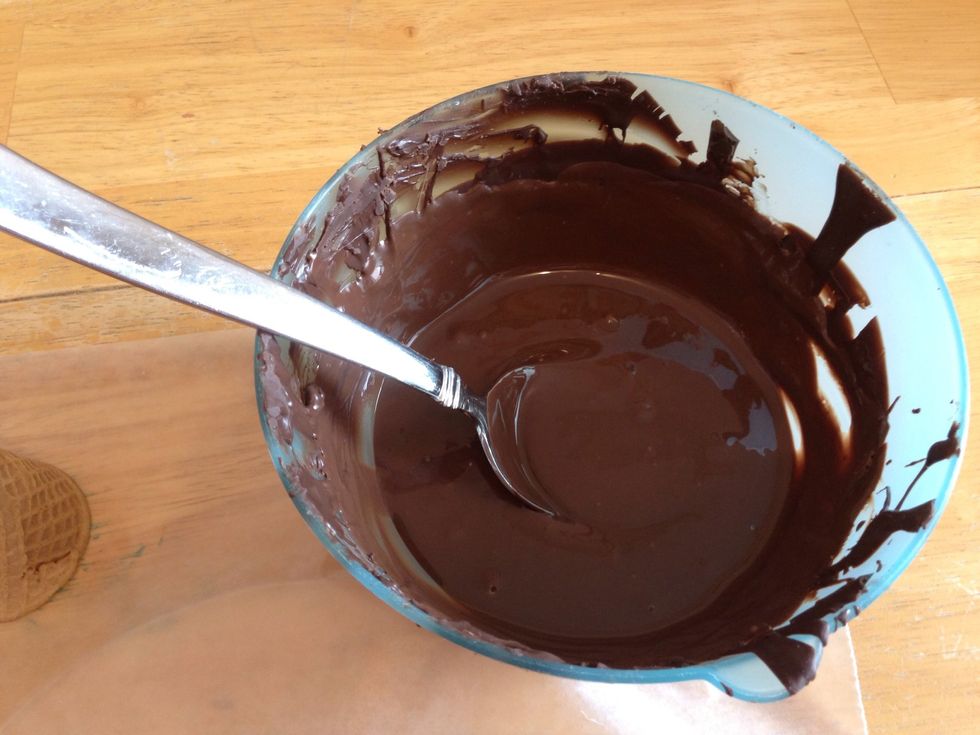
Melt your chocolate or candy melting wafers.
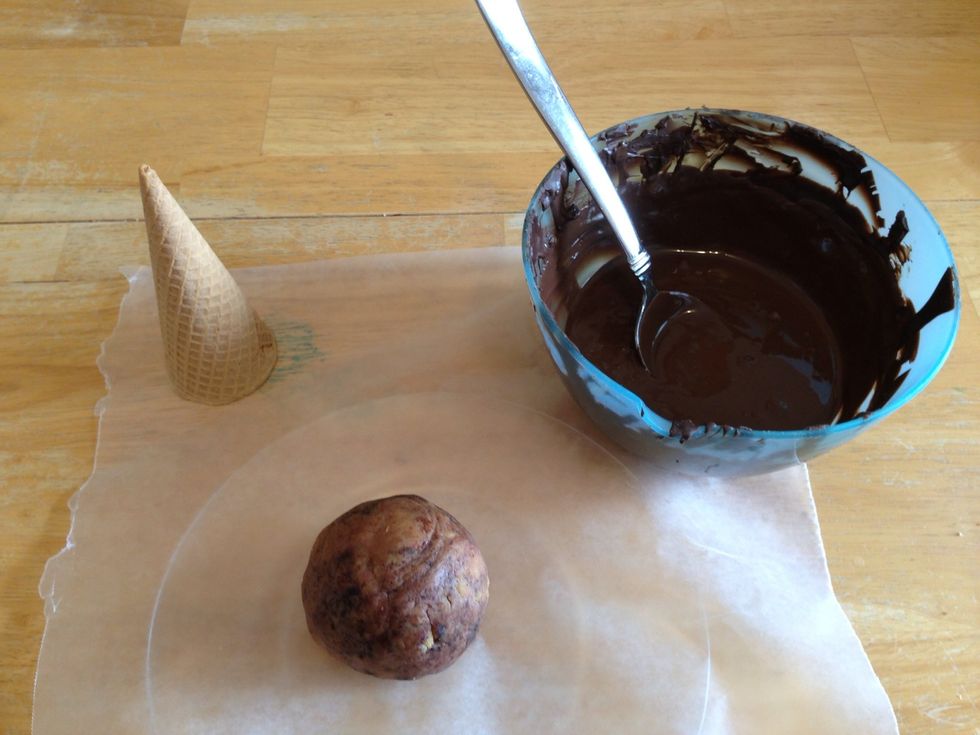
Cover a plate or board with wax paper and put your cake ball onto it.
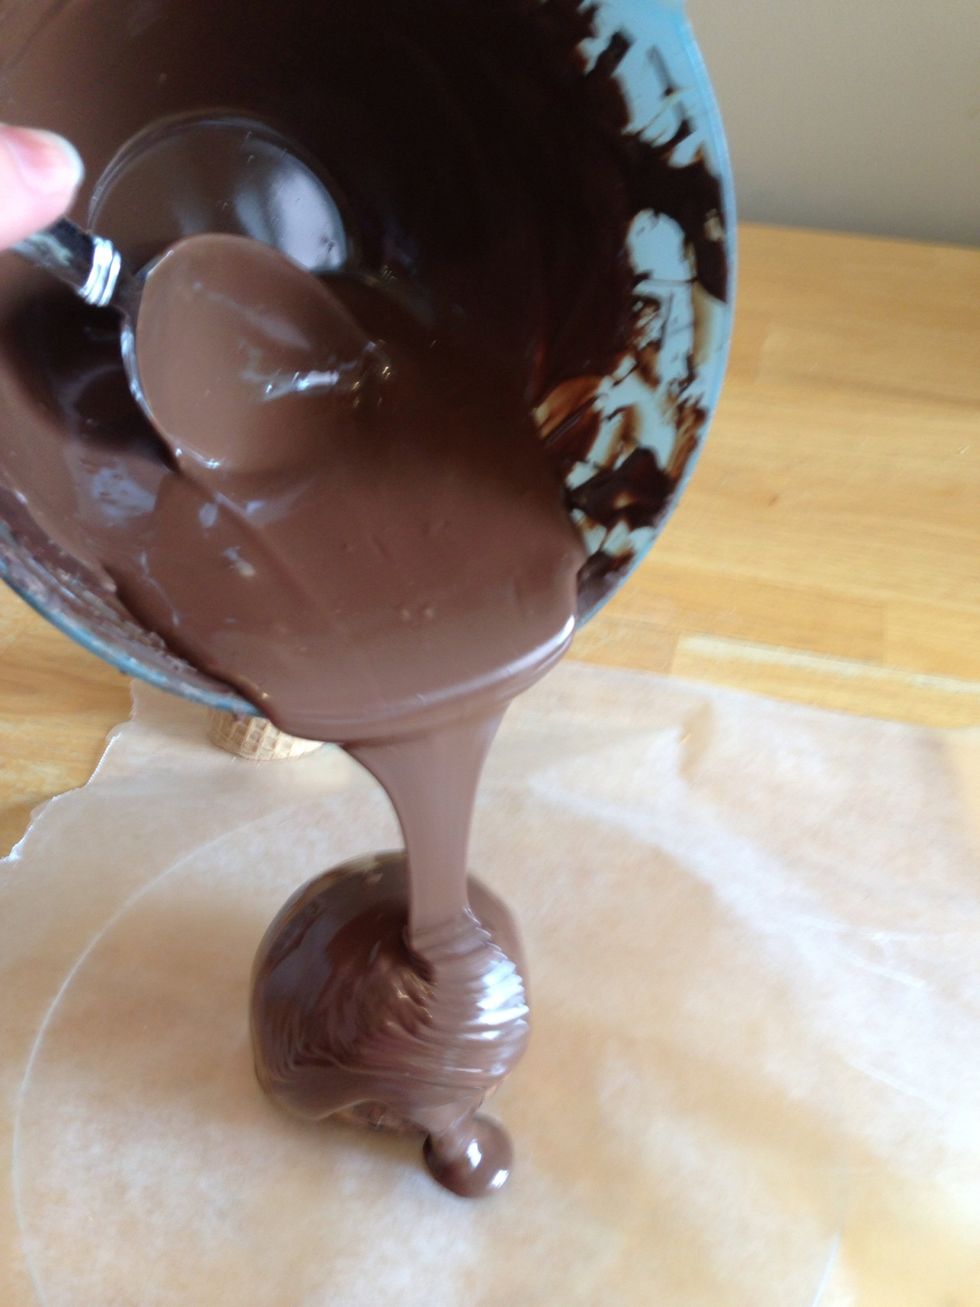
Slowly pour your chocolate or candy onto the ball, allowing it to cover entire ball and spread out a little from the ball.
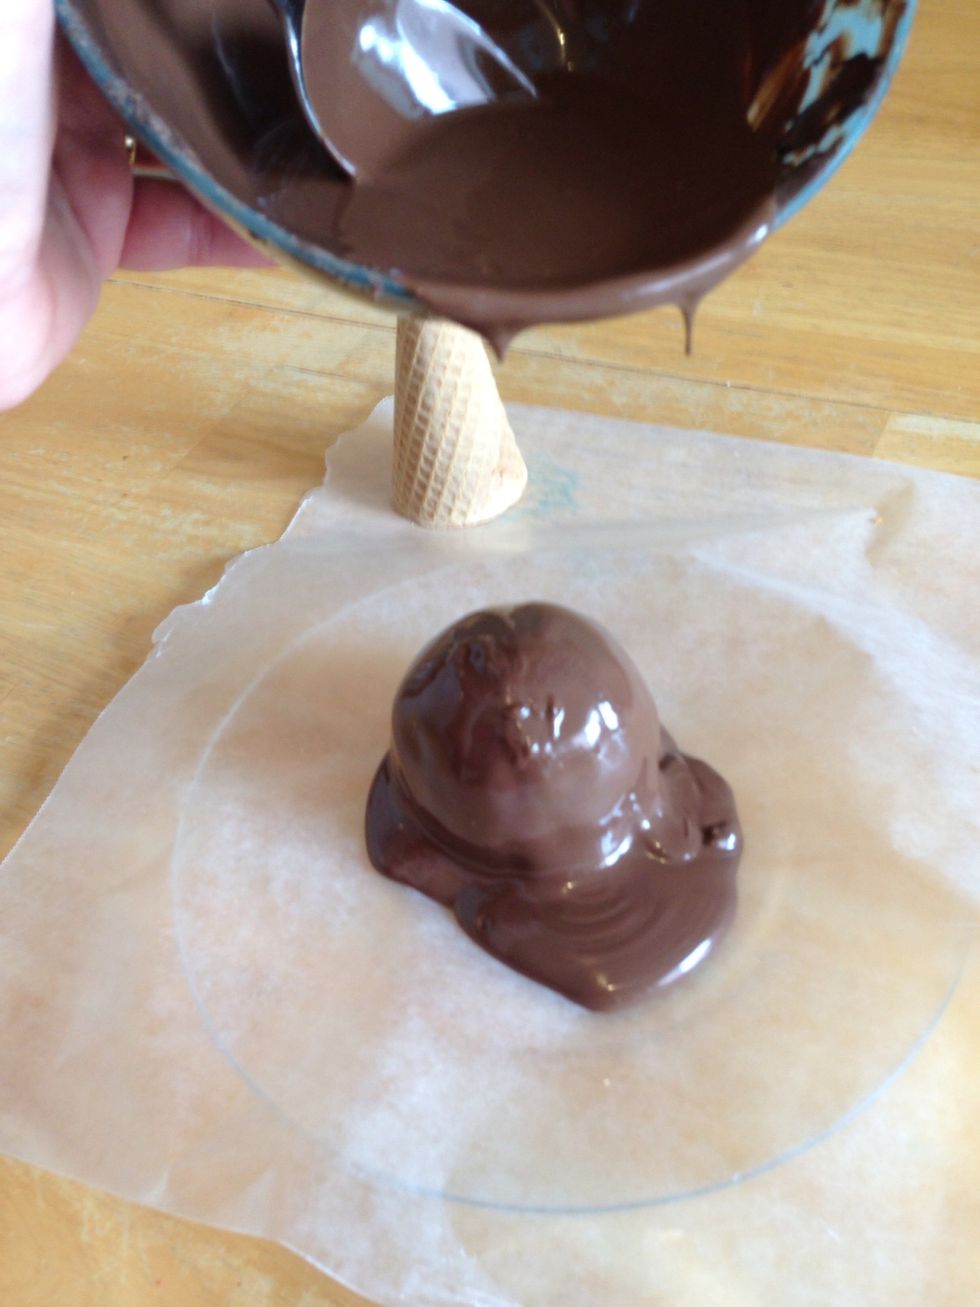
Like this!
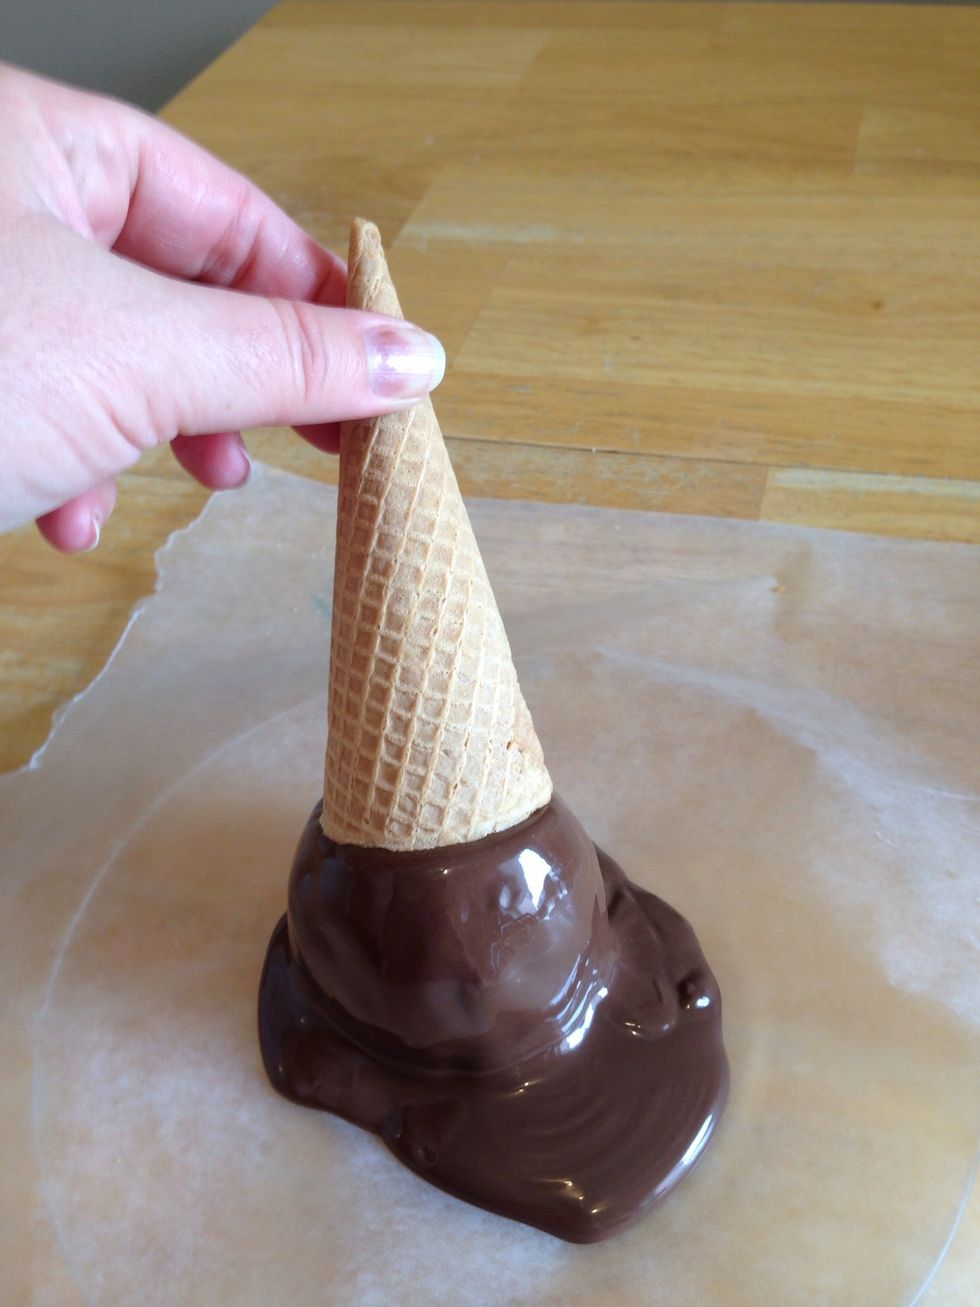
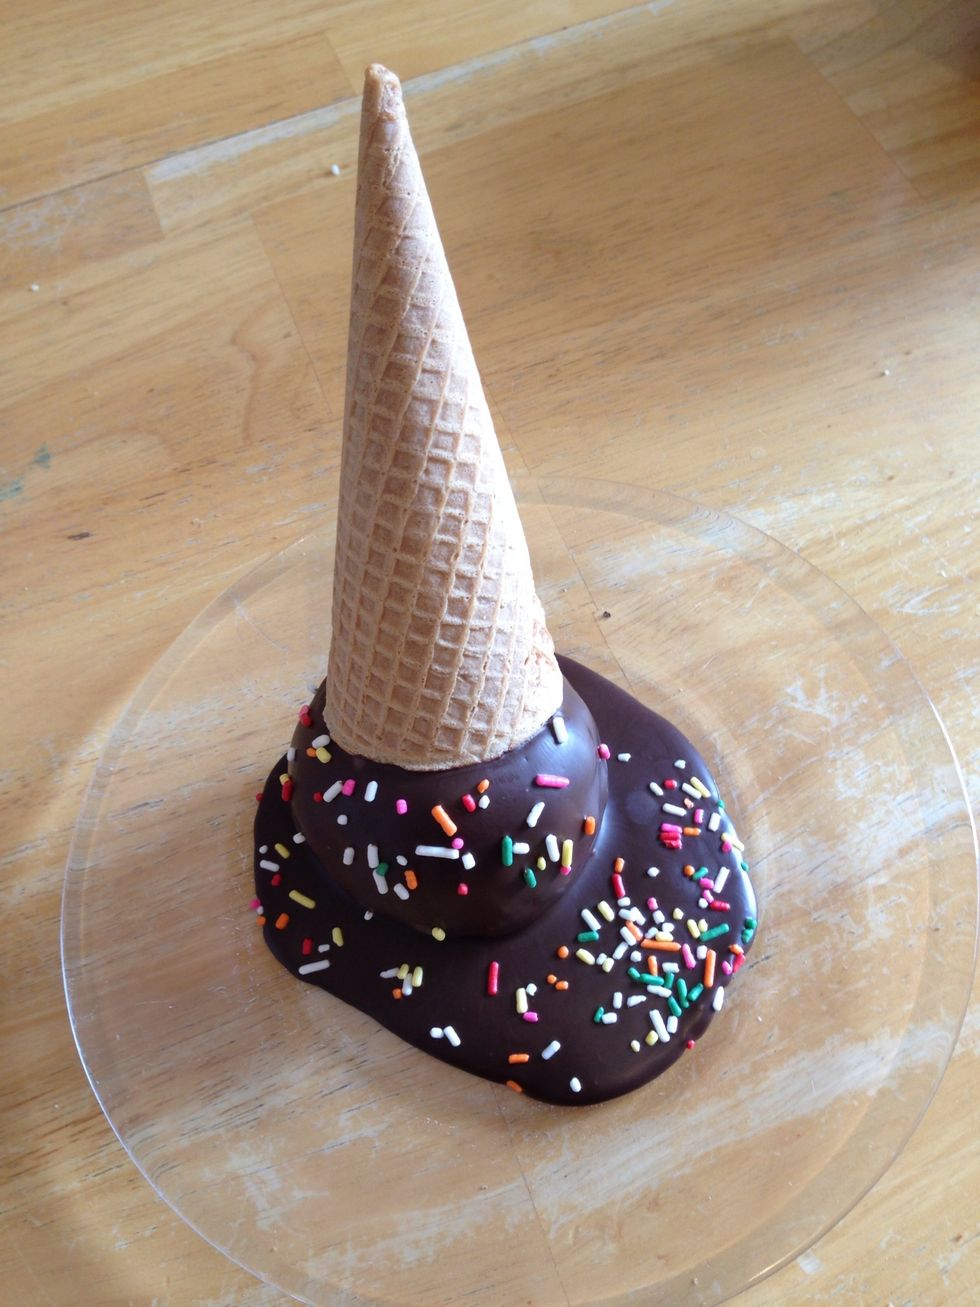
Place the cone into the melted chocolate on an angle before it hardens.
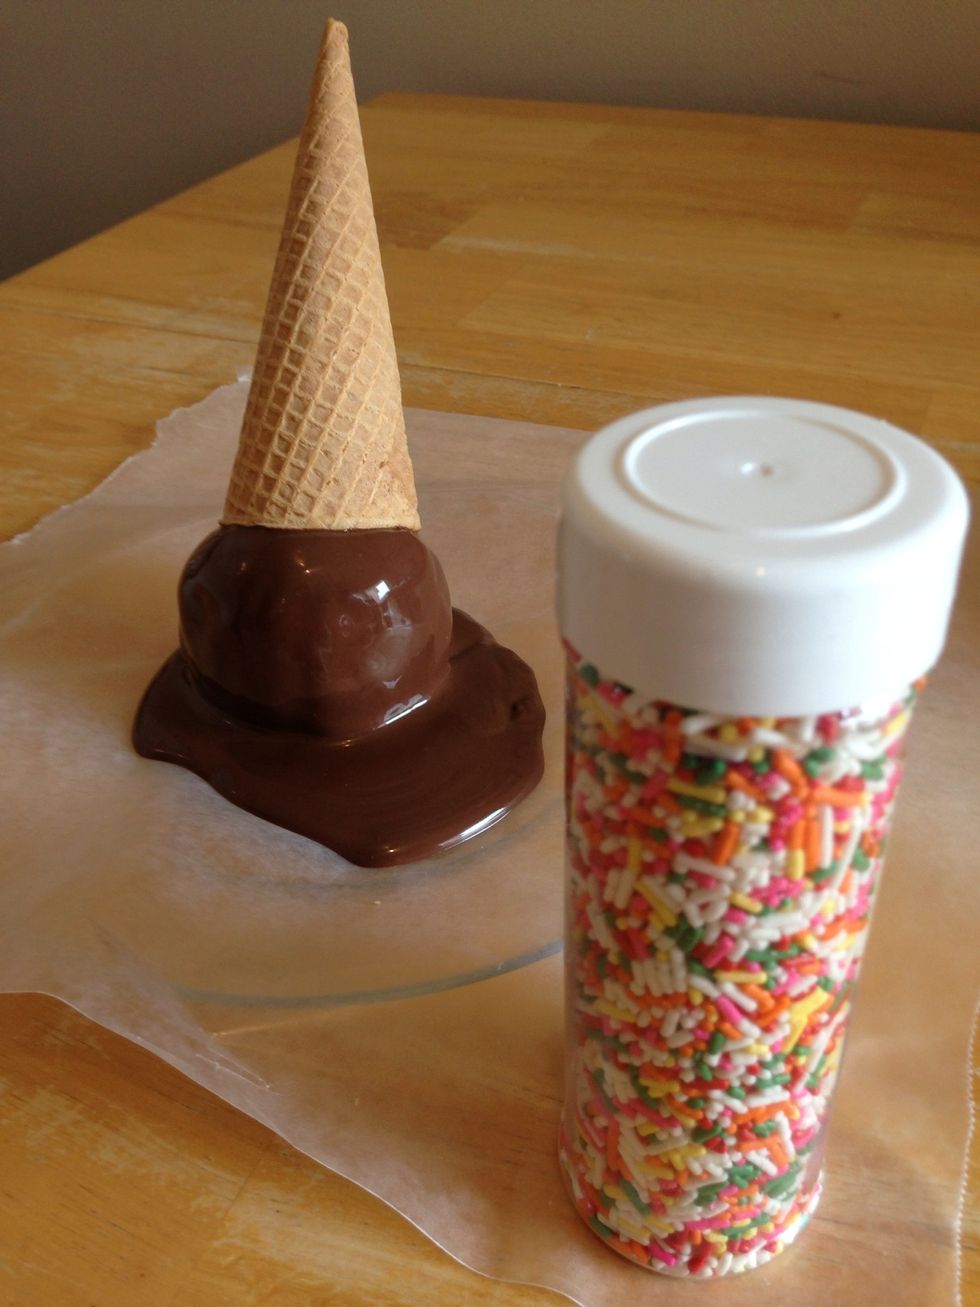
If you want to dress your cone up, sprinkles are a fun way to add colour!
Pour them on the chocolate while it is still liquid.

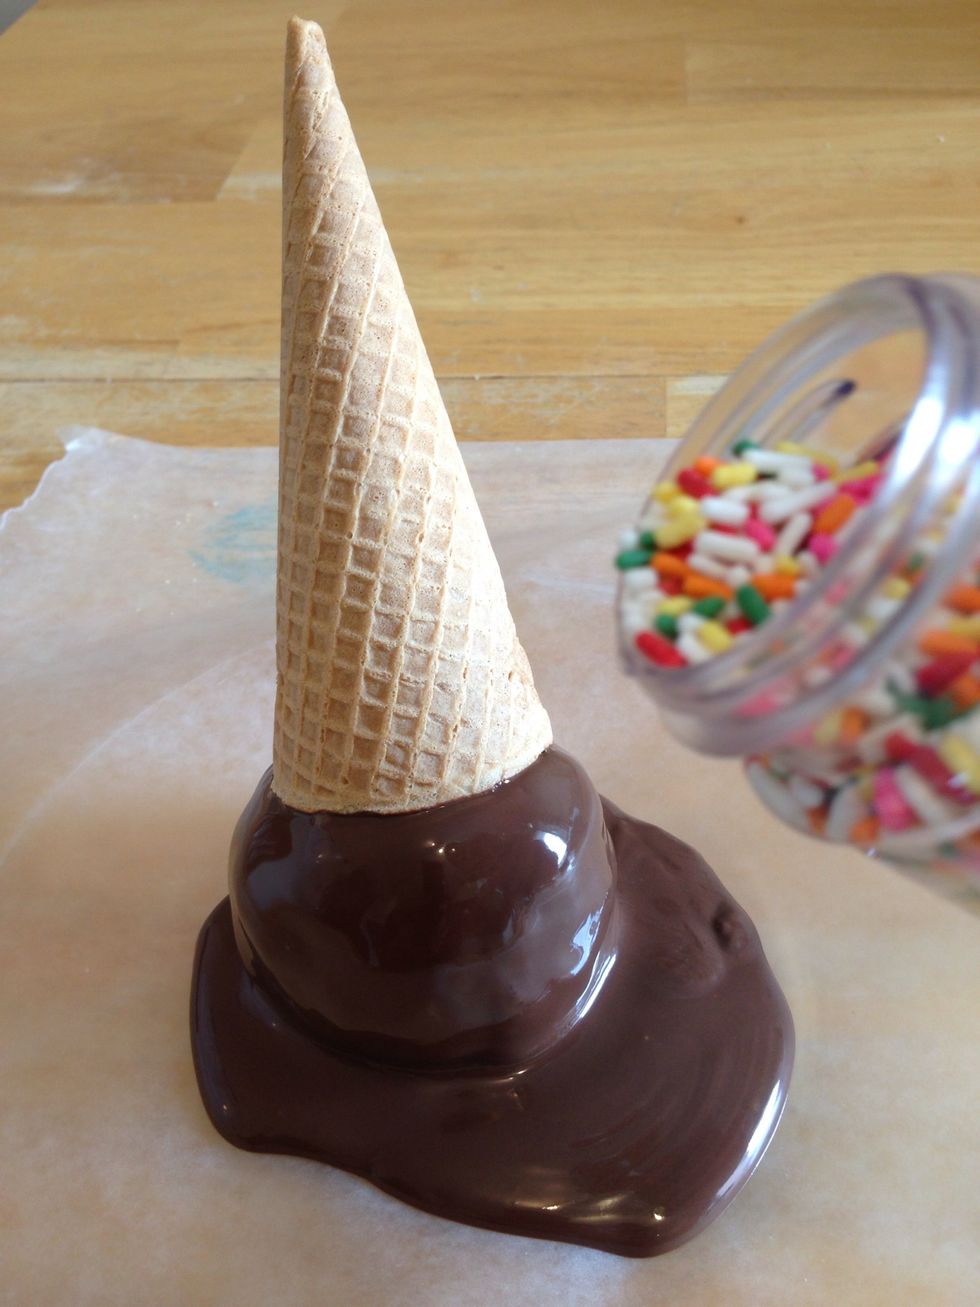
See how pretty it looks!
Place in the refrigerator for a few minutes. When the chocolate has hardened, you can peel the wax paper off, and use the cone for a decoration on your cake!