The Conversation (0)
Sign Up
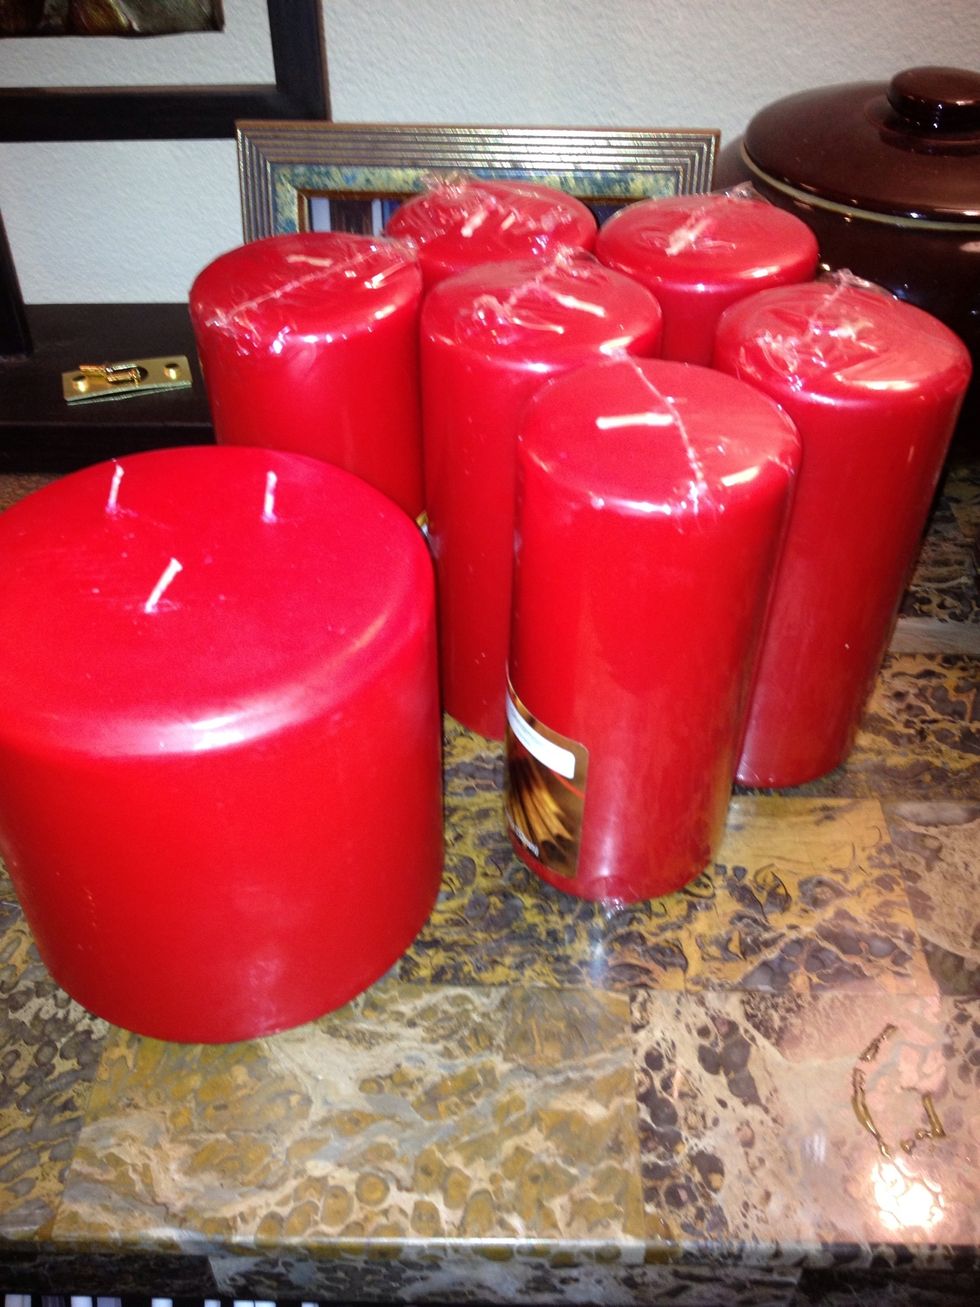
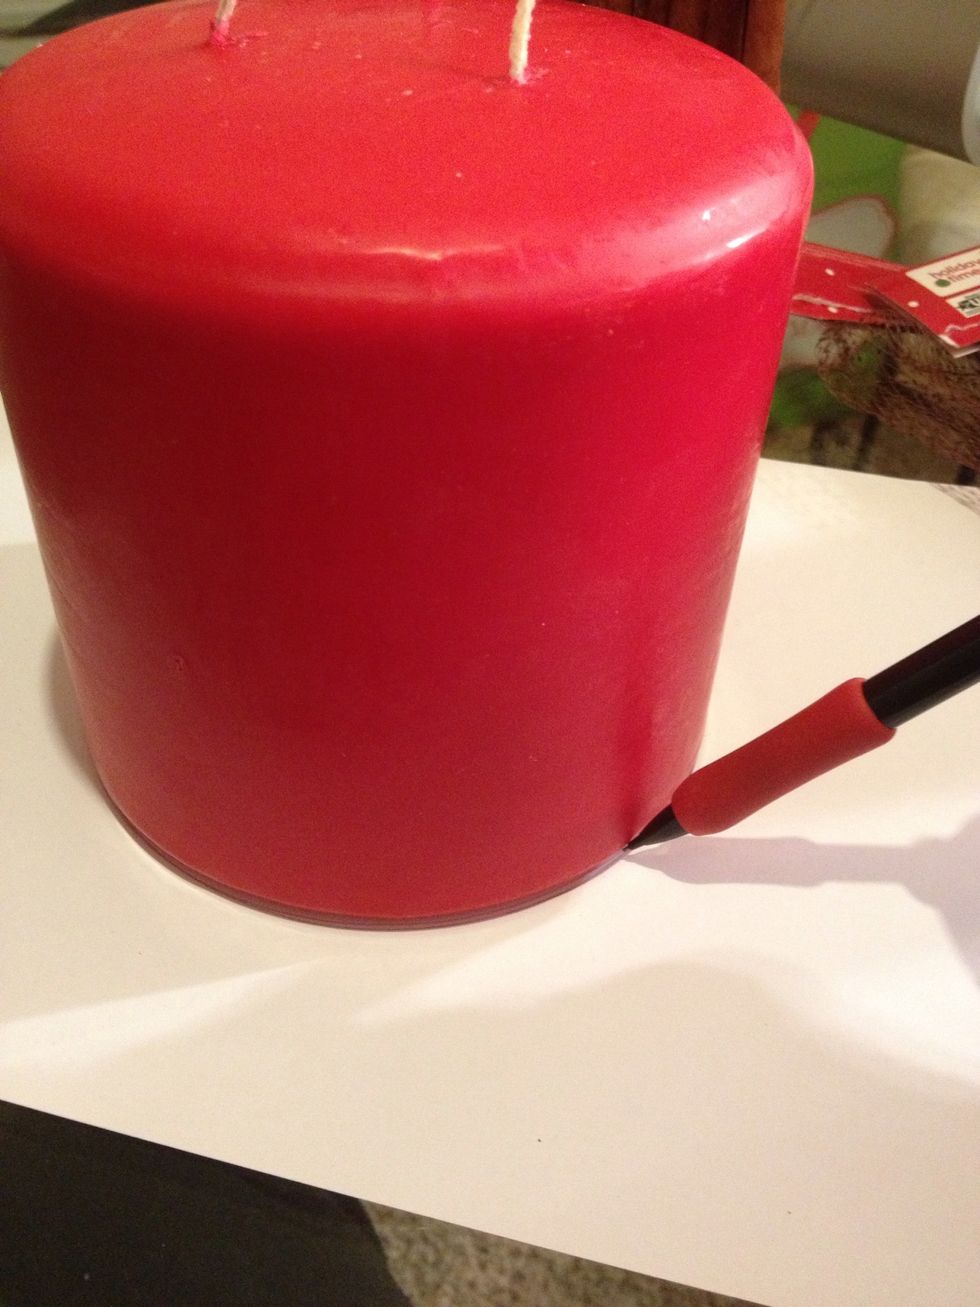
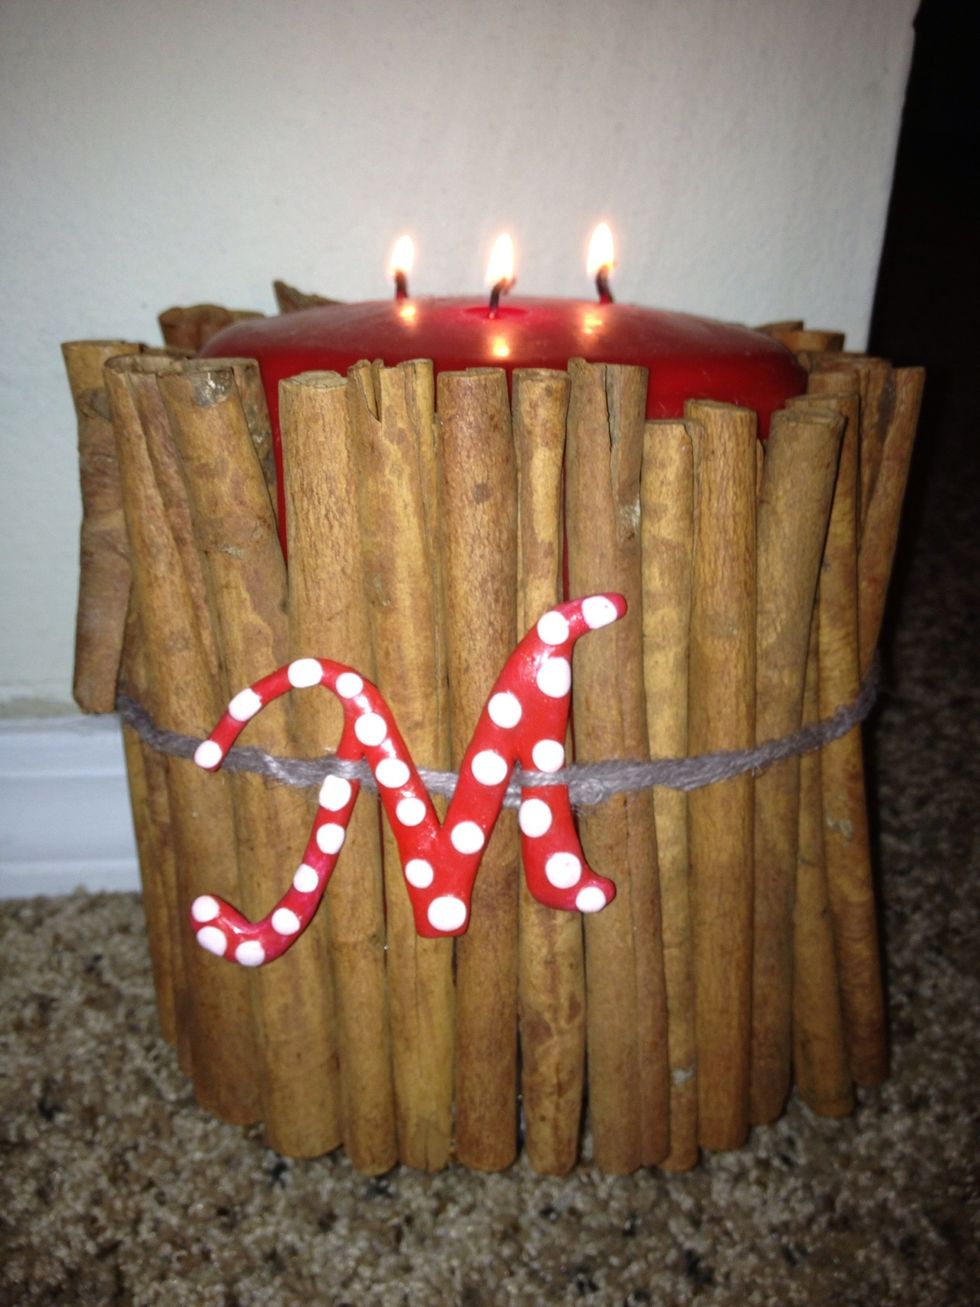
After Christmas is the best time to get cinnamon candles on sale. Pick one up to decorate.
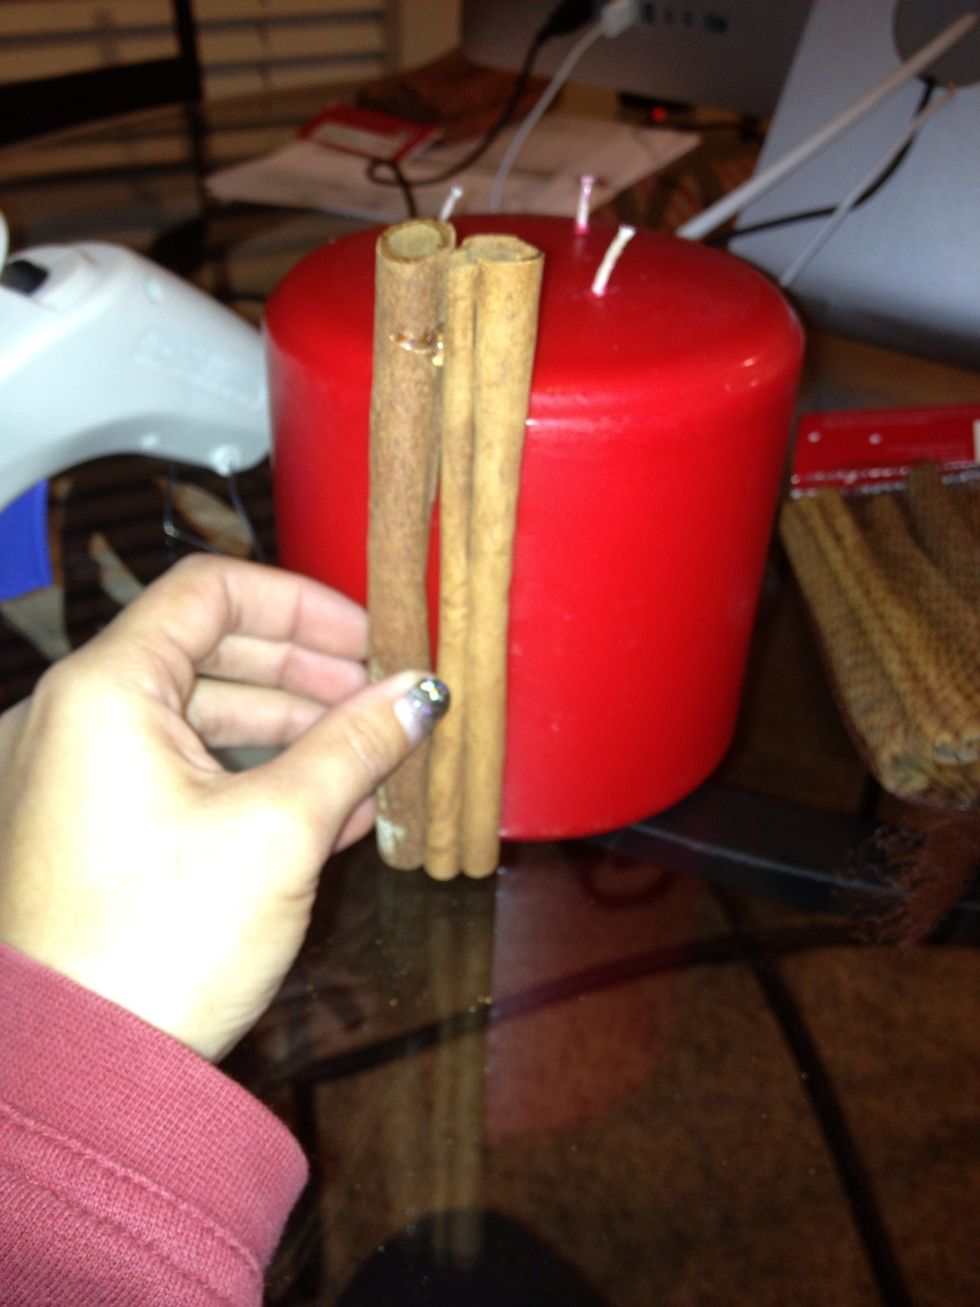
Start by lining the sticks up next to each other around the candle.
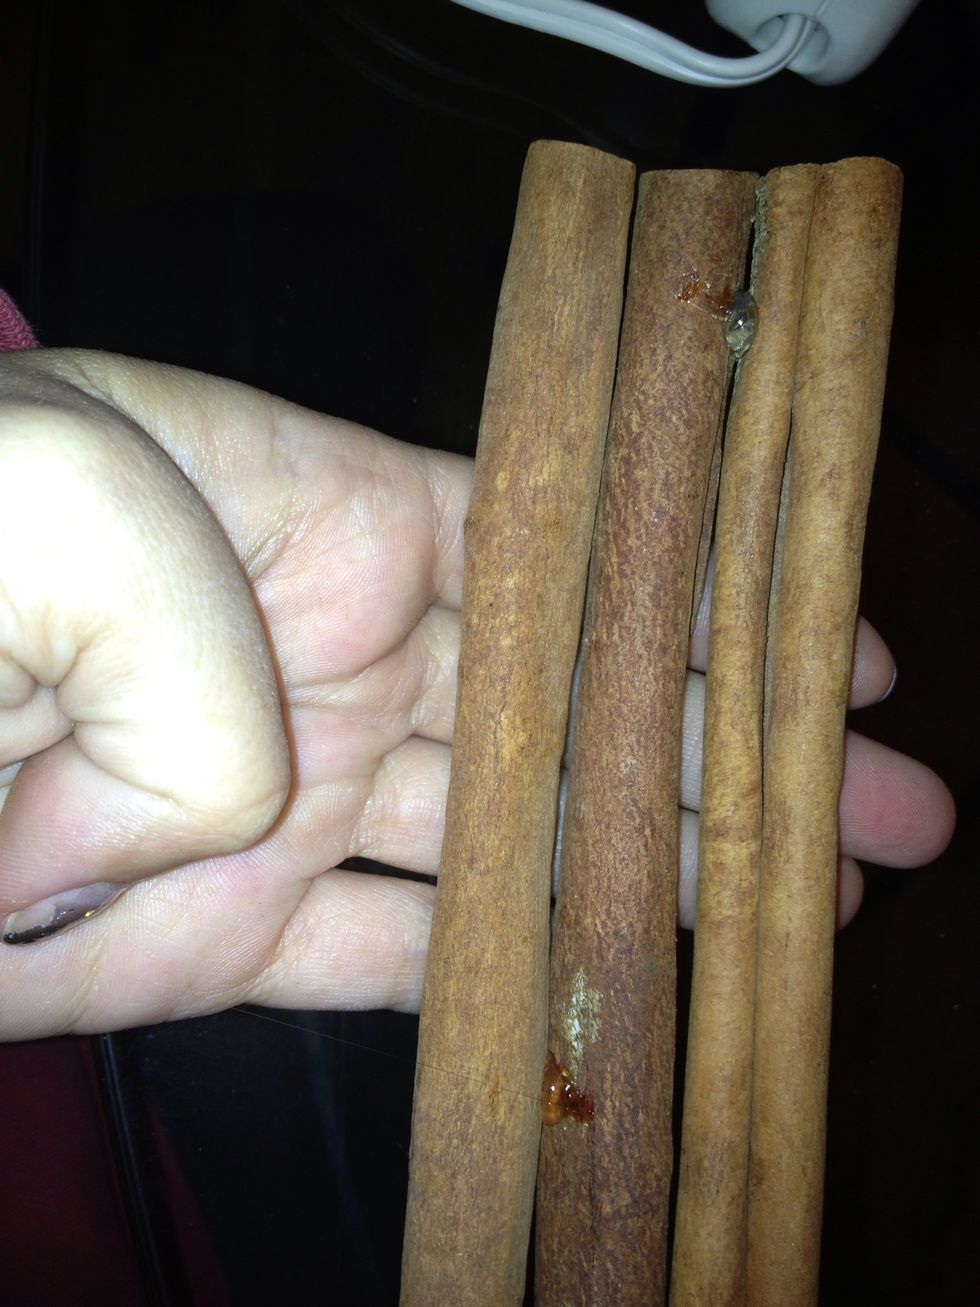
Use dots of got glue to bind the sticks together. Glue the sticks on the side that will not be seen.
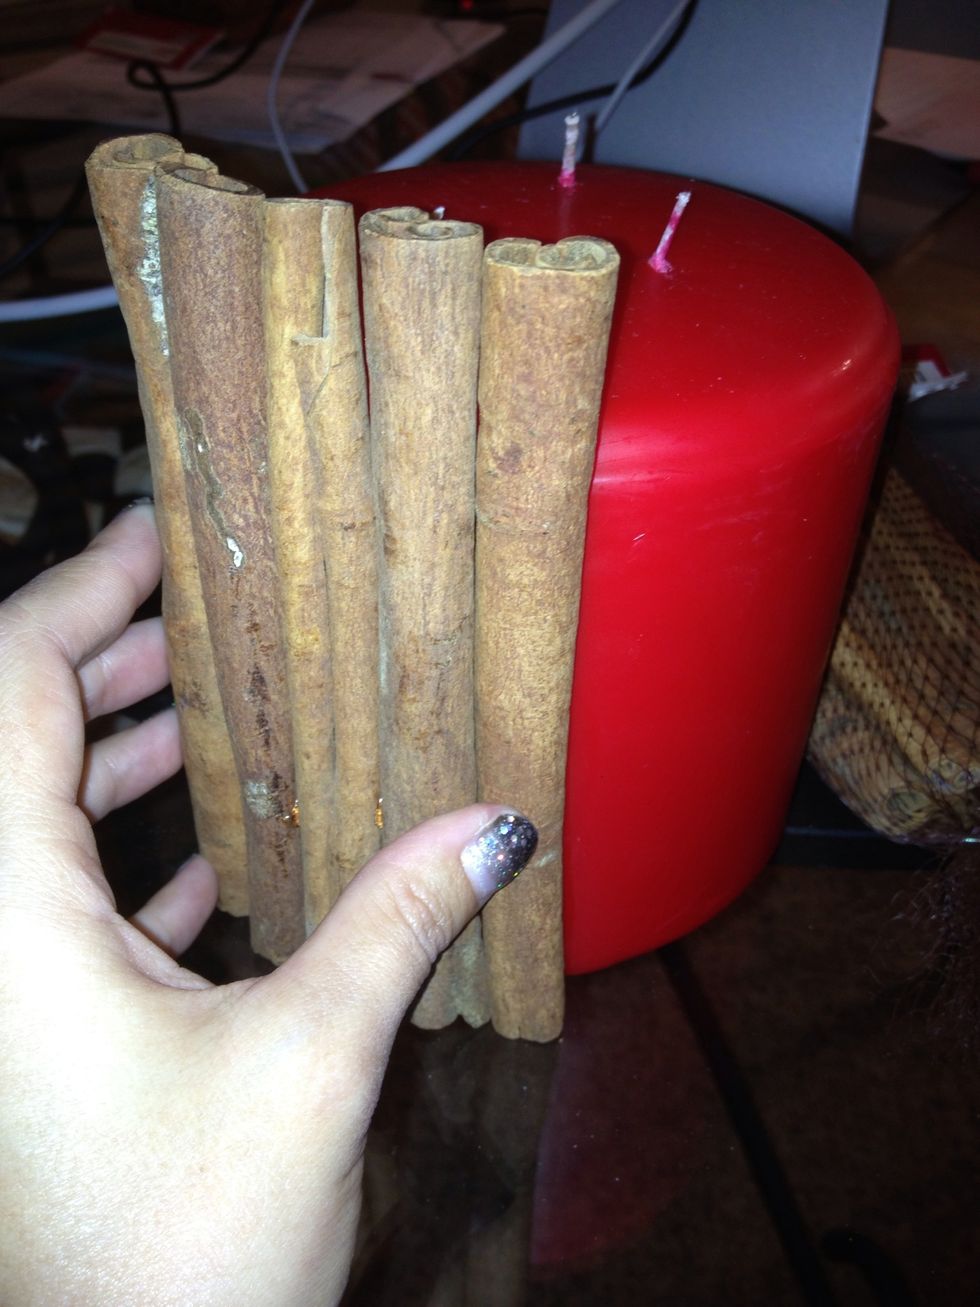
Continue working your way around the candle.
Eventually, it gets annoying to line up the stick and move the candle. You can try outlining the candle and building around it.
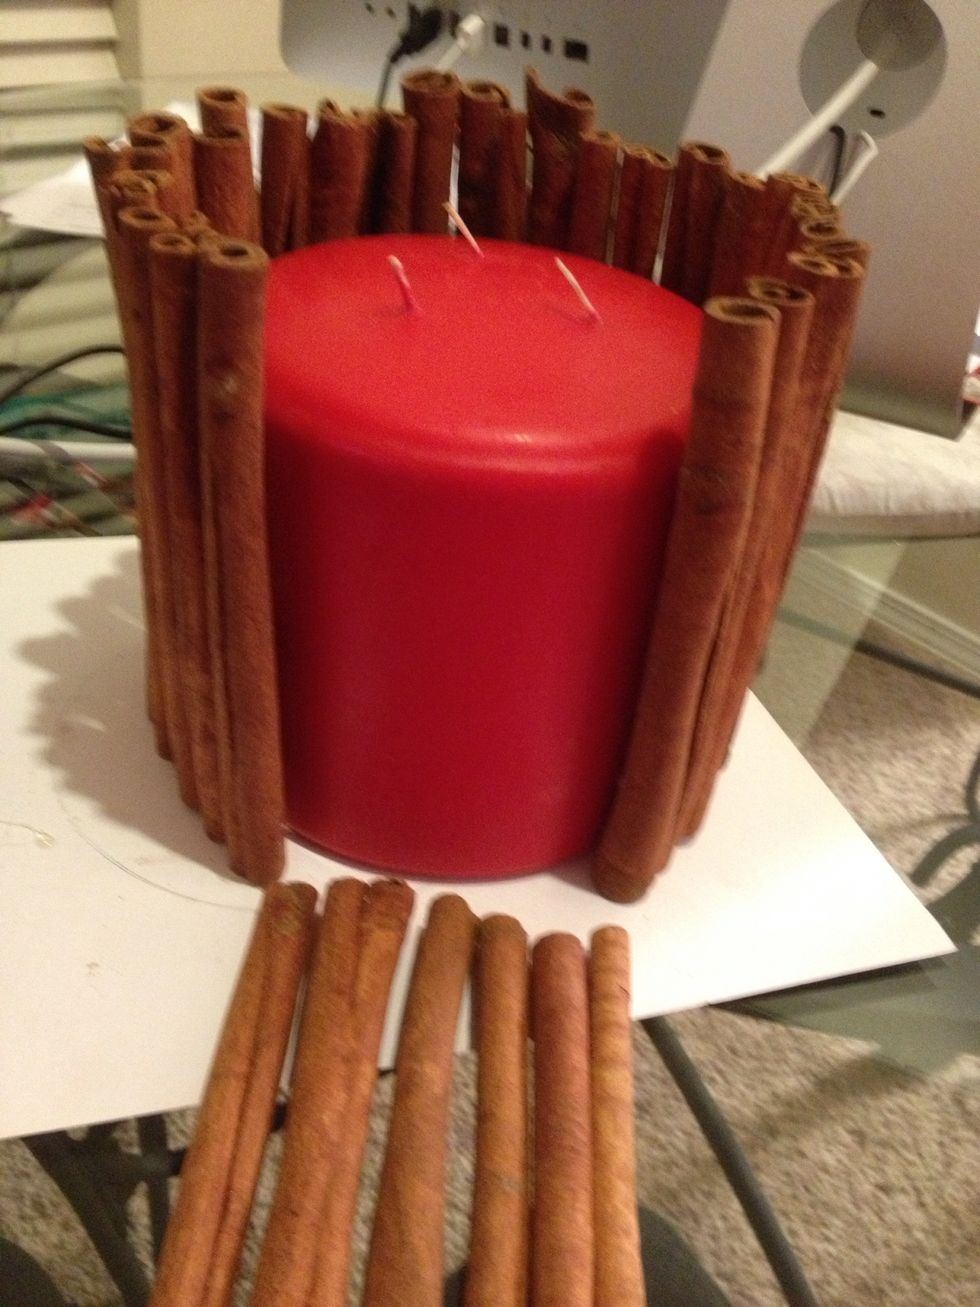
When you get toward the end, leave several sticks loose; don't glue them together. This is helpful for the future when you need to switch candles.
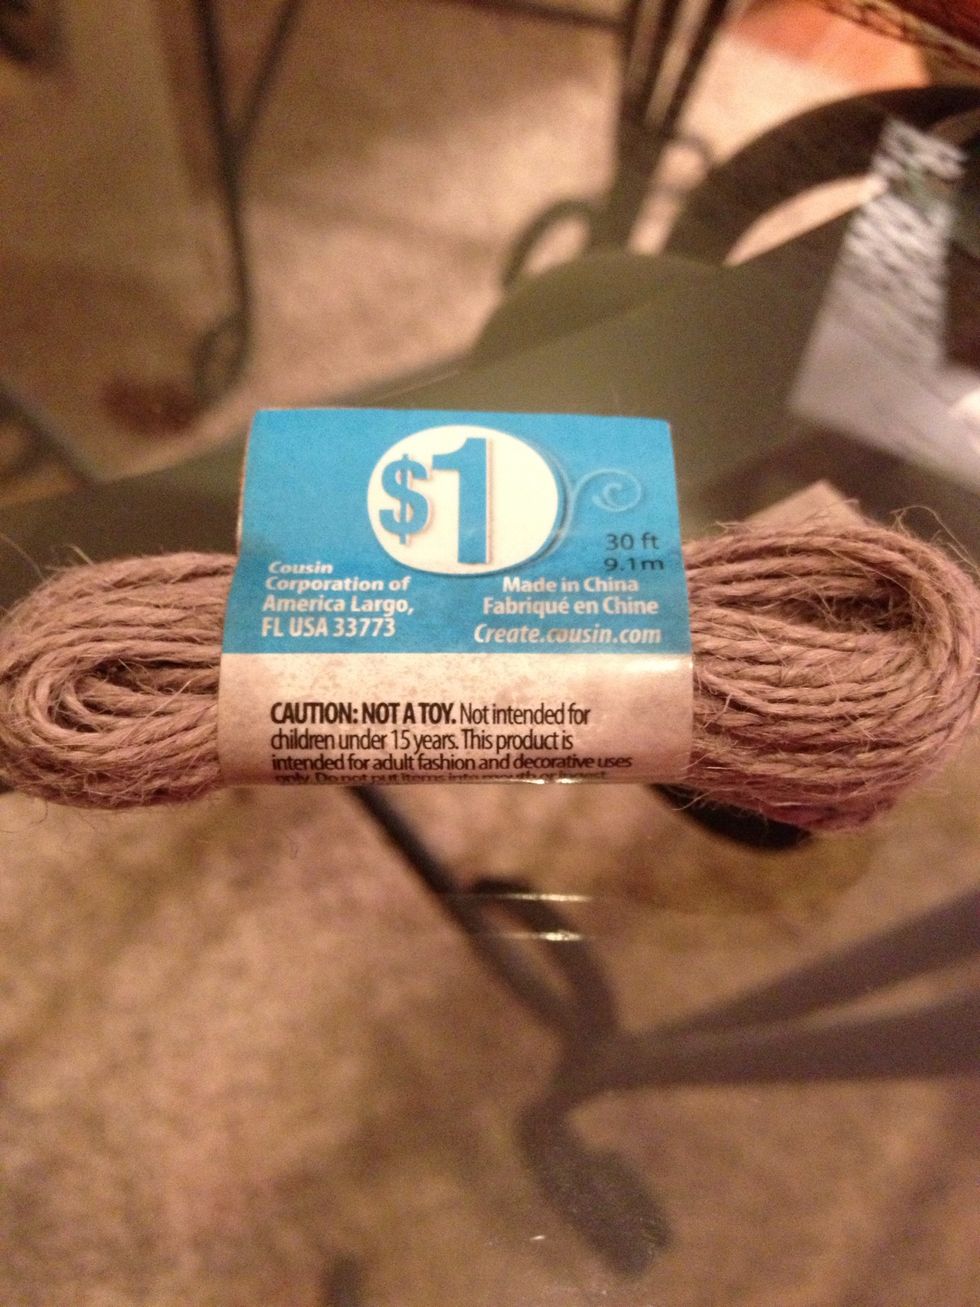
Use your twine, or ribbon, or raffia to wrap around the sticks. I just got some cheap twine.
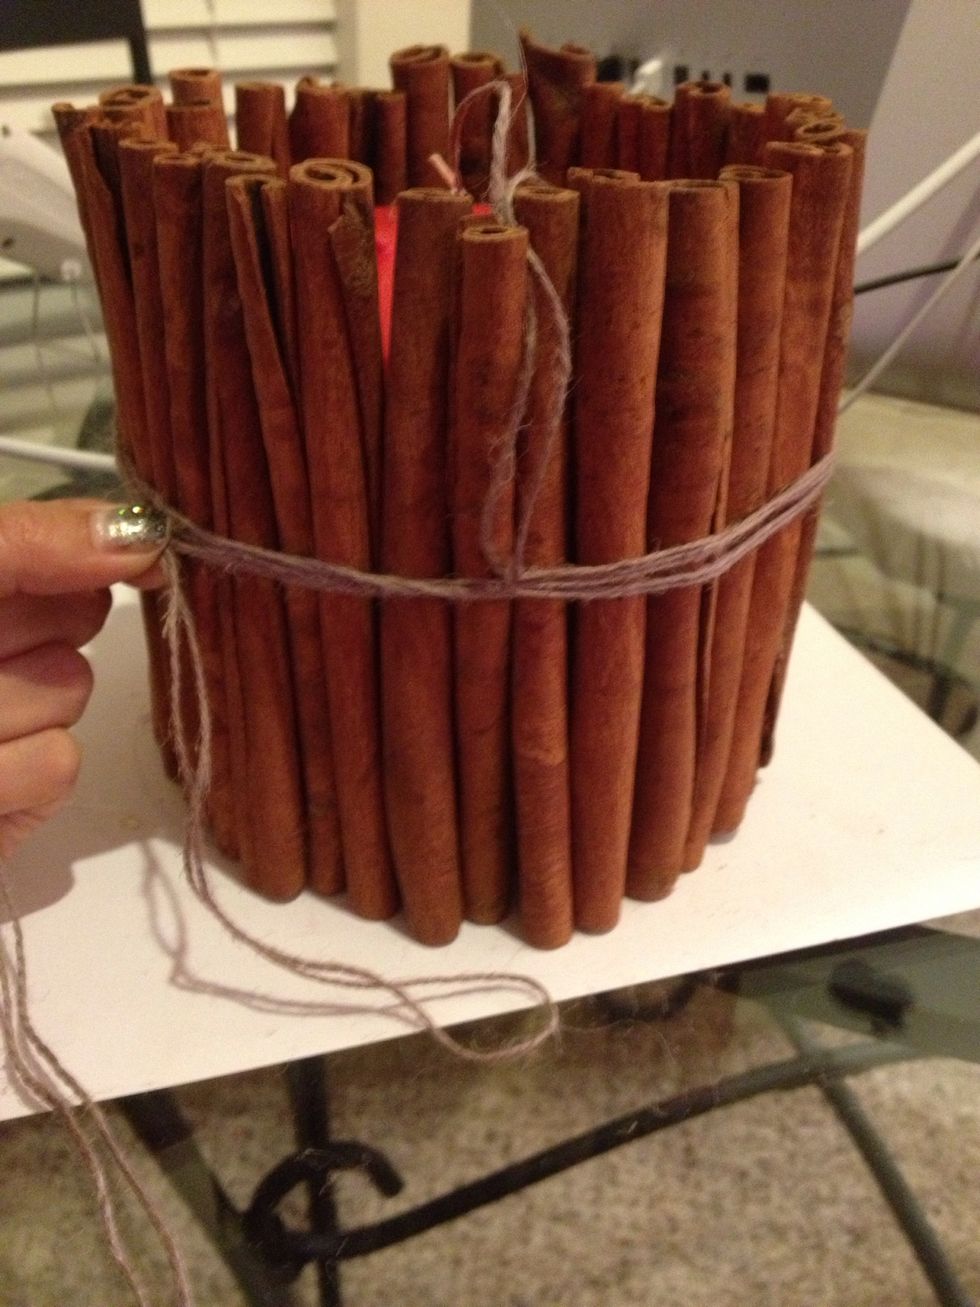
Wrap the twine tightly around the sticks and tie.

I don't have a home printer, so I Googled the letter "m" to trace straight off my monitor. If you have a printer, just print the letter out the size you want.
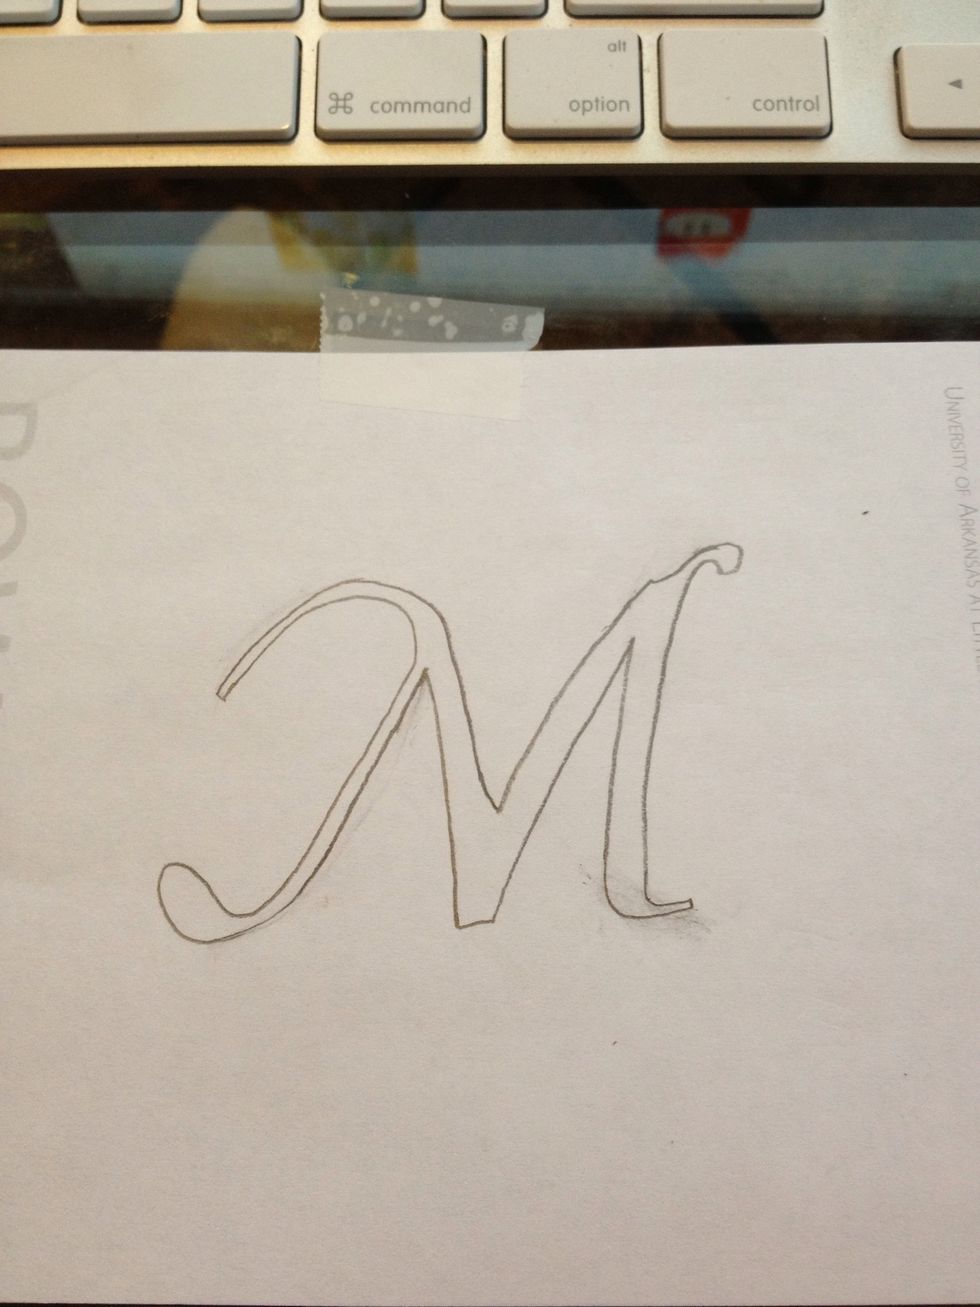
Find an appropriately sized letter, and use a pencil to trace the letter.
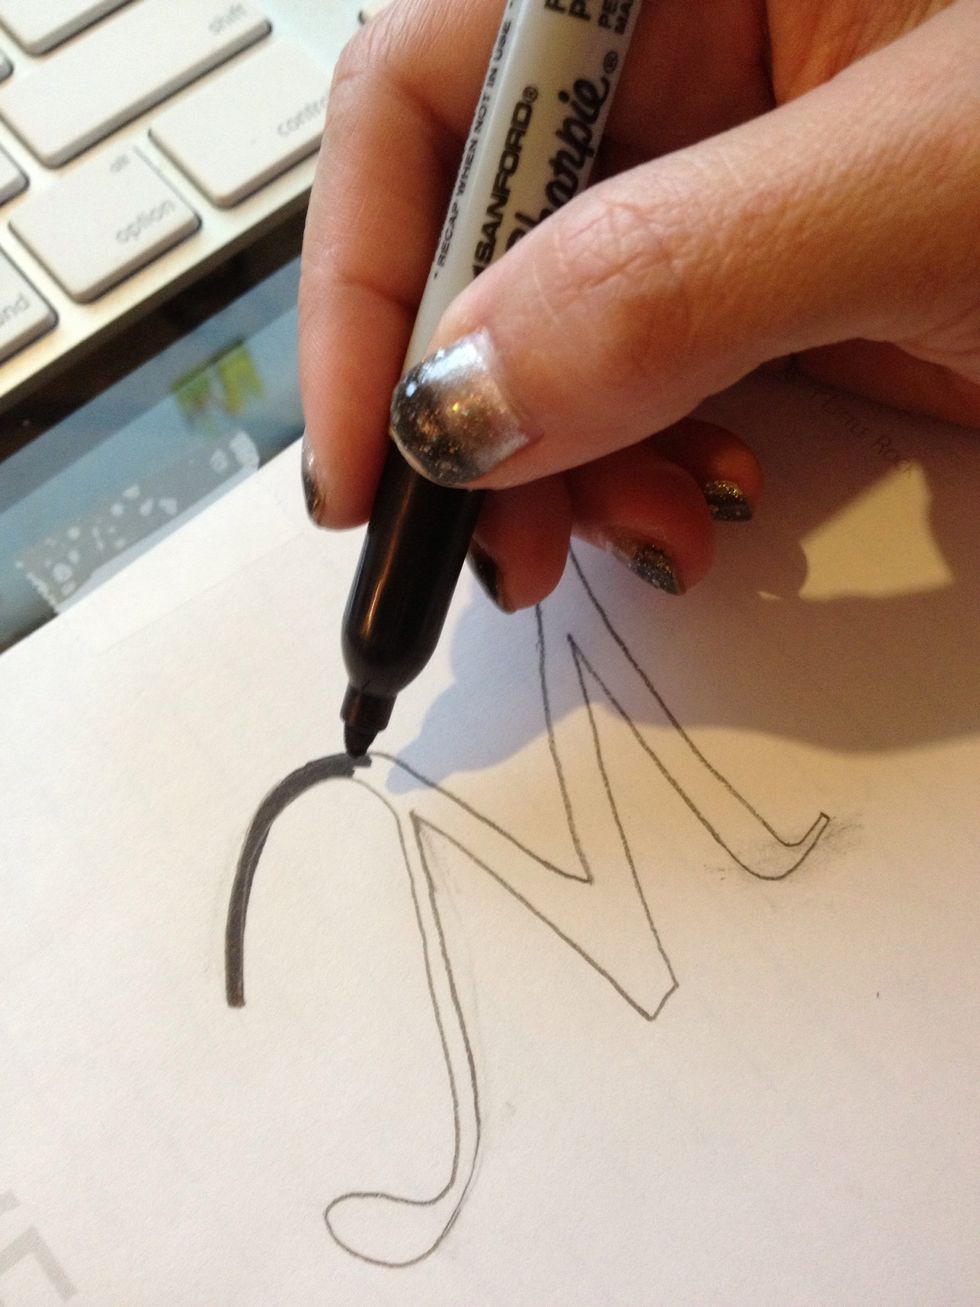
Remove your paper from the monitor, and fill in with a solid color.
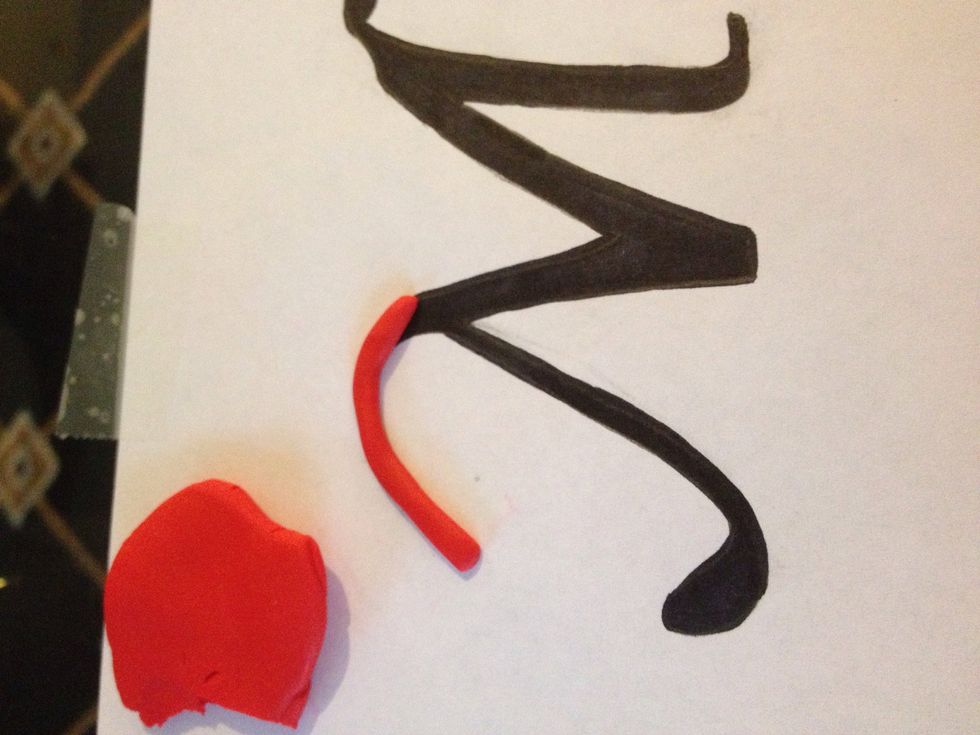
Use the sculpey to create your piece using the traced letter as a template.
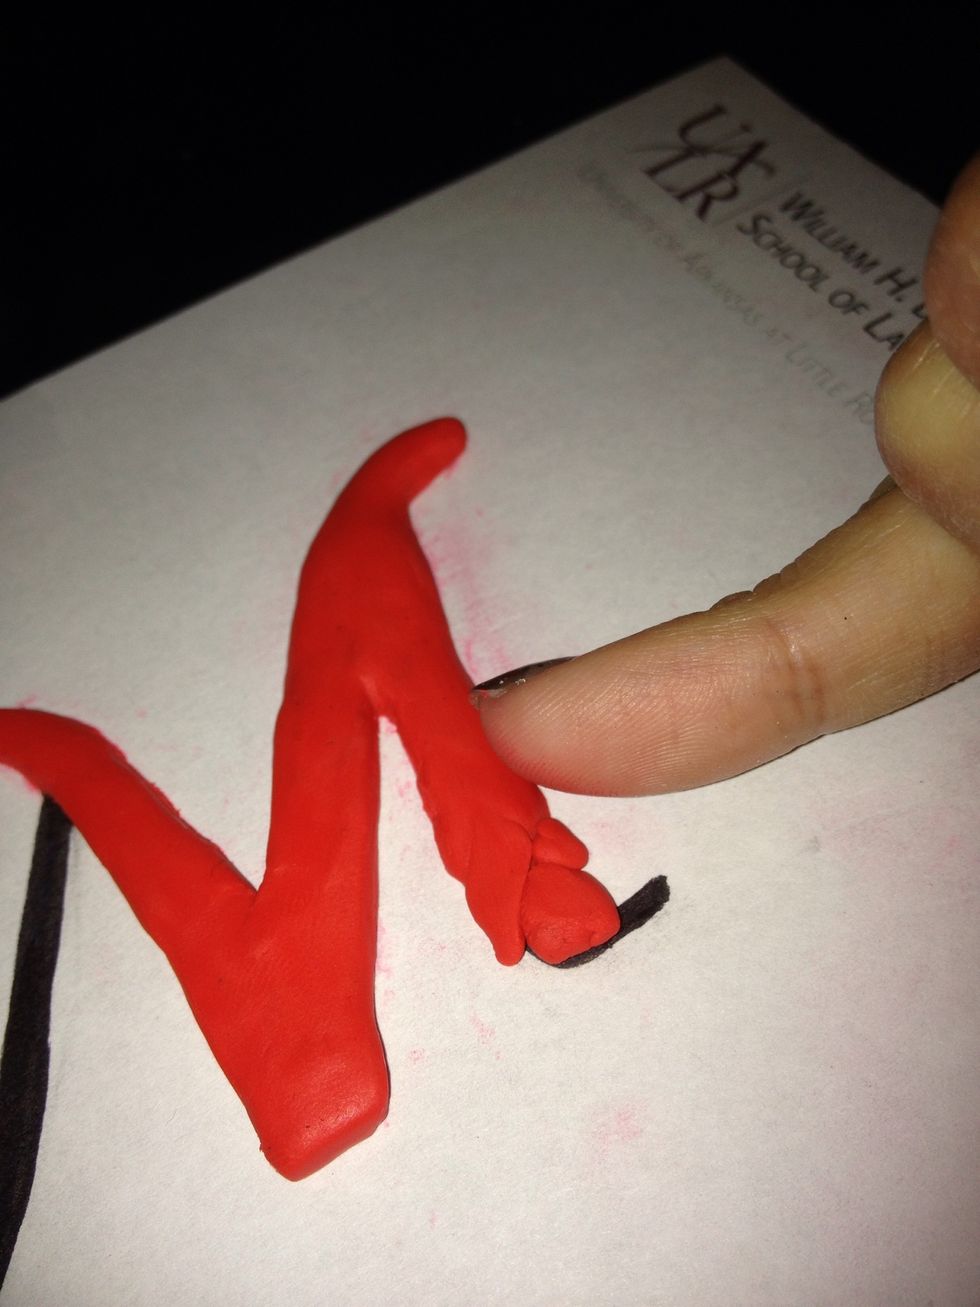
It's easiest to work in pieces with the sculpey, and smooth out with your finger.
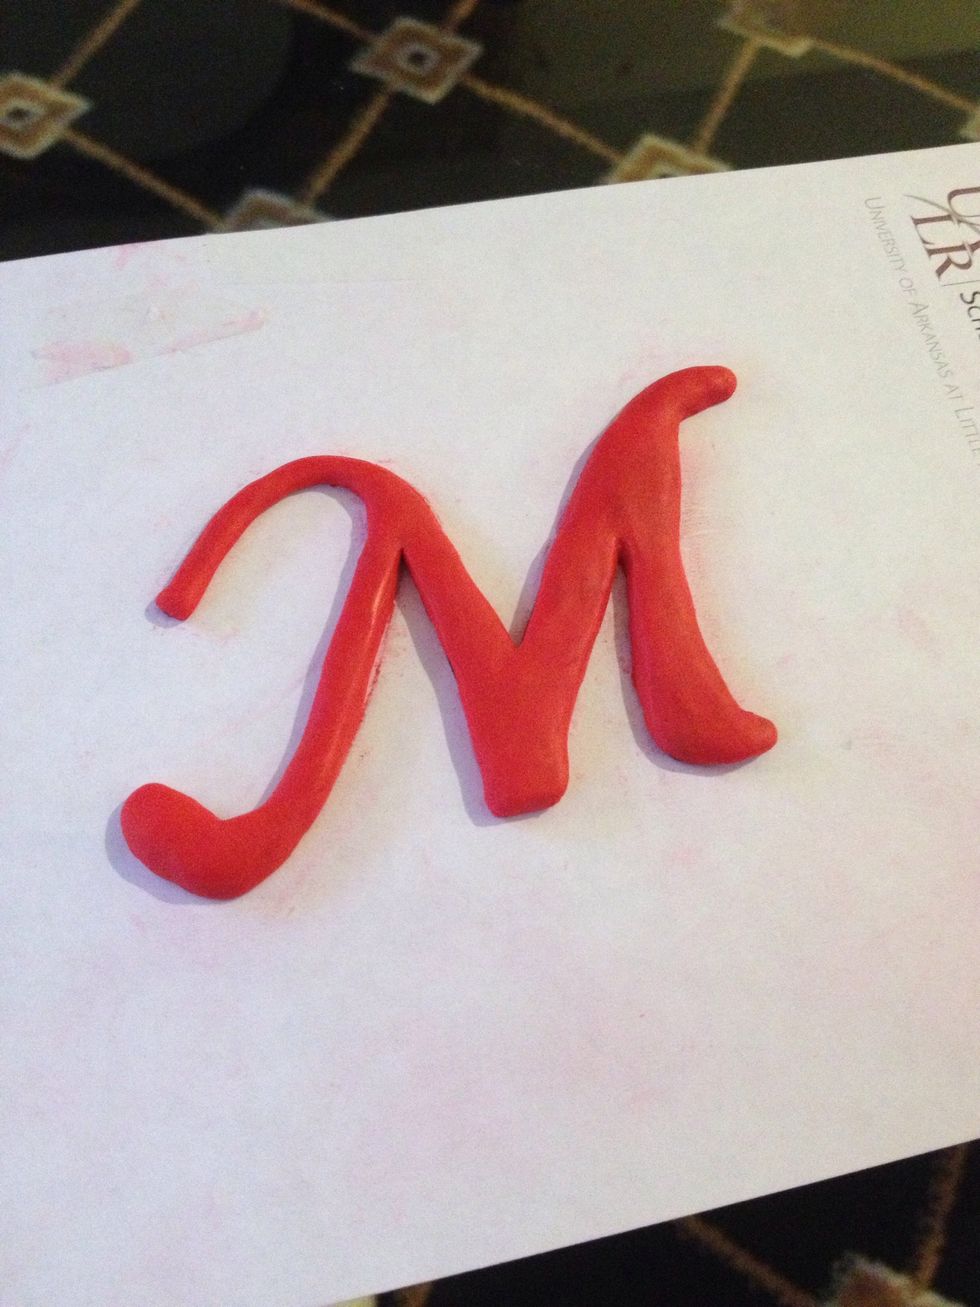
The finished letter. If that is all you want to do, smooth it all out really well. With sculpey, what you bake, is exactly what you'll get. You can also decorate the letter more like I'll do.
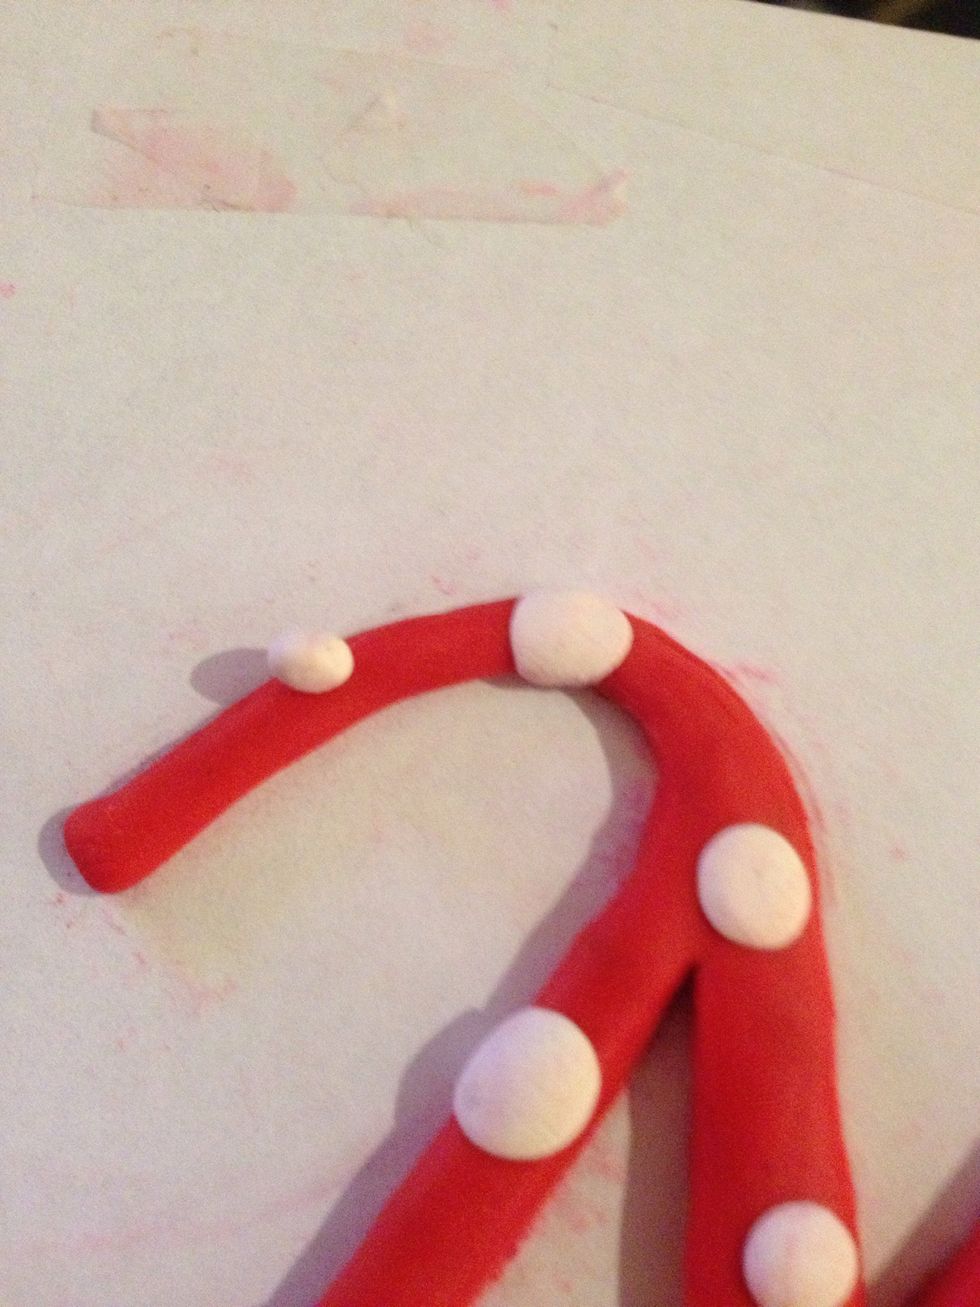
I added dots by first putting round balls of a second color of sculpey around the top of the letter. Then flatten the ball to create dots.
Bake your piece following the instructions on the sculpey packaging. I baked this one on 275 for 20 minutes.

After baking, glaze your piece and allow to dry for at least 30 minutes. Also note that baking and glazing on wax paper makes for an easy, non-stick surface.

After the glaze dries, attach the letter using the twine you wrapped around the cinnamon sticks. The twine here is just wrapped around the piece and tucked under.
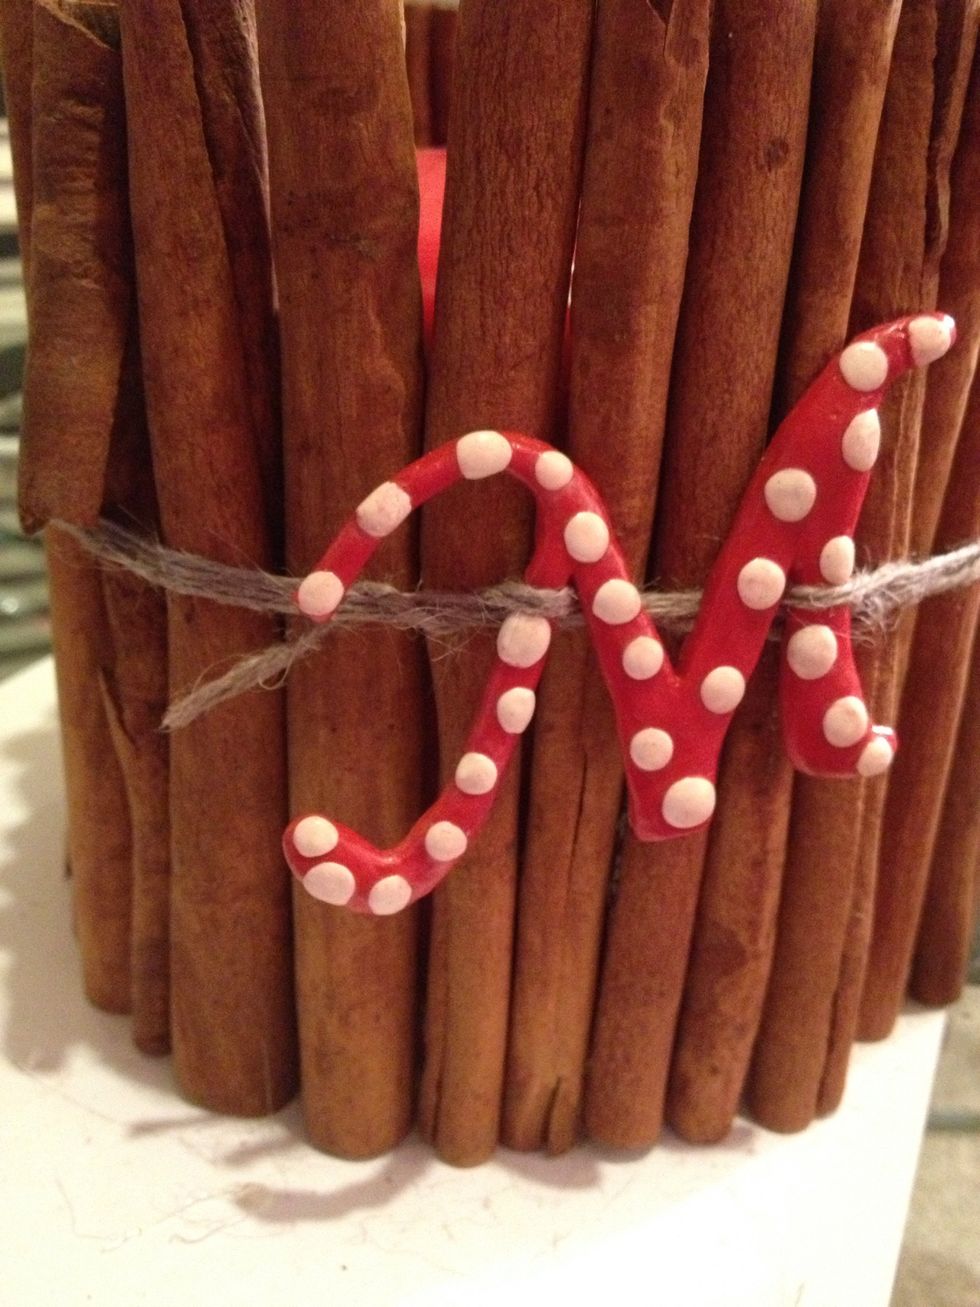
Here's the other side; wrapped around the piece and tucked under.
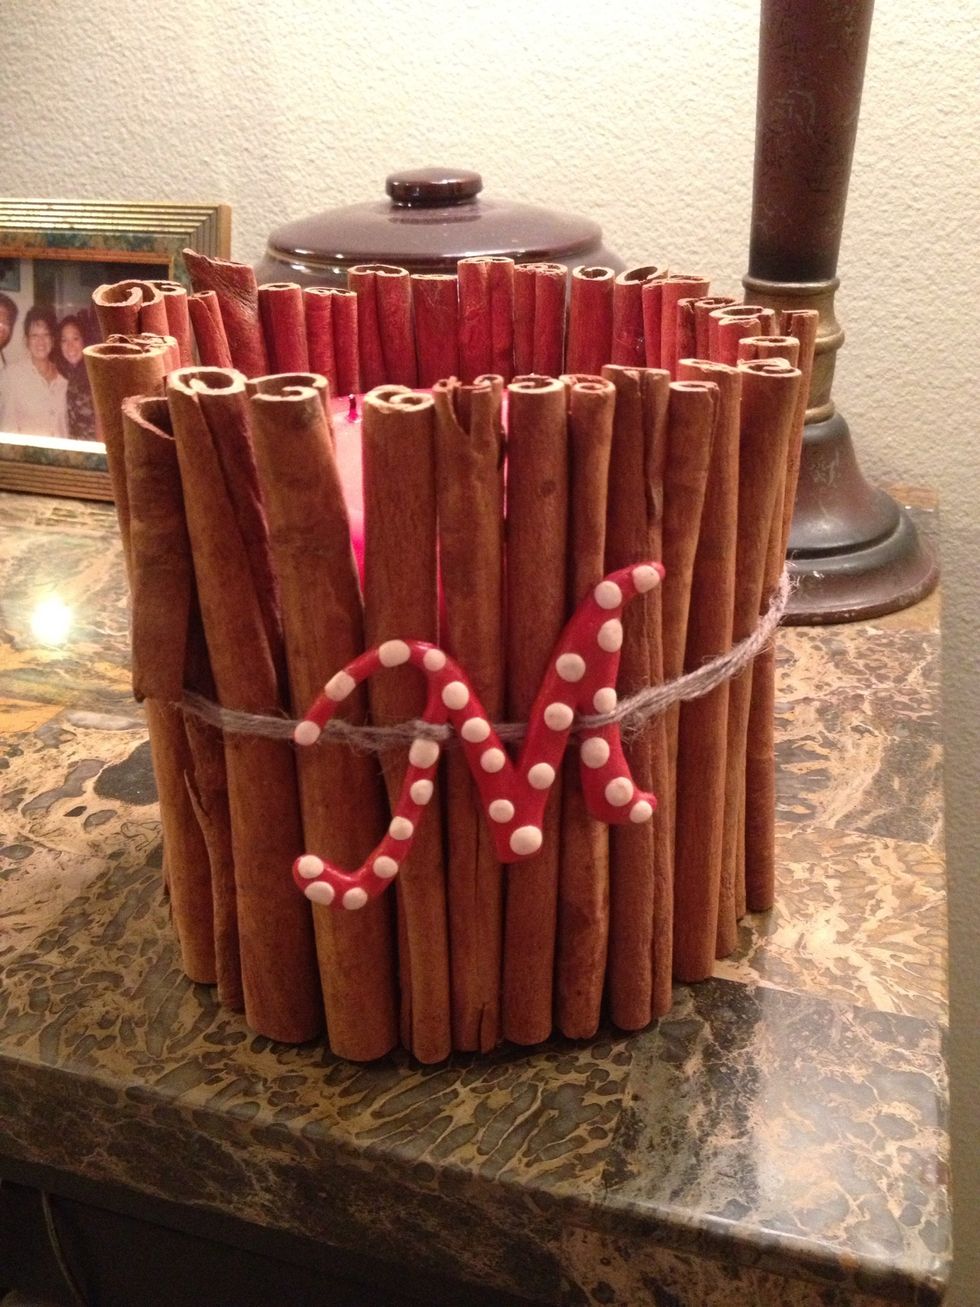
Note that ideally you want the candle to be taller than the sticks. Mine wasn't. In the next slide, I've raised the candle so you can see the difference.
Use your imagination to embellish with the sculpey. You can make a million different things! For example, letters, figures, baby prints, etc.