How to make a decorated matcha (green tea) cake roll
Complete recipe and instructions to decorate, bake, fill and assemble a matcha (green tea) flavoured cake roll with créme chantilly (vanilla whipped cream)
910
STEPS
INGREDIENTS
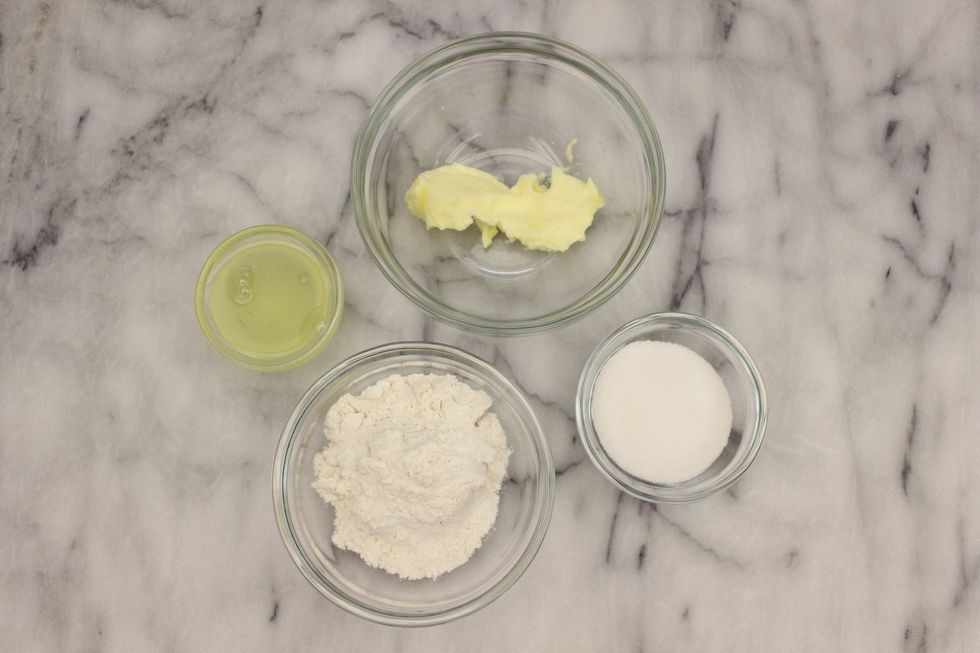
Decorative icing: Gather 1 large egg white, 30 grams granulated sugar, 40 grams all-purpose flour and 20 grams of unsalted butter at room temperature.
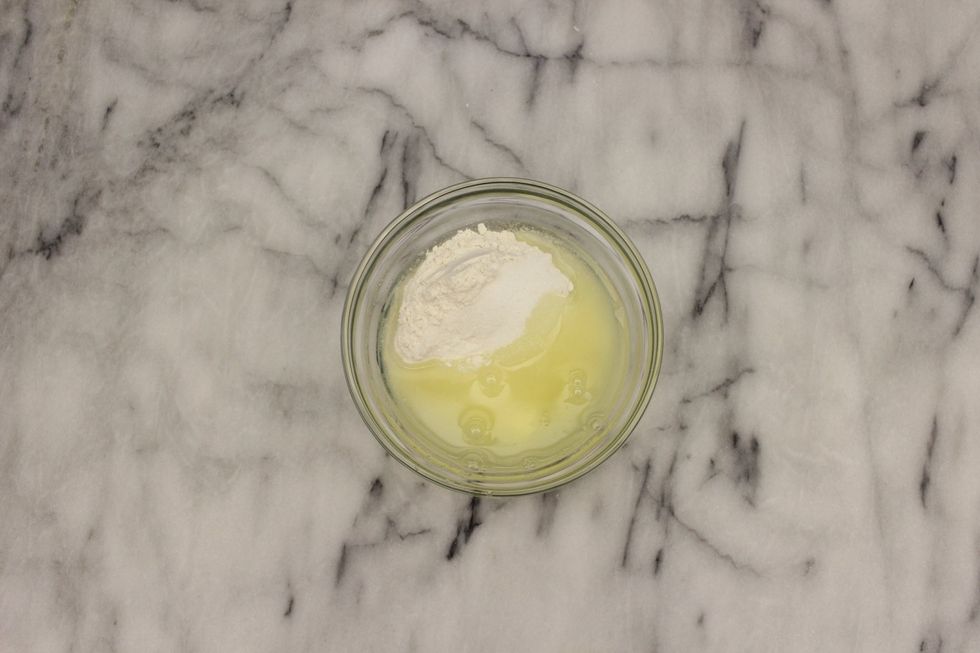
Mix together all of these ingredients to make the decorative icing.
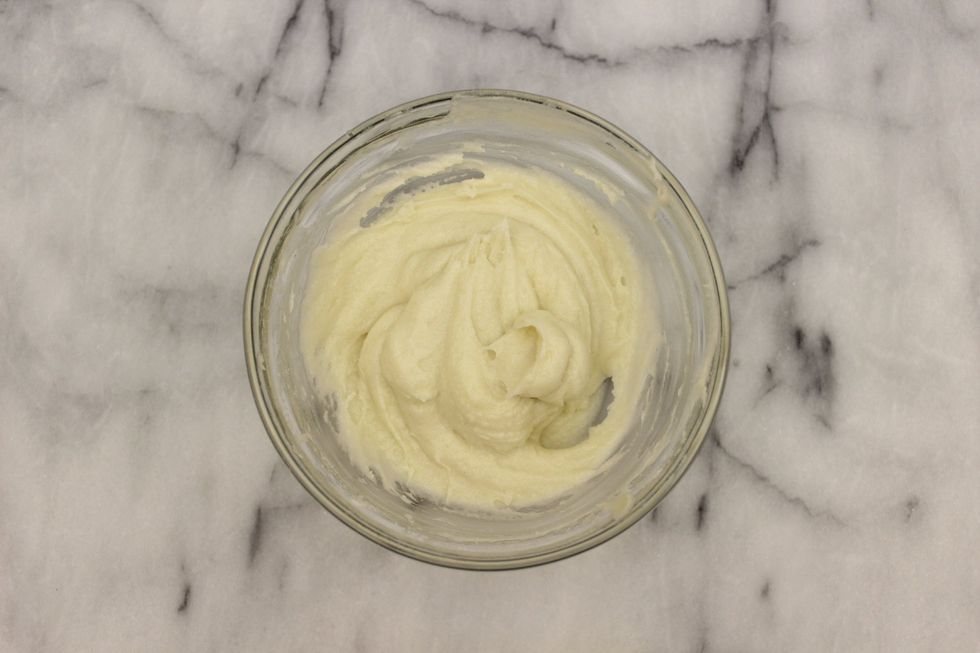
Mix well.
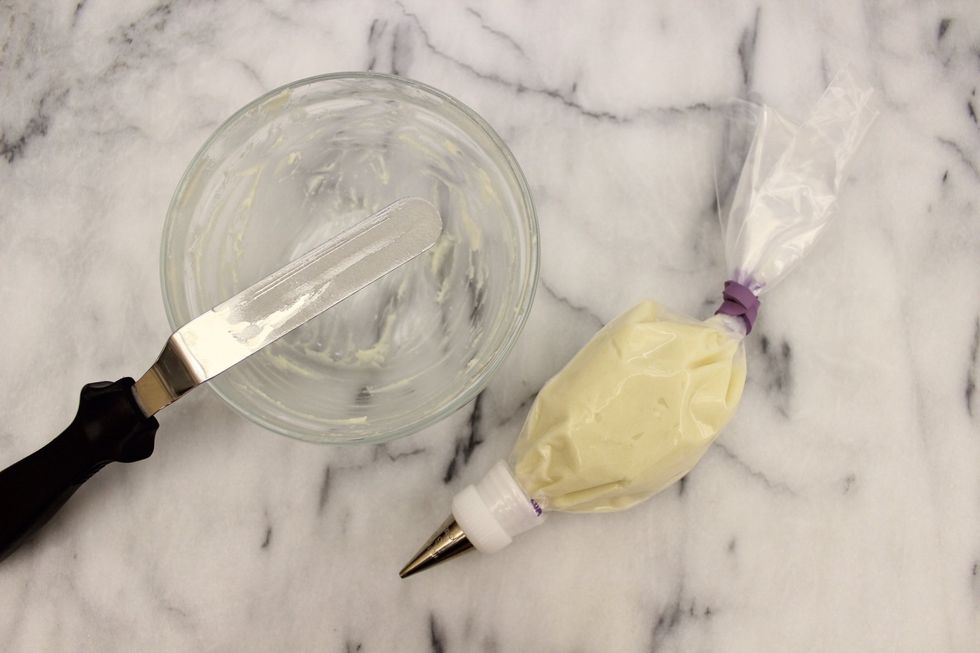
Transfer the decorative icing into a prepared piping bag with a #3 round tip.
Line a half-sheet pan with a silicone mat.
Place your template under the silicone mat.
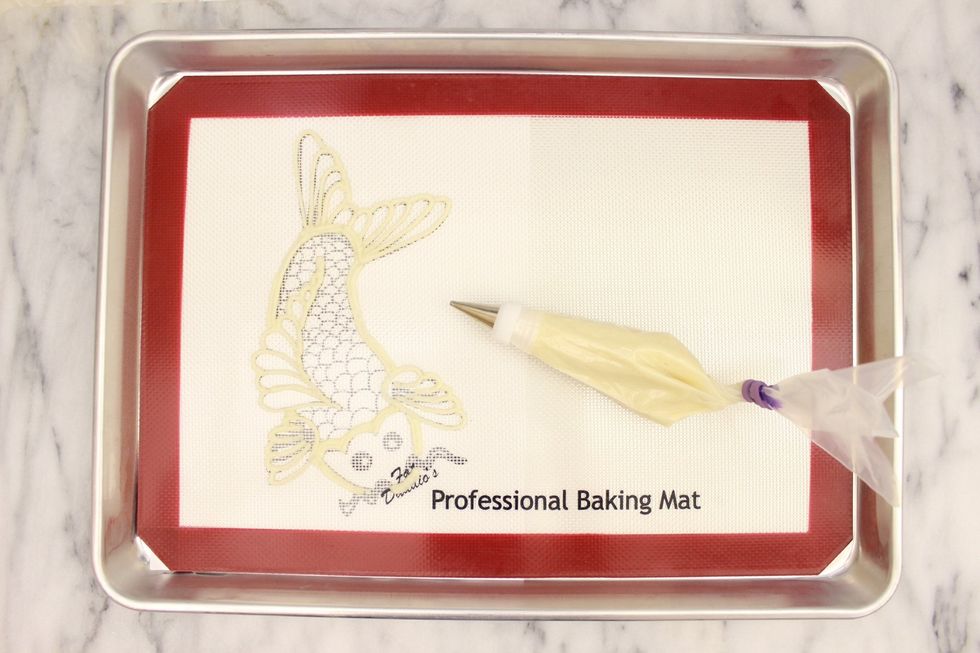
Start piping. I double piped some of the lines for more definition.
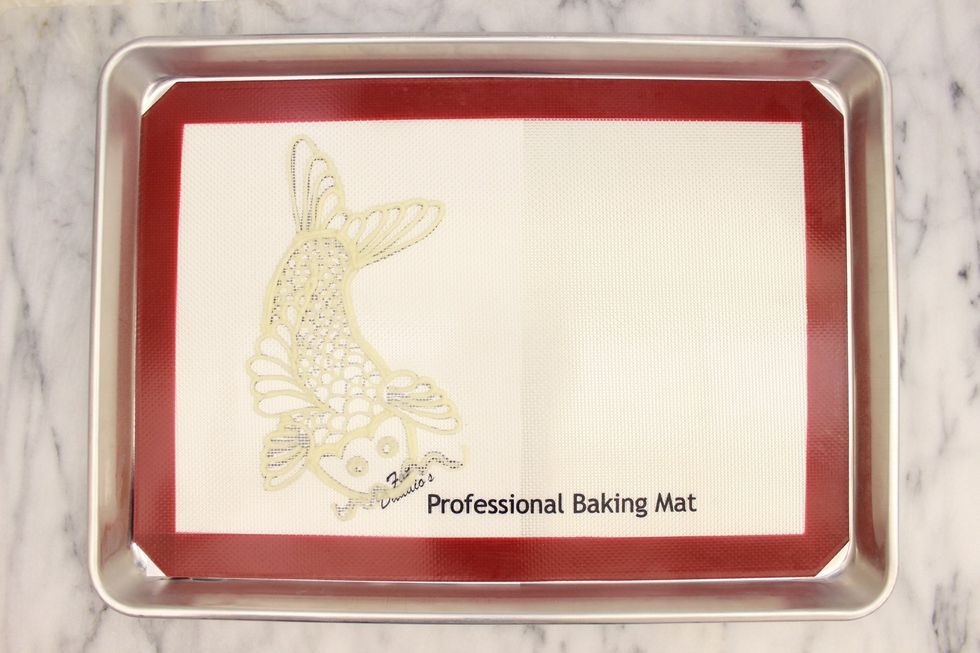
Switch the #3 round piping tip for a #1 round tip. Pipe all the small details such as the scales, whiskers and eyes.
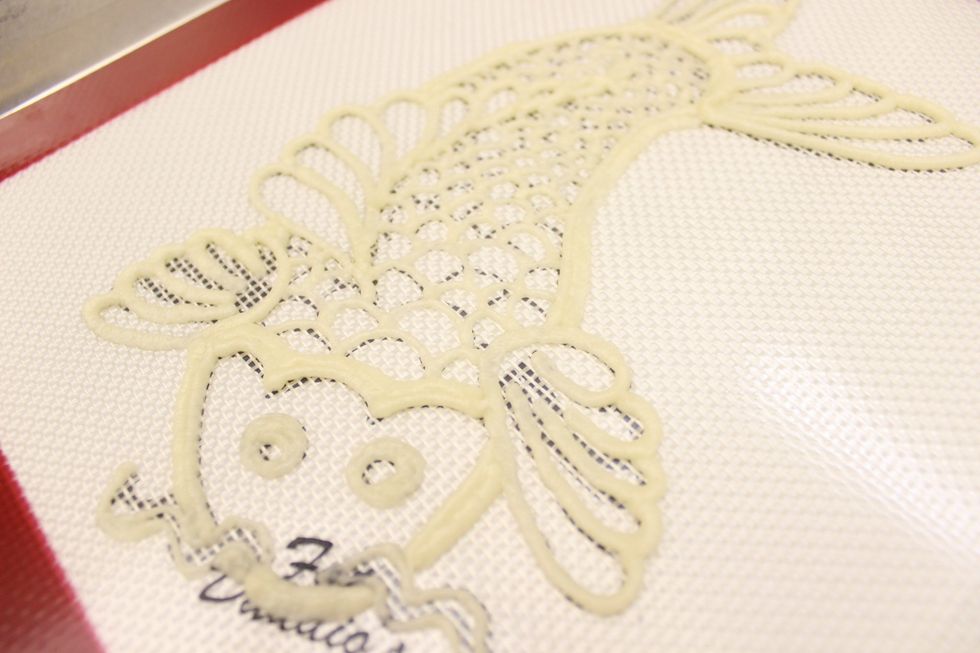
Place in the freezer to firm up the design.
Set the oven rack in the middle of the oven. Preheat the oven to 375 degrees Farenheit.
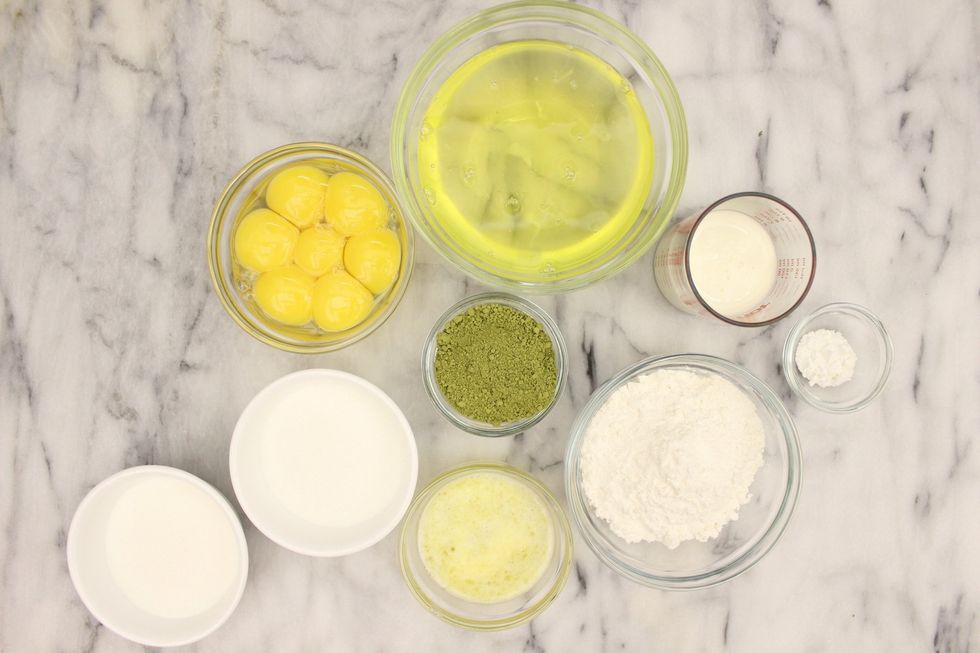
Matcha sponge cake: 7 large eggs (separated), 84 ml whipping cream, 1 tsp cream of tartar, 84g cake flour, 20g matcha powder, 40g unsalted butter (melted), and 174g granulated sugar (divided into 2).
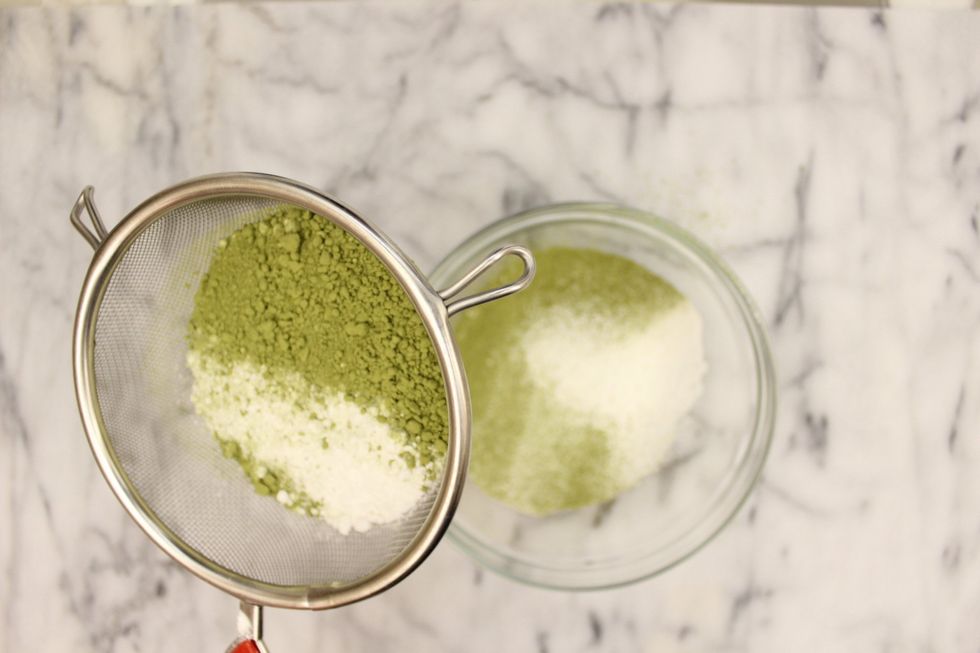
In a bowl, sift together the cake flour and matcha powder.
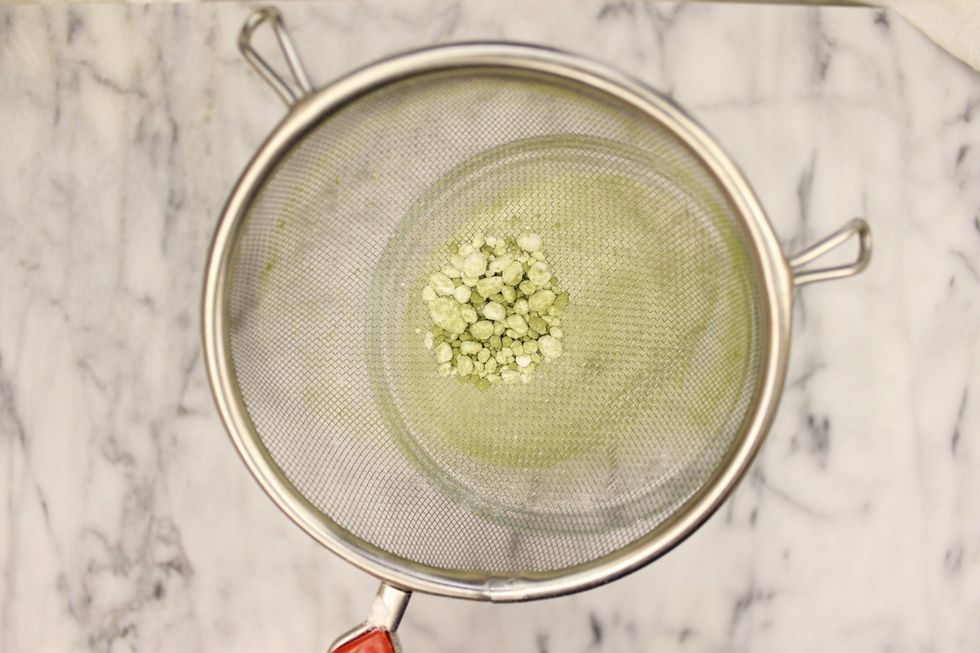
Don't skip sifting!!! If I hadn't sifted, I would have had these clumps in my batter that don't always break up during mixing. This would have resulted in an undesirable texture in your cake.
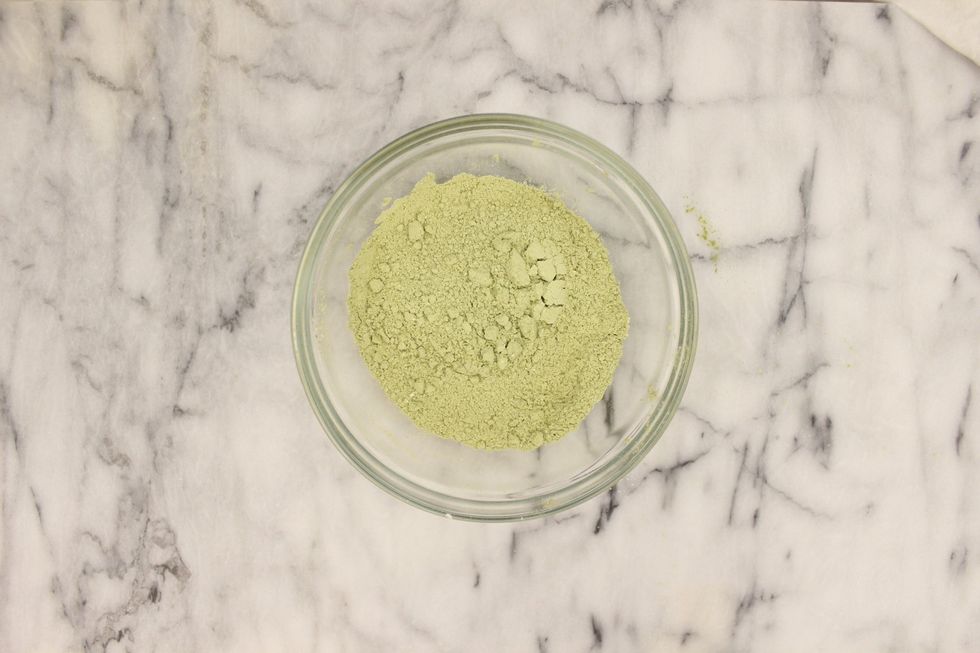
Using a whisk or a fork, mix the sifted matcha and cake flour until homogeneous. Set aside.
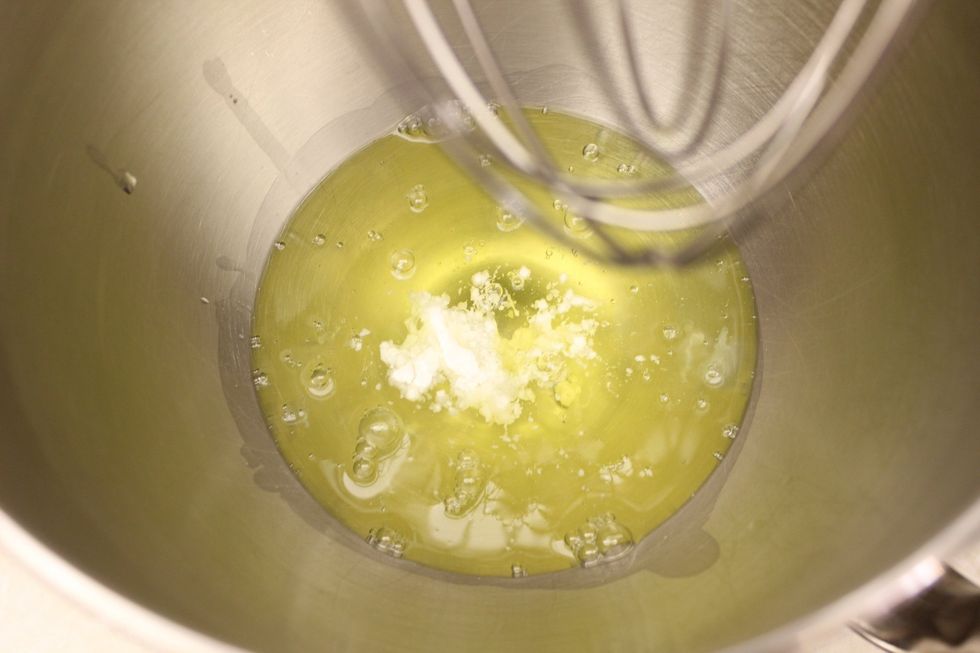
In a GREASE FREE stand mixer fitted with a whisk attachment, mix together the 7 egg whites and cream of tartar to make a stiff meringue.
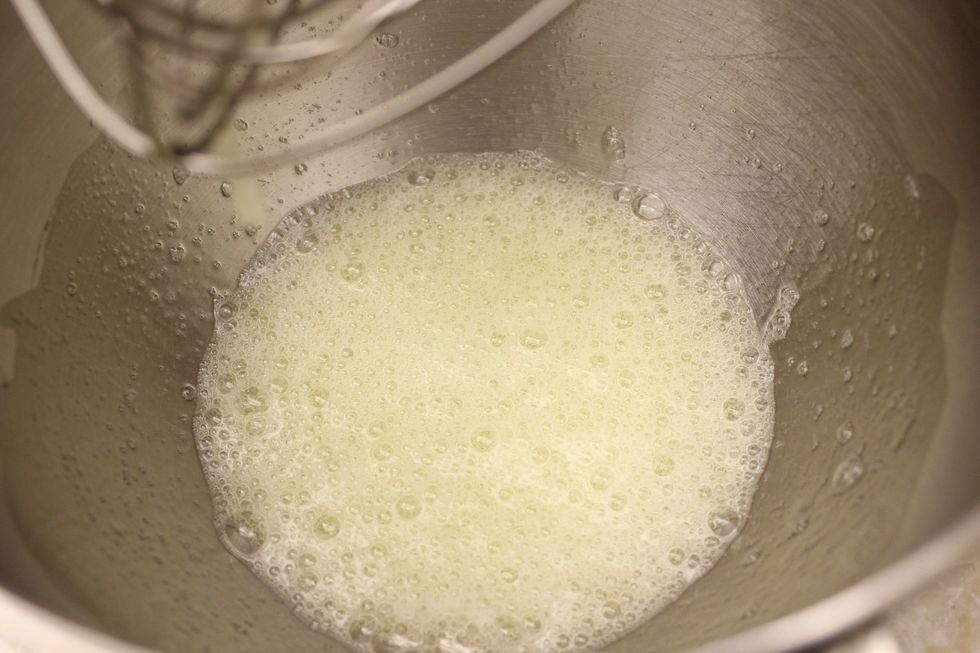
Whip until foamy.
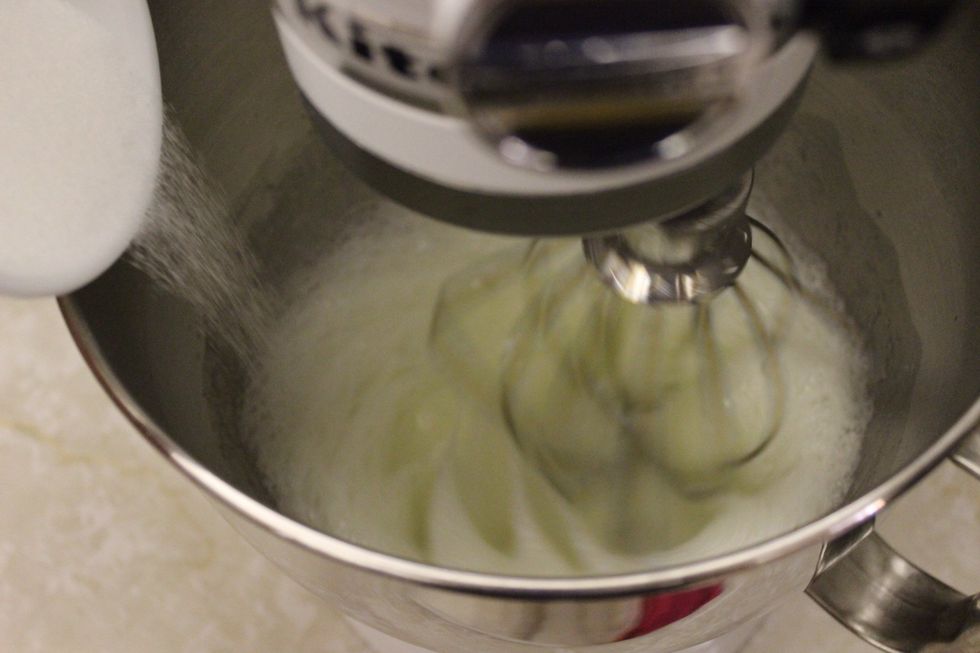
While whipping, slowly add the first half of the granulated sugar.
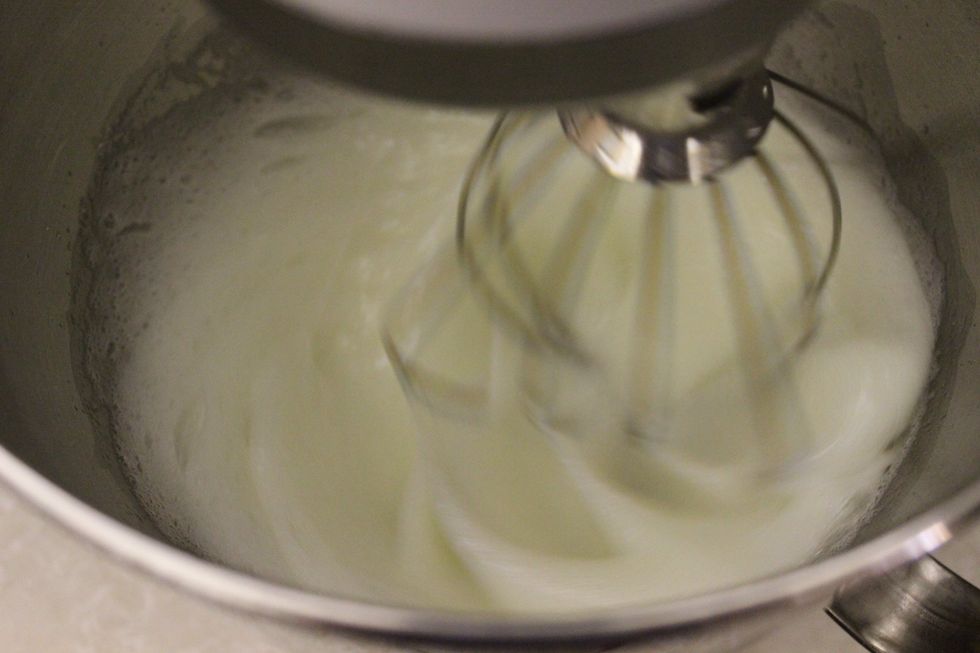
Whip until stiff.
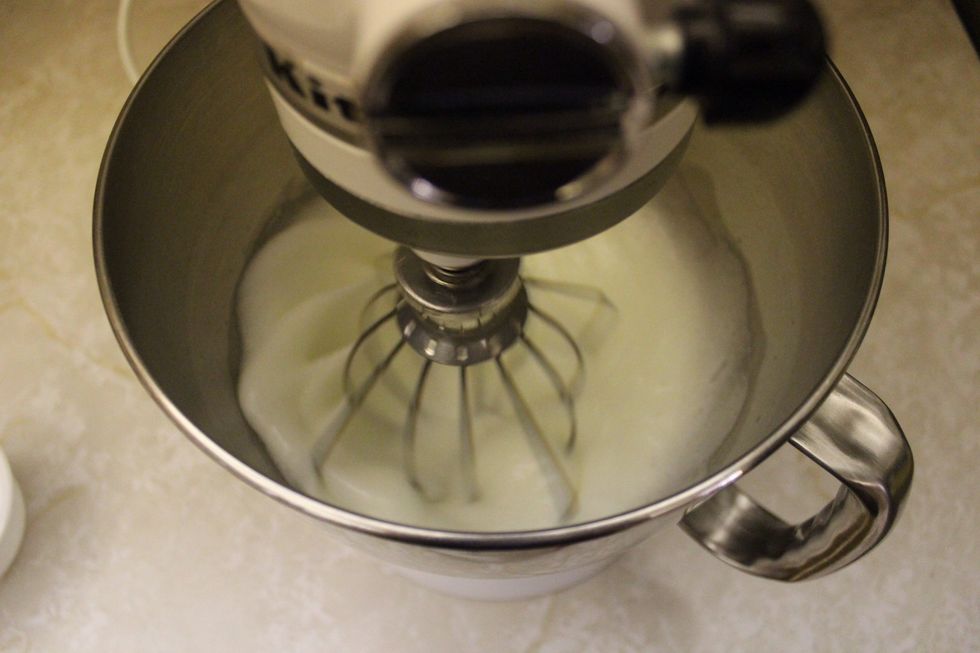
Remember to scrape the bowl frequently. While the meringue is whipping up, proceed to the next step.
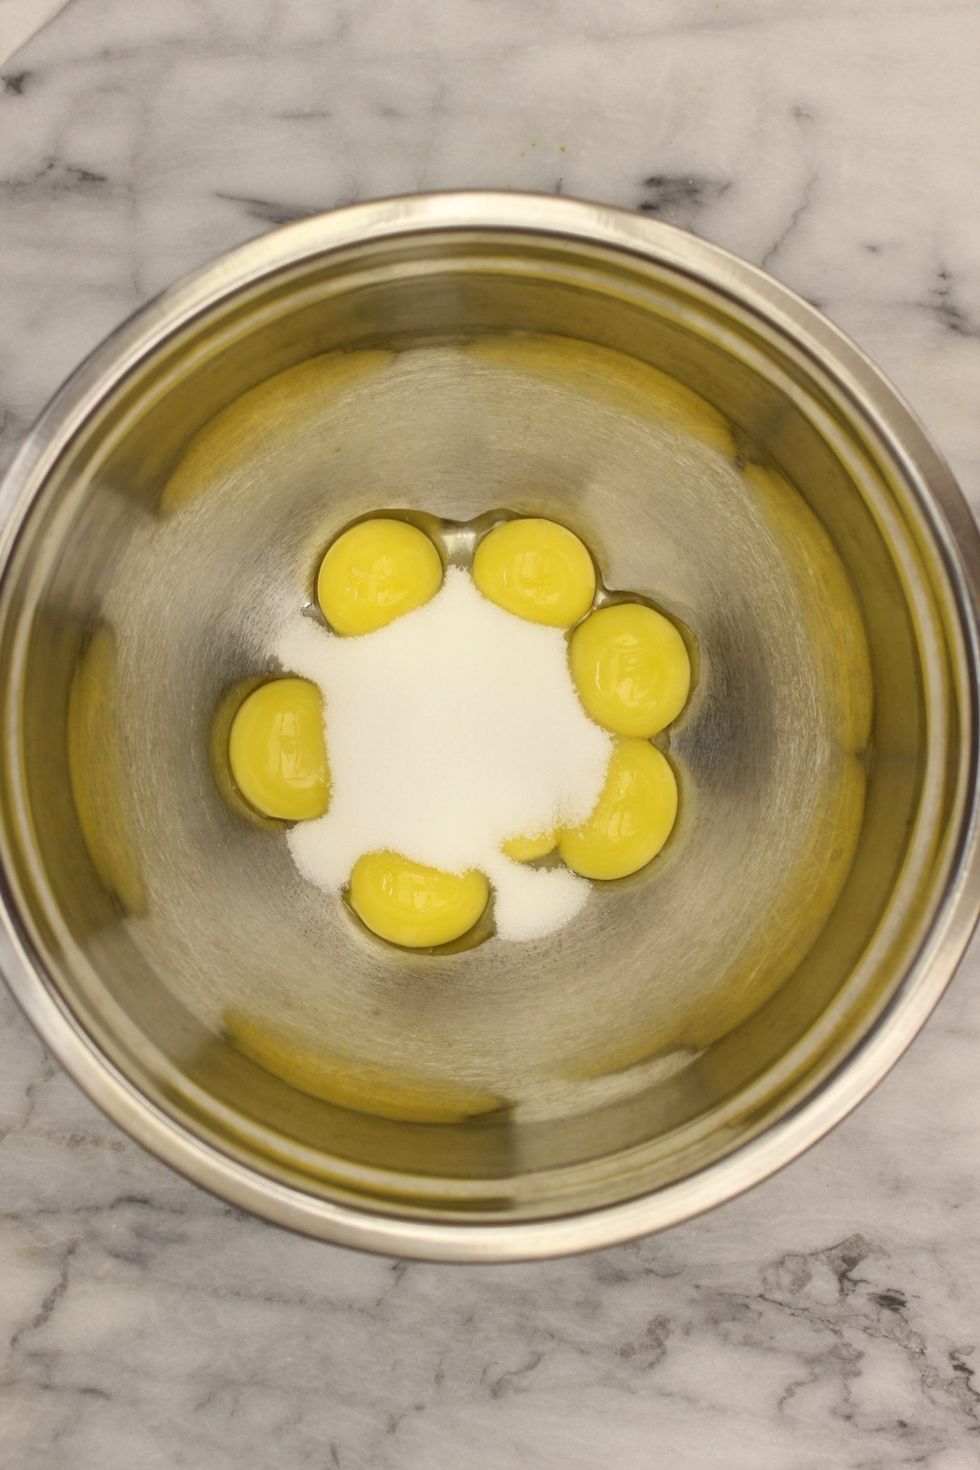
In a bowl, mix together the egg yolks and the second half of the granulated white sugar.
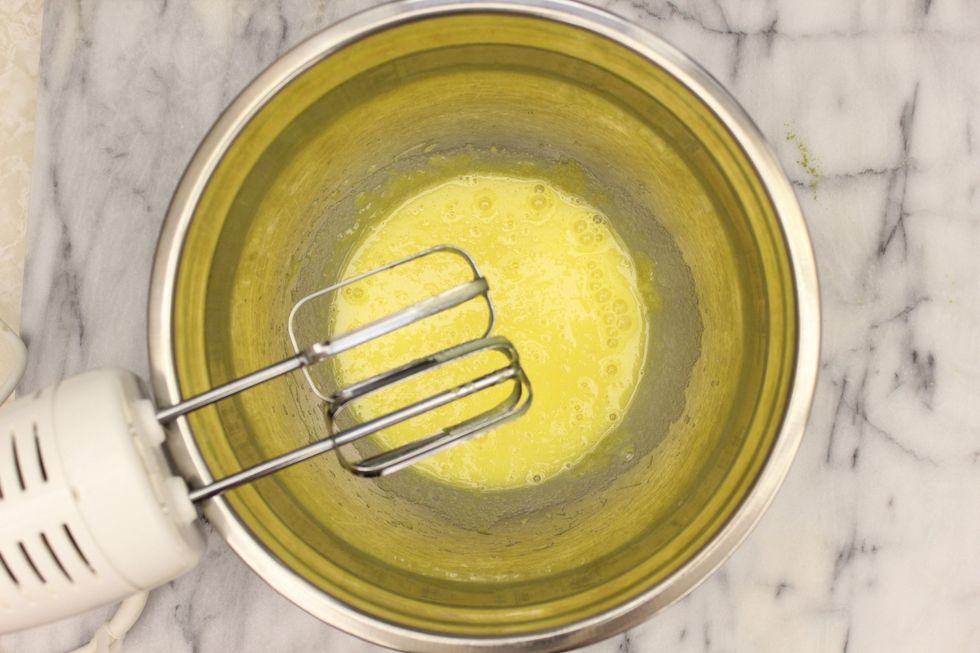
Beat with a hand mixer. Note the colour. You can whip this with a hand whisk but your arm might fall off...
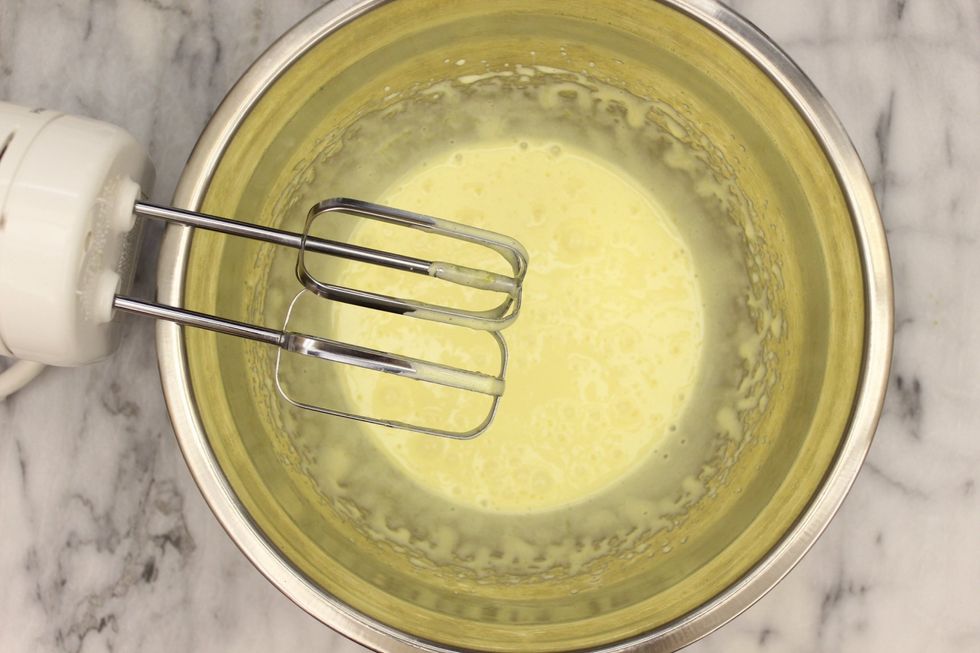
Beat until the colour is pale/light yellow. So far I'm only half way there.
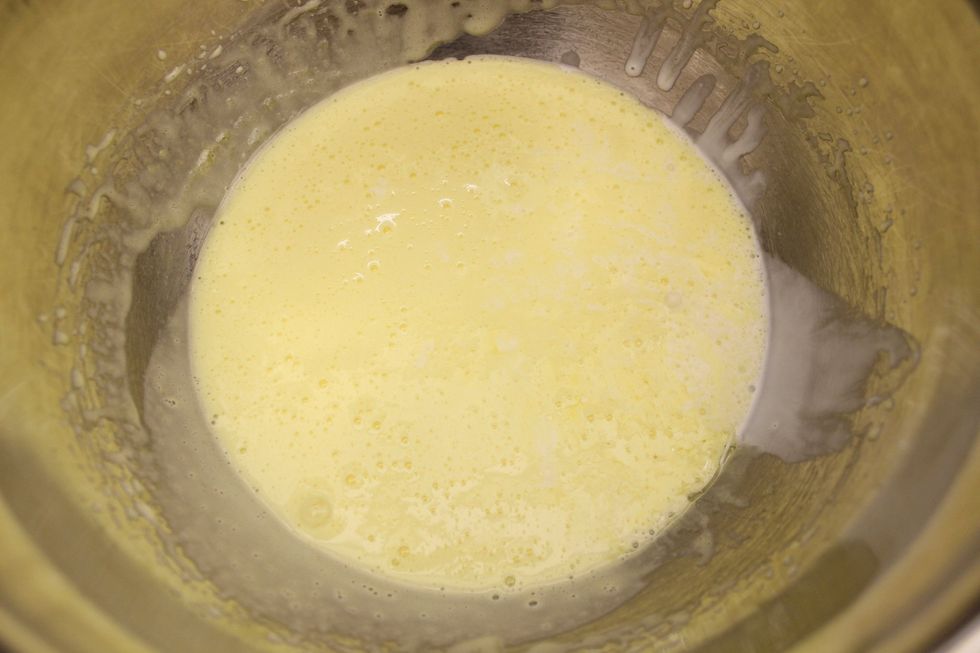
Stop when the mixture is pale yellow in colour. The mixture will also be ribbon-y, light and fluffy.
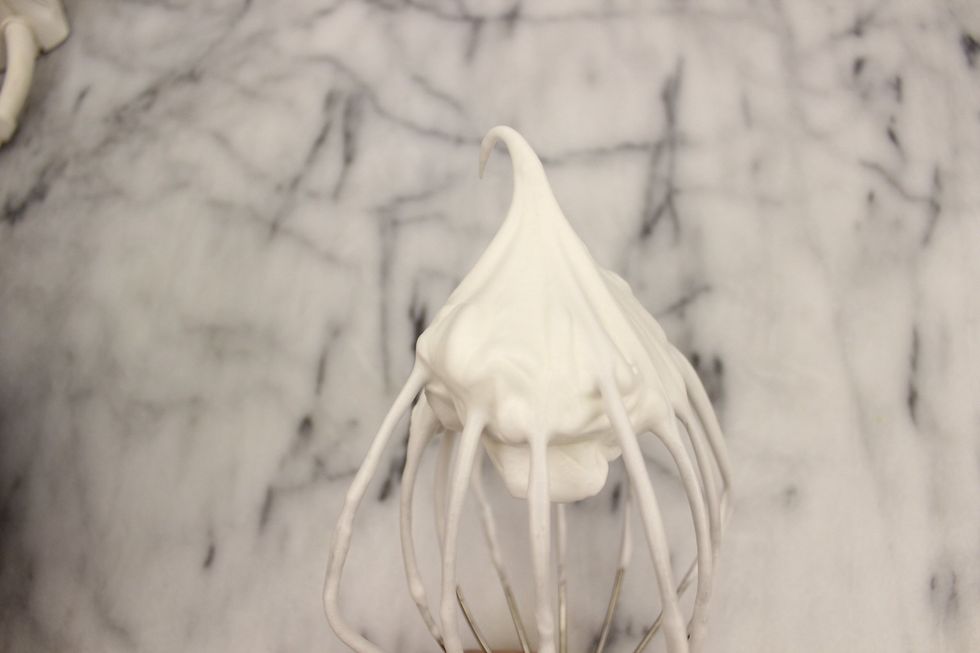
Now, back to your meringue - check the consistency. It is perfect when it can hold a stiff peak. In this picture, my peak has drooped over meaning it still needs to be beaten some more.
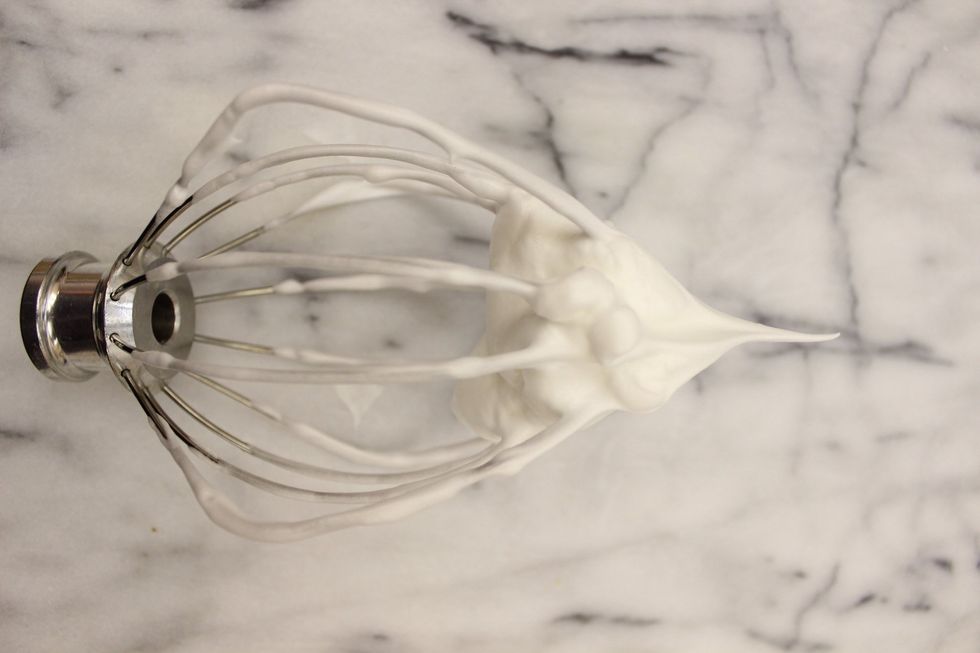
Stop beating the meringue when you've reached a stiff/non-drooping peak.
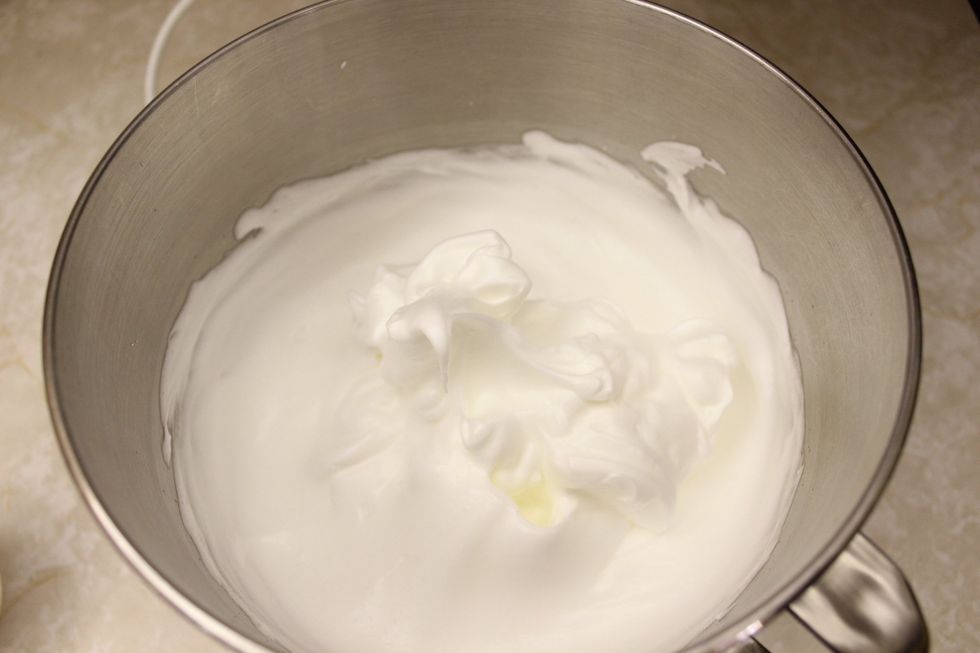
Be careful you don't over beat! Over beating will break the meringue and ruin your cake. There is no saving your meringue if its been over beaten.
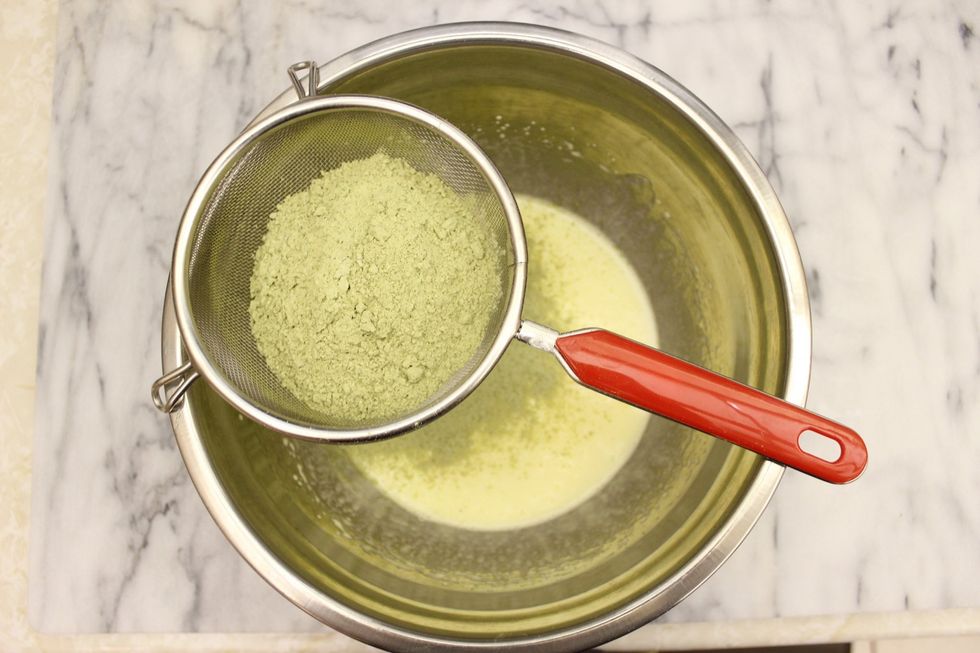
In the bowl of your egg yolk mixture, sift in the matcha-cake flour.
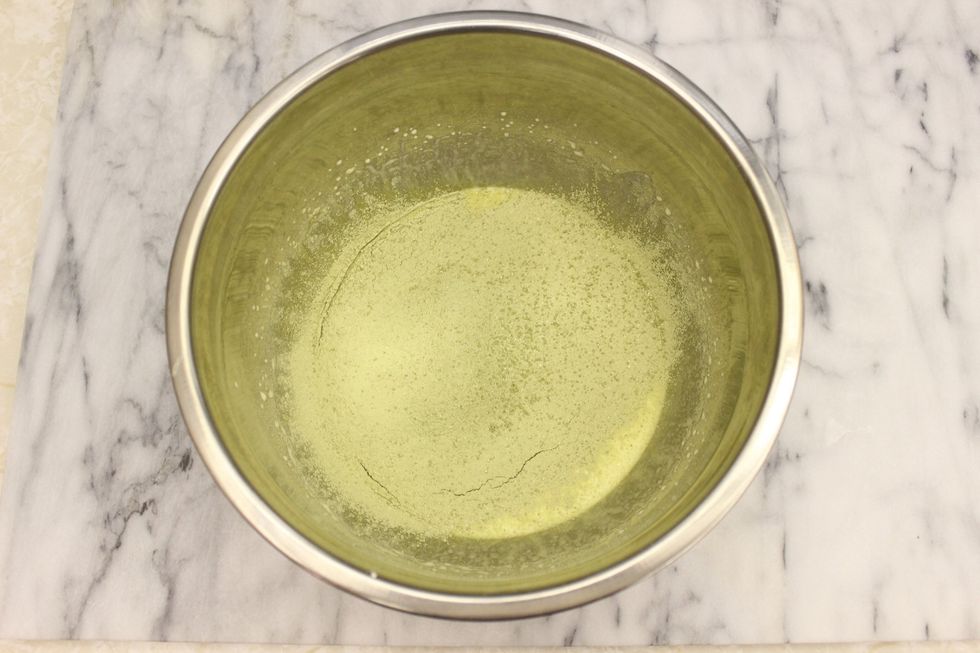
Time to gently incorporate the flour with the egg using folding motions.
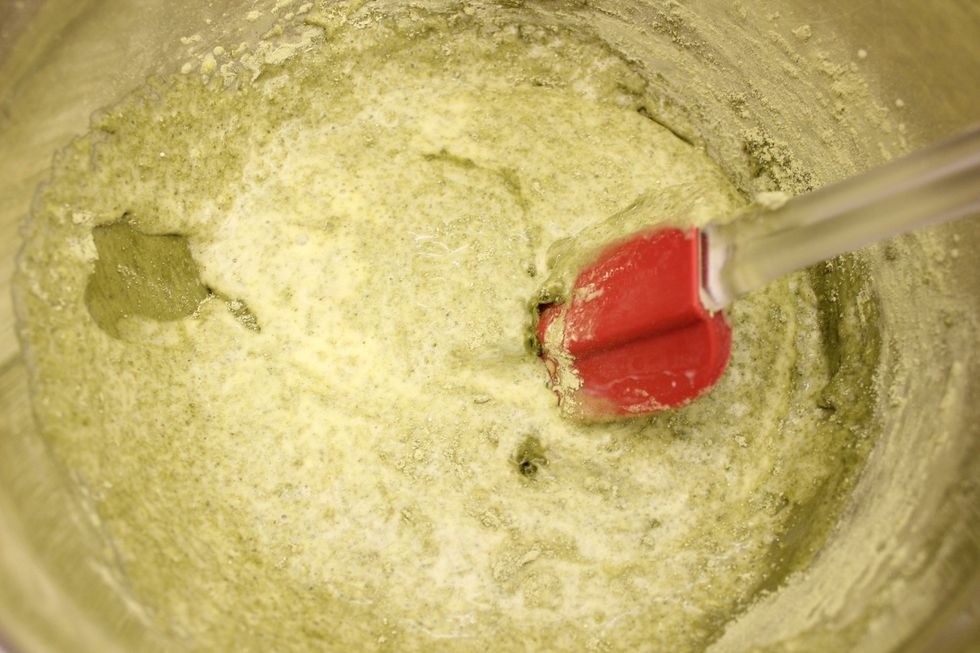
Fold....fold...fold....
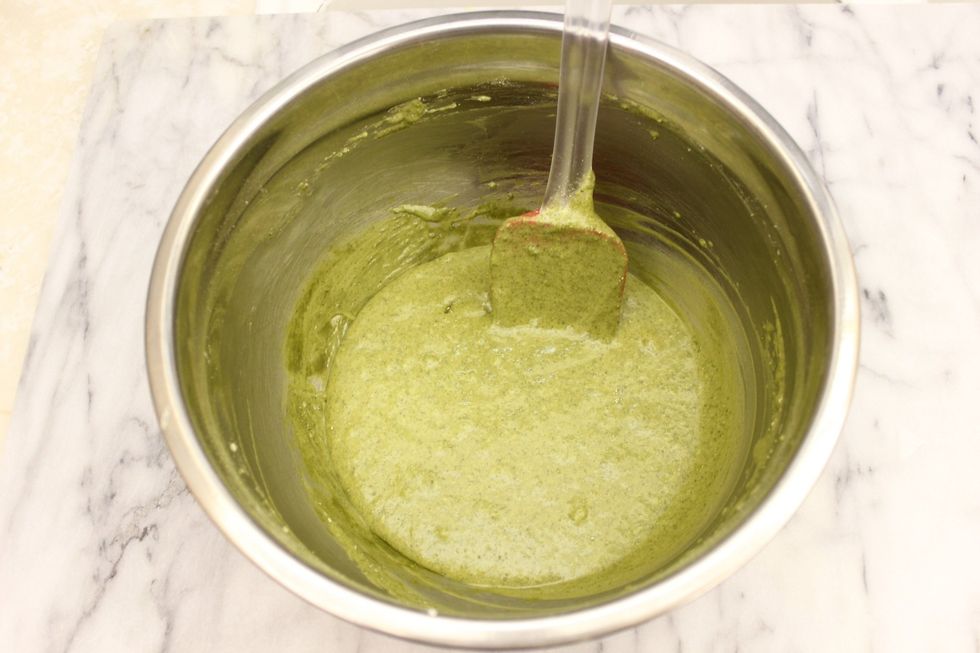
Done folding.
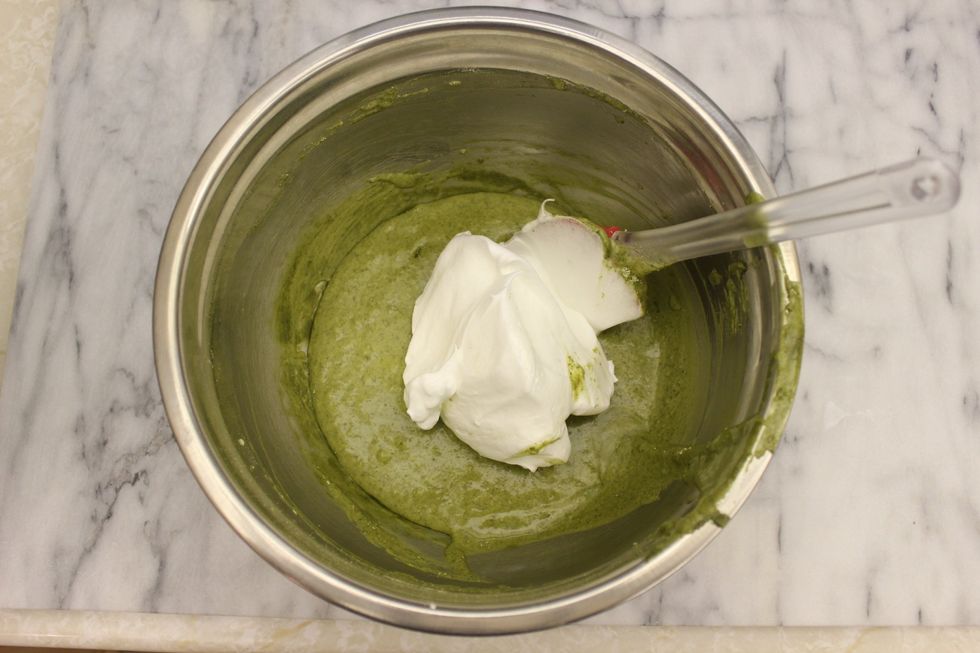
Now incorporate the meringue into the egg yolk mixture. Gently fold in 1/3 of the meringue. Avoid over folding so you don't deflate the batter.
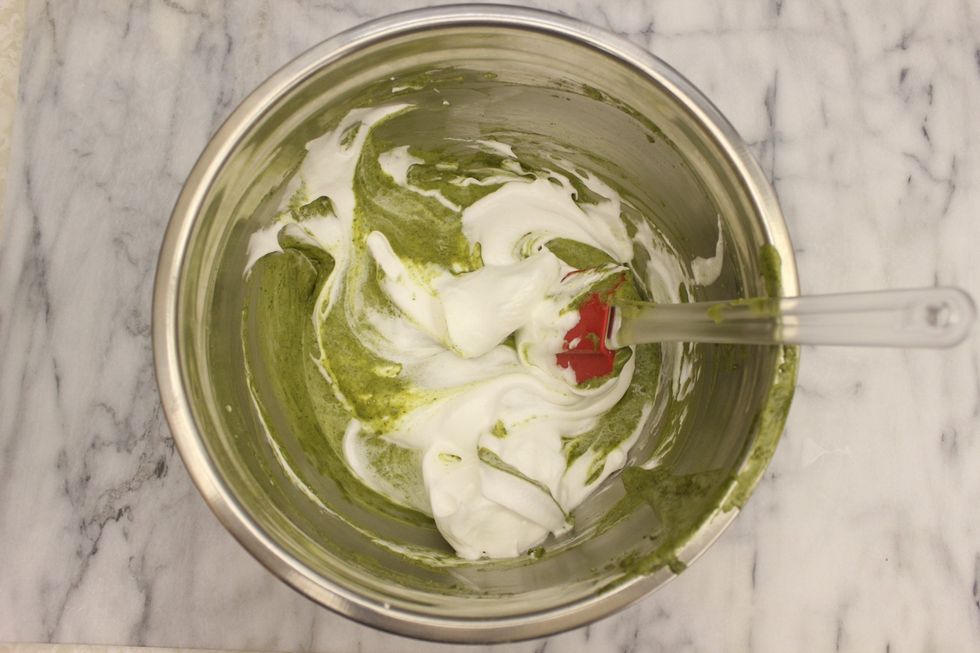
Fold...fold...fold...
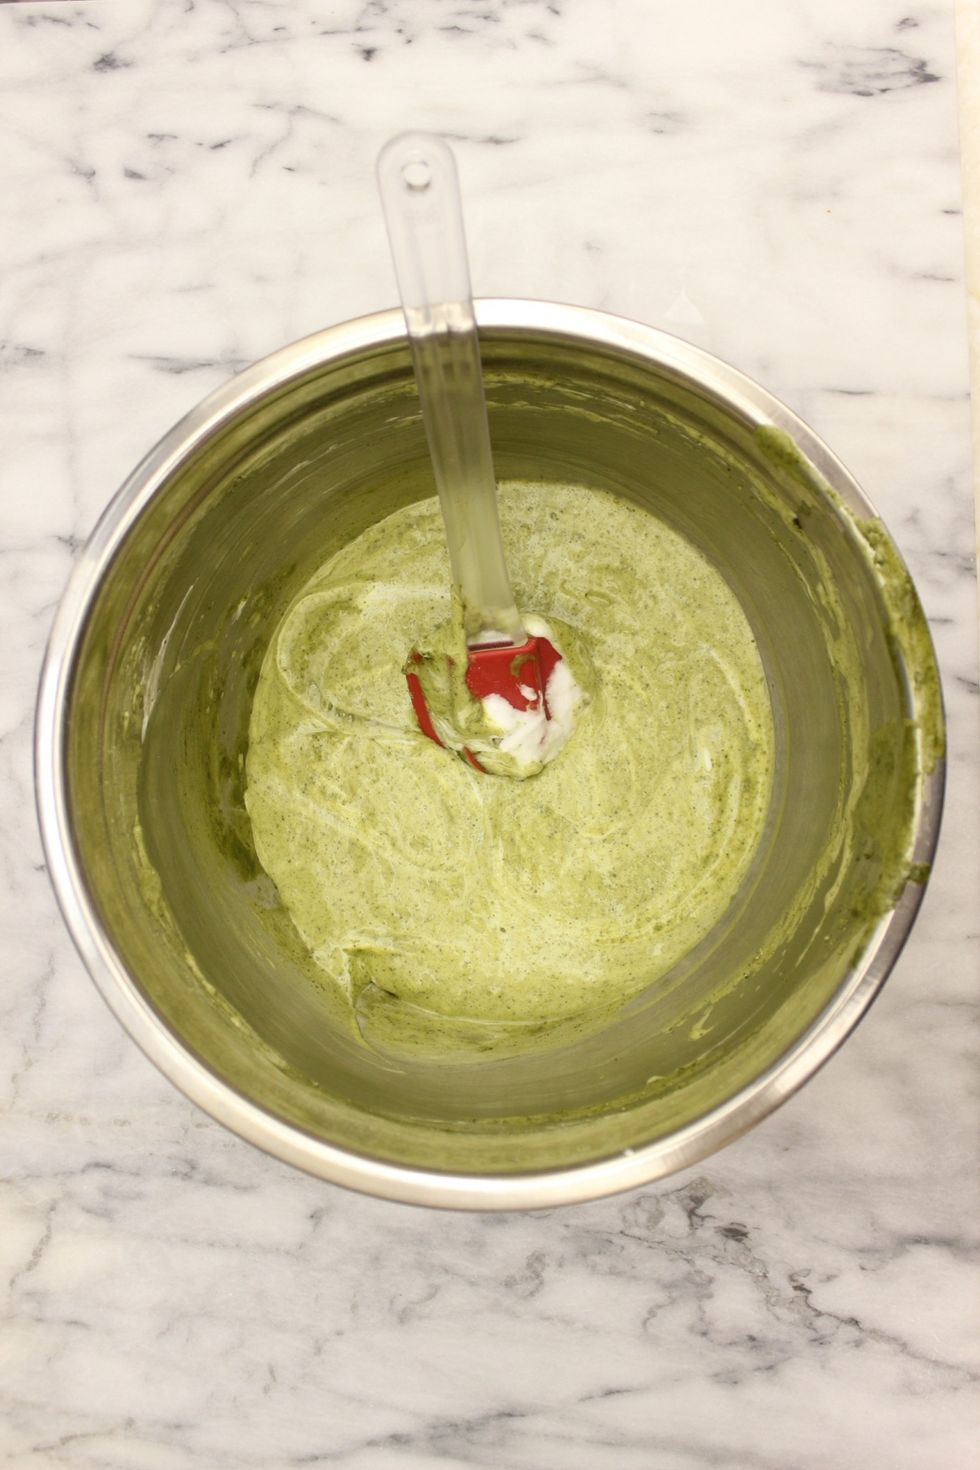
It's okay to have some streaks. There are no leavening agents in this recipe so you want to keep as much air in the batter as possible throughout your batter prep.
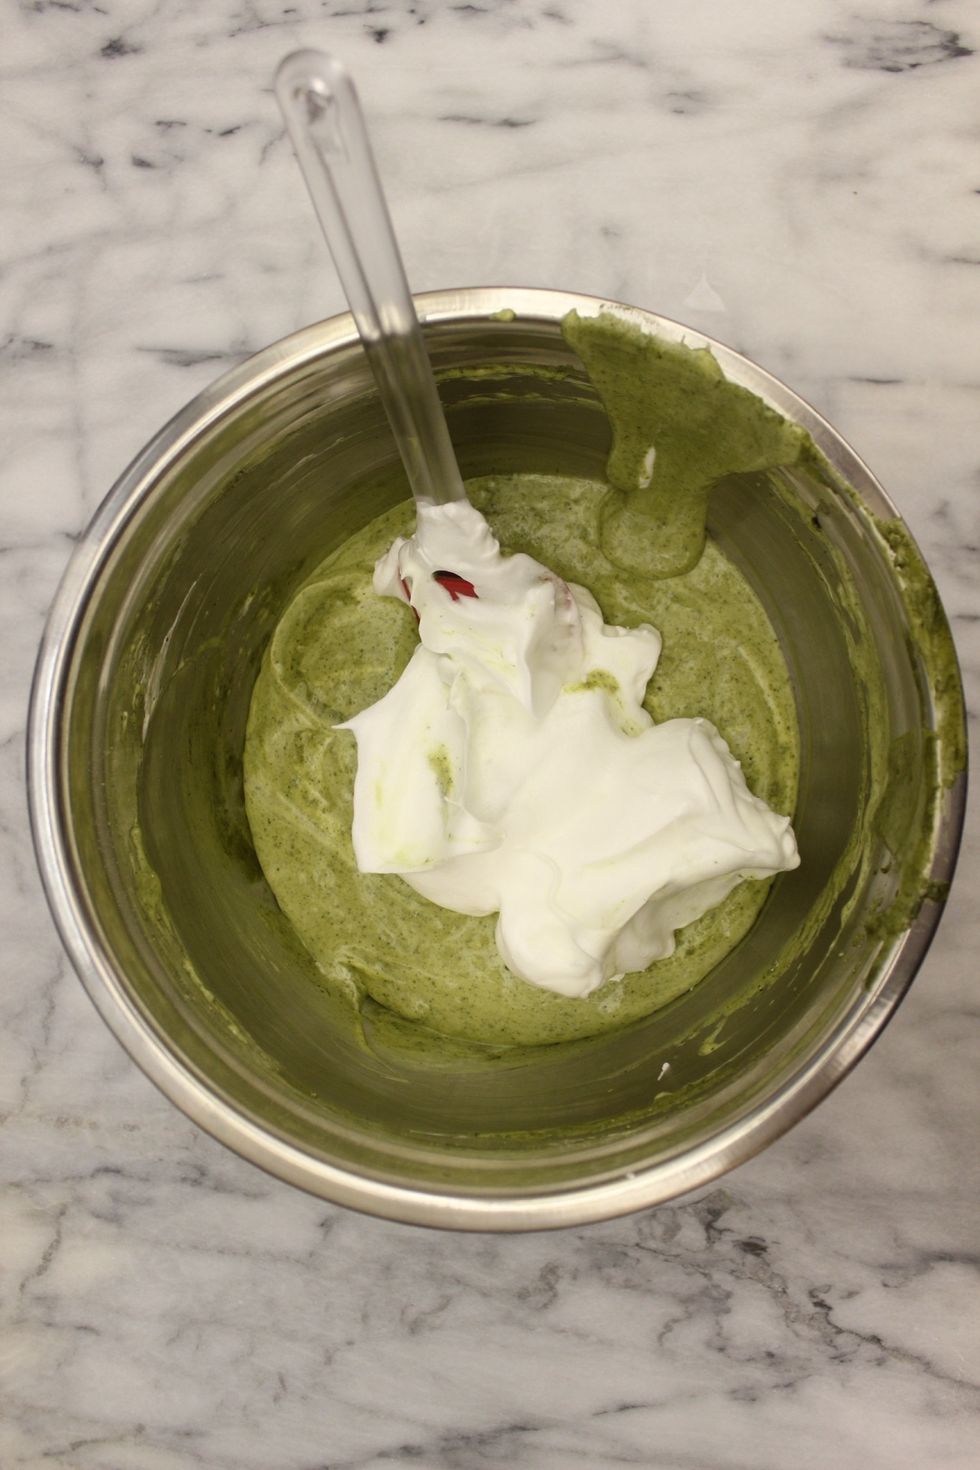
Fold in the next 1/3 of meringue.
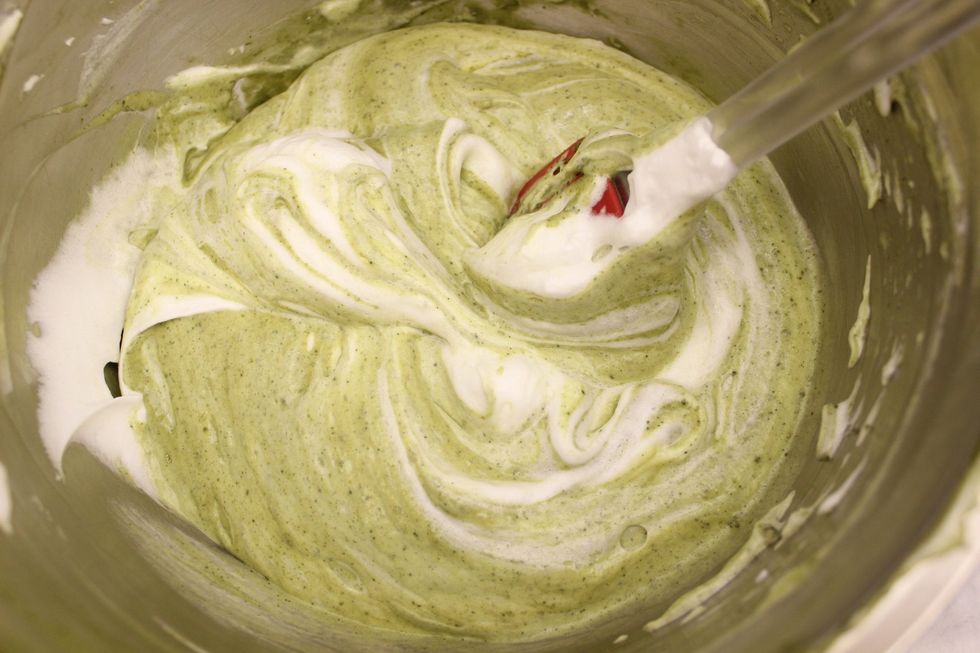
Fold...fold...fold...
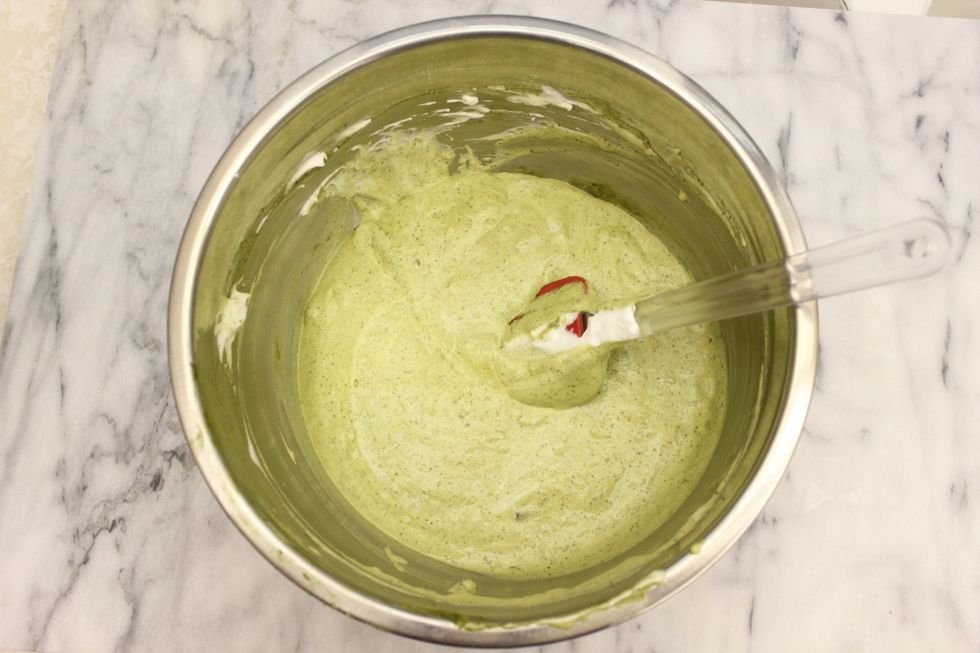
Stop when you only see some light white streaks of meringue.
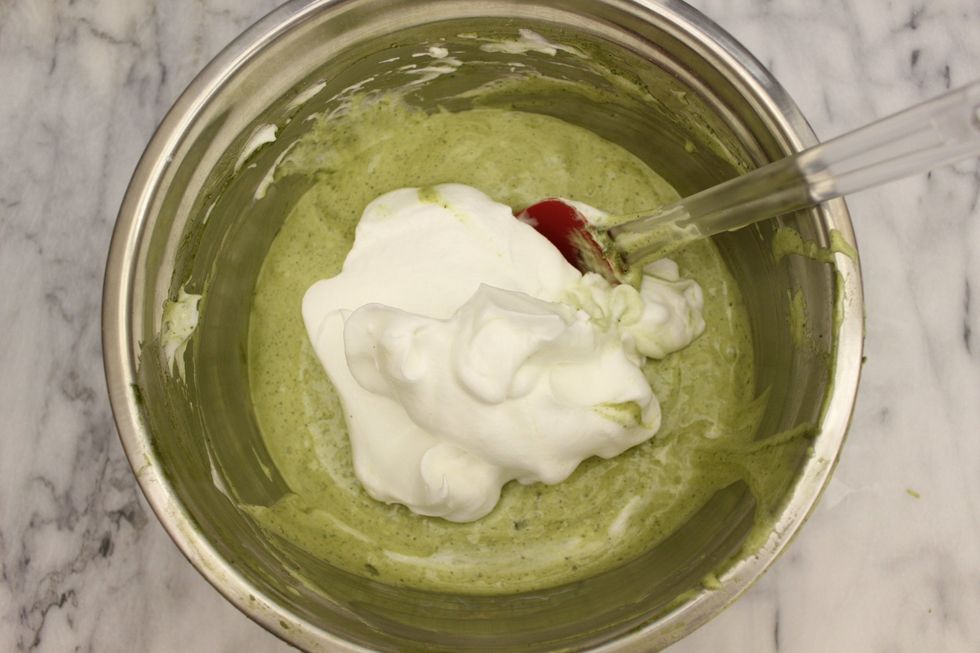
Fold in the final 1/3 of meringue.
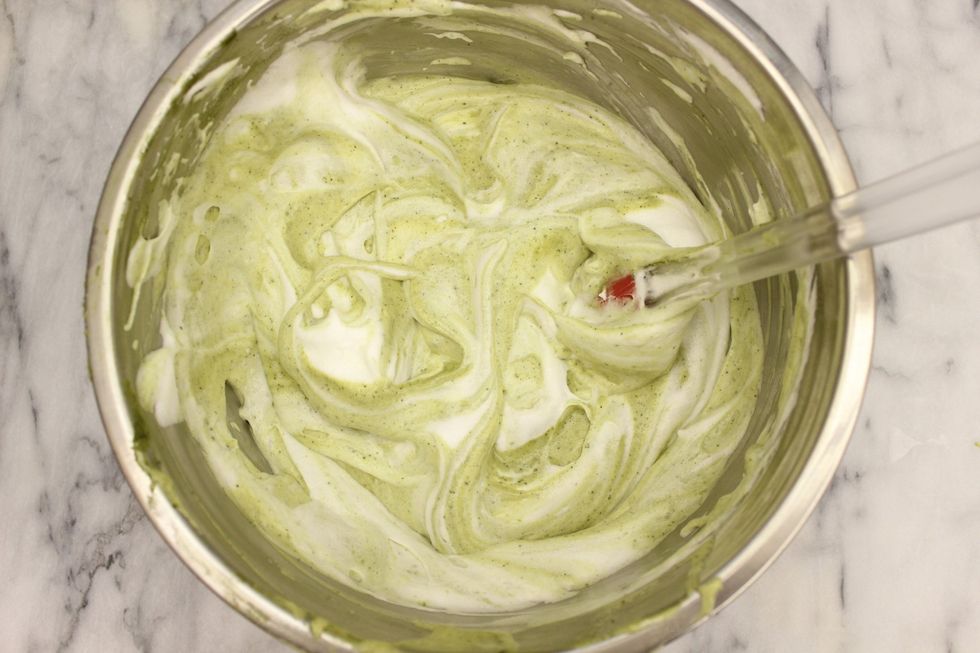
Fold...fold...fold...
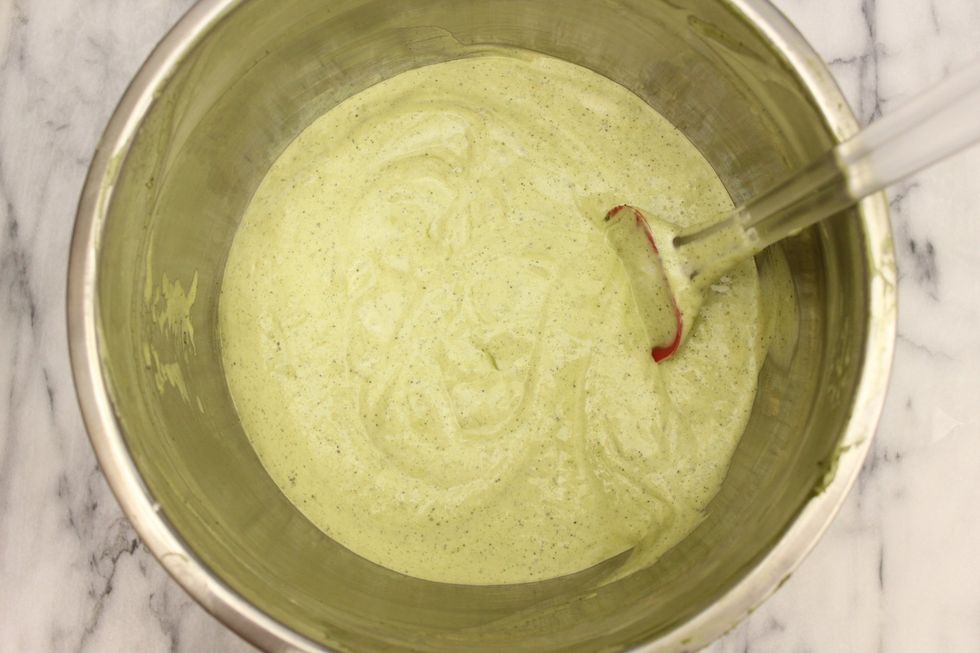
Stop folding.
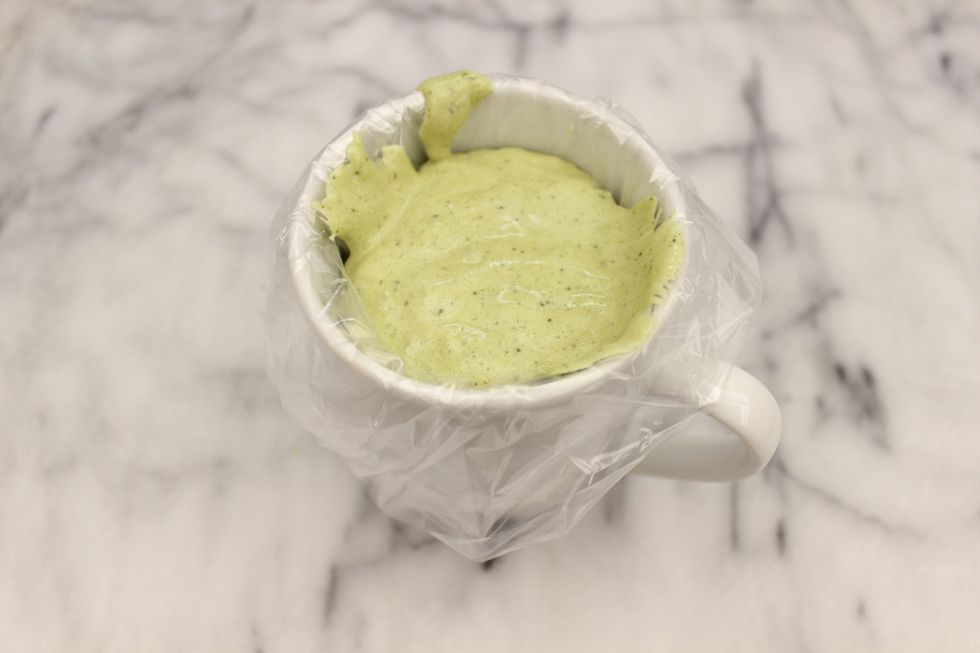
Scoop 1 cup of the cake batter into a sandwich bag. Use a cup or a nearby lazy person to hold up the sandwich bag so the batter doesn't get everywhere as you fill it.
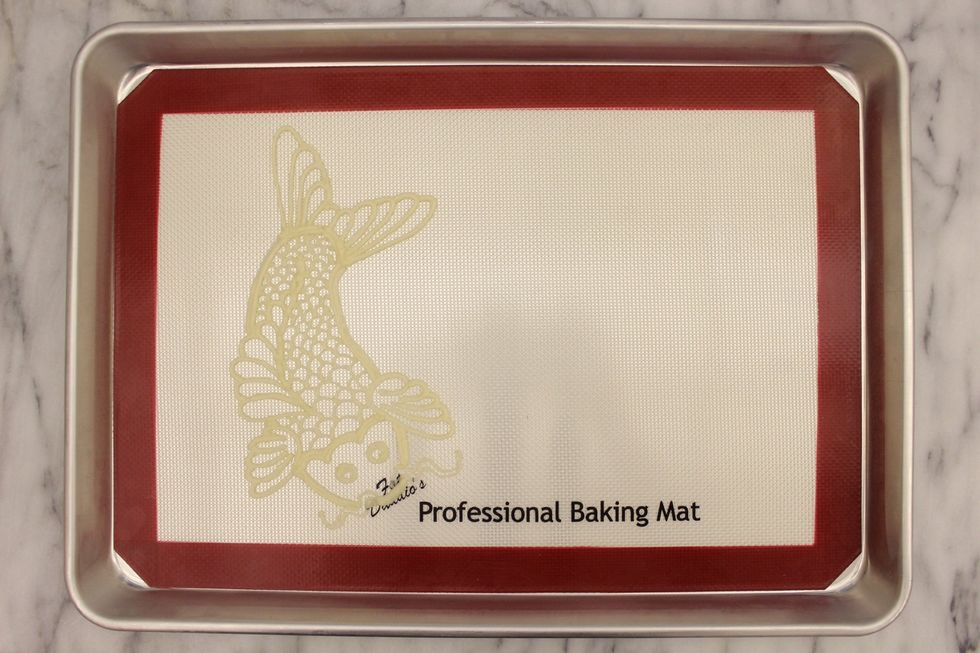
Get out the prepared baking pan from the freezer.
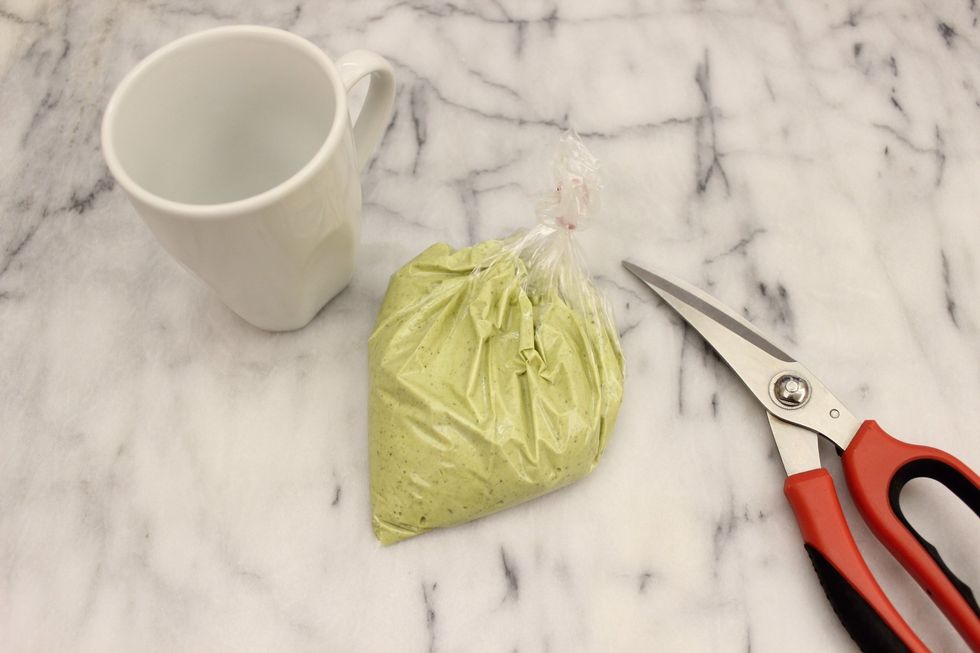
Use a pair of scissors to snip off a tiny corner of the sandwich bag.
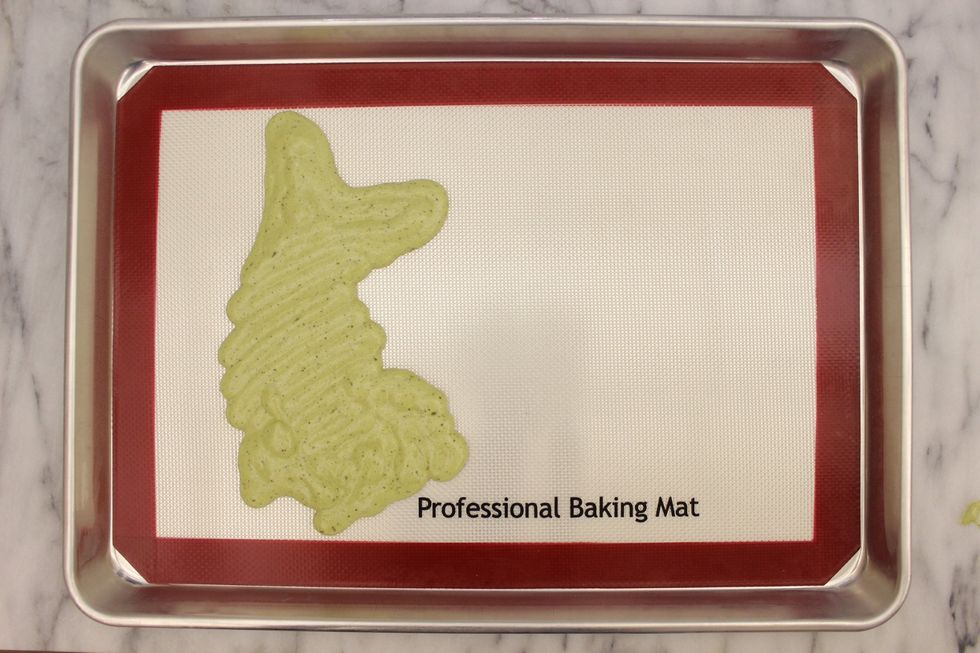
Slowly pipe the cake batter over your design. Make sure you get into every nook and cranny of your design.
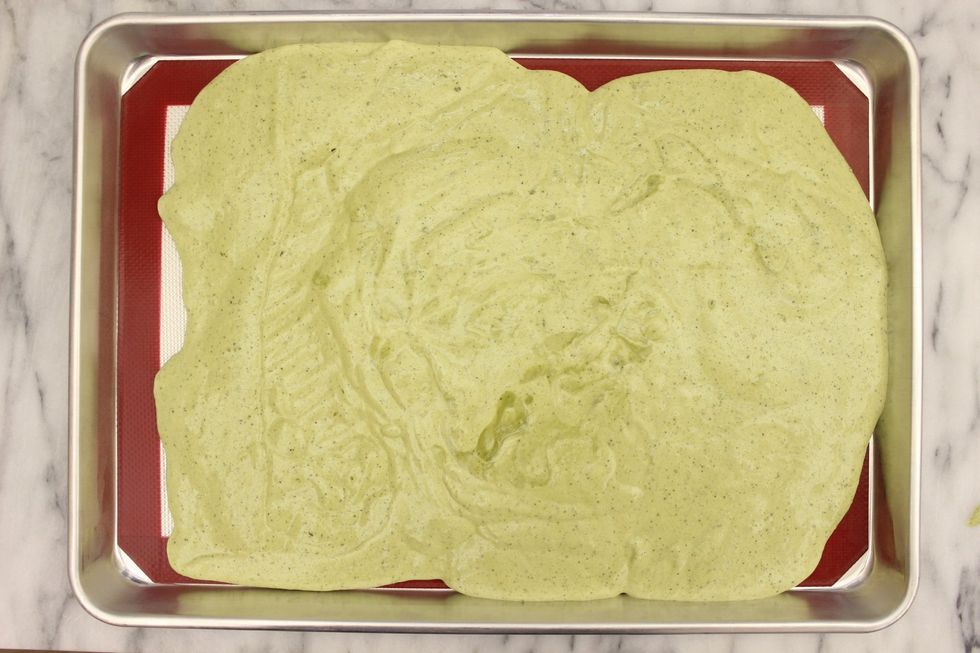
Pour the rest of the cake batter into the pan.
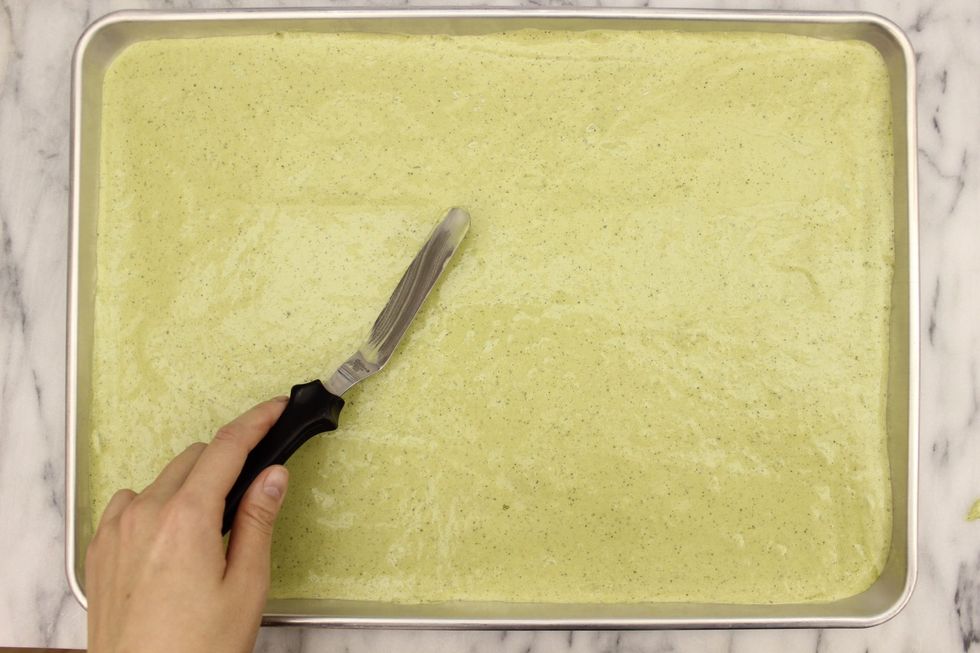
Level the batter with an off set spatula.
Bake for 7-12 minutes. Rotate the pan half way through your baking time to ensure even baking.
This is a good time to wash your stand mixer's bowl and whisk. Once cleaned and dry, place them into a freezer or outside in the middle of a freezing winter. :]
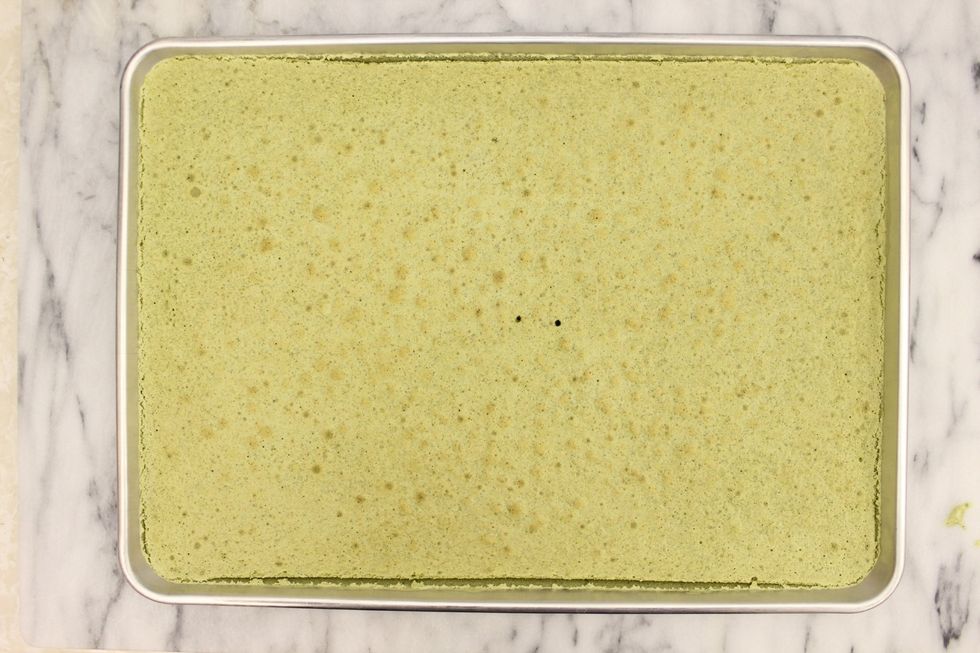
Bake until a clean toothpick inserted through the center of the cake comes out clean. Do not over bake!
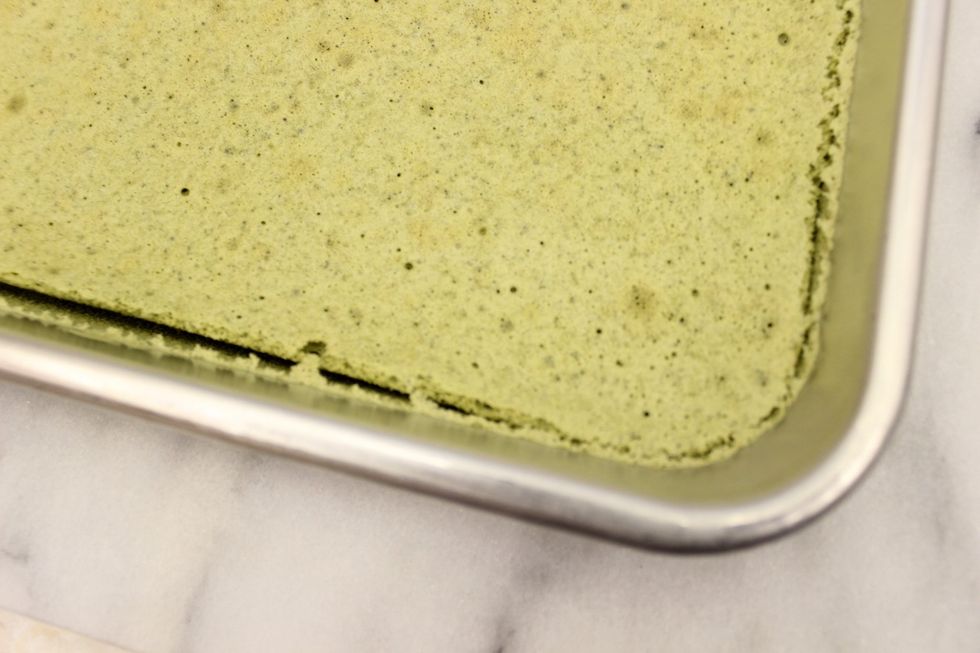
Let the cake cook in its pan for 10 minutes on a cooling rack. As the cake cools, you'll see the cake pull away from the edges of the pan.
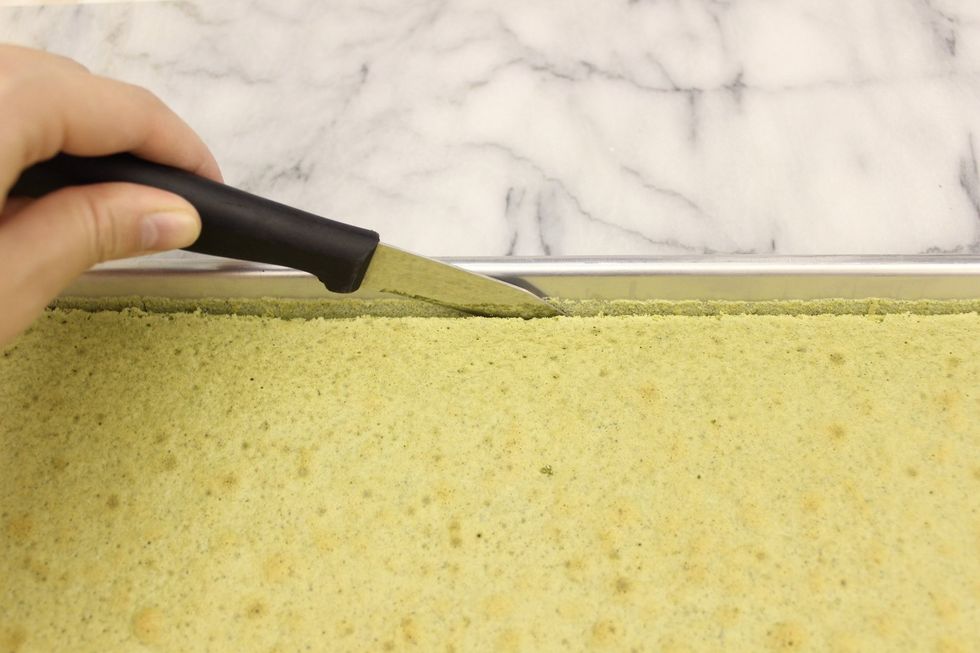
Using a small knife, cut along the edge of the pan to loosen the cake.
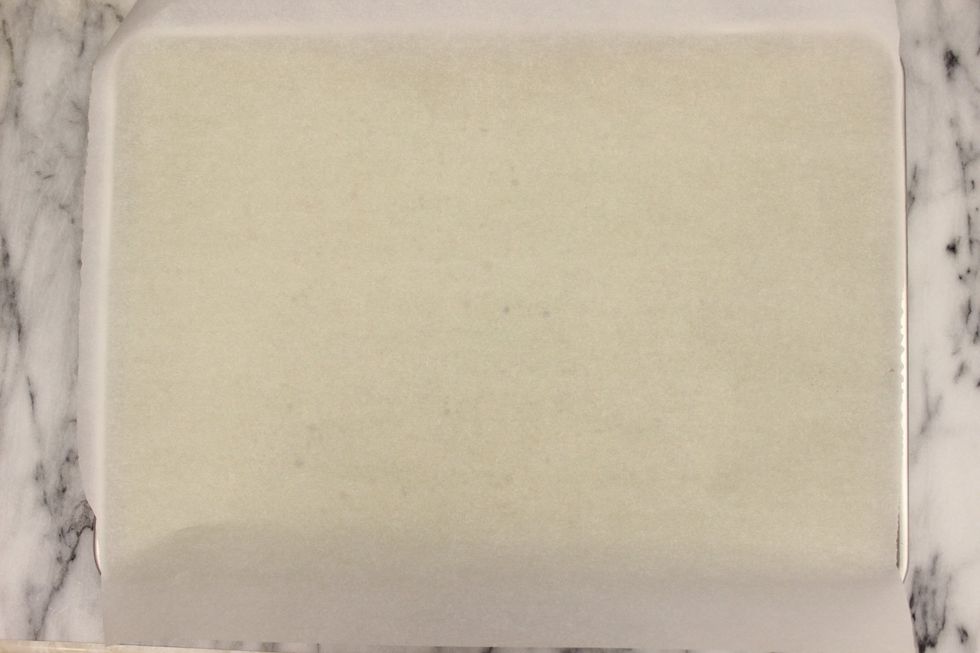
Place a sheet of parchment paper on top of the cake.
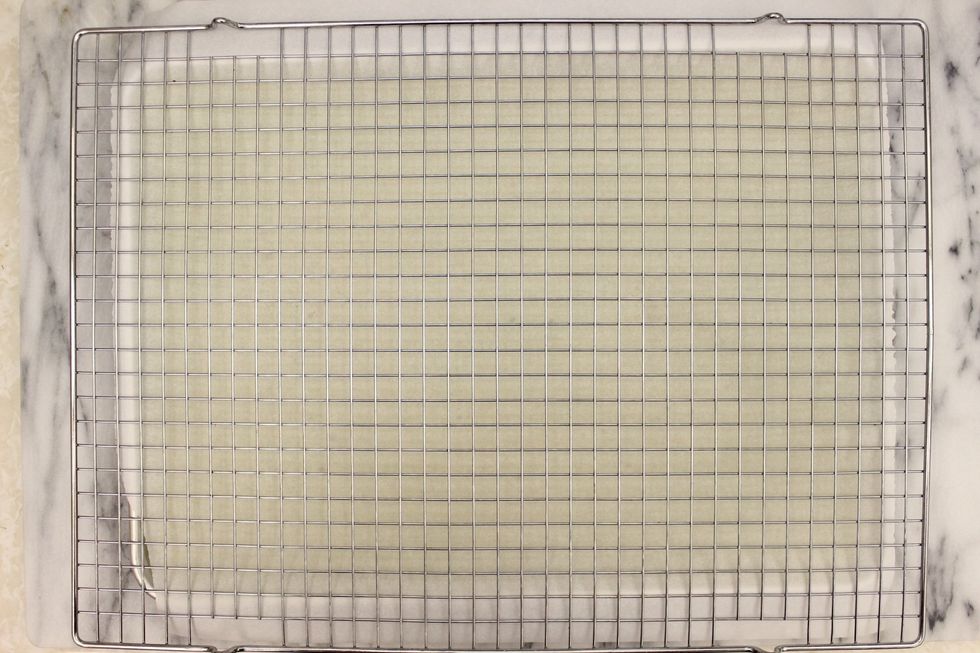
Place a large cooling rack on top of parchment paper. Hold everything together and FLIP.
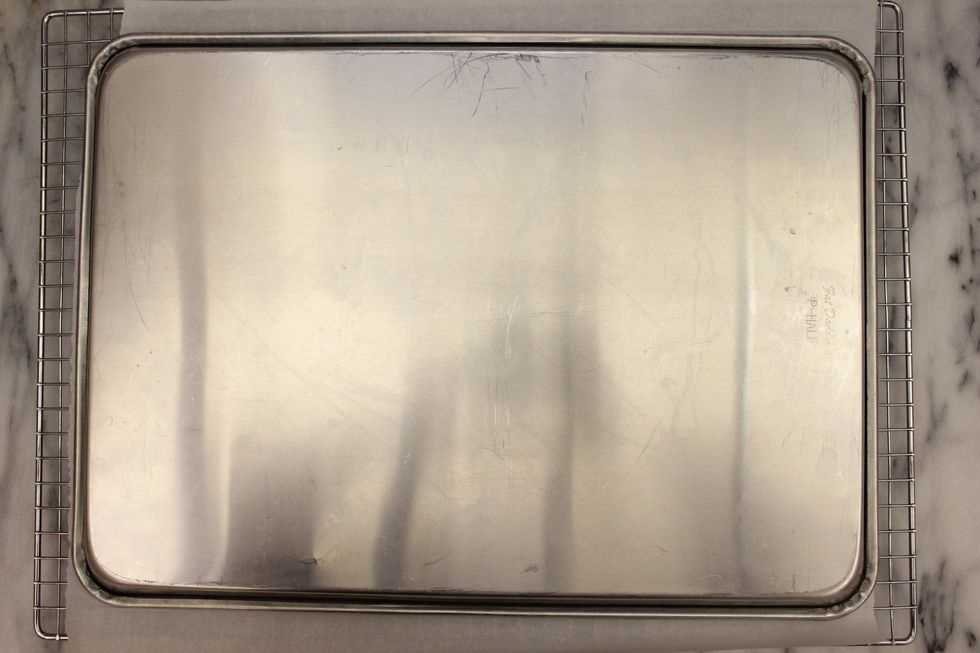
The underside of the beast.
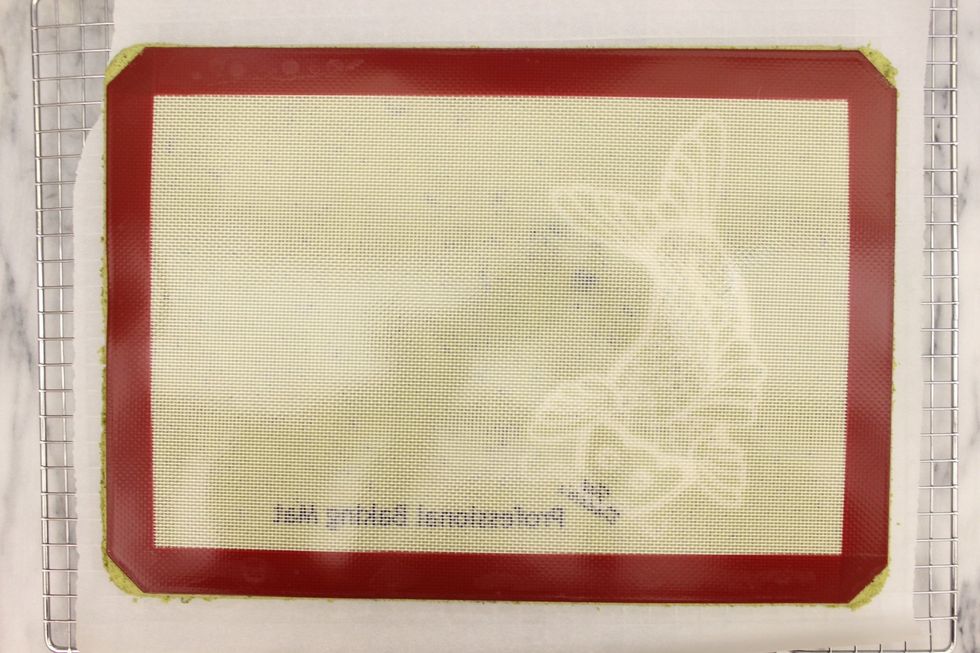
Remove the pan.
Peel off the silicone mat.
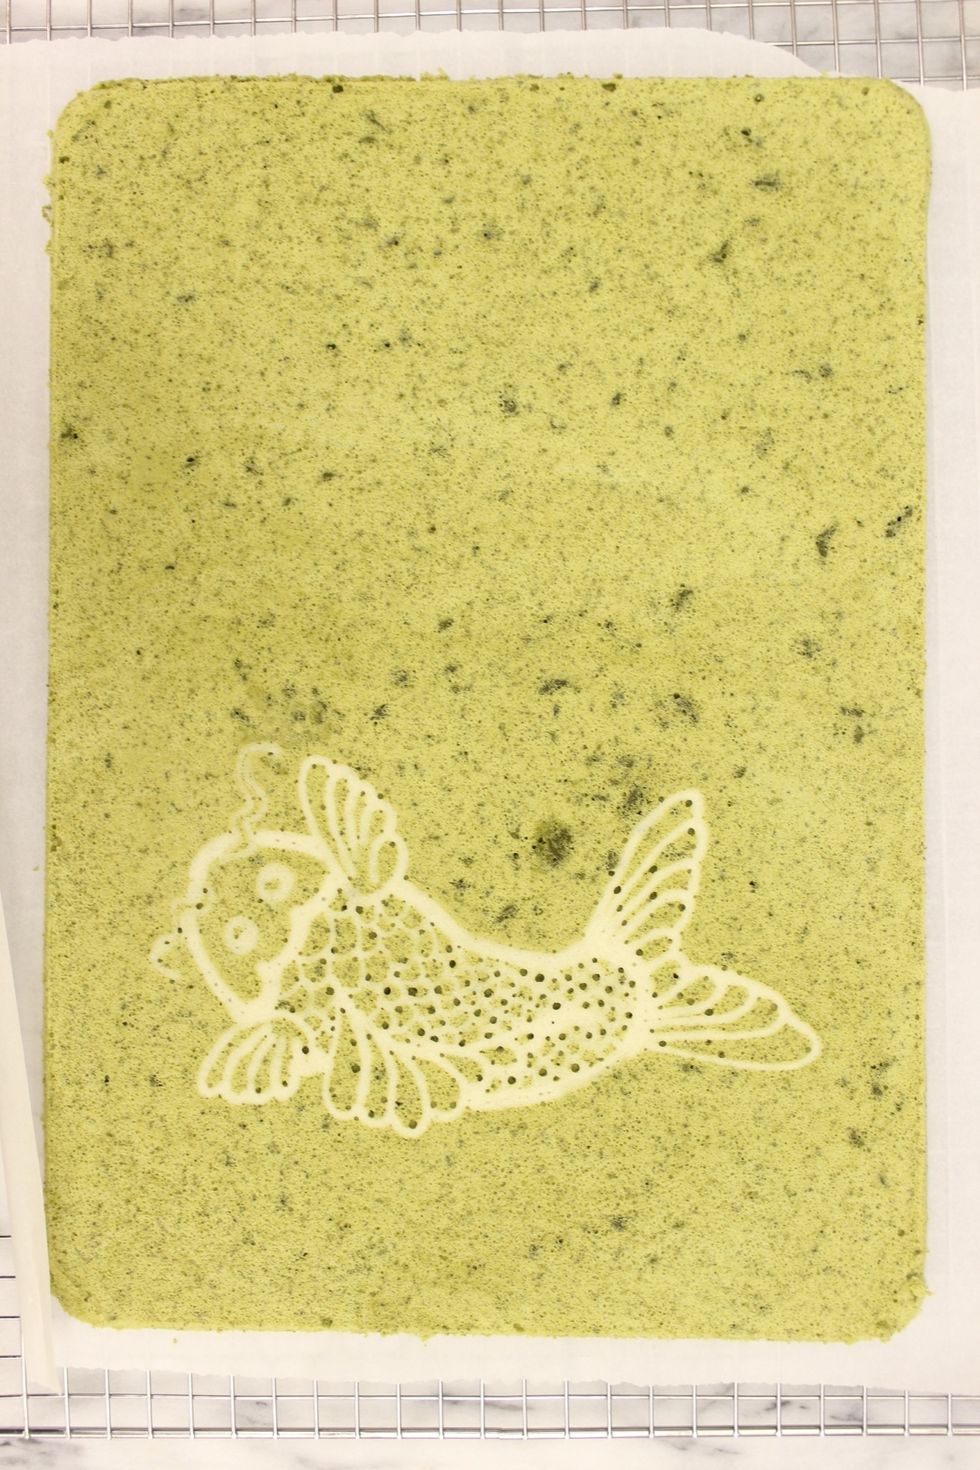
Let cool completely. As the cake cools, proceed to making the filling.
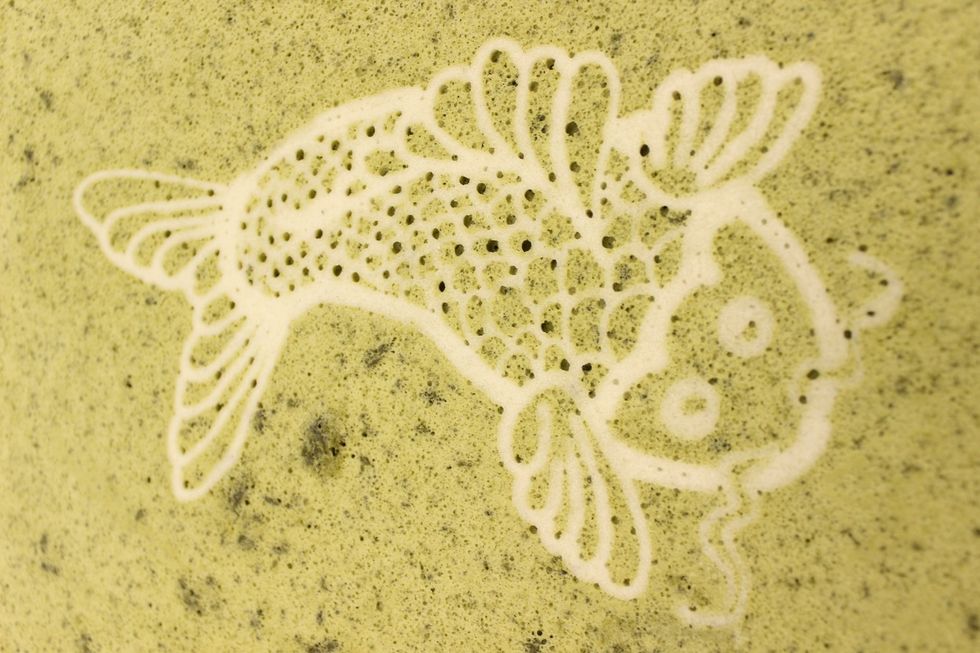
BLOOPER: I didn't pipe the cake batter into my design well enough hence all the air bubbles.
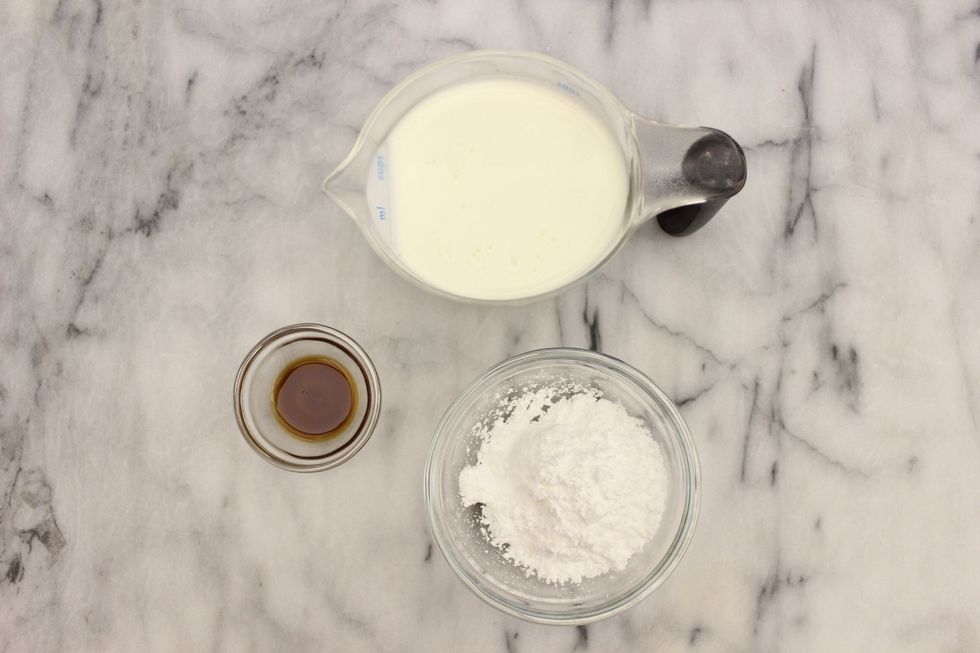
Créme chantilly (vanilla whipped cream) filling: 238 ml whipping/heavy cream (cold), 4 tbsp confectioner's/powdered sugar and 1/2 tsp pure vanilla extract.
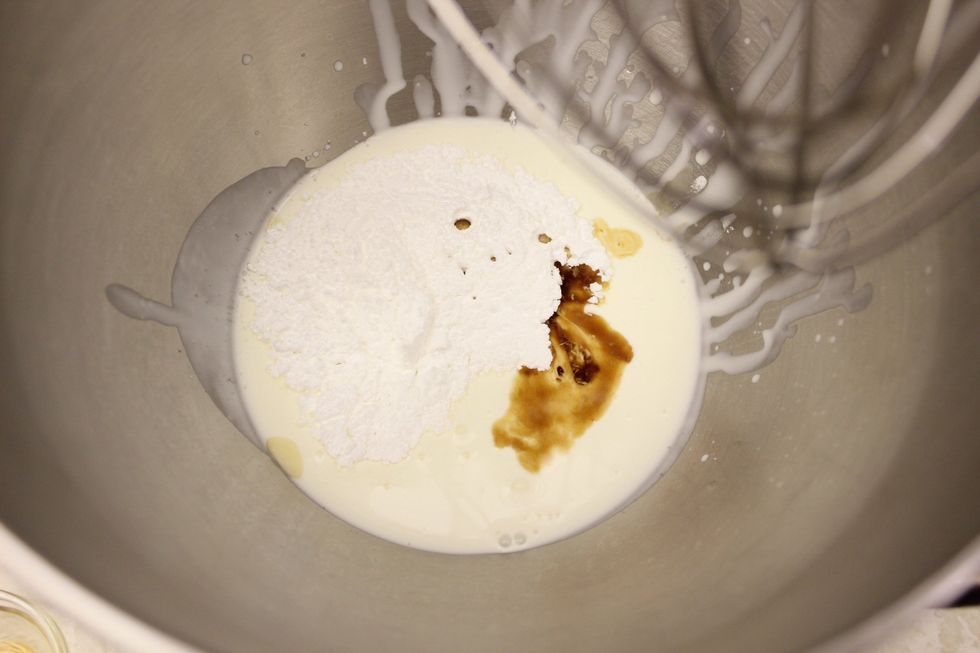
Place all the ingredients into your now frozen stand mixer bowl fitted with your whisk attachment. Beat until stiff. Freezing the bowl and whisk helps to stabilize and quickly whip up the cream.
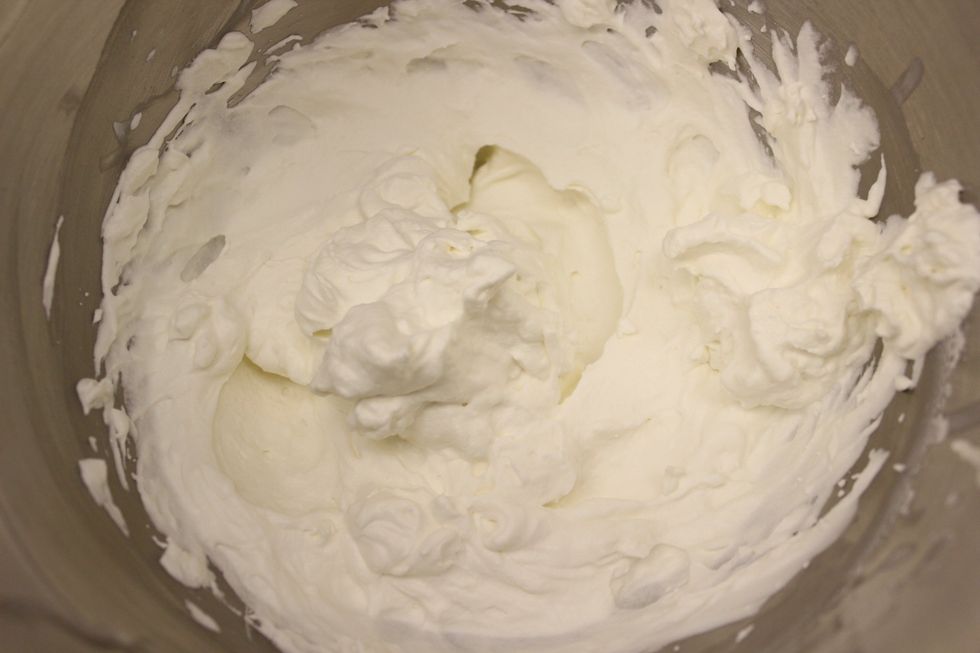
Don't over whip! If the cream looks grainy, then you've over whipped. Add a little more cream and whip again for a couple seconds to fix the cream.
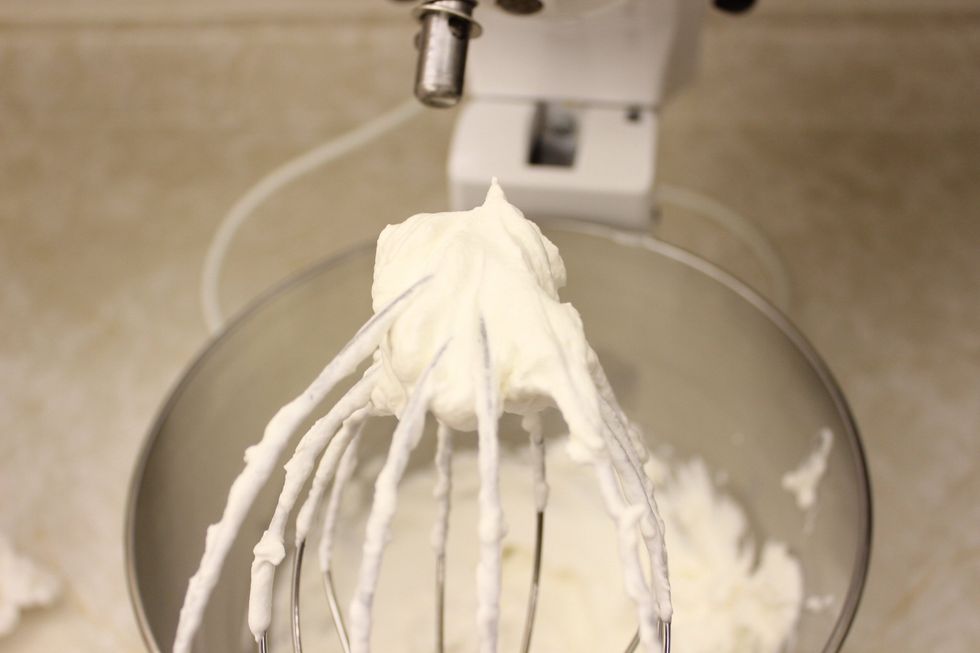
This is the stiff peak you are looking at in your whipped cream. Use quickly or place it in the fridge until you need it.
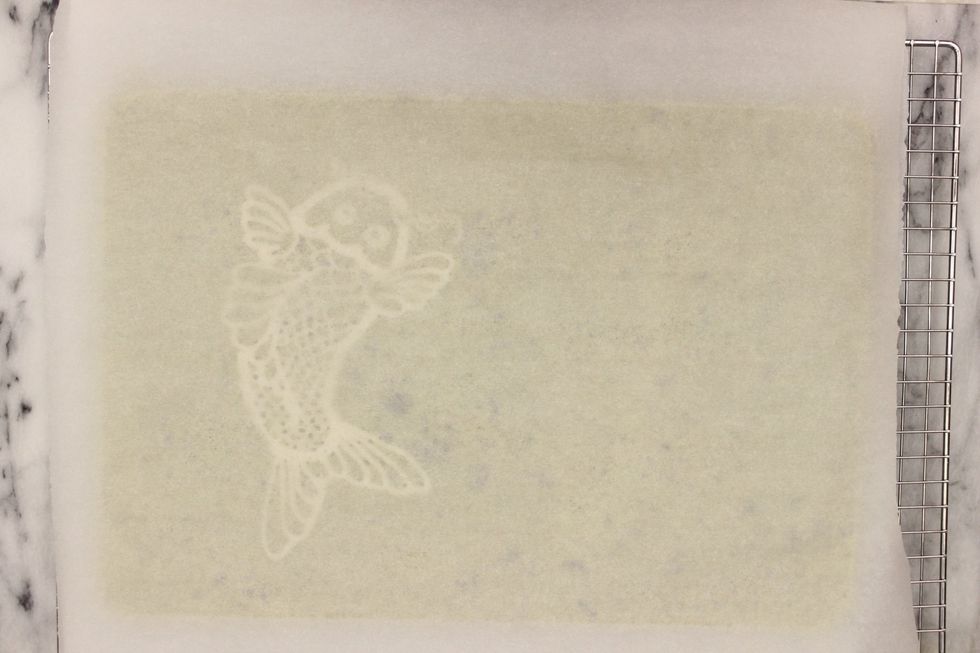
Now that your cake is completely cool. Place a sheet of parchment paper over the cake.
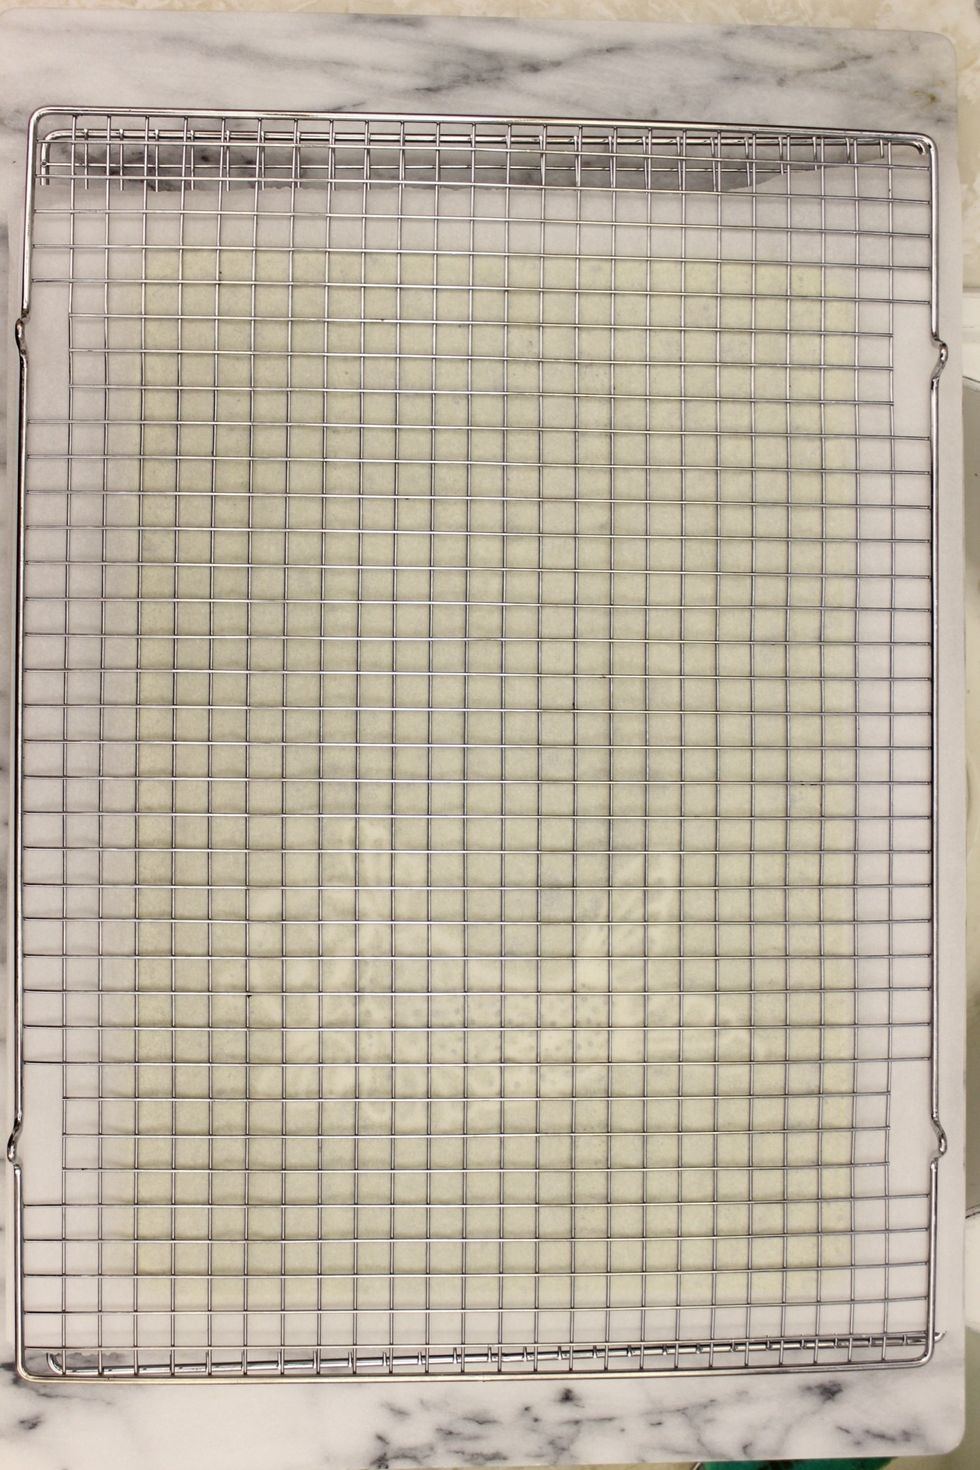
Place a cooling rack on top. Hold everything securely together and flip over.
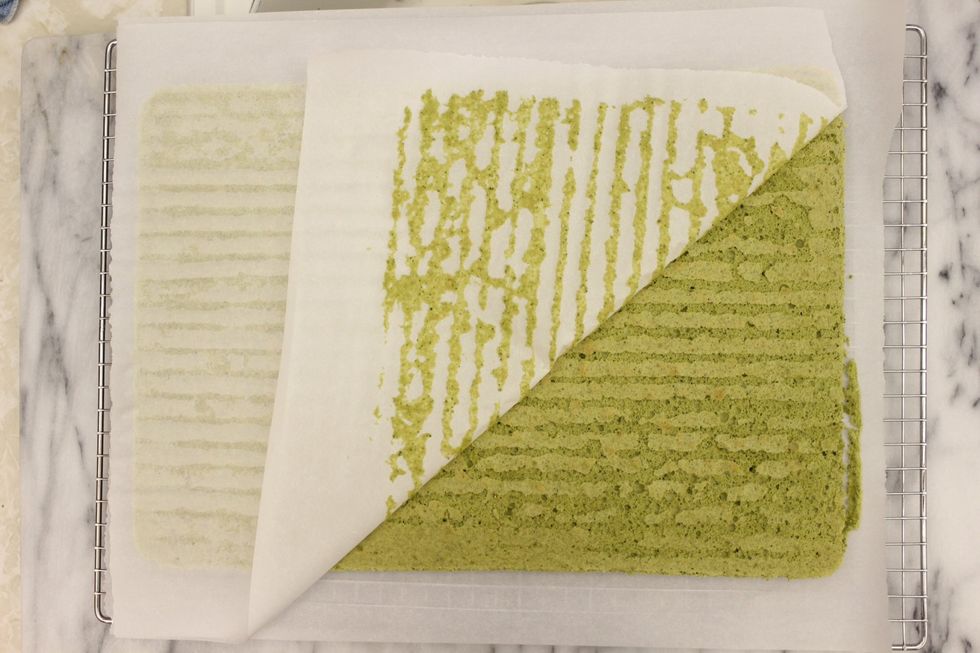
Lift off the cooling rack and slowly peel off the parchment paper.
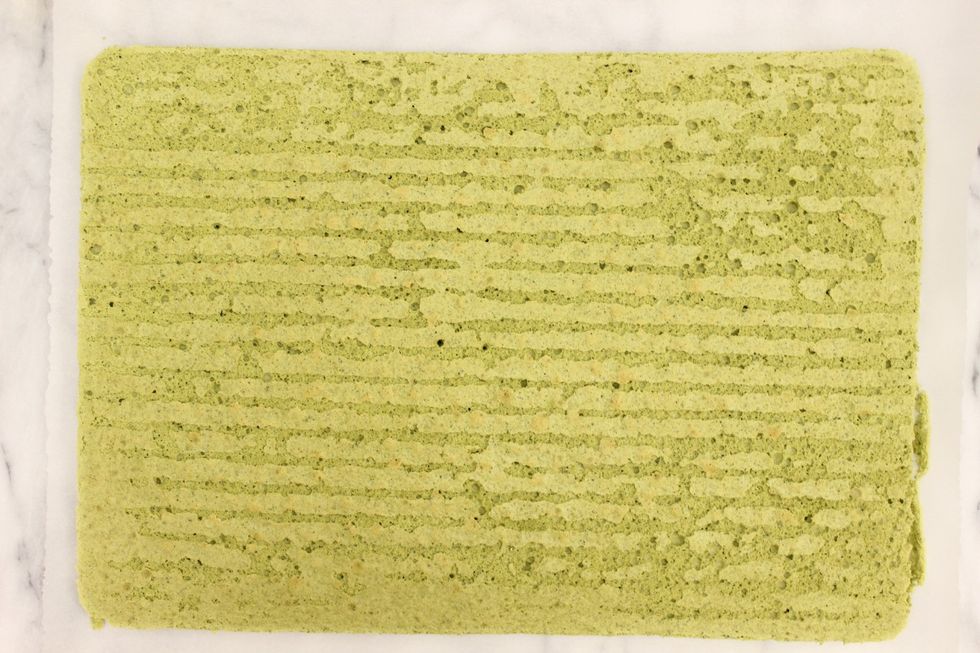
I always like to make sure that the design I made is laying underneath on the left side of the cake before I continue. So rotate if necessary. This ensures that the cake is rolled up correctly.
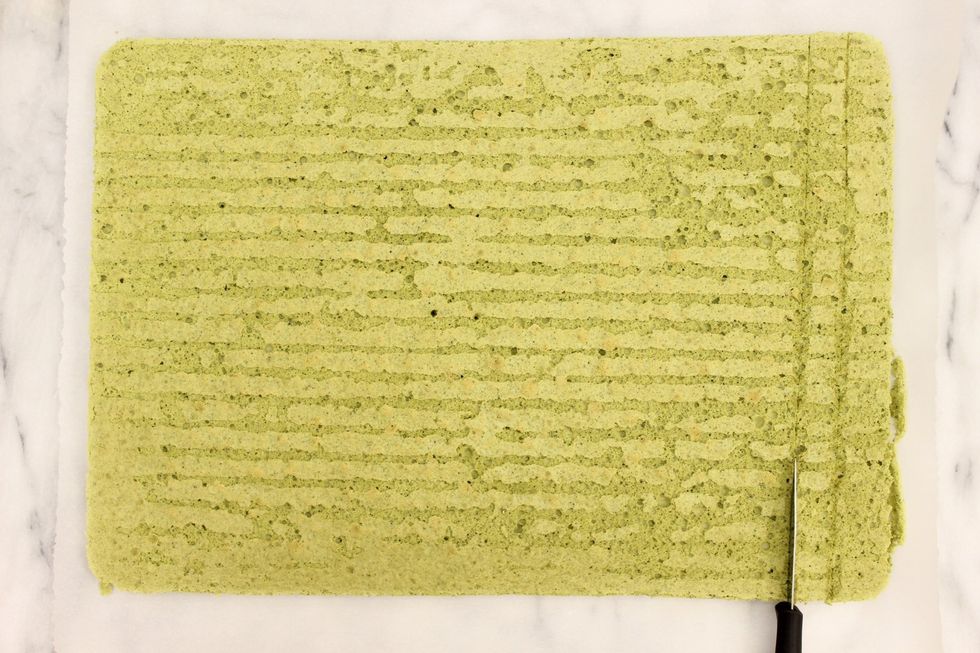
Make two SHALLOW cuts down the right side of the cake about 1 cm apart. Don't cut through the cake! Try to go straight and parallel to the cake's edge....and not crooked like I did haha.
![Do a 45 degree cut on the left side of the cake's edge. This helps taper the end of your cake for a nice smooth finish. And you get to sample the scrap. :]](https://guides.brit.co/media-library/do-a-45-degree-cut-on-the-left-side-of-the-cake-s-edge-this-helps-taper-the-end-of-your-cake-for-a-nice-smooth-finish-and-you.jpg?id=24169502&width=980)
Do a 45 degree cut on the left side of the cake's edge. This helps taper the end of your cake for a nice smooth finish. And you get to sample the scrap. :]
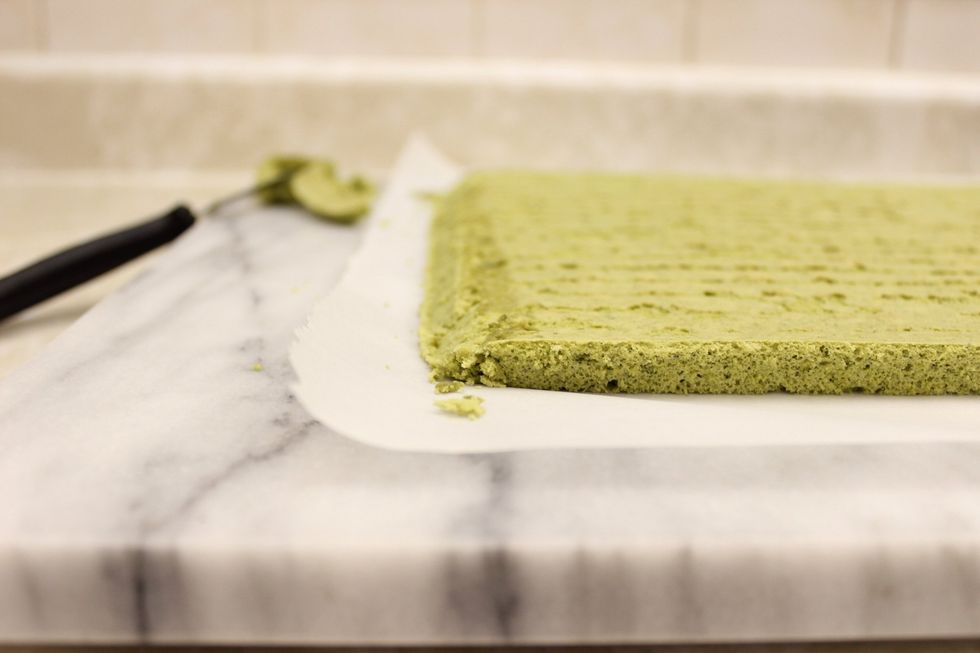
45 degree cut
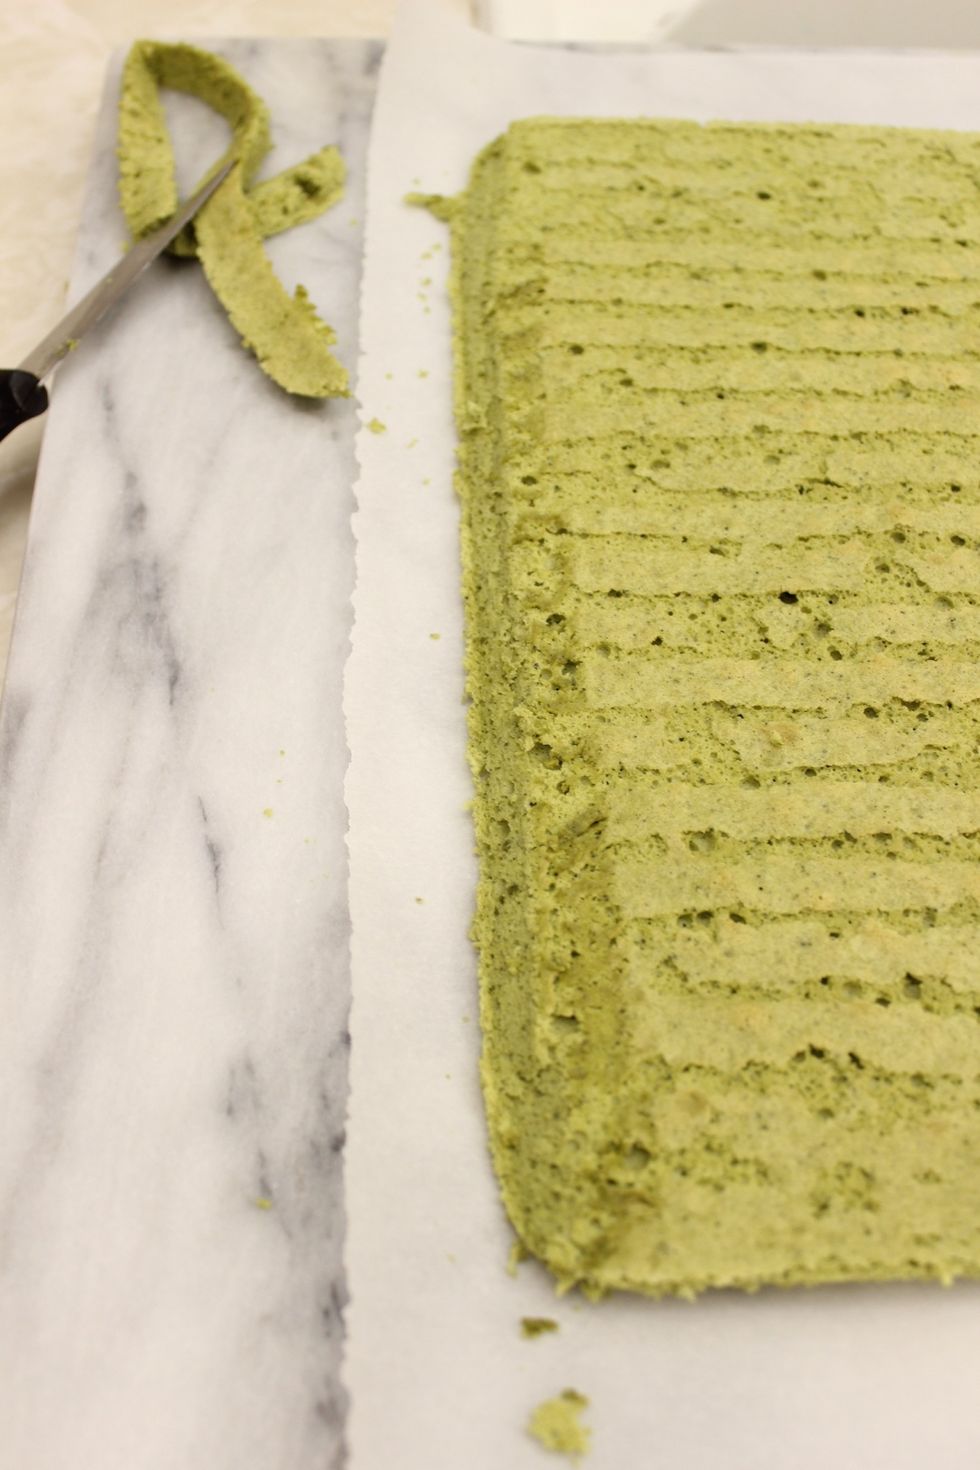
You don't have to do this cut. My OCD makes me haha...
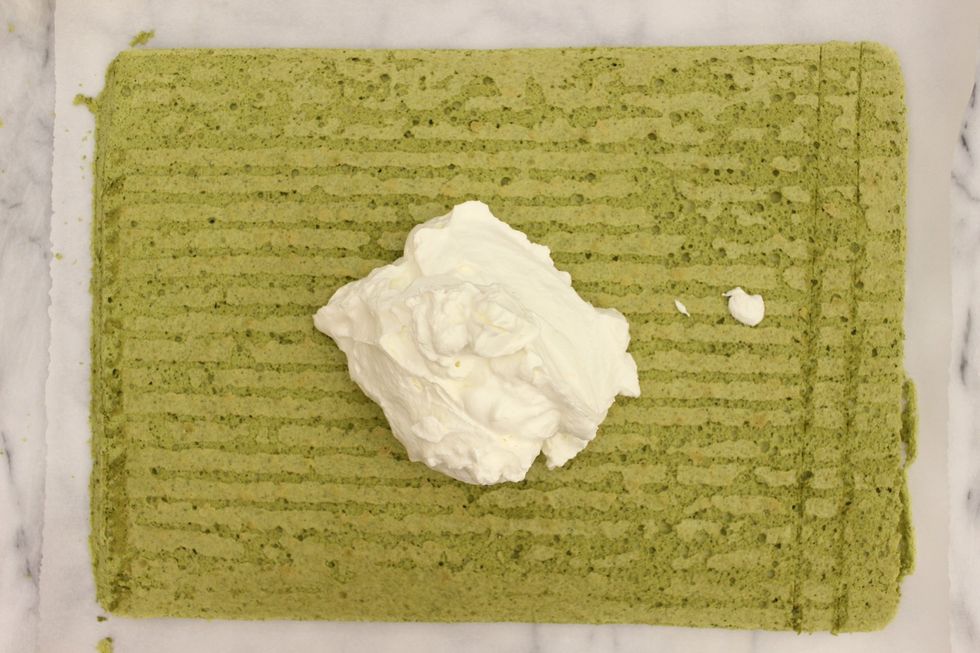
Now to slap on your filling. Don't do this unless your cake is completely cool. Hot cake + cold whipped cream = wet mush.
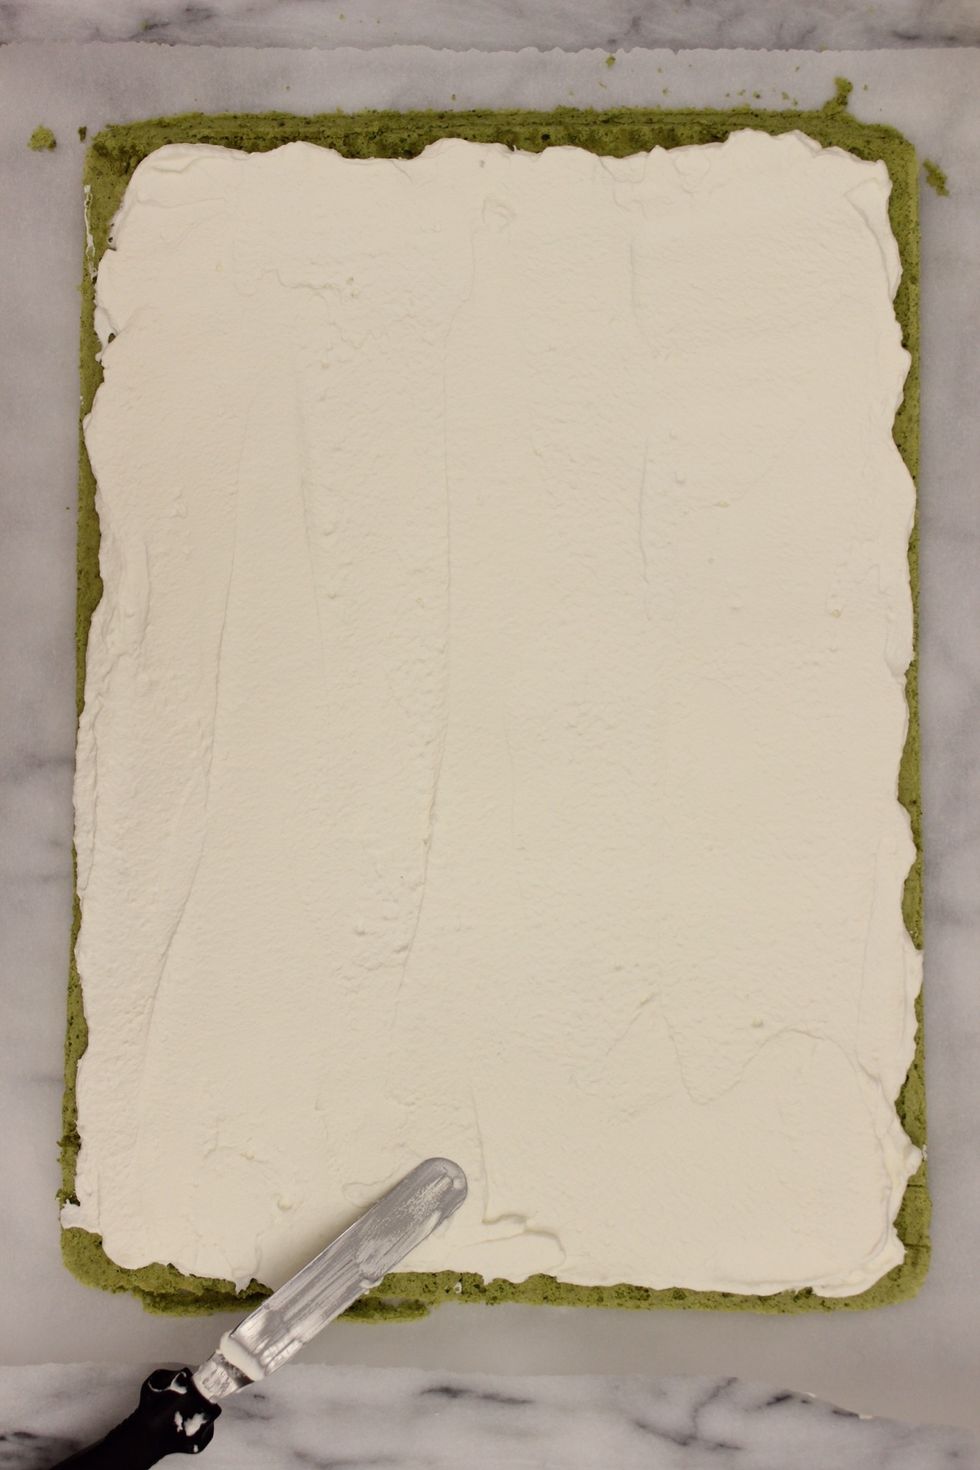
Use an off set spatula to evenly smooth out the whipped cream. Leave a 1 cm border around the cake unfrosted.
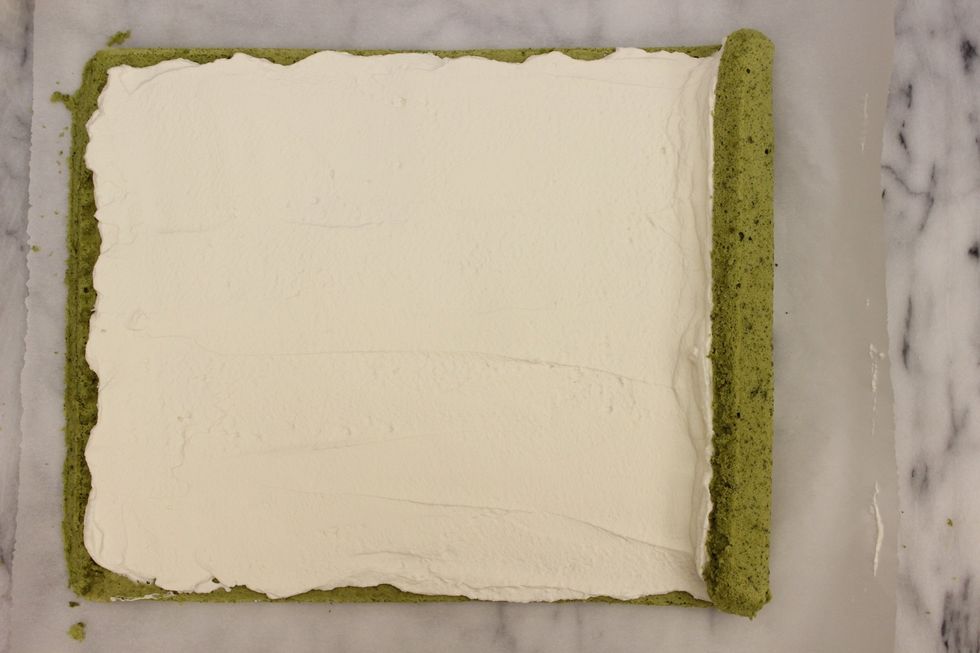
Lift the parchment paper on the right side to start rolling the cake.
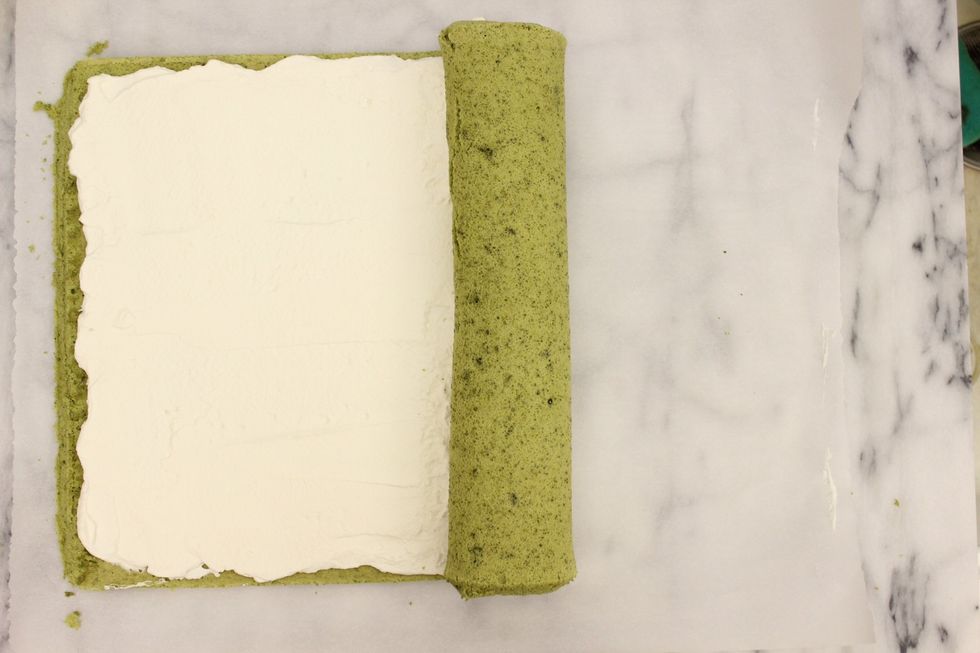
Roll....roll...roll...
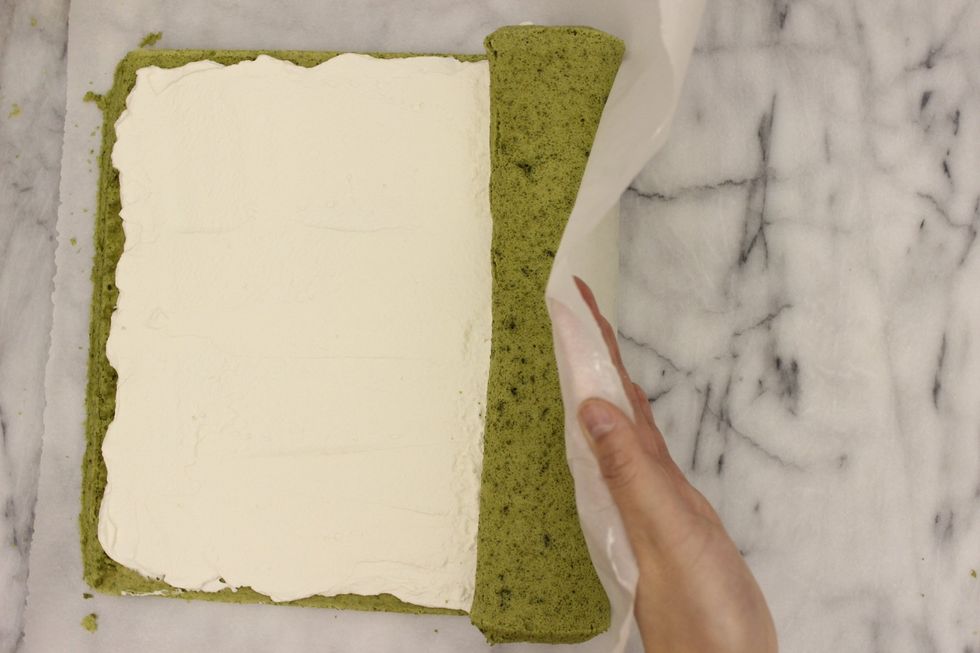
Keep using the parchment paper to help roll the cake.
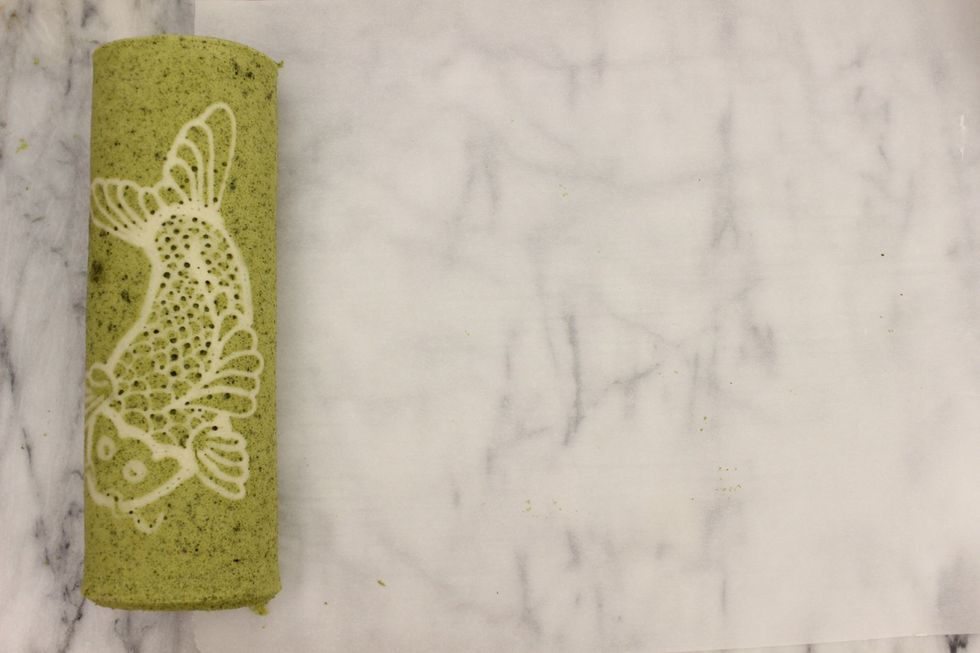
Done rolling! Ensure the seam is on the underside of the cake.
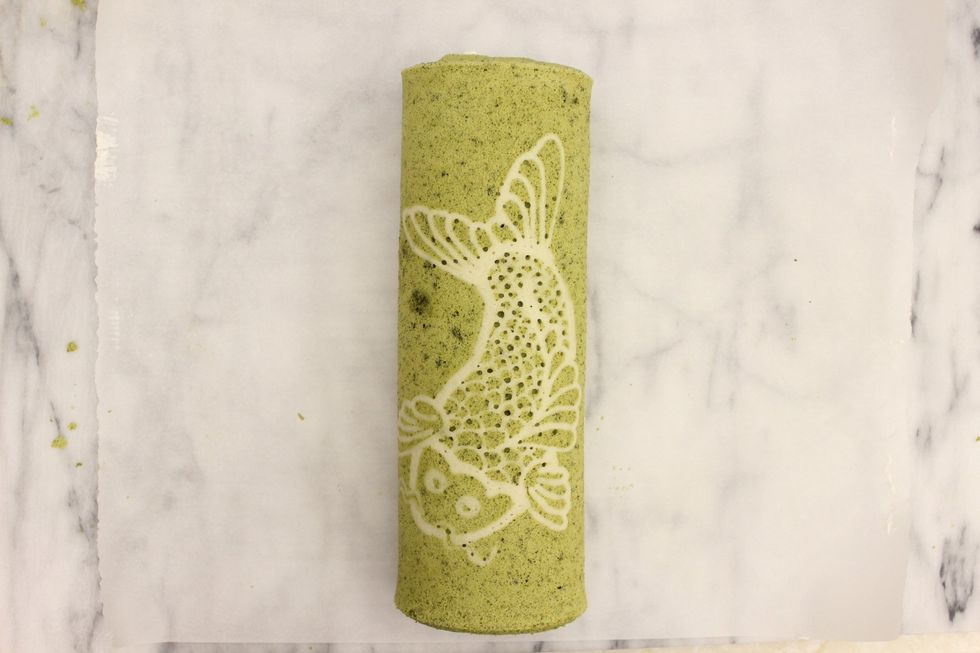
Gently place the roll on the center of the parchment paper.
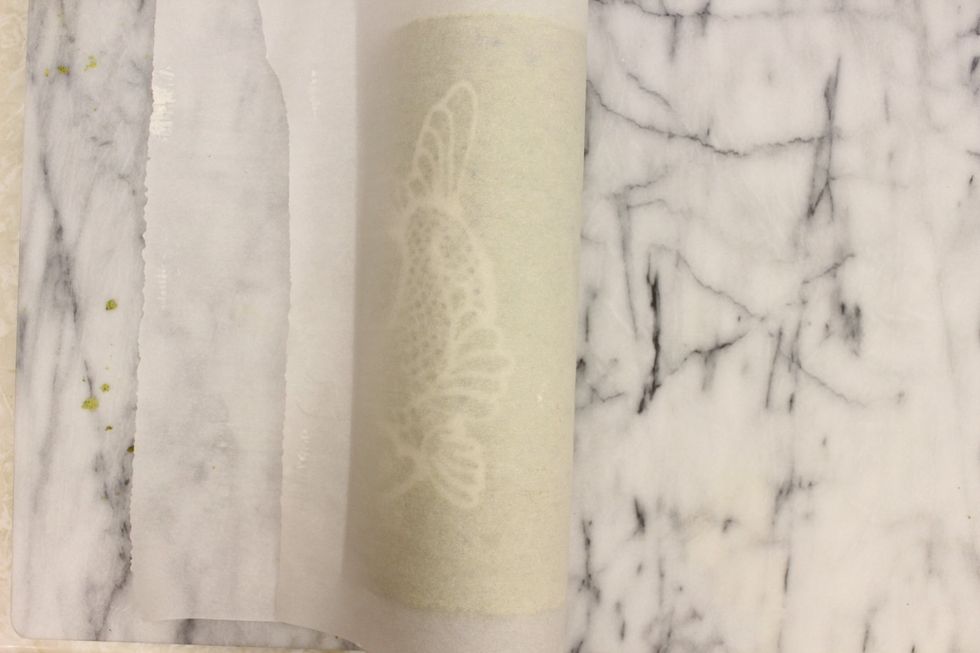
Flip over the right side of the parchment paper.
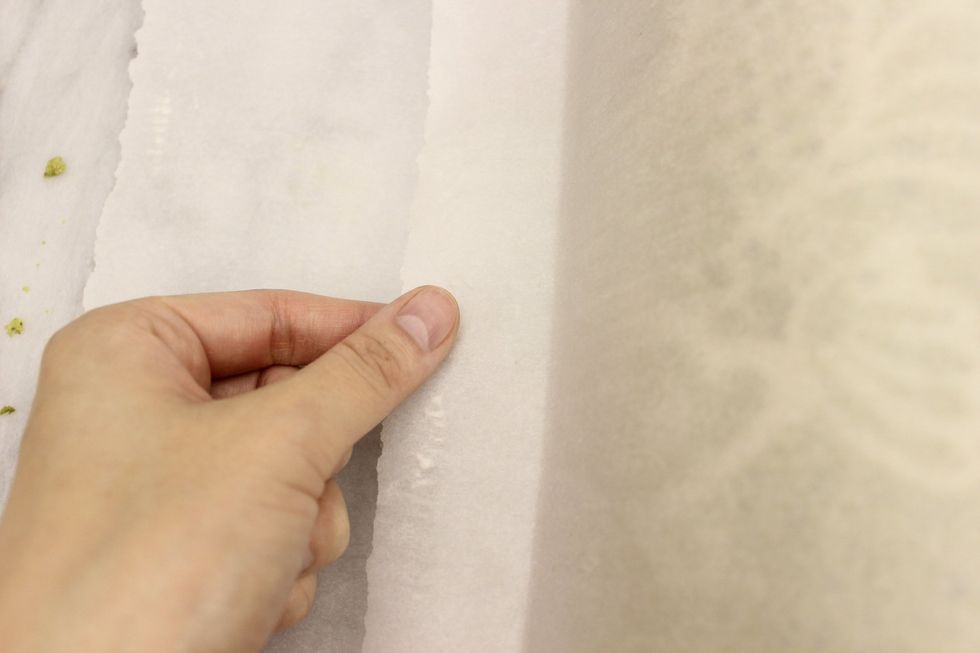
Leave a little 3 cm tab untucked.
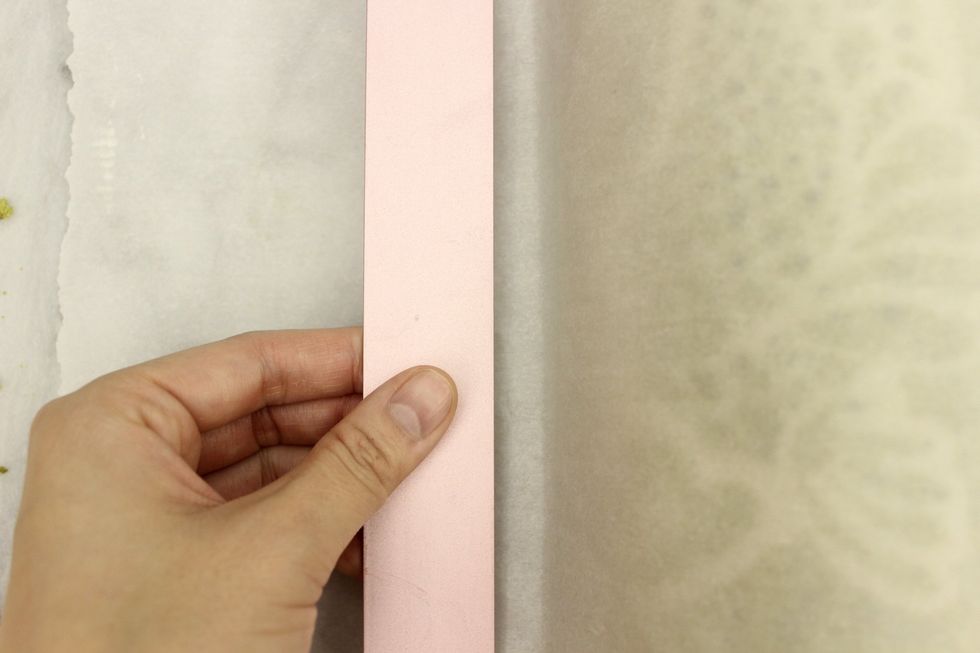
Place a ruler on top of the tab.
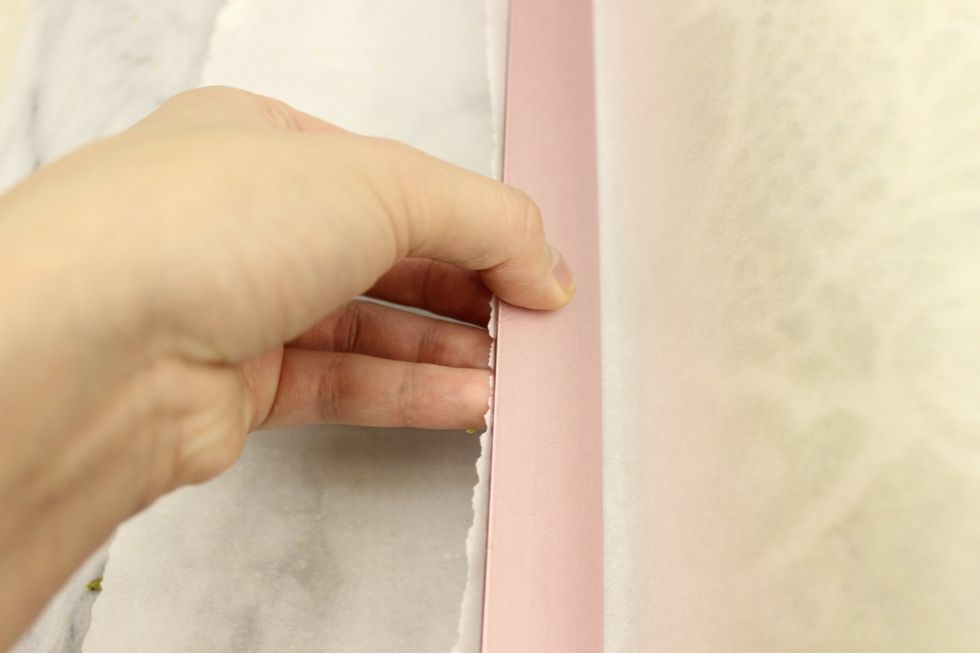
Holding the ruler and tab together, tightly tuck it underneath the roll. This helps to straighten and tighten your roll. This whole step is optional.
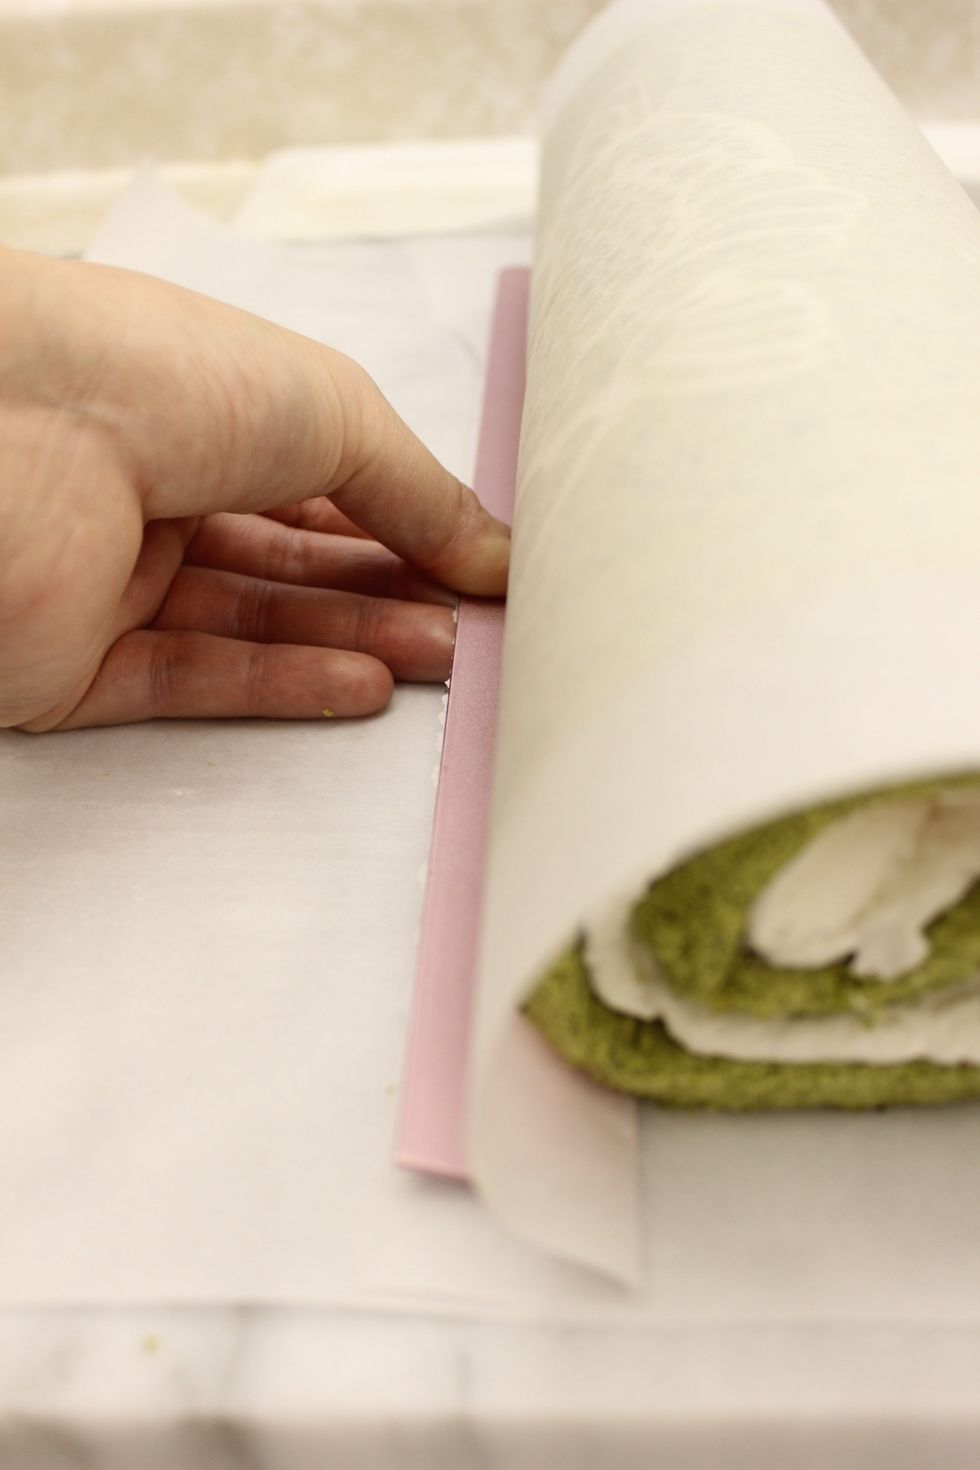
Push the paper under the roll...
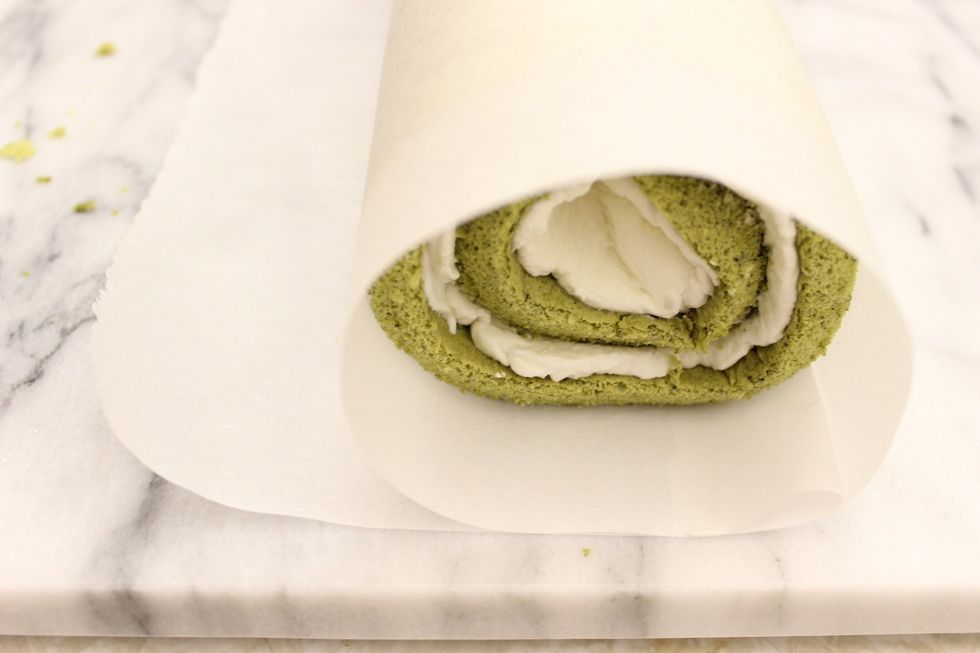
Remove the ruler while holding down the paper and roll.
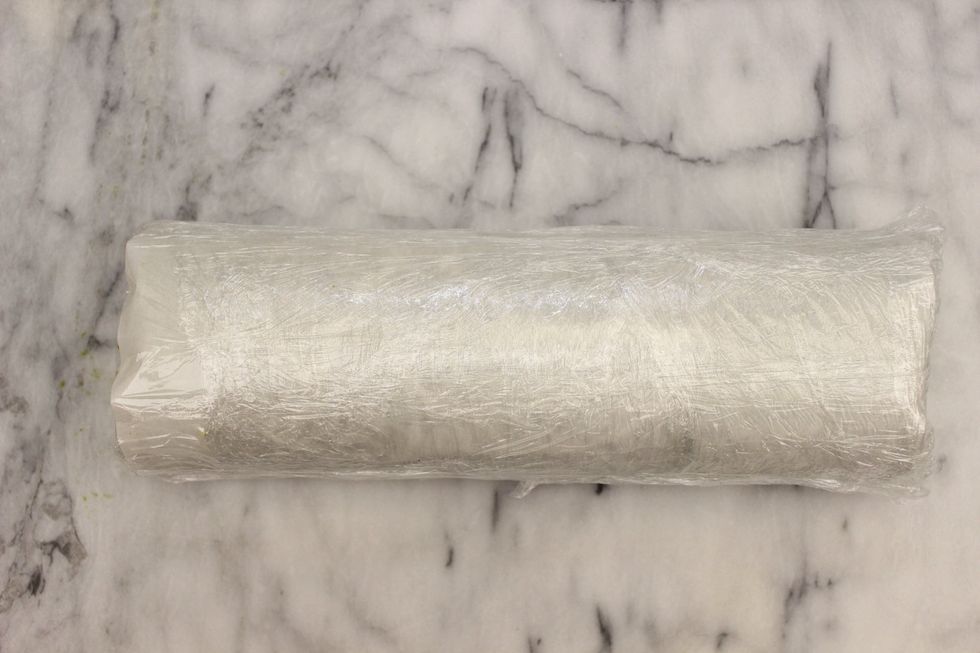
Finish rolling the cake with parchment paper and than cover tightly with clear plastic wrap. Make sure the seam is on the bottom and your design is on the top. Refrigerate/freeze to firm up the cake.
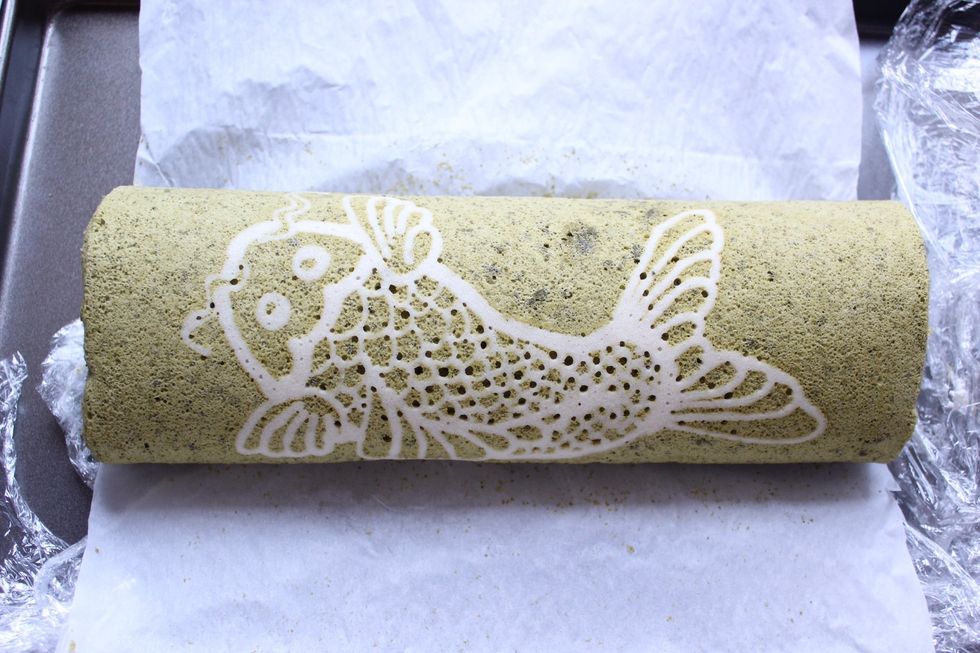
Unwrap
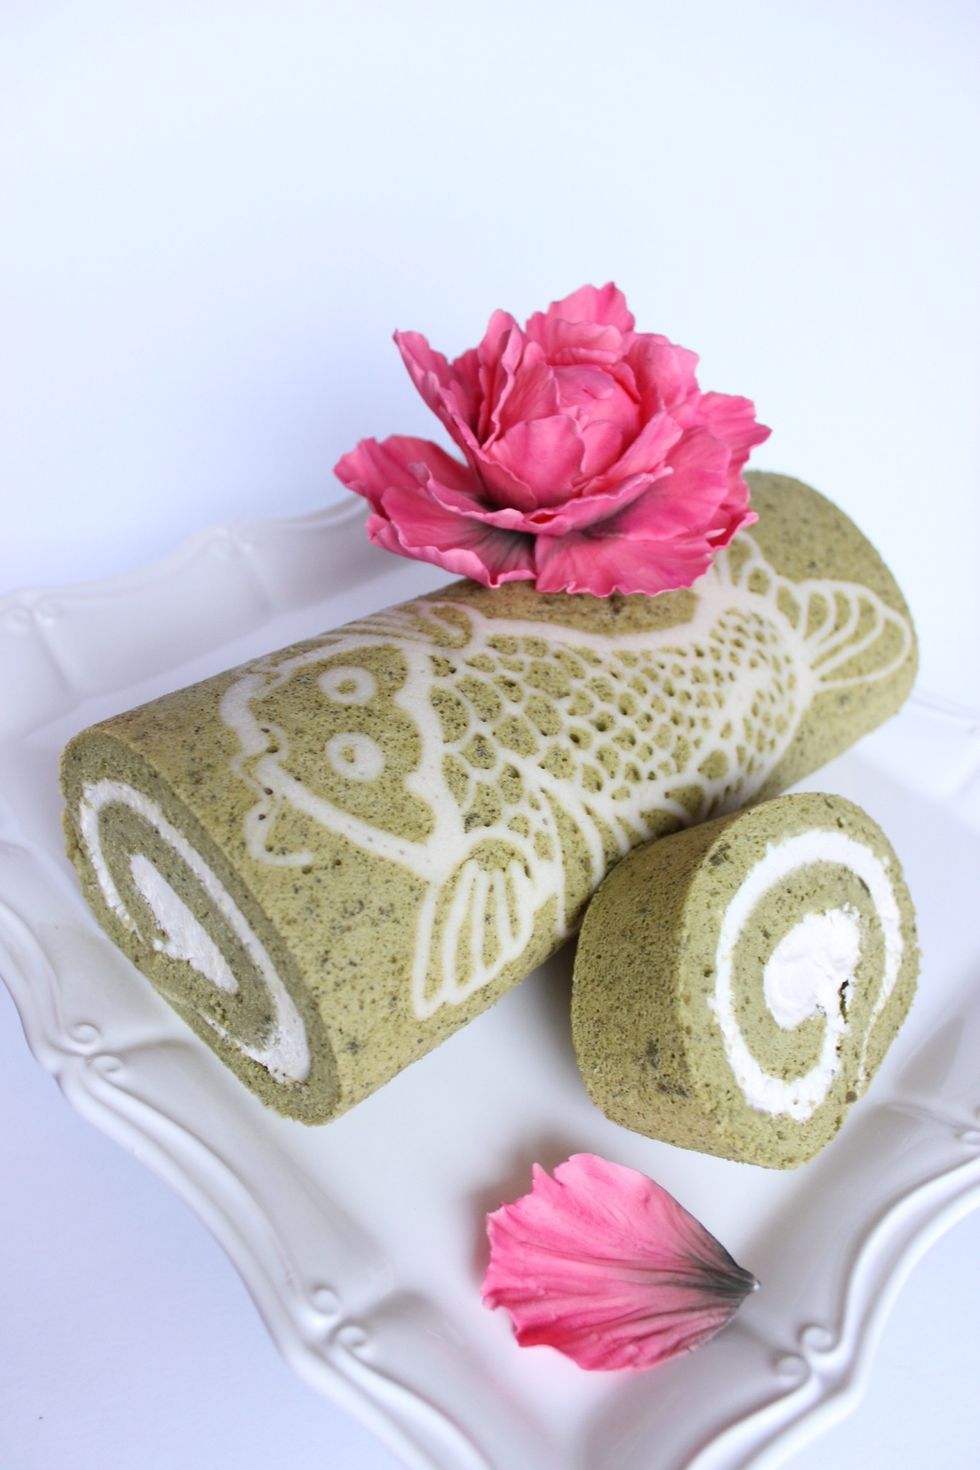
Cut and serve immediately. Don't leave the cake in a warm place too long because the whipping cream will melt and your cake will turn into mush.
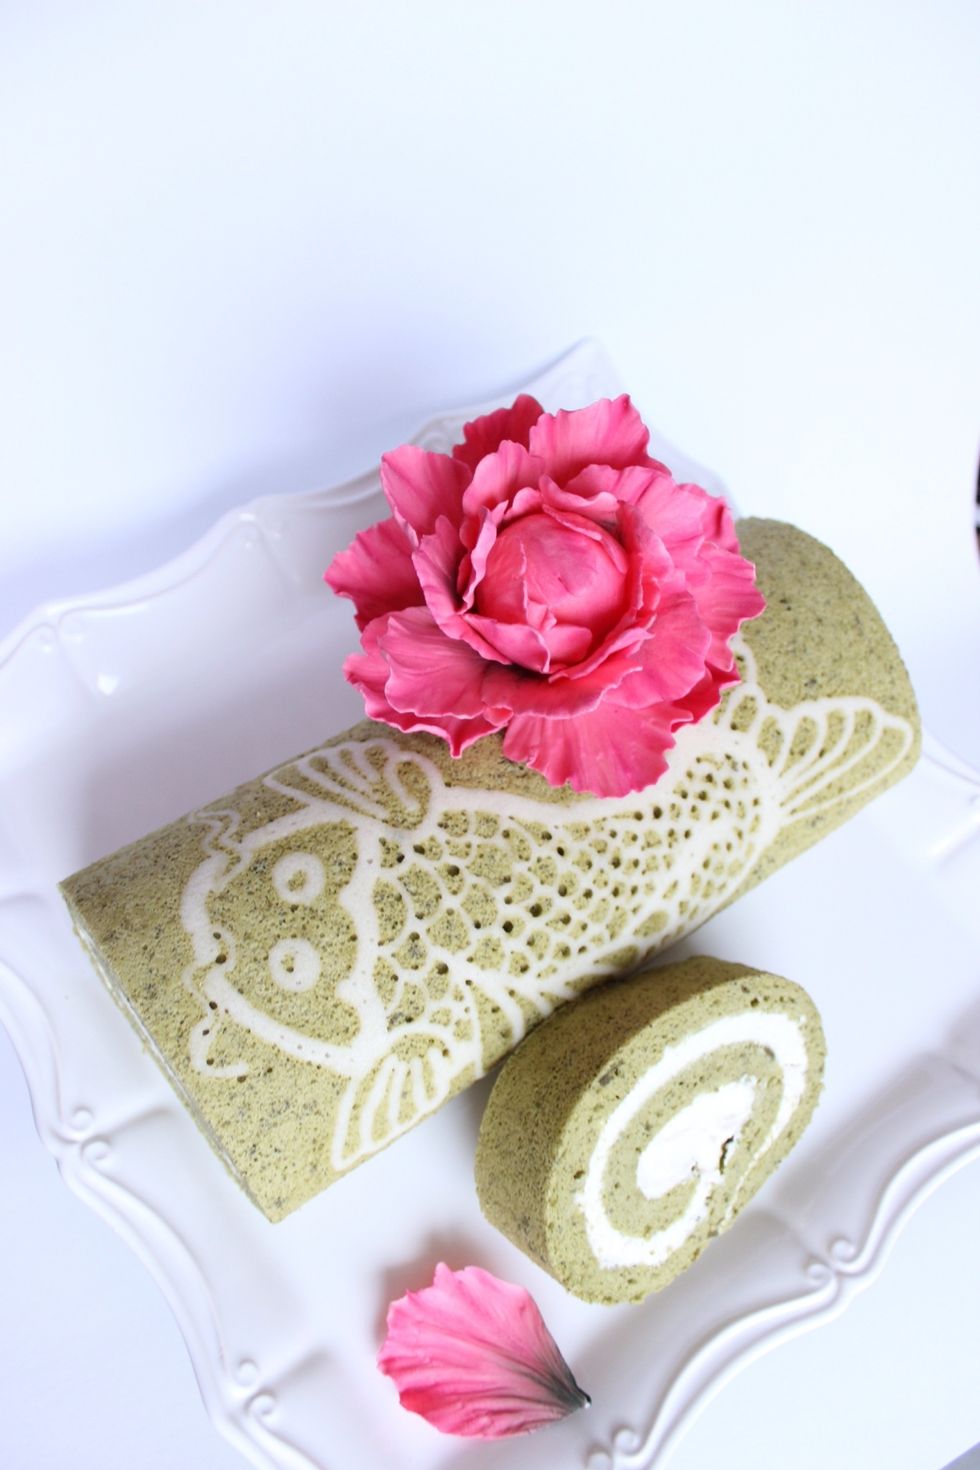
Enjoy!
- 1.0 Large egg white
- 30.0g Granulated white sugar
- 40.0g All-purpose flour
- 20.0g Unsalted butter, room temperature
- 7.0 Large eggs, separated
- 1.0tsp Cream of tartar
- 174.0g Granulated white sugar, divided
- 40.0g Unsalted butter, melted
- 84.0ml Whipping/heavy cream
- 84.0g Cake flour
- 20.0g Matcha powder
- 238.0ml Whipping/heavy cream
- 4.0Tbsp Confectioner's/powdered sugar
- 1/2tsp Pure vanilla extract
Susan Nguyen
I'm a hobby baker trying to show friends how I do what I do. So here it is... complete with bloopers and all. :]
AB, Canada
The Conversation (0)
Sign Up