The Conversation (0)
Sign Up
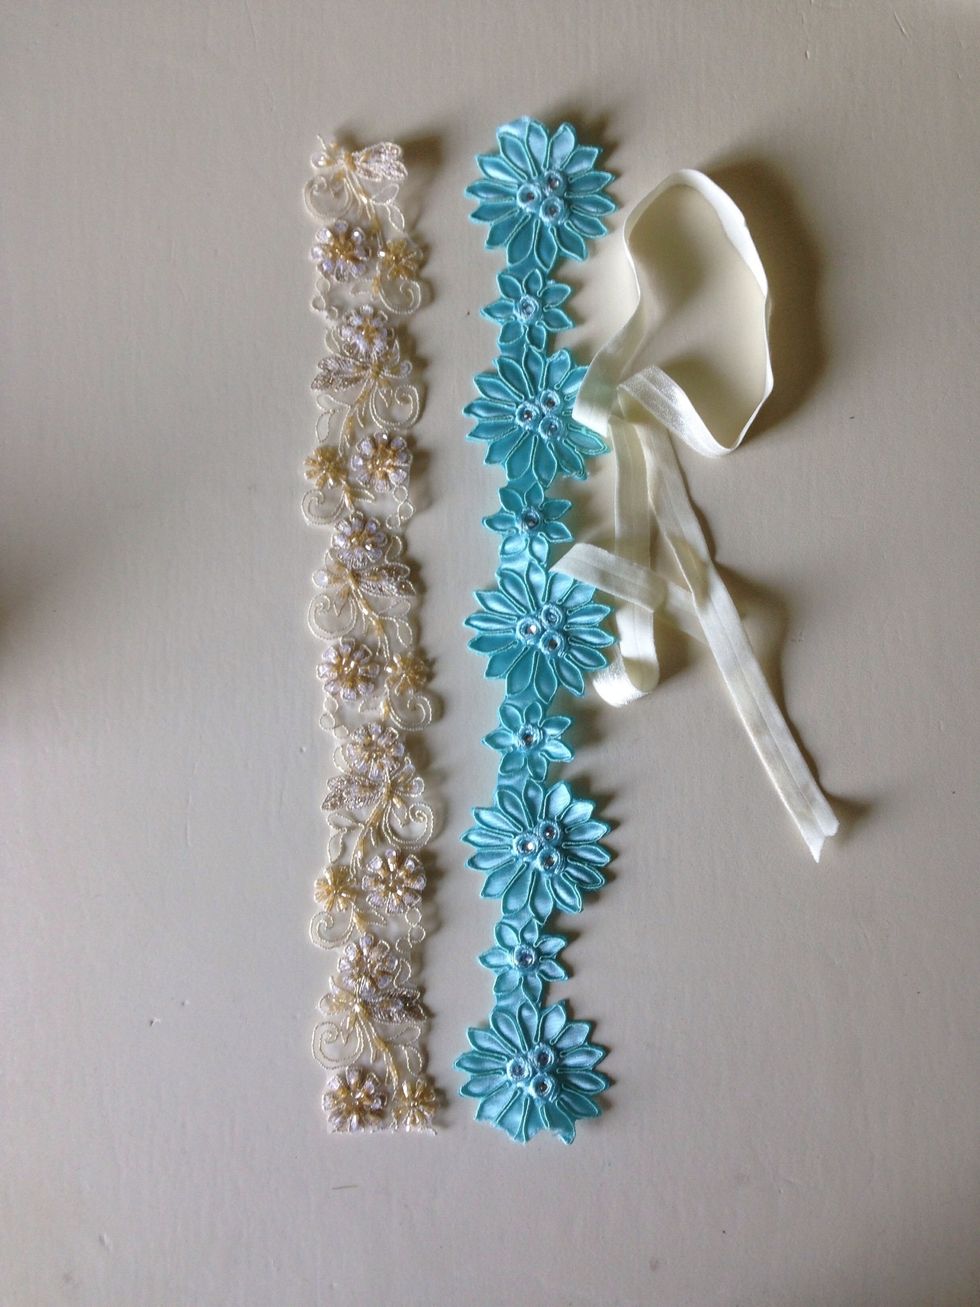
Ribbon and elastic from http://www.monamigabby.com

Cut your ribbon to 15 inches. I'm going to make two different headbands.
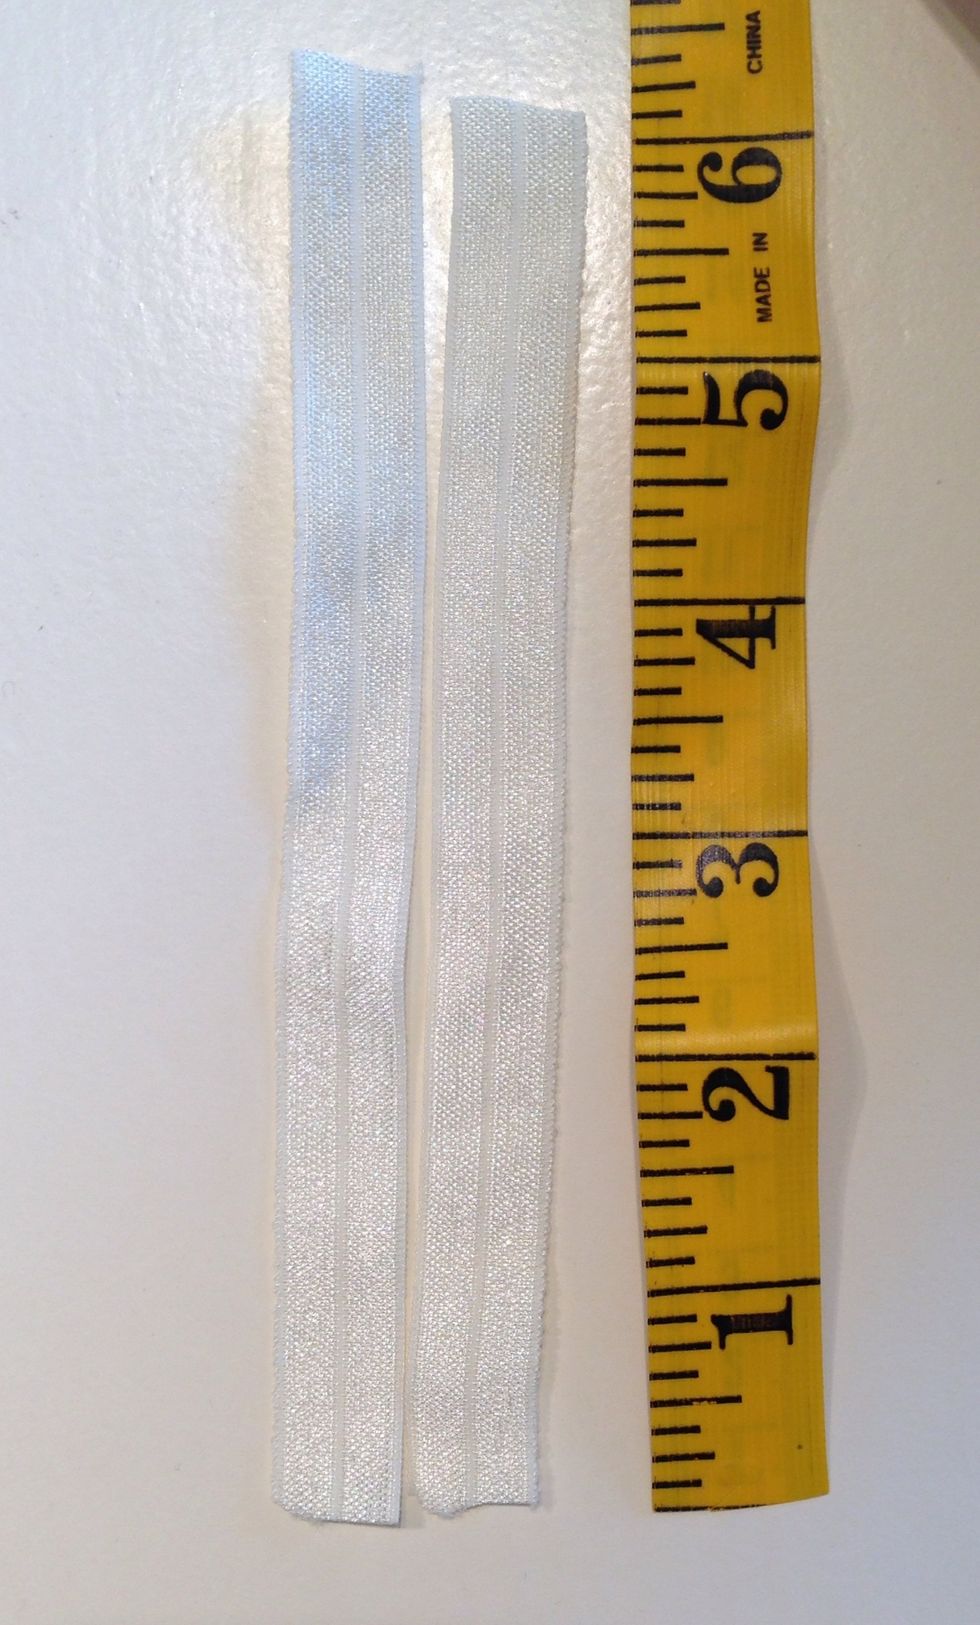
Cut your elastic to 6 inches.
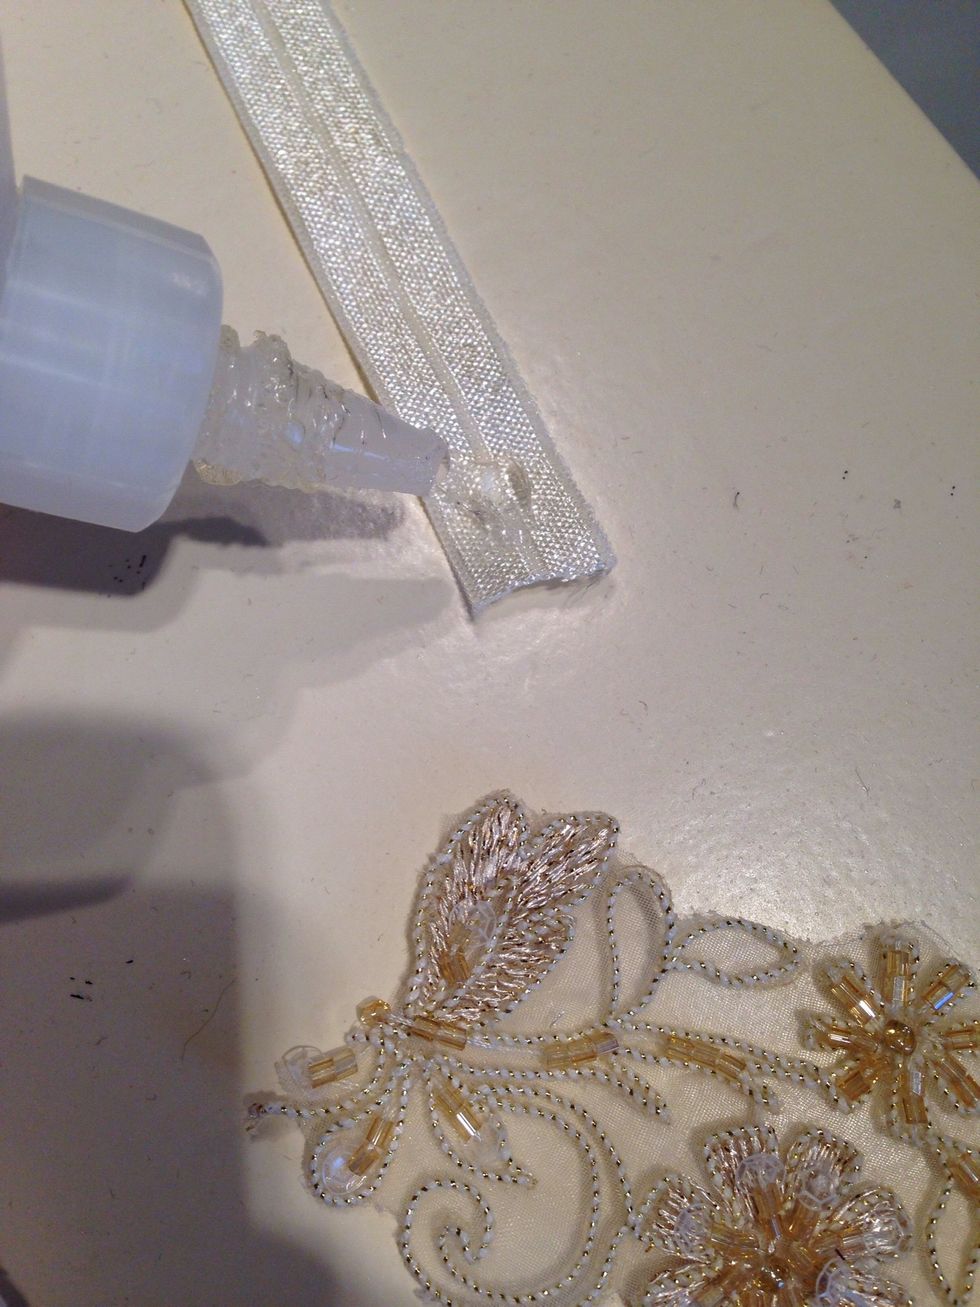
Add some glue or hot glue to the end of your elastic.
Adhere about 1/2 inch of the elastic to the ends of your ribbon.
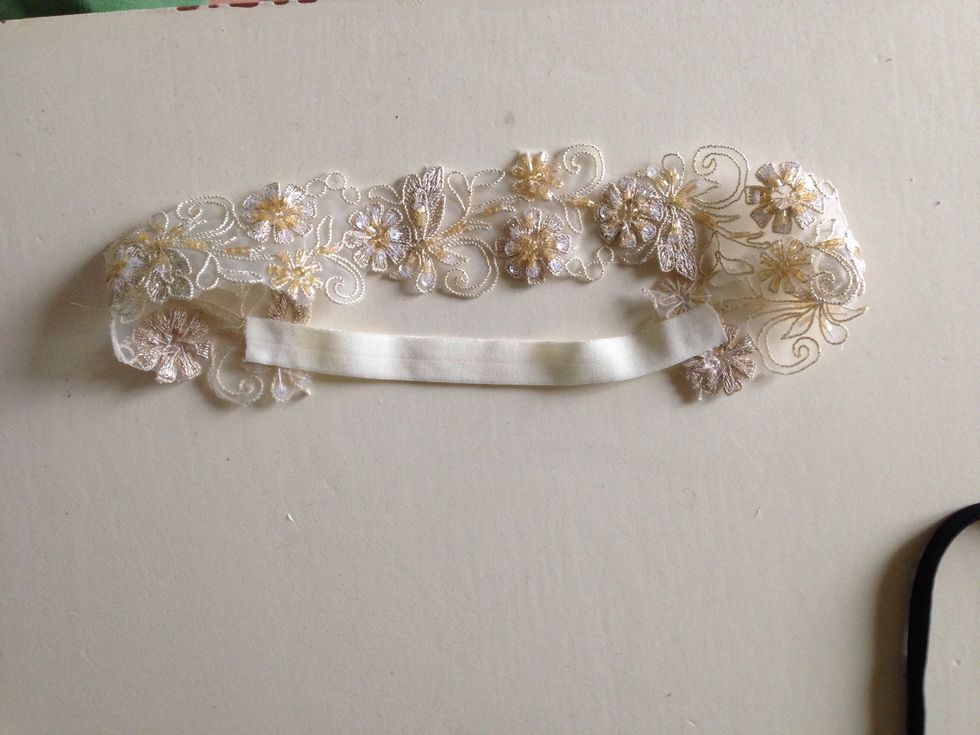
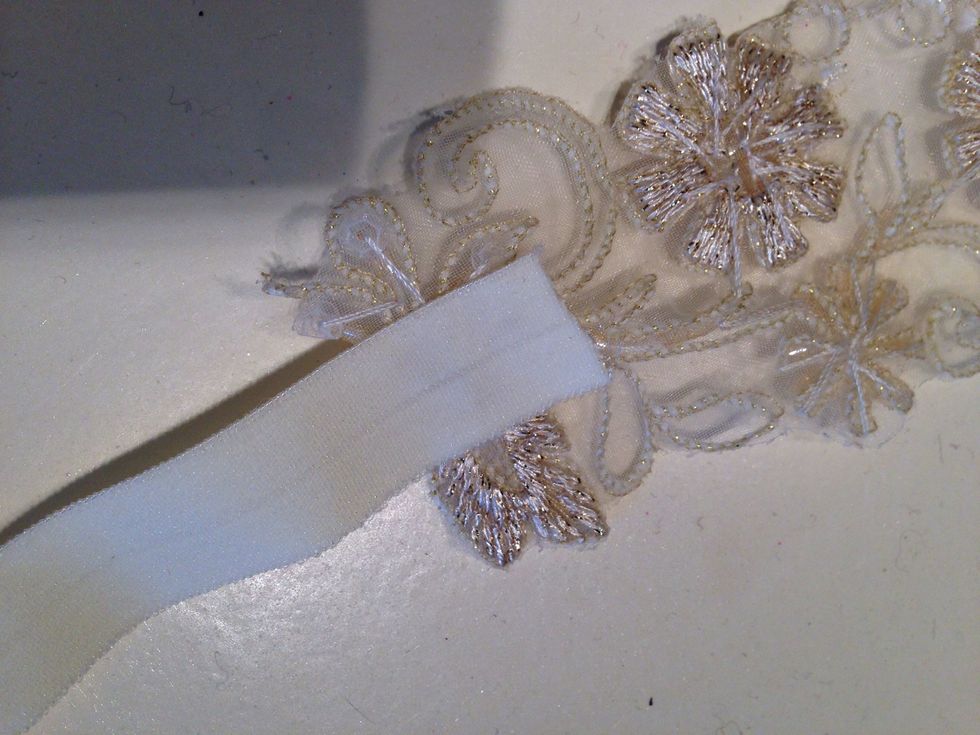
Adhere each side to the ribbon.

And you have a cute headband!

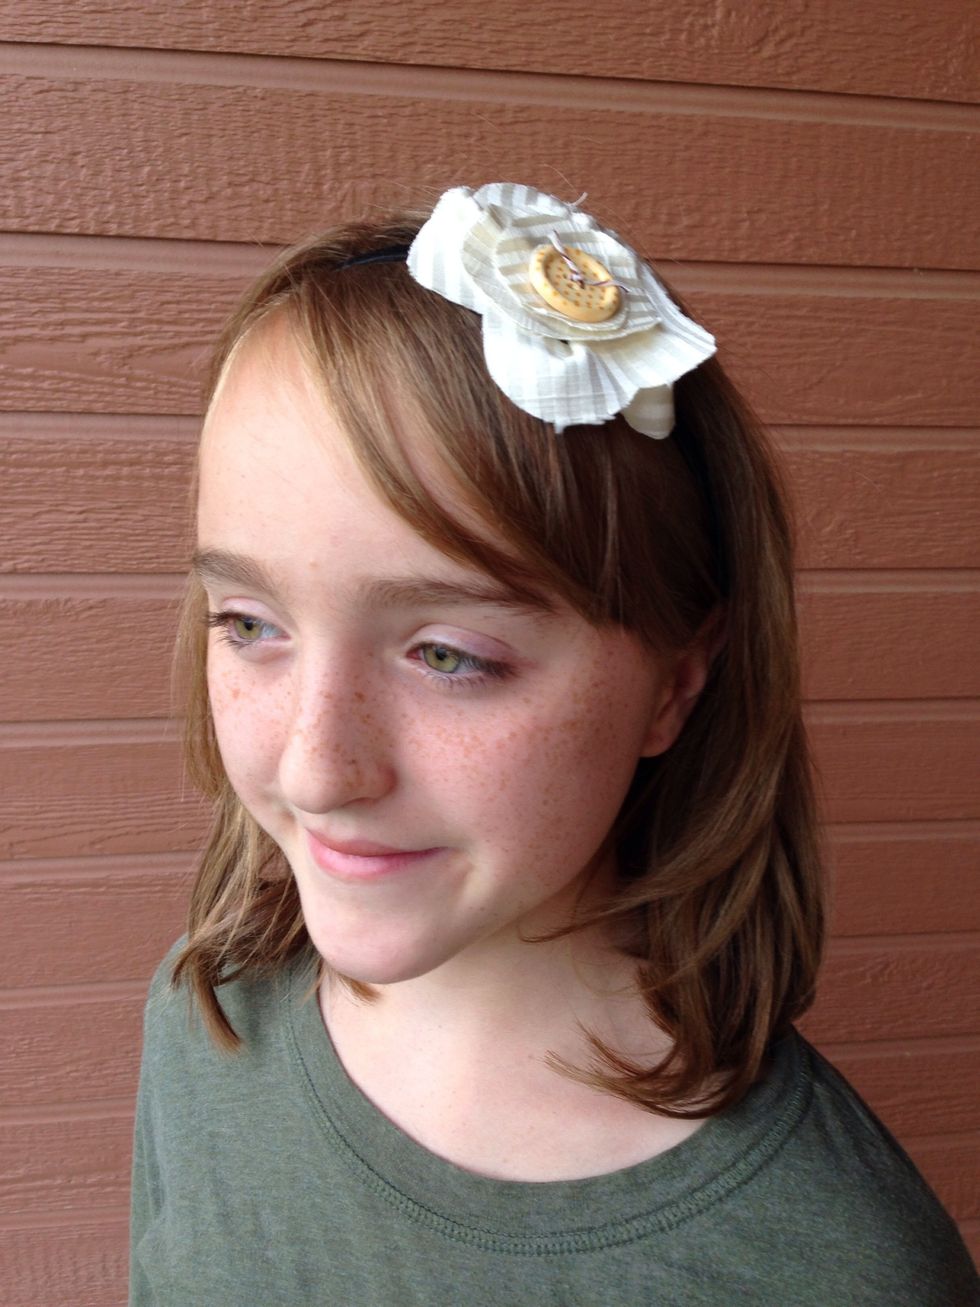
Want to dress it up a little more?
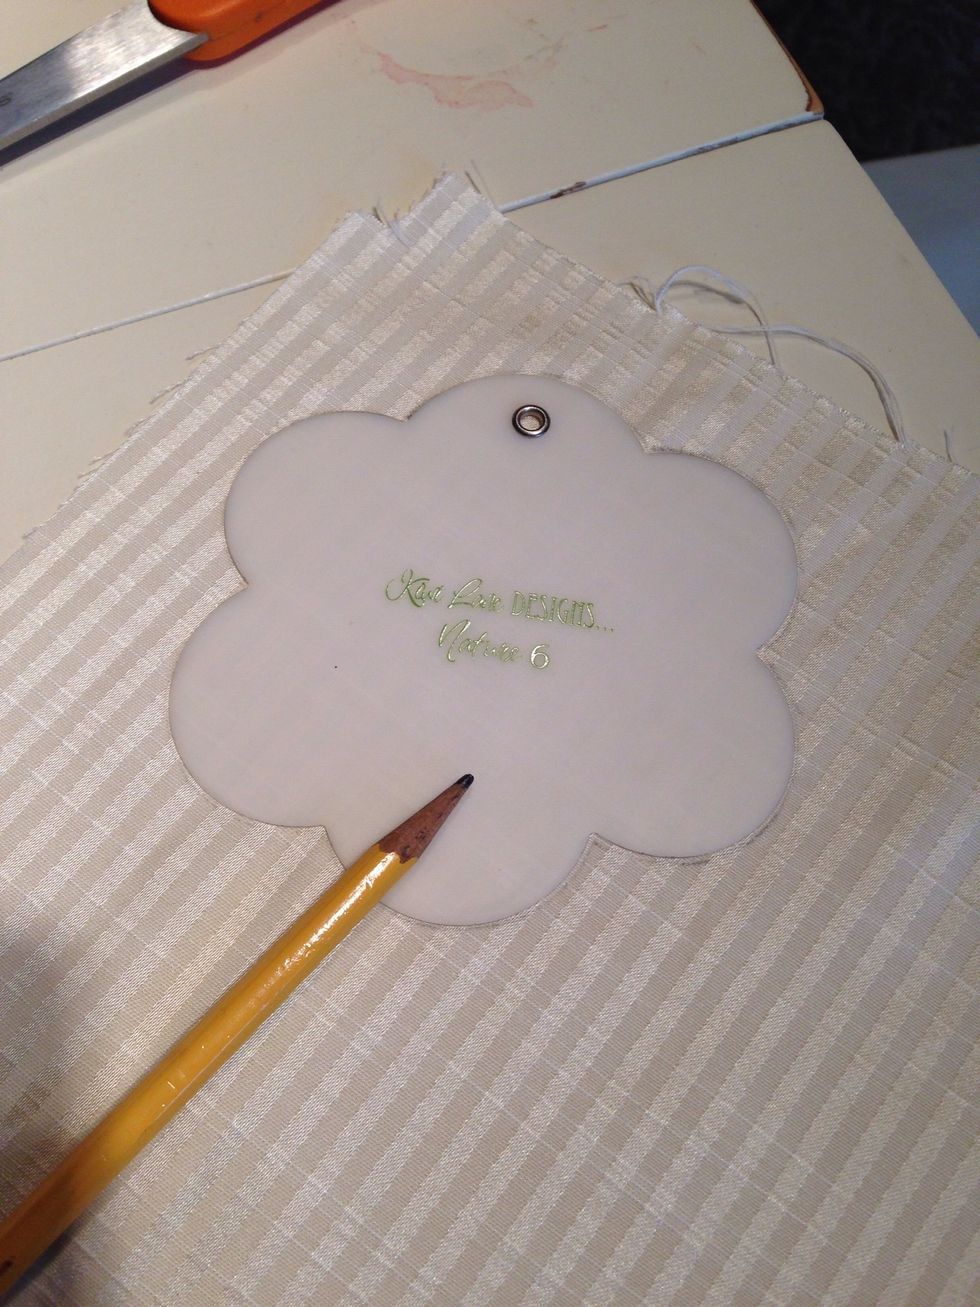
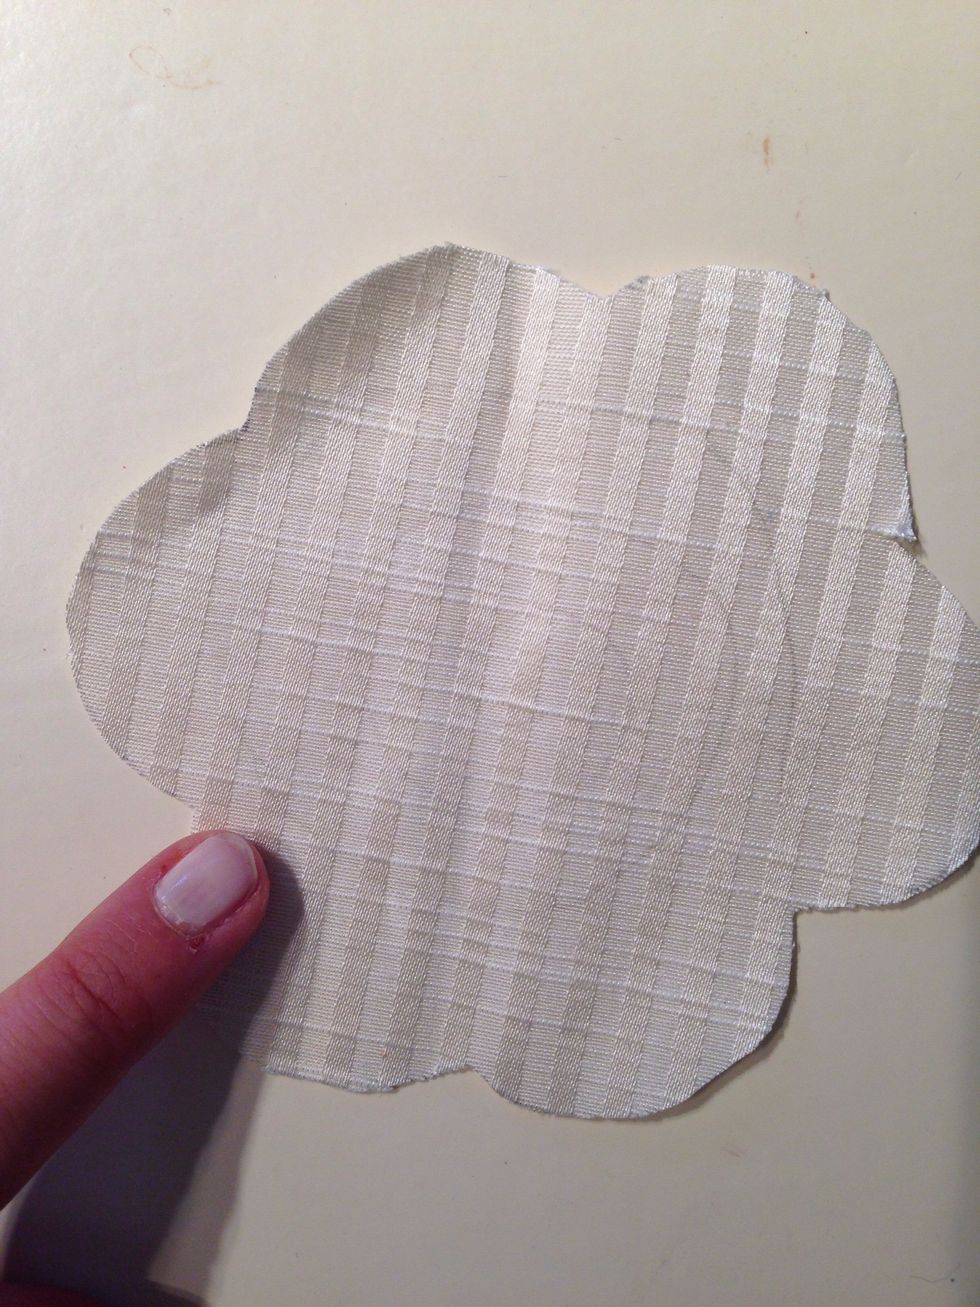
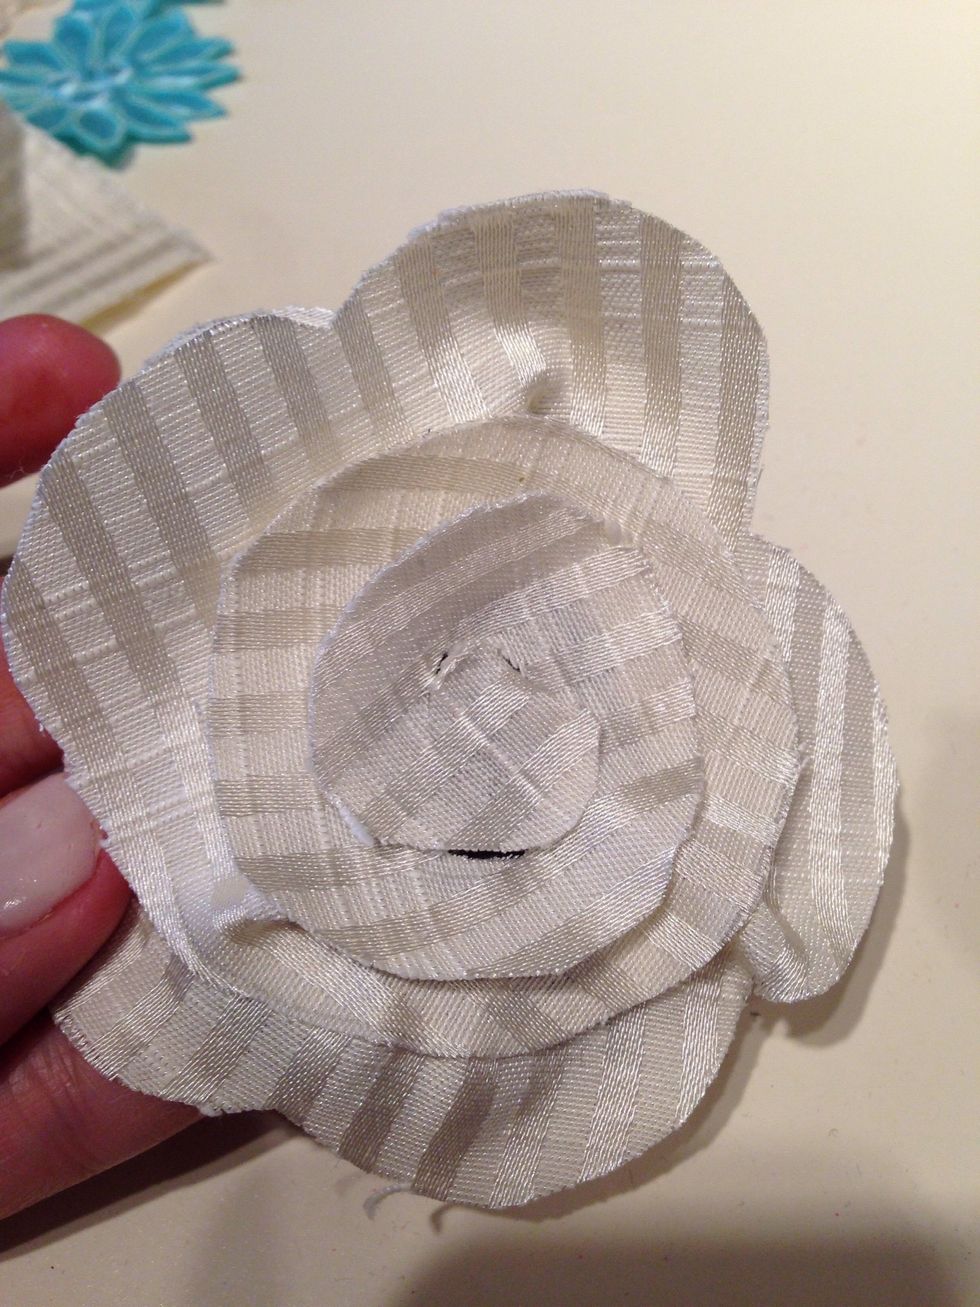
To add a flower to my headband I used Nature 6. Cut one flower out of a fabric of your choice.
We are now going yo cut the flower in a swirl. I drew lines so you can see.
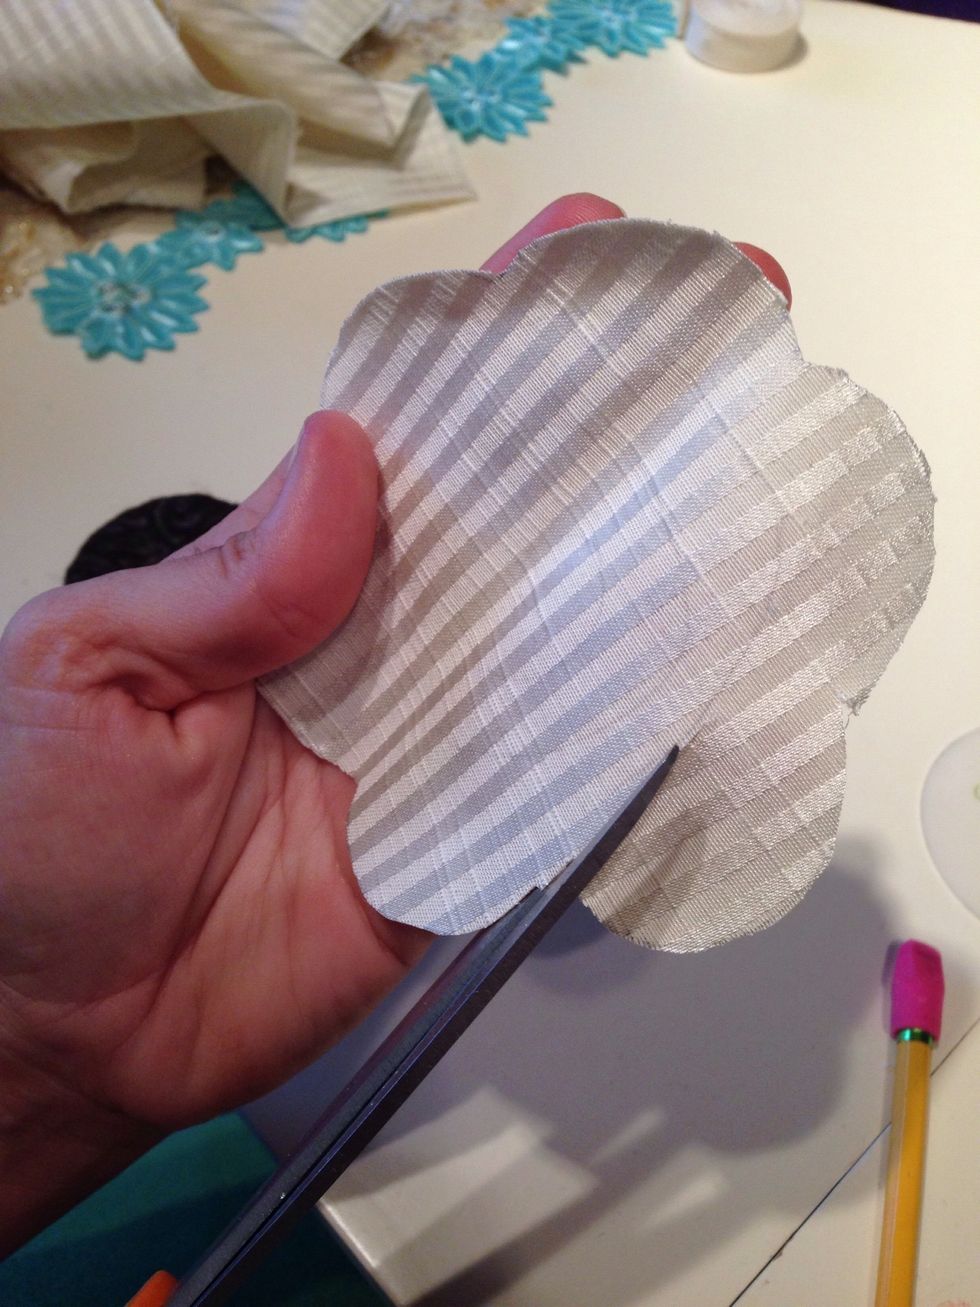
Start on the edge, and cut the center out in a swirl pattern.
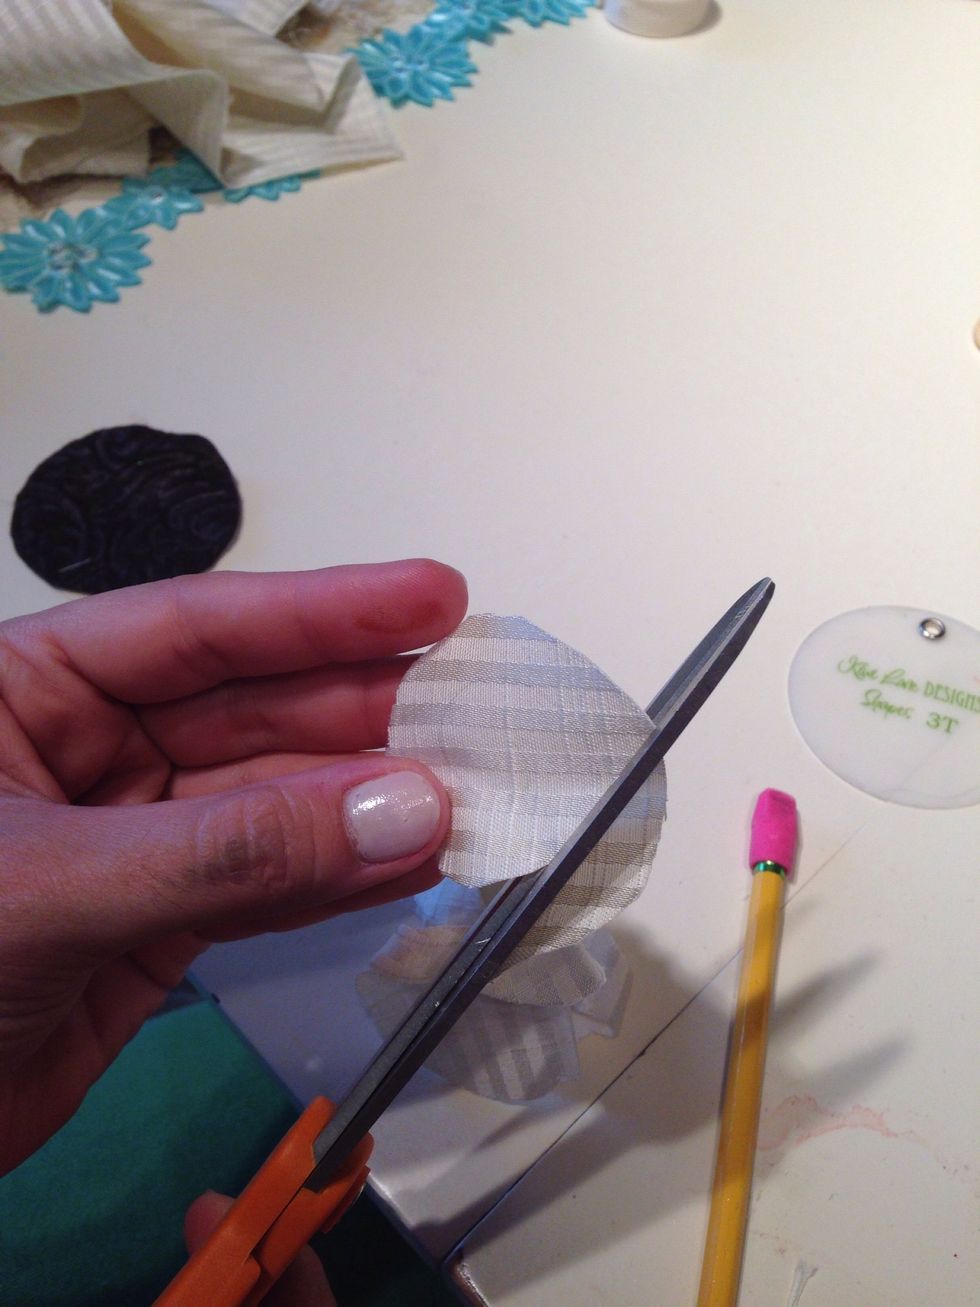
Cut it all the way to the center.

Finished look.
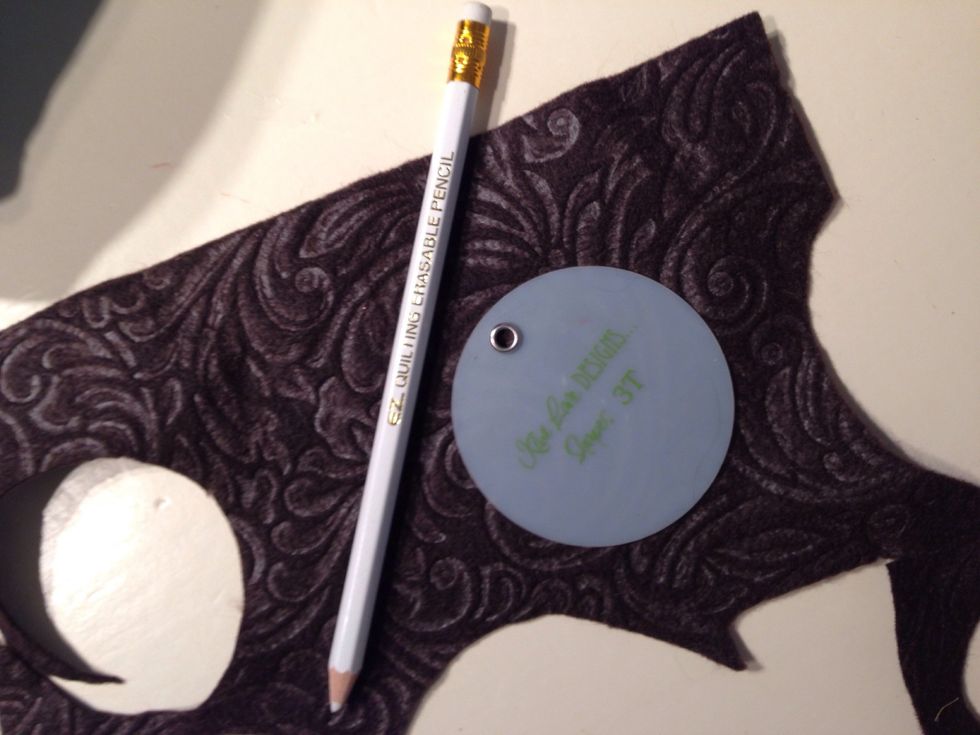
Cut a circle out of felt of your choice. I used template Tiny Shapes 3T to make it easier. The perfect circle size!
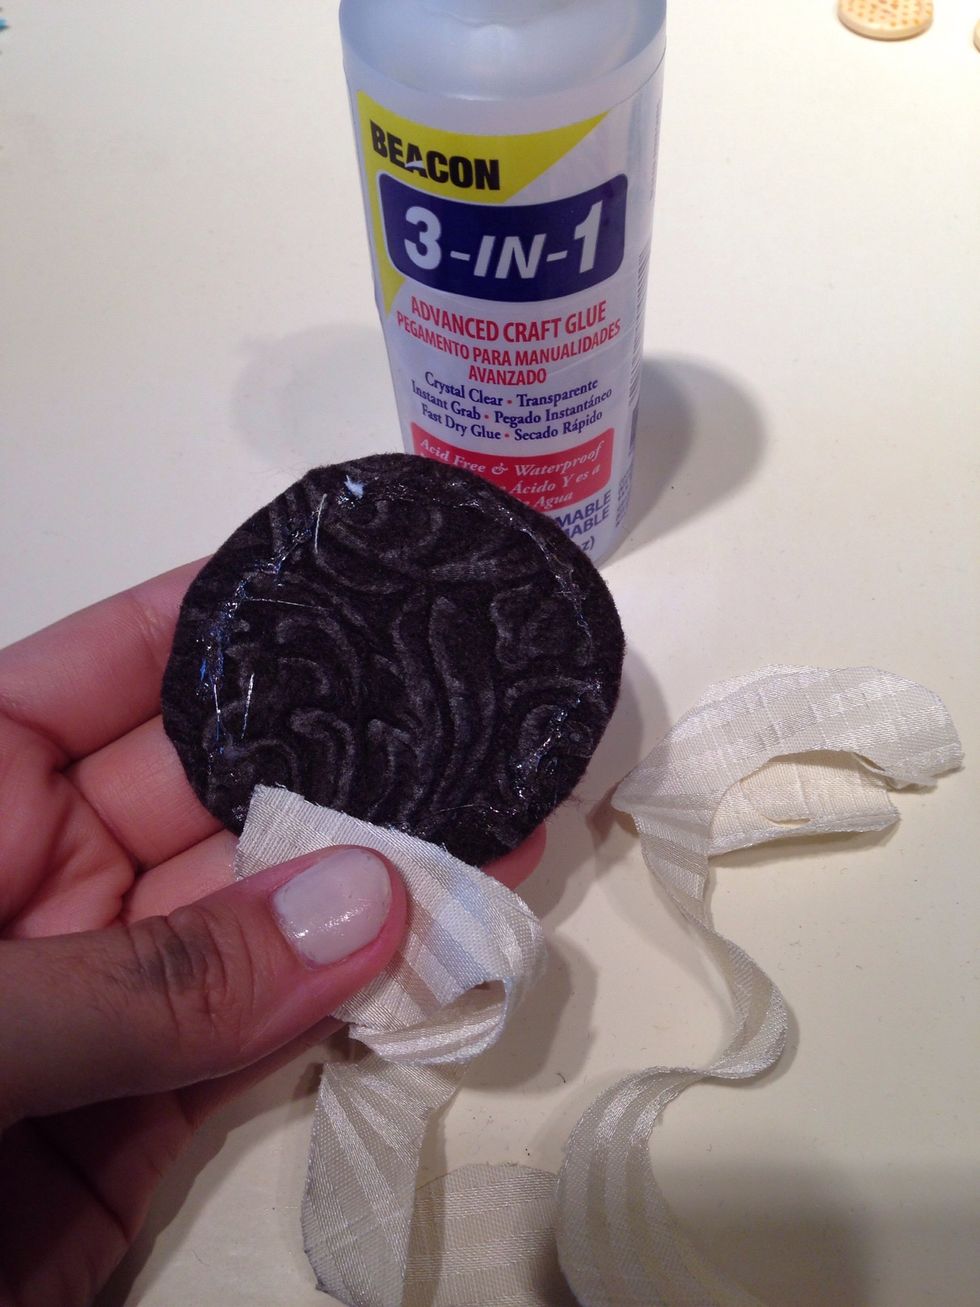
Start by adding some glue to the outside of your circle. Then only adhere the edge of the outside of your flower to the glue. Let the other side hang off the circle a little.
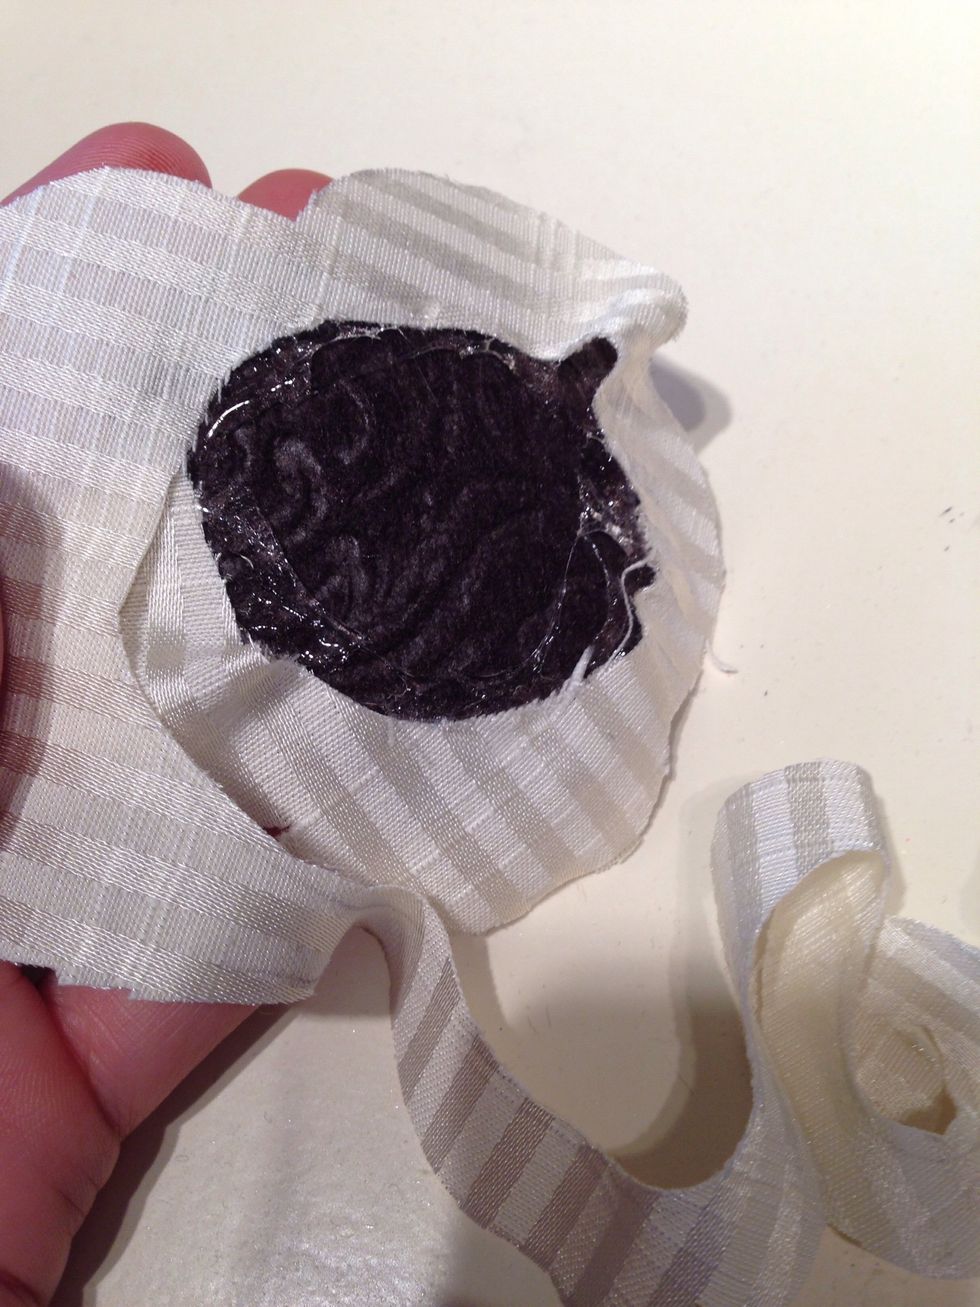
Then do the same with the next layer. Going in a circle, Do not lay it flat on the glue. Just adhere one of the edges to the glue.
Glue it the same way, all the way down to the center swirl. Then add a button in the middle.
Or you can do a basic headband as well. I also got these basic headbands from Moni Ami Gabby.
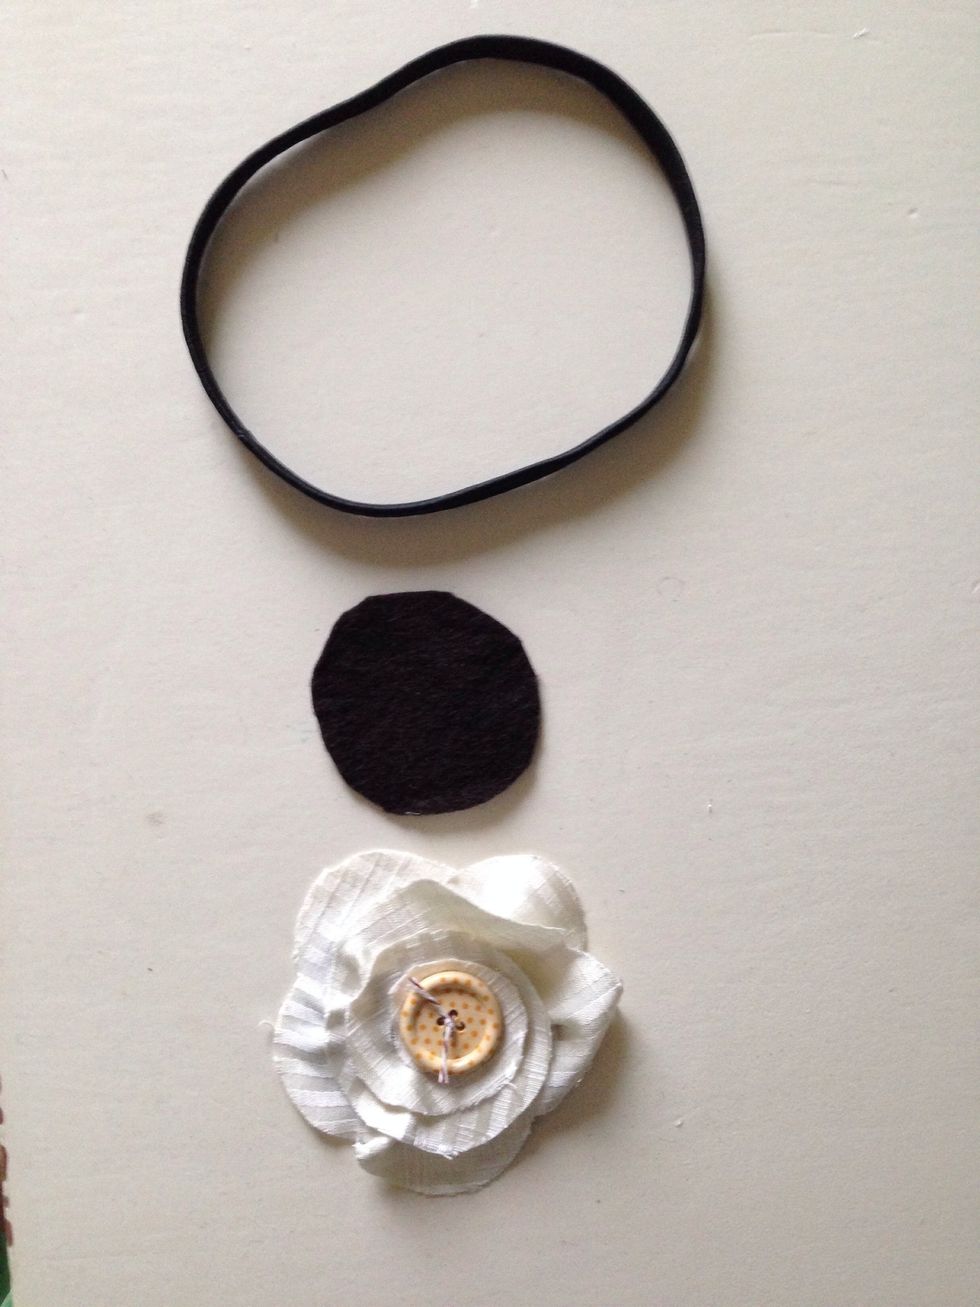
What you will need. Cut one more felt circle.
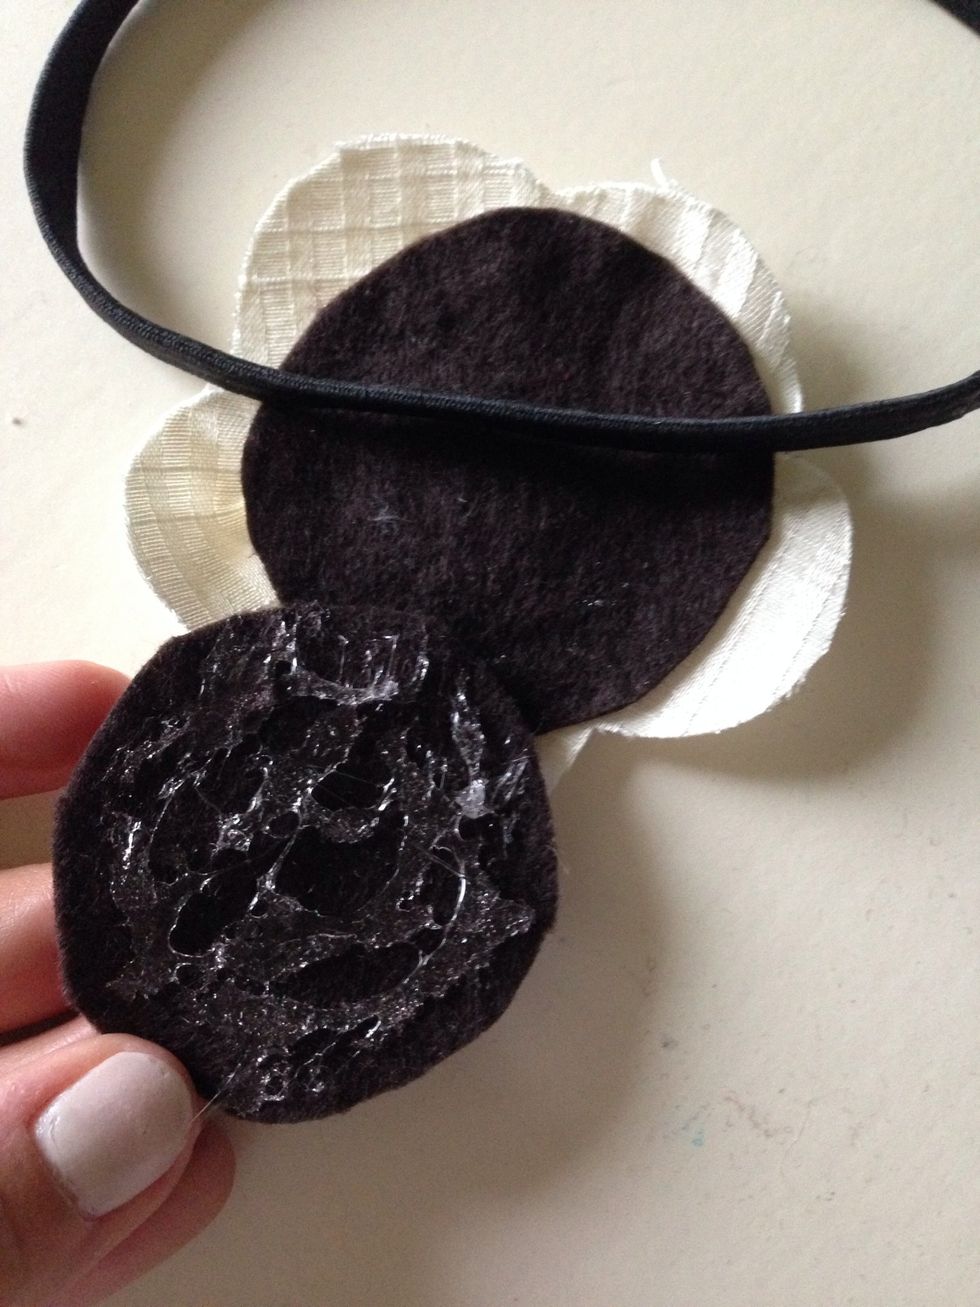
Add some glue to one side.
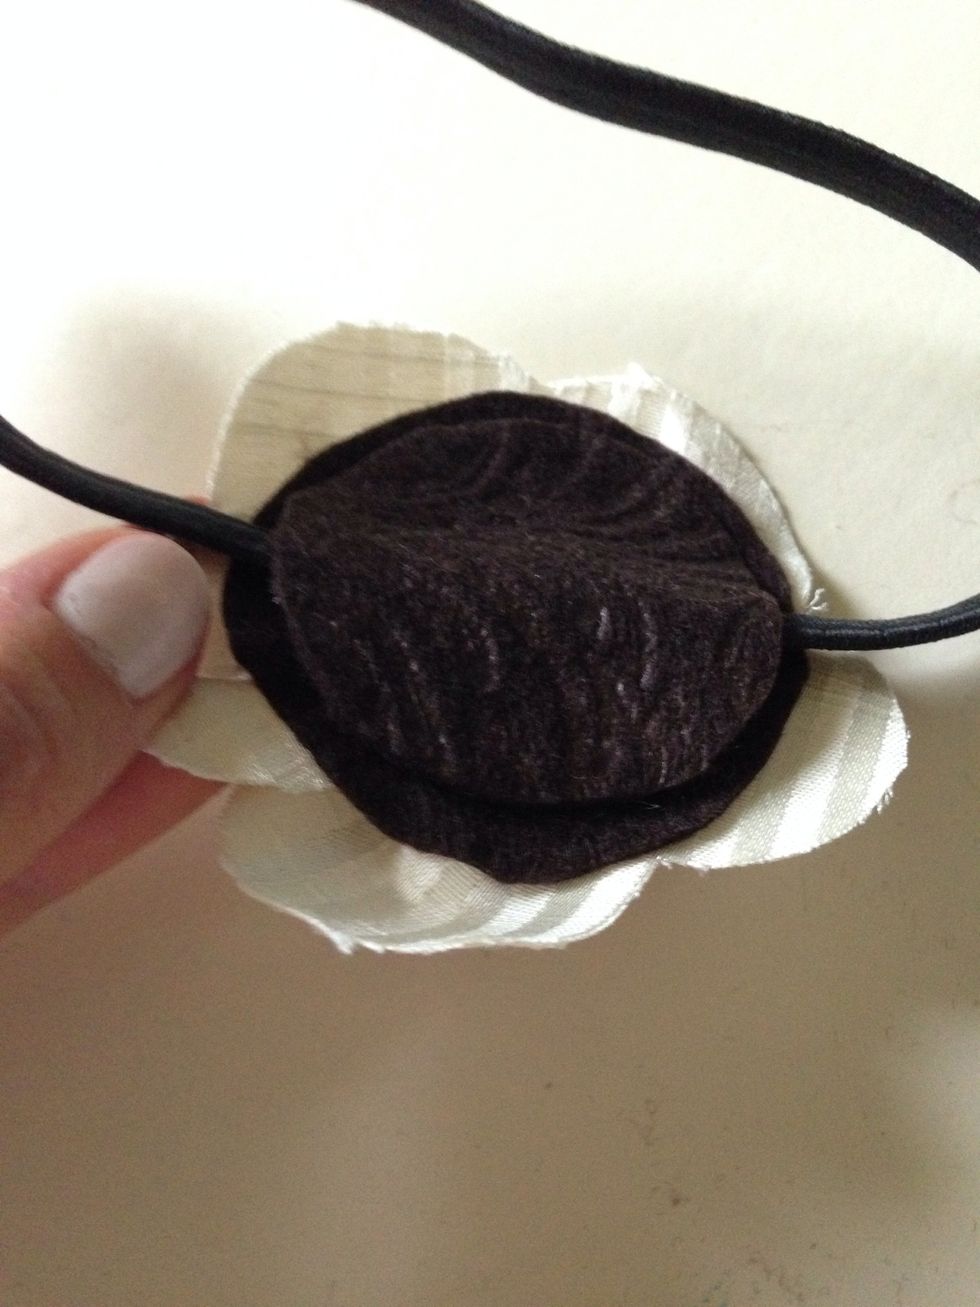
Sandwich the elastic headband between the flower bottom, and the felt circle.
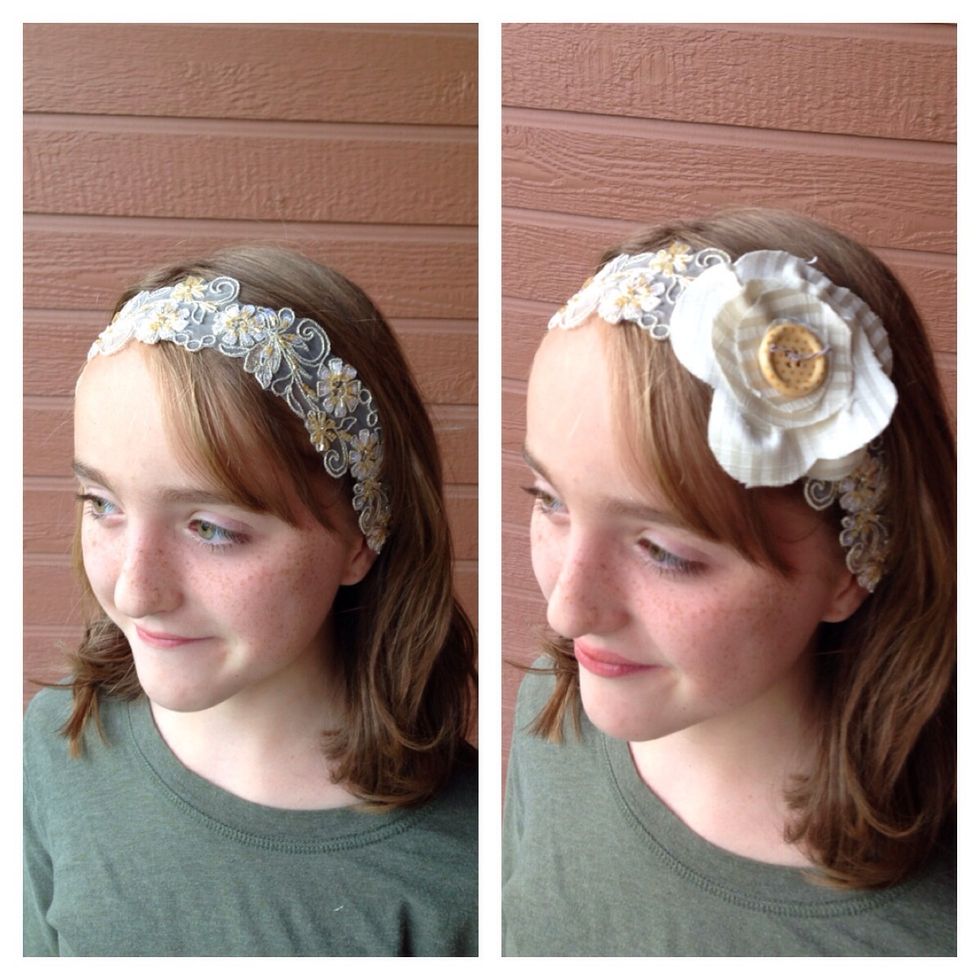
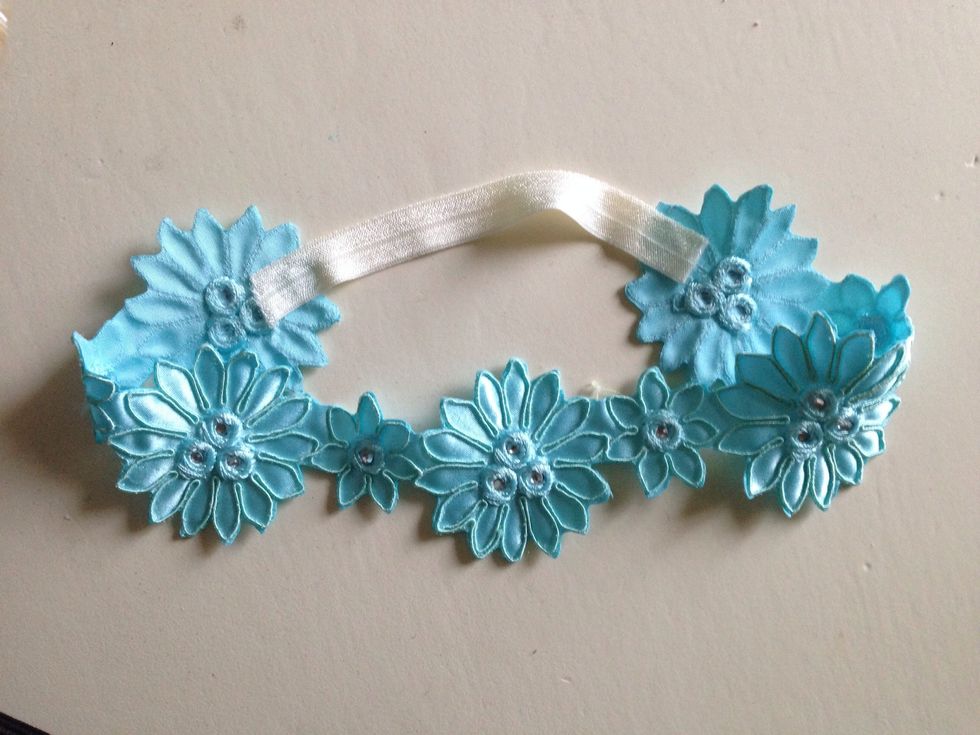
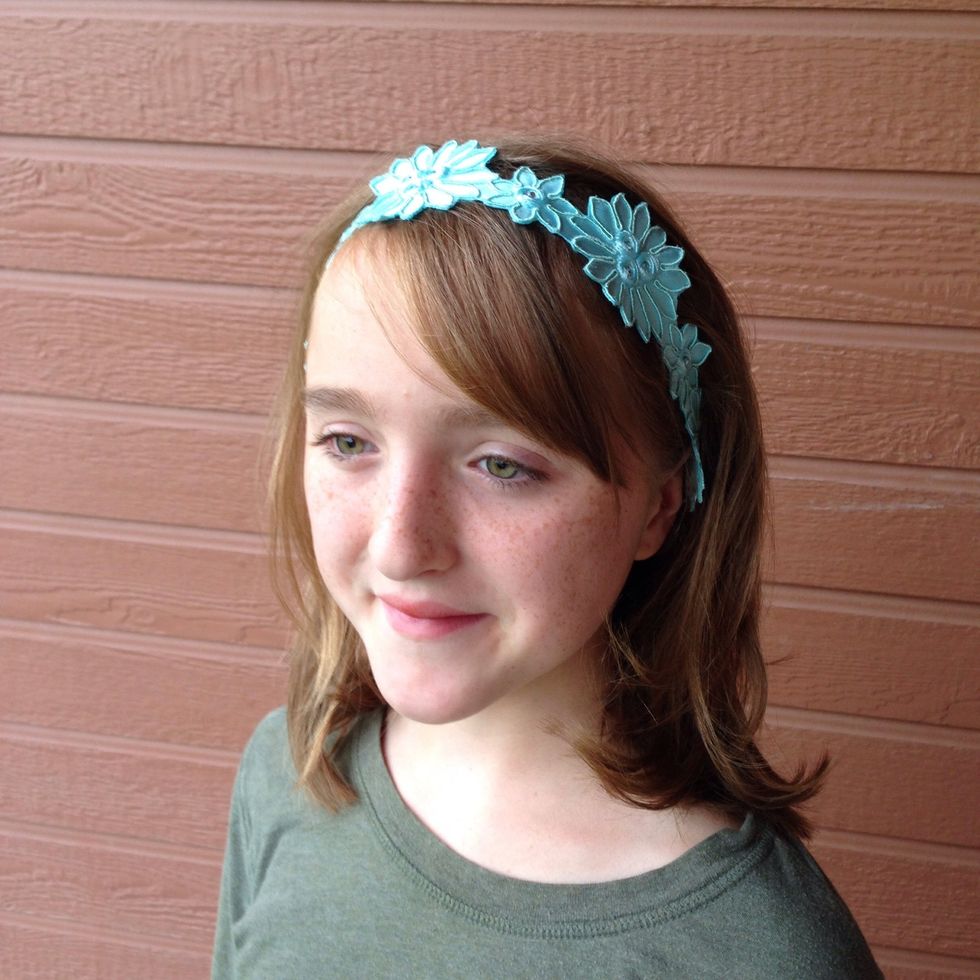
Simple, basic, or dressed up. It's up to you.
Same steps for each headband you would like to make.
With four girls in my house! I'm sure these are going to get a lot of use.