The Conversation (0)
Sign Up
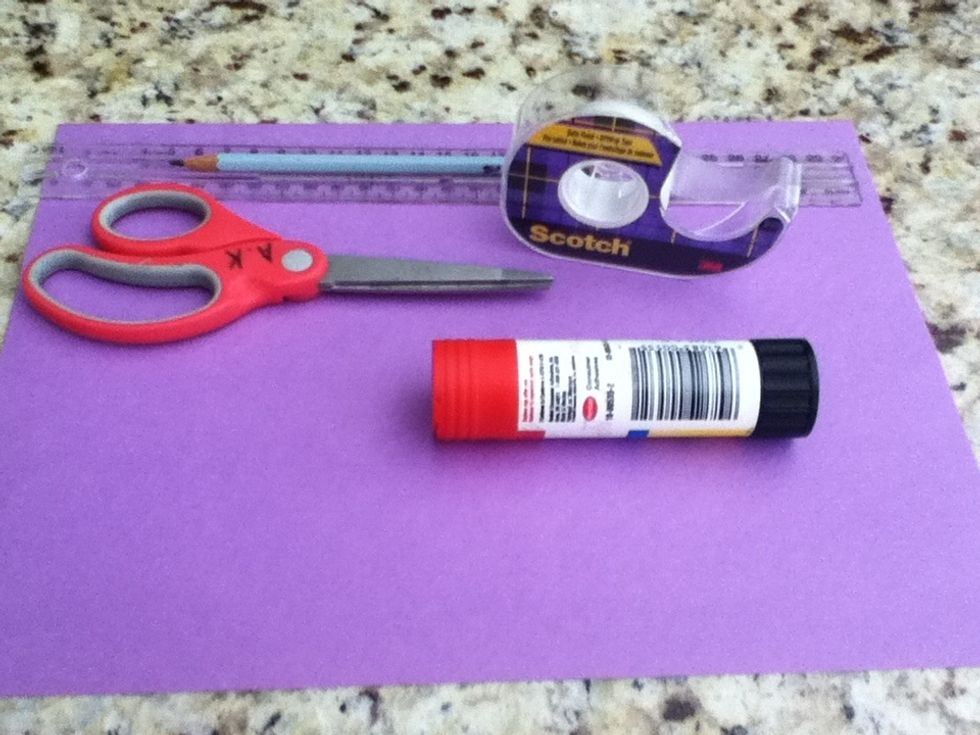
Gather your supplies

Measure 5 cm's across and make a mark
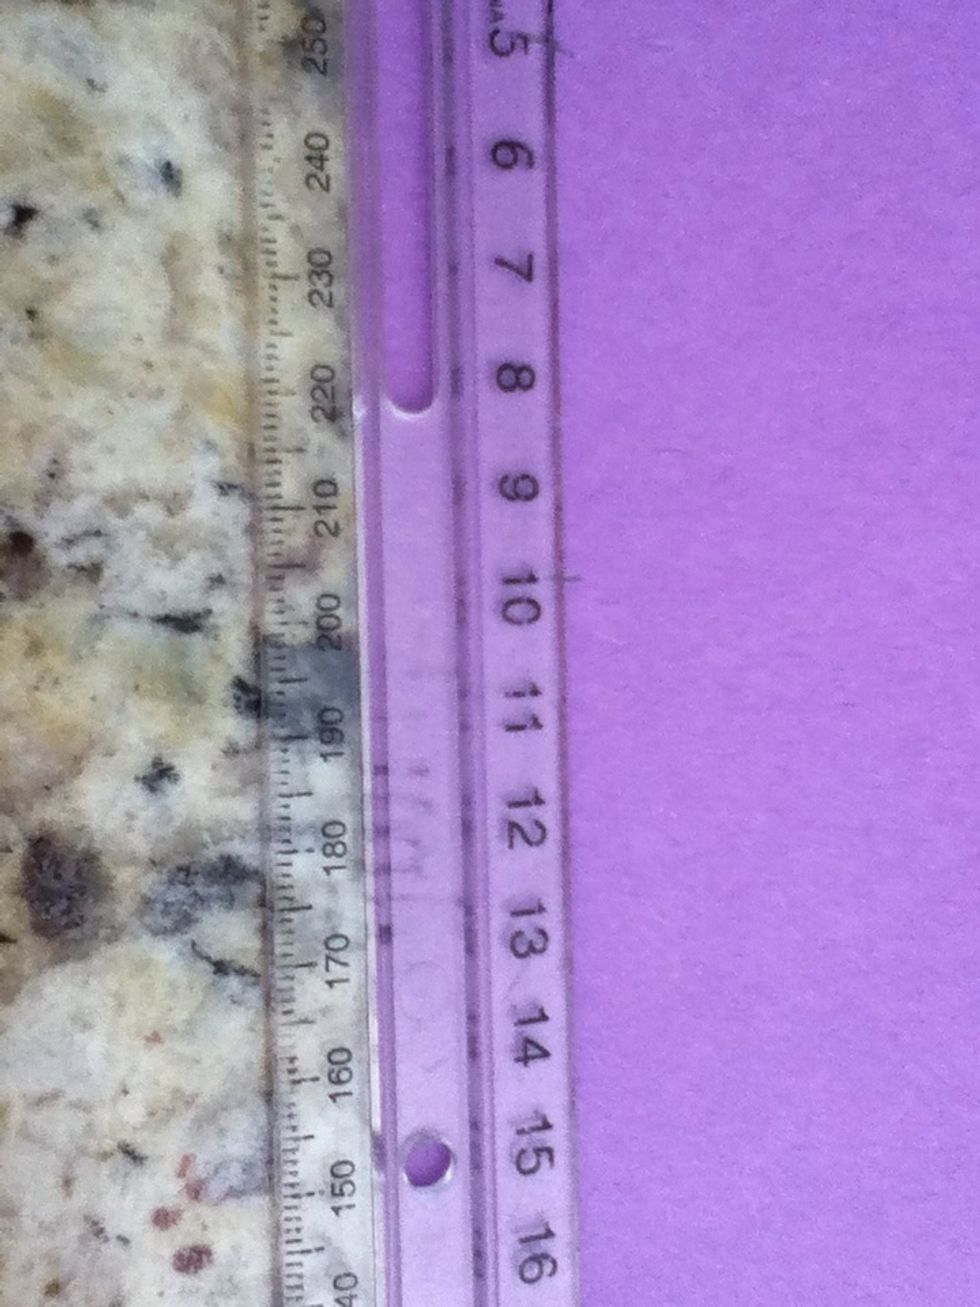
Measure 10 cm's across and make a mark

Measure 5 cm up and make a mark
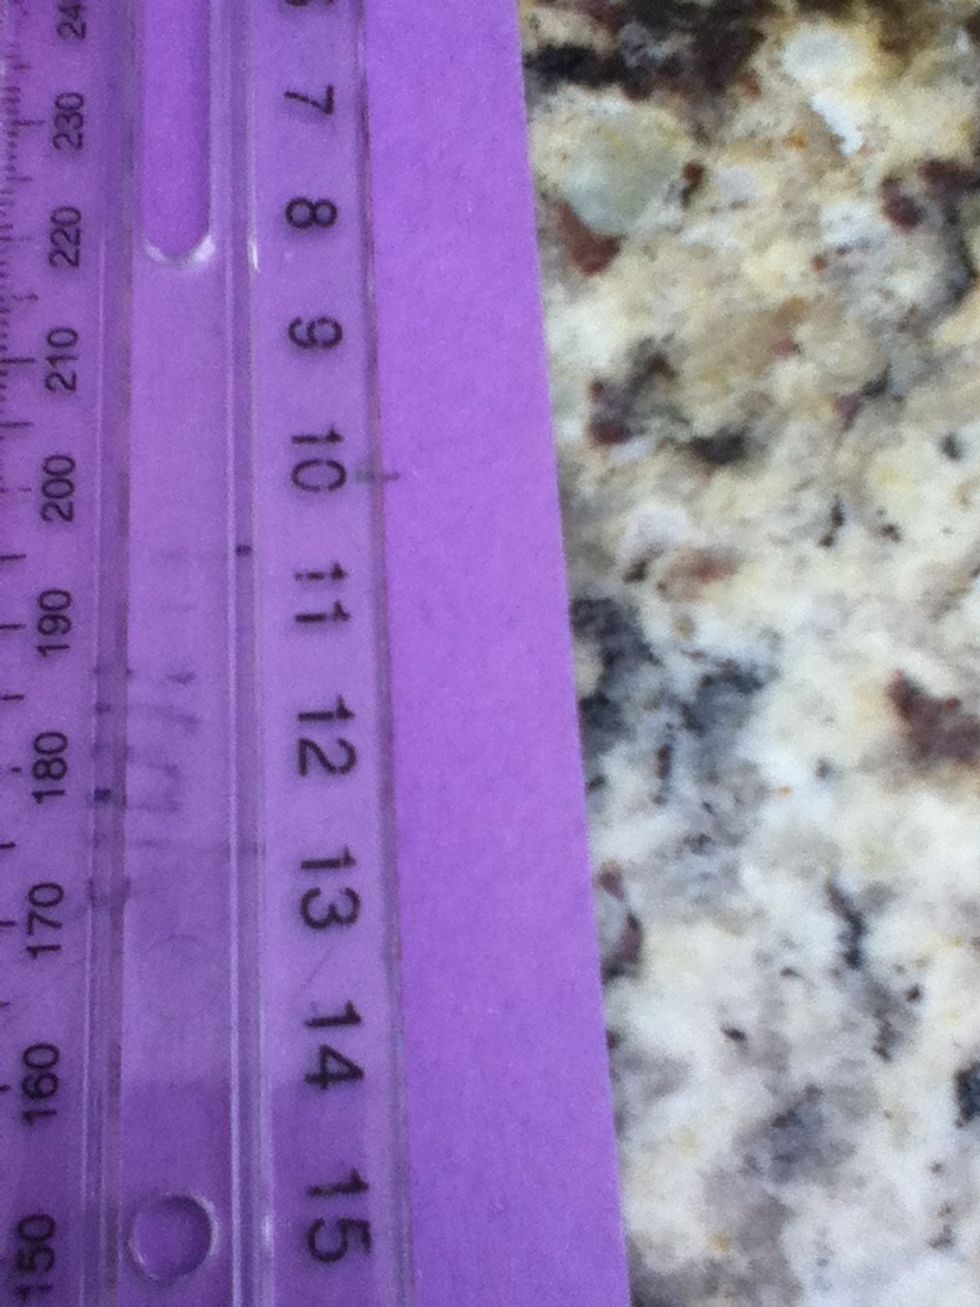
Measure 10 cm up and make a mark

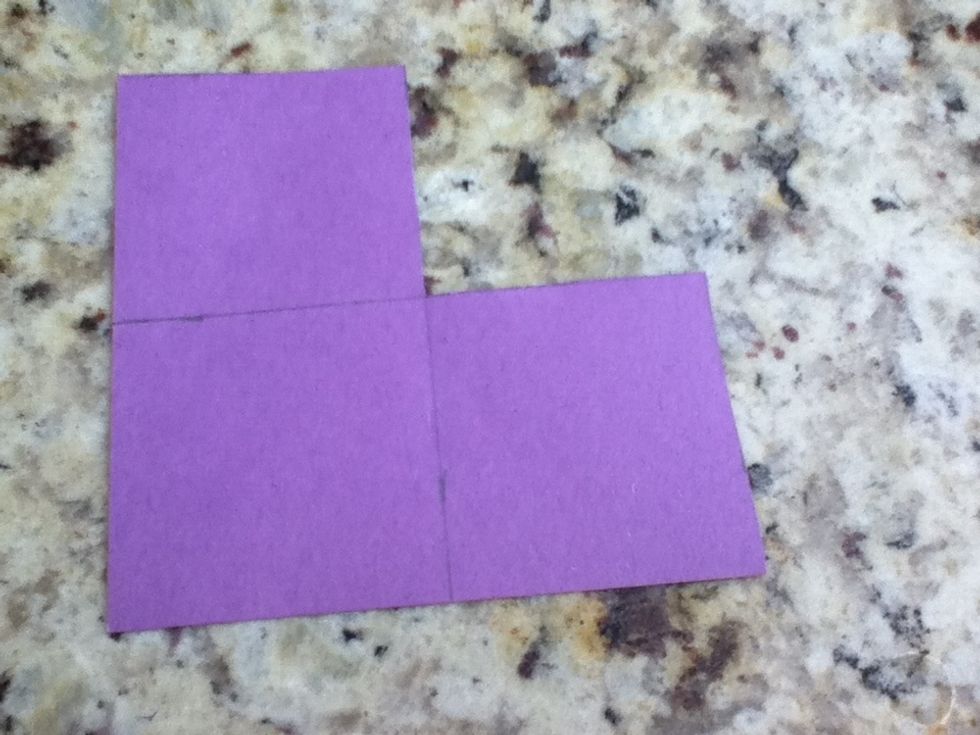
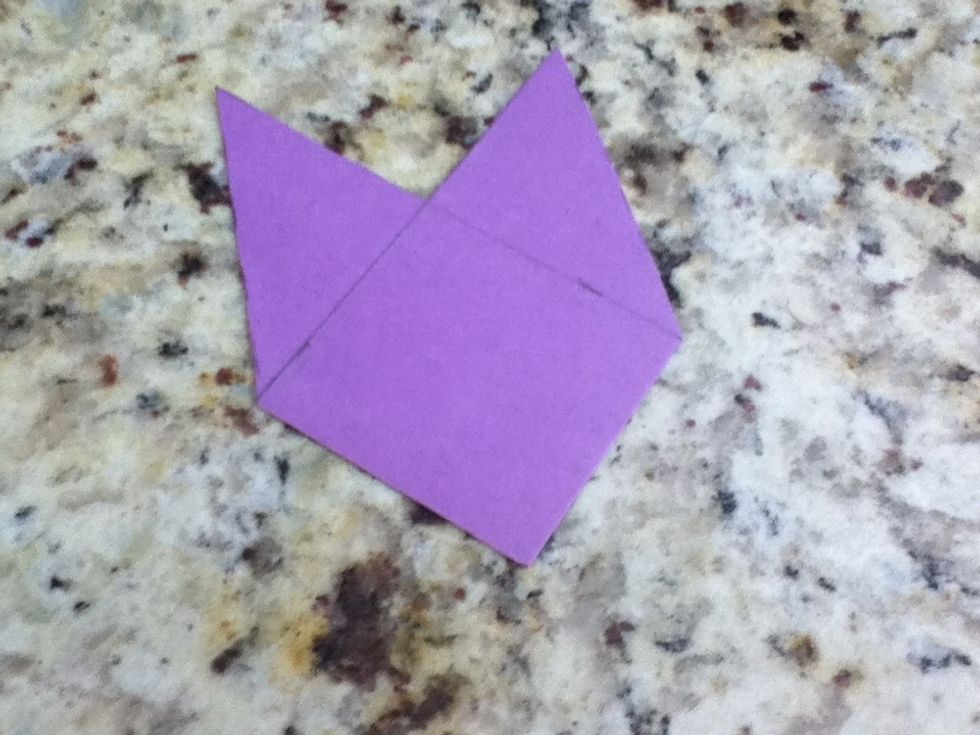
Connect the lines. There should be three squares.
Cut it out. ✂✂

Then cut the squares on the outside in half. I made some dotted lines to show you. 💬💬
What it should look like cut

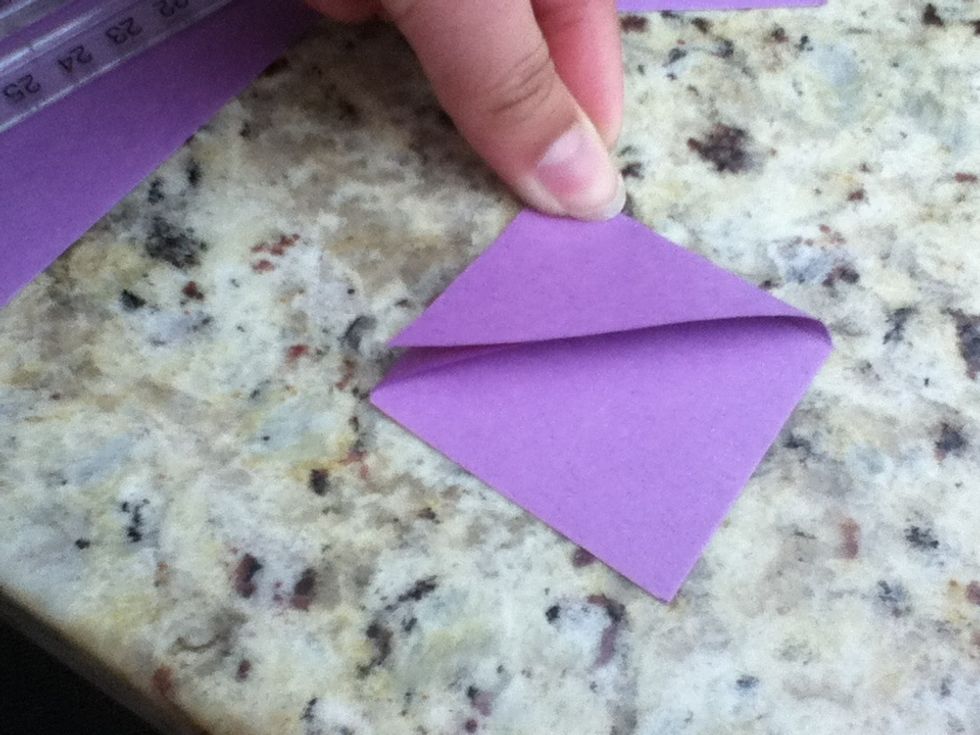
Fold the triangles down
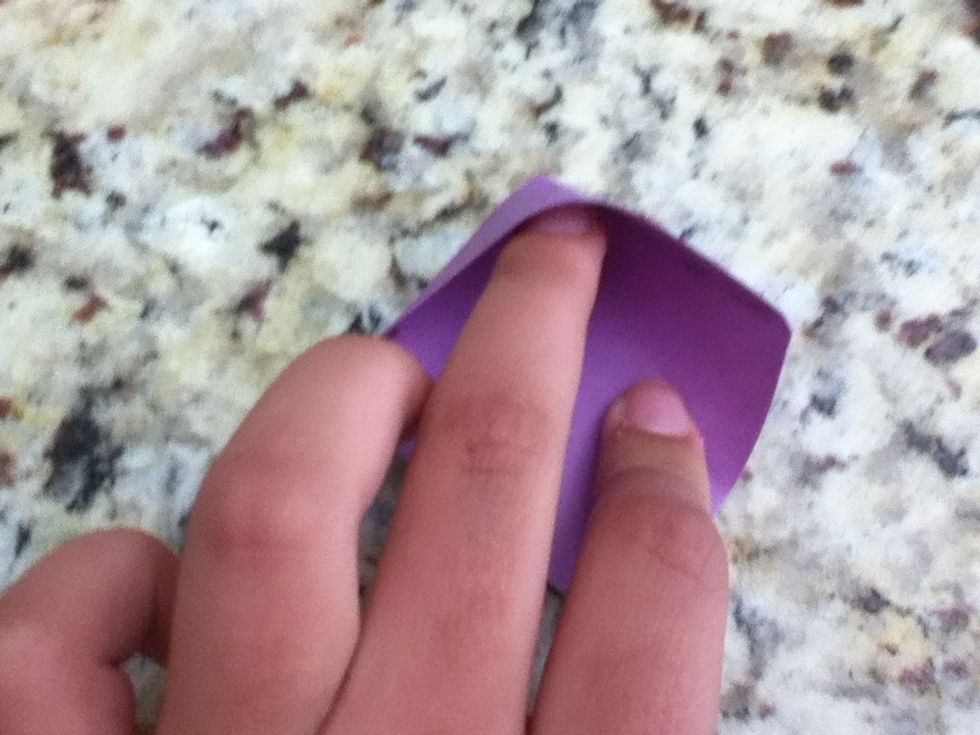
Measure to see which side you want on top.

Put glue on the bottom triangle. Press the top triangle to it.
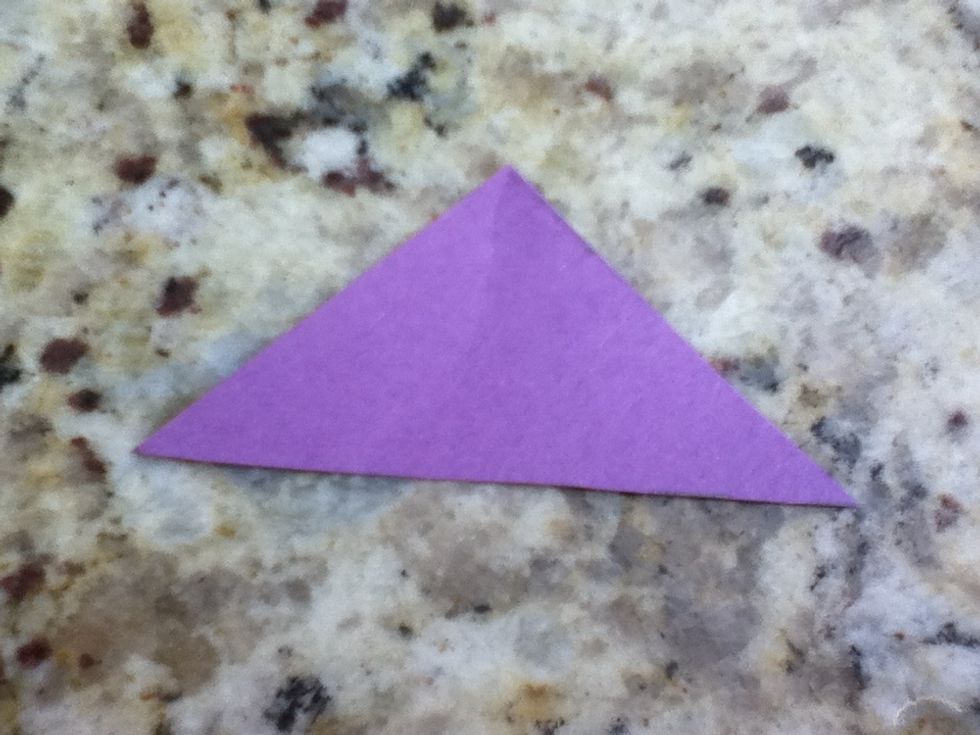
Make sure you can open it

Add your details like tongue, eyes and teeth
Now if you want ears remember when we cut the squares in half. Use one of the pieces that you cut.
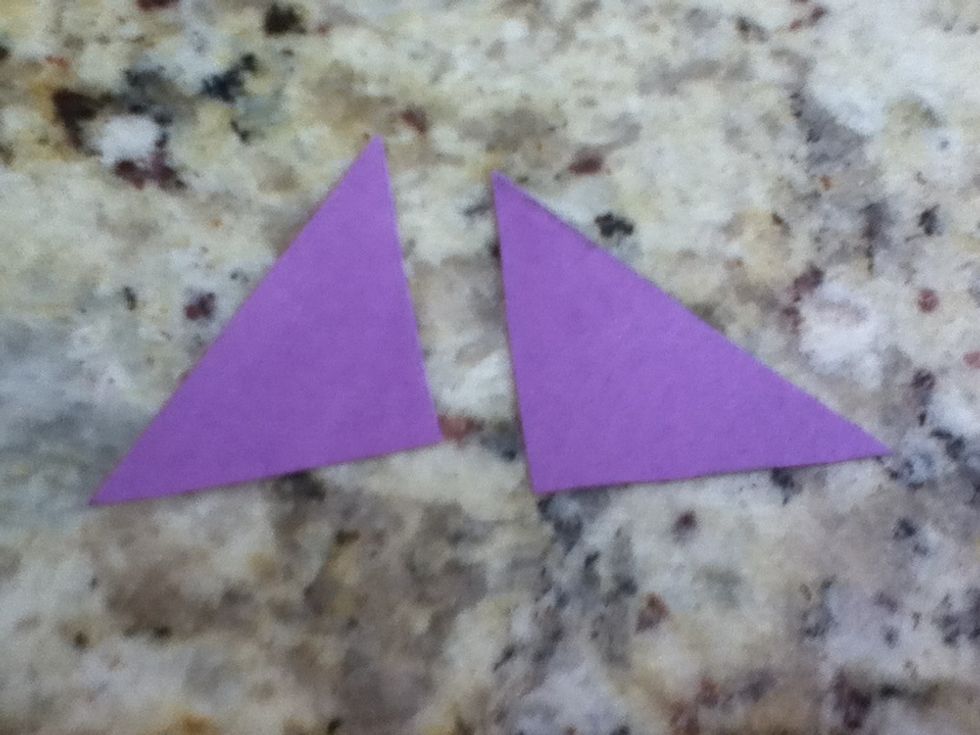
Cut it in half
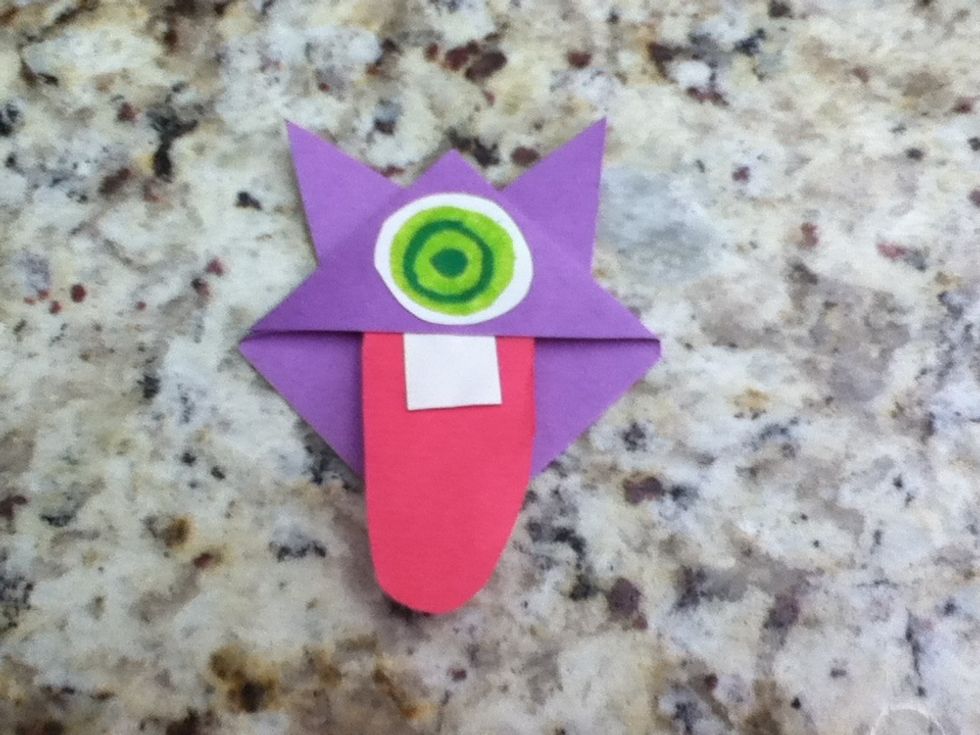
Position and glue
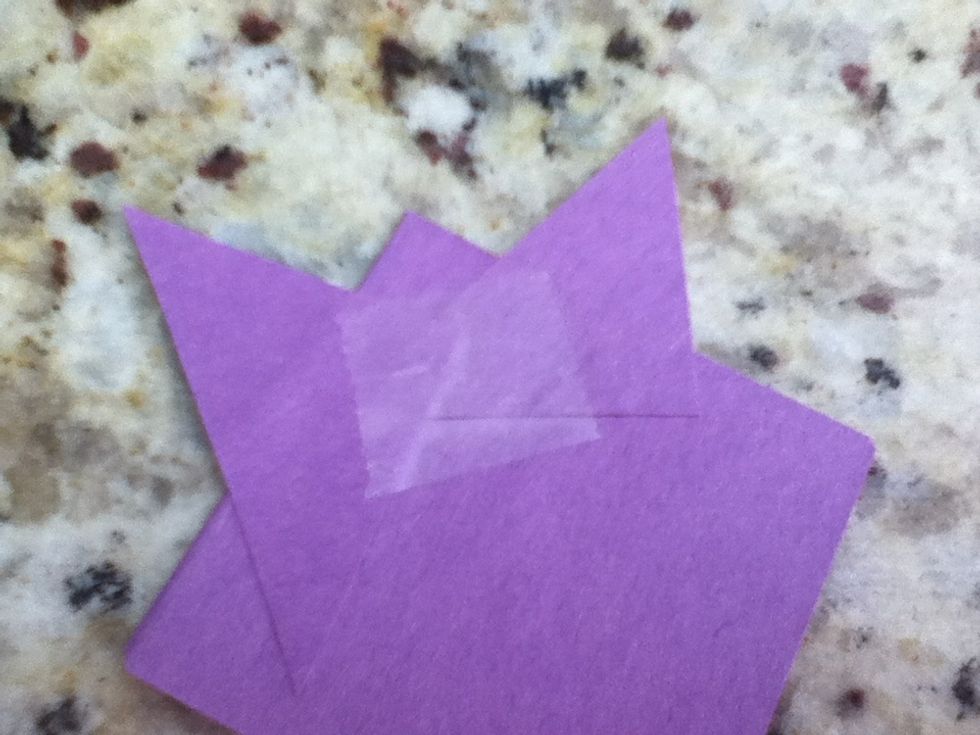
Add a piece of tape in the back for extra support.
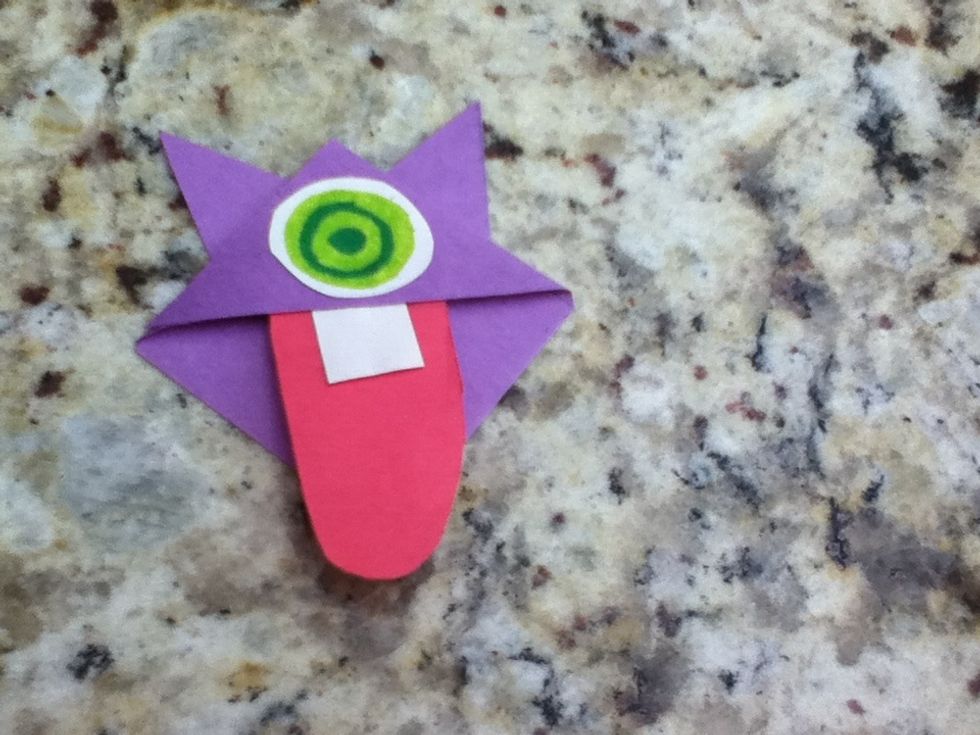
And this is what it looks like when your done
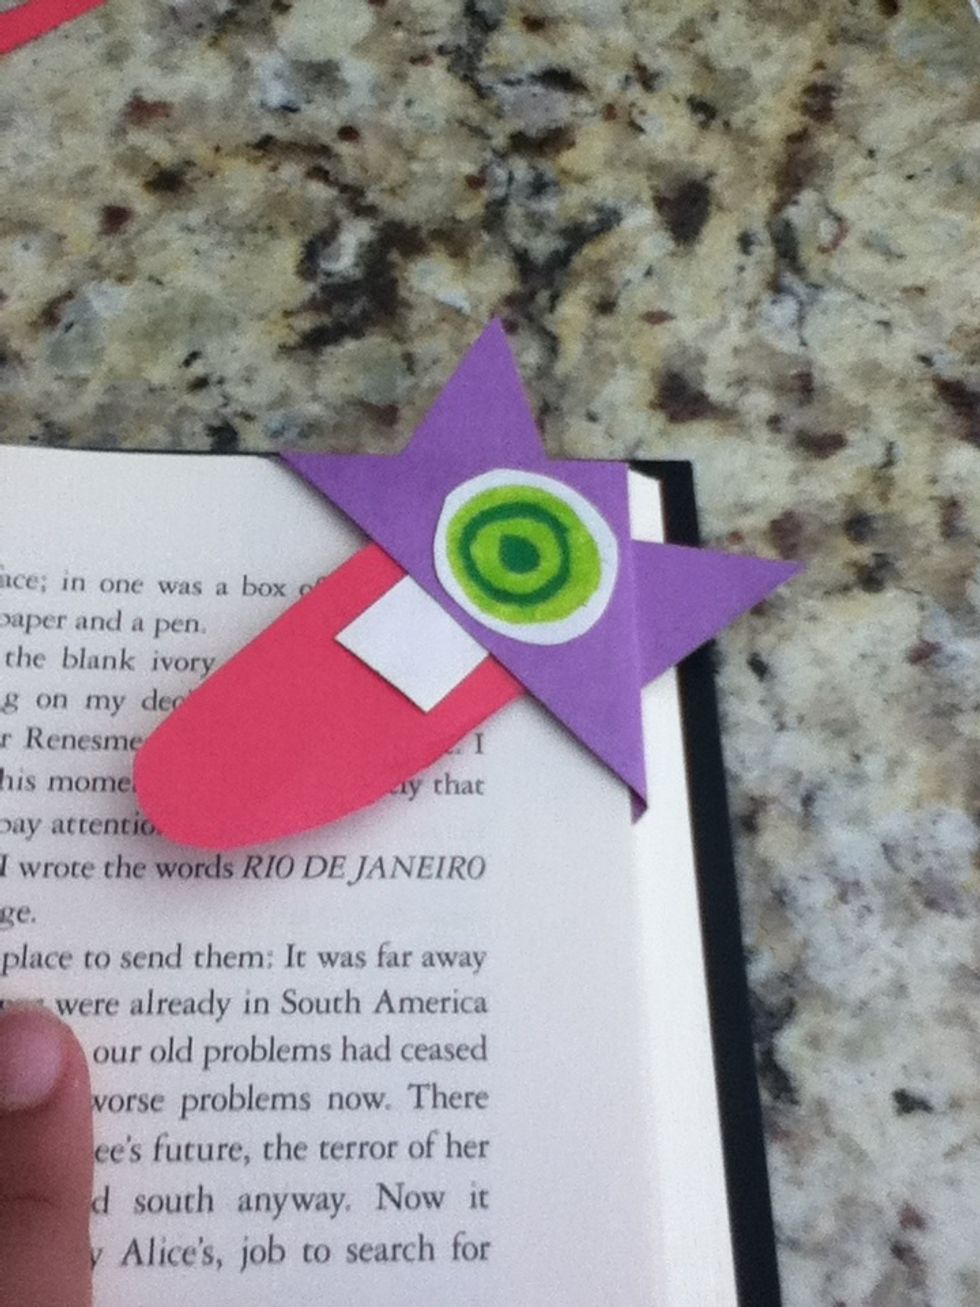
How you put it on your book

What it looks like when your books closed.
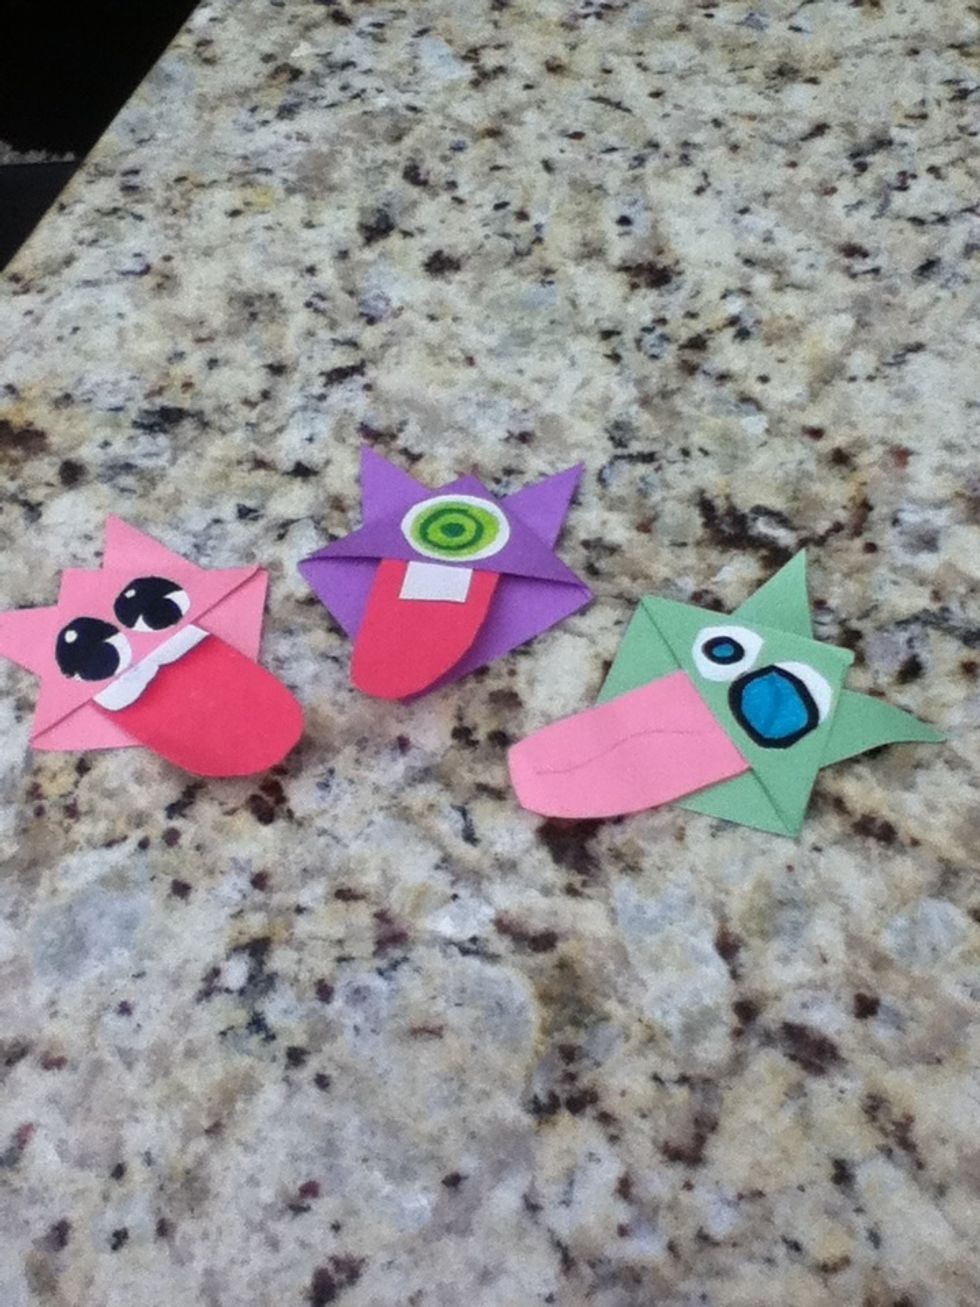
All the ones I made