The Conversation (0)
Sign Up

I am starting with this plain wooden box that I found in the dollar spot at Target. It already pretty smooth, so I'm not going to sand it.
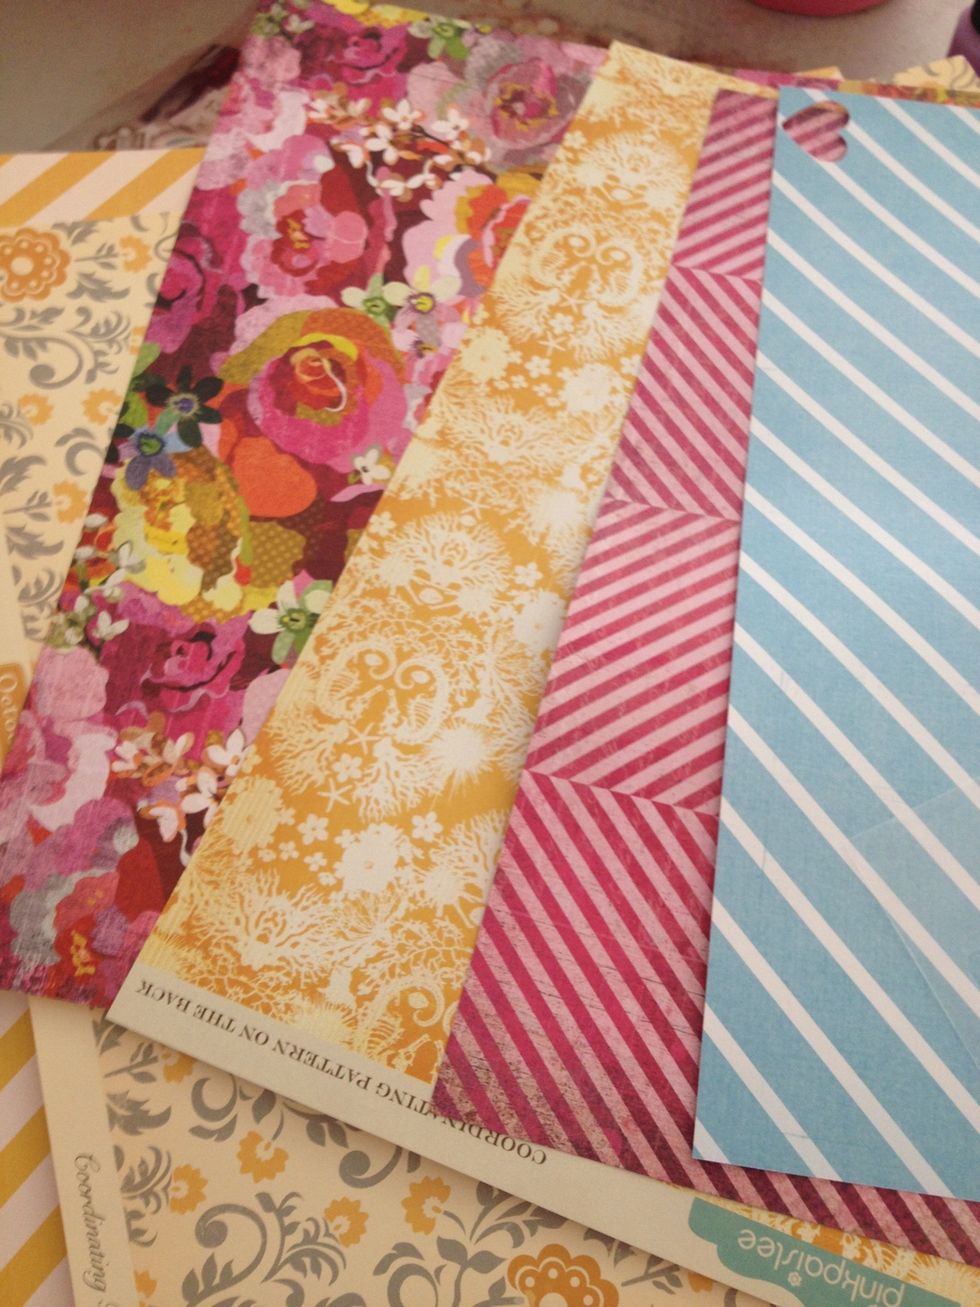
I have laid out some patterned papers that I like, I'm going for a bold and colorful look here
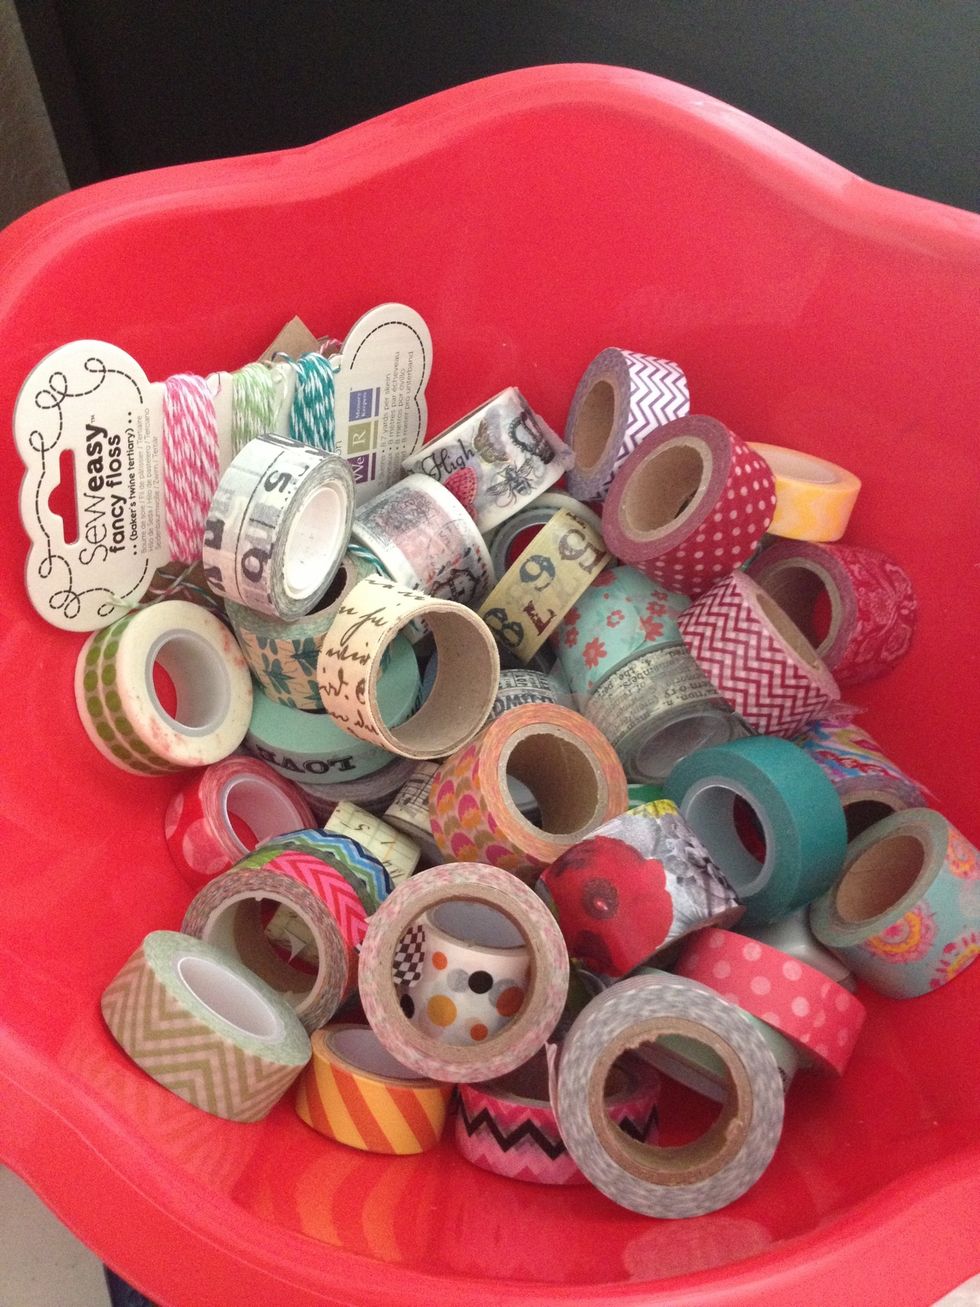
This is my washi tape collection. As I work on this project I will be adding pieces of tape that work well with my color palette. How did that bakers twine end up in there?! ;)
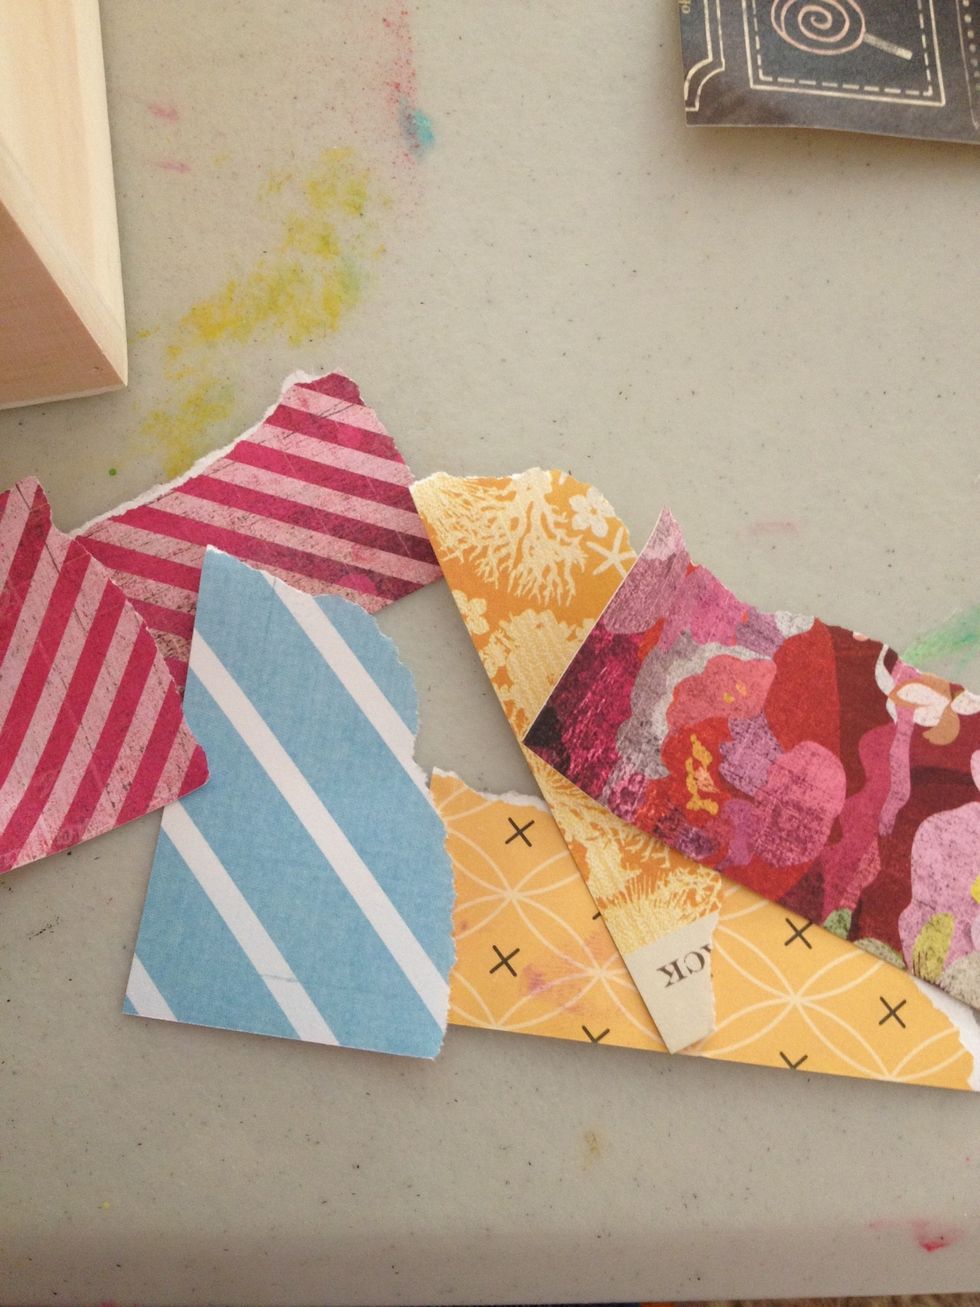
I will begin by tearing small random pieces of the patterned paper. Coat the back with mod podge and begin placing them randomly along the box.

This is the first side of the box. Notice that I left some space in some sections. That's is where the washi tape will overlap.
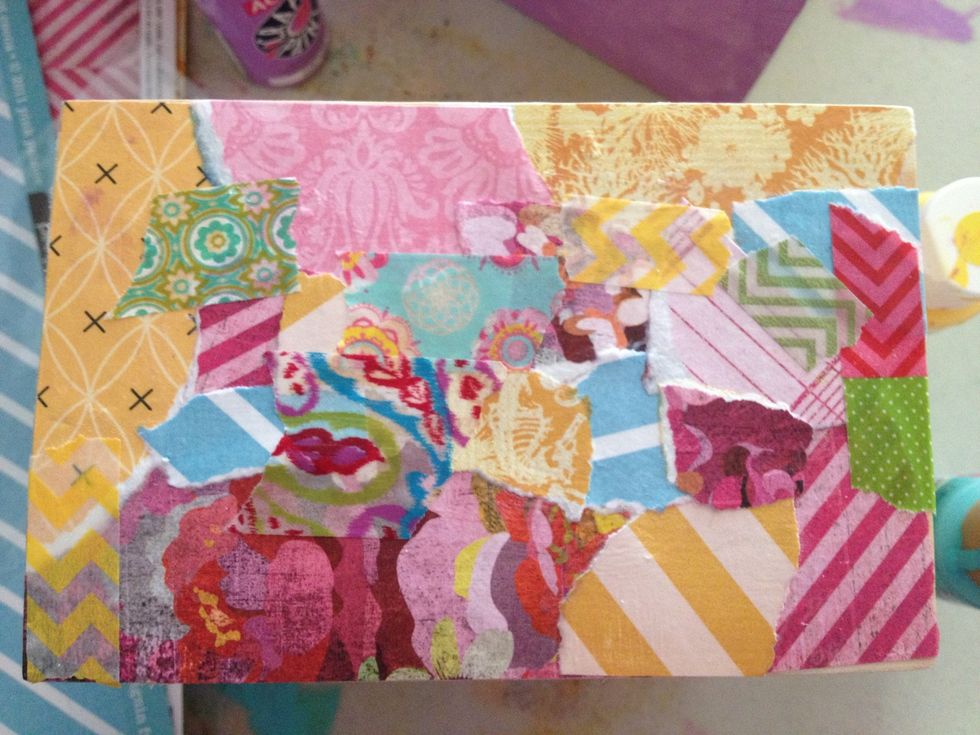
Here is the same side with washi tape added. I like the washi because its pretty transparent and shows the paper underneath. You want everything to sort of overlap to create layers.
Continue adding papers and tape until all sides are completed. After it is complete, seal the entire box with a coat of mod podge. Allow to dry completely before proceeding.
Go all over the box adding rub ons and stamps randomly. The last step is to add distress ink on all edges of the box. You could paint inside, I left mine plain since I'm actually storing stuff in it.
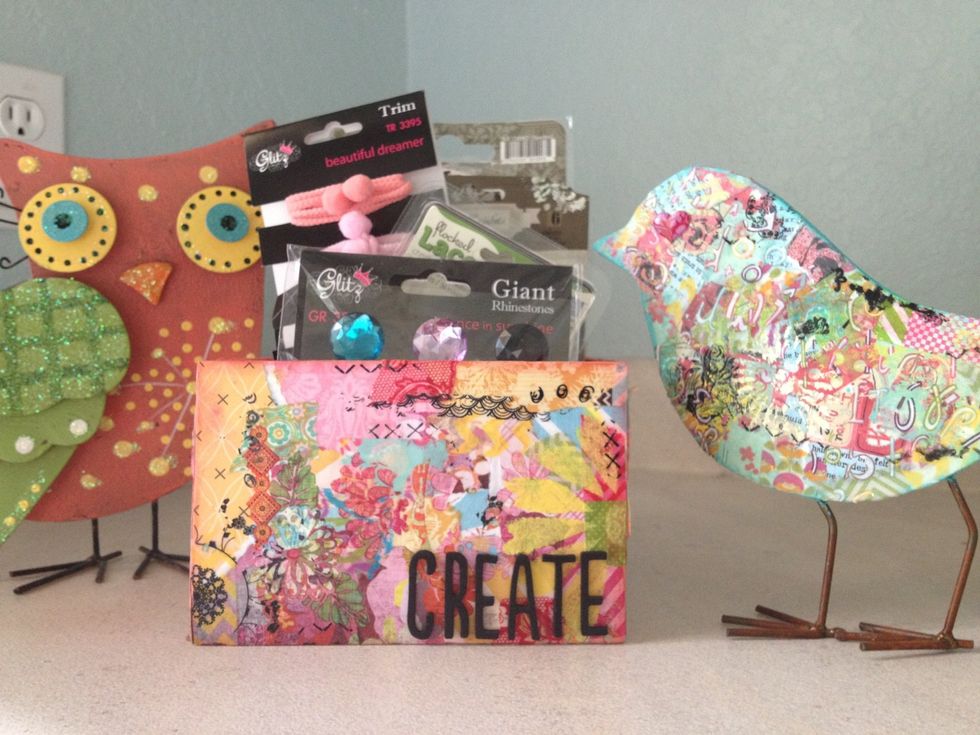
Here is the finished box with some scrapbook supplies inside. I did the cute bird next to it the same way.
To see more of my art you can visit my blog www.melsartjournal.wordpress.com Or to view my scrapbook pages go to Www.melshappyscrappyplace.wordpress.com