The Conversation (0)
Sign Up
First thing you have to do figure out what you want o be on the shirt.
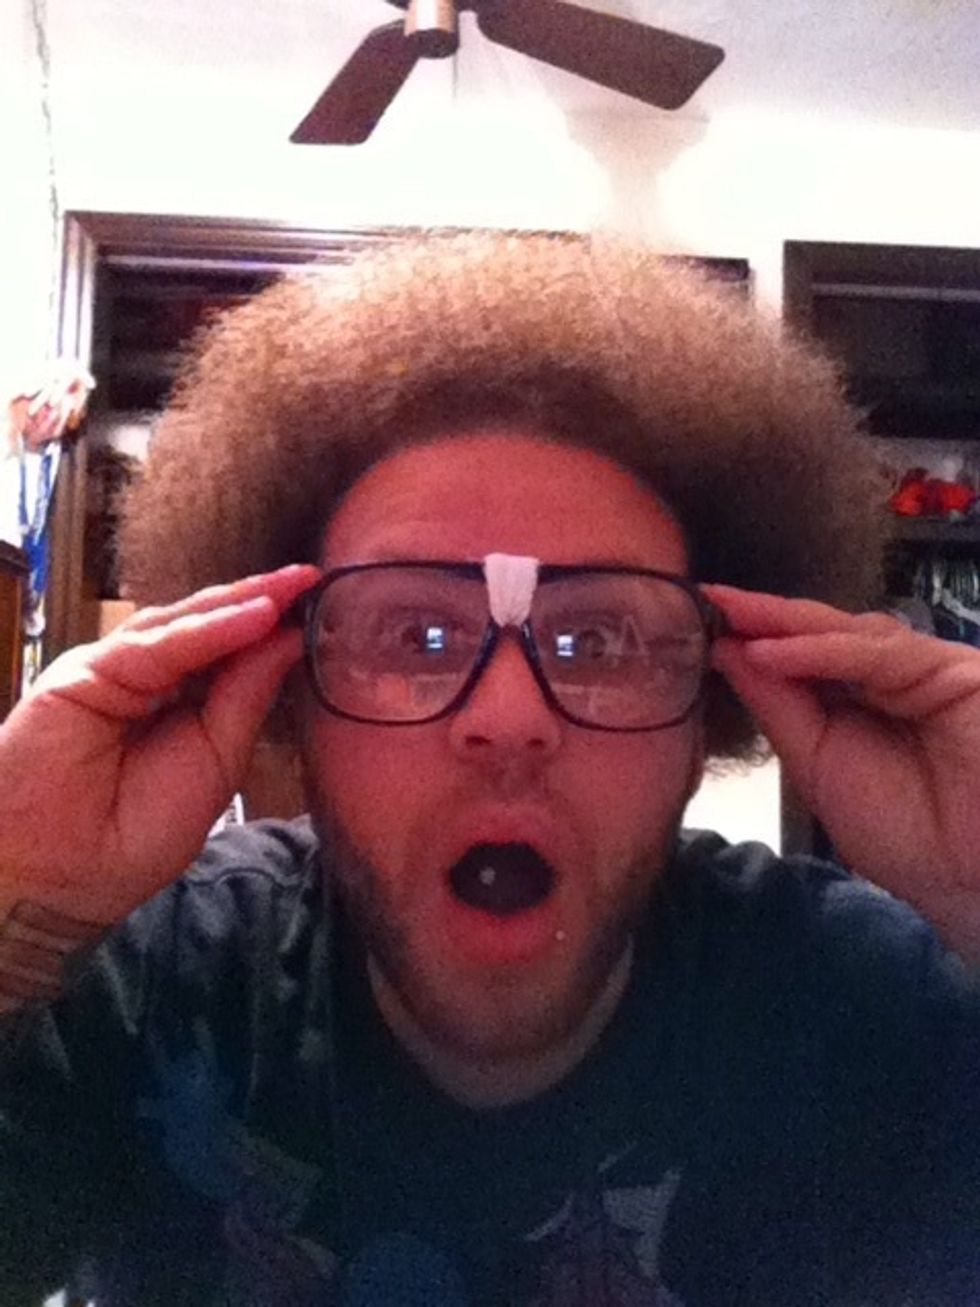
I choose I picture of myself.
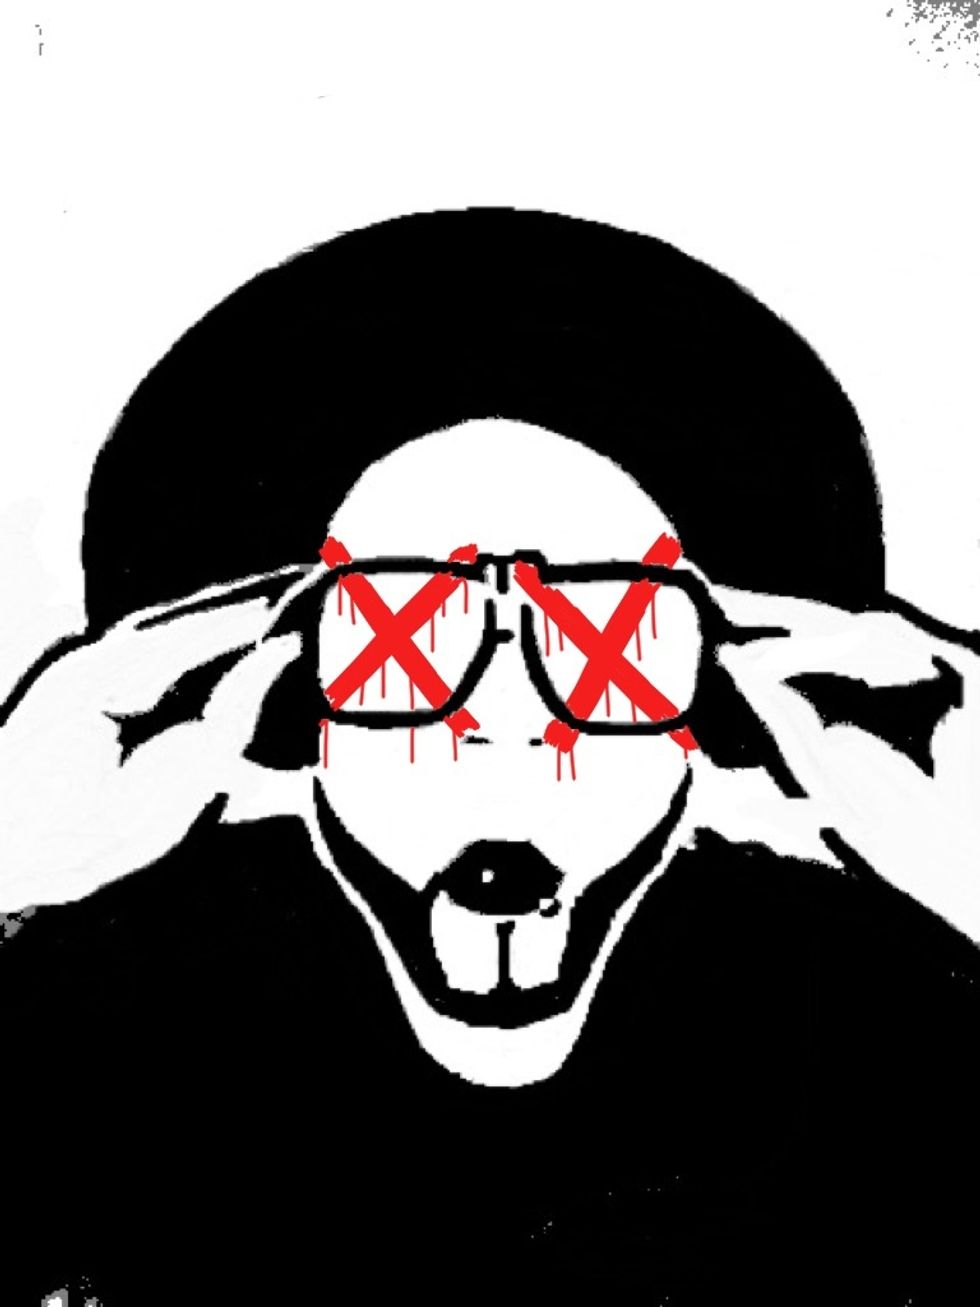
I then made a stencil on my iPad, then I transferred my design to a piece of paper.
After it was on the paper I cut it out on a kinda thick piece o plastic.
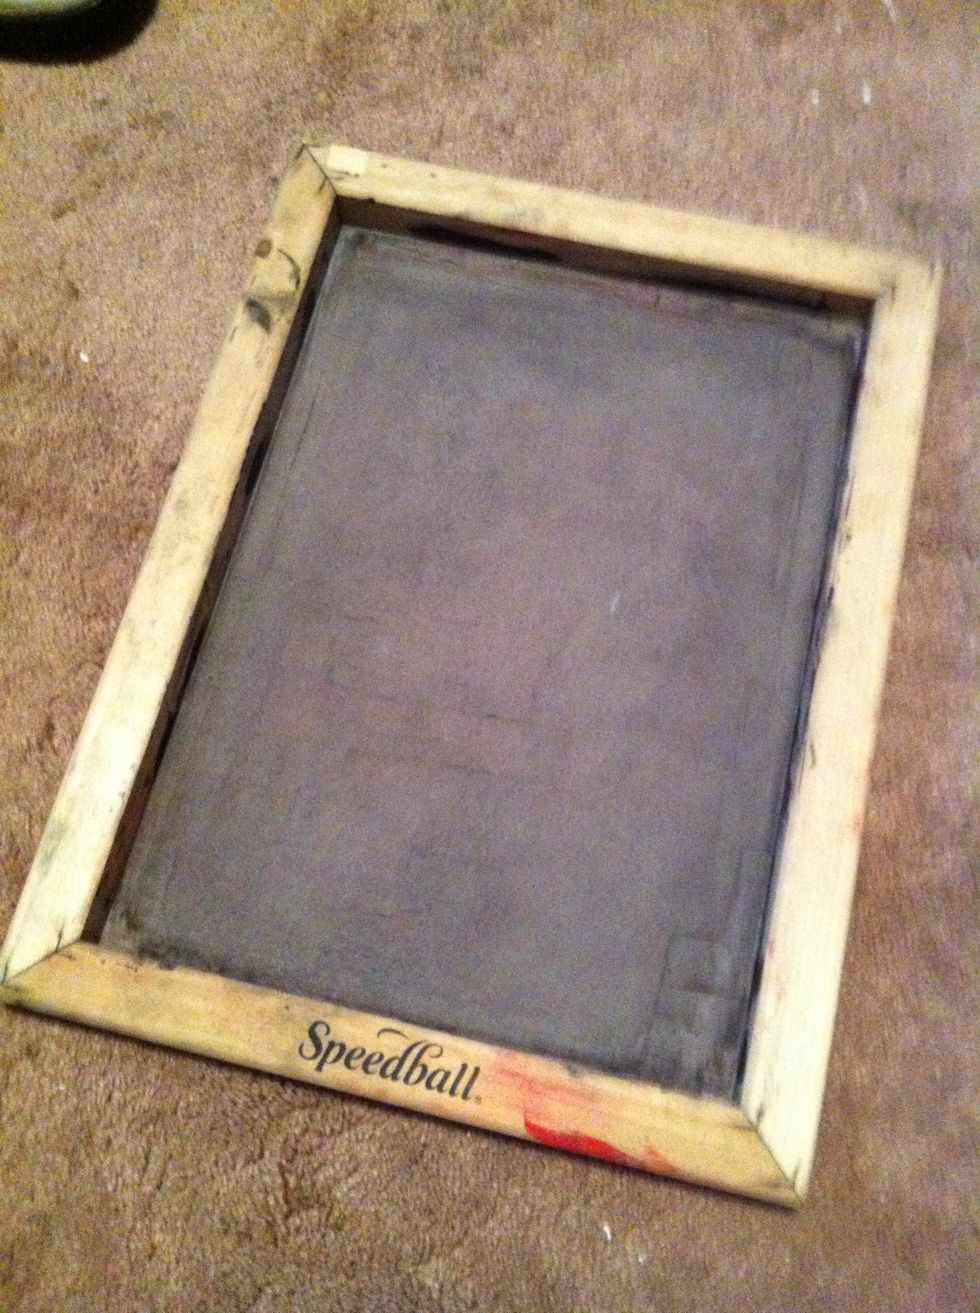
Then the stencil goes on the screen add a spoonful of speedball printing ink.
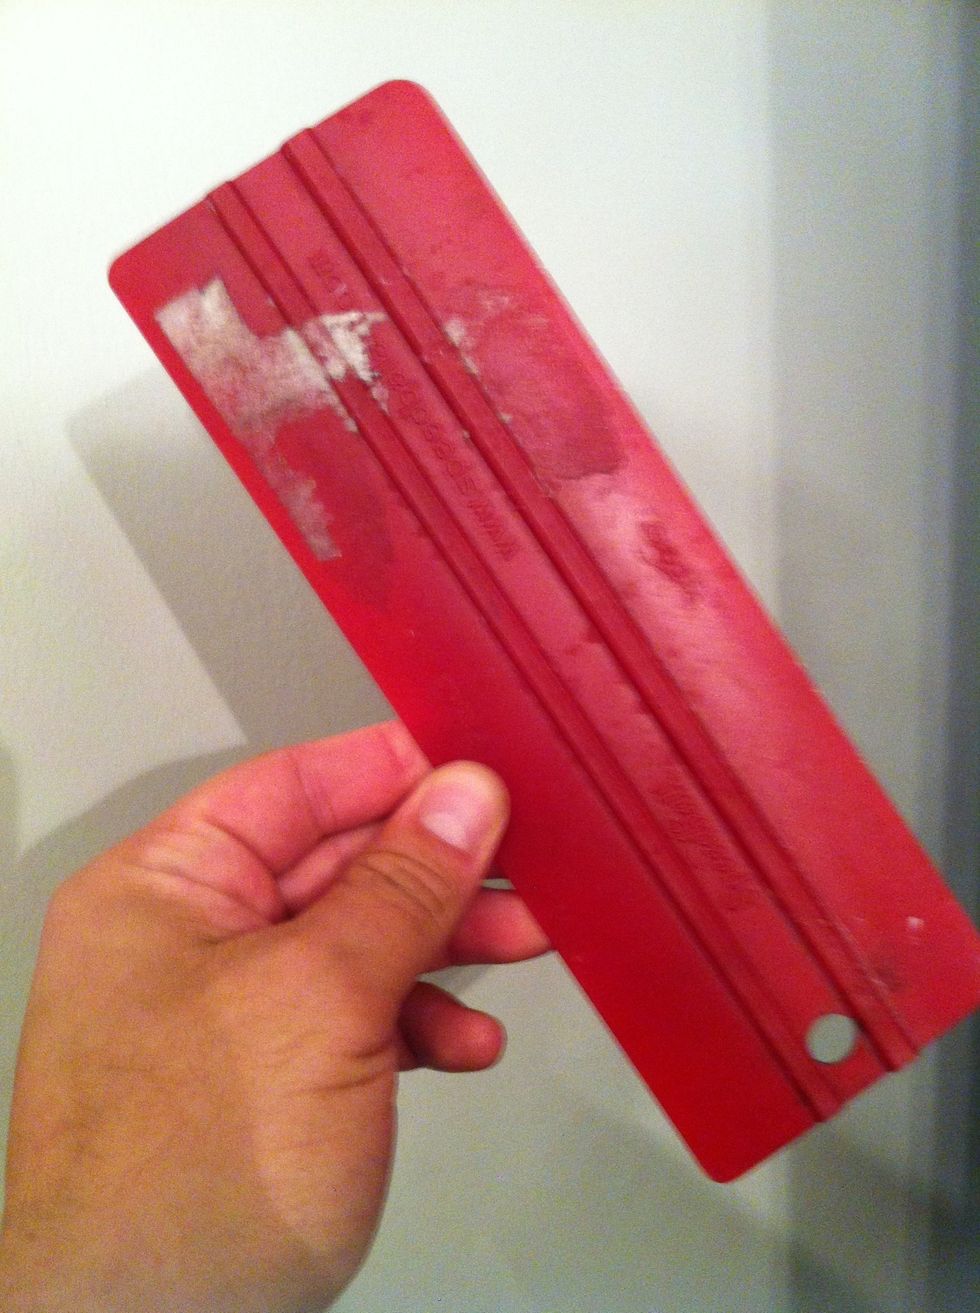
Then you pull the paint across the screen with squeegee like this one.

Always do the bottom color first.
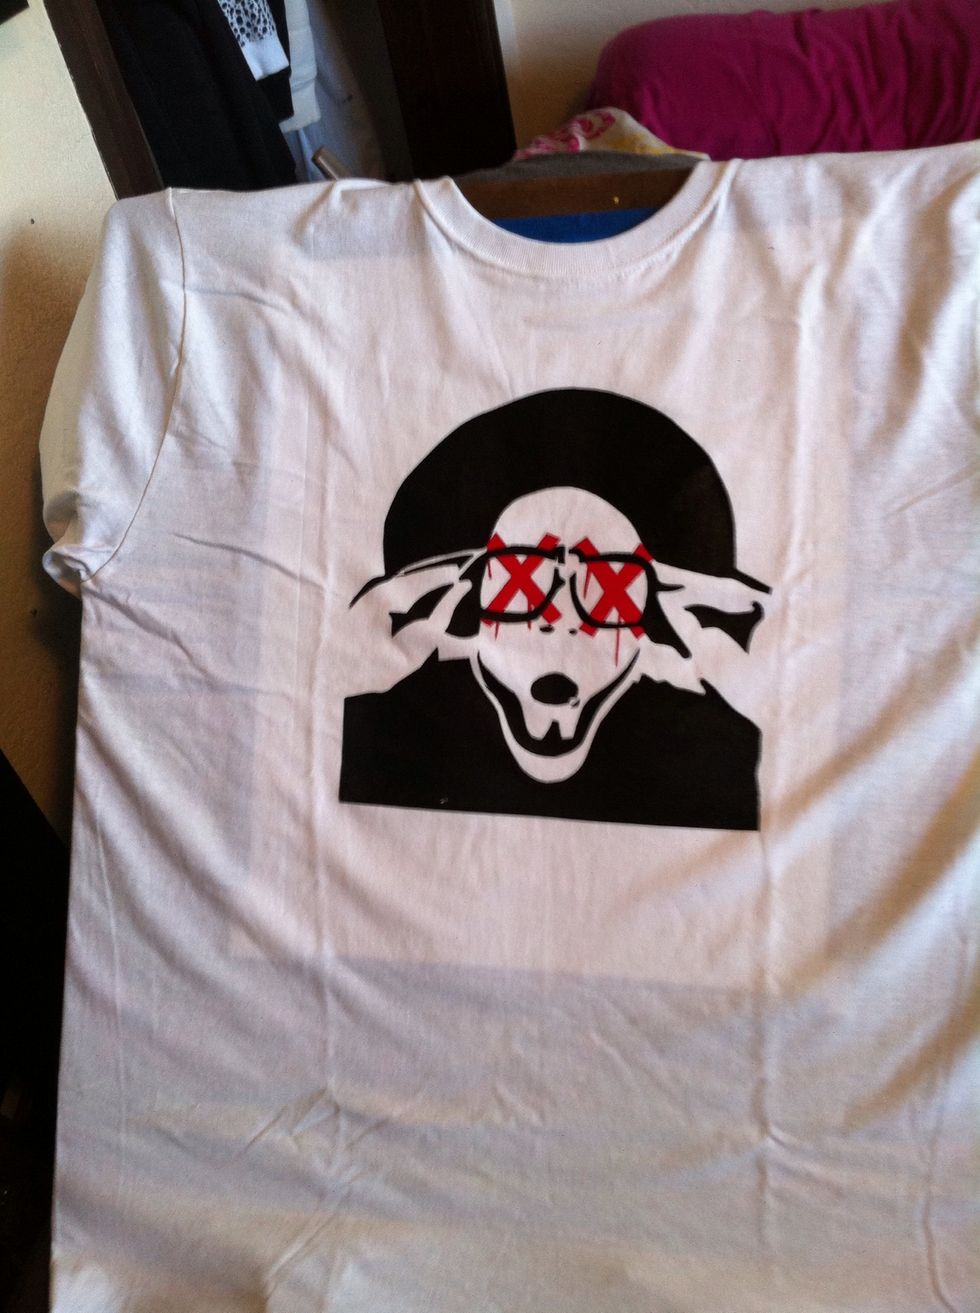
Dry first color with a blow dryer or you can wait if you want. Then pull the second color and wait till its dry.
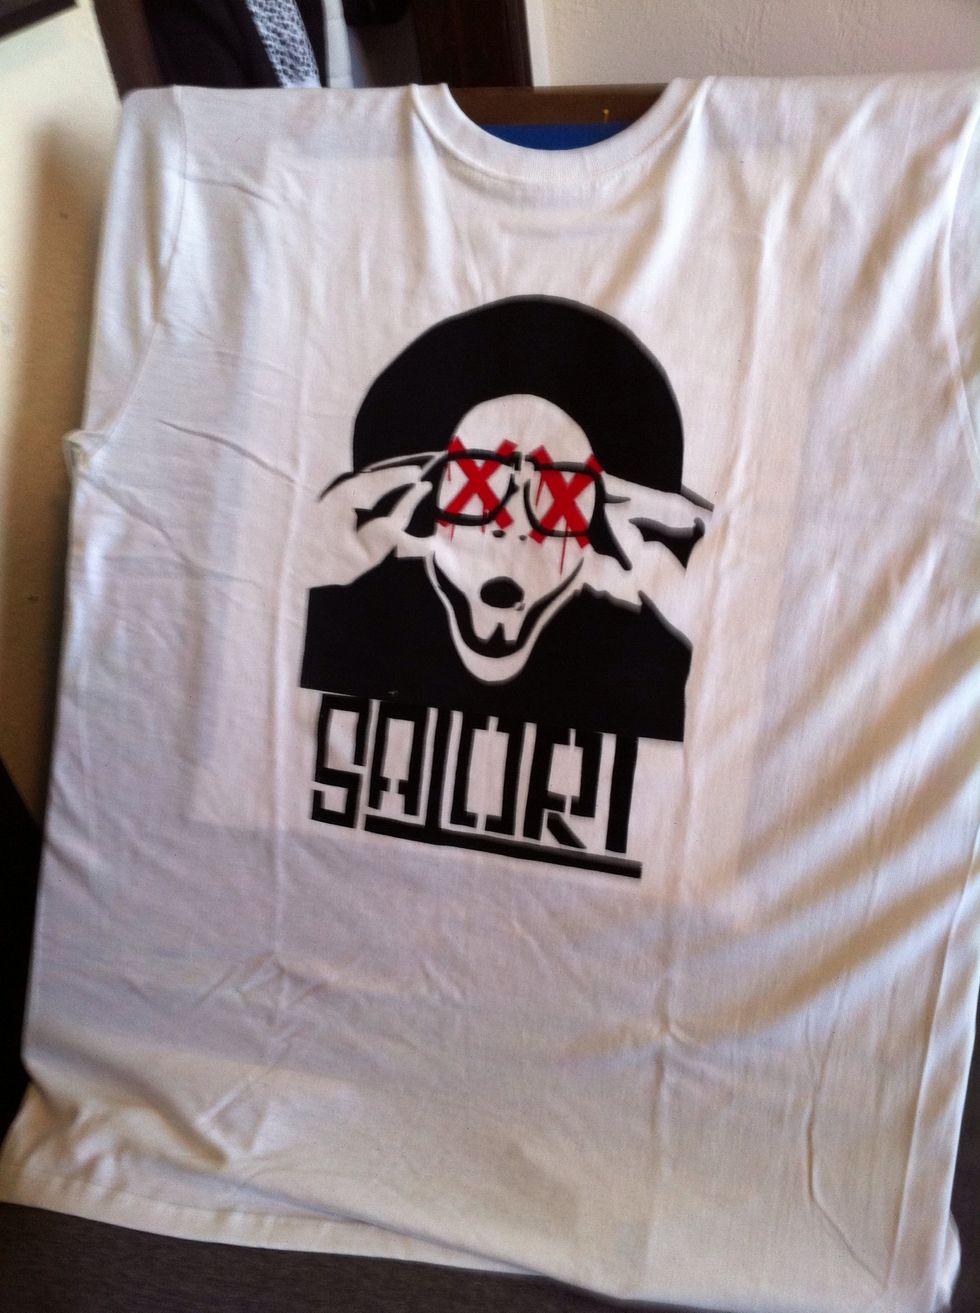
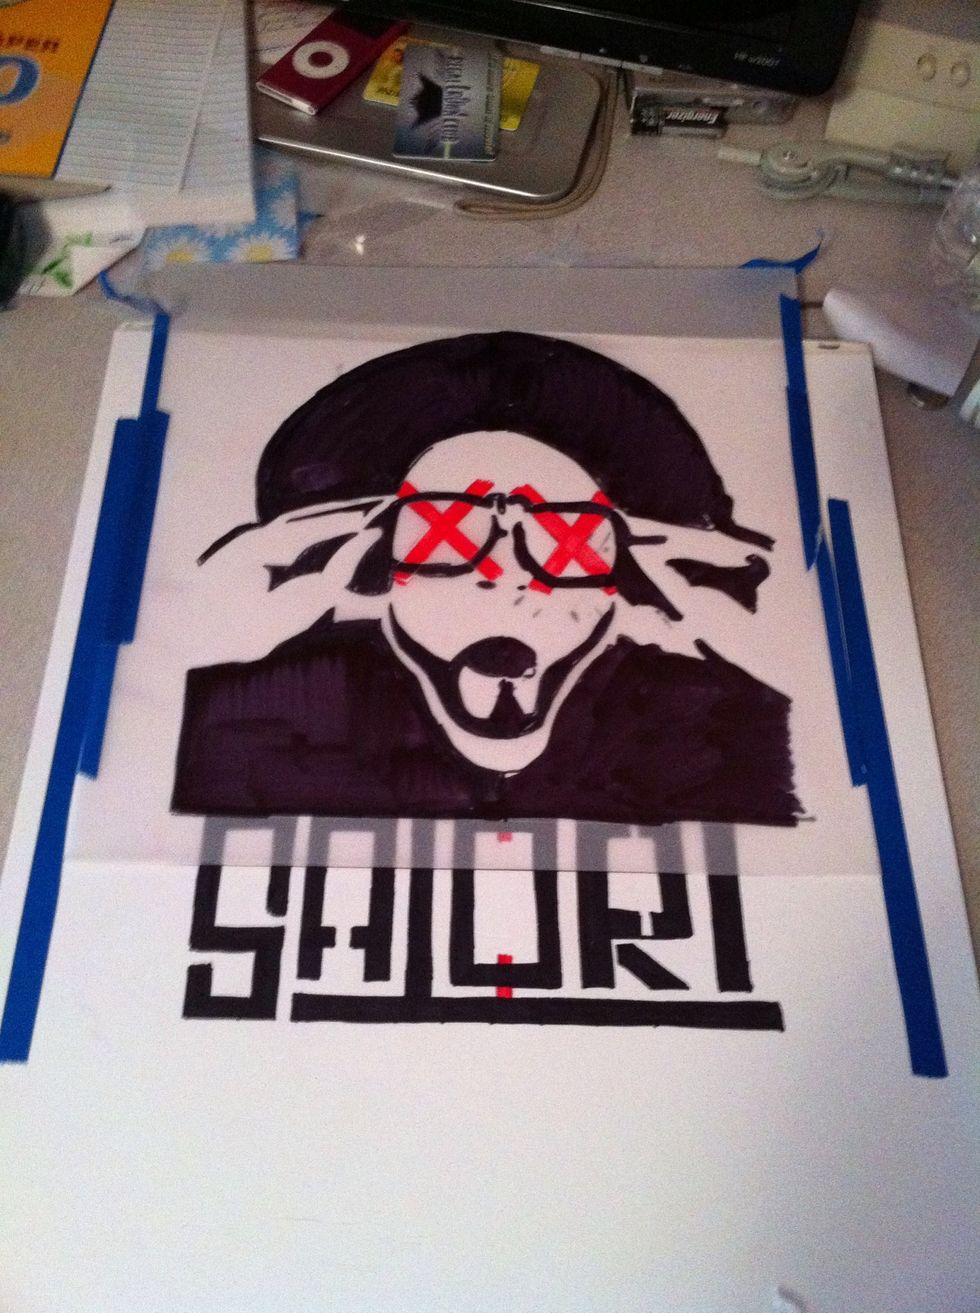
Then I added I added the last touch my name. I let it dry the ironed both side with an iron in between to set the ink.
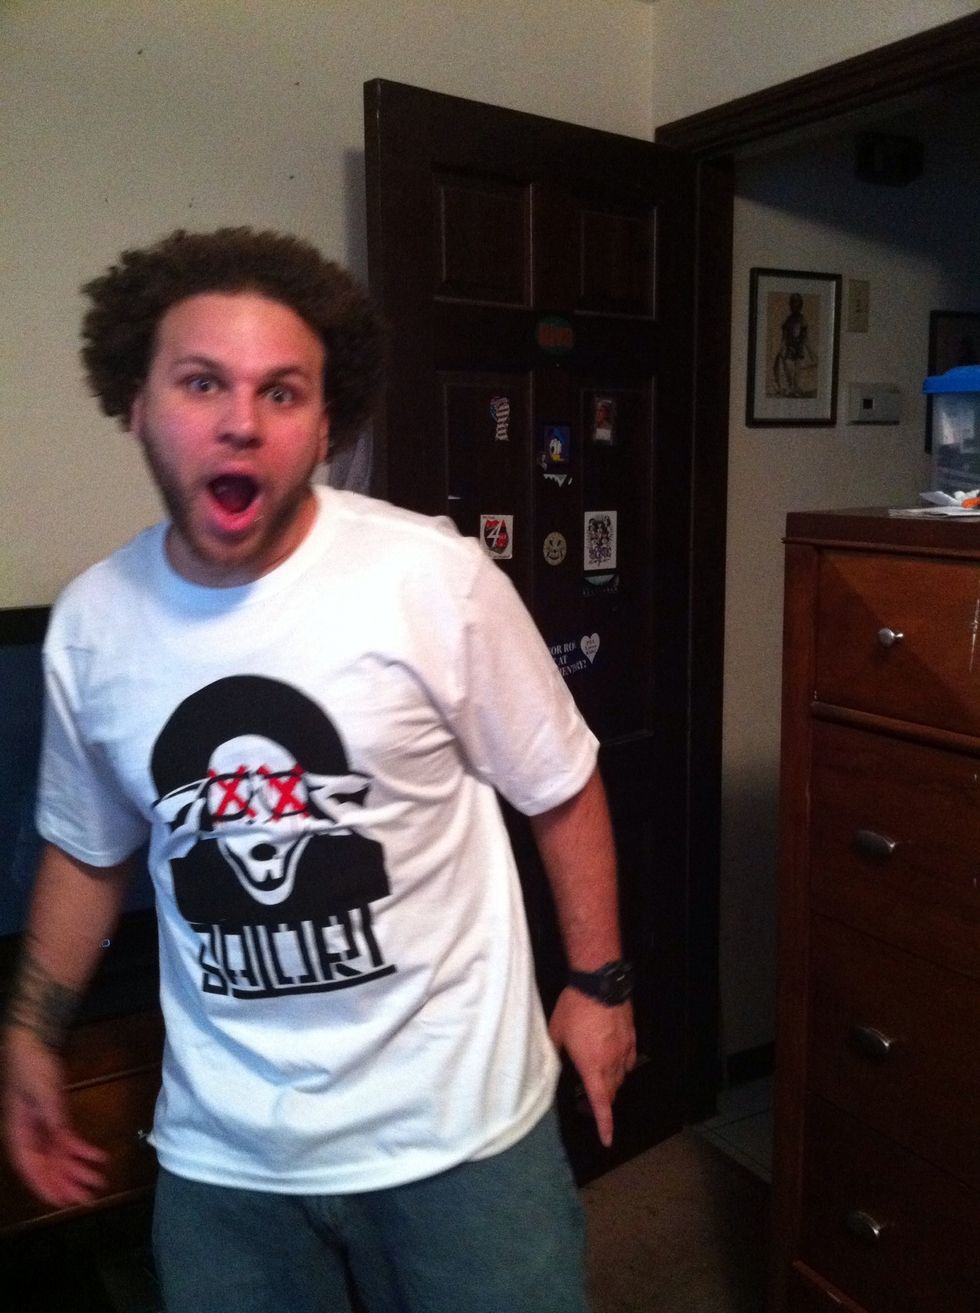
Then the shirt is done.Happy printing!!