The Conversation (0)
Sign Up
Little Speller free comes with its own libraries, but you can add your own. Your own words are not limited to three letters like the pre-installed libraries.

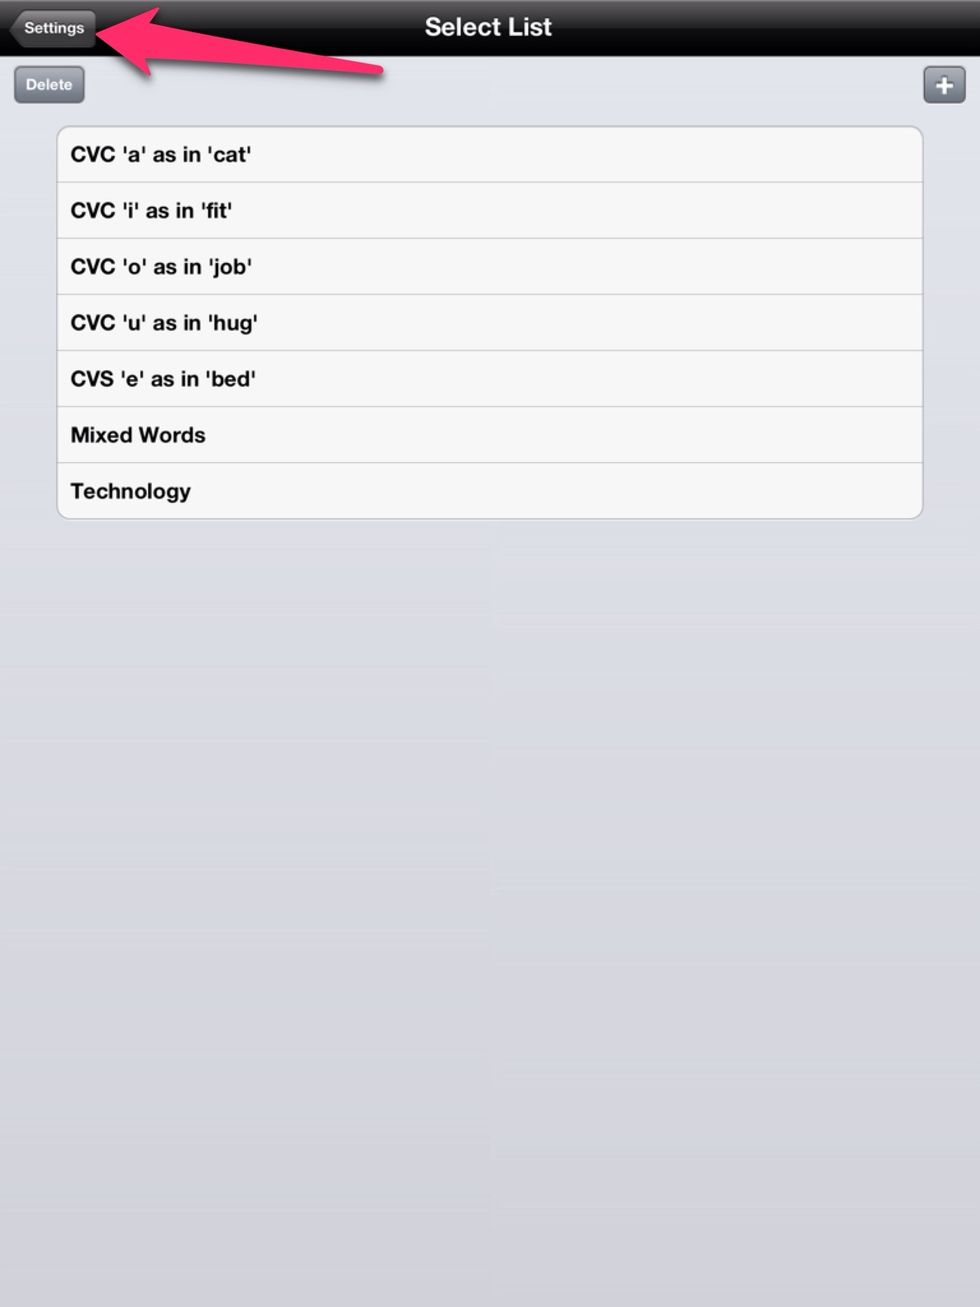
Get started by launching the app and tapping the Settings button.
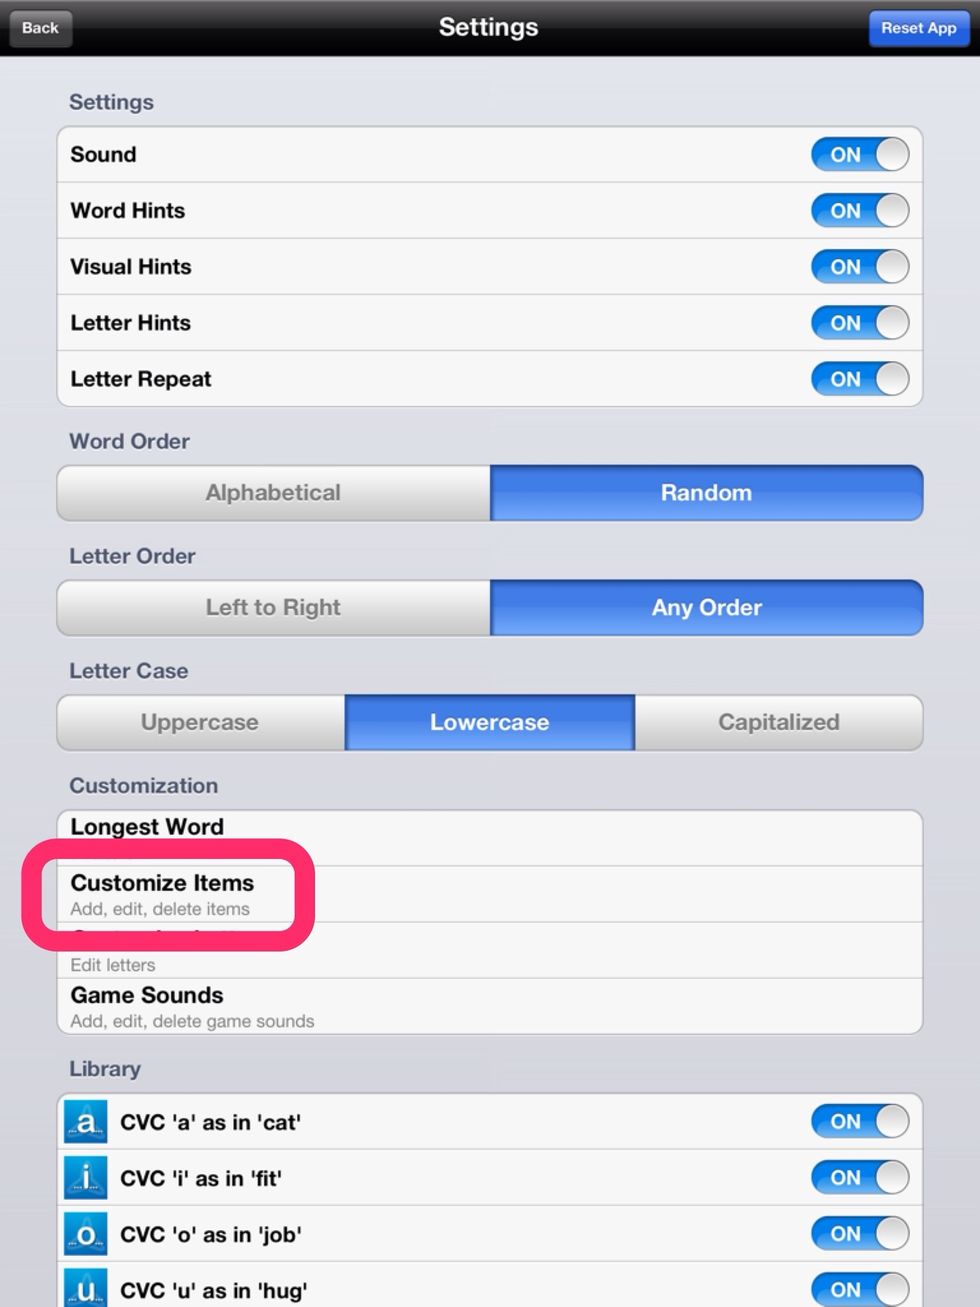
Tap Customize Items.
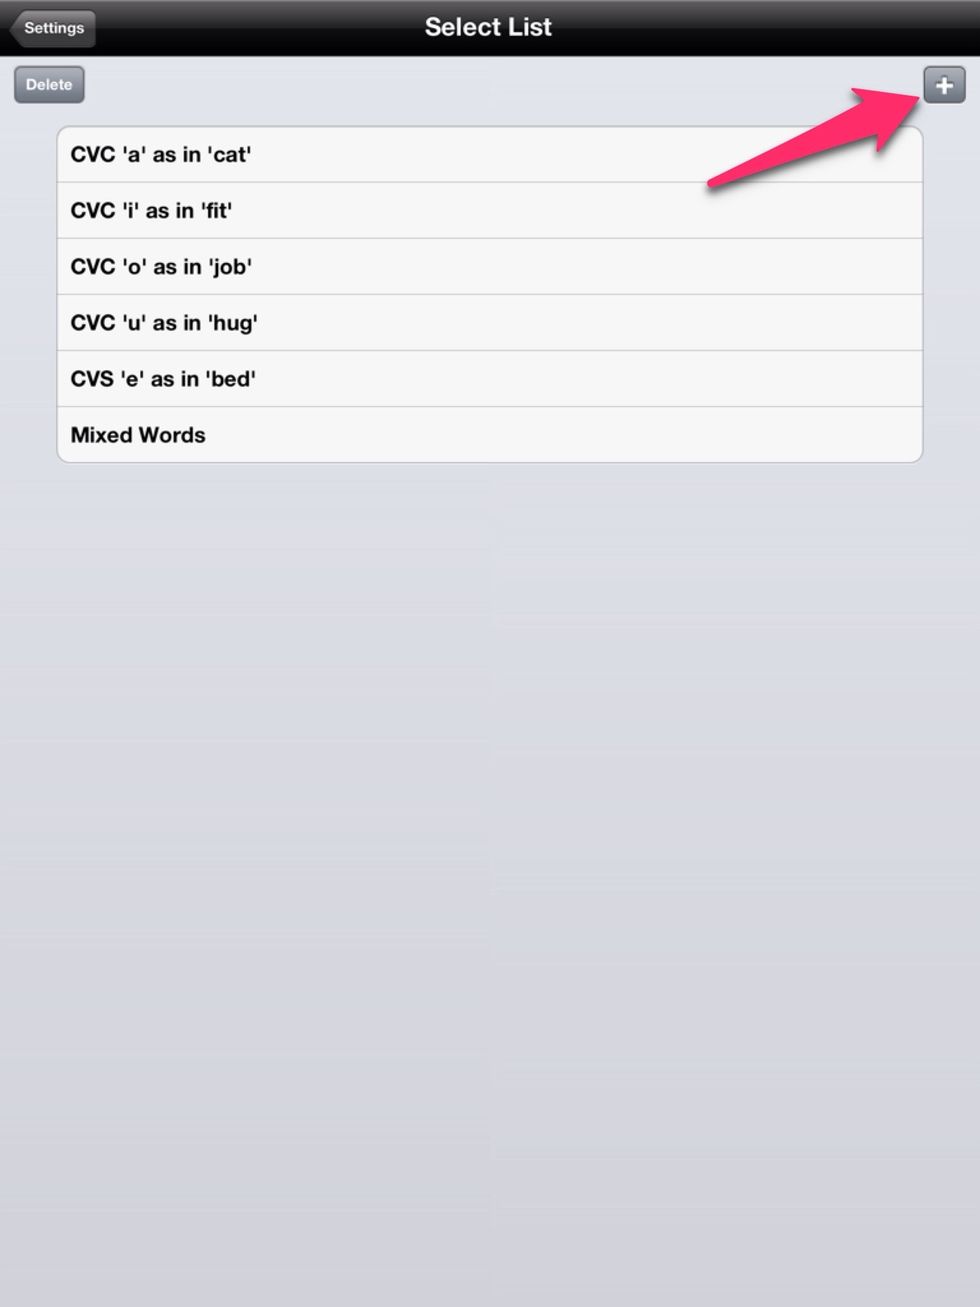
Tap the + button.
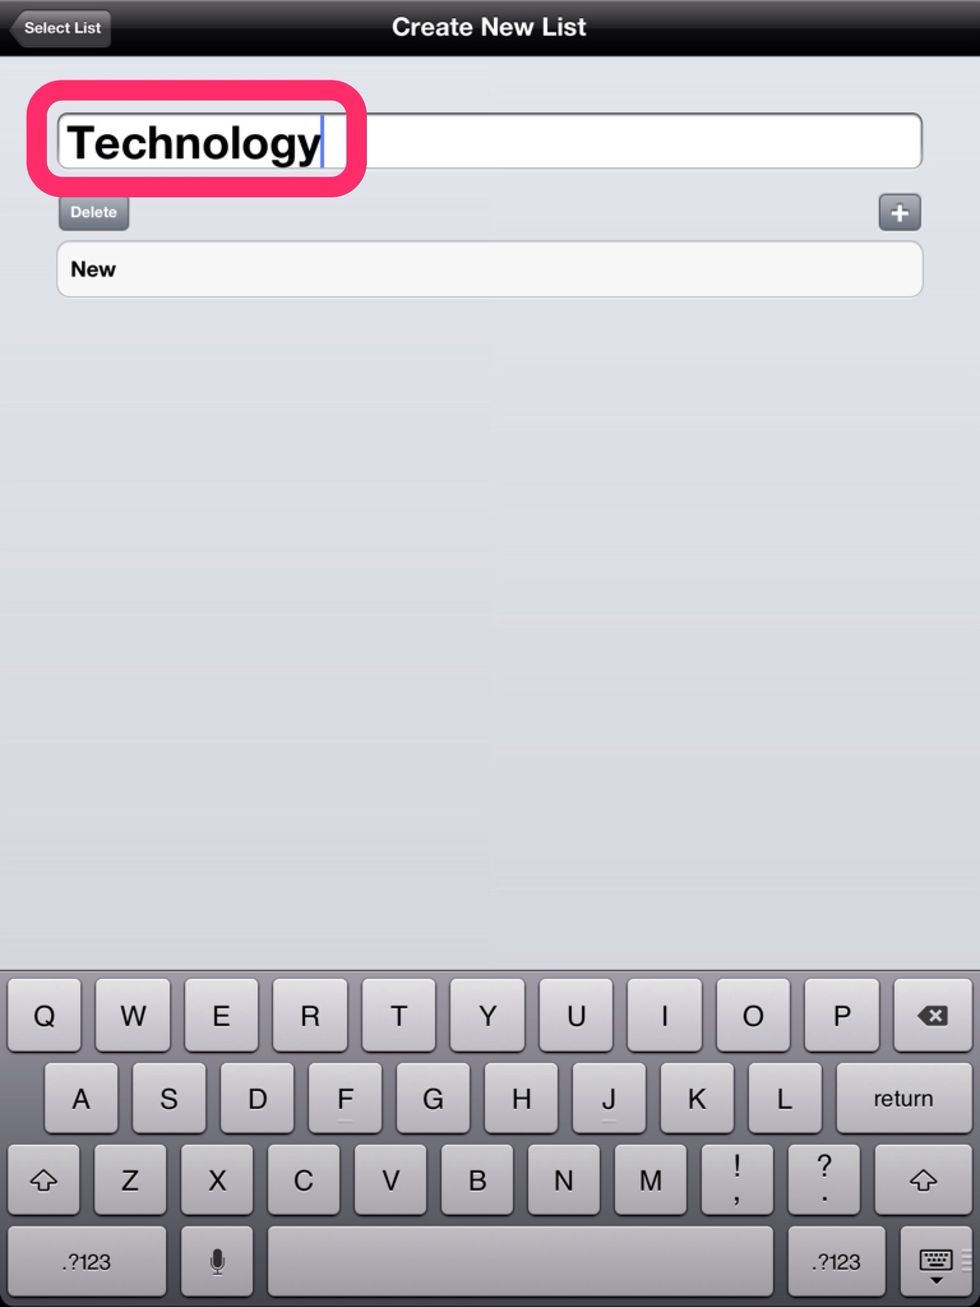
Enters name for your library.

Type the word and tap to add an image for the item.

Tap record and speak the word aloud. In the case you'd say "computer" aloud.
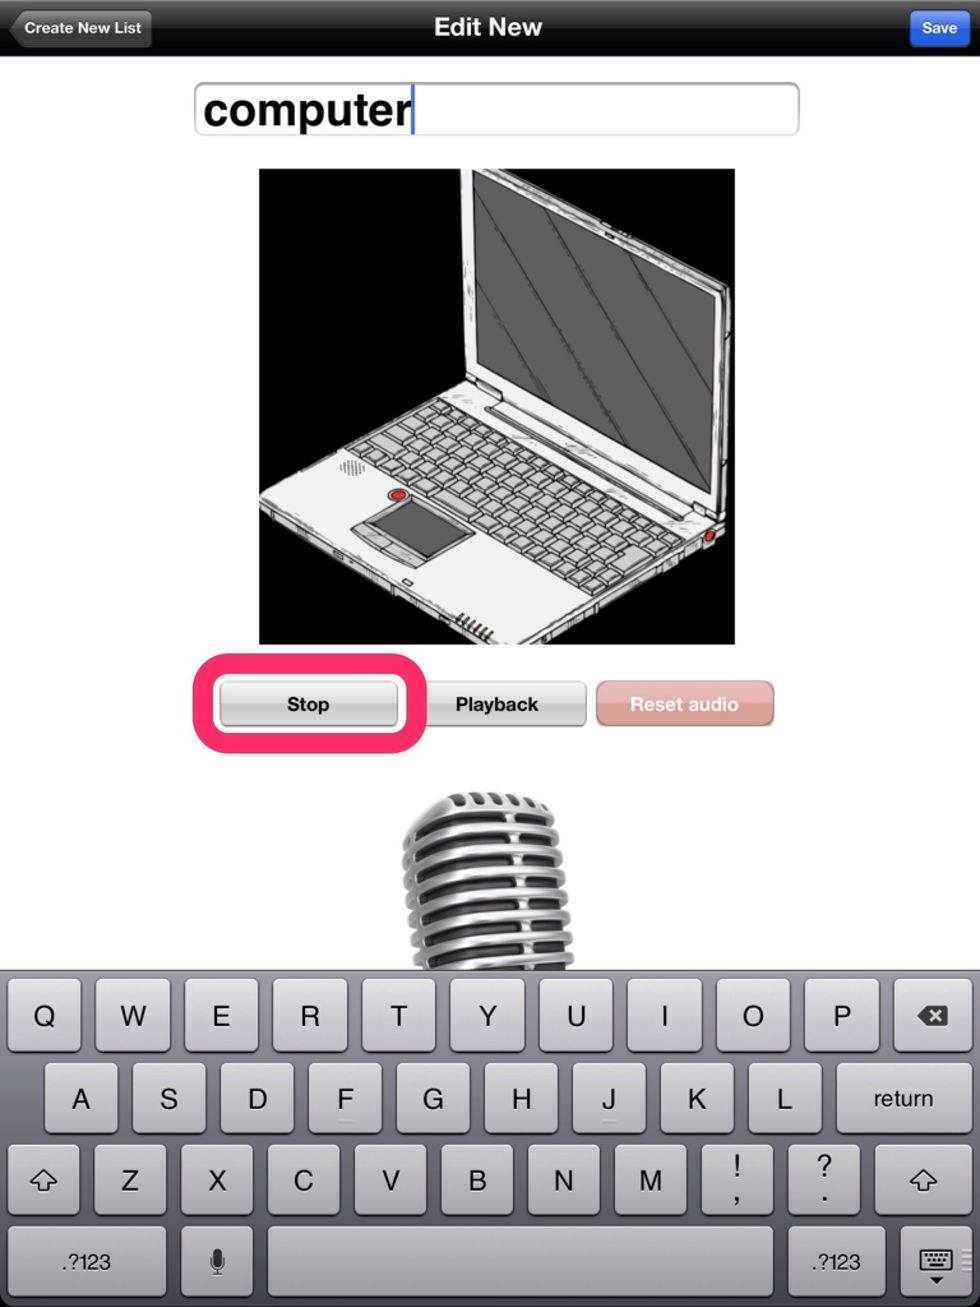
Tap Stop when done speaking the word.
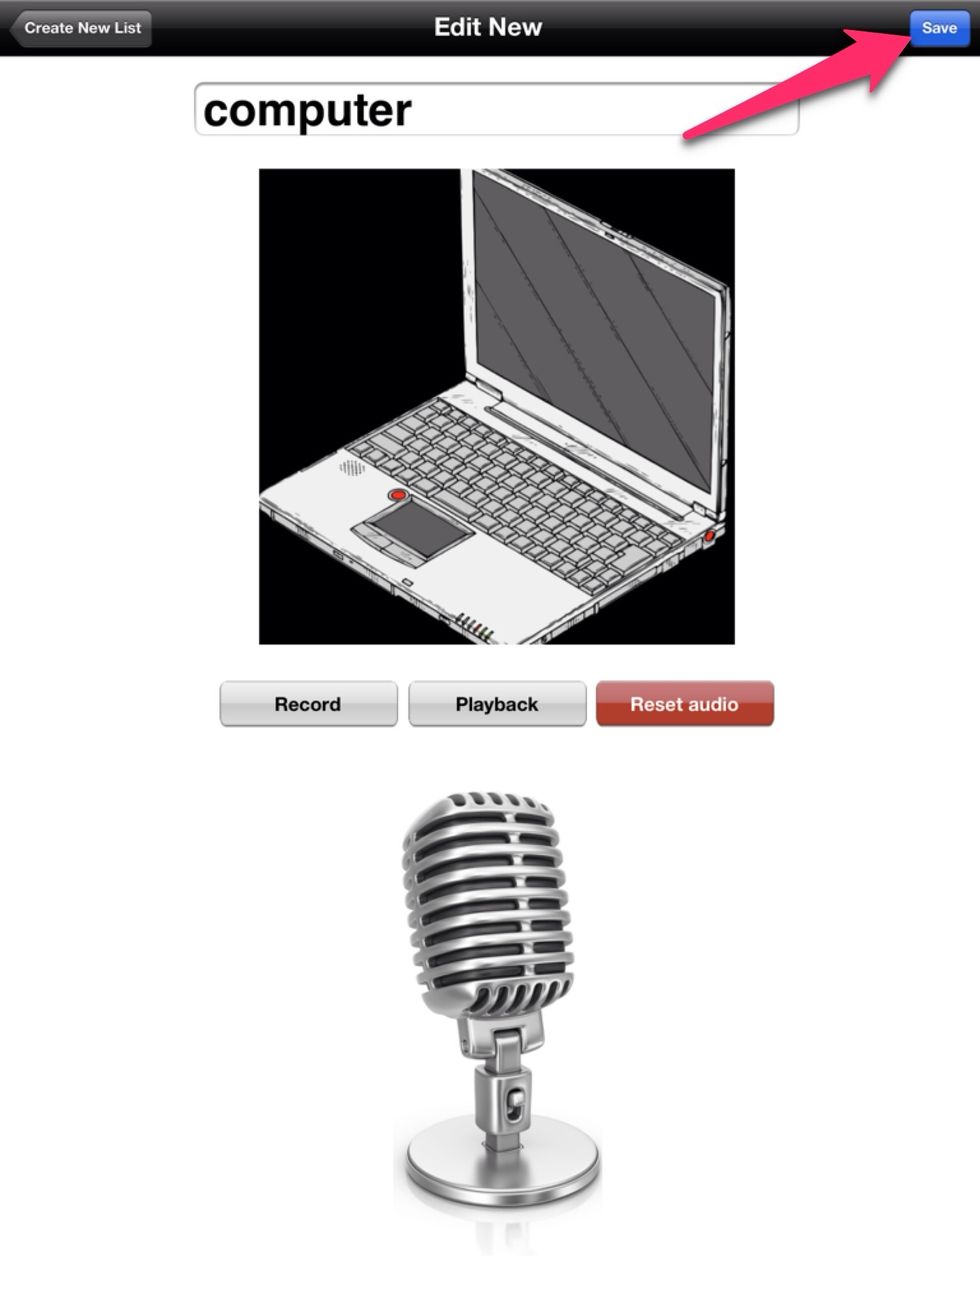
Tap the Save button.
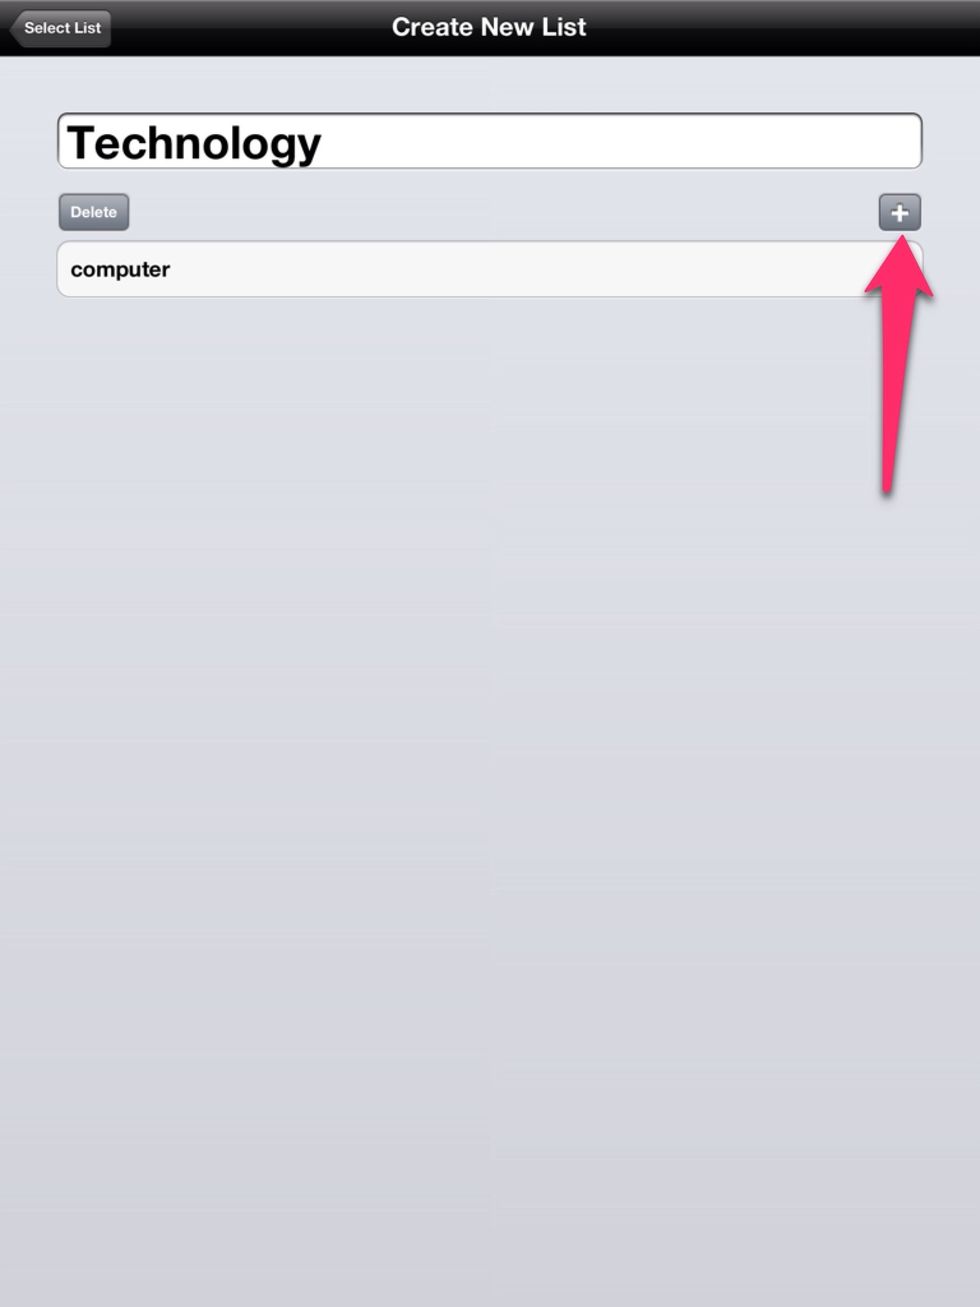
Tap the + button to add another item.

Just as you did for the previous item, enter the word, image, and recording. Tap Save when done.
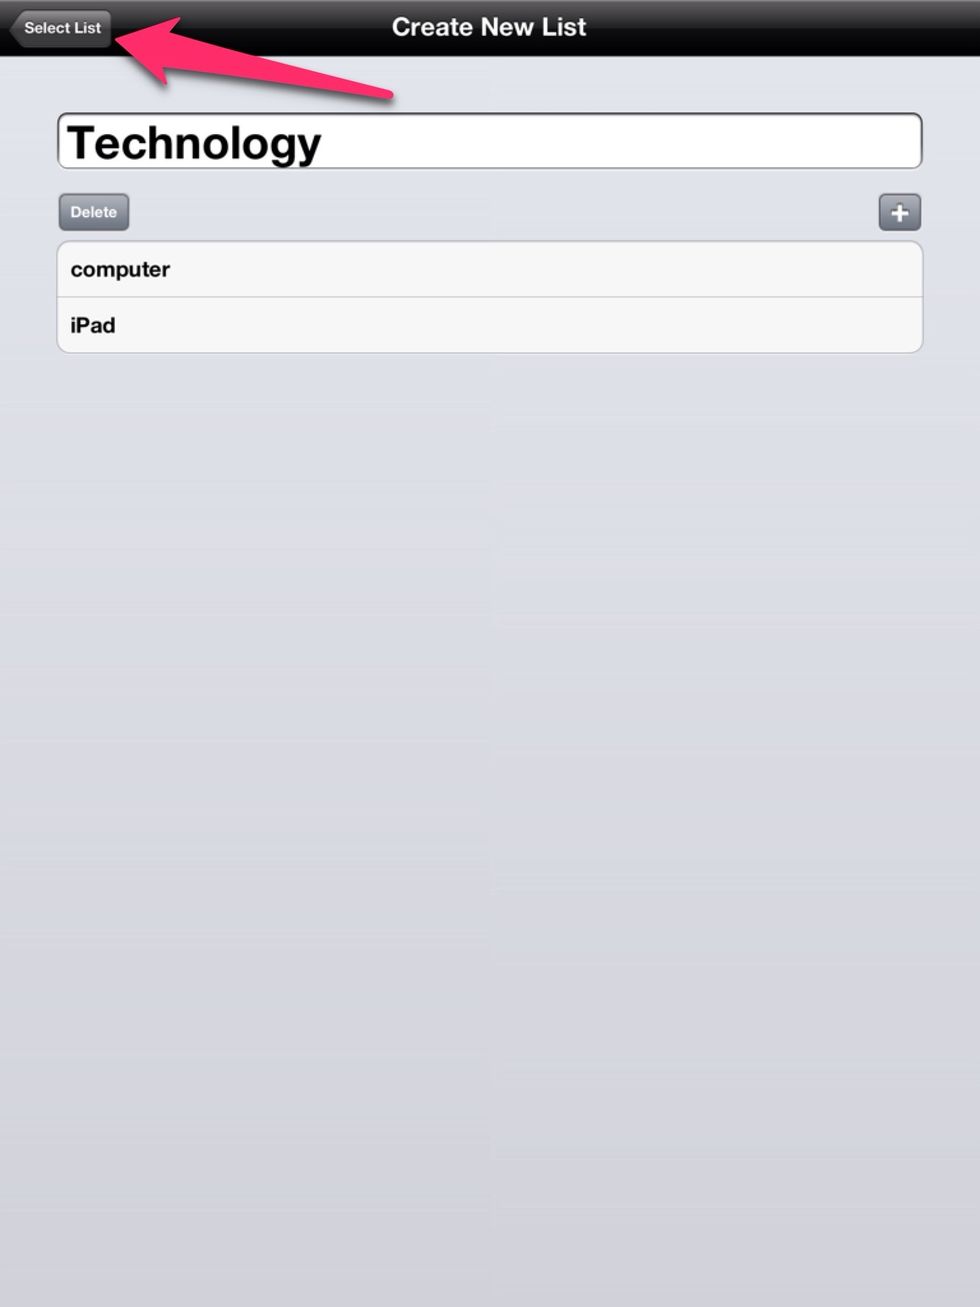
Enter more items if you want. You can always come back to add more. Tap the back/Select List button when done.
Tap the back/Settings button.
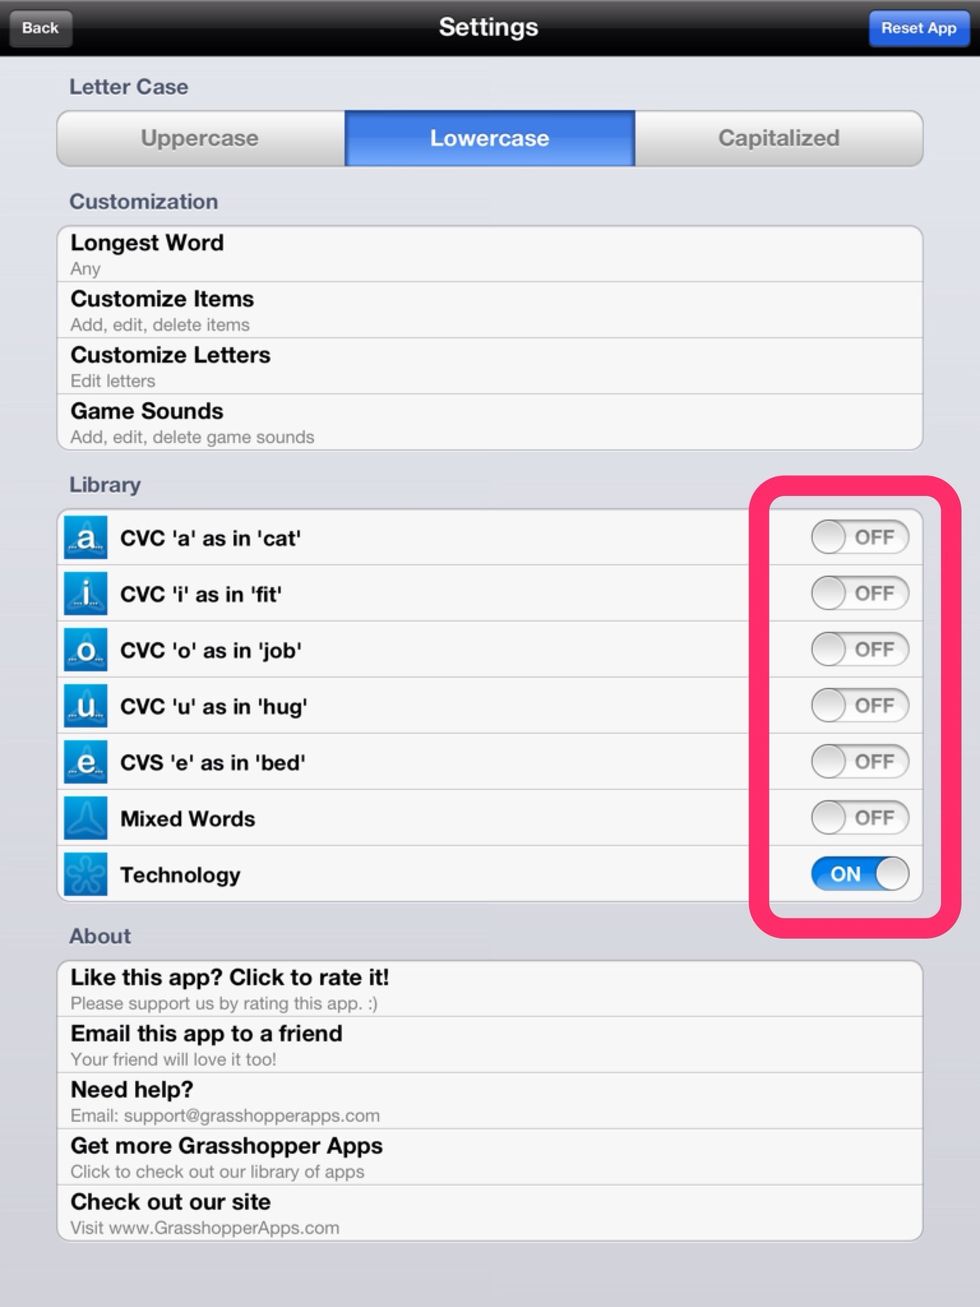
Turn all libraries off except the one you just created.
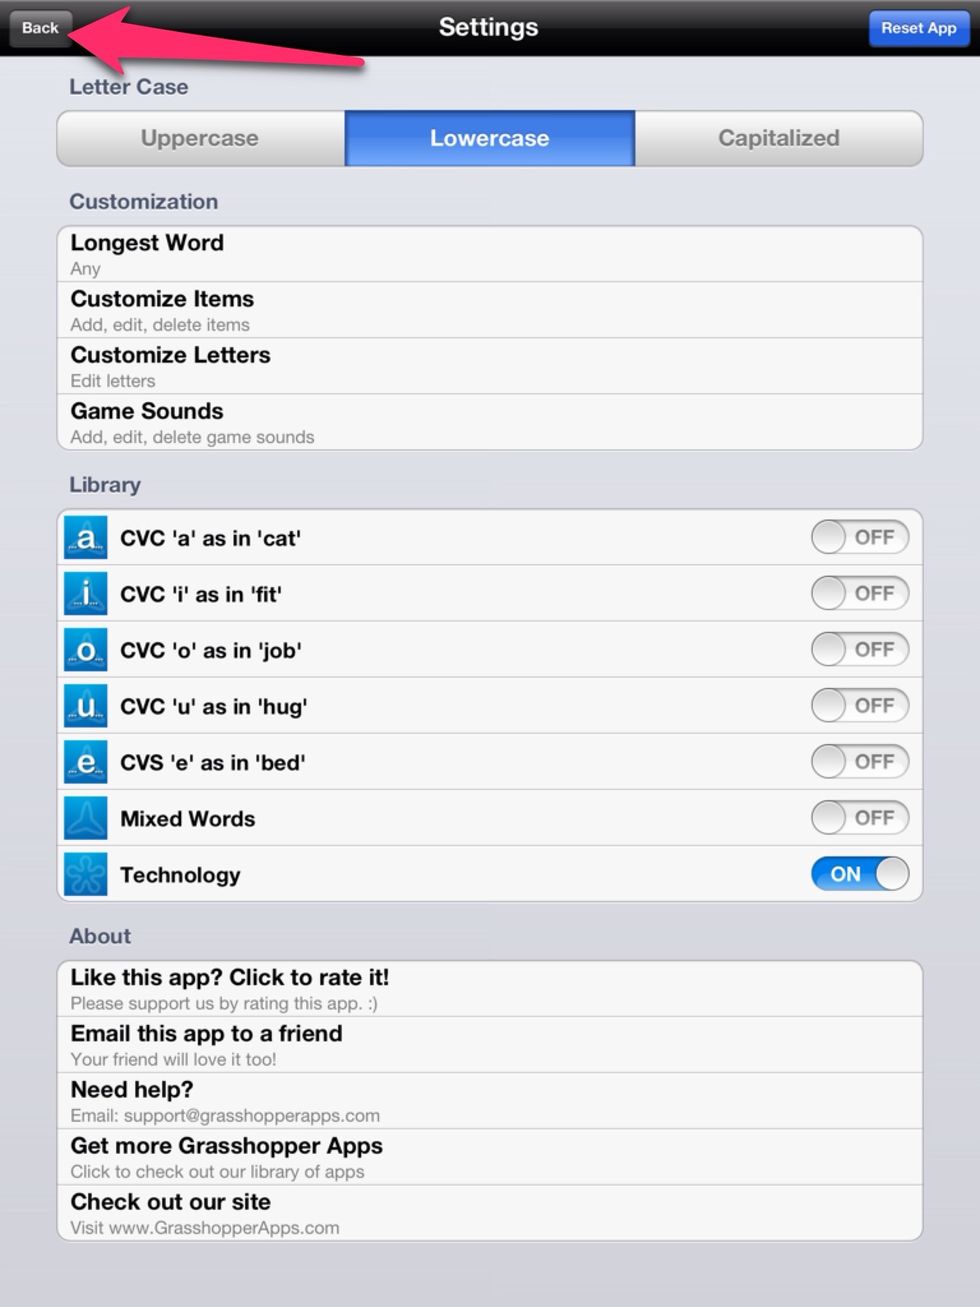
Tap the back button.
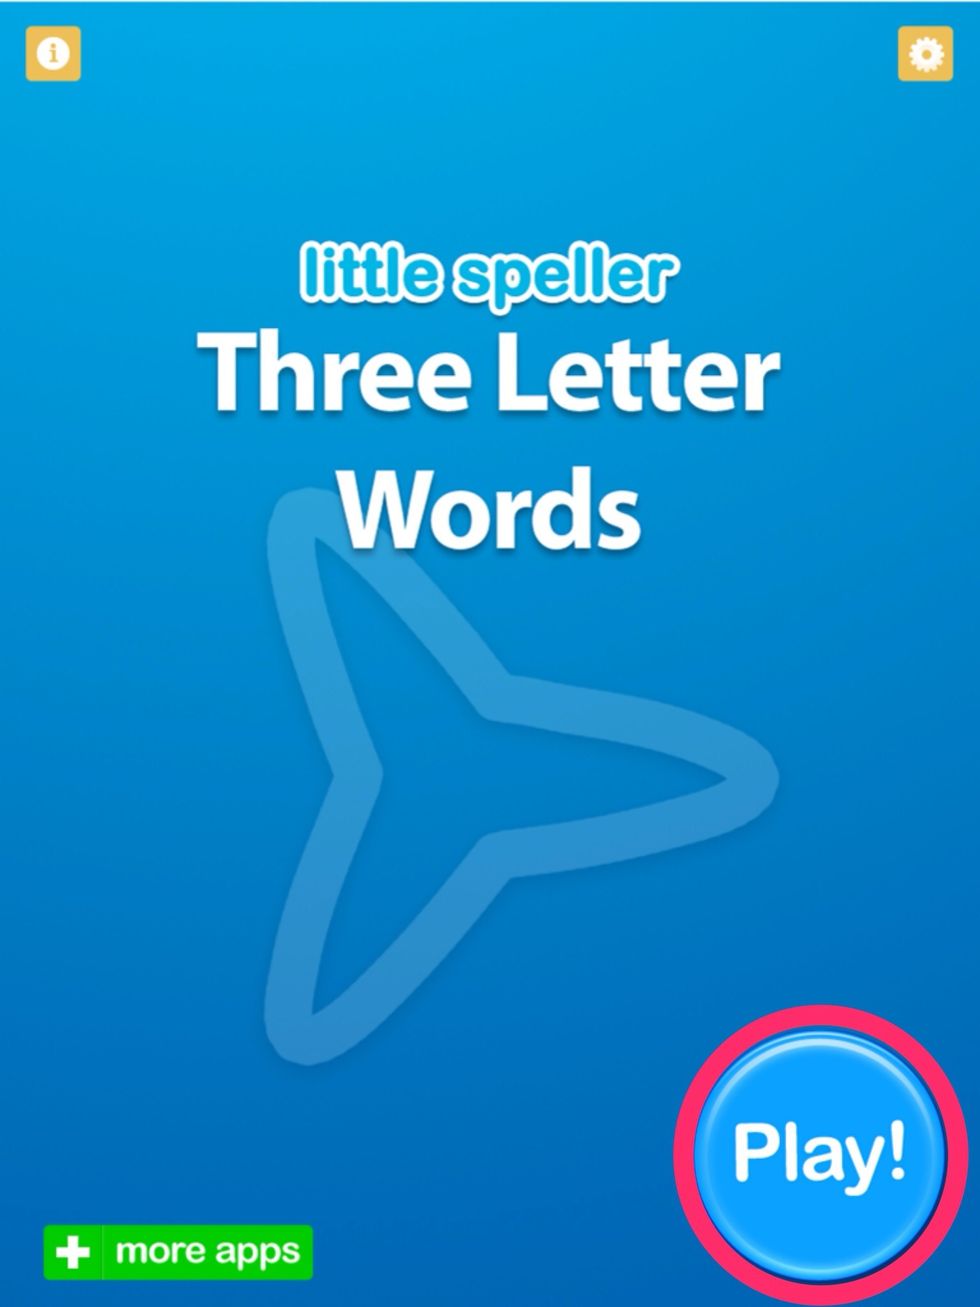
Test out your library by tapping Play.
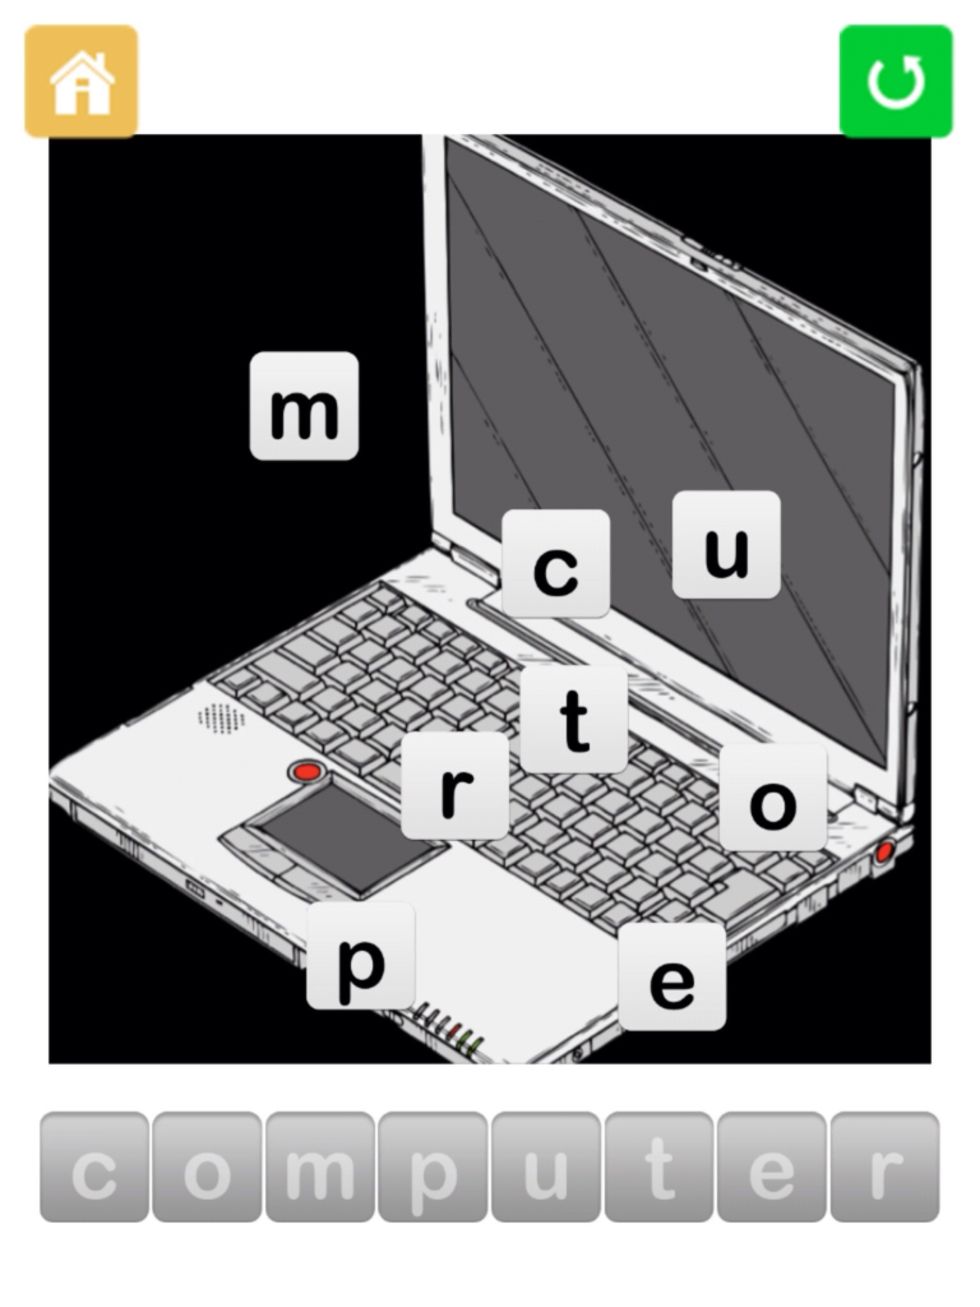
Enjoy playing!