The Conversation (0)
Sign Up
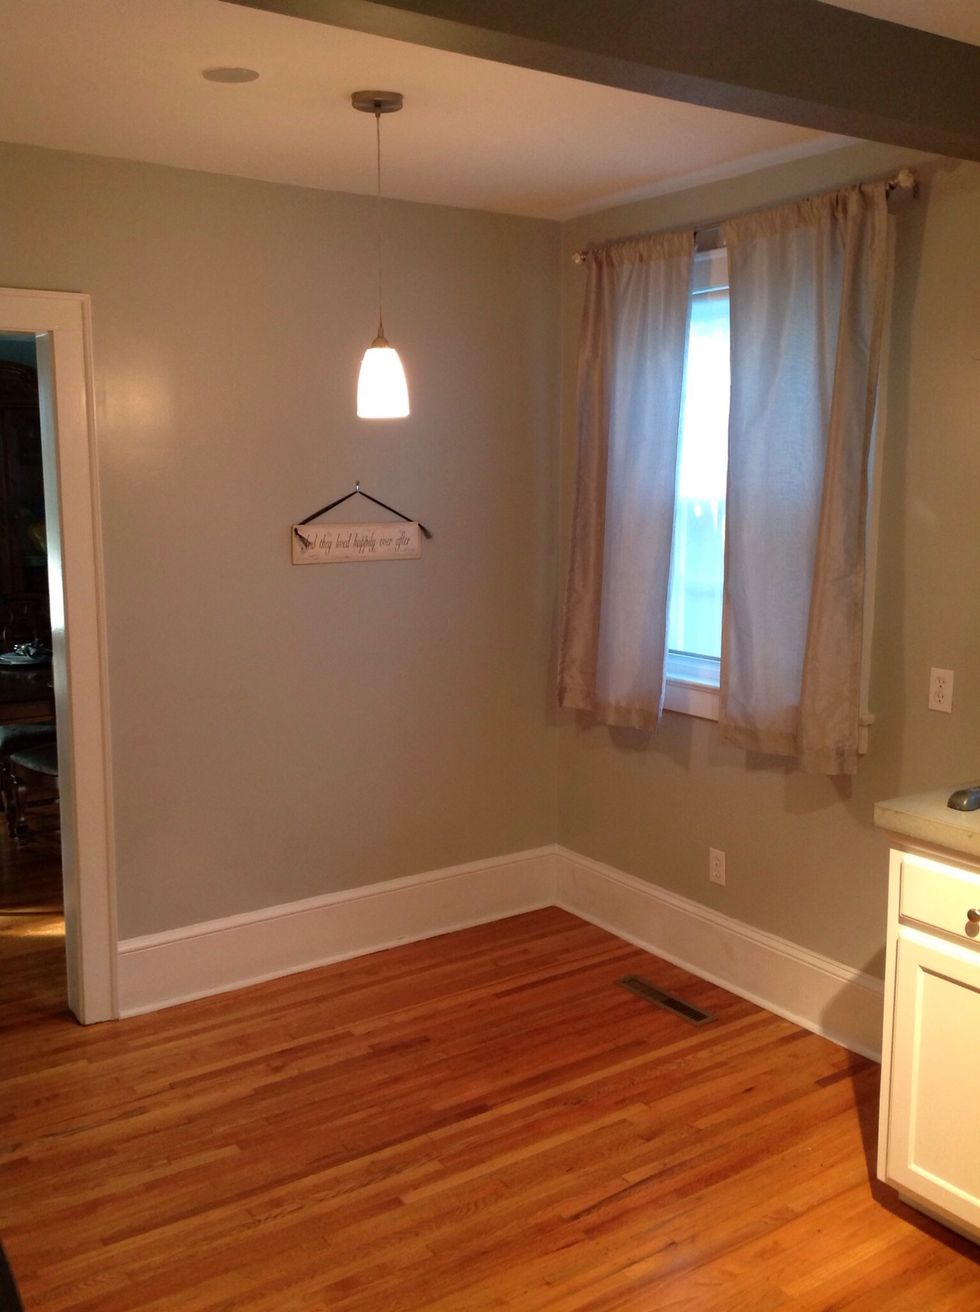
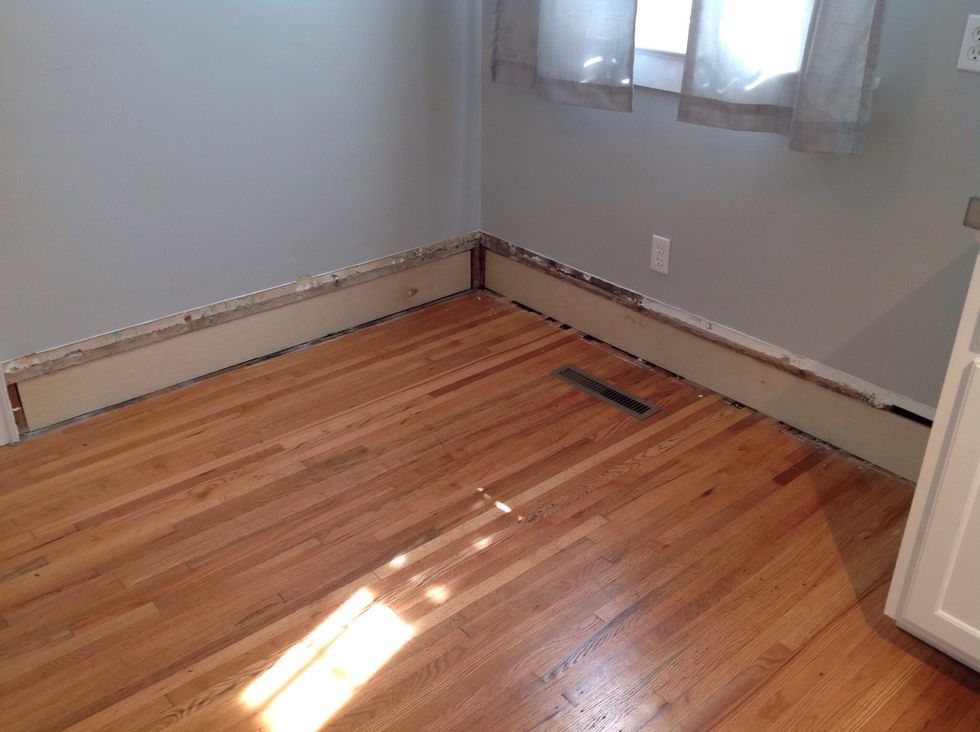
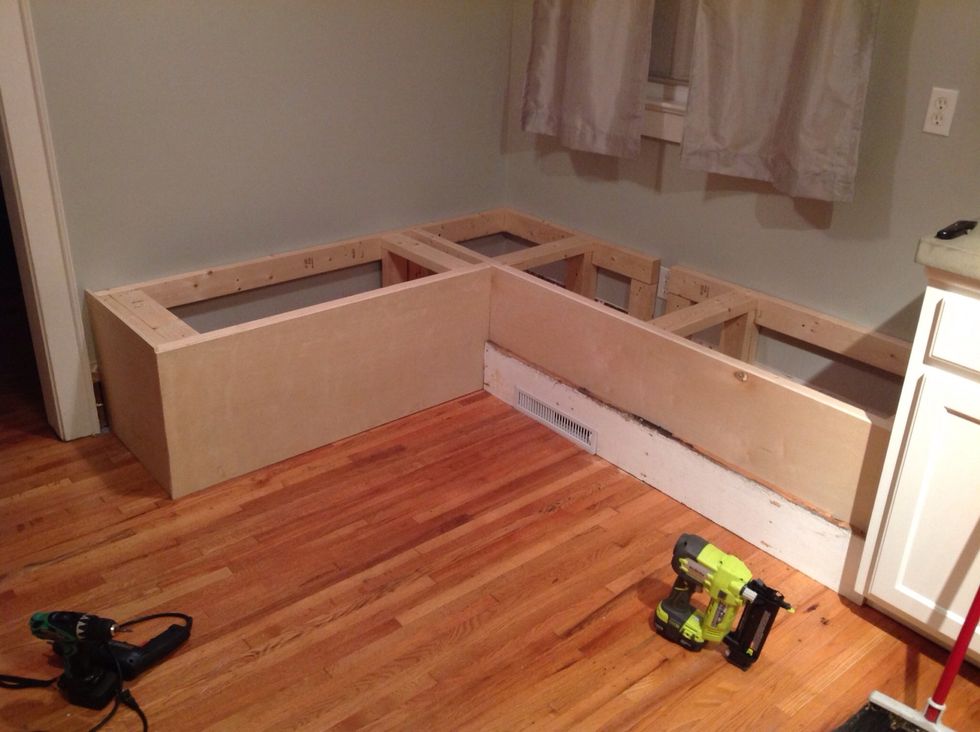
Take measurements of the potential seating area
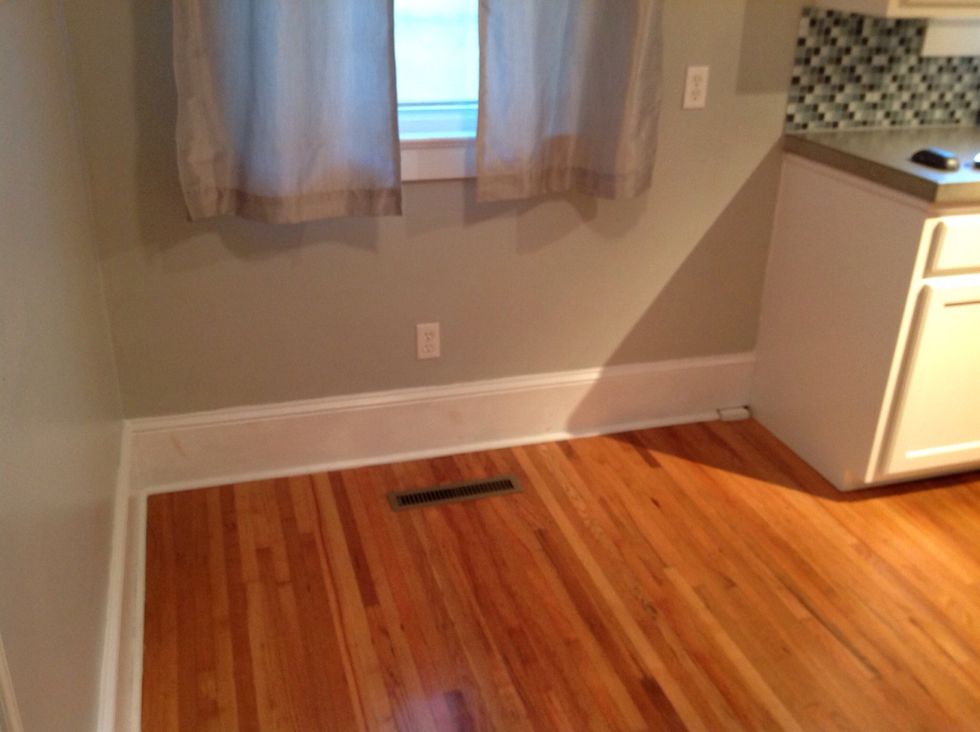
Take note of any obstacles you may need to work around. Here we had an A/C vent to redirect
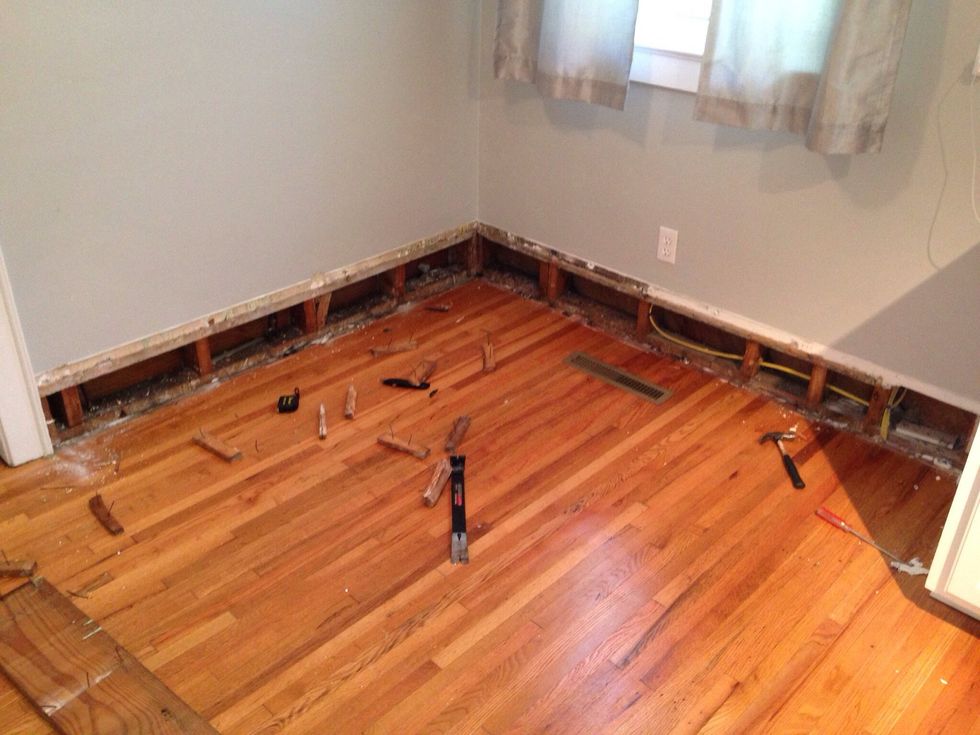
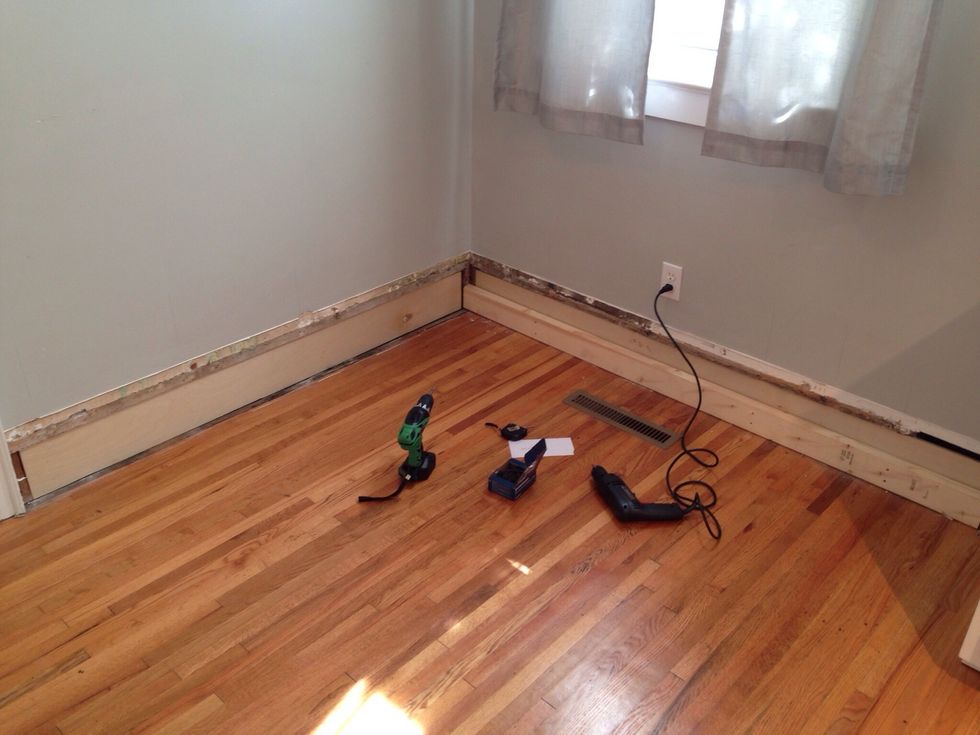
We decided to take off the old baseboards, and repurpose them to use for the front trim of the seating area.
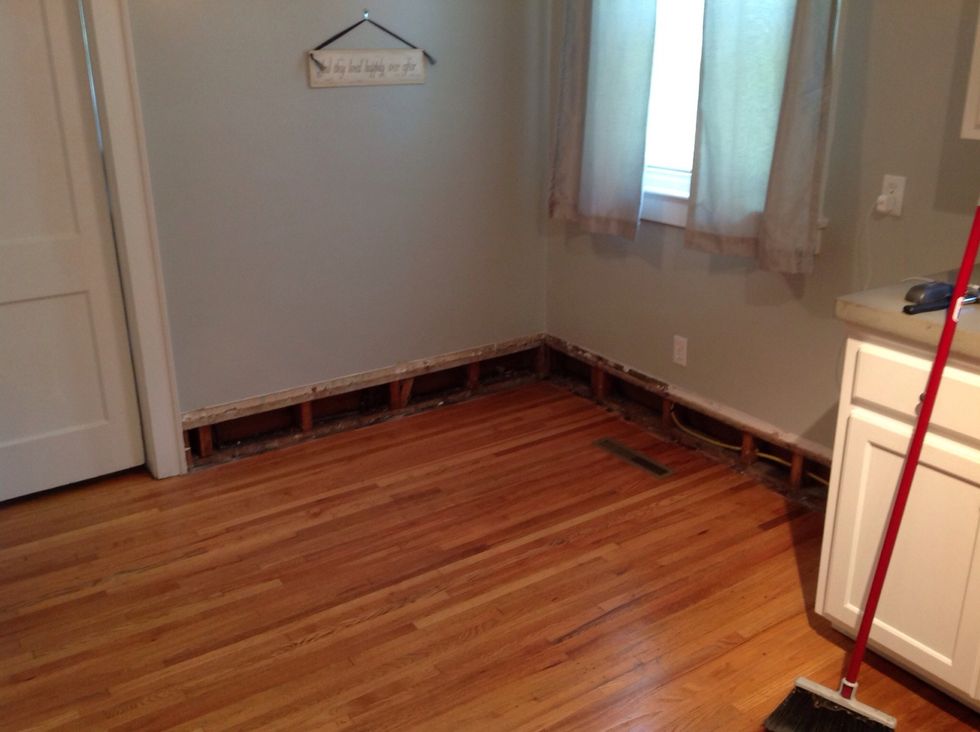
Our baseboards left an empty cavity behind, so I filled the space with additional plywood.
Start by framing out the floor of your seating "box". Typical seating areas are 18" deep by 18" tall. We did 20" deep to account for 2" of cushions on the back.
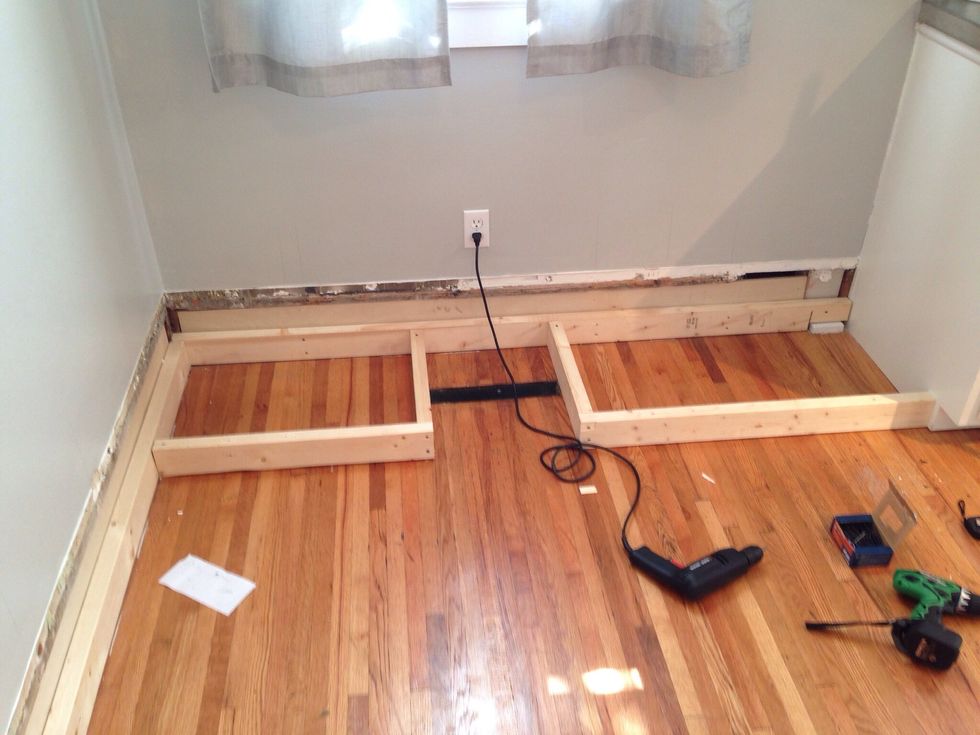
We framed around the A/C vent, so we could later redirect the air flow out of the front of the bench.
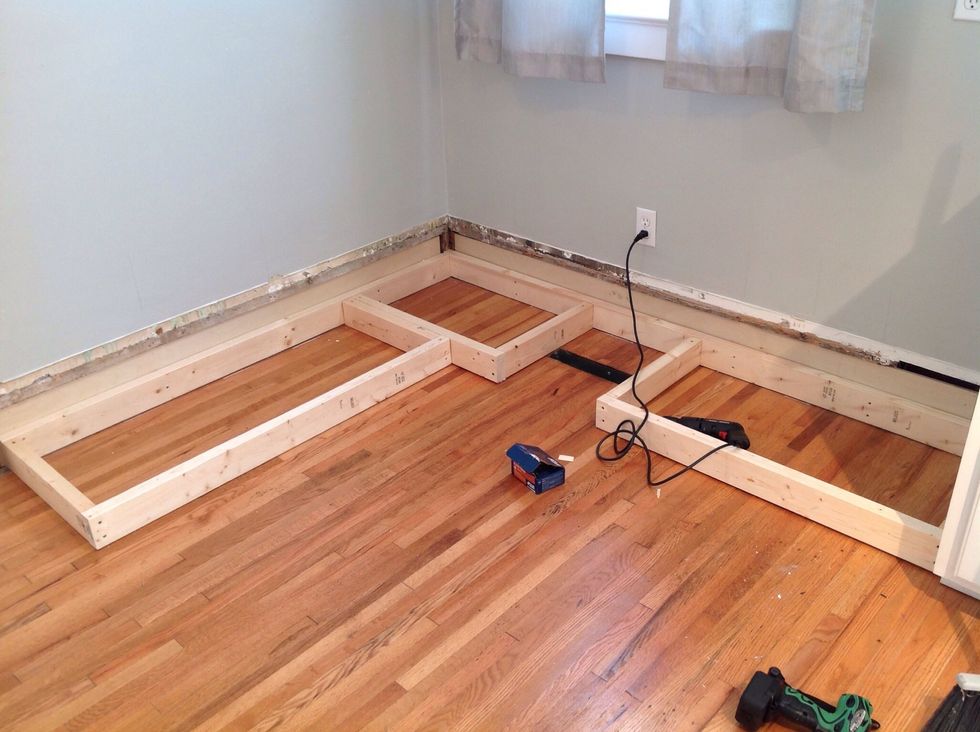
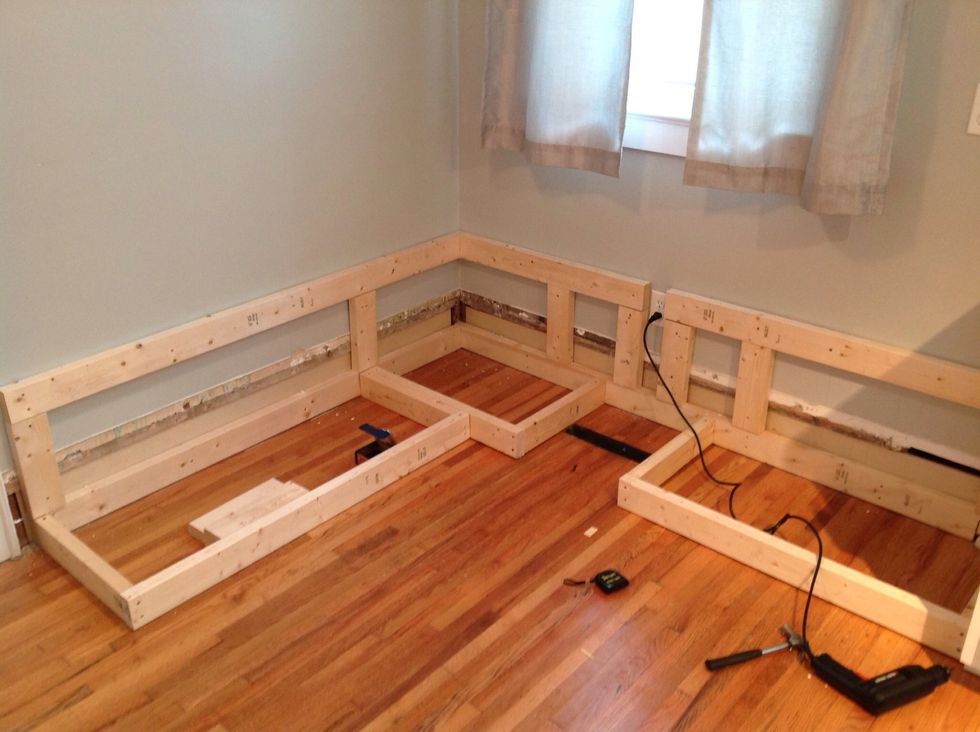
We framed around an existing electrical socket, so we could continue to use it after the seat was in place. I have seen some other designs where the socket was redirected to the outside of the bench.

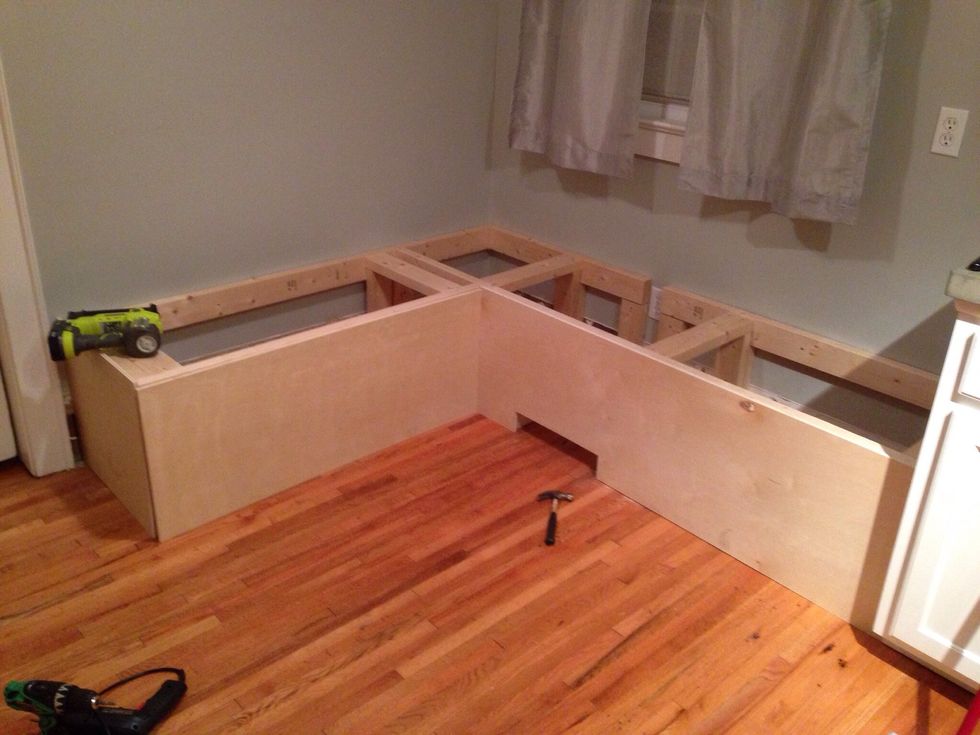
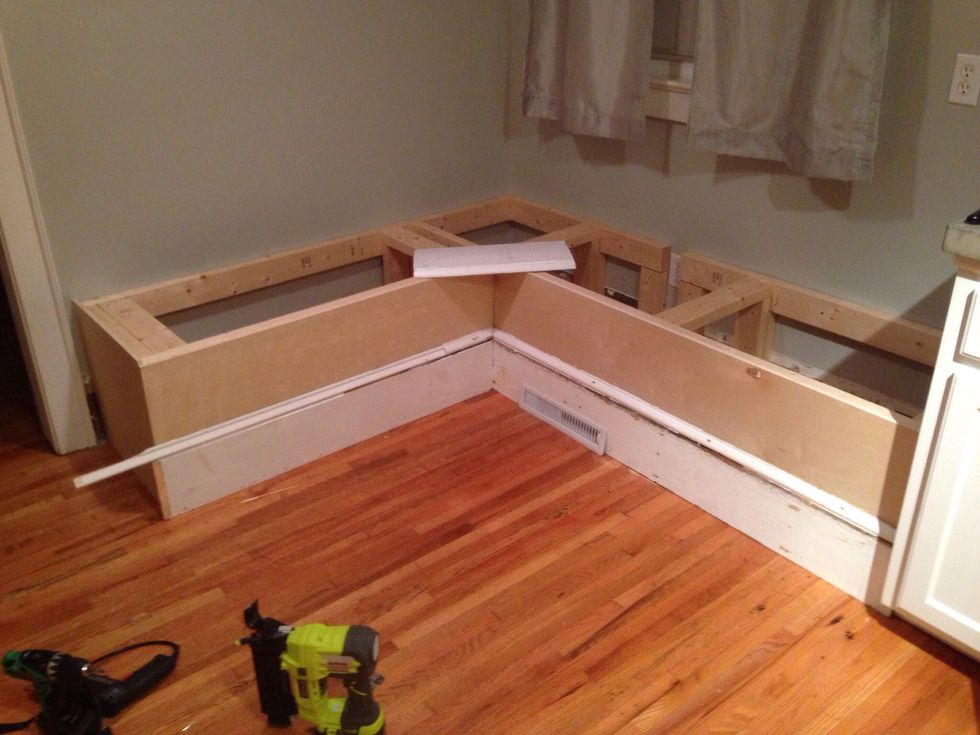
Measure and cut project plywood to fit front of bench. Use brad nailer to attach to frame.
Make sure to account for any obstacles / redirects with the front of the box.
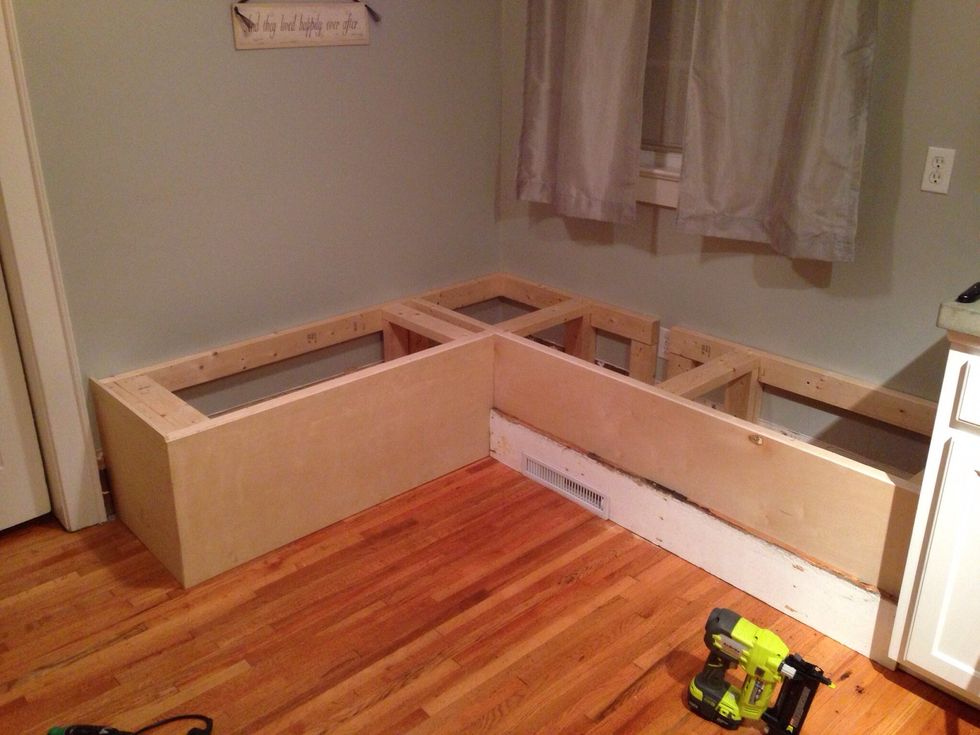
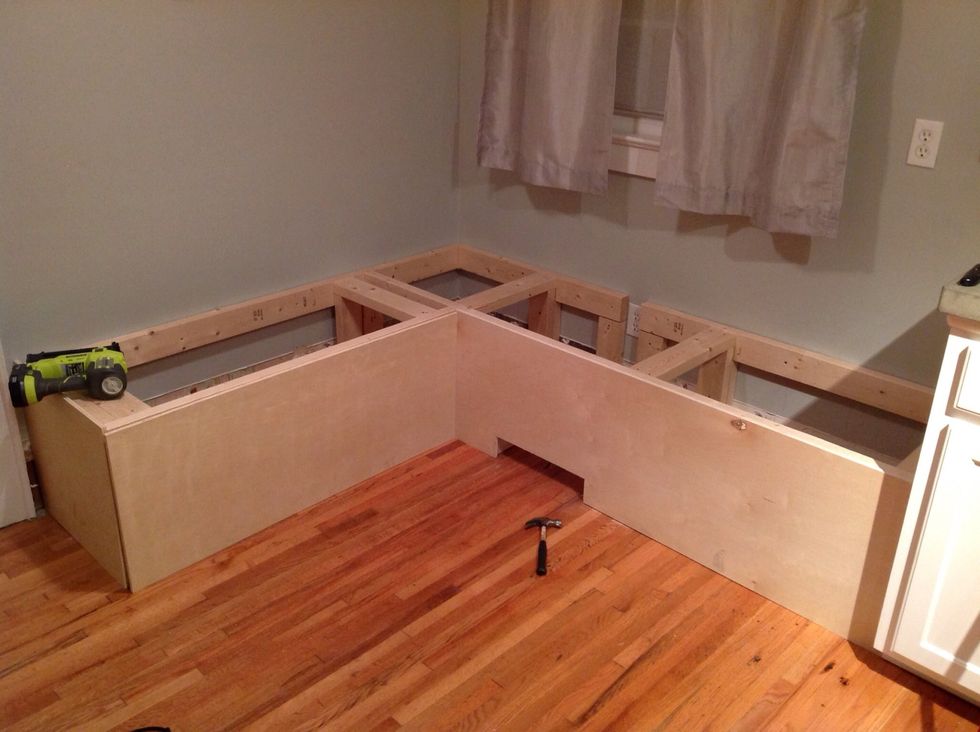
Cut and attach baseboard removed in prior steps to front of bench.
Finish trim if necessary.
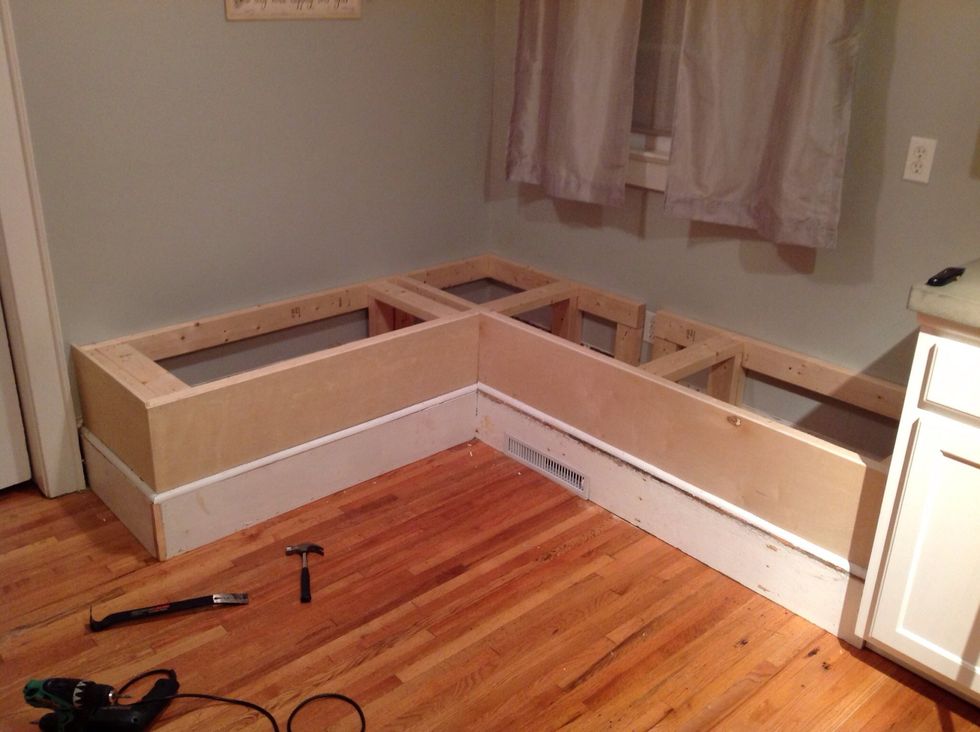
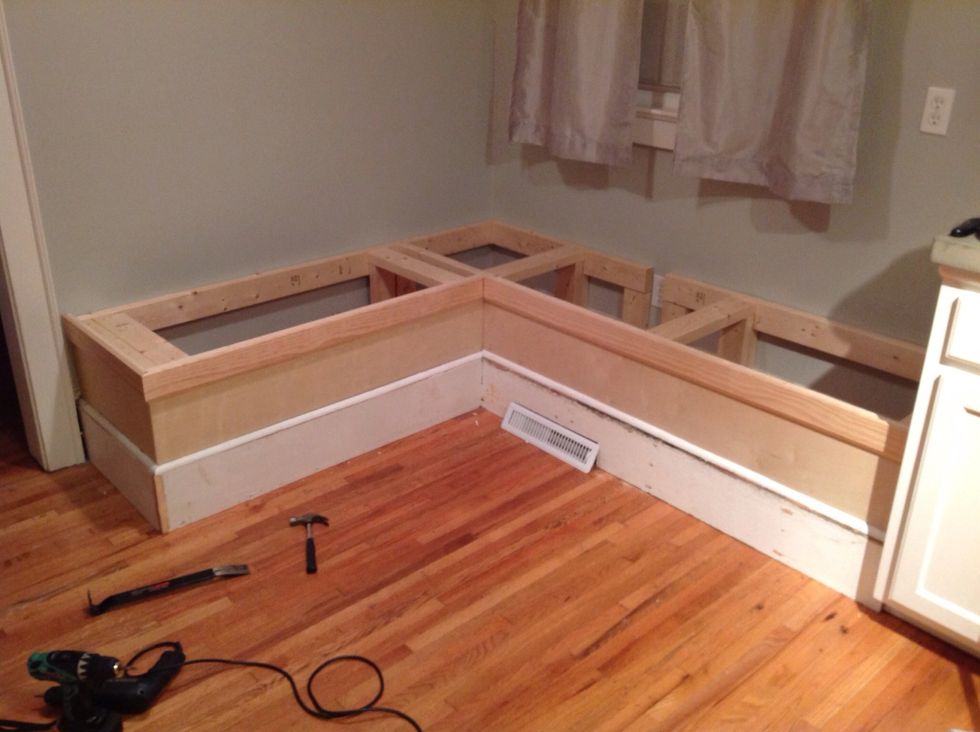
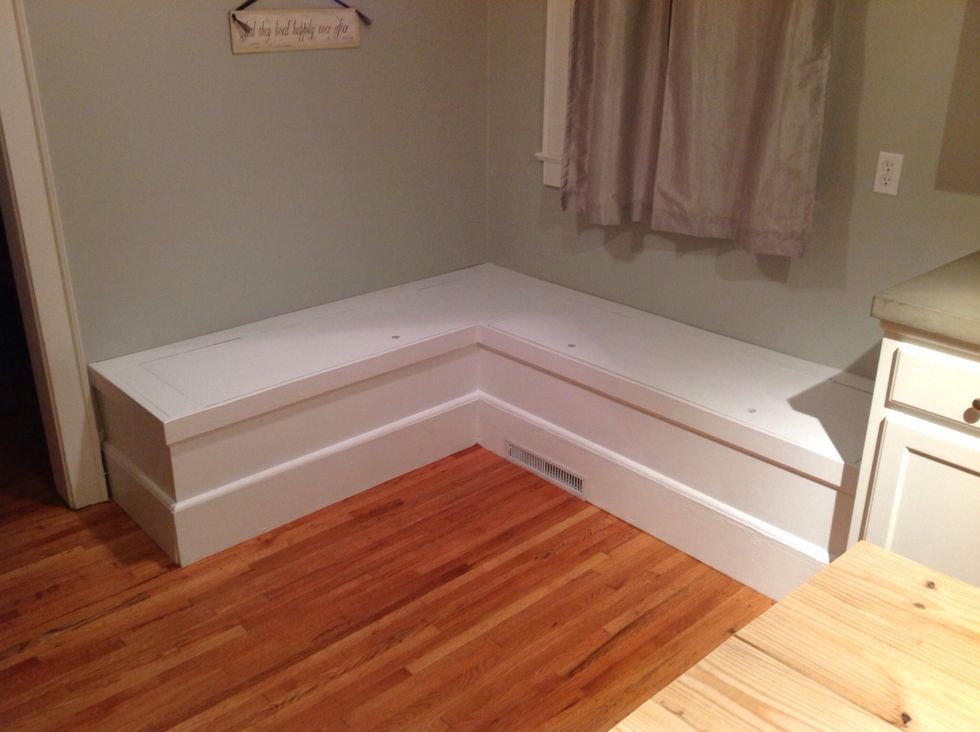
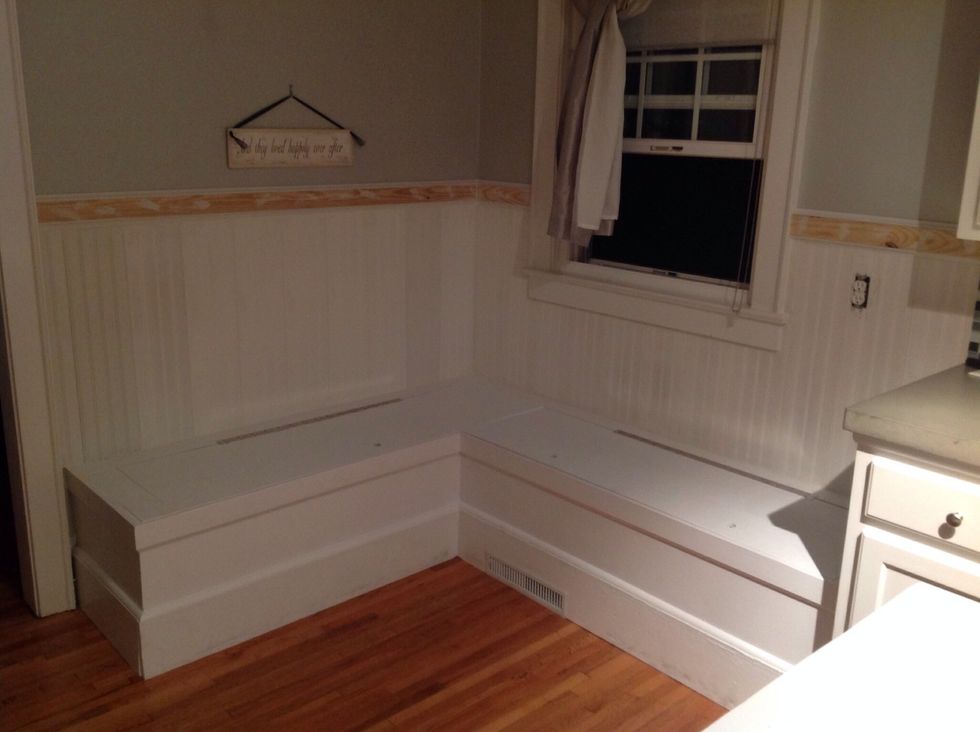
Attach trim to top. We allowed for 1/2" above the box, so the top would fit snugly inside and flush with the top.
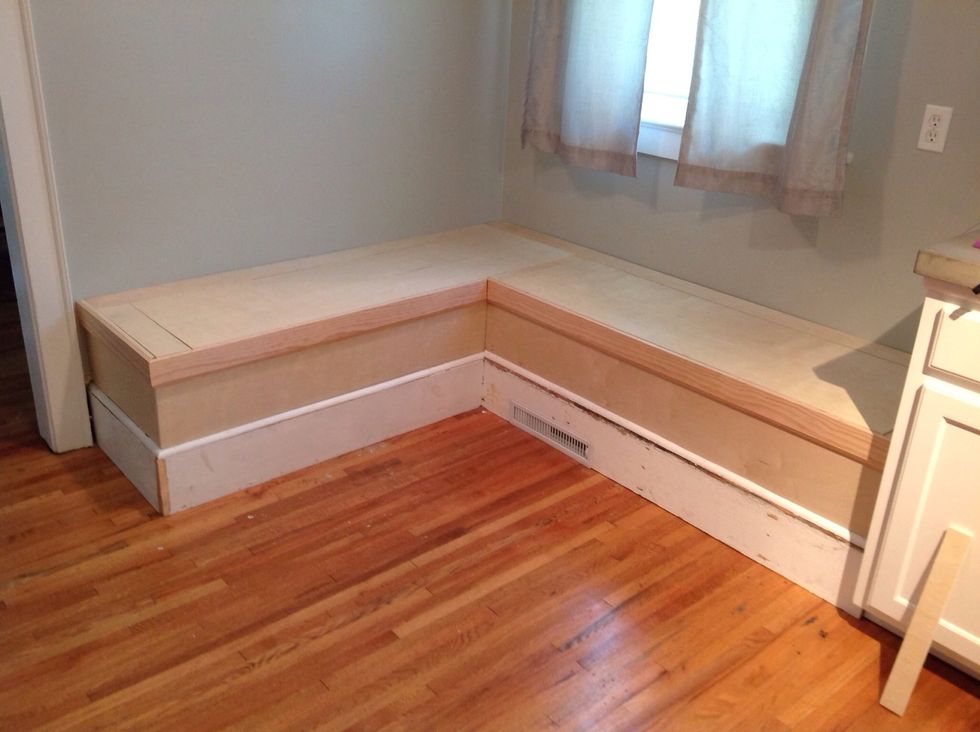
Time for the top. We made it so ours could open and have storage underneath. Leave 2-3" gaps around the back and sides for clearance. Note how our top fits flush with the outer trim.
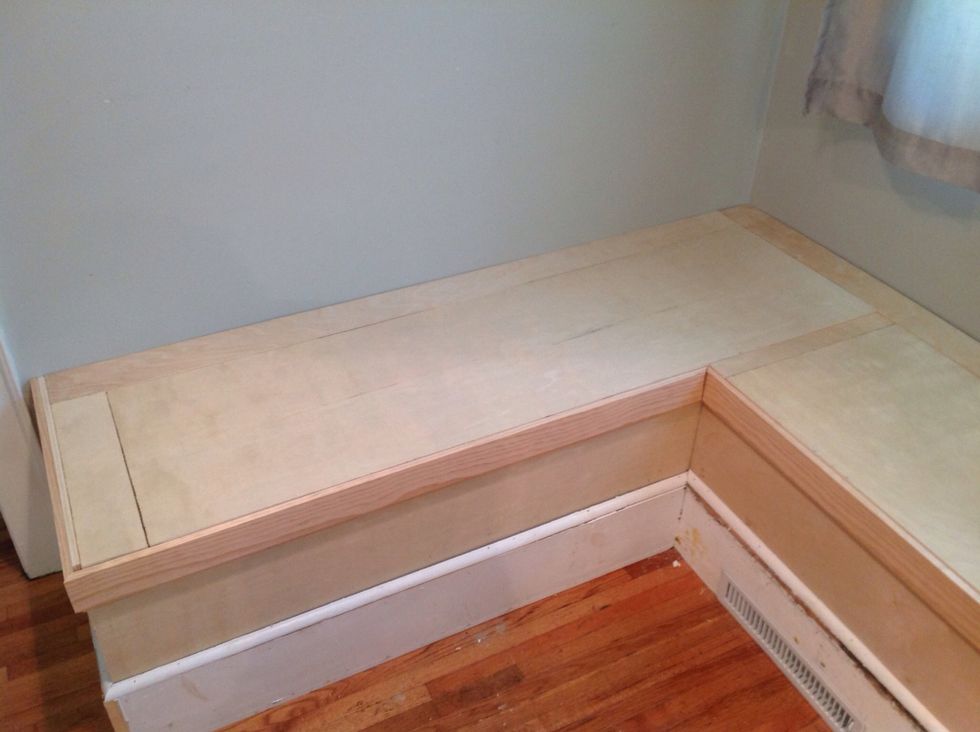
Close up of the top.
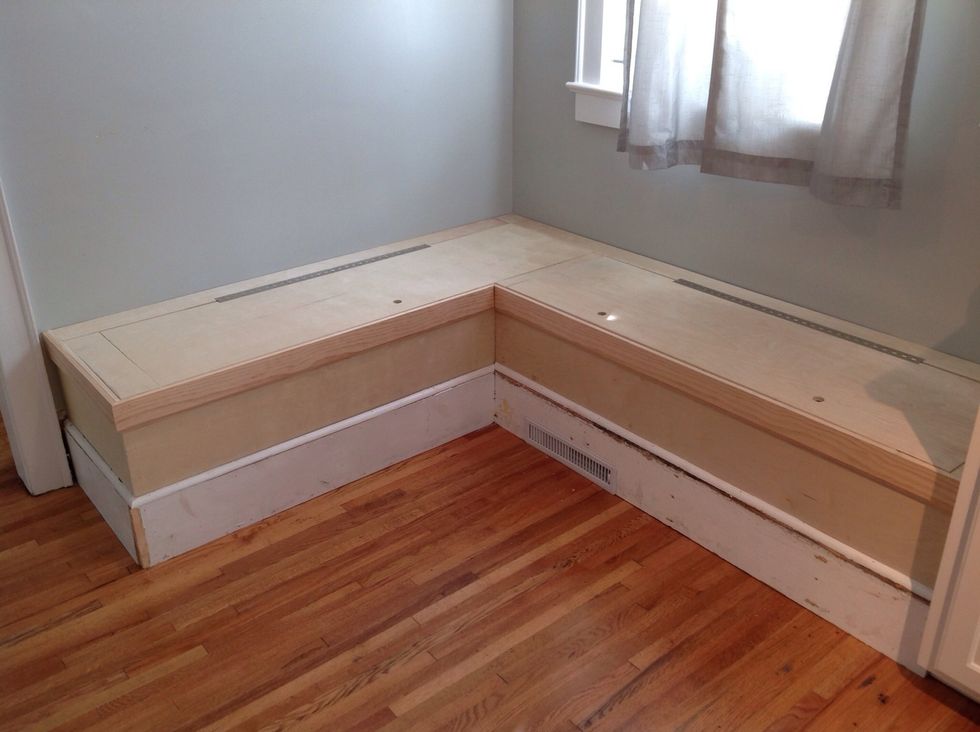
Install hinges and drill holes for finger pulls.
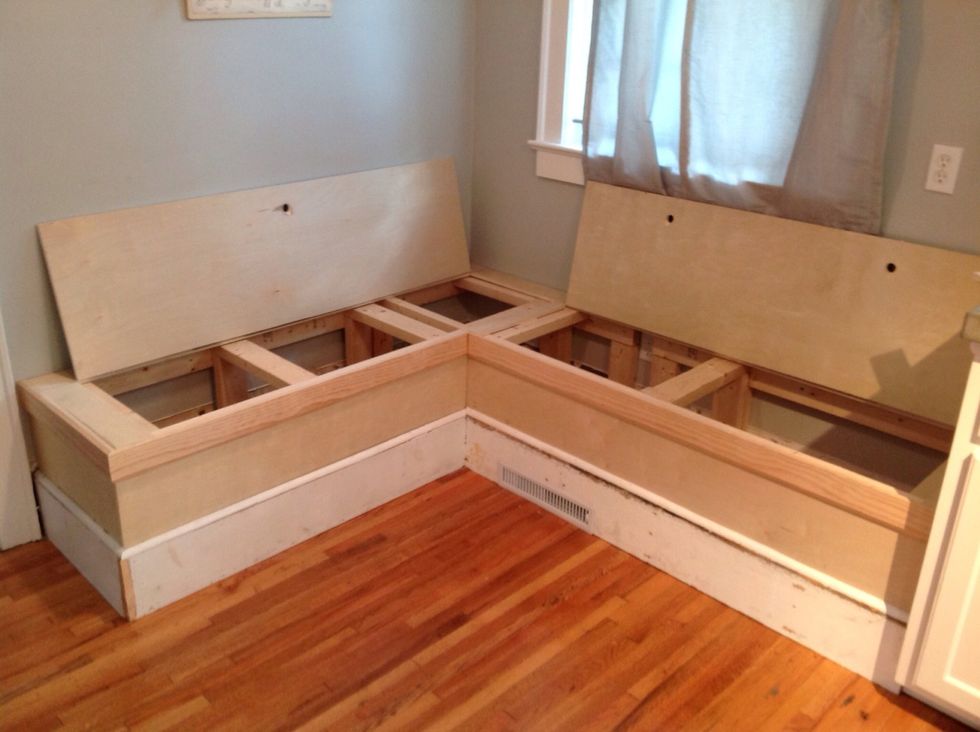
View of bench with doors open. Make sure that the frame underneath supports the doors. You can always add additional supports at this stage (we did!)
Paint!
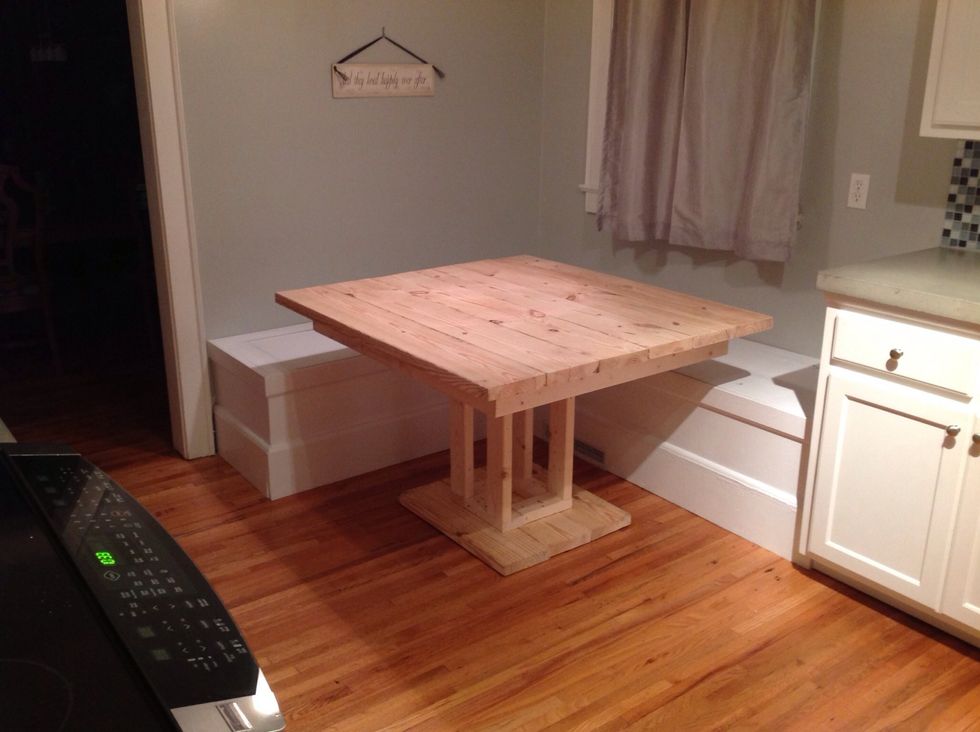
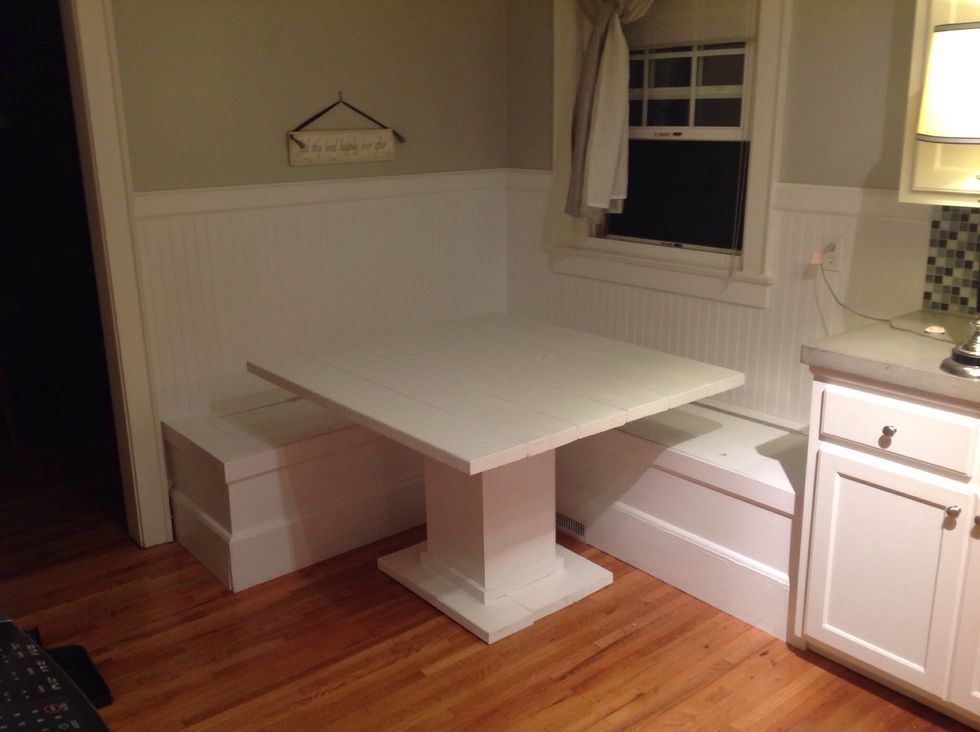
We made a table too, but it is still a work in process. Our next step is to add cushions / pillows and possibly a back - thinking about wainscoting to finish out and define the space.
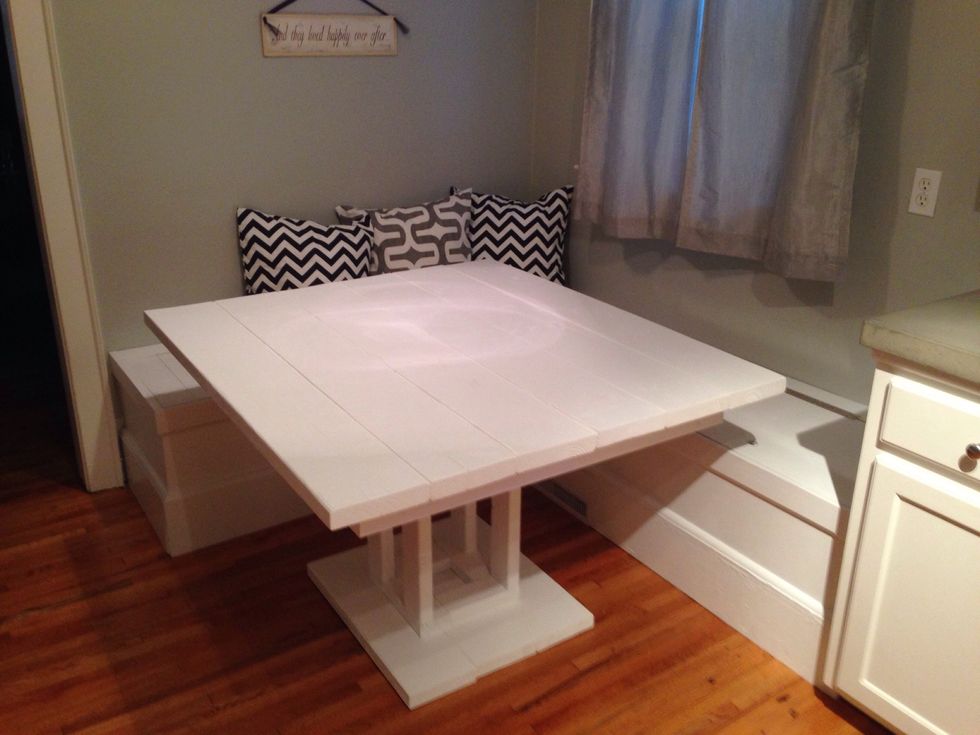
Painted the table and made a few pillows.
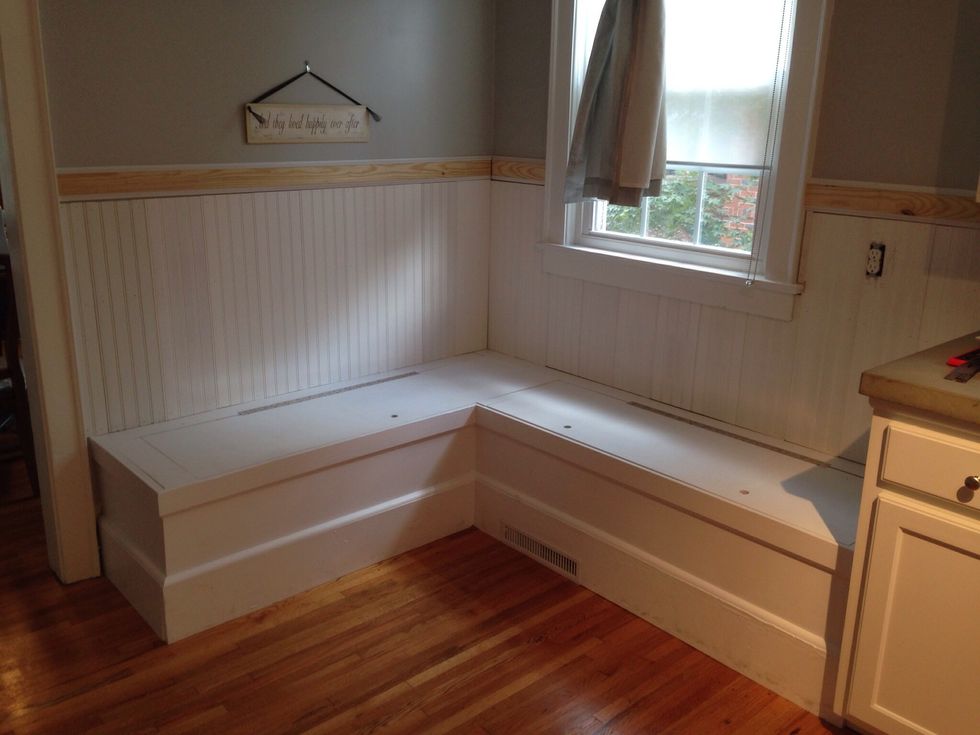
Added wainscoting and trim to wall to better define the space.
Caulk all the seams and trim.
More paint!
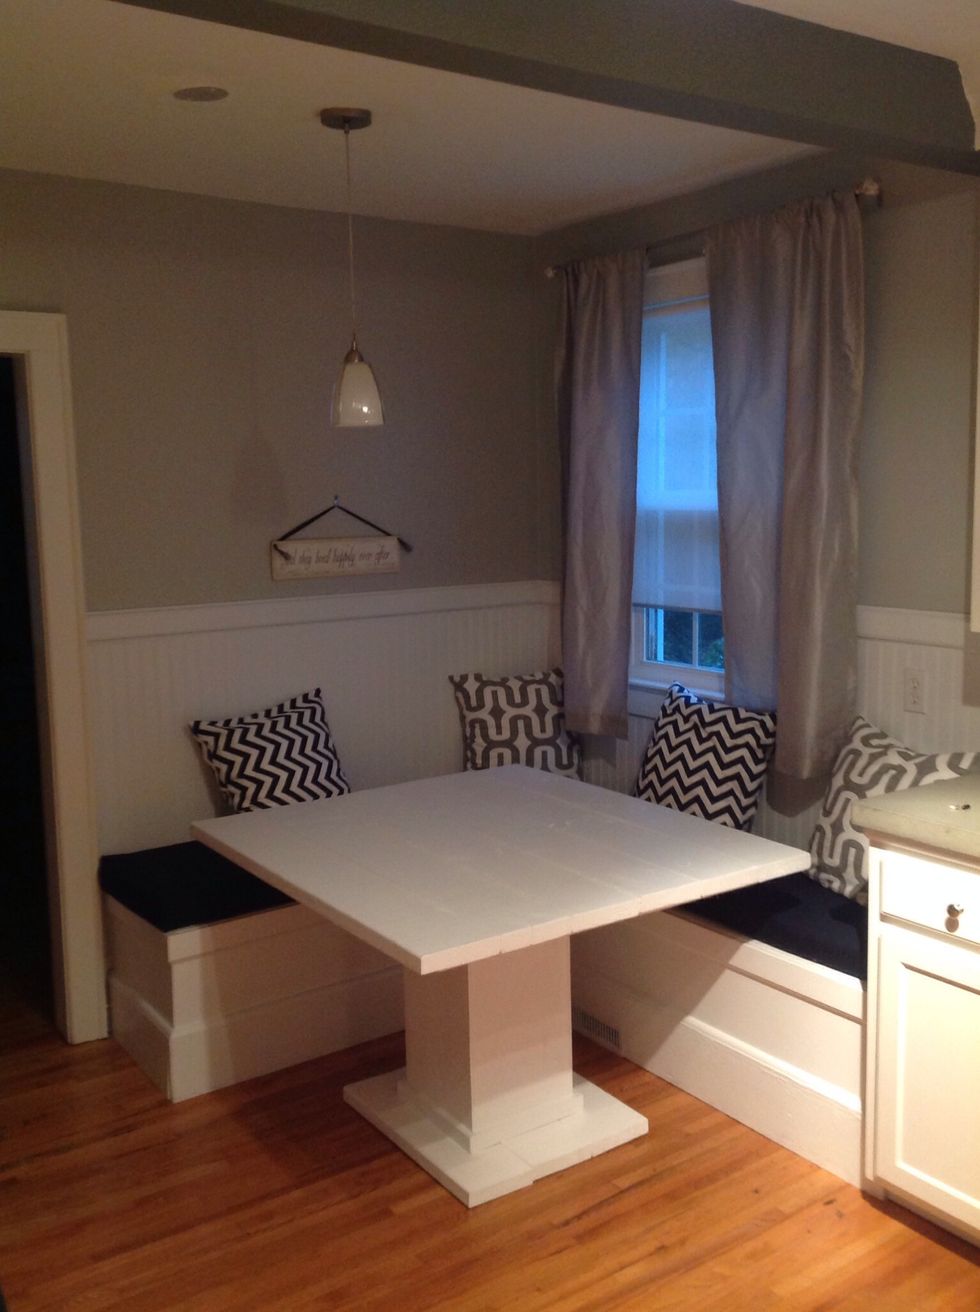
Finished project, with cushions!