The Conversation (0)
Sign Up
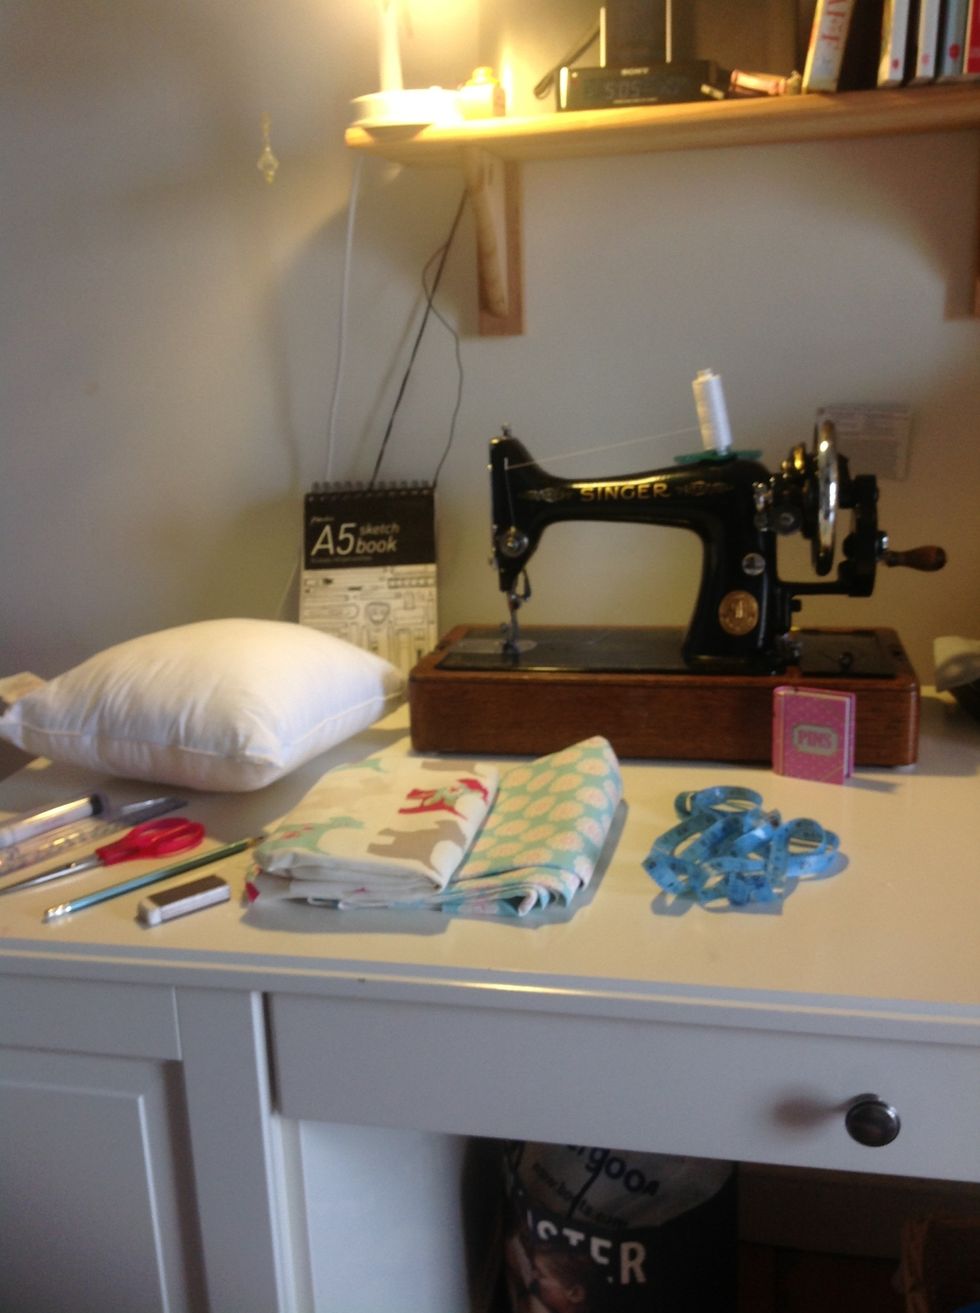
Some of the stuff needed :)

Measure the cushion, draw a diagram to remember the measurements.
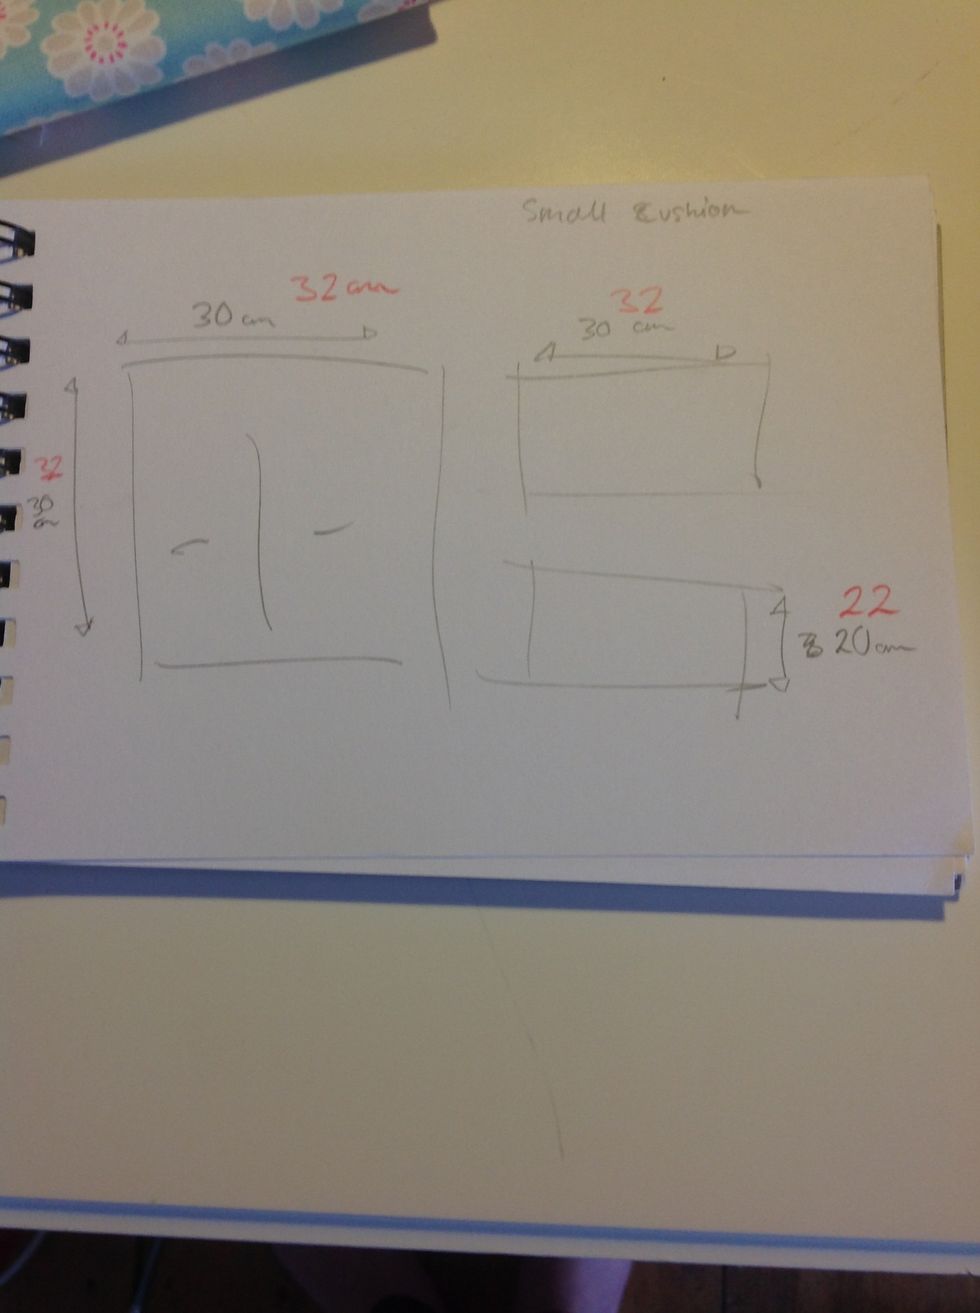
Diagram- When measuring the cushion add 2 centre-meters for the small border. (final measurements shown in red)

Draw the border, notice two lines, the inner one is to sew along later.
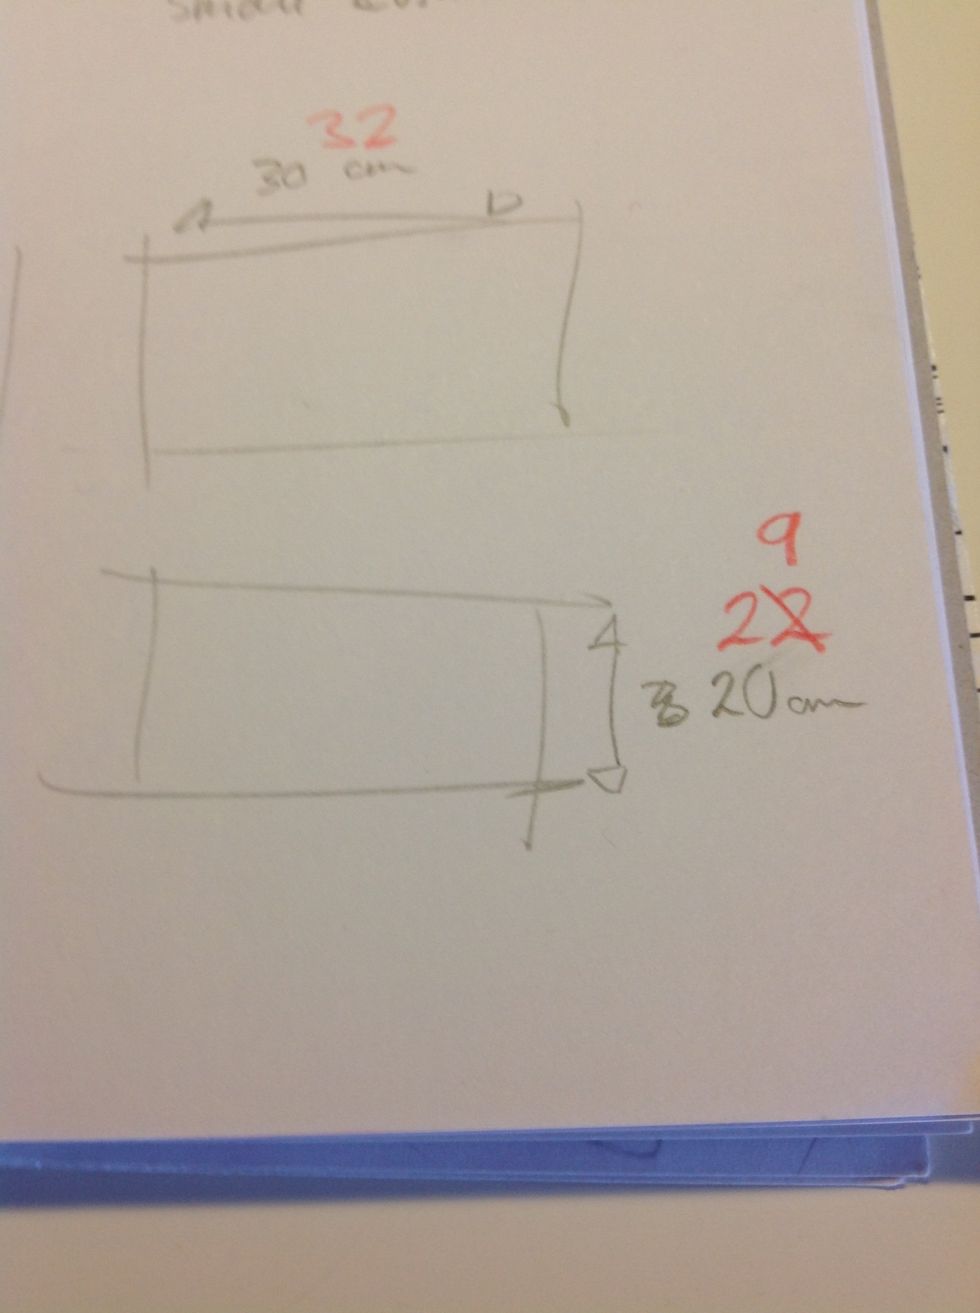
The back is a bit more complicated, It is made up of two parts. For the width of the two pieces you need to add 9 centimetres to the original size I'll tell you why later.
One of the longer sides needs to have a 2 cm border
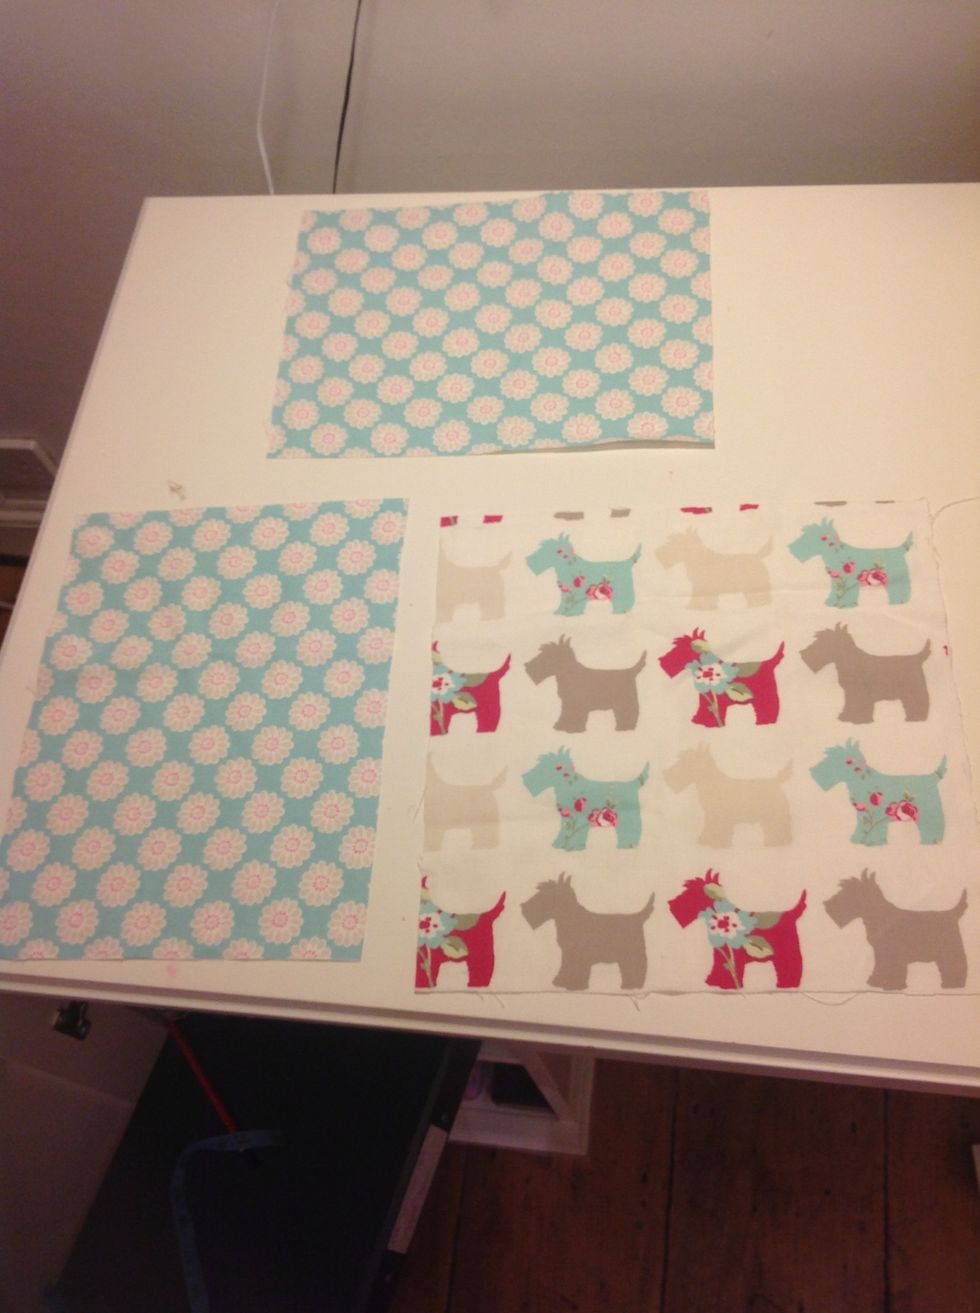
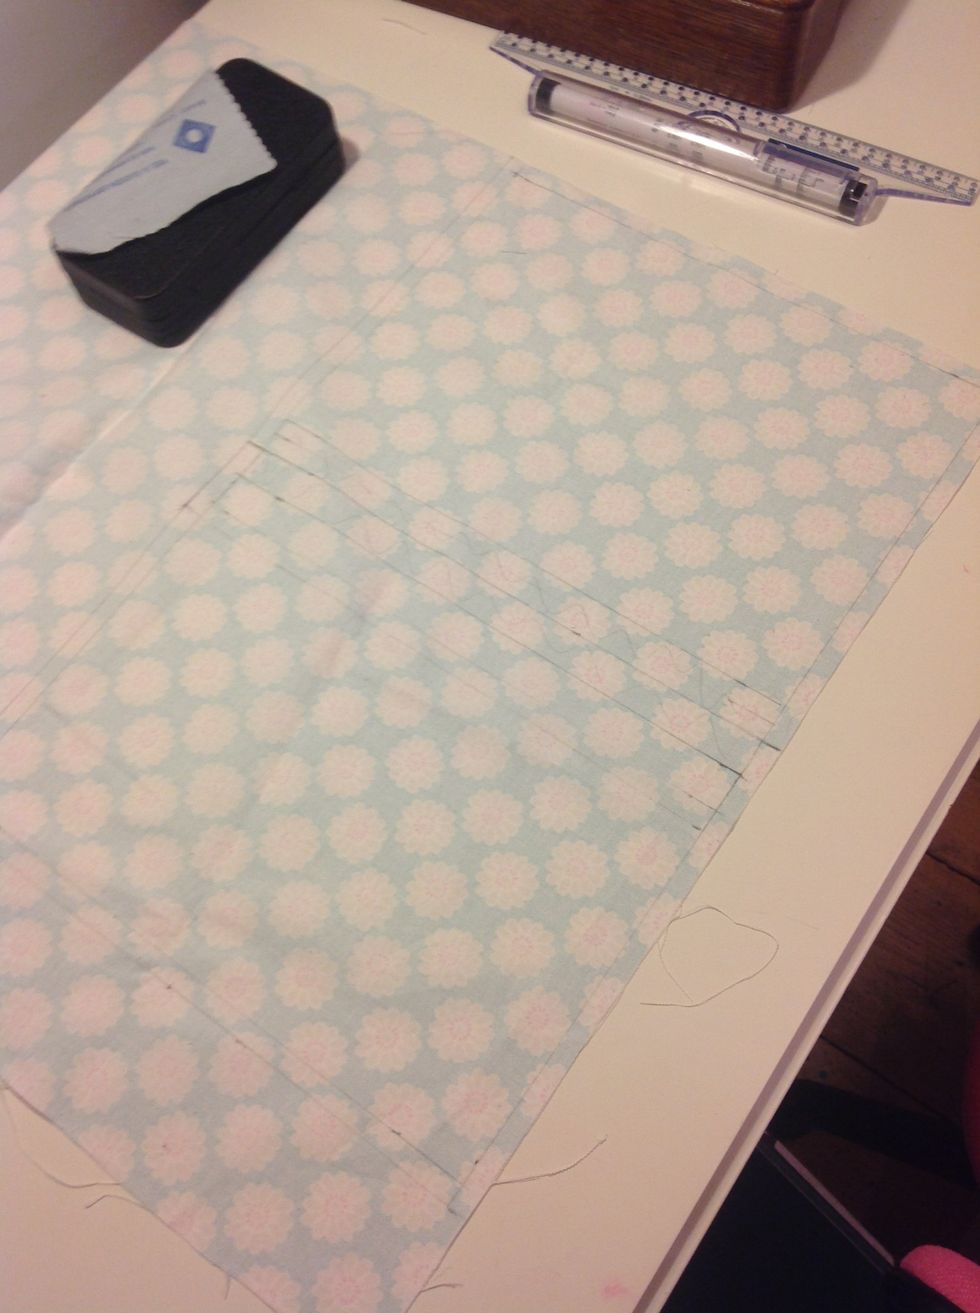
The pieces needed, at this stage I would add and decorations, an examples on the next side..
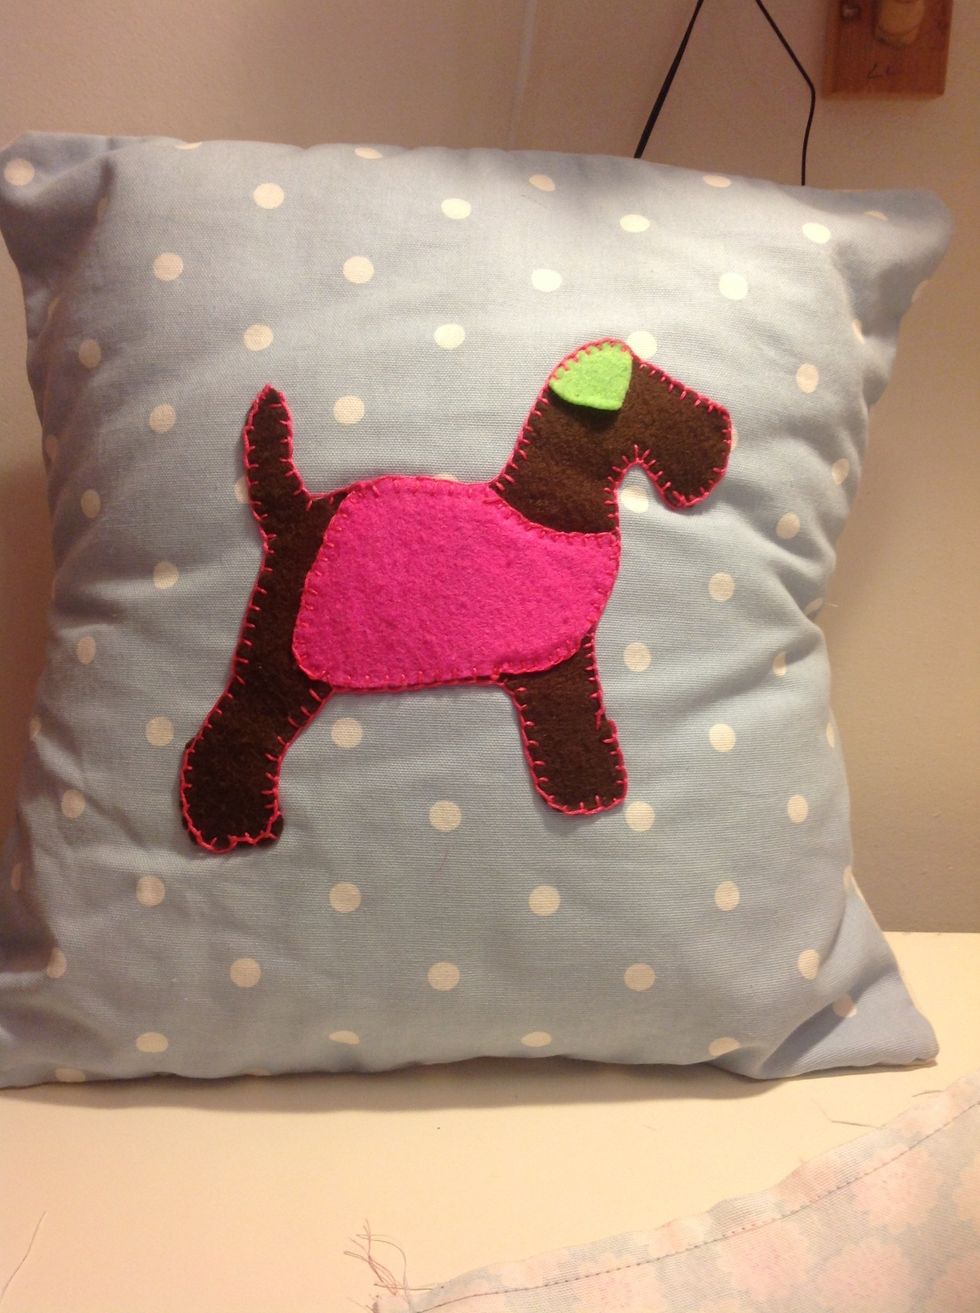
Hand sewing or decorations does look really nice :)

Iron the whole piece of fabric first....
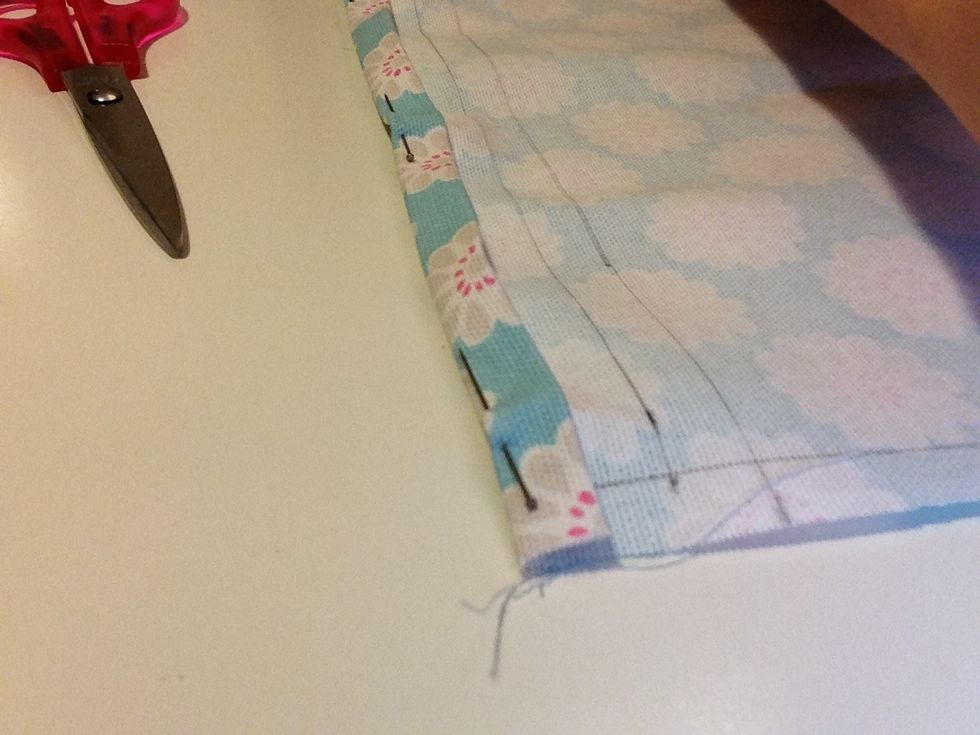
All tacked up!
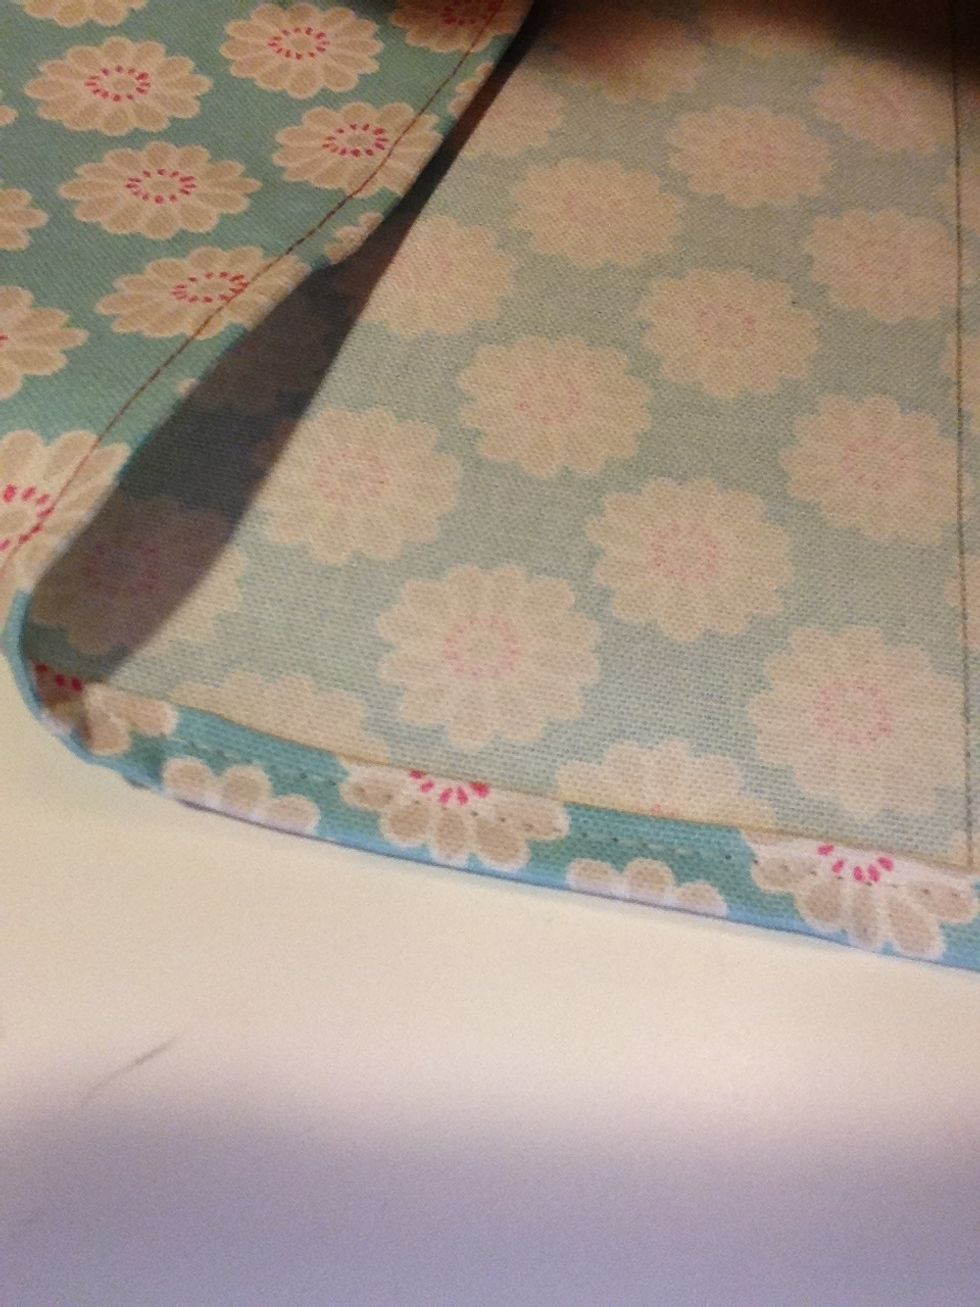
Sew the border of the back up!
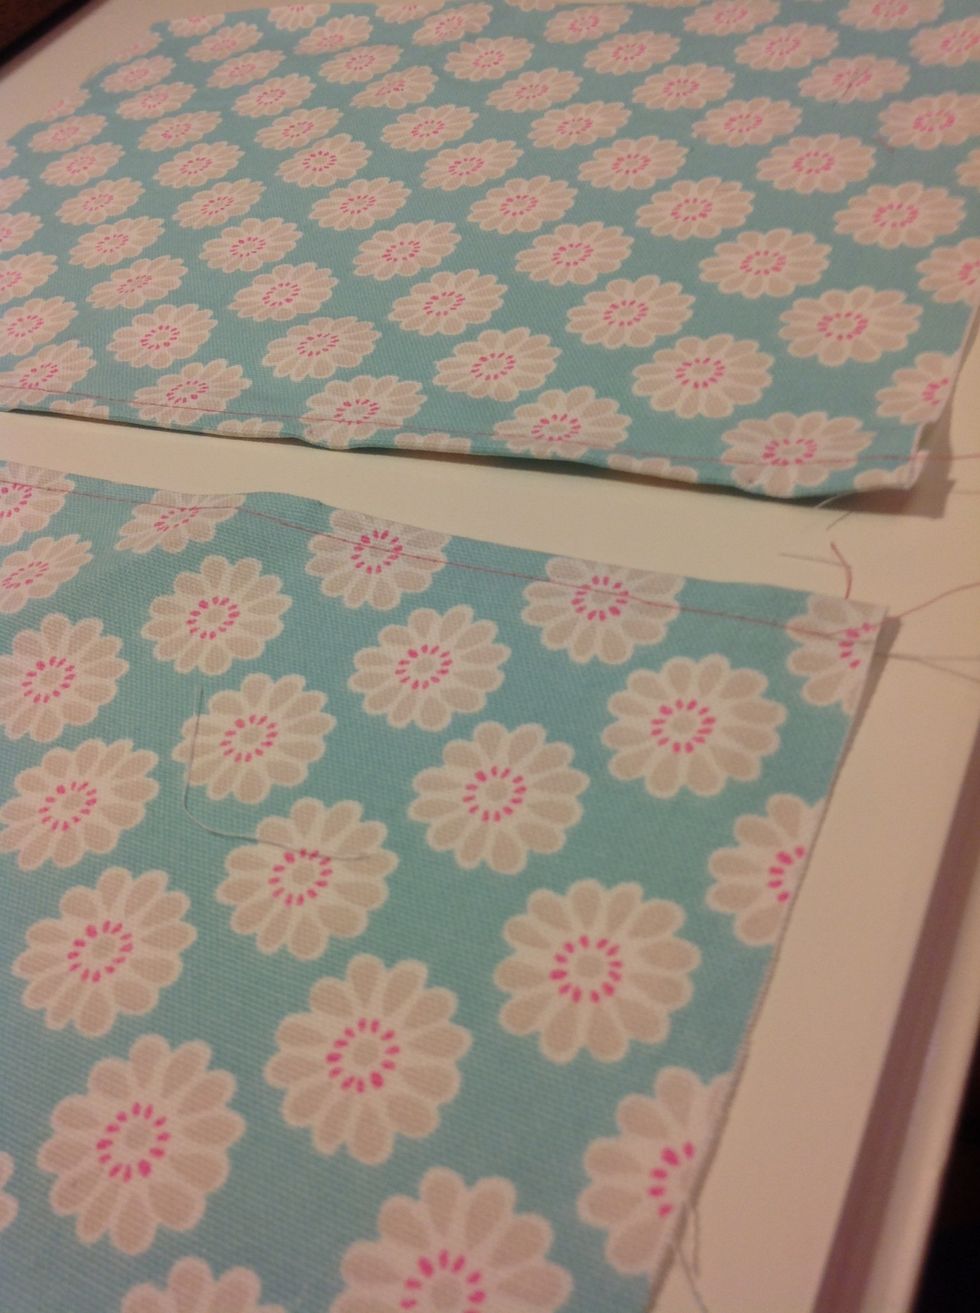
They should look like this.
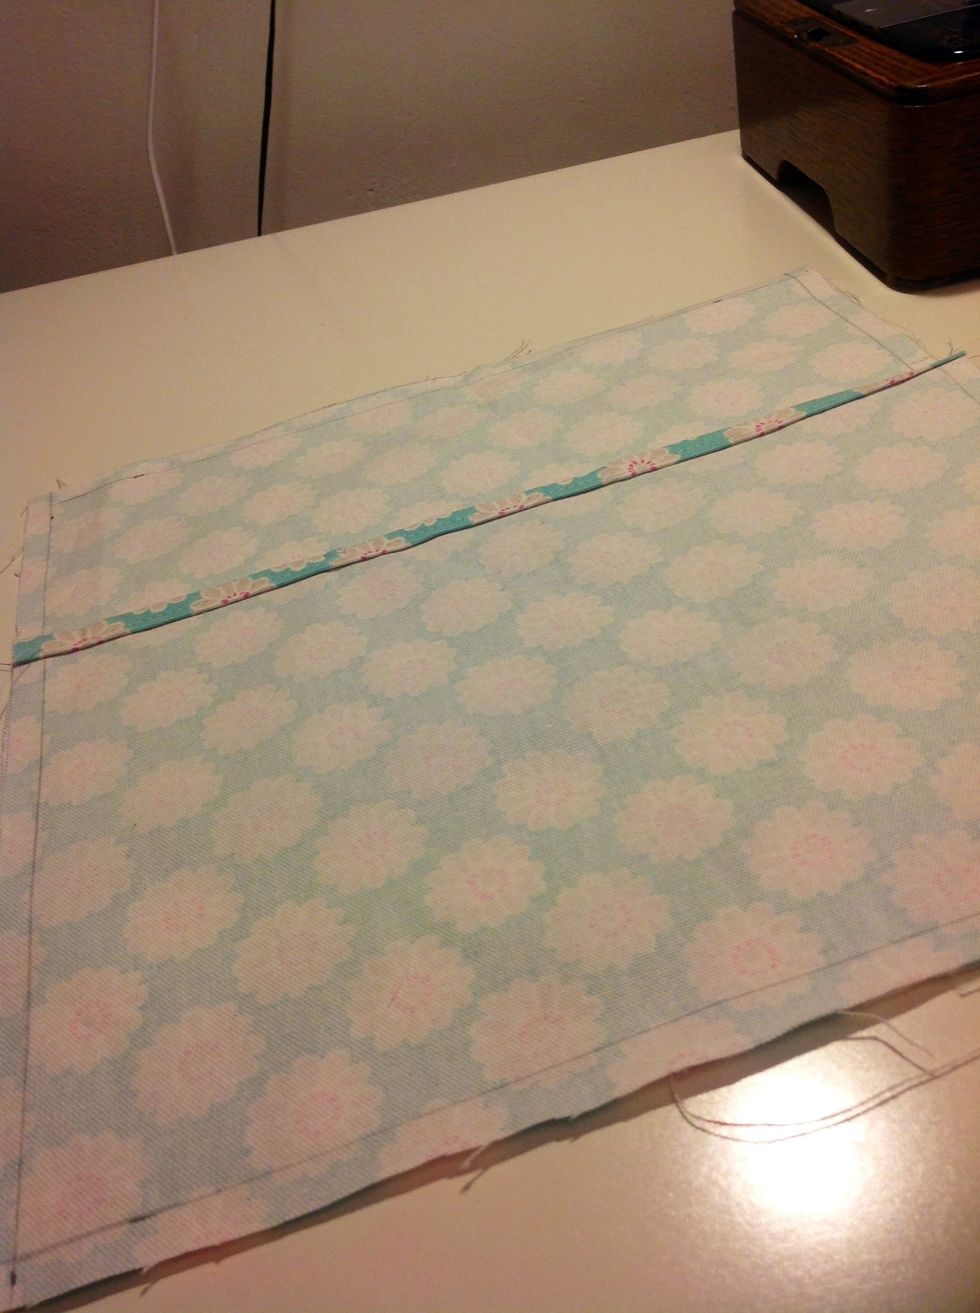
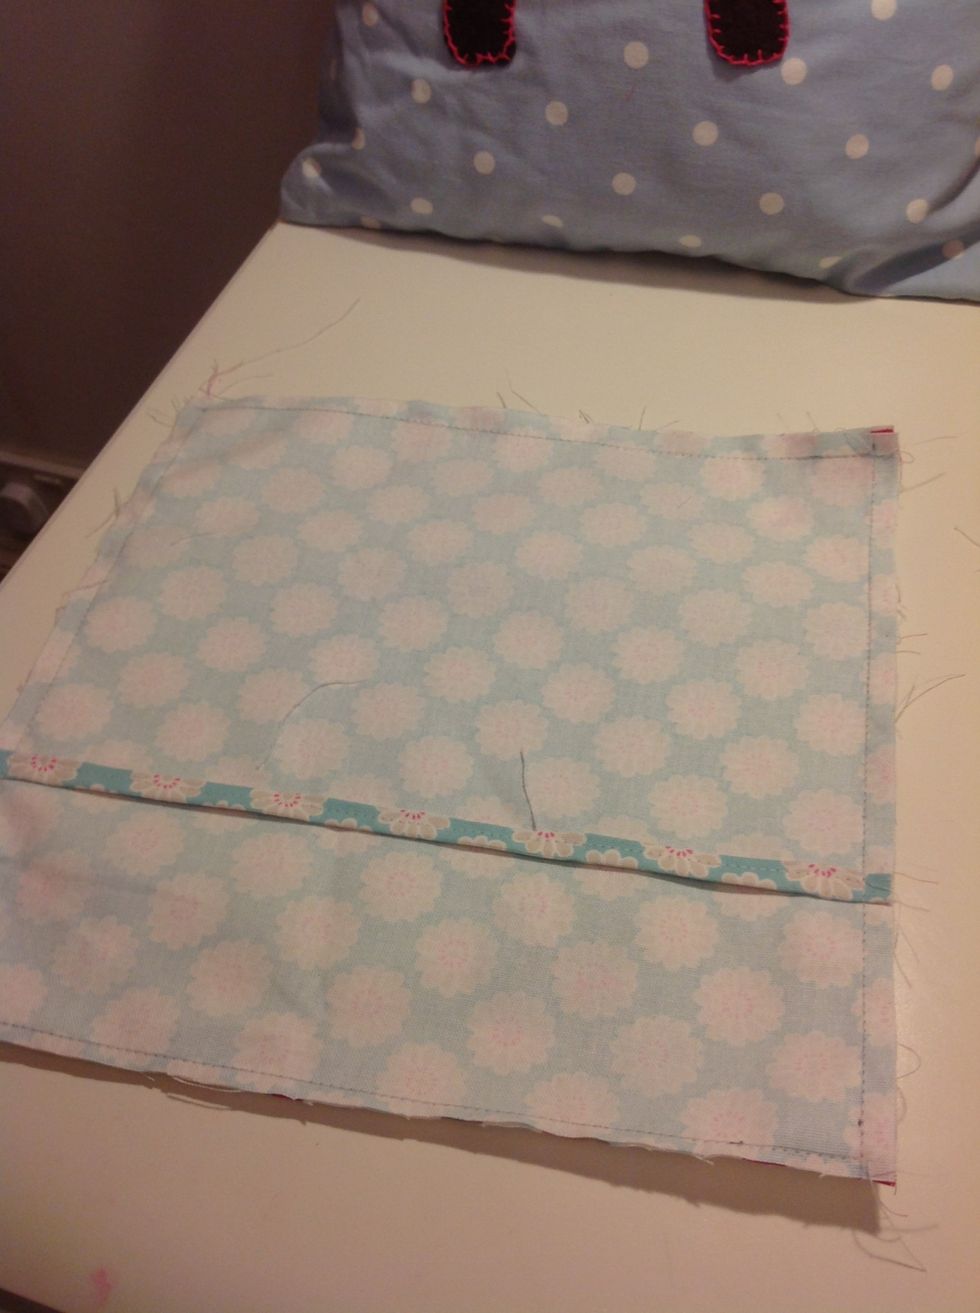
Place the layers on top, don't tack yet! Make sure the good sides are facing each other so you only see the back of the fabric. For the back, put the half you want to see underneath the side you don't
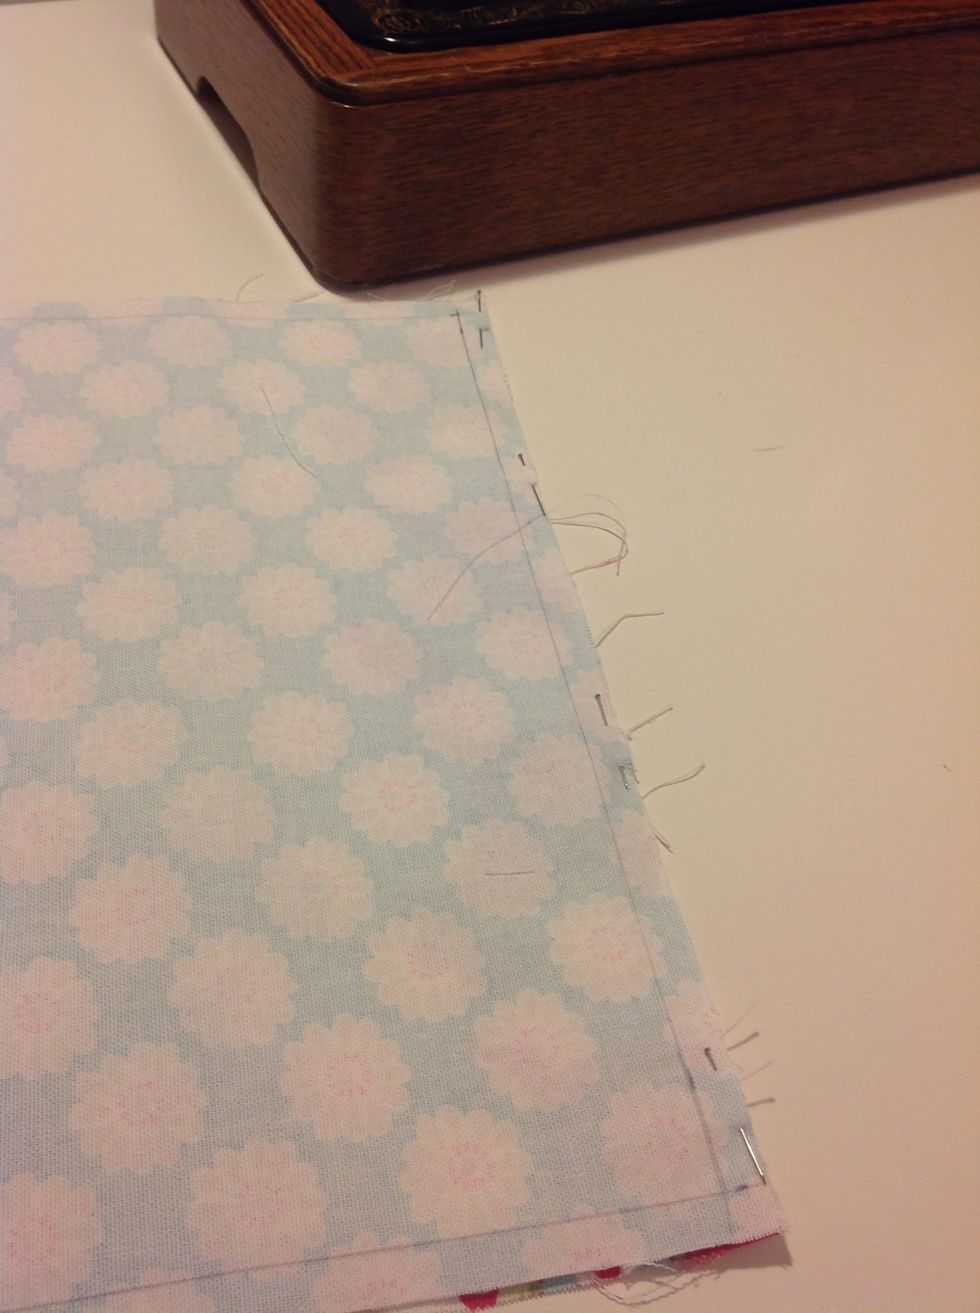
Tack up the sides....
Now turn the case inside-out
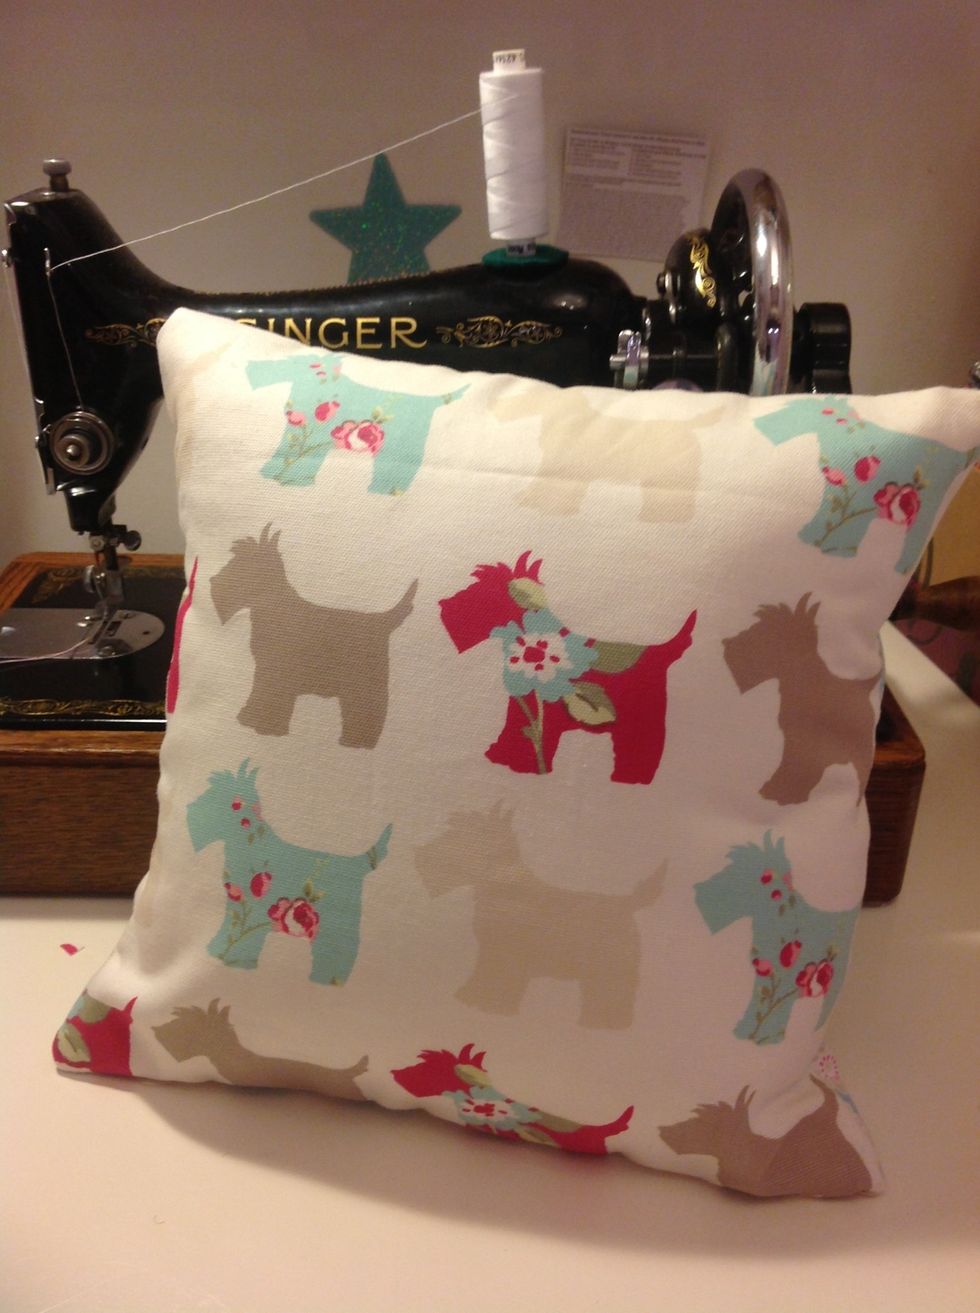
Well done, you have just made a cushion! if you found the video useful follow me, I will post more like this, if you have any enquiries give me a message! Have fun :) More examples on next slides...
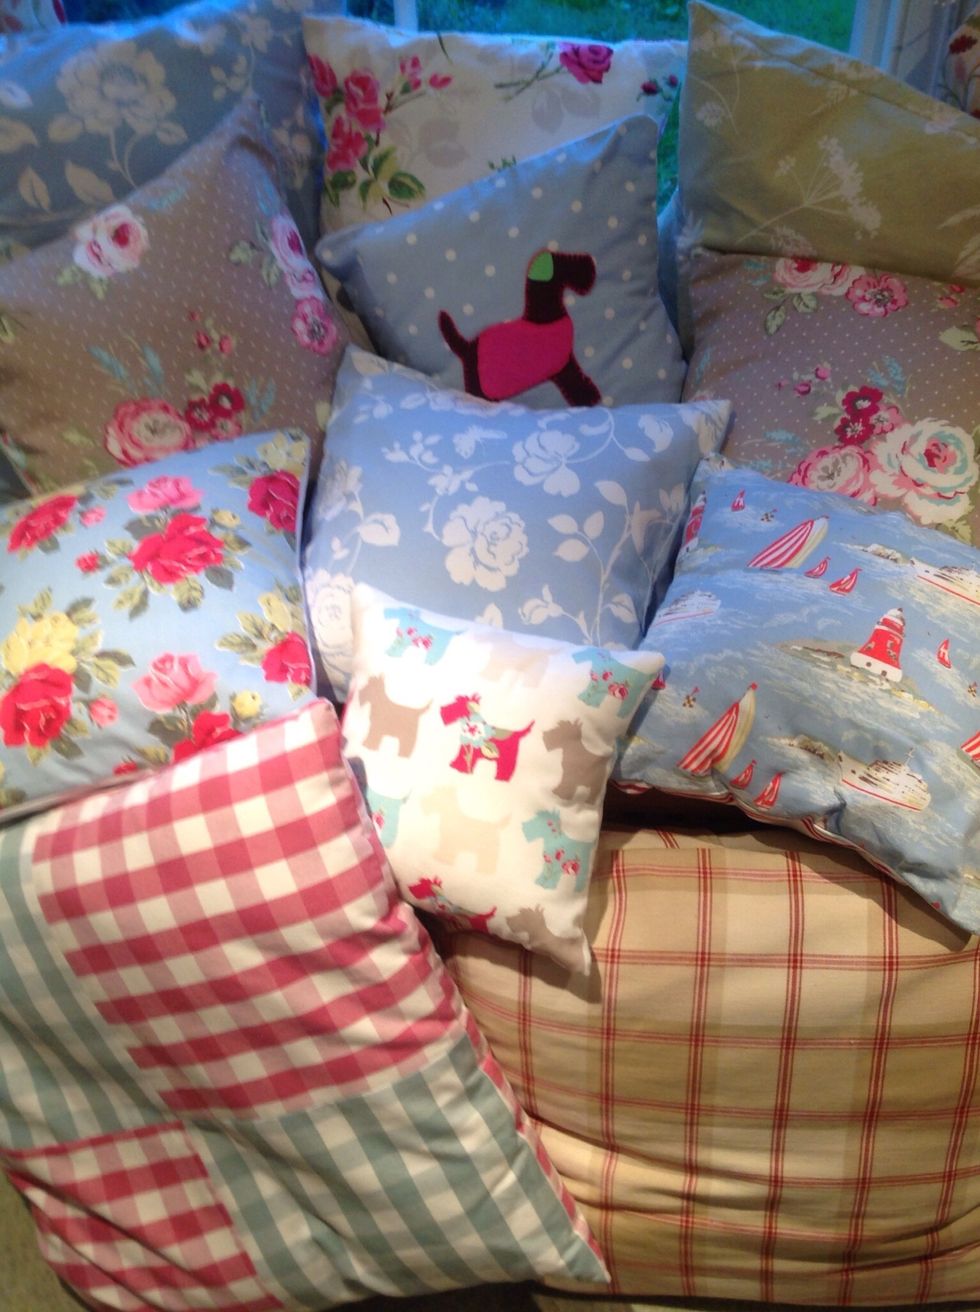
All of these cushions use the same method!
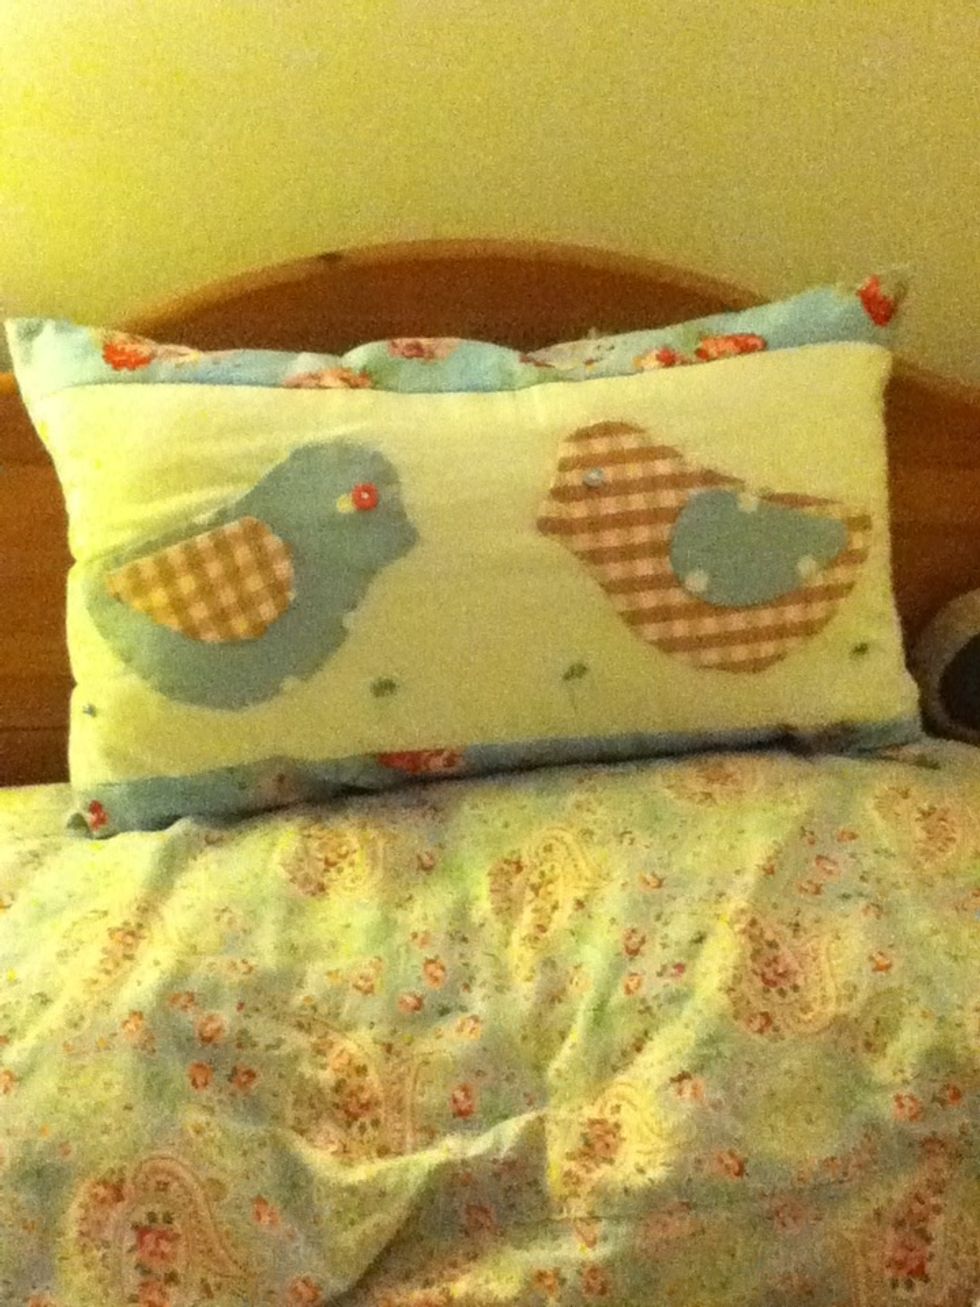
Others I have done...
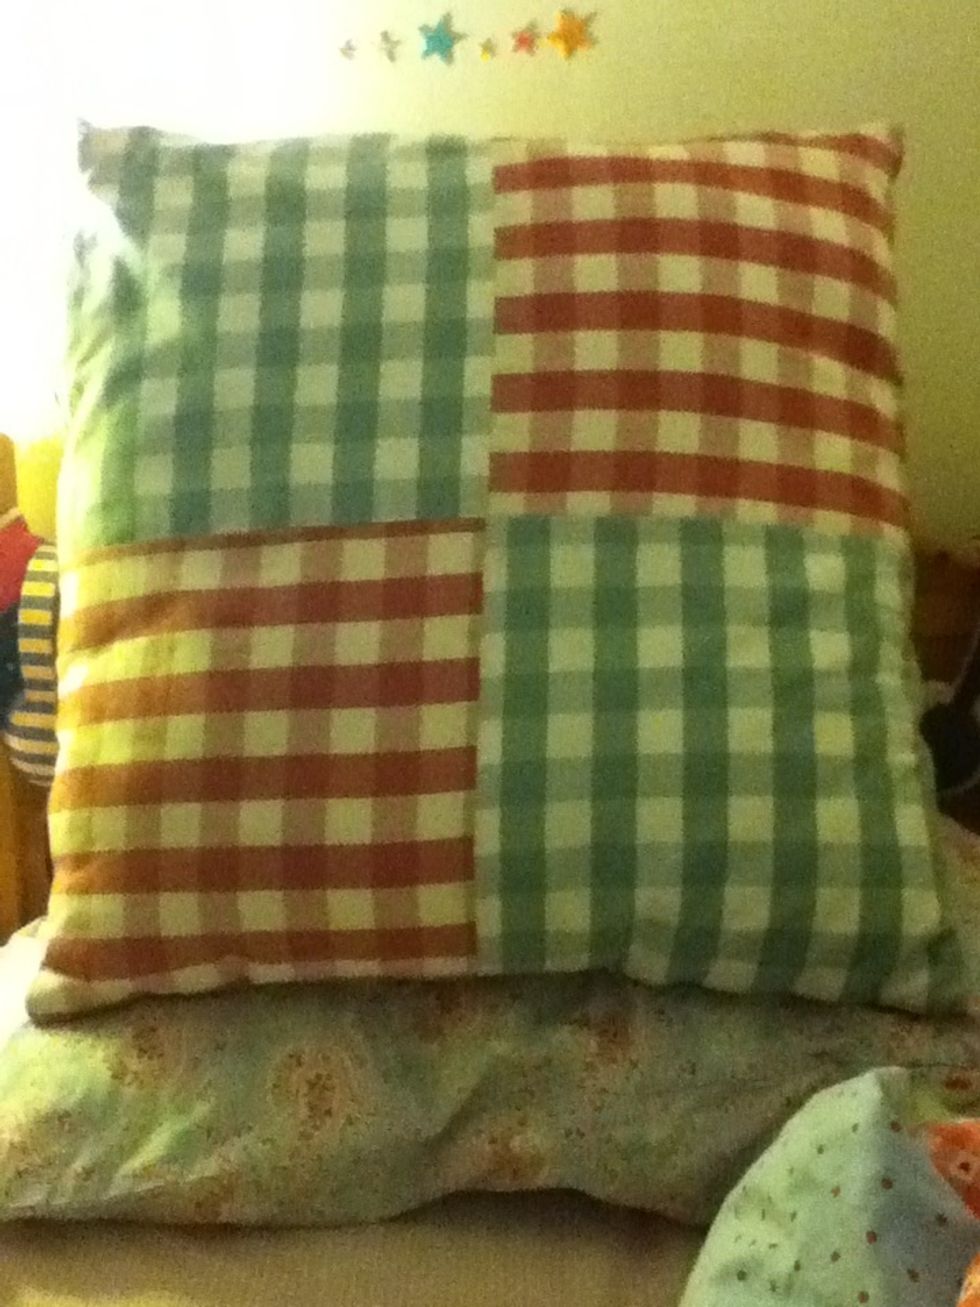
Have fun making your own!!